Computer Controlled Cutting
Making modular press fit things
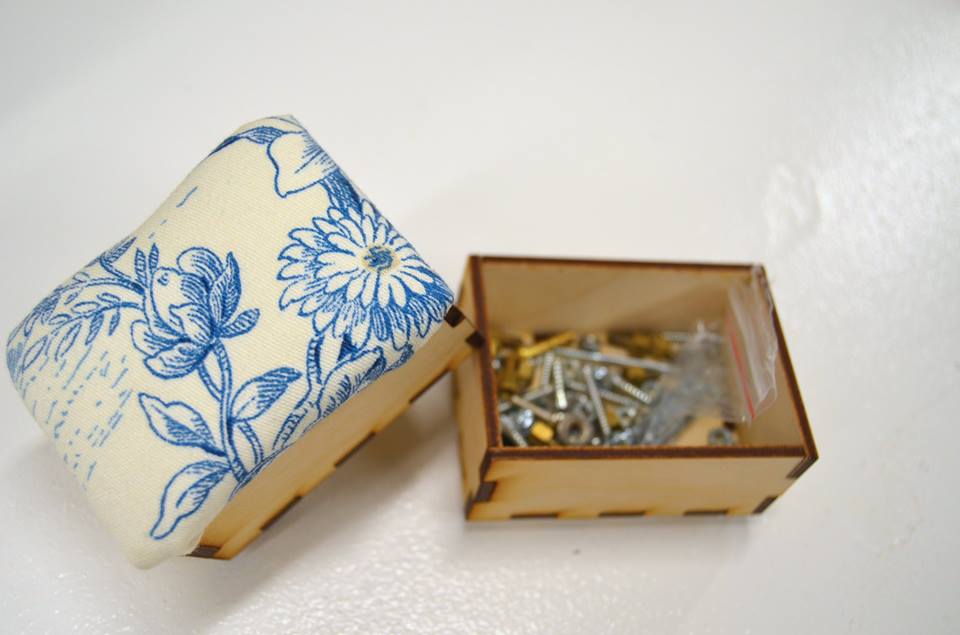
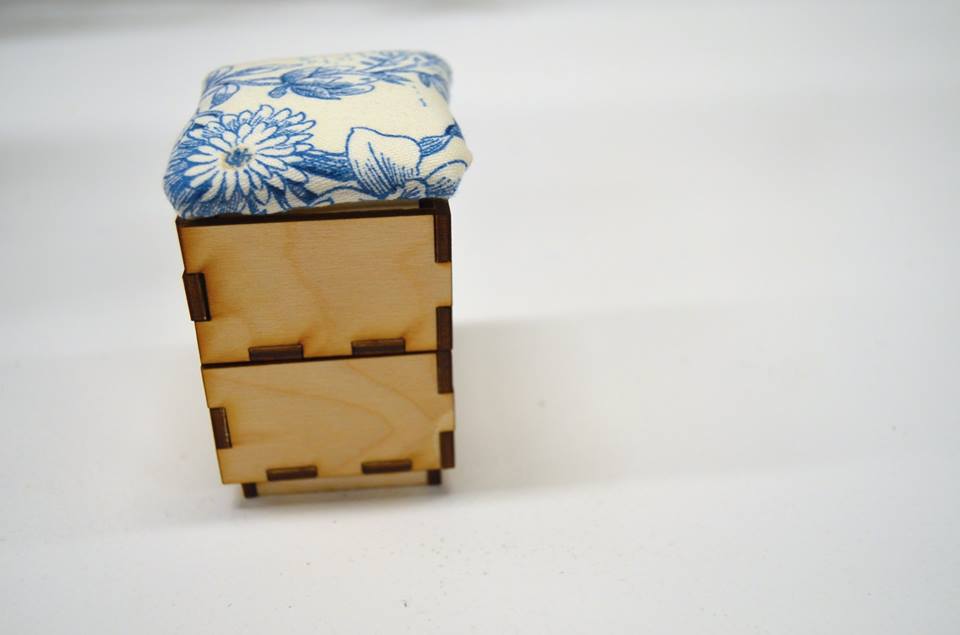
I've made a number of press fit boxes in my day, so I was happy to switch it up just a bit and make something that was modular. We wanted some boxes to sort the screws in our wood area, so I decided to upgrade to tiny stacking boxes. Our current method is coffee cans, so the bar is low. I fiddled a little, but I like the end result a lot.
Thoughts and planning
I fiddled a bit for a while about the kinds of ways that things might stack like legos. I thought mostly about how they might have an edge around the inside or outside and how it might be attached to one or both boxes in a row. I thought a little about how they might be like 2-long legos and stack in a stair case, but abandoned this as not a great way to keep things in boxes from not falling over. I also thought about using a living hinge somewhere. Though I also abandoned this last, i think it would be a neat thing to investigate further. You could most simply repeat this design with a perfectly round cylindrical box, with similar connections. You would want to either make a press fit connection where the living hinge wraps around, which would make the seam flat, or have a hoop keep it together at both the bottom and top. I'd probably go for the latter, which would also keep the connection to the box above it tight. But you could also make various other shapes. It would be an interesting experiment to make press fit boxes that pressed into the bottom at the sides but wrapped at the corners. You could make letters that way. Or any extruded 2d shape that didn't have too sharp turns (or was made really really huge).
Design
I started with a box made by boxmaker (Rahul via bob). I tested a couple kerfs (laser widths) with the wood I was using, and settled on .18mm instead of .20mm, which was our standard for 1/8" wood.
From there I took a video of me making the first attempt in Inkscape, my favorite 2D design software for vector graphics. It's half an hour long, though, so it will only go up after I edit the interesting bits or speed it up. From there I realized I hadn't accounted for wood thickness in one spot in the corner by the bottom/stand pieces, but after a simple fix that it was good to go!
Assembly
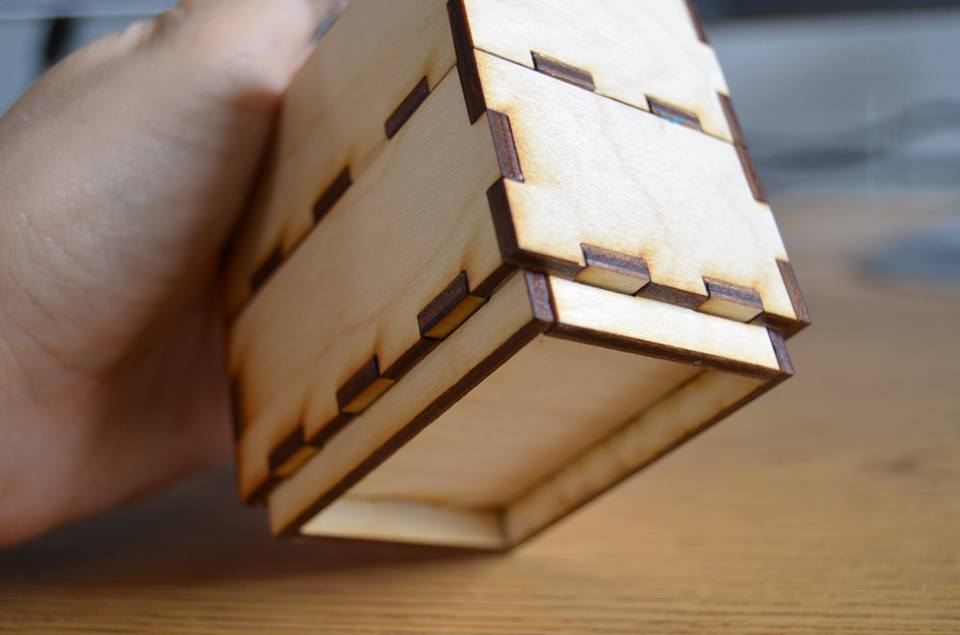
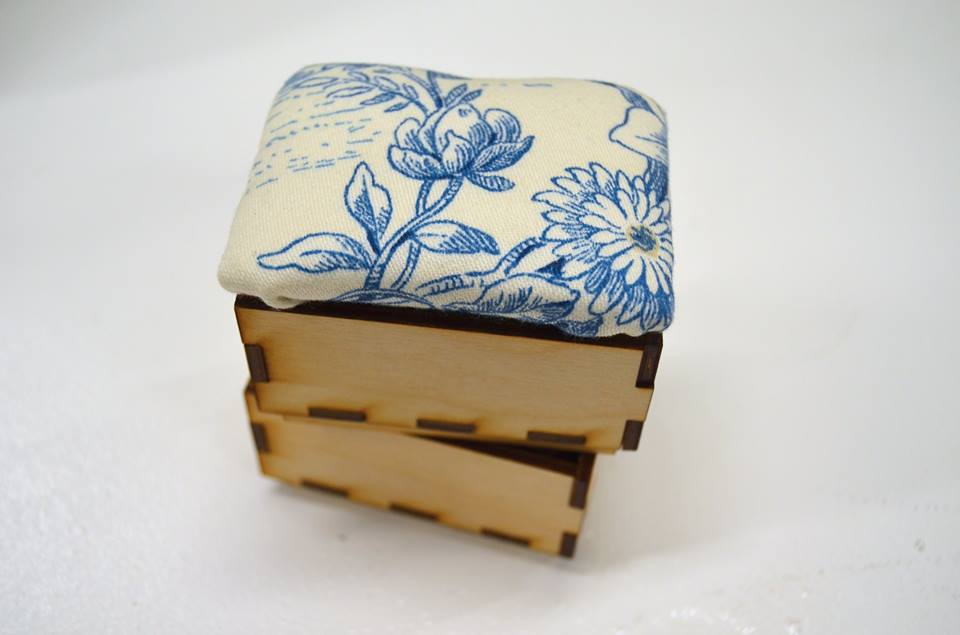
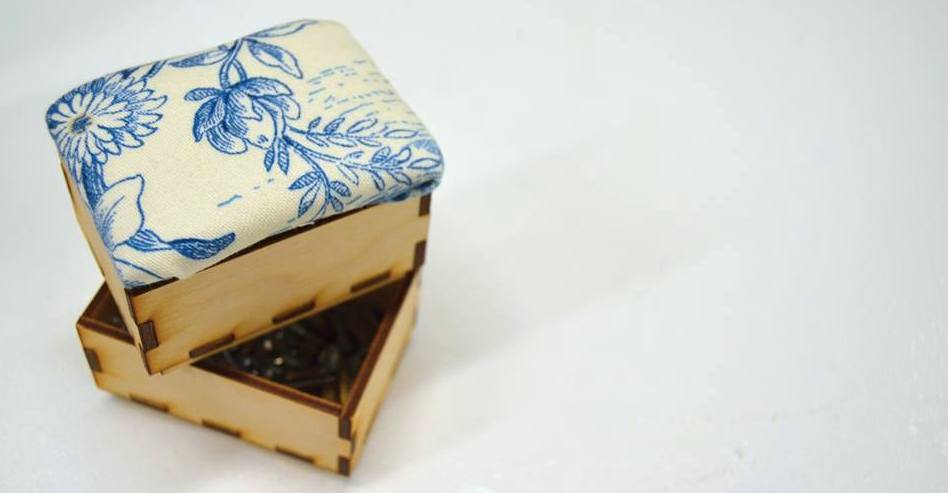
The boxes stack very neatly. Tightly enough to not knock over easily even when tipped over 45 degrees, but loose enough to not stick when taking them apart, which would be a disaster of parts flying everywhere. The press-fit sides were assembled by lightly tapping them with a rubber mallet. The inner "rails" on the bottom wiggle until held in place by the other rails and the outside box-sides. To put it in geeky science speak: Their position is under-constrained because they pressfit into the box bottom but not into each other at their sides, giving just a single line of constraint in a 3D space. Of course, there is more that that because they aren't a thin plane, but that's the main idea.
And now for some fabric!
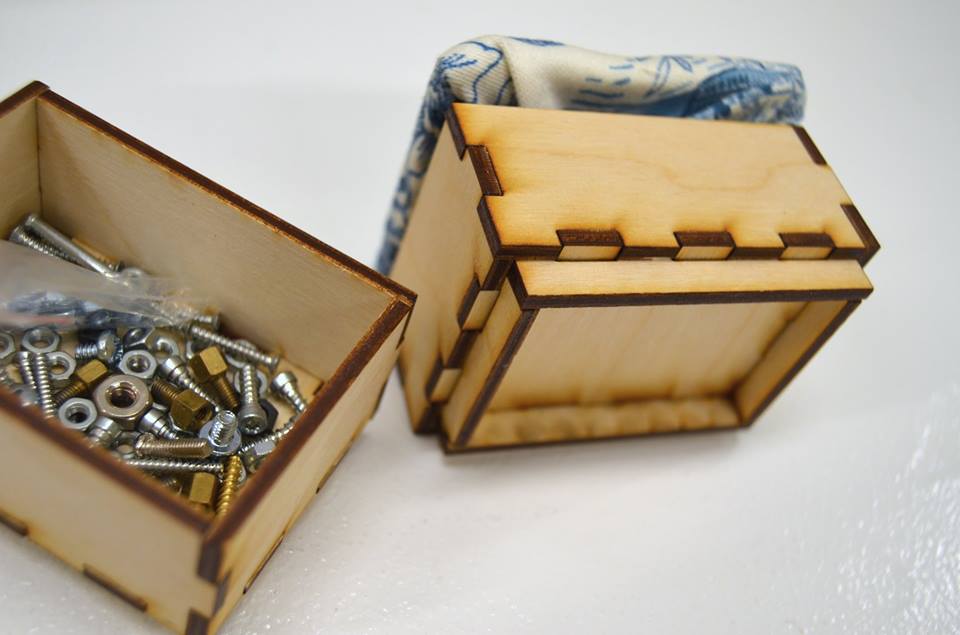
My final step was to add fabric to it. I edited the "bottom" of a box so that it became a box-less top that sits snuggly on the topmost box... and then I learned to upholster! Which was both exciting and much easier than I expected it to be. The fabric prevented me from attaching both long and short "bottom" rails, but it seems to hold just fine with just one set.
Overall, I'm quite pleased with the effect and want to integrate more unexpected things into traditional workshop areas. Several people mentioned that it would make a great pin cution box for bobbins, but I would much rather use it in an... unexpected way and defy people's expectations, hopefully drawing them into spaces and using tools they might otherwise not use. With that in mind, I think my next bobbin box will look very utilitarian and tool-shed like! Lesson learned: tiny screw boxes should always have a pretty fabric cover.
Downloadables
You can grab the file to personalize and cut your very own. I've been meaning to cut the screen capture I took into a more complete tutorial walk through that might be an interesting intermediate drafting with drawing programs video, so if you want that just let me know. Encouragement always helps produce tutorials!