Composites
Fibers embeded in a resin
Design and cast a resin embedded with fiber
Design the shape

Design and cut the frame/mold

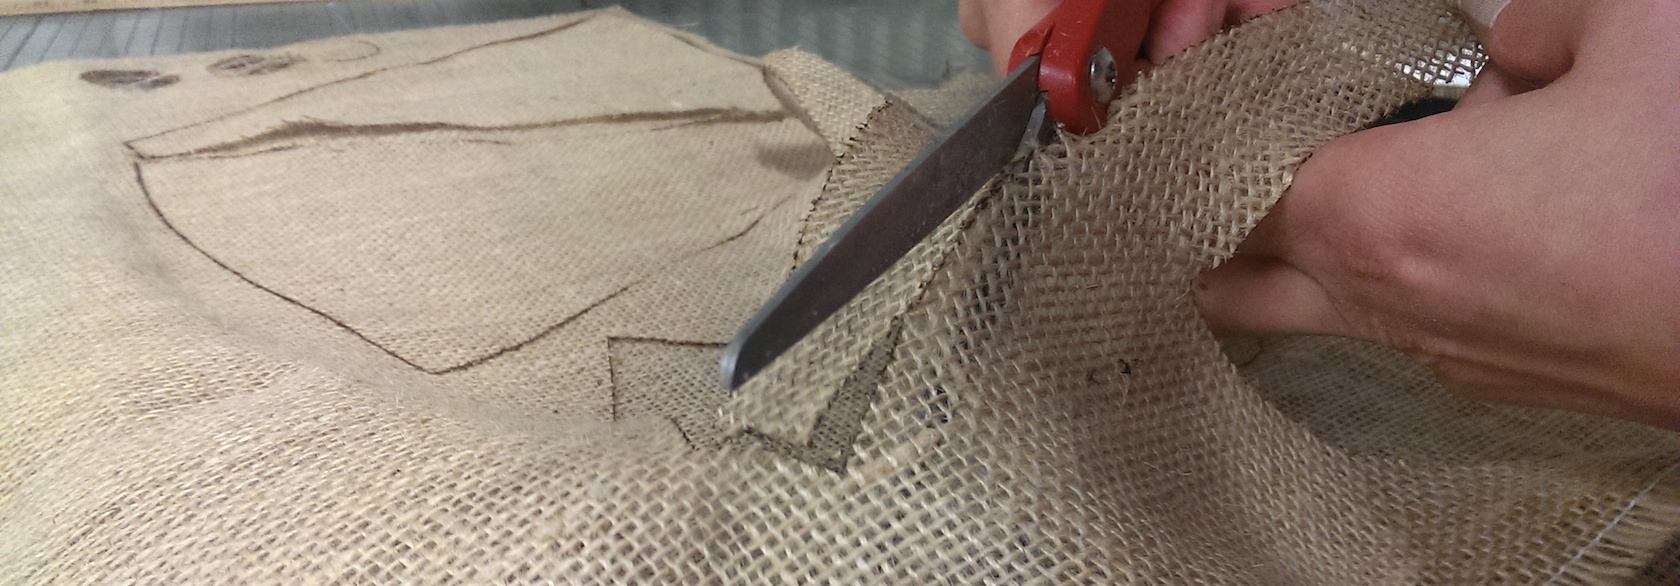
Design and cut the burlap to go inside the resin, over the mold

Apply composite to mold

Apply a release material to the mold. I thought that this would even out the wrinkles in the frame, which it did, but only slightly. The epoxy was sticky and viscous enough to stay on the burlap. Instead, it dripped slowly down and off the cone. Unfortunate! Then when I tried to weigh it down with a bag of water, oops, air (like the air inside the frame and thus my whole model) is lighter than water! Welp, I'll have better luck getting a good smooth surface next time.
Final thoughts
The end result is very, ahem, rustic looking. It's a spectacular faliure from the point of view of the asthetic I was aiming for when starting out. But it was an excellent learning experience. And it was a lot of fun helping out everyone in our group do their composite in different ways. We tried making our own vacuum bags. Jeff suceeded! It held vacuum at least for half the evening using a combination of a shop-vac and the suction from a soldering iron. We had pre-made molds and 2" foam cut on our shapeokos. Several of us used garbage bags of water to weigh our pieces down from all sides in a bucket or a sink. I tried that, but too late realized that with the open frame on the inside it was much lighter than water! Oops. We also played with different fabric choices and plaster together. Most of us used the epoxy from entropy resin, along with burlap and release film. All in all an interesting experience with a variety of materials. I was aiming for a layer of resin on the outside with the burlap embedded in a smooth, spiraling cone. Next time I need to have a two sided mold to get a smooth finished surface on the outside!
 Posing and photo credits to Jess, for giving me photos of their new garden gnome adventuring around their new territory. Posie, short for comPosite, is settling into her new home nicely. And isn't too disapointed to not contain the speaker she was made for.