Machine Design
machines that build machines
and boards that stay synched
Design/build rail boxes
Step 1: First I grabbed the grasshopper sketch and edited it (well, adjusted the places that had parameters) to be for the size of our cardboard and laser, motors etc. Step 2: find files almost ready-made! So, as I was moving things around to fit better, I found the pre-made file that Nadya had said existed that was set up for 12"x24" lasers, and that looked fine, so I used that instead. Much easier.
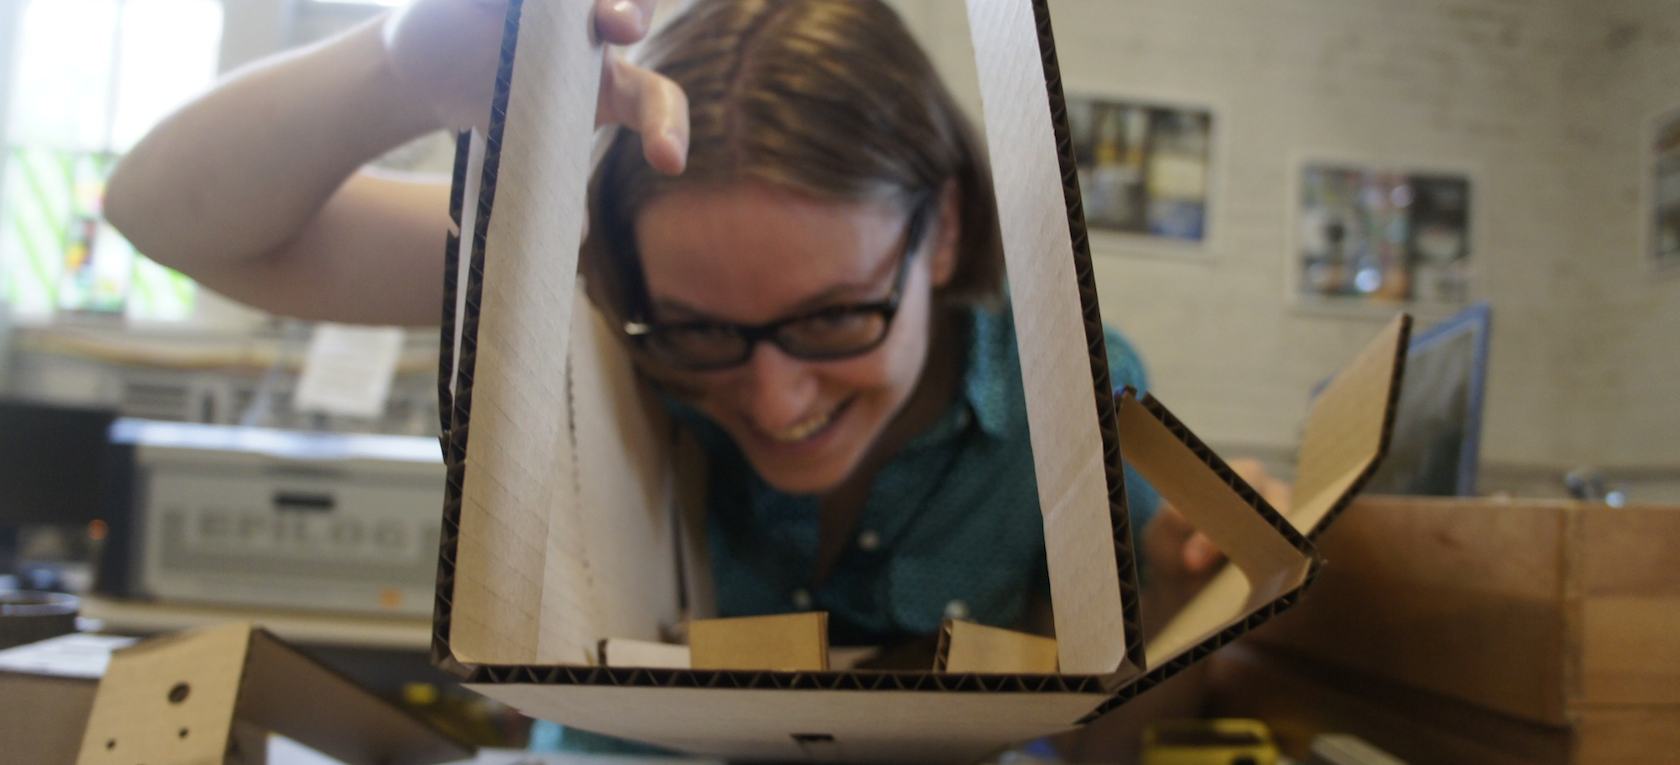
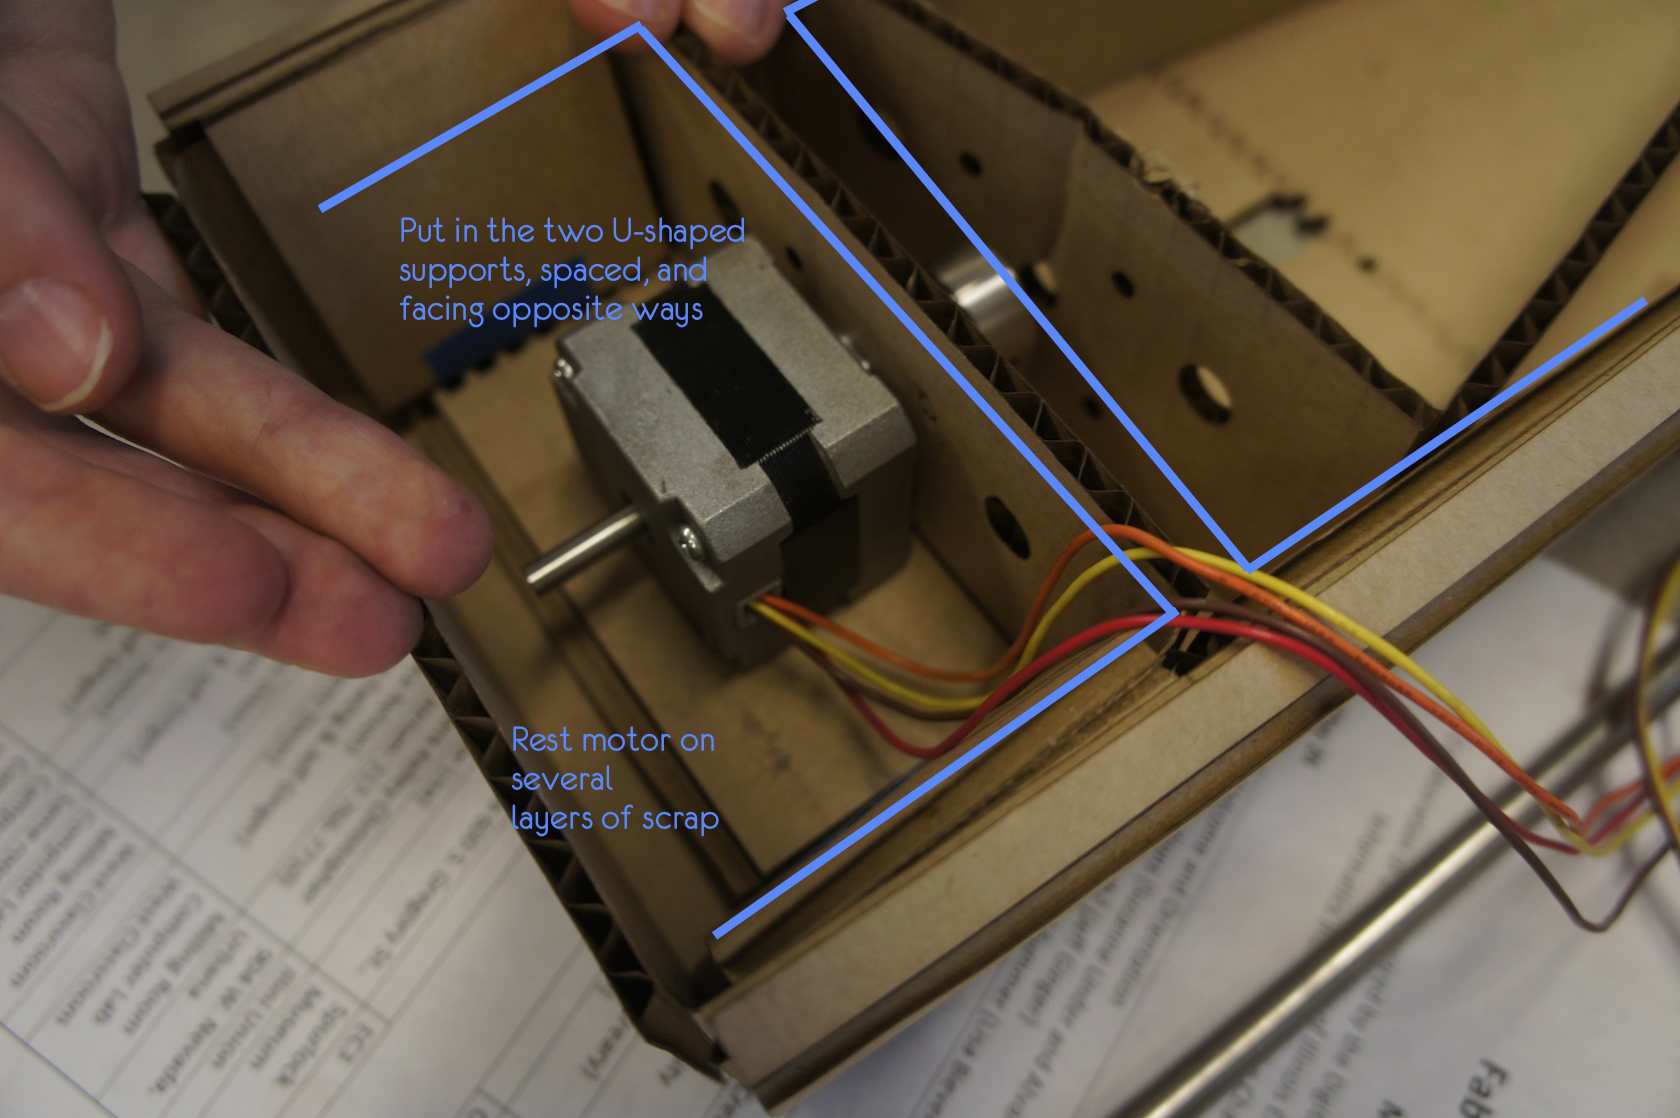
The website has a beatiful gif of the whole stage folding up, which is great. I found it pretty easy to follow, though I changed some things and didn't follow it exactly. Partly for stability and sometimes because I didn't end up using our parametrically exact design and our carboard was a little thicker than the design expected. But here are some photos I asked Jess and Colten to take of the process because I think still-photo-steps are nice to follow along with an animated GIF. I added some structural cardboard triangle shapes around the motors. they helped a lot I think. I also used glue and nuts instead of a couple parts we didn't have on hand to allow the motor to stay put and the stage to travel along the screw. And changed the placement of the cardboard supporting the motors (with a bit of a slice to the sides, and one flap on each side folded underneath for stability) since they were a different size and so were the screws. It works great! It's suprising to me how much structure you can get with cardboard.
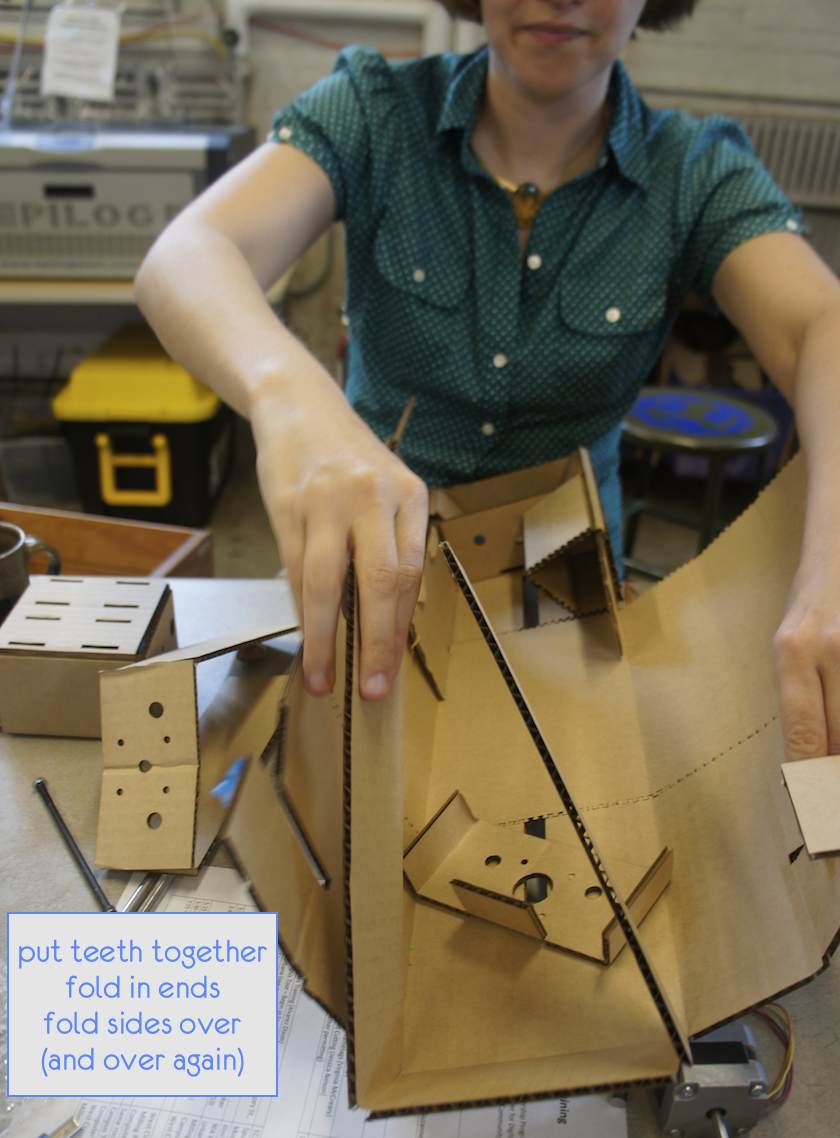
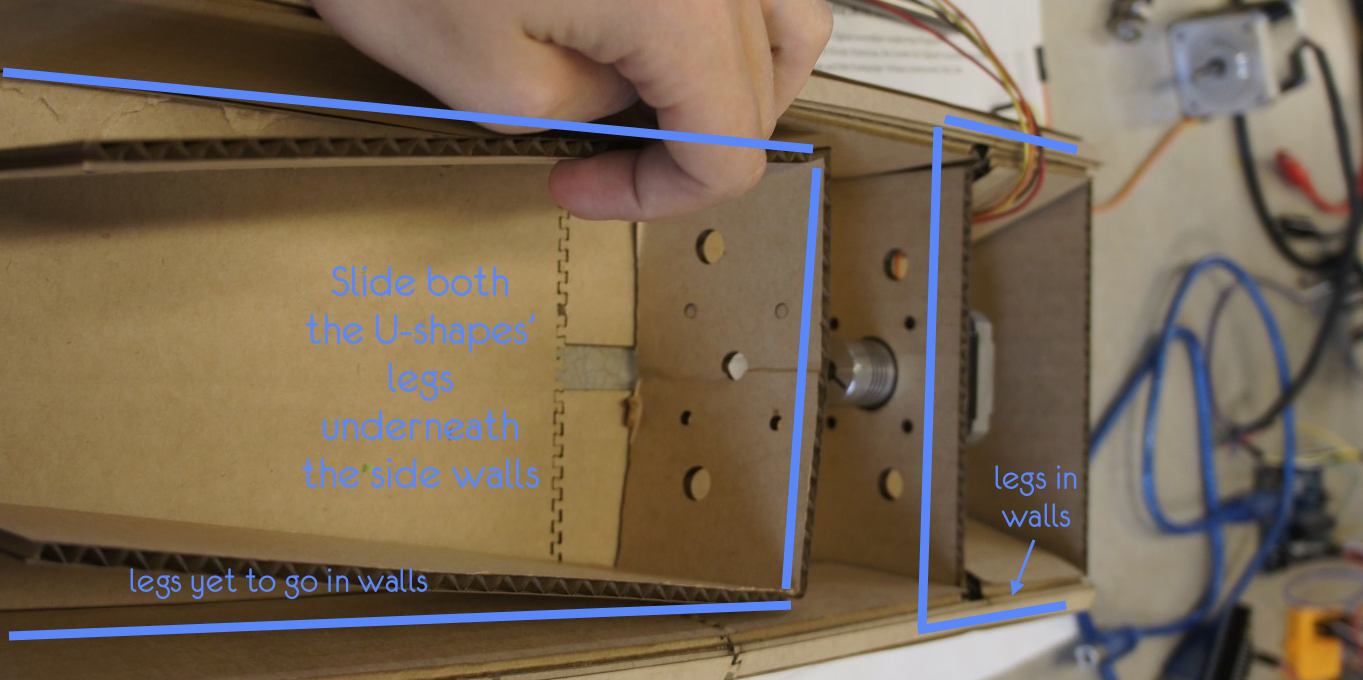
First find all the parts that connect, and tooth them together. Then fold the short ends over and over again, and do the same with the sides. Ours was a bit fatter, so I removed the last fold, which also made room to place the u-pieces inside the walls.
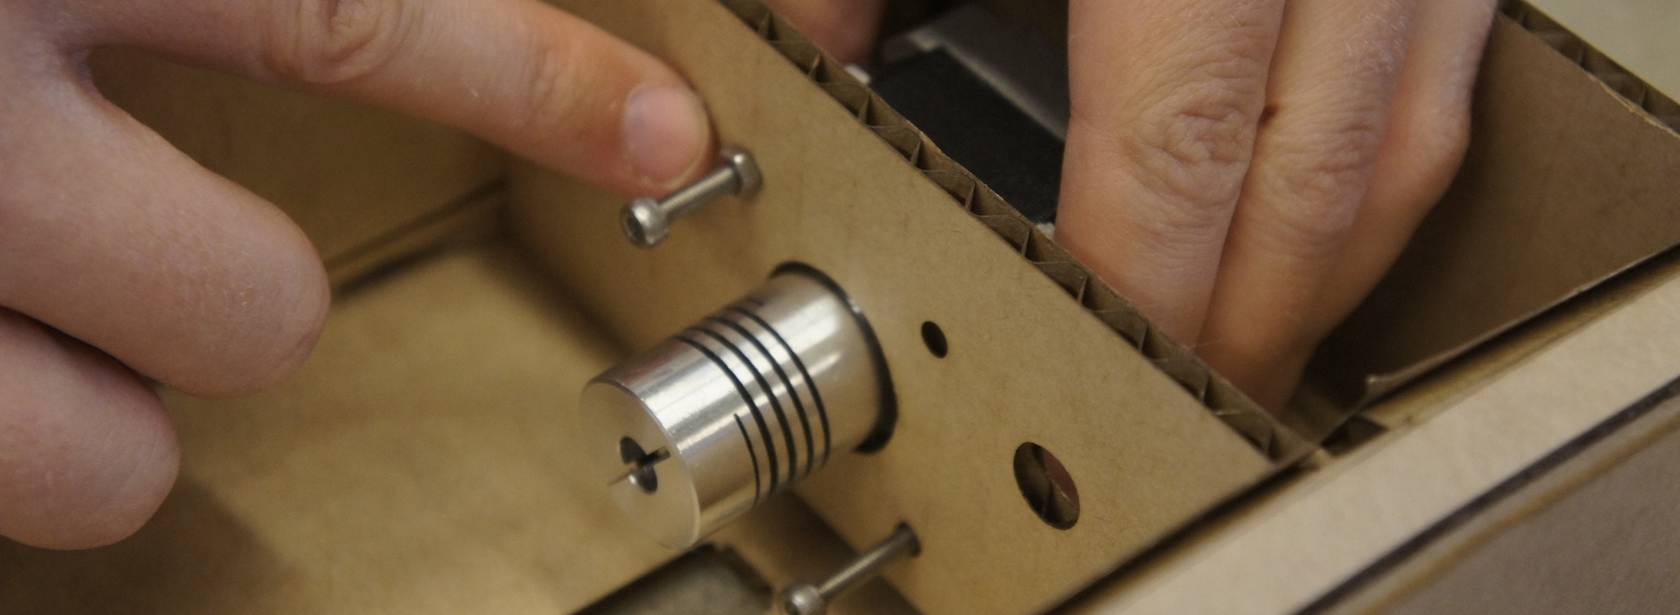
We were missing parts that would take the stage along the travel of the screw, but no problem!
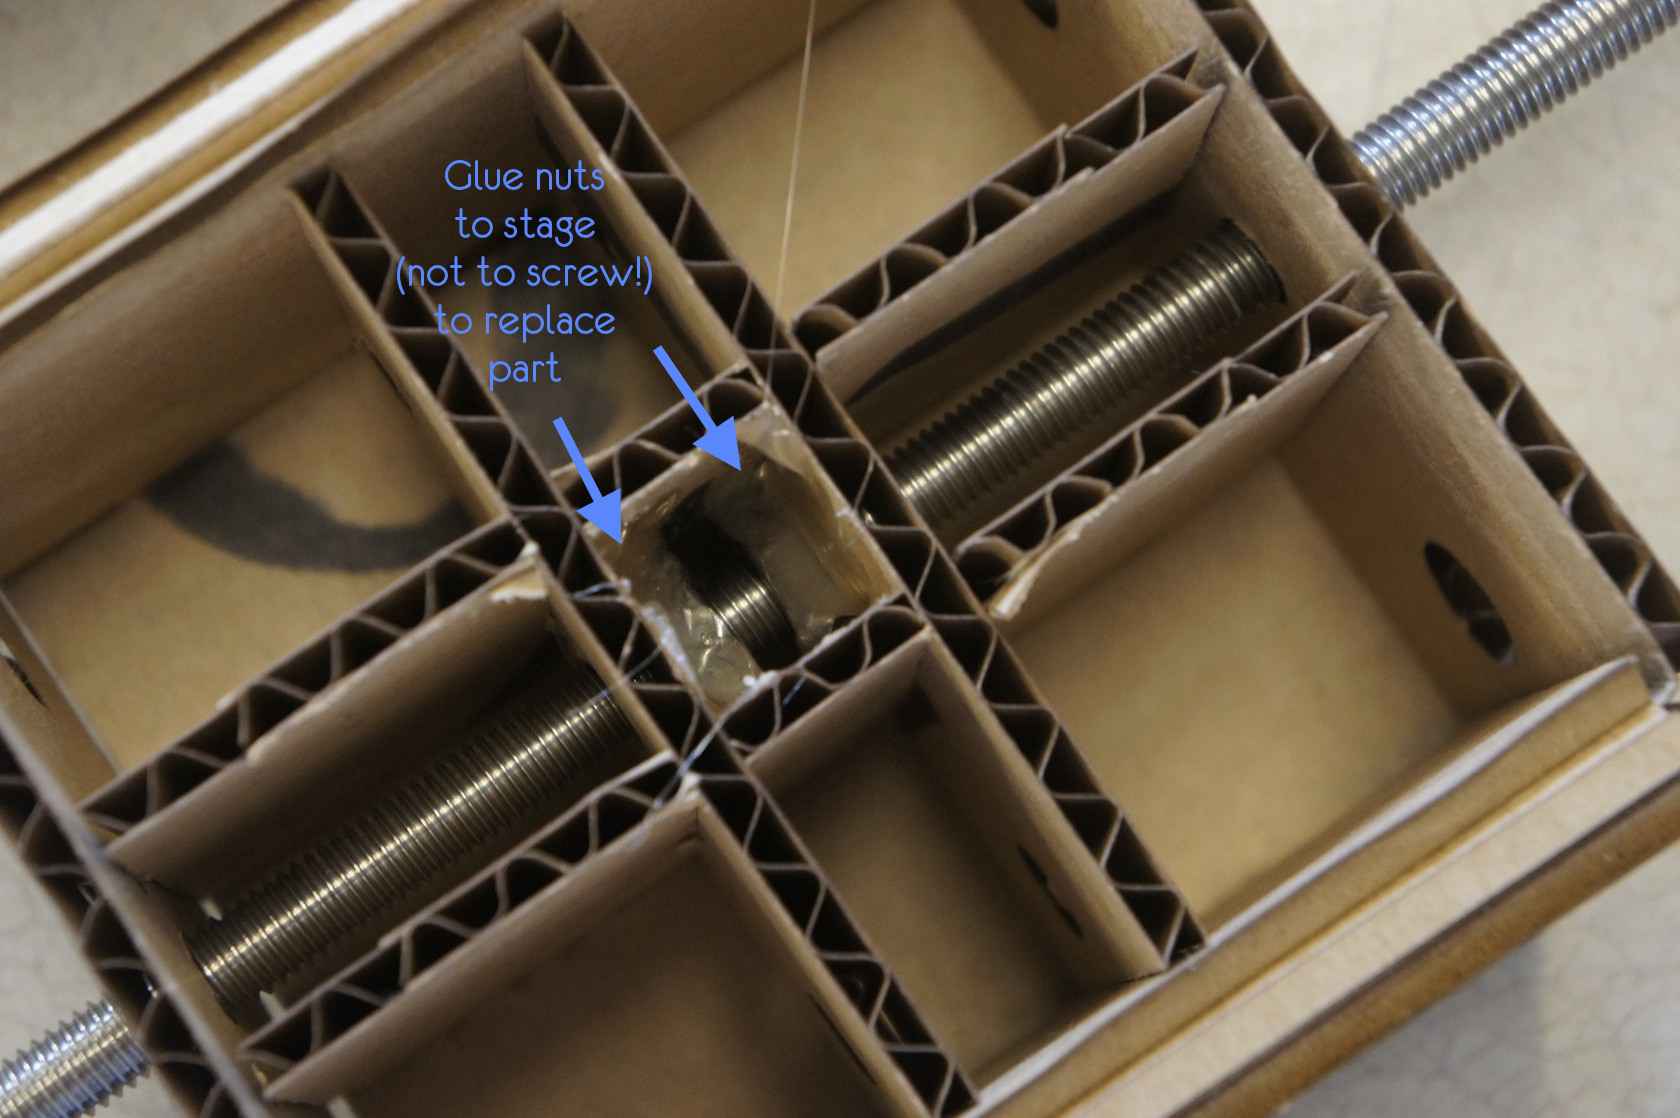
Improvisation with hot glue and a couple nuts is cheaper and works really well. Certainly outlasting the cardboard anyway, and that's all we would ever need from this system!
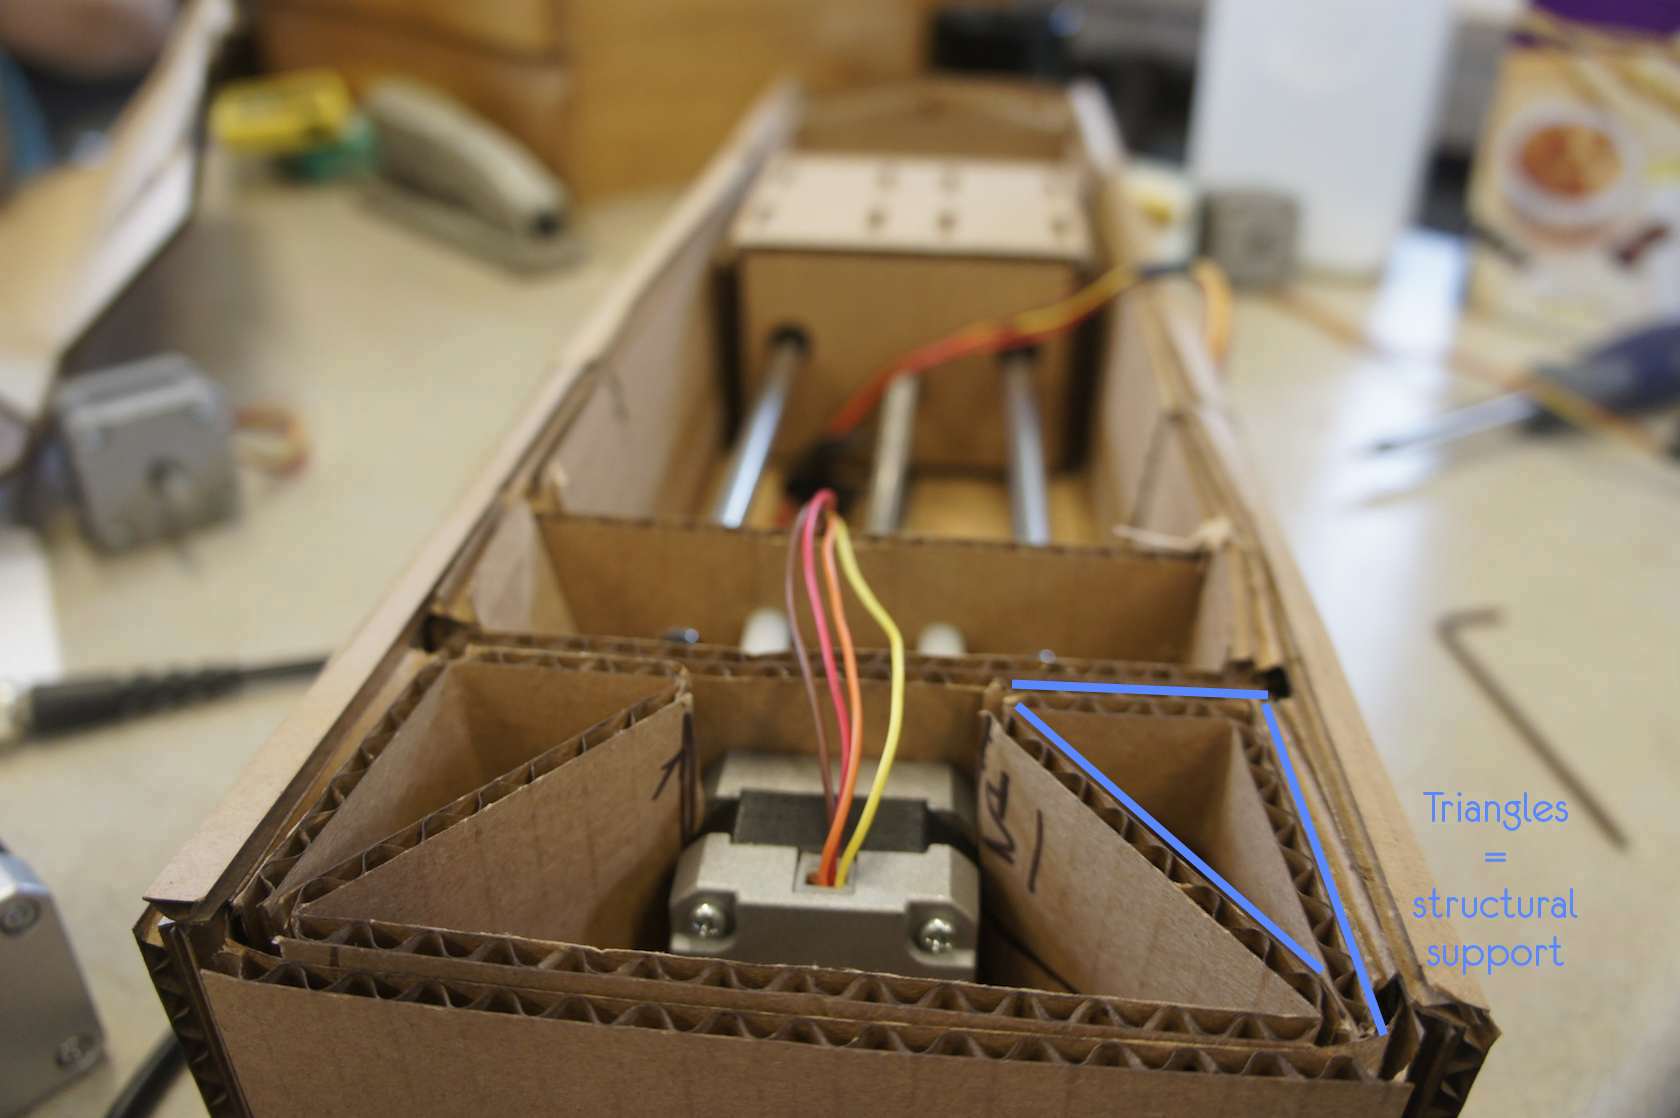
Make it stronger with triangles! And also more stable with support for the motor.
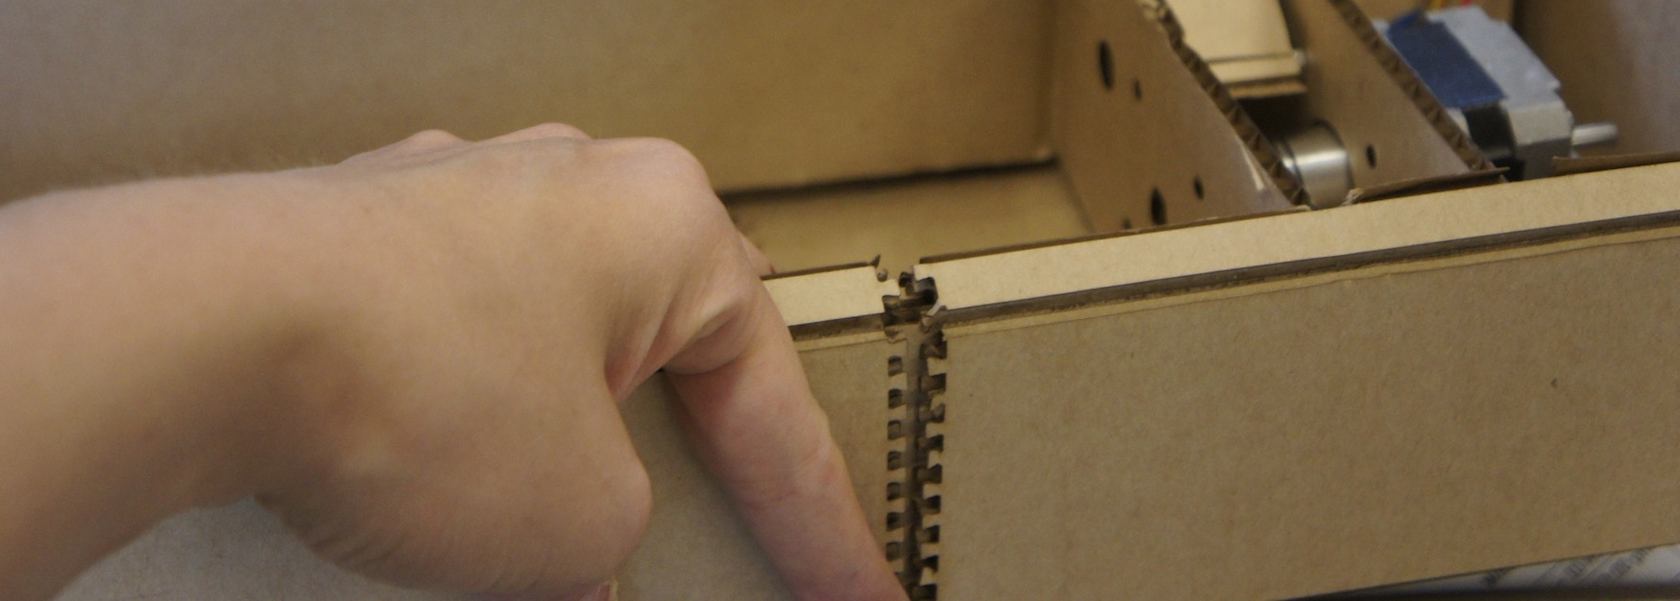
At first when I saw the design cut down to be cut-able in a 2'x1' laser, I thought there was no way those tiny teeth would hold--and I was glad to be proven wrong! I was really impressed by them. That said, they were still the failure point eventually, and had to be shorn up with some exterior stints (a strip of cardboard glued perpendicular to the tooth-y seams). Very impressive cardboard, very impressive.
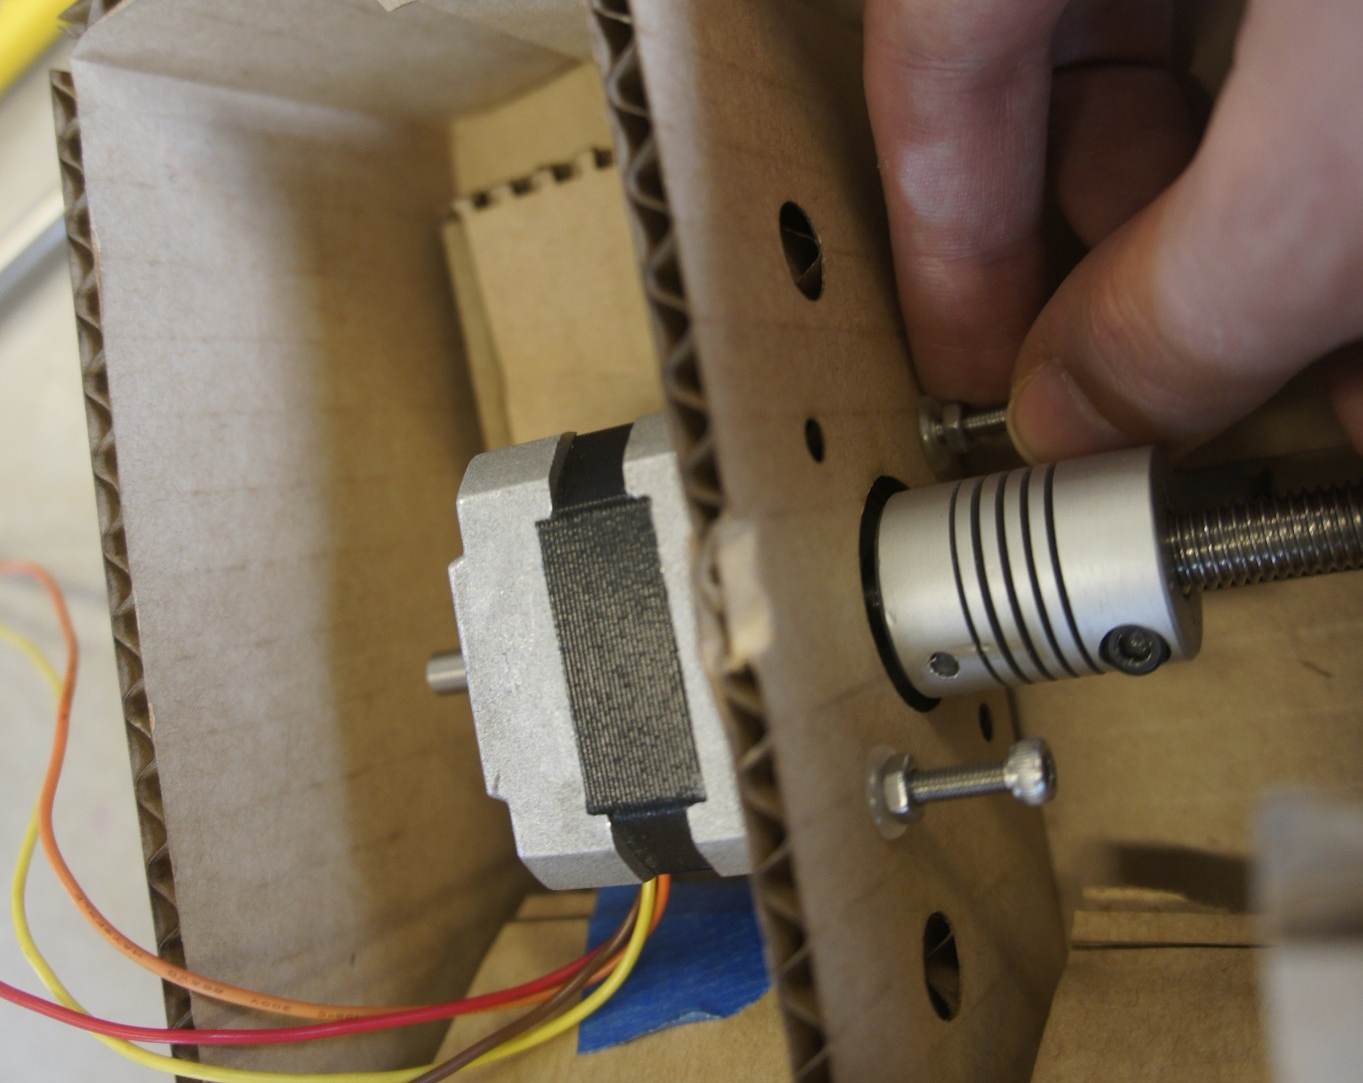
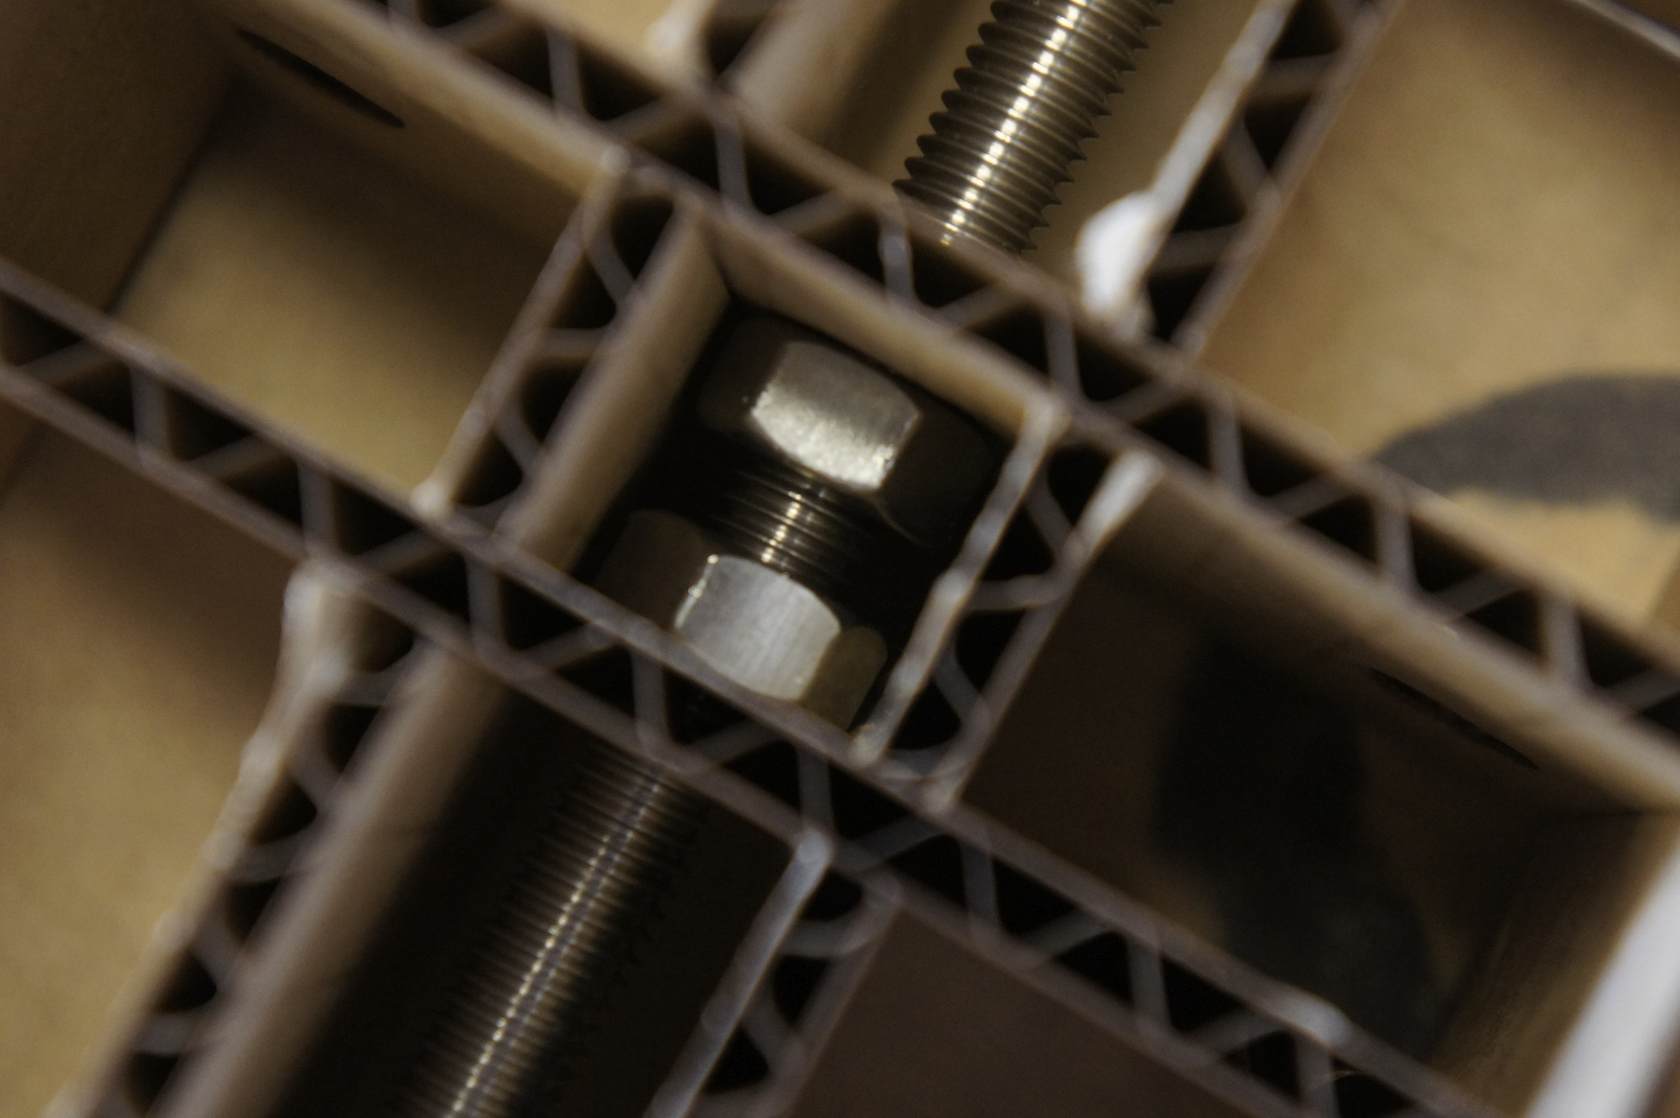
Again, nuts to the rescue when the screws are too long for the situation.
Final thoughts
It has pretty tiny movements. I'd want to mess with the time waited between each step if I wanted it to move faster, but for now it's a super proof of concept! And I think a big step forward with hacking the arduino boards to make them individually addressable. Individually, I got more practive with Rhino, which was nice even though I didn't end up using my work there. Trouble shooting physical design is fun, but I have done it a ton, so I'm not sure I learned too much more in the process this time, though I did gain familiarity with long screws and their varieties of attachments as we searched for parts that would fit together. I recognize that I did not laminate the cardboard as is highly recommended, but this construction was not going to last that long in the end, and turned out very sturdy in any case.
Downloadables
More can be found at the main mtm gestalt site. You can use the 12"x24" pdf files Gabe cut, but you may want to double check them because a few of the lines I thought would score, actually cut, and there are a few double lines running around.