

Clank
Week 5- 3D Scanning and Printing
I’d thought it be fun to make a character from one of my favourite video game series growing up- Ratchet and Clank. Clank’s fairly simple, robotic design made it the perfect choice.
I first found a clear picture of clank to guide me when making the model. I used sketchup to make my model which proved fairly difficult due to some of it’s limitations. I used the follow me tool to make the cylindrical/sphere pieces however because I couldn’t raise curved surfaces some details had to be omitted (for example the detail on top of his head just under the antenna)
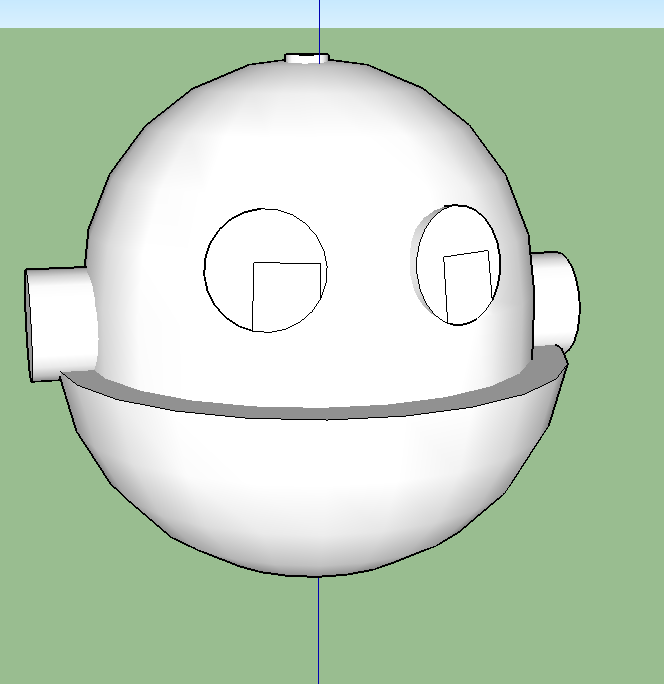
Clanks’ head
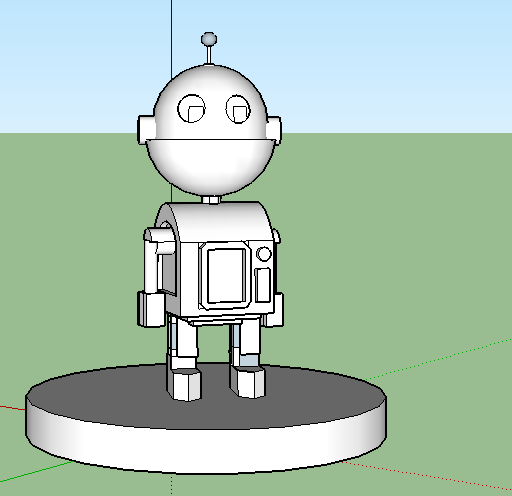
Final design
The boxes in Clanks eyes seem to be from where the circles drawn for the eyes and the sphere meet. Because they’re level, they shouldn’t be visible on the final print.
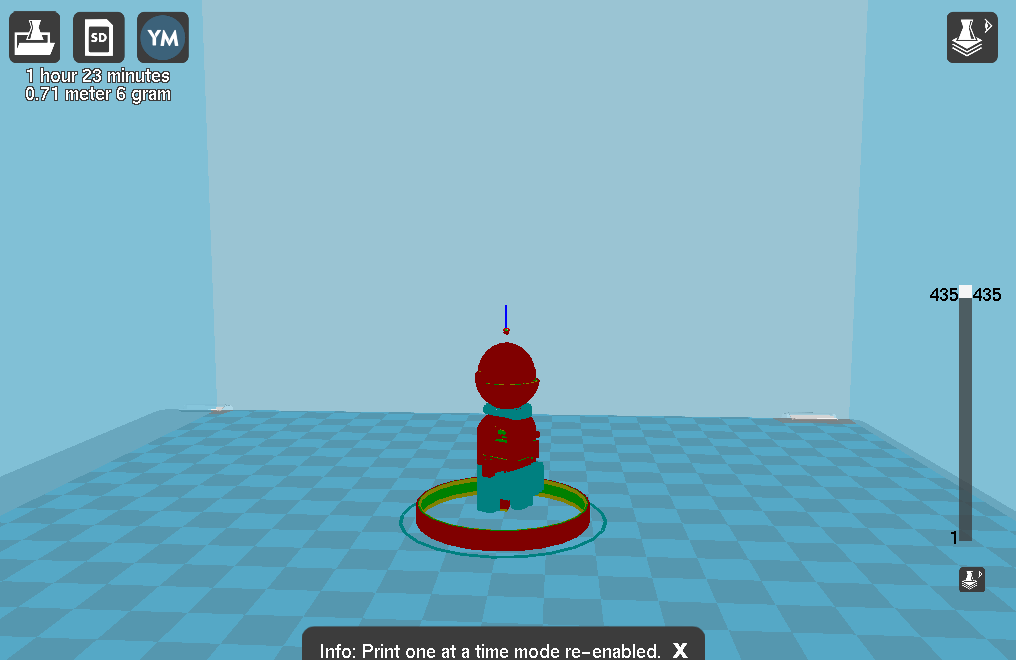
Next, I impored my model into Meshmixer, which I used to generate supports around my model so it wouldn’t collapse while it was printing. Then I opened the file on cura to resize the model so it wouldn’t take too long to print, and finally to generate the gcode that the 3D printer would use.
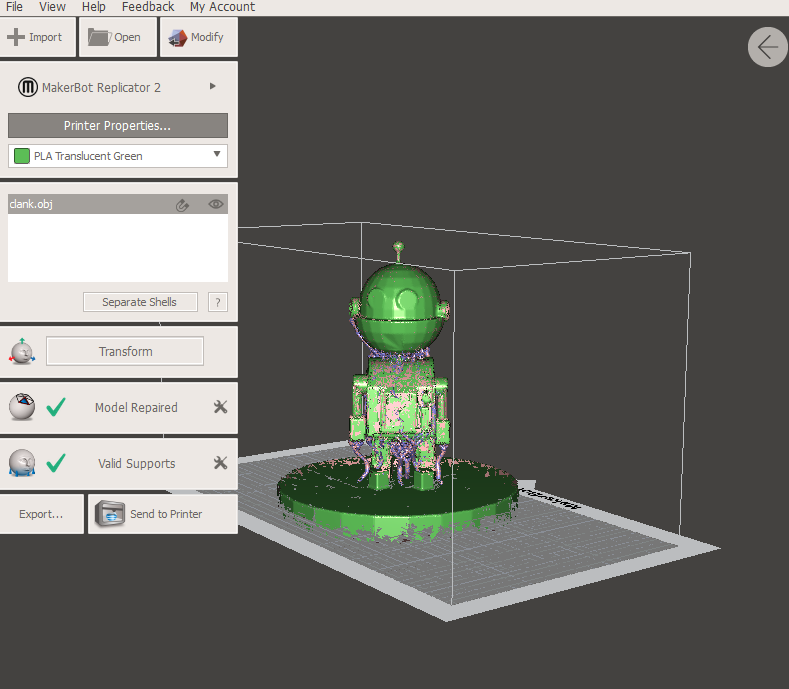
Meshmaker- adding support structures
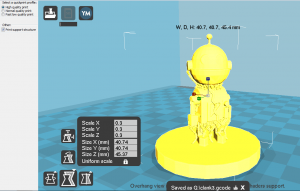
Cura- generating the gcode
Unfortunately it seemed using the Meshmaker process hollowed out the inside of the model- so I put the original file into cura and used their support structure tool instead.
Cura’s support structure (in blue)