W_09: Molding and casting (Mar 25)
This weeks assignment was to create a mold and cast it to create a 3D piece. In my case I started of with the idea of creating a design of geometrical candle.
At first it seemed simple but as I was starting to undesrtand the molding process of it made its self more clear to me how many parts where needed for different designs.
1· DESIGNING THE MOLD
Here are some of the shapes i started of with:
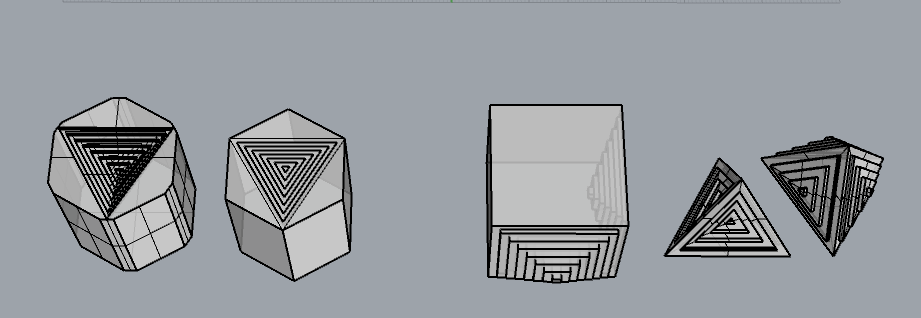
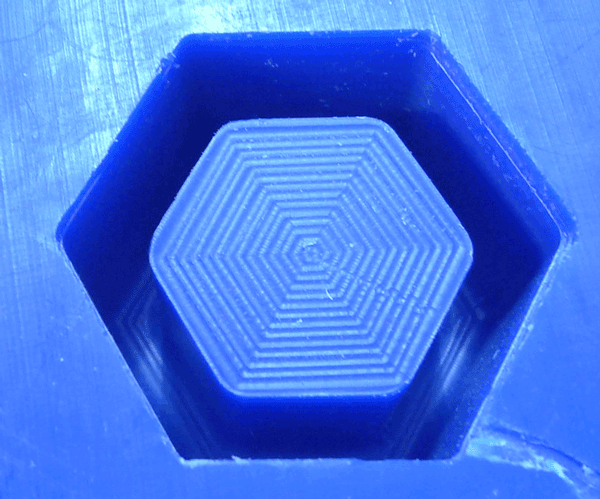
As i was making the 3d files on rhino i understood that the piramid models where 4 part molds because of the different faces. On the square model it was more of a 3 part mold and finally because of the time constraint i ended up designing a one part mold that was an extruded hexagonal candle with an inverted pyramid in the middle for the wick.
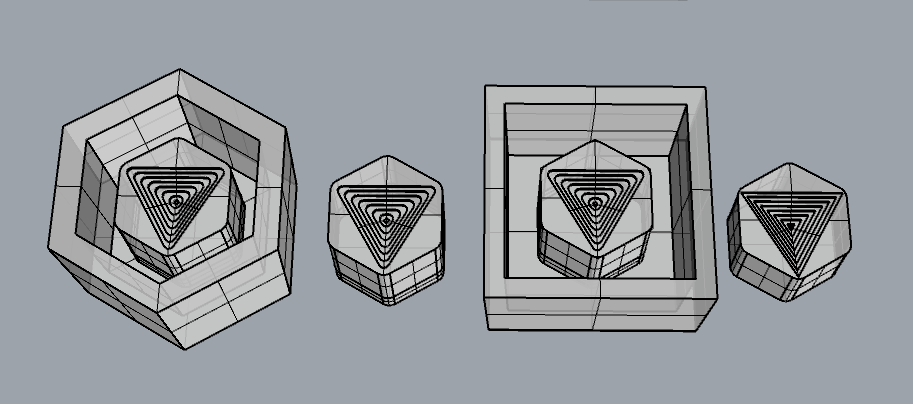
After this was made clear to me by the process of elimination and going through the design i started designing the shape to make the actual mold. All thow i started of with a square bounding box i later moved on to design a hexagonal one to avoid using excess material. The mold walls had to be slightley inclined to the oustide so the extraction of the mold would be possible.
Here is an image of the progress of the designs it took to design the piece:

Finally here is the final design to make the mold:
2· SETTING THE RHINO CAM
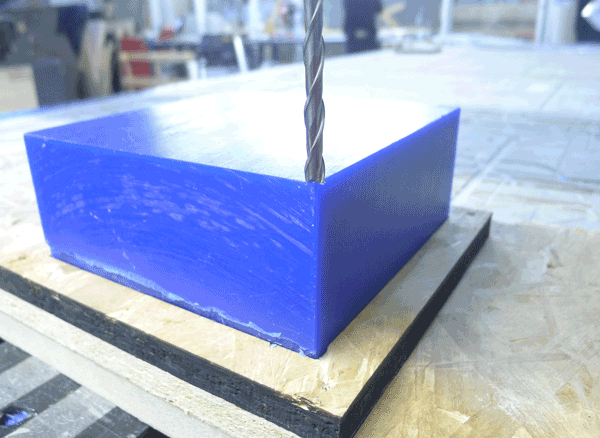
To be able to cut this mold i took molding wax that was about 9 cm high so i wasn't able to mill it in the mono fab because of the height so i decided to do it on the precix machine. I used two different flat end mils to cut the mold maker: First a 6 mm mill bit to make the general hexagonal shape and then a 3 mm mill bit.3· CUTTING ON THE PRECIX
To attach the piece of wax to the table of the precix i made a square of the size of the perimeter of the wax, cutting it with the epilog laser: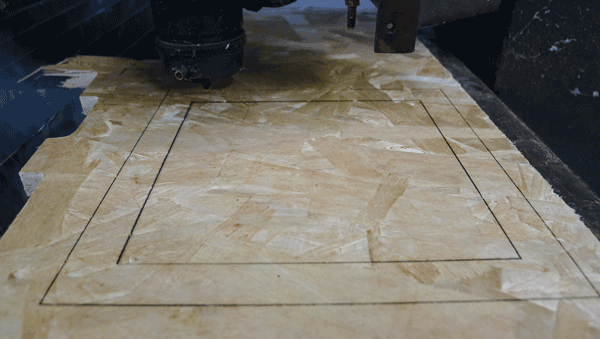
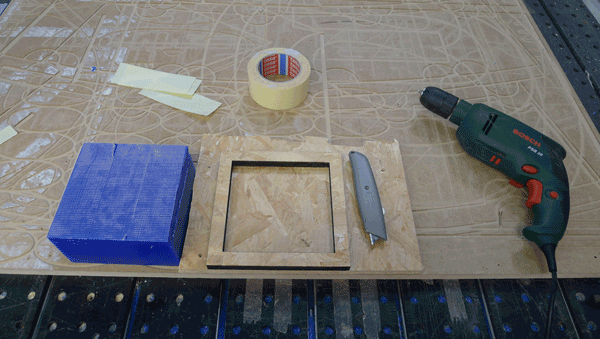
To fixate the molding wax to the table i used osb wood. First a bottom piece and screwed on top the empty square that keeps the bloc in place. Finally the bloc had a layer of double sided tape just in case.
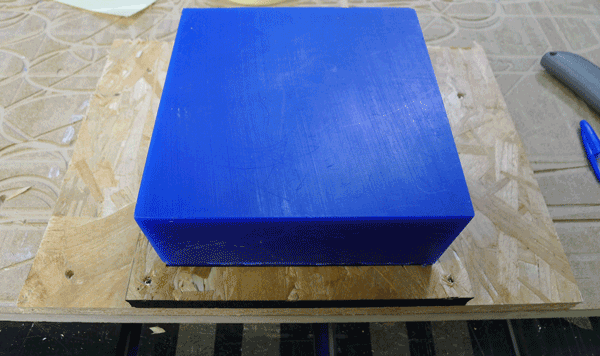
After this we set the 0 coordinates and the height of the material on the precix.
To save the wax for posterior projects i taped a piece of paper around the mold to keep the shavings from getting wasted.
This is an image after the first profiling with the 6mm mill bit.
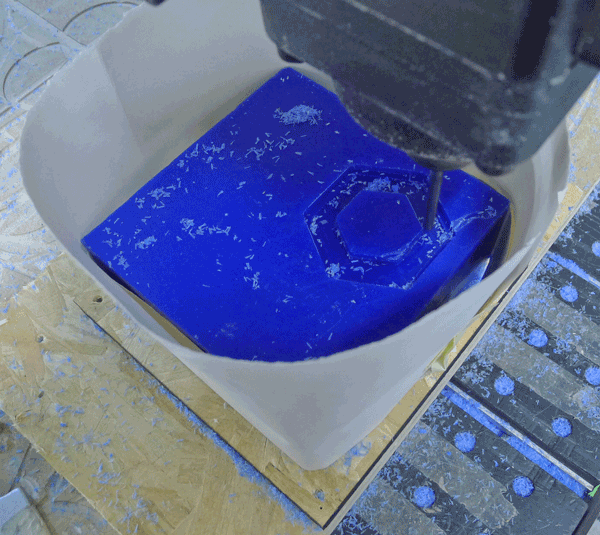
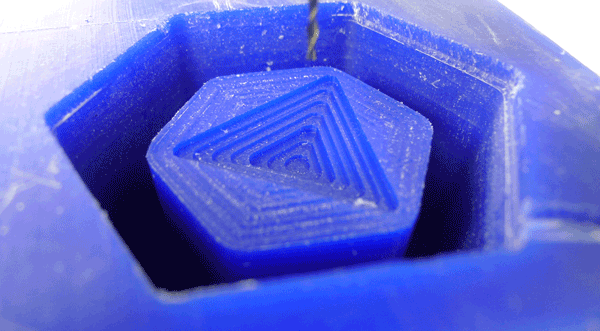
And this is after the second part of the process milling with the 3mm mill bit.
4· MAKING THE MOLD
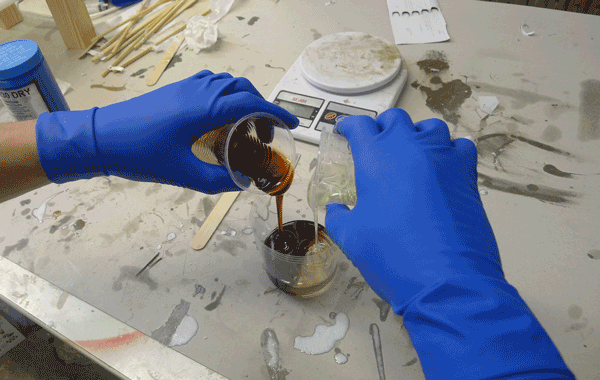
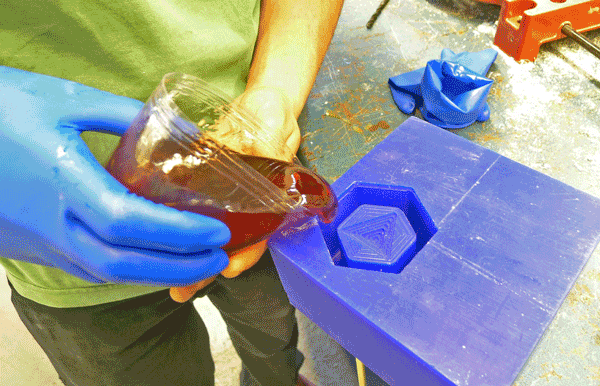
To make the mold we used a two part flexible silicone called PMC 121/30. We used a compressor chamber we made in the lab to take the bubbles out of the mix before pooring it in the mold.
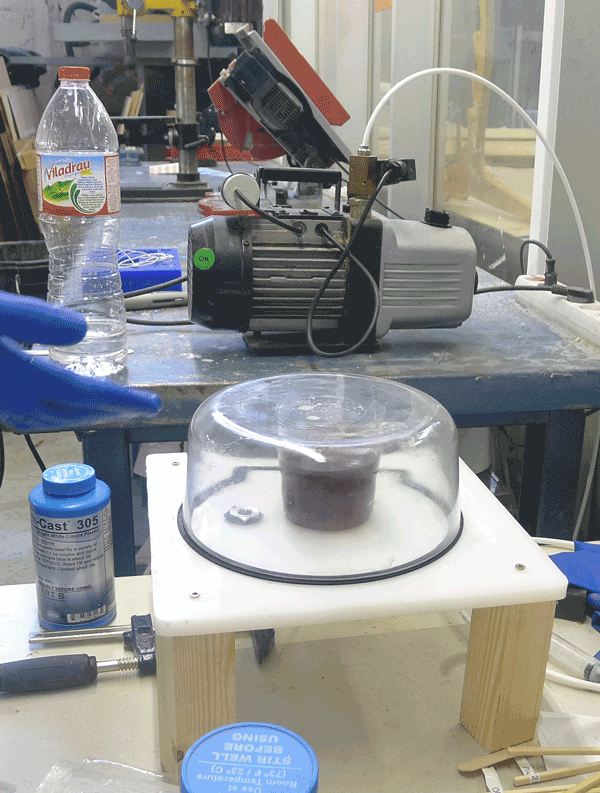
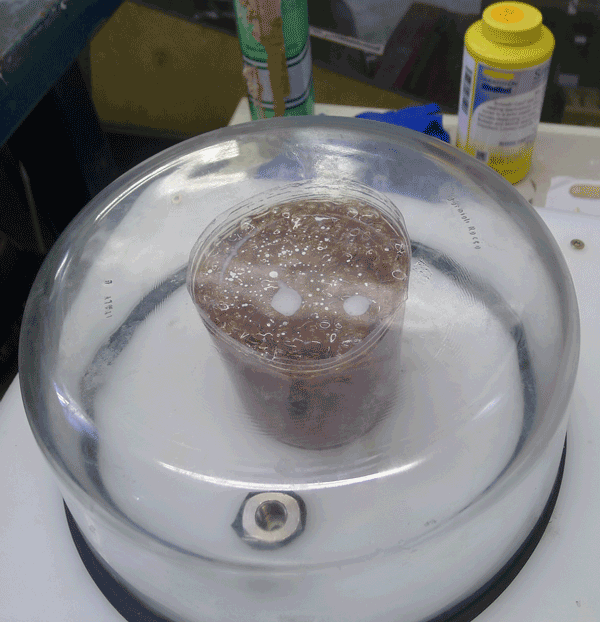
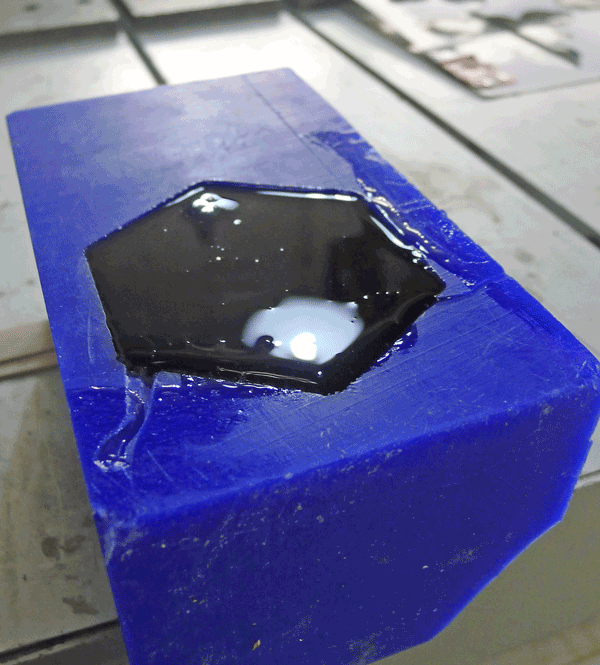
Sadly i left the silicone in the compressor to long so it started hardening to much and when it was dry there where allot of bubbles in the mold i made and it was almost impossible to take out of the wax. Here is the process of the first attempt:
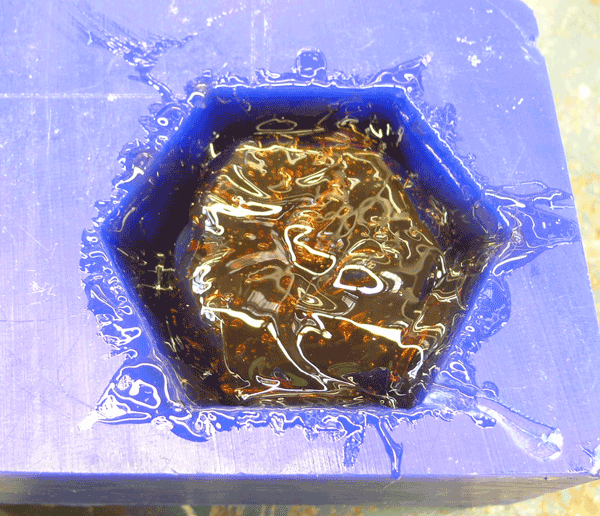
This is the result:
The second attempt came out very well. I left the silicone solution in the chamber for less time and it came out perfectly.
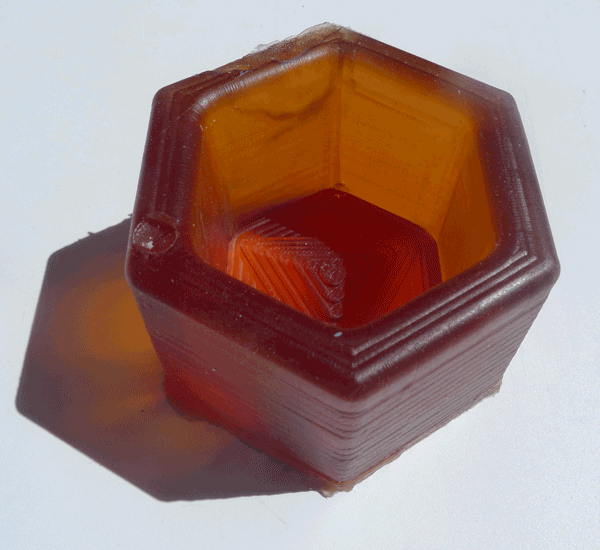
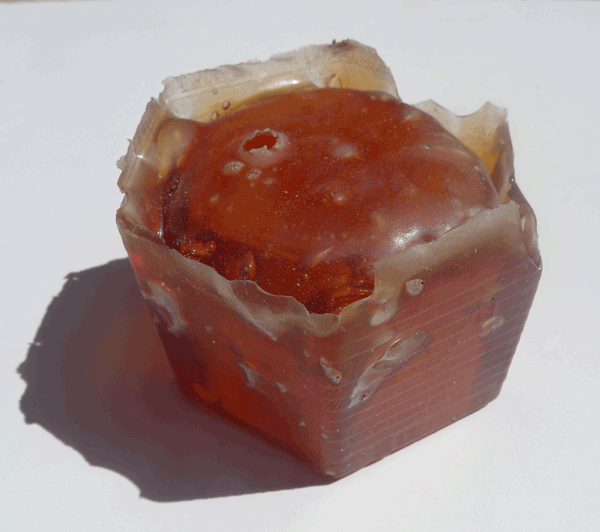
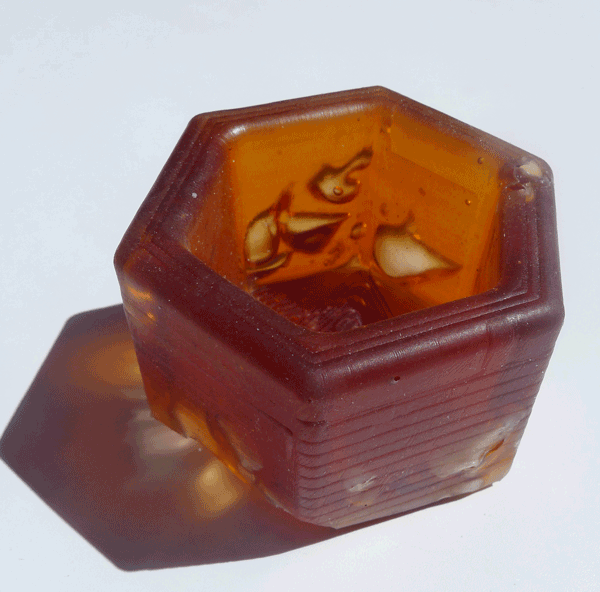
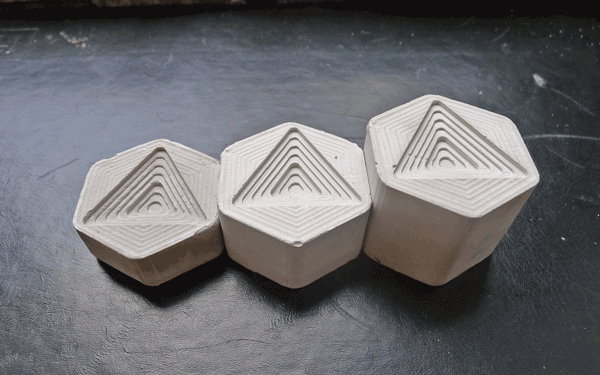
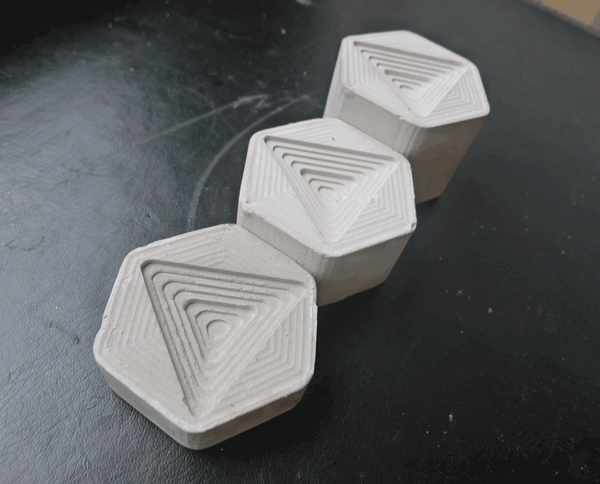
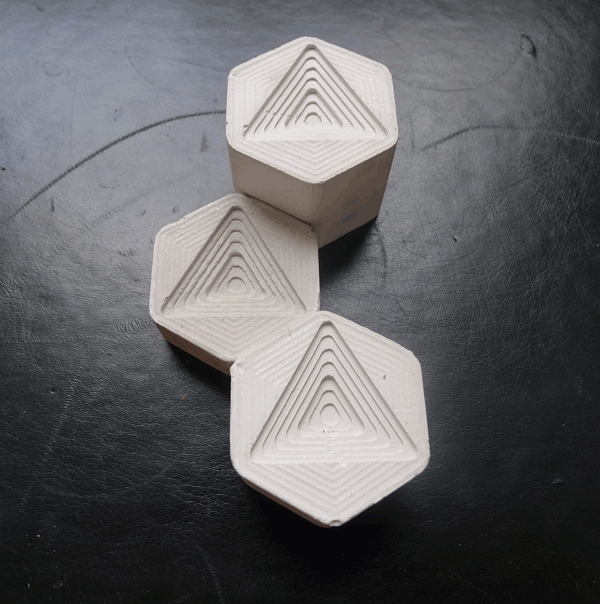
I originally planned to cast the candles with actual candle wax butdidint want to risk destroying the mold because of the heat so I casted them in this kind of plaster cement that's called Ultracal 30 its very fast drying so it gave me the possibility to make many pieces in a short period of time and at different heights.
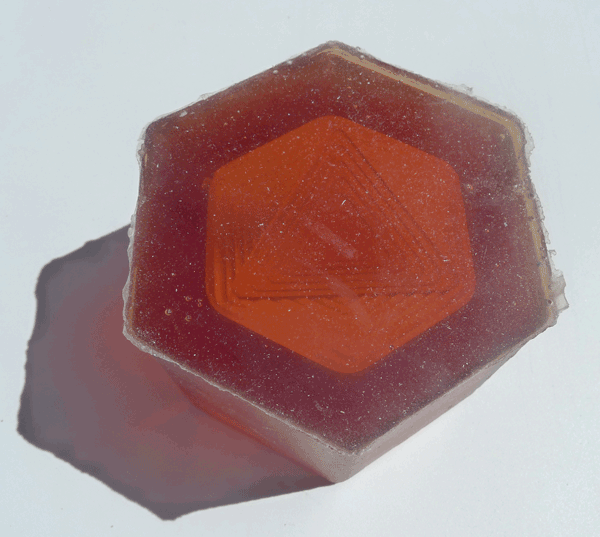
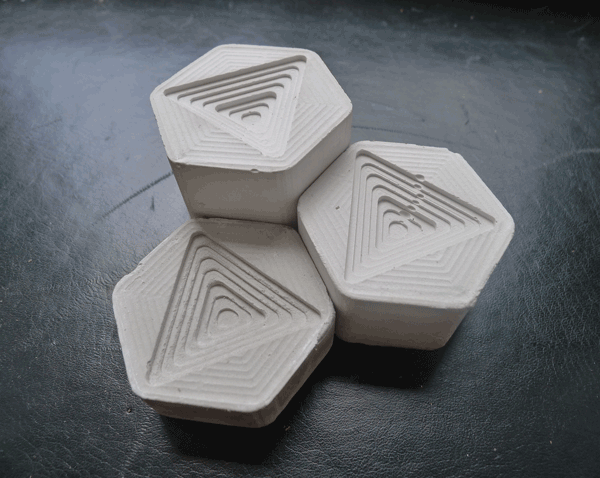
This is the result of the supposed candles:
FILES
· CANDLE RHINO FILE
· EXTERIOR PROFILE GCODE
· INTERIOR PYRAMID GCODE
· EXTERIOR PROFILE GCODE
· INTERIOR PYRAMID GCODE