W_04: Electronics production (Feb 18)
The Electronics Production assignment is to mill the board, stuff it with components and program it. We will be using these programmers through the semester to program the other boards we create.
MAKING THE FabISP
Milling the board
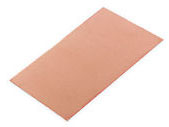
To mill the board properlry you will need: Precission milling machine, 1/64 inch bit, 1/32 inch bit & Fr-1 Copper piece.
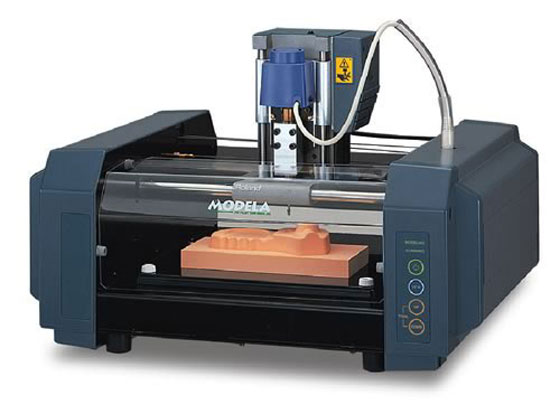
· Precission milling machine (we used the Modela model) // Fr-1 Copper Clad Laminate piece
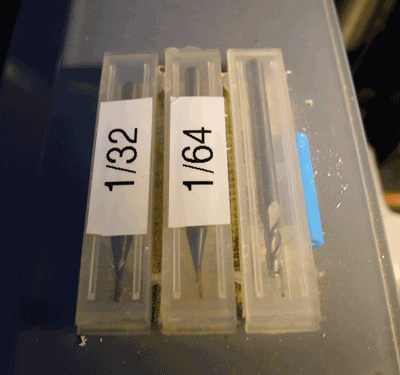
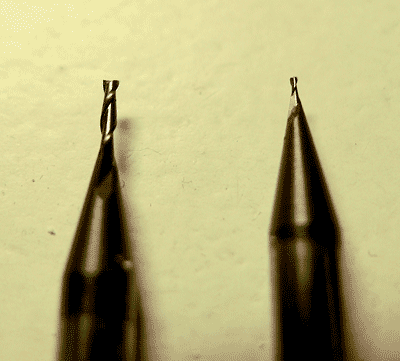
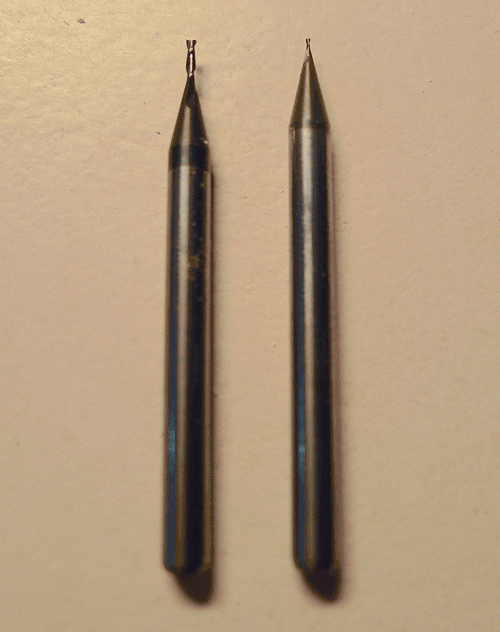
· 1/32 inch milling bit for the contour cutting of the whole board
· 1/64 inch milling bit for the contour cutting the components
When we have all the tools ready, we go to our modela or precision milling machine and to place the fr1 copper board piece on top of our work area, make shure that it's completley flat and clean(for the process to be perfect). Next we adhere it to the machine with double sided tape.The
next step will be oppening the fab modules through the terminal on your computer.
Everything is ready to start milling, we will now set the parameters on the fab modules (type fab on terminal):
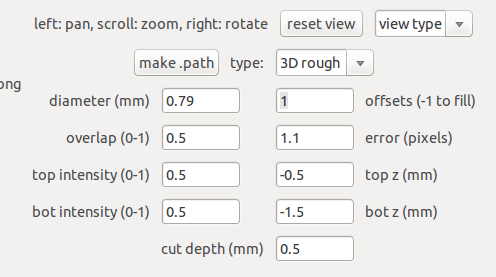
1·We will make an outline on the fr1 copper board(1.6mm) with the 1/32 bit (outline will be 0.5mm deep).

We do it with the 1/32 inch mill bit, with these paramater settings:
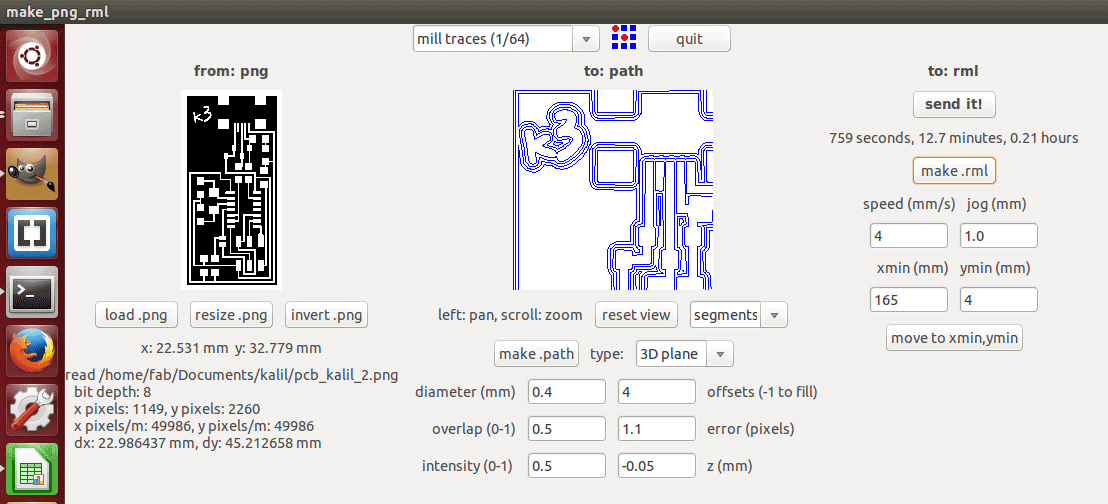
2·Now we make the traces on the fr1 copper board(traces also of 0.5mm deep). The correct settings are the ones you can see on the image below:
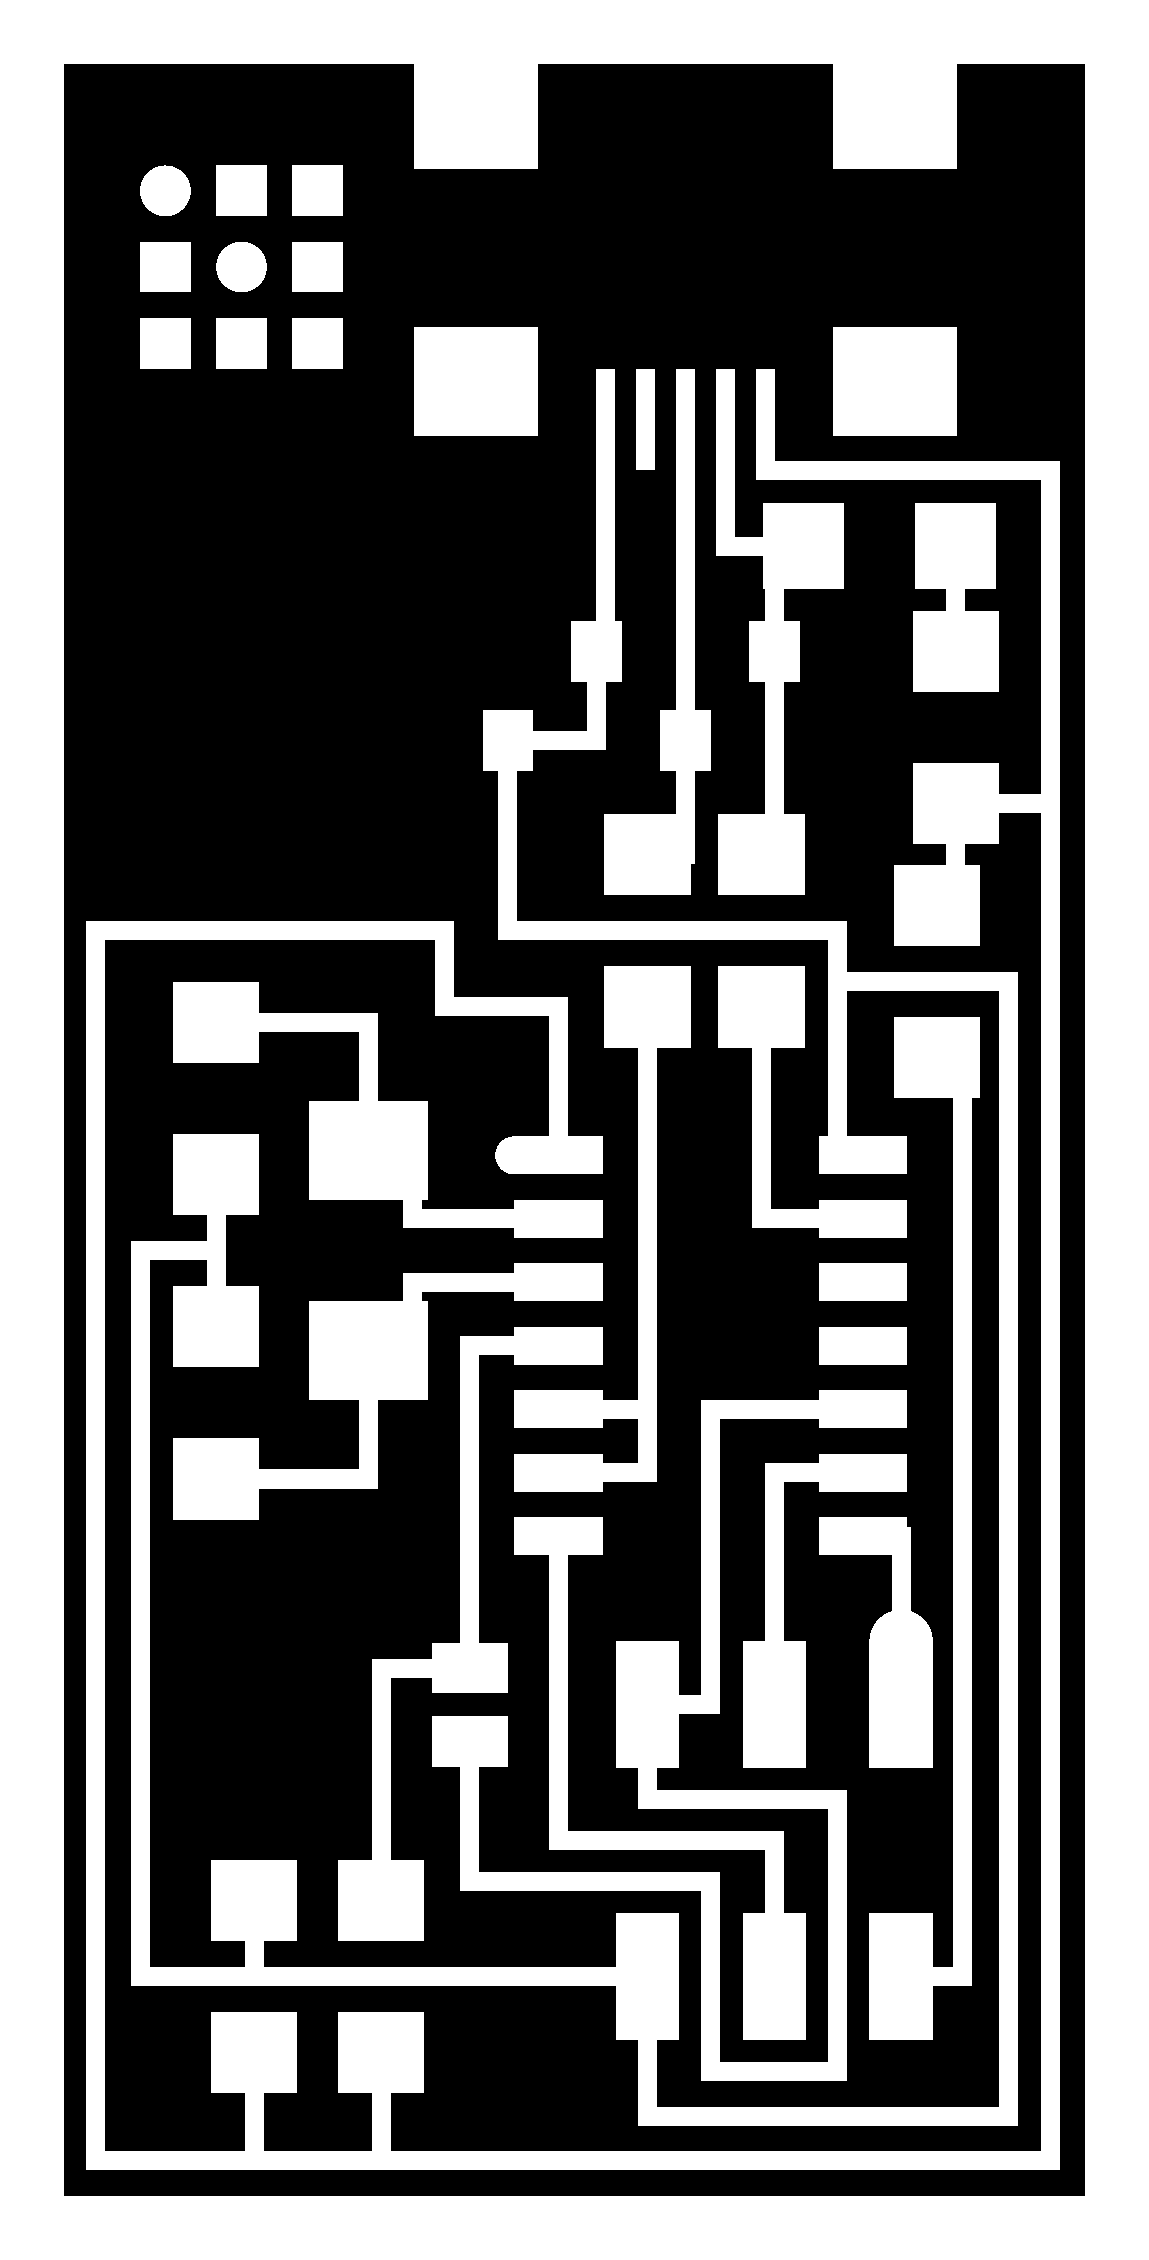
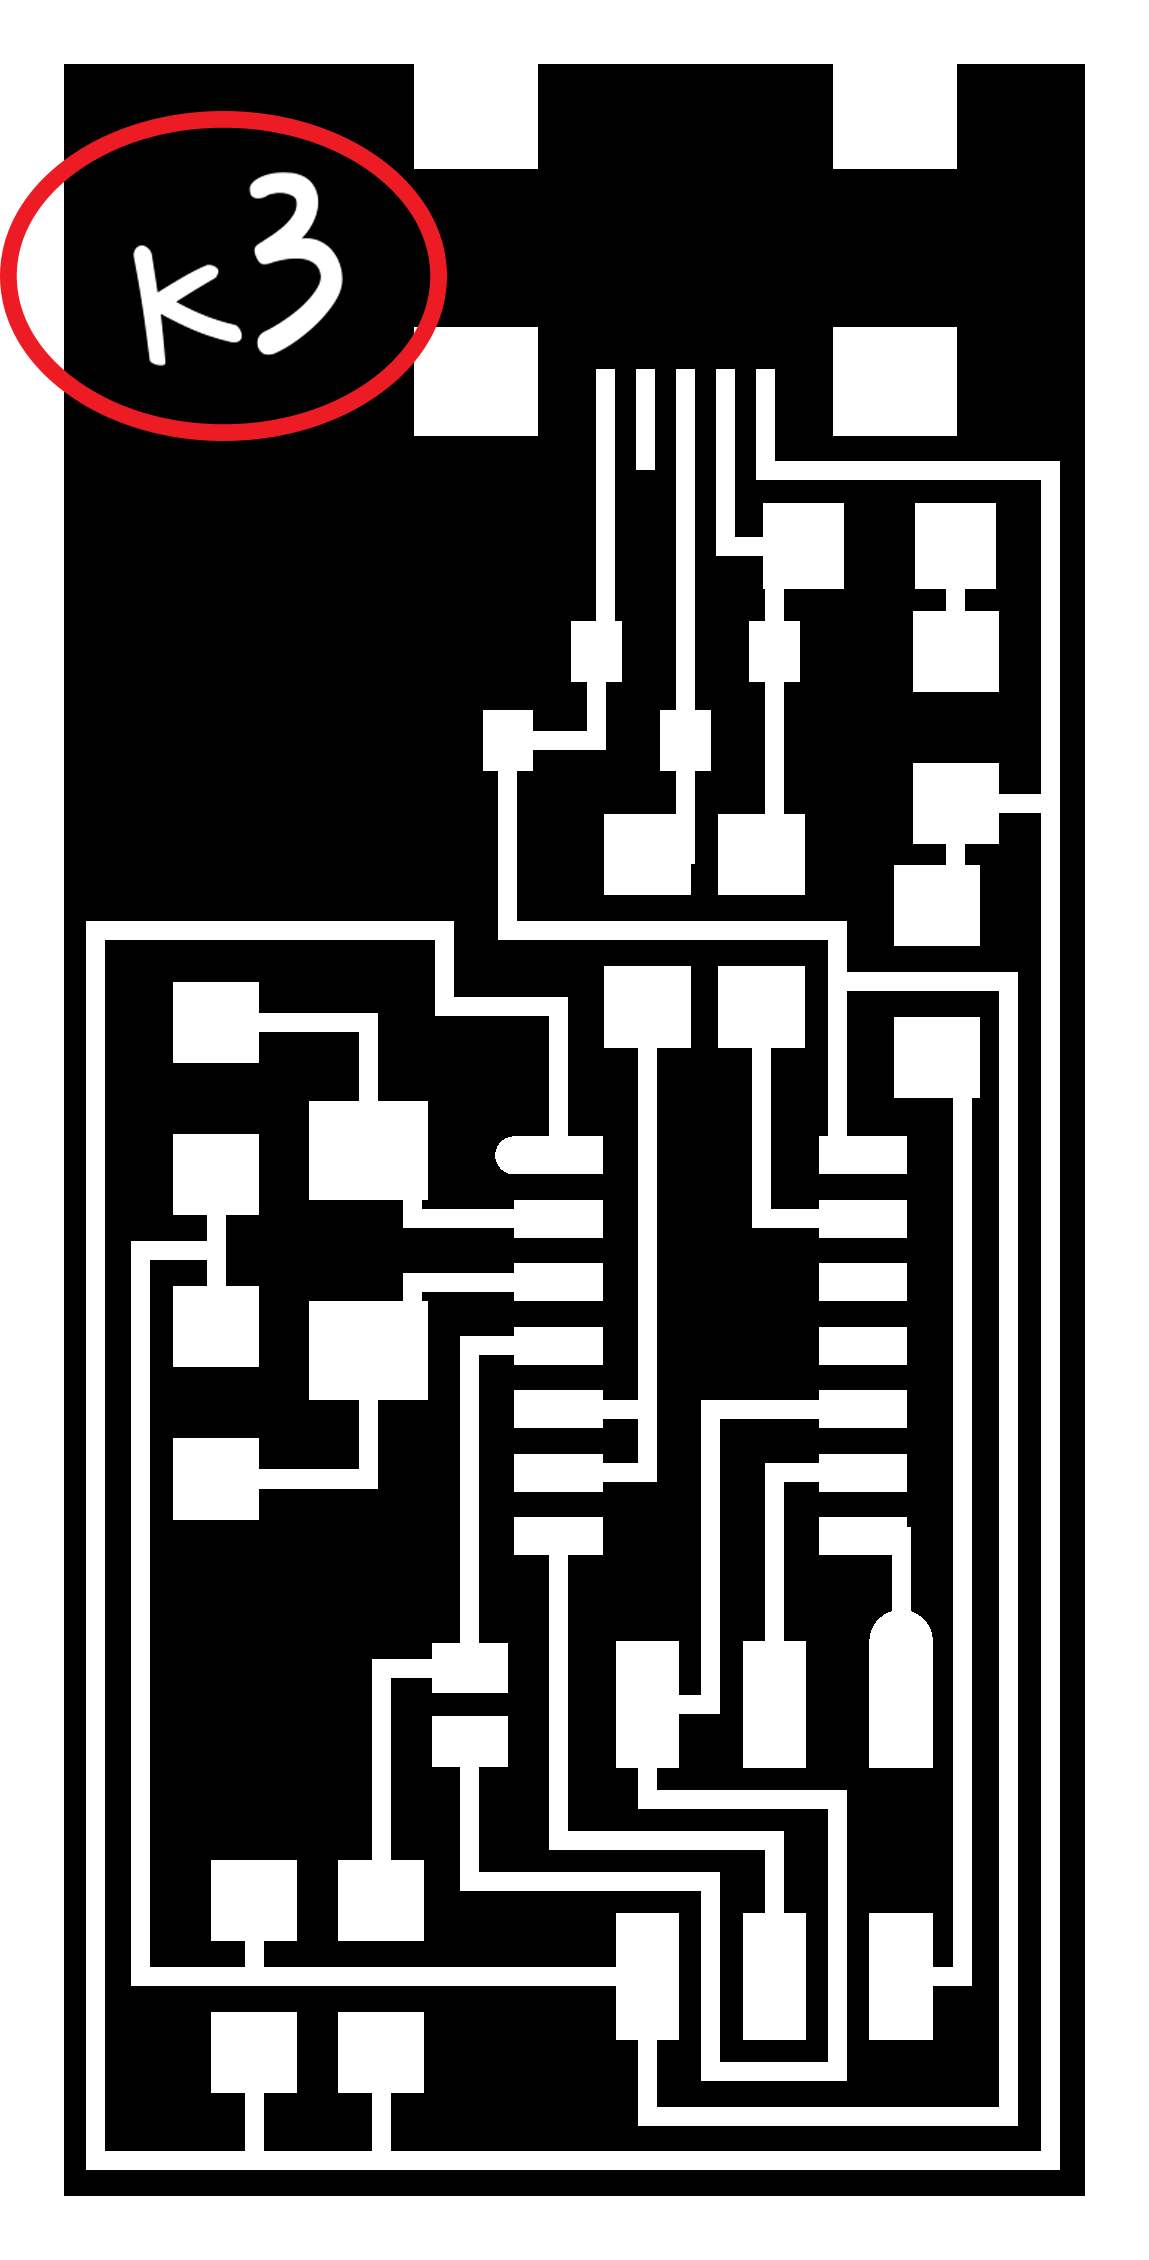
I modified Neil's FabISP file slightly to make it my own (simply asthetic: k3) the other traces remain the same:
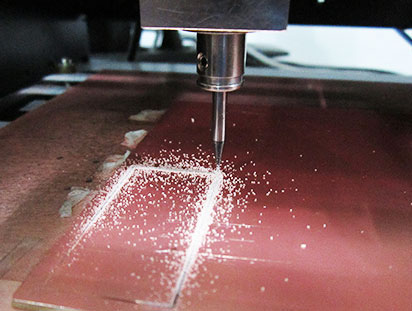
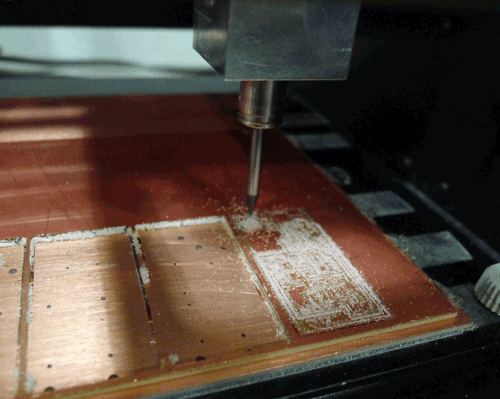
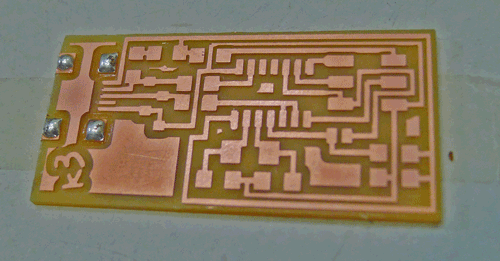
Following this, we start milling the traces on the fr1:
· This is what it would look like on the machine:
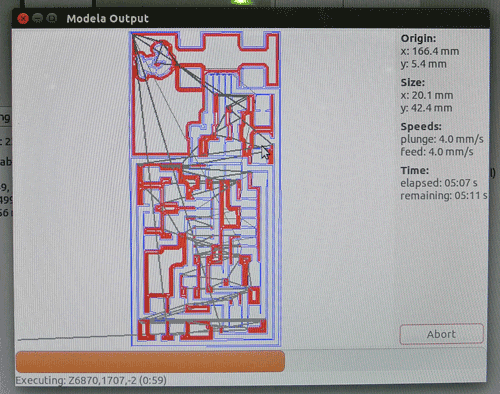
· And this is the window that appears on the computer in the process of milling the traces:
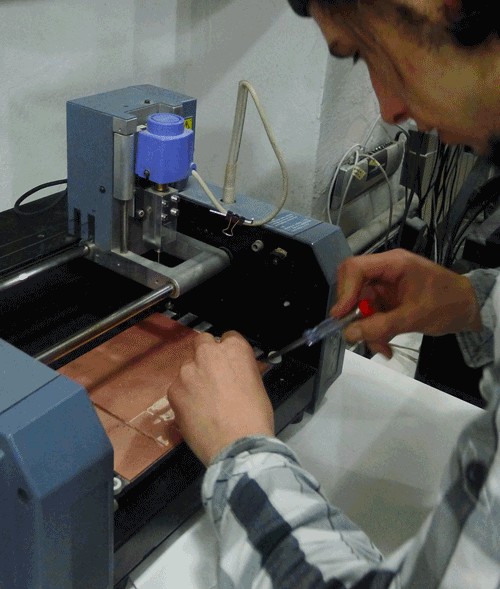
· After we have milled the traces its time to change the mill bit back to 1/32 inch bit and proceed to make the cutout. The machine will pass three times around the board and milling -0.5mm deeper. When it's finished we will proceed to extract it by levering it out with some kindo of flat screwdriver o exacto knife:
3· Now we will proceed to clean it with some water-soap or alcohol to remove all finger prints because any small bit of grease will make the connections weeker and our board will oxidize over time. When whe are done we will start stuffing our components:
Stuffing the board
1·Look for all the components and stick them to a piece of paper for easier organization(it's a good idea to print out a list of the components and stick each one to it's respective place so you don't get confused when stuffing the board)
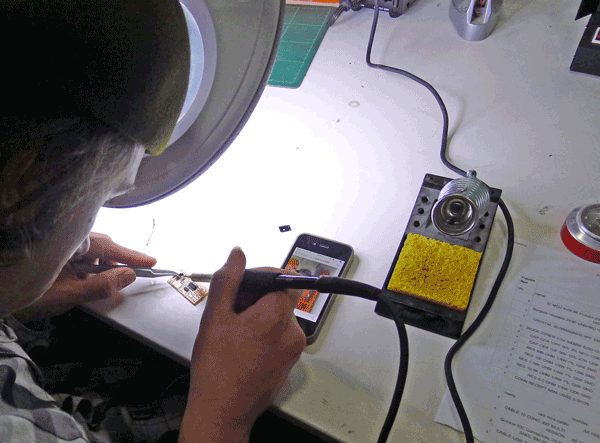
2·We need to prepare our work area to work confortably. These are the minimum tools and materials we will need to work propperley:
·Good lighting
·Magnifying glass(to see the components on the board better)
·Third Hand or Double sided tape(to secure your board without touching it)
·Soldering tip
·Fine tip tweezers(better handling of small components then the common ones)
·Solder 0.50mm(I recomend this width because of the size of our components are very small)
·Soldering braid(to take of the excess solder)
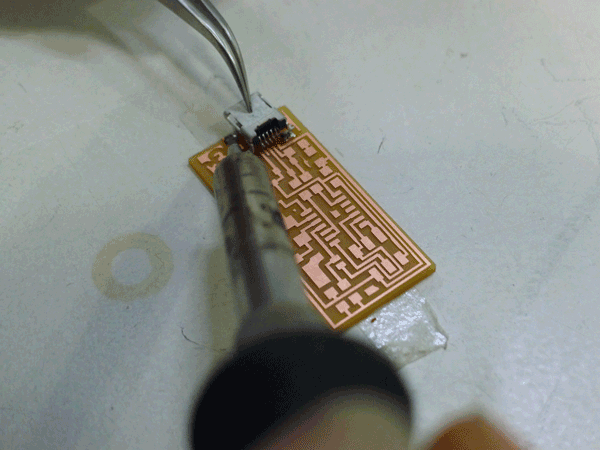
3· Start stuffing the board in an organized manner to avoid burning the components or awkward positioning:
(I recomend starting with the usb component followed by the small components and from top to bottom).
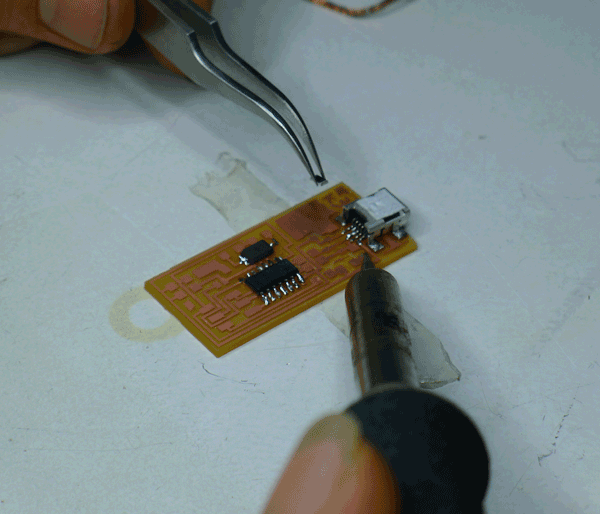
Its much easier if u have a reference to guide yourself througout the process. I used my phone to look at the component diagram and the list to check i was soldering the correct components.
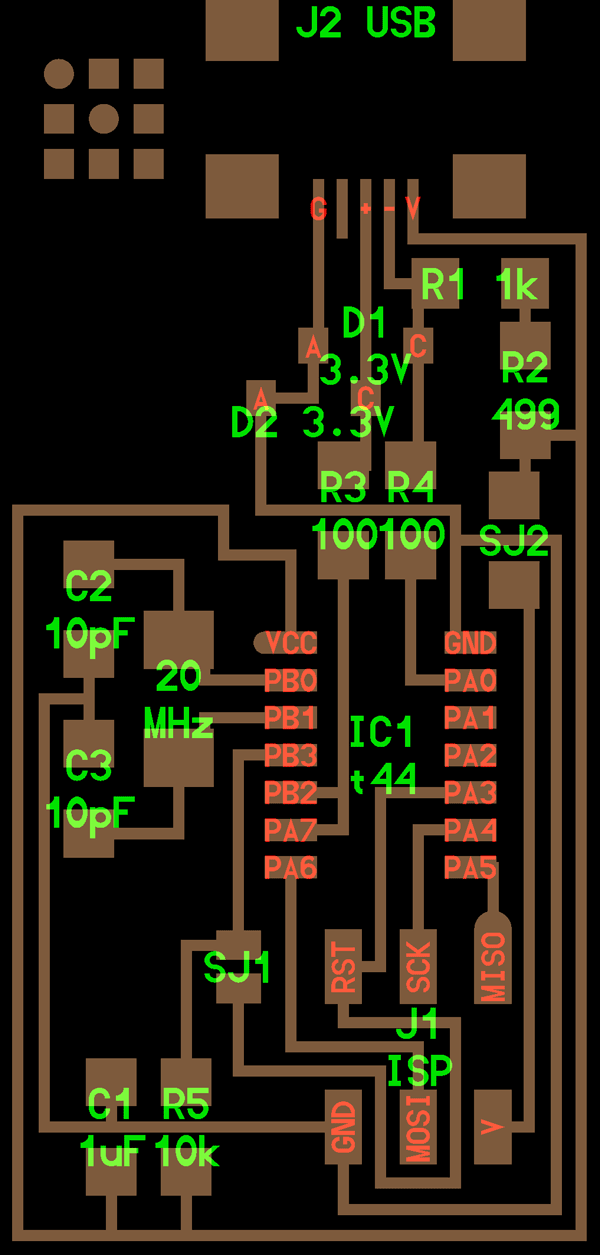
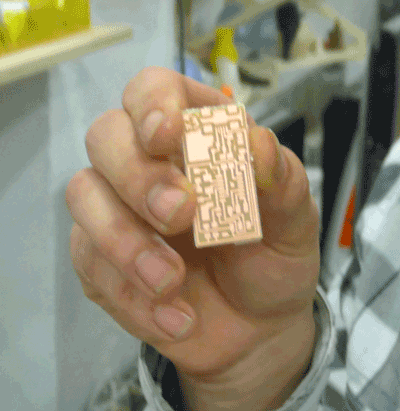
Here is my FabISP finished:
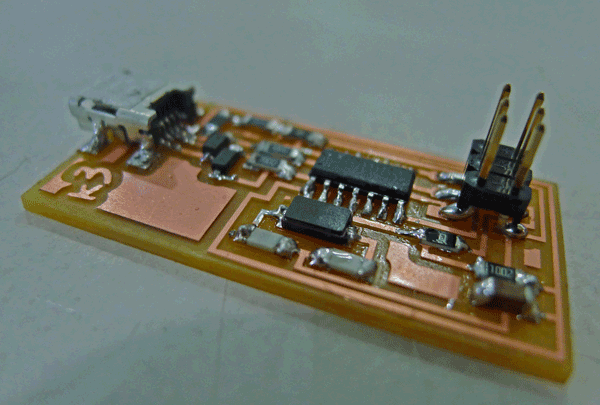
When you are finished it should look something like this image, the next step should be programming it:
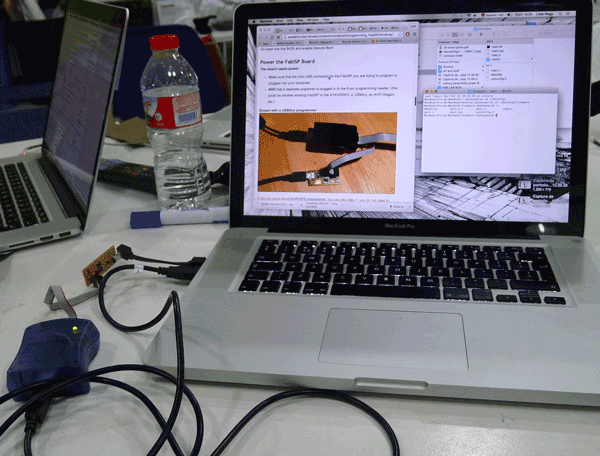
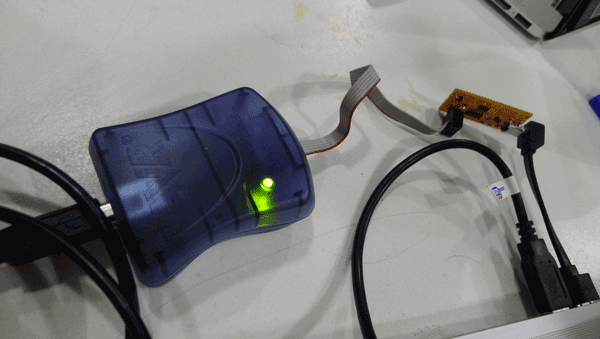
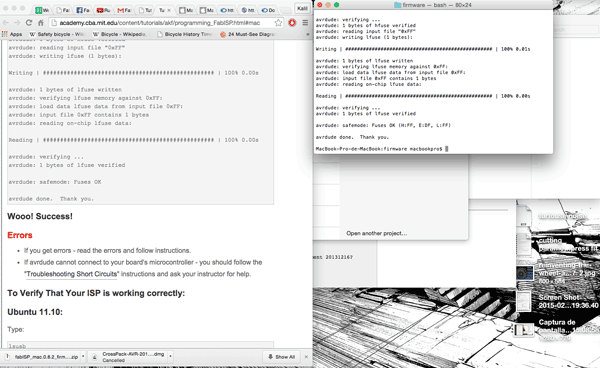
Programming the FabISP
The programming part of this exercise is pretty straight forward. I followed the tutorial that's on the link below:
FabISP PROGRAMMING TUTORIAL
This last part was made very clear to me by the person who documented this previously, its organized as a step to step guide with all the different odds you may encounter using diferent opperatinng systems.
These are some of the photographs and screenshots I took during the last part of the exercise: