About Week 3
My Computer-Controlled Cutting Exercises...
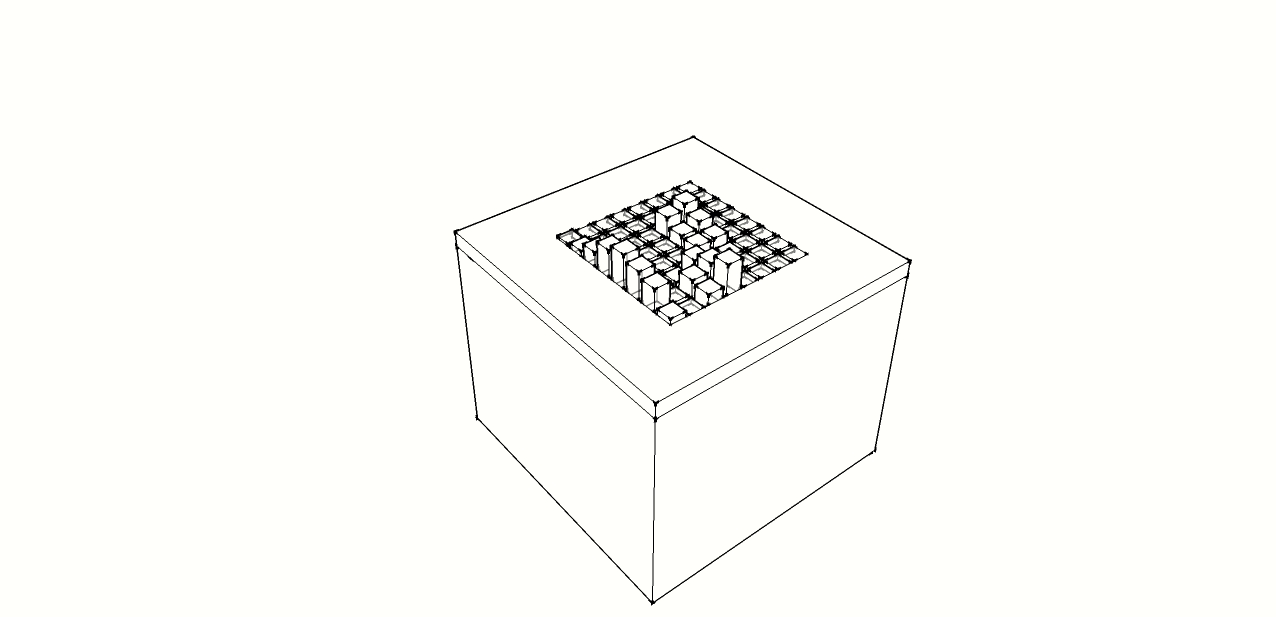
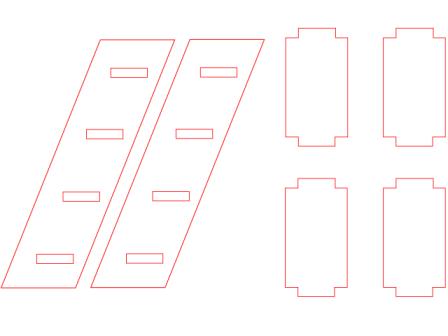
For my Computer-Controlled Cutting exercises I decided to use Inkscape taking into account that for the designing for the laser cutter, thin red lines cut and black/grey values are engraved. So I started a first exercise about how to use inkscape clone, distributions and alignments.
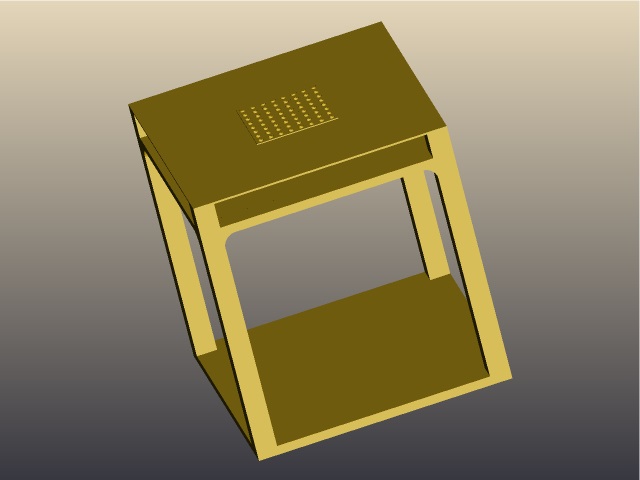
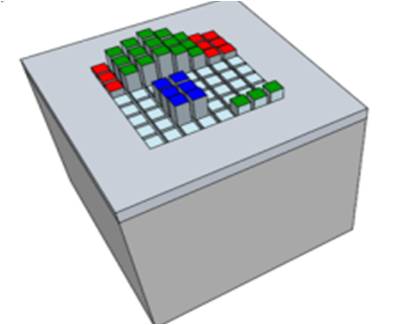
My first drawing started from my previous image about the table surface, containing a hole for each pin. I used clone option to create a linked copy for each hole.
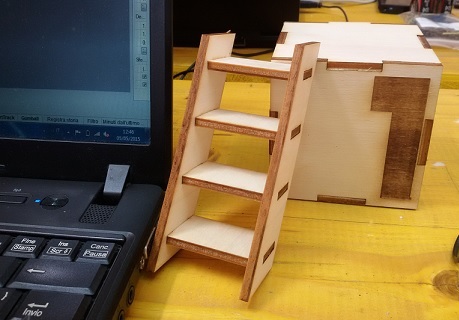
After my first try, i tried a second drawing, a ladder, without care about rise and going. From this I realized that notches created from cloning cannot be merged by difference, but only the original one.
So before merging and produce final version for cutting I have to remove linking. So I saved an original file in order to maintain the clones and to be able to modify parametrically the dimension of press-fit notches. Finally I rearrange the drawings in order to save space.
The last try started after looking my wall clock
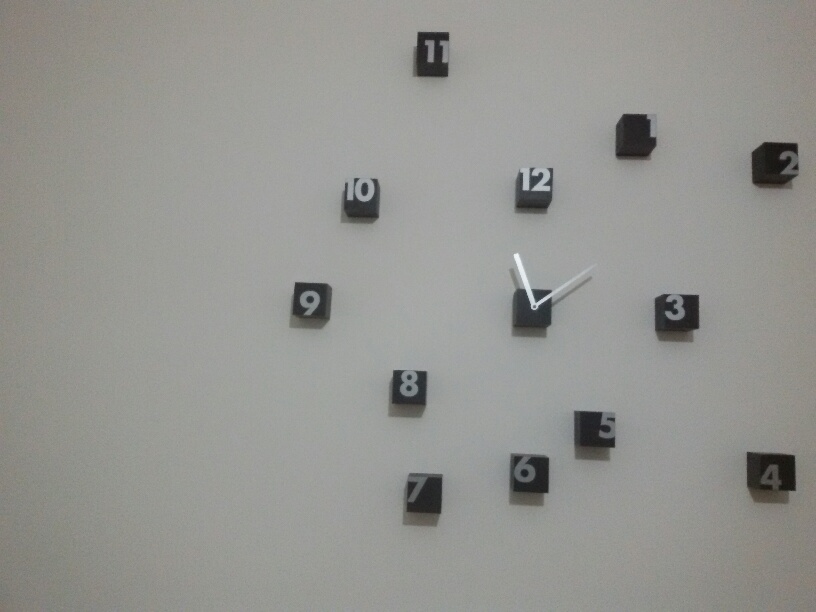
So I created a tabbed press-fit box by engraving,in black, and taking into account a kerf of 0.18 for a 4mm of plywood and a single tab for each side with a width of 25,5mm.
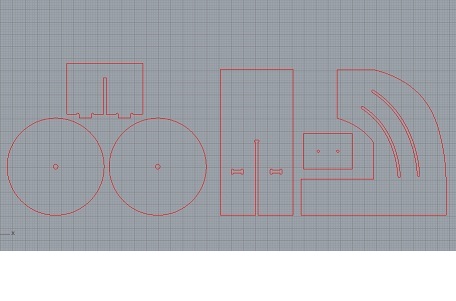
For the cutting phase first of all I've imported the two svg files in Rhino in order to put them in a unique file for cutting. I defined two levels, the former for cutting black line and the latter for engraving (red surface)

Once prepared the file it was time to prepare the laser machine with a preliminary inspection for any residual of previous cutting, by selecting a suitable waste piece of plywood, and fixing it on laser cutter surface in order to make sure a better complanarity. Prior to start the actual cut I tried several cut&engrave tests:

The final result was good, with a good press-fit:
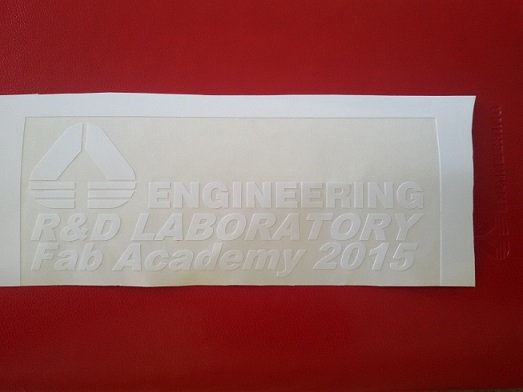
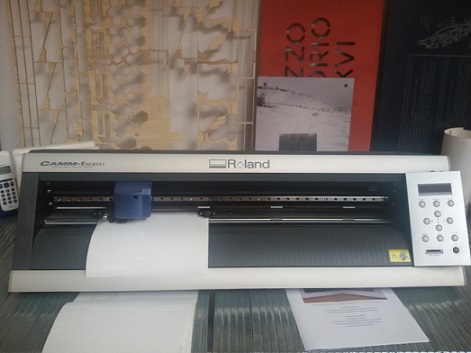
My last exercise was related vynil cutting by using the Roland CAMM-1 Servo:
To do this first of all I prepared a suitable file starting from Rhino: a label containing my laboratory and Fab Academy 2015:
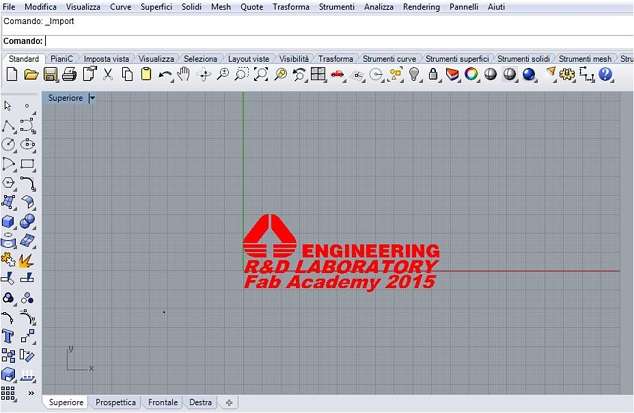
For cutting I used the included Roland CutStudio Design Software. I studied little the features and realized that it can generate cuts lines from any JPG or bitmap image, I tried but the results was not good. The software supports BMP, JPG, STX, AI and EPS file formats, so I decide to export my rhino file into adobe illustrator .ai file. Once imported the file I've added a rectangle to the image to cut.
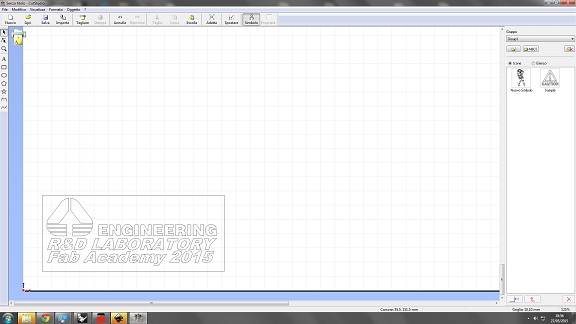
Once loaded the material (adhesive vynil) to cut an verified the pinch-roller guide lines I powered the machine, selected "PIECE" from menu e selected enter. I verified if the cuttable width and length in display was correct and then ready for cutting.
