
Embedded programming תכנות
To program my hello button and led board i designed on week 6, i used anna's tutorial
i downloaded Arduino software and FTDI drivers and ATtiny borad files
Insert the board files to the Arduino folder, then restart the Arduino IDE and
connect the FABISP from week 4.
כדי לתכנת את המעגל שעיצבתי בשיעור 6
הורדתי את תוכנת ארדואינו ו FTDI דרייברים. והורדתי את הקבצים של המעגל צריך להכניס את הקבצים של המעגל לתיקיית הארדואינו ולחבר את הפאב אייאס פי משיעור 4.
Installing AVR for windows 32 bit.
download and install the WinAVR then download AVRISP mkII drivers for Windows> unzip it and save. then right click on the port in the device manager.
התקנת איי.וי.אר על ווינדוז
יש להוריד את זה ואת זה ולהתקין את שניהם. לאחר מכן יש ללחוץ על הפורט הנכון והאיי.וי.אר אמור לעבוד.
To program your board configure the ATtiny to run at 20 MHz: צריך לבחור ב 20 מגה הרץ כדי לתכנת את המעגל. לאחר מכן יש לבחור עם מה נתכנת עם כבל איי.וי.אר או עם הפאב איי אס פי.
Tools > Board > Attiny 44 (20Mhz)
then select the programmer if its AVR or your FabISP
Tools > Programmer > USBTinyISP

Now burn the progrem on the board ועכשיו לצרוב את התוכנה על הלוח.
Tools > BurnBootloader
now you can program the board. first i used the "Blink" example arduino has, to program the led כעת ניתן להתחיל בתכנות הלוח. תחילה הדתמשתי באחת הדוגמאות של ארודיאנו "בלינק" (הבהוב) כדי לתכנת את הלד שיהבהב
File > Examples > 02. Digital > Blink
The assigning of pin numbers in the example needs to be changed. in arduino there is a different numbering system than in ATTiny. you can compare the pins here. קביעת המספרי הפינים משתנה בדוגמא של הארדואינו מכיוון ששיטת המיספור בארדואינו שונה מהשיטה במעגל שעיצבתי. ניתן להשוות בין מספרי הפינים, כאן.
after programming the led, it should light on the board. לאחר תכנות הלד, הוא אמור להדלק על הלוח.
you can control the blinking of the light by changing the delay time. ניתן לשלוט על ההבהוב ע"י שינוי זמן ההשהייה של הלד.
now you can upload the "Button" example of arduino and try to set the button to control the led כעת ניתן להעלות דוגמא נוספת של ארודאינו "כפתור" כדי לשלוט על הדלקת הלד בעזרת כפתור.
my button wasn't able to be programmed. i checked the connections, and the fabISP, but with no luck. i think that i'll try and replace the button, maybe it will work.
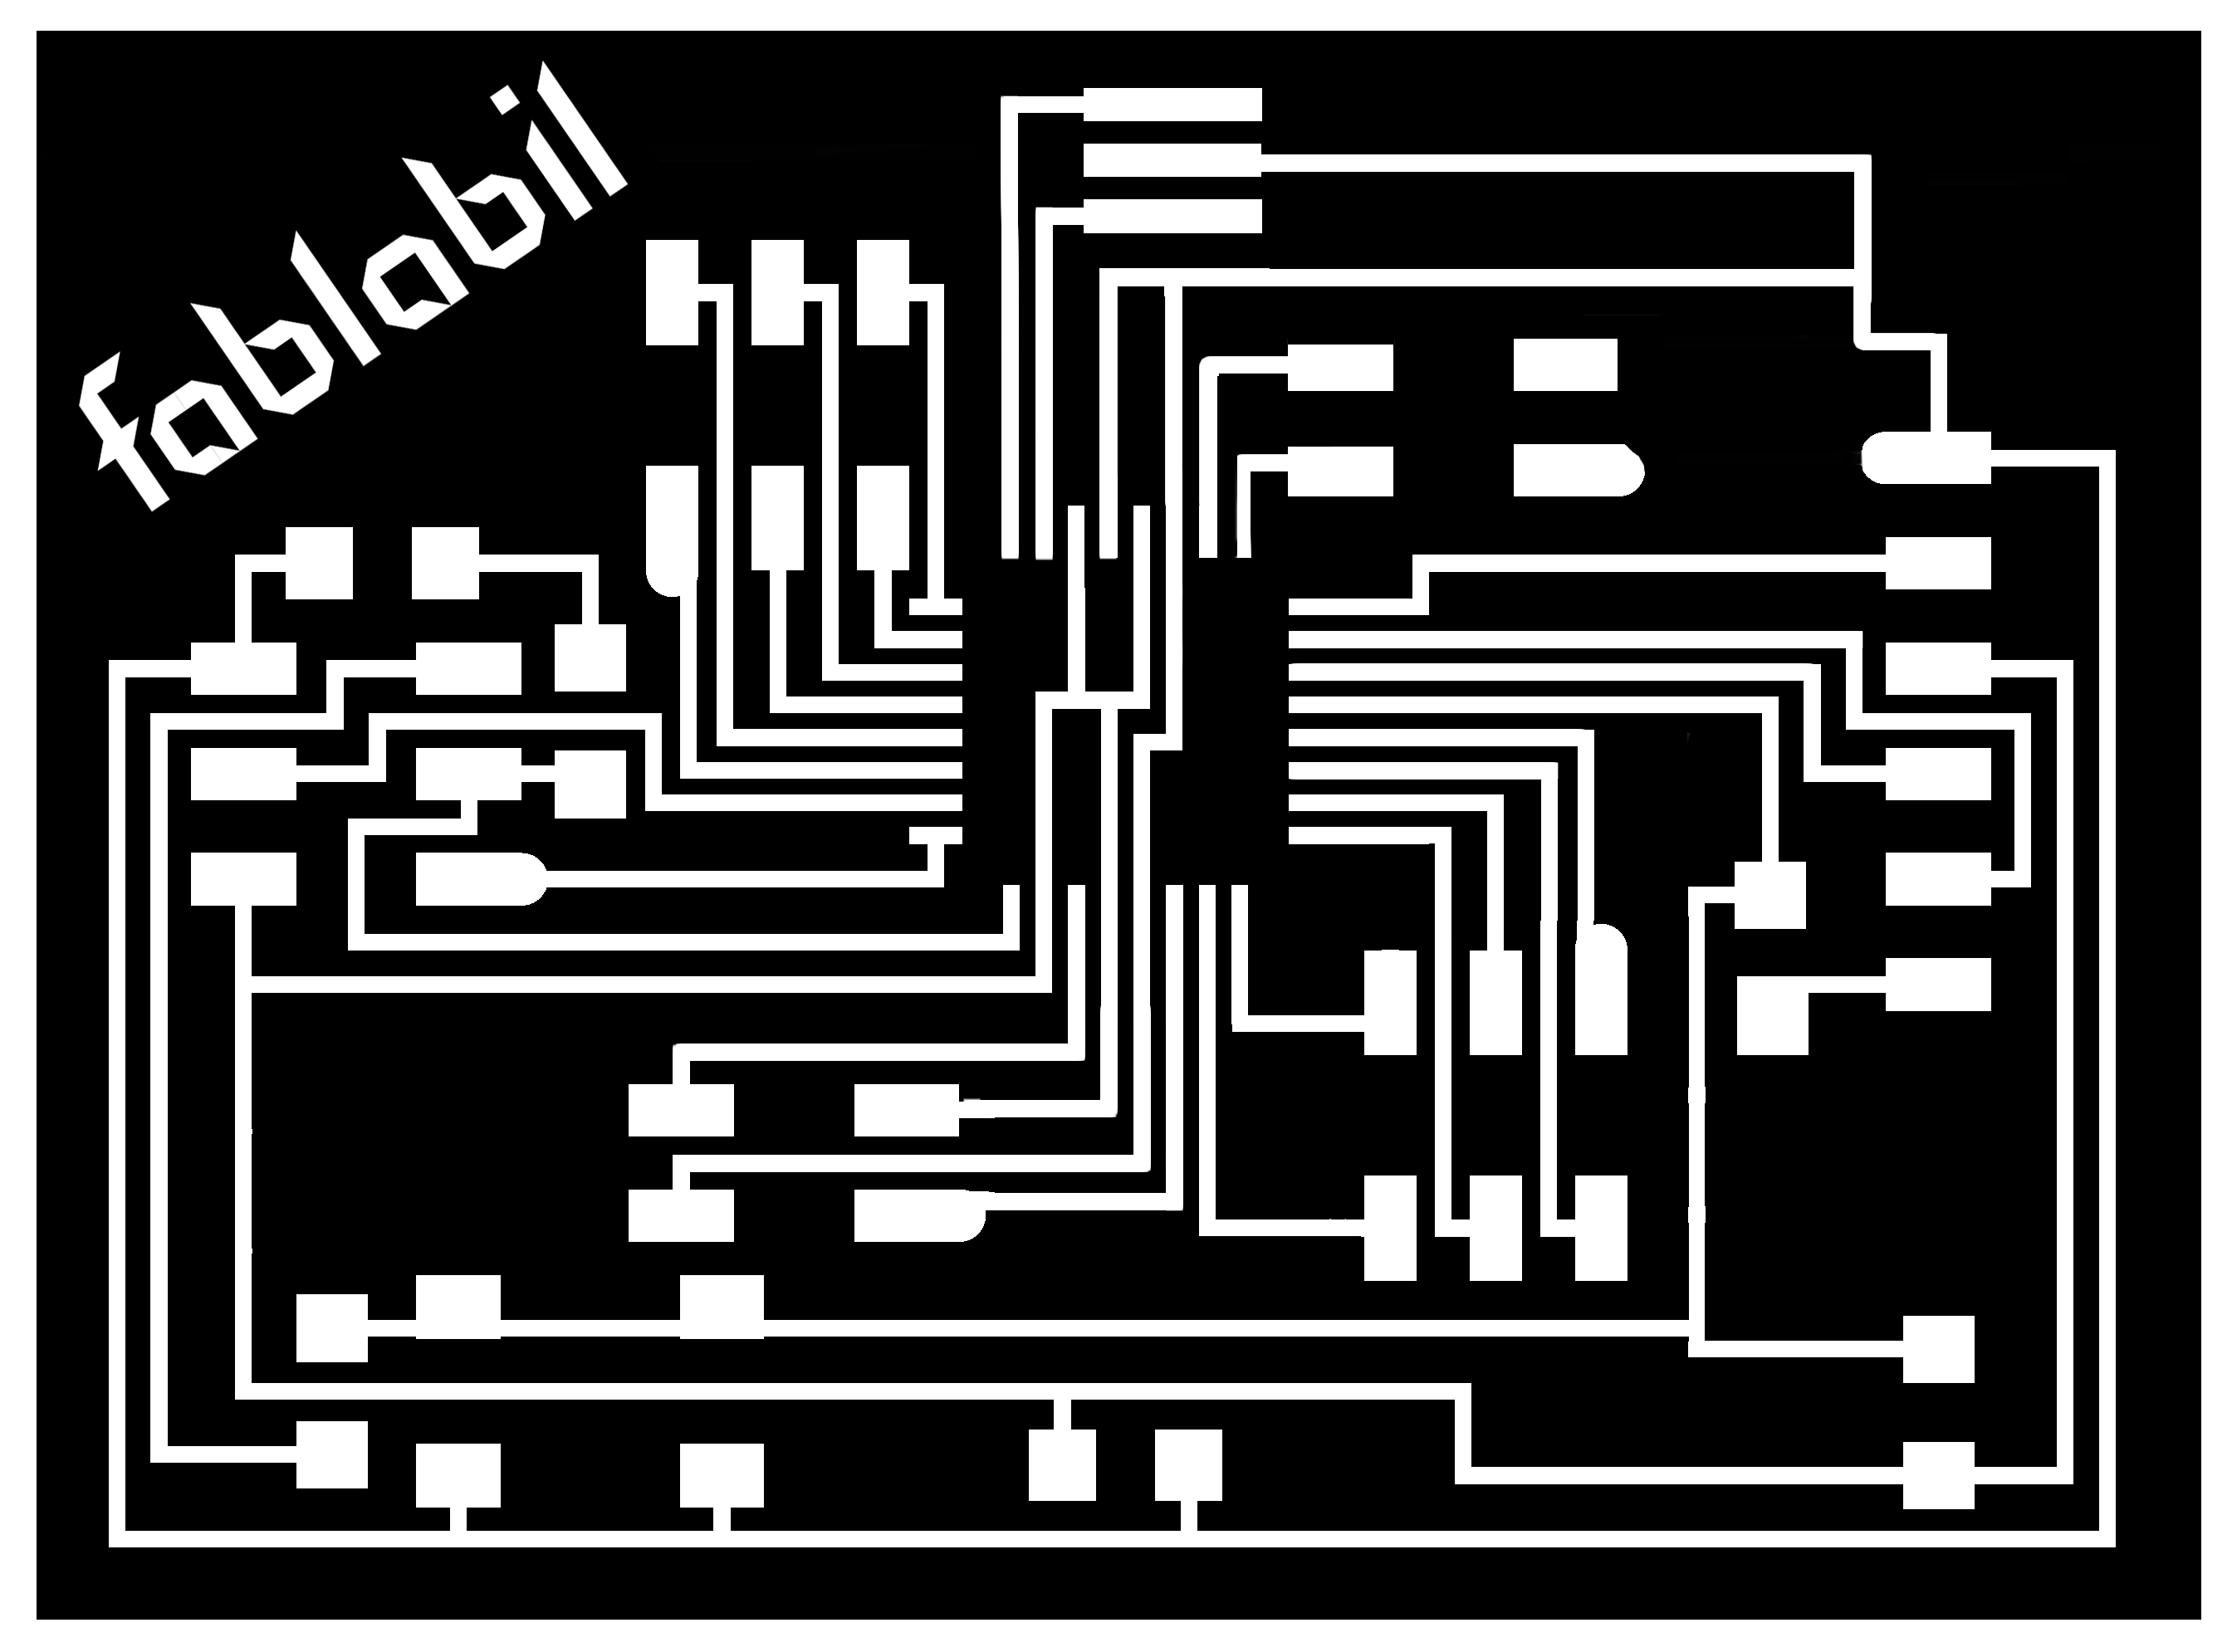
now i'm trying to create a Fabduino. you can download the Interior and the Traces milling files with fablabil logo.
הכפתור שלי לא צלח תאת התכנות. בדקתי את החיבורים שלו ואת הפאב איי.אס.פי. ,אך ללא הצלחה. אני חושבת שאם אחליף את הכפתור אולי זה יעבוד.
כעת אני מנסה לייצר פאבדואינו. ניתן להוריד את קבצי הכרסום של המסגרת החיצונית ושל החיבורים הפנימיים.
milling the board with the modella. כרסום המעגל בעזרת המודלה
Next time i'll solder the electronic components בפעם הבאה אלחים את הרכיבים האלקטרוניים.