Caution! José Figueroa at FabAcademy 2013
Weekly report of my work at FabLab Barcelona
This was the first week where we actually created something. During the weekly lecture much was discussed about the different machines available for computer-controlled cutting, specifically the vinyl cutter and the laser cutter. Much attention was paid to laser cutter safety guidelines, which embarrasingly, I forgot for some unfortunate seconds. I will share that experience in this post. As homework we did a press-fit construction kit using cardboard and cut some shapes with the vinyl cutter.
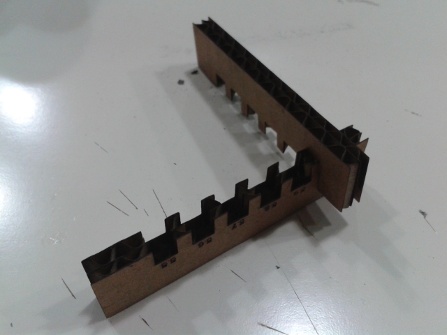
Before doing the press-fit construction kit, I drew in Rhino a testing shape which I cut using the Epilog Laser available at FabLab BCN. The aim was to see how well different hole sizes would work. I had this idea from a previous student of the FabAcademy, whose name I forgot for the moment. I will look him up later.
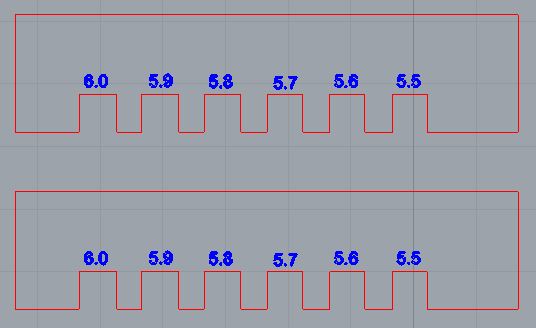
Unfortunately, I trusted the nominal width of the cardboard, instead of actually measuring it. So the shape did not work as well, as the largest width of hole was 6mm, and the width of the cardboard is 7mm, so I just ended up with unnecessary tight fits. Other classmates tested 6.4mm holes. I decided for 6.5mm holes.
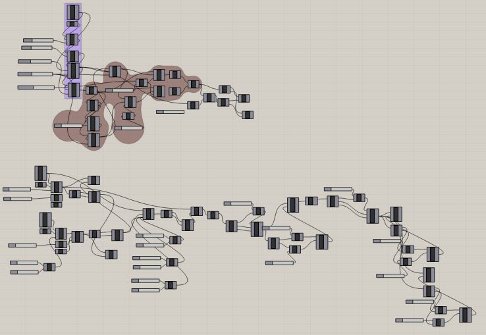
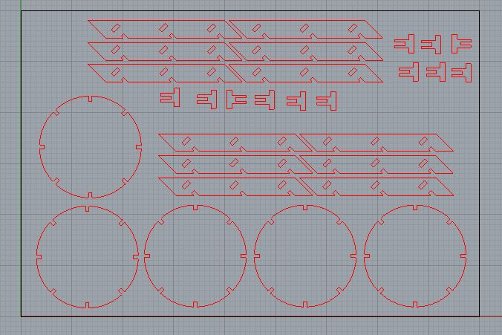
For my construction kit, I focused on inclined rectangles because I was curious to see what I could make with the "limitation" of not having straight angled shapes. I completed my kit with circles and another part to aid with the construction of shapes. Last week I learned about Grasshopper, which I liked a lot because of its workflow. So I did most of the designs of my parts using Grasshopper, and later edited them using Rhino.
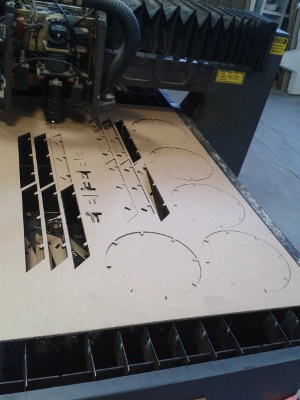
The first time I wanted to cut my construction kit, I lowered the power from the 100% setting I used for the testing shape, to 85%. The laser did not cut, it just engraved the cardboard. I increased the power to 87%, turned around for some seconds, when I checked again, the corner of the cardboard was burning. Safety guideline not followed: NEVER set your attention away from the laser cutter while in work. I learned the hard way. Below you can see the picture of the laser cutter working, and of the cardboard with the engravings and the burned corner.


After this unfortunate event, all the work had to shift to the big Multicamm laser cutter. We were given tutorials by the machine operators on how to use it. This machine cut everything perfectly.
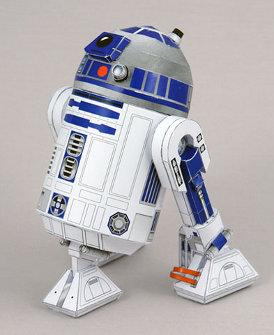
Once I had the pieces cut out, I tried to do a very simplified R2D2. Check the pictures below and you will judge their similarity (or lack of it).
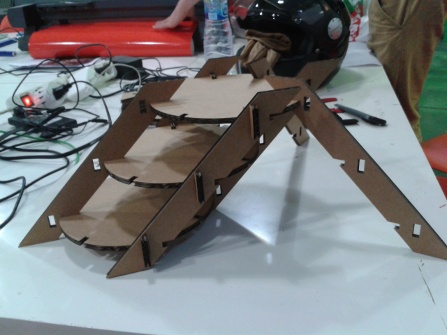
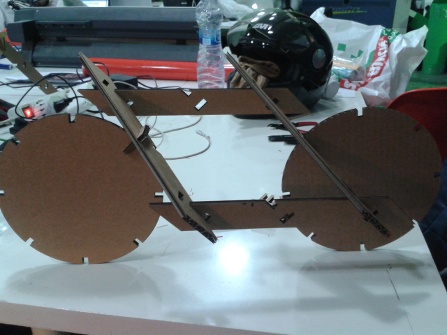
With the rest of the pieces I did a bycicle (or motorcycle).
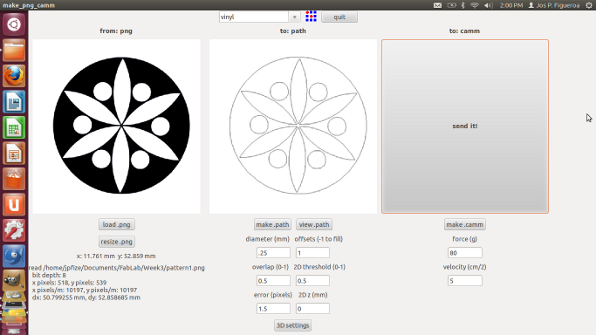
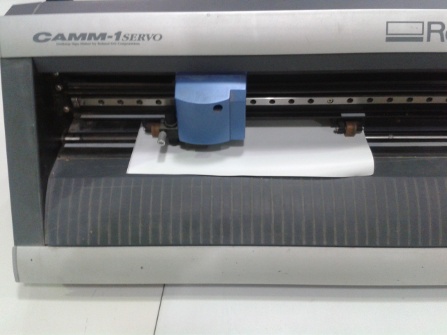
For using the vinyl cutter I opted for installing the fabmodules in Ubuntu, following the tutorial available in the course website. It was not difficult to do so. A classmate, John Rees, helped me out installing the cutter driver and showed me the workflow with fabmodules. To play around with the vinyl cutter, I found a random image using Google, and edited it using Gimp. After the editing, where I converted colors to black and white and changed the image size to fit my sheet of vinyl, I sent the file to the Roland vinyl cutter using fabmodules and the cutter did the rest.
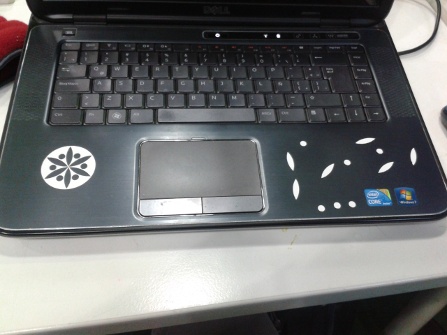
Afterwards I pasted the vinyl stickers in my laptop.