Caution! José Figueroa at FabAcademy 2013
Weekly report of my work at FabLab Barcelona
The goal of this week is to create a 3D mold and produce a fiber composite in it. A composite is basically a material created from layers of fibers joined together with a substance called a matrix. The layers can be different fibers, woods or fabrics, while the matrix can be different substances like epoxy, cement, or wax. In our case at FabLab Barcelona, we could use different woods and fabrics made of cotton or sisal. As matrix substance we used epoxy. I opted to use the fabrics of cotton and sisal.
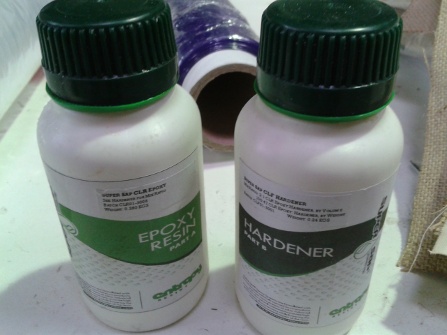
Fibers and epoxy:
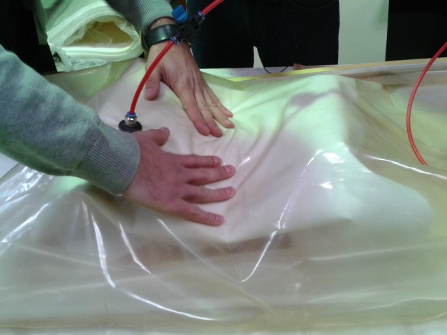
Being that it was our first time working with composites, the first day we did a test with an already made mold and just one layer of fiber of sisal. We covered the foam mold with a plastic wrap, so avoid the fabric to directly touch the mold. We made the epoxy mix and applied it on the fiber. We put the fabric on top of the plastic-wrapped mold, and then wrapped it again with plastic, so the fabric would not touch the breather material we put on top. The final work was put inside a bag which is air-vacuumed with a compressor. The piece was left there for six hours, when it was removed from the bag to see the final result.

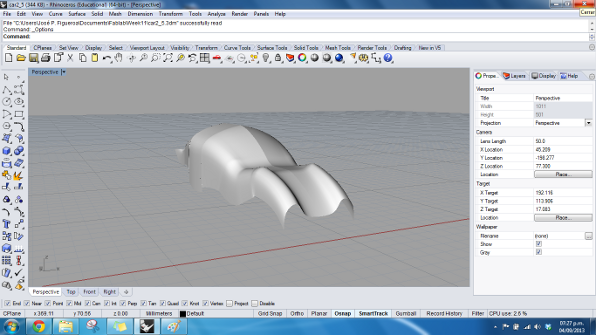
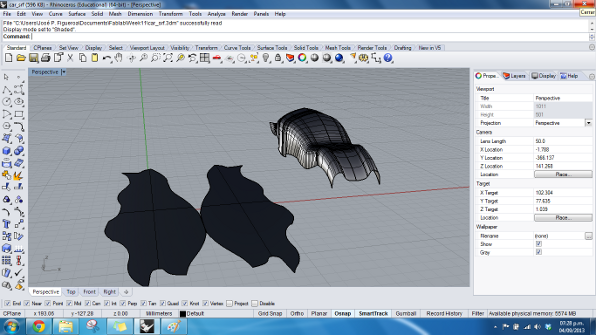
For my weekly assignment, I set out to design a car in Rhino. It was not as trivial as I thought it would be, as every task I set to do, I start by doing the most complicated procedure, and end up finding out that simple solutions are almost always the best. So the car came out with four curves and a sweep function.
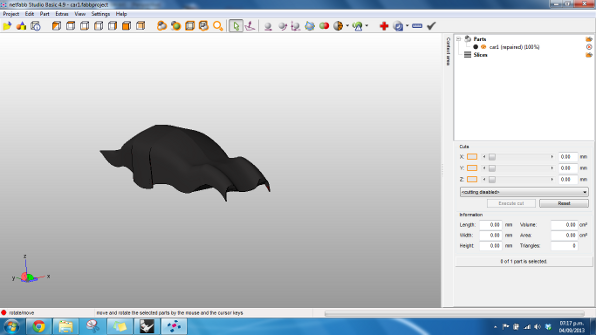
I had to fix the STL file in netfabb before setting out to mill the mold in the Shopbot machine, because of several holes that were found in Rhino.
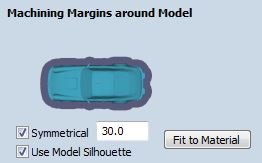
The piece has to be set up in the PartWorks3D software, which is pretty straightforward to use. The software guides you through seven steps to prepare the final file that will be sent to the shopbot. In my case, I had to be sure to leave certain margin in the settings, so that my car would be milled well on its sides.

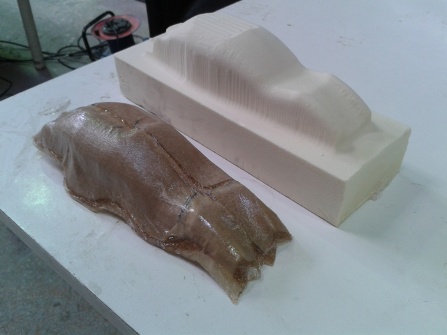
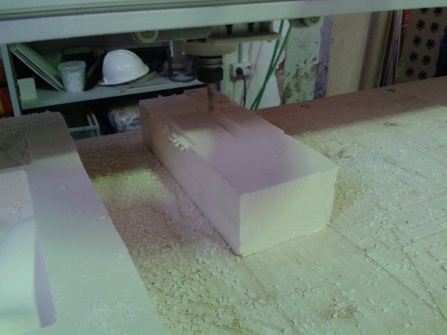
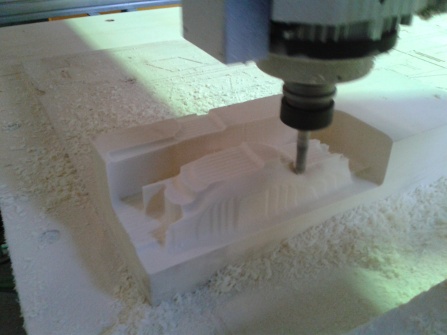
The foam mold was milled using a 12 millimeter diameter milling bit.
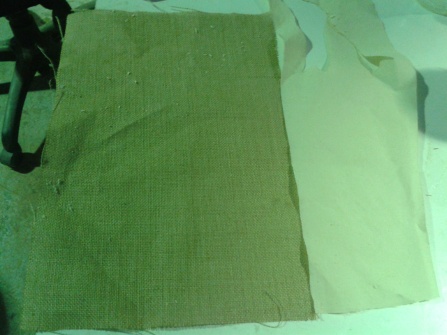
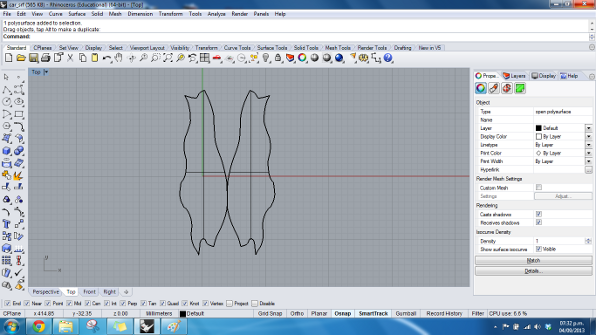
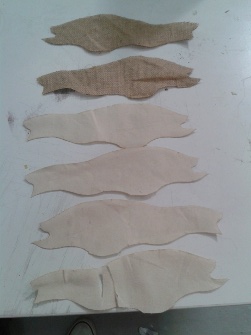
The next step was to use Rhino functions to generate a flat surface that could be folded into the curved surface of the car. After trying without success the FlattenSrf, and Smash functions, the Squish function generated what seemed like the best option to go with. These function generated a flat surface for each half of the car. The generated surface was laser cut into the fabrics that I was going to use. I chose a three-layer composite, creating a "sandwich" of cotton-sisal-cotton. When I put the surfaces on top of the mold, I realized I had to fold the surface in order to make it fit the best way. Not sure if this is because of a not so perfect Squish function in Rhino, will look more into it. I did not have time to research about an automatic way of generating the folds I had to do, so I manually looked for the best folds and cut them by hand.
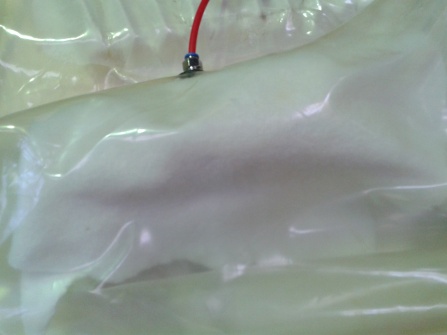
Next step, glue the layers! I made the epoxy mix with a ratio of 2 parts of resin and 1 part of hardener. Then I soaked each layer of fabric and put them in the foam mold, which I had already wrapped in plastic.

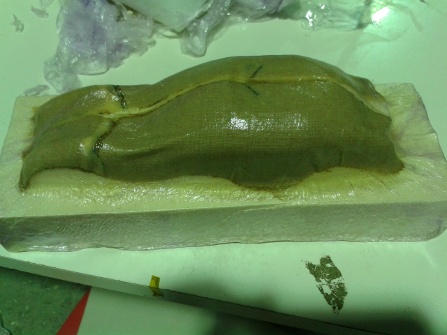
Afterwards I put the mold with the fibers inside a air-vacuumed bag, and tomorrow Wednesday I will see the results of this assignment.
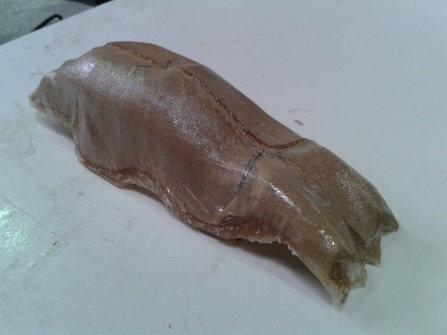
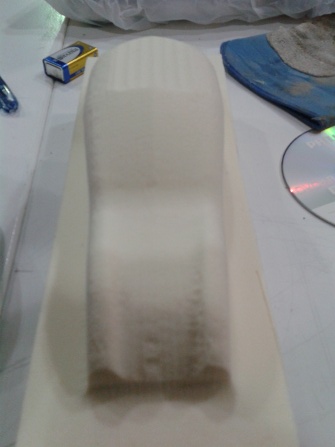
UPDATE! Today Wednesday I removed the final piece from the mold. Seems not so pretty, so far it's not the best method of fabrication for me, but it seems promising if I master the different techniques involved with composites. I had to remove some excess epoxy with a scissor and cutter.