Vacuum form machine
Simple and effective
- Notes on mercurial
Notes on webdesign
Notes on digital drawing
Notes on 2D cutting
Notes on electronics production
Notes on 3D scanning and printing
Notes on electronics design
Notes on molding and casting
Notes on embedded programming
Notes on computer controlled cutting
Notes on input devices
Notes on composites
Notes on interface programming
Notes on output devices
Notes on networking and communications
Notes on machine design
Notes on the final project
Final Presentation Notes on Invention, Intellectual property and Business model
Notes on Molding and Casting
I started out making a redesign of my allready existing wheels. I started modeling the positive in Rhino3D but after 4 hours of online tutorials and trial and error I had nothing more then a wireframe cylindrical shape... I had rage-quit the software about 4 times in the process and I'm sure my hardware suffered a beating or two. After that failure I switched to my trusty Sketchup again. I had identified a couple of issues when using Sketchup. For one it does not do round shapes. It gives you the impression it does. Thankfully the Sketchup community is very user friendly and I quickly found a solution to my problem. Turns out you can define the number of sides a circle has when you draw it. The standard is 26. By typing 'sXX' before you size the circle you are able to define the sides by replacing the 'XX' for a number. (Standard = s26) I raised the number to 60 and voila that makes the circle a lot rounder. I imagine that on a bigger scale you would need more sides. The other thing I learned the hard way is to make components. Every shape you make should be made into a component so that it does not interact or interfere with other surfaces. This makes modeling in Sketchup a breeze. Also; get familiar with the Follow-me-tool. It is very usefull to making complex shapes like a cone.
Lack of screenshots due to stolen laptop... :(
Modeling the block around the wheels was easy. I identified the center of the wheels and drew a line. I then modeled the block, the air duct, poor ducts and the register marks around the wheels. I copied the component and flipped the wheels inside the block carefully measuring and remeasuring every step. Voila; One positive mold. You'll have to imagine what the digital file looks like.
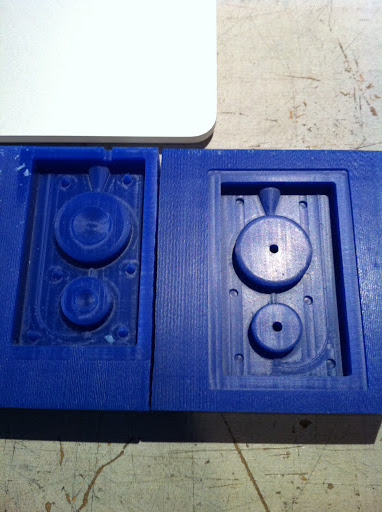
Problems and Errors
Now when I tried setting up the file on the shopbot computer for the first time the file immediatly gave an error on the rough path. Turned out I had not taken any considderation for the size of the mill bit (1/8"). After some remodeling and reloading it into the computer everything looked fine. Even so the inverted cones turned out too small for the bit and it looked like no more than a shallow hole. I had to take the block to the drill press to drill deeper holes. The upright cones did not prove a problem. Lesson learned.
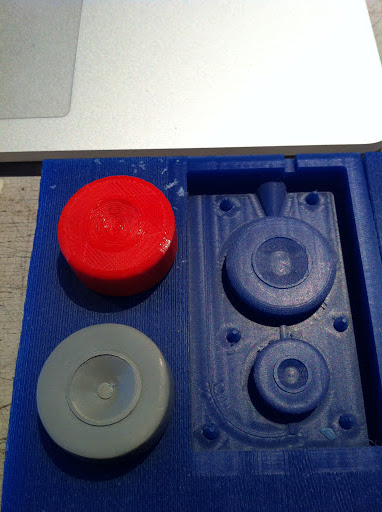
Here the original hand shaped wheel, 3D printed wheel and the mold for the cast wheel.
With the second part of the two part mold the machine would not zero properly. It ended up starting 6cm's to the right of the block and cutting a straight line across the block before I was able to stop it. I setup the software three times and all the times it would start at the incorrect zero point. As a last resort we rebooted the computer and I reloaded the file onto the computer. Somehow this fixed the issue. I hate not knowing where the error originated... The line was not noticable enough in the finished mold to start over.
Casting the mold was easy. Having had a little experience already in molding and casting I mixed the two parts and poored it into the mold. Always use a little extra so that you have enough. The material will contract a little when curing.
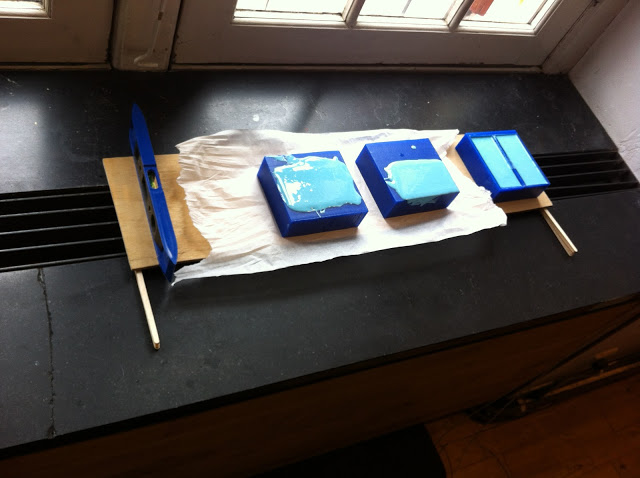
We had put the molds on top of the heater because a previous attempt at curing the mold at room temperature (within the given 75 minutes) had failed. Leaving the molds over the heater would speed up the curing process but it still turned out to need at least 2 hours of curing time. After that it would still be a little sticky but cured enough to remove it from the mold.
The cast showed a few minor bubbles where it would count AND a few MAYOR air bubbles in the small holes. Because the the material is so thick it was not able to evacuate all the air from all the holes. For now another lesson learned. I would like to give this another shot when time and resources permit me.
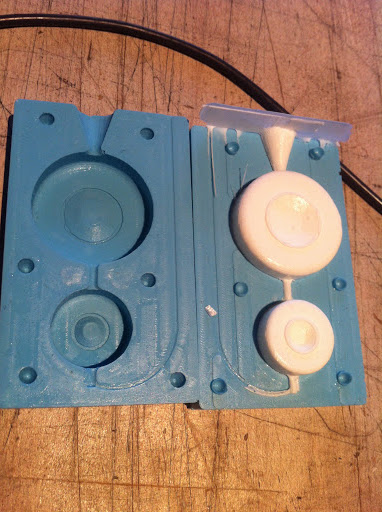
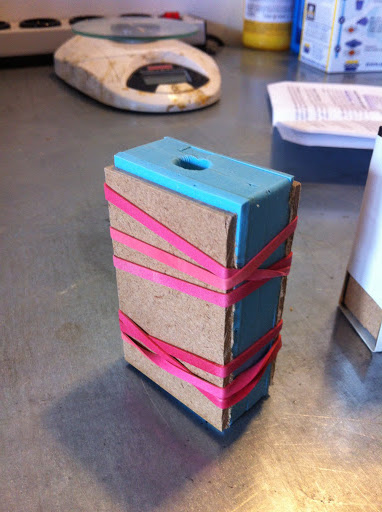
Casting the new positive would be easier because the material is a lot runnier than the stuff used to cast the mold. I used two pieces of scrap wood and some rubber bands to keep the molds pressed together. The airduct I had made proved to be too small and I had to use a wooden stick to poke into the mold and release all the air. Everythin got really messy. But it worked.
The molds ended up not aligning precisely and the mold ended up with too many details from the milling process. I would like to try this once more with a smaller drilling bit and finer paths. Maybe on the modela and have it machine the wax overnight. Also, I'd love to use the vacuum chamber next time to reduce air in the mold and cast.

Hand made, 3D print, machined mold and cast.
Also, here are some important safety tips by Harrison Krix ;):
top