Vacuum form machine
Simple and effective
- Notes on mercurial
Notes on webdesign
Notes on digital drawing
Notes on 2D cutting
Notes on electronics production
Notes on 3D scanning and printing
Notes on electronics design
Notes on molding and casting
Notes on embedded programming
Notes on computer controlled cutting
Notes on input devices
Notes on composites
Notes on interface programming
Notes on output devices
Notes on networking and communications
Notes on machine design
Notes on the final project
Final Presentation Notes on Invention, Intellectual property and Business model
Notes on 2D cutting (Laser and vinyl)
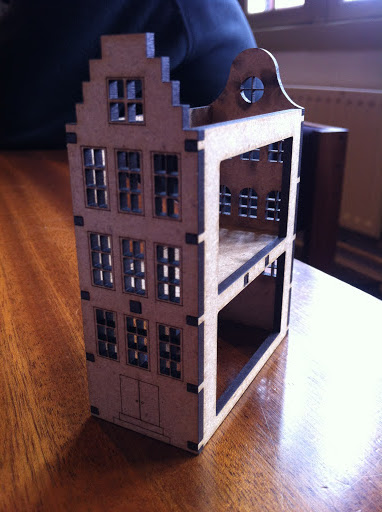
Finally! I've been wanting to try out the laser- and the vinyl cutter for a long time and it's been a blast! I started out wit a couple of ideas I had already wanted to make and the class assignment. At first I tried my hand again at more of the parametric powered software. After an hour or more I was about to give up and then I learned from my guru that just using illustrator would suffice for this assignment. I was very relieved. I quickly modeled two projects. At first a traditional Amsterdam canal house (or "Grachtenpand") The plans are easy and initially I wanted to make something like this for shop windows. But due to size restraints I decided to make a miniature version. When drawing the project I made sure to keep my stroke at 0.001mm as this is the best for the actual cut.
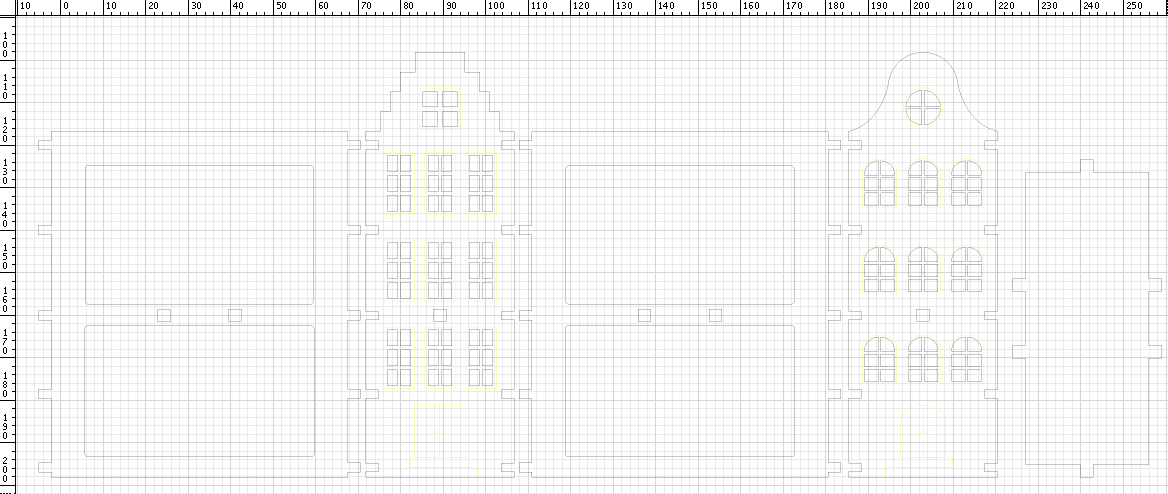
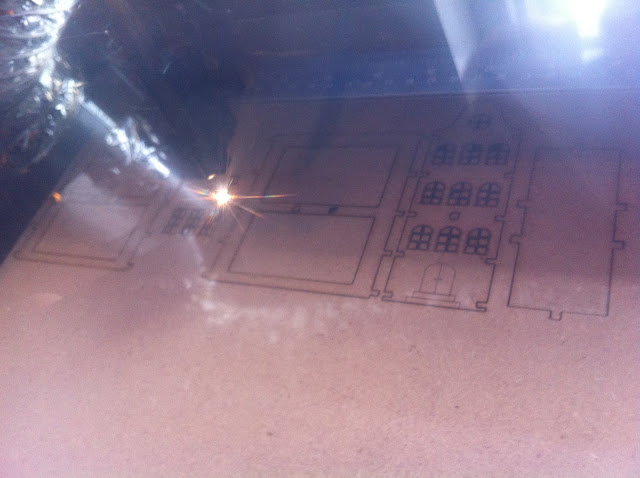
One of my fellow students had discovered that the laser cuts are 0.1mm on the 3mm mdf we were cutting. Knowing this I went back to my model and redid all the notches. This is where parametric software would have been more efficient. In my model black lines are cut through and yellow lines (squint!) will be etched. After a quick cutting session the laser ended up not cutting through the mdf. (later we found out due to a dirty mirror) Resetting the machine after cleanup did the job.
I also designed a (flawed) circle shape with which you could keep building a modular shape.
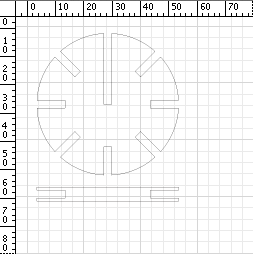
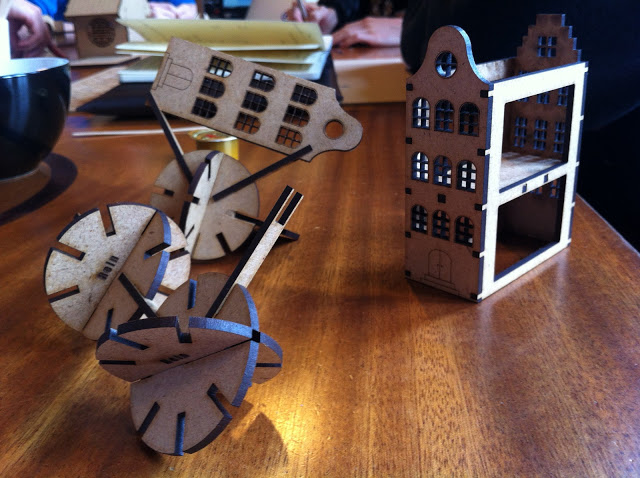
While this was a good idea the circles don't work yet. The problem lies with the angled section blocking off two exits. :(
While I was adoring my brothers temple building I noticed that it looked similar to a doghouse. So I fixed him a proper occupant.
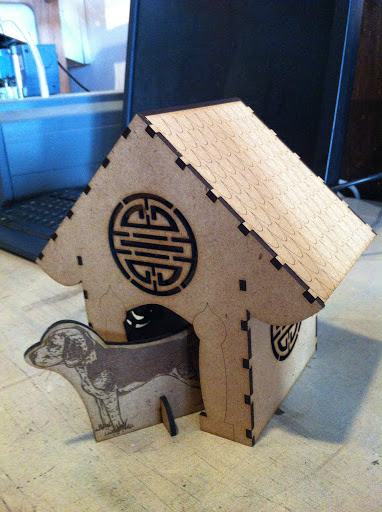
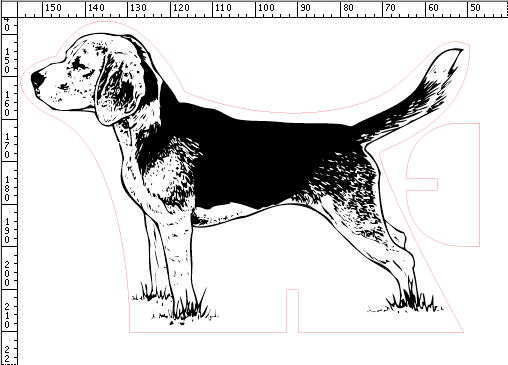
He was not amused... ;) First I looked up a vector image of a dog on google and then I drew a line around the image using the pen tool. I also made the dog a little stand so it could stay up. This time I used
I was discussing doublesided etching on a lasercutting with my brother and I think I discovered a way to be able to set the origin point the way you want it to be. Because you can burn through the material you should be able to burn 4 corner points and use that as a template on the other side. I will be testing this during lab hours.
Vinyl cutting
Because I already have some experience with vinyl cutting this was an easy assignment. I'm not much of a designer so I traced multiple 2D images and chose a design that had some straights and some circle forms. For the stroke I kept the lasercutters 0.001mm setting. First I drew one half of the symbol and then I copied and reflected it. Merged and voila!
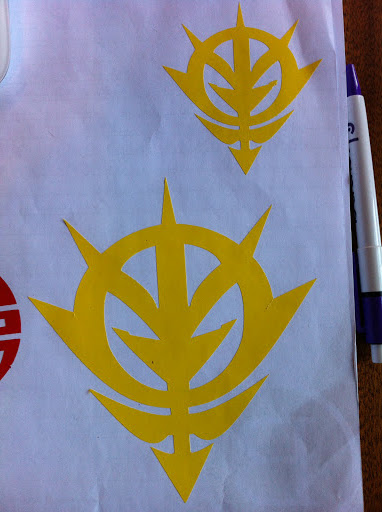
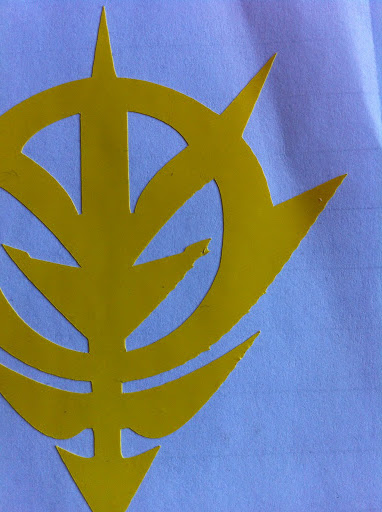 While cutting on the vinylcutter with some of the cuts the knife created some jagged edges. After some tweaking of the settings and still getting the jagged edges I ran it through with our Guru and was told that the knife is probably dull.
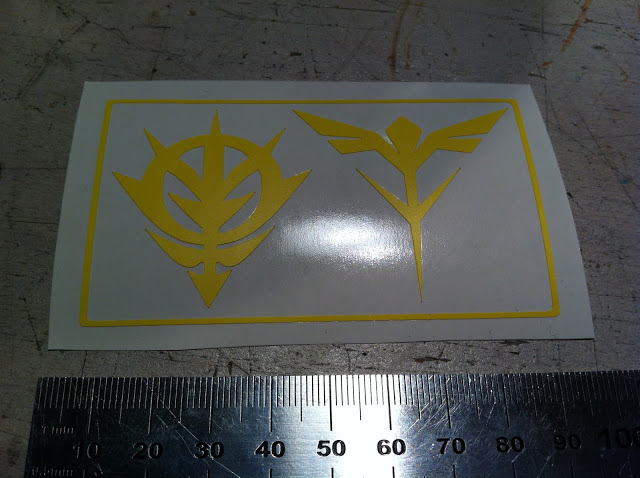
With the knife replaced I set up shop and printed the symbols once more. This time even smaller than the last time (I was running out of scrap vinyl!) but everything came out great. The new knife makes beautiful cuts and I am sure that I will make some more stickers for my car or something in the coming weeks!

Okay. One final sticker then! We got individual drawers for all the students and while I was waiting to get to use the 3D printer I decided to make a sticker to personalize my drawer.
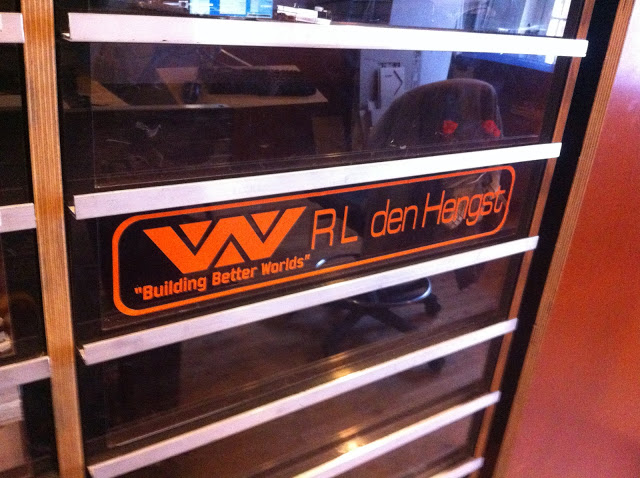
I designed it in illustrator. Our cutter has a weird thing about points or dots. Not software points but dots like on the letter 'i' or at the end of a sentence. It just skips them! And I screwed up the weeding at the end too. The "Building better worlds" is so small that it would just stick to the excess vinyl. I ended up cutting those words a second time and to weed it when I had already stuck it on the glass. This made things much easier.
top