Week18
wildcard week
Plasma Cutter Parametric Pizza Oven
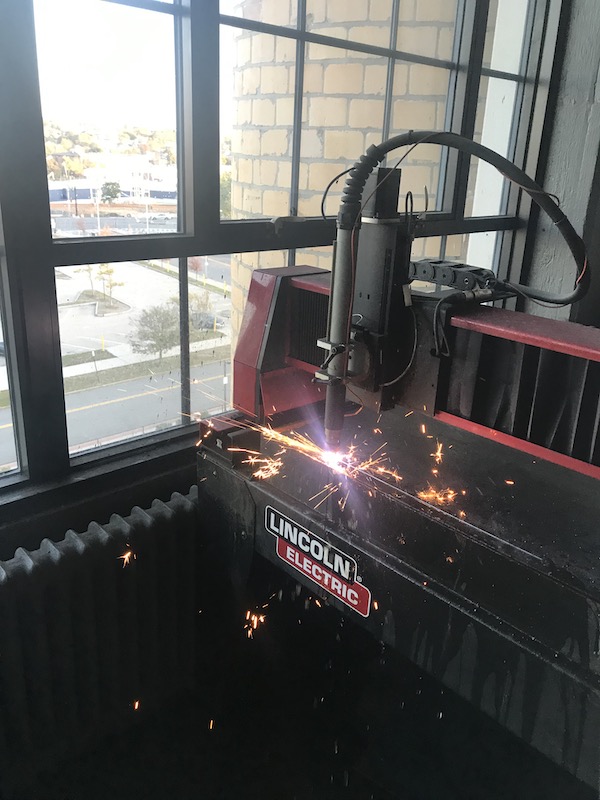
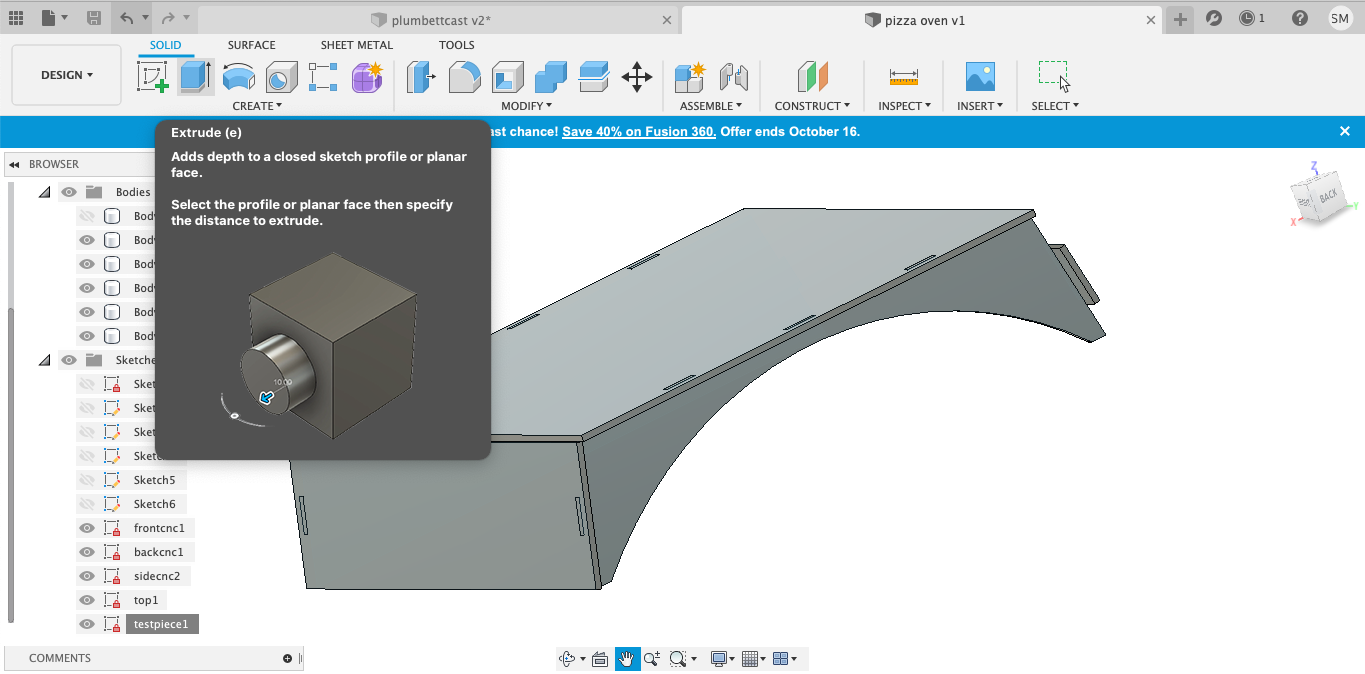
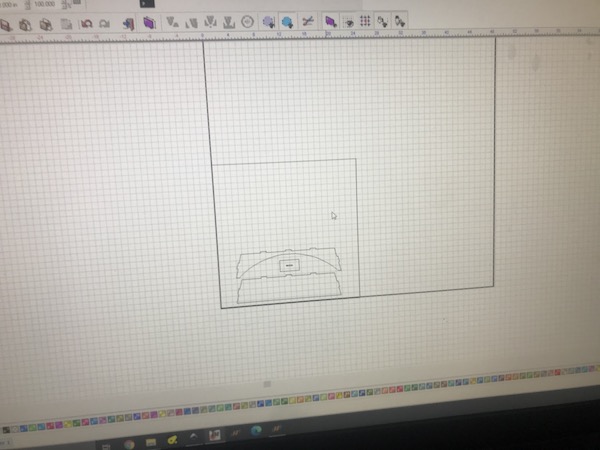
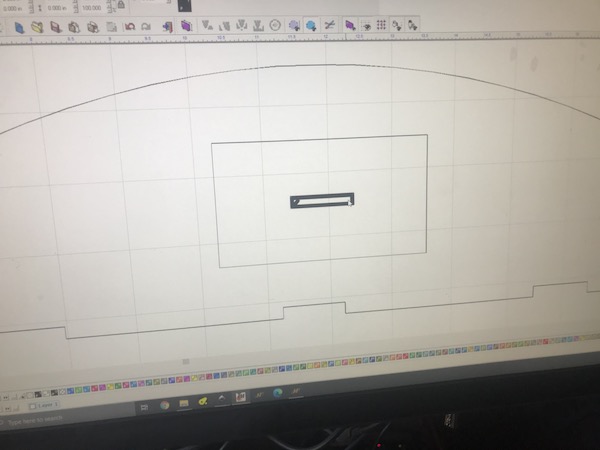
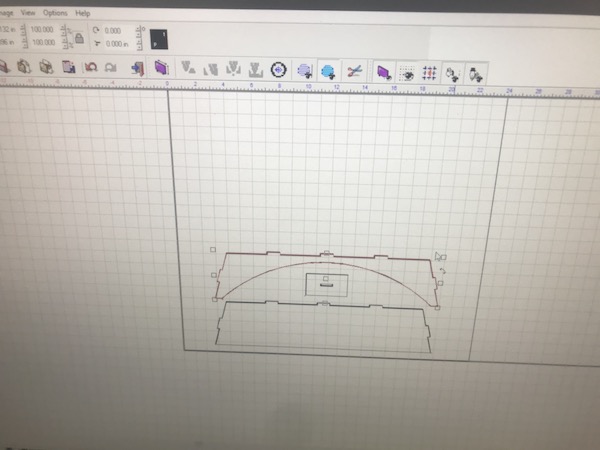
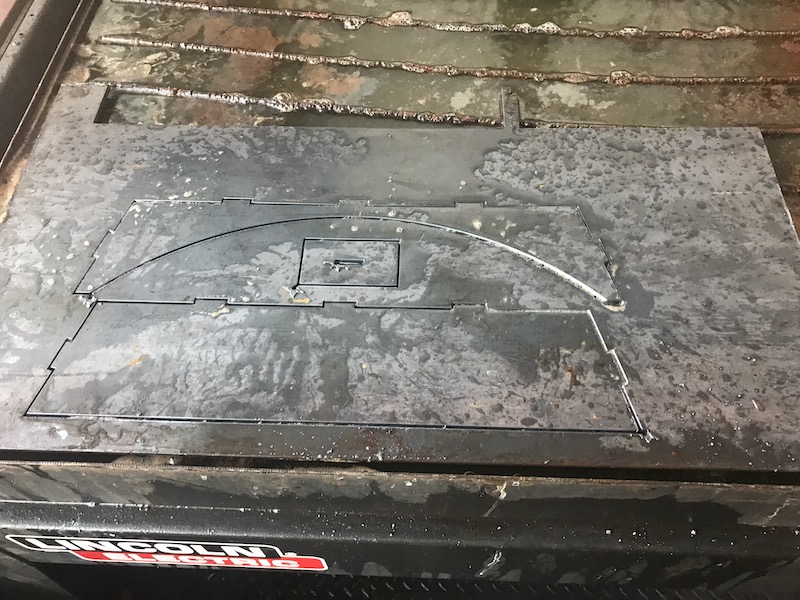
For this week I decided to do a project on the plasma cutter at my local makerspace. I’ve explored this machine a bit before, but only for cutting out simple parts. I wanted to test my abilities in parametric design to make a jointed pizza oven that will fit over a gas grill. I started by finding a pizza stone that is reasonable priced that will fit on the grill. This one seems to fit the bill and it has clear documentation of it’s size. I then draw a simple finger jointed box with slanted sides and an arch top. In my parameter table I has attributes for the thickness of the material and the width of the finger joints. I also added a small test piece to the drawing. this will be important for confirming that my joints fit before cutting my final pieces. The stock I’m using is 3/16 cold rolled mild steel plate. I create sketches for each face, then export them as DXFs along with a scale box.
CAM
The included Torchmate CAM package leaves something to be desired. Unfortunately it’s not very graphically intuitive and there isn’t any mouseover text :( .
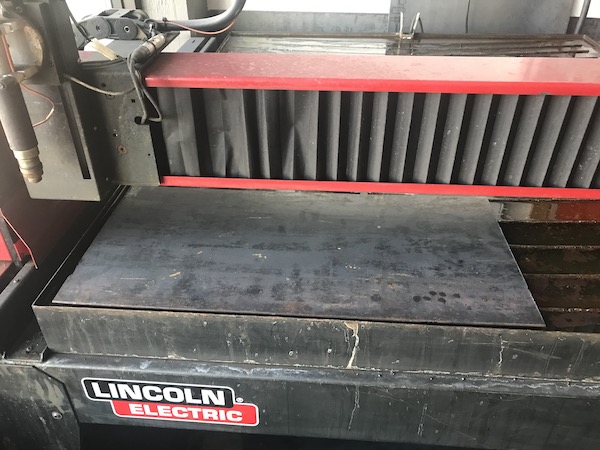
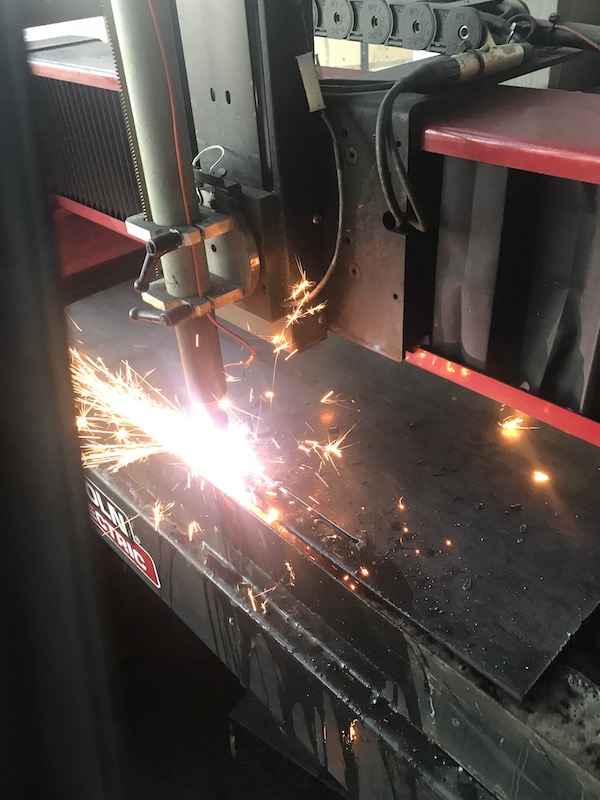
The most important things are pretty simple. I got some default feeds and ‘speeds’ (in this case power) from a member at the shop. The instruction they suggested is to set the speed at 2 IPS (inches per second) and then lower it down using the feed override in the controller. If I was setting up this machine I think I would try and do as much as I can in the CAM package, but I’ll defer to the people who use it more often. For my first set of cuts I am cutting the front and back pieces along with the joint test piece. This will consist of 3 outside cuts and one inside cut for the joint tester. I added lead ins in the tool path, this is something I haven’t had to deal with much in laser cutting or CNC machining. A lead in allows the pierce to be away from the vector line to preserve a cleaner edge.
 This definitely makes a difference, as the pierce location get pretty melted. With these toolpaths made I can then hit the scissors button to ‘cut’ this gives me options to save the selected tool paths.
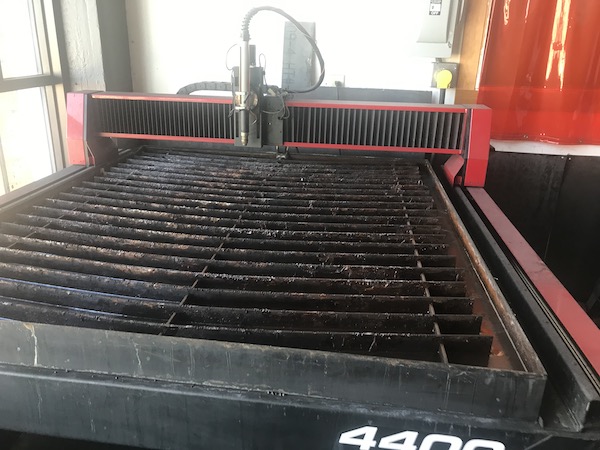
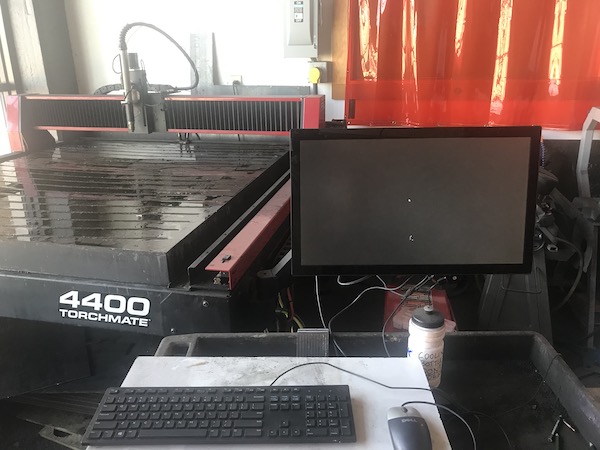
Machine Setup
First I fill up the water bed, It takes about 25 gallons to get it up to the level of the slats.
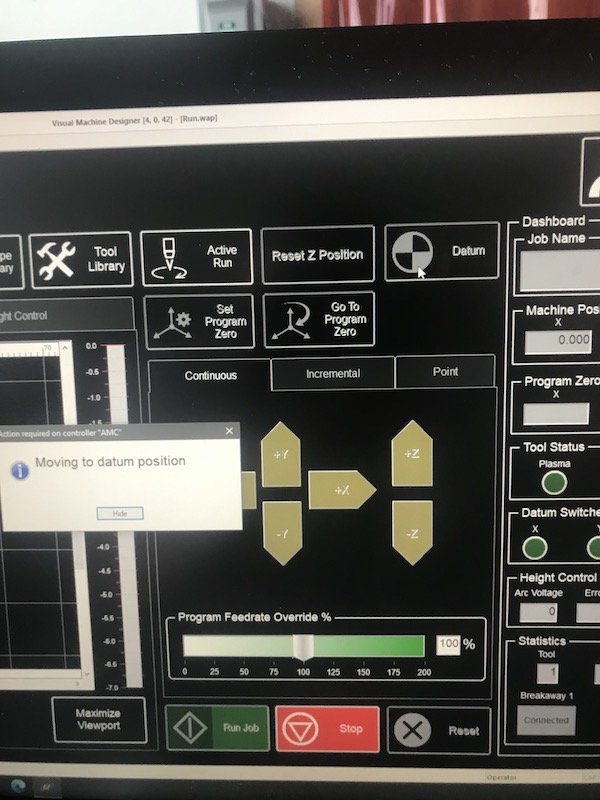
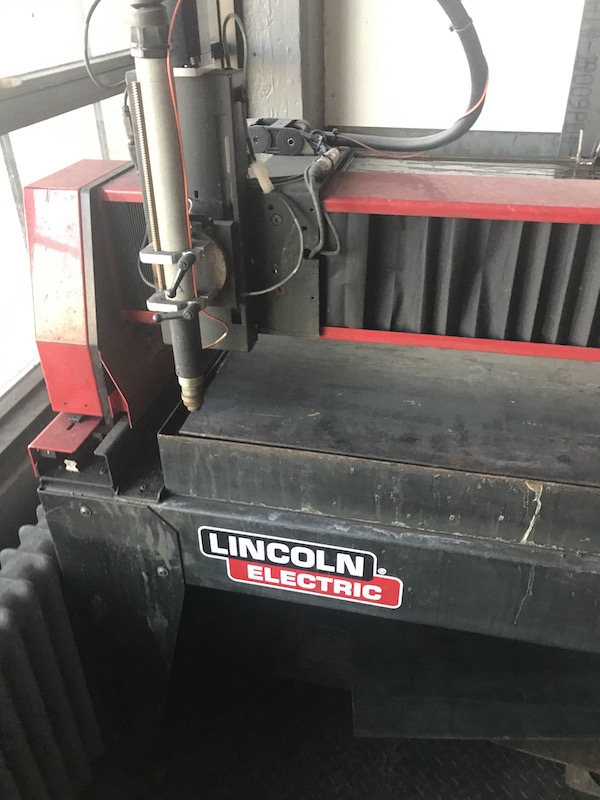
 The machine was left on which can cause issues. So I start by unplugging the machine and rebooting everything.
 I then open the Torchmate controller and hit the ‘datum’ button, this homes the machine.
Also a reminder to wear a good tight fitting respirator when working around metal is the dust every surface.
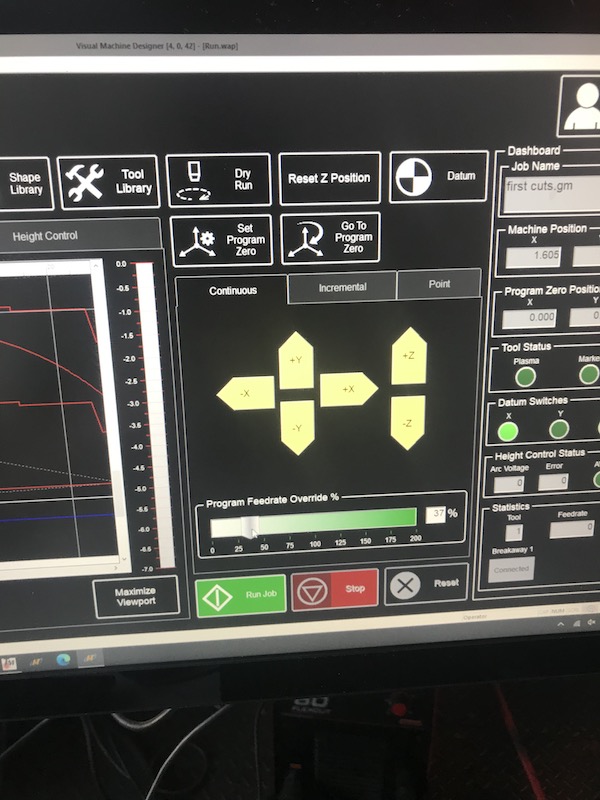
I then can open my file and do a ‘dry run’. One interesting thing about this machine is the it touches off the work piece before starting each cut. This takes some of the pressure off holding the work perfectly flat.
 There is also an option to have the machine sense its arch length and adjust the z axis accordingly. I’d like to explore this more, but no one in the shop could help me figure it out so I decided to not worry about it. Once the dry one runs through I drop the feel override to 8% and hit run!
Cutting and testing
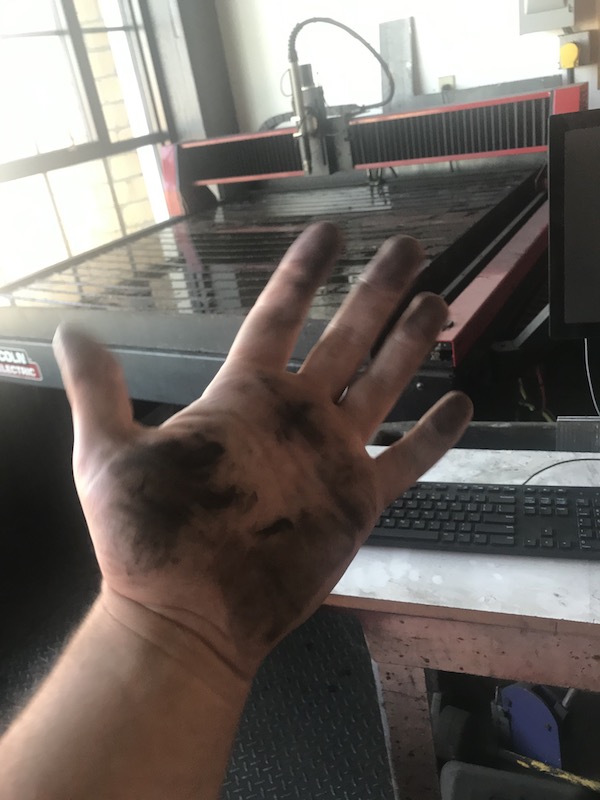
Sparks and water everywhere. This is really a pretty messy machine, I hate to thing about how gross that water that’s been sitting out is, my hope is that the torch is at least killing any pathogens as it sprays.
 Once the machine is done I pull the 2 parts and the test piece and grind the slag off the back.
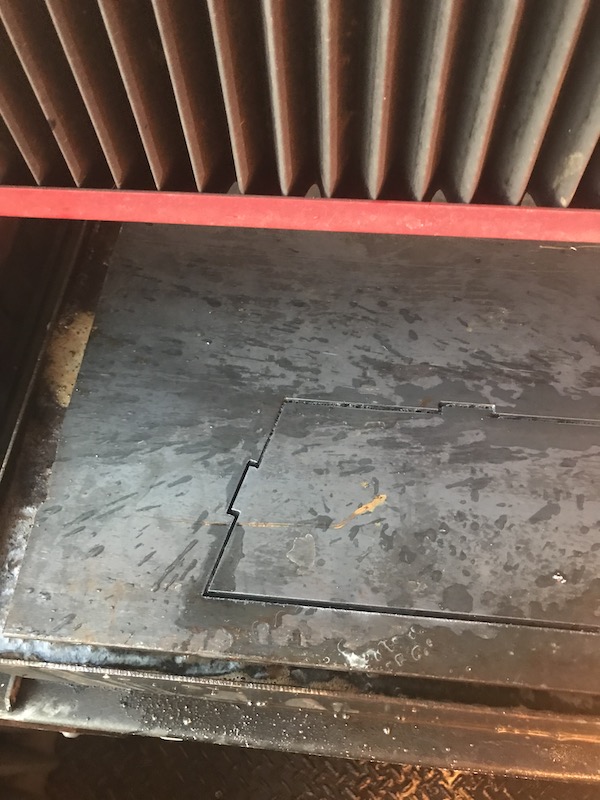
One thing I noticed is that the parts have a very extreme chamfer. I was expecting this but I was still surprised.
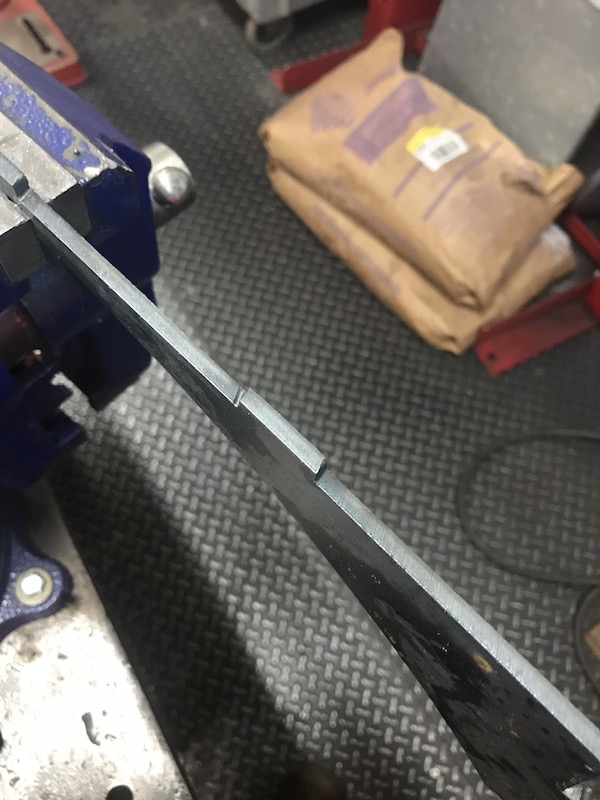
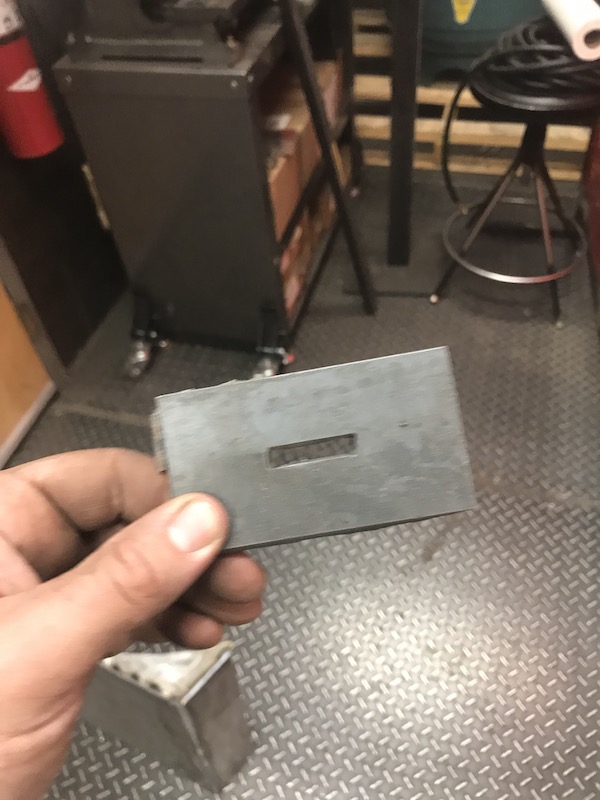 The test piece fit pretty well after grinding the finger of the joint square. So I went ahead and cut the two sides and the top.
Grinding and welding
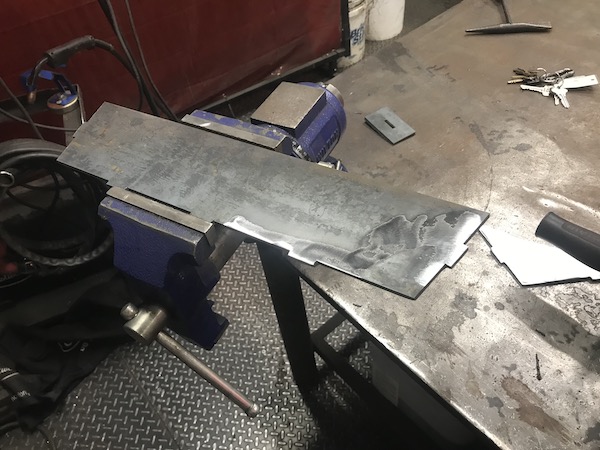
If only there was a CNC grinding machine in the shop! Since this will be used around heat and food I want to make sure and remove all of the mill scale. Since I’m impatient I didn’t soak it in vinegar and brush it, so I went at it with a flat wheel on the grinder.
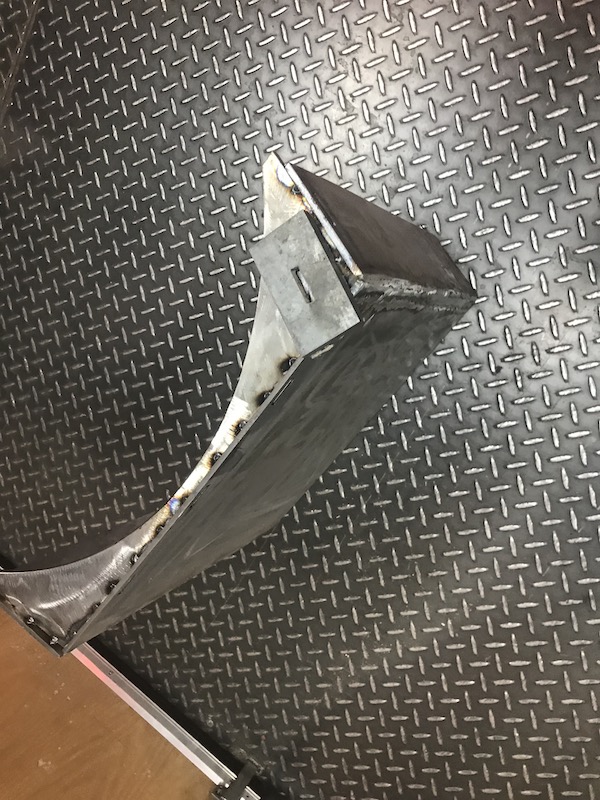
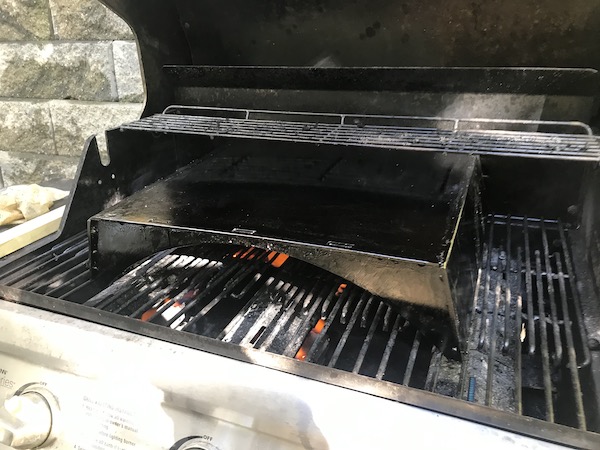
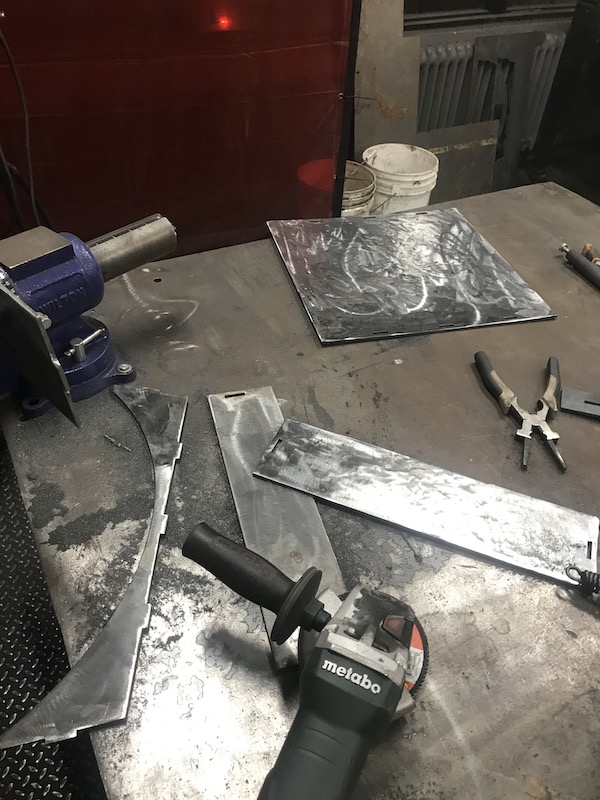 It was a lot of grinding! But I was happy with how everything was looking. I then assembled and tack welded it on the outside. I then did full weld beads on the inside.
image20.jpg)
I kept the tacks on the outside since I like the look of them, and since I was getting pretty tired of grinding.
It was a lot of grinding! But I was happy with how everything was looking. I then assembled and tack welded it on the outside. I then did full weld beads on the inside.
image20.jpg)
I kept the tacks on the outside since I like the look of them, and since I was getting pretty tired of grinding.
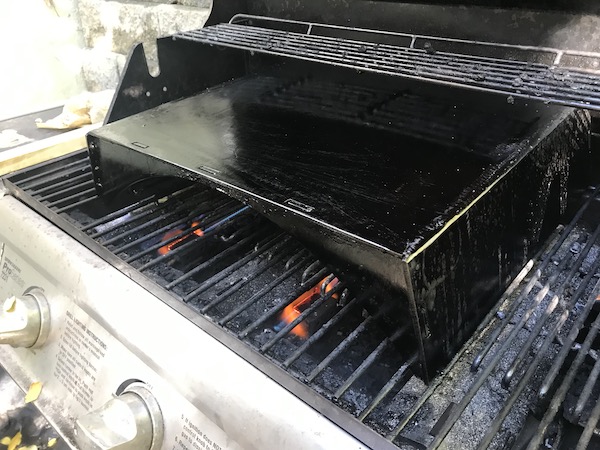
Time to season it and try it out!
Seasoning and Cooking!
To season the steel I first cleaned it with a household soap. this was to remove any residual nastiness and dust from the surface. I then heated in in the gas grill until dry. I then gave it a light coat of vegetable oil and heated it in the grill on high temperature for around 45 minutes.
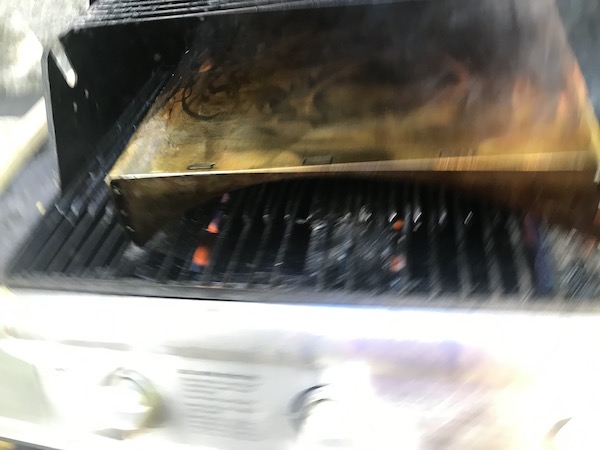
I was checking to see the oil darken into a food-safe nonstick finish that will give some resistance from rust. It was really interesting watching the color change during this process!
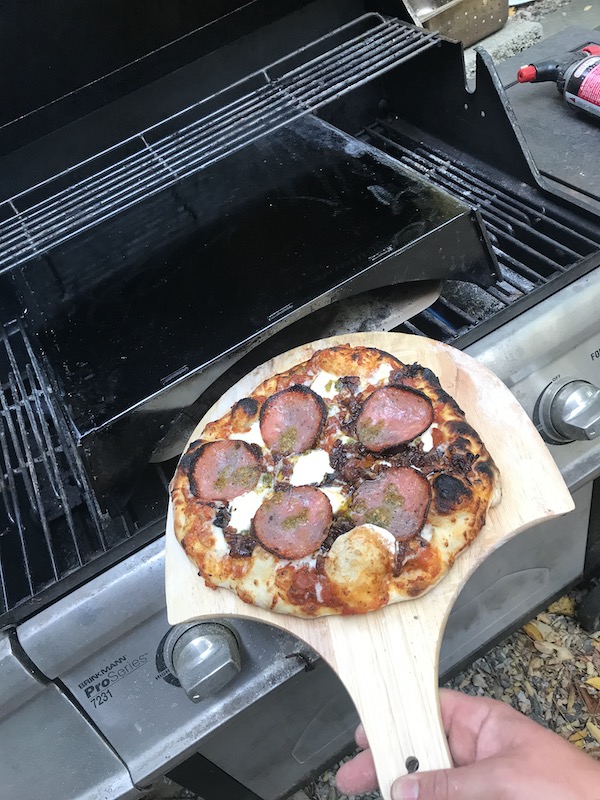
Since this weeks project was a give I had to wait a week or so for the final test. With the pizza stone in place it worked wonderfully. One interesting feature is it’s self cleaning via fire system!
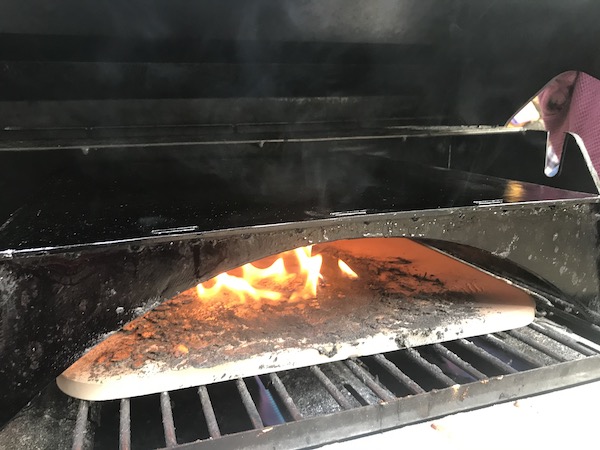
once it got up to temperature it was able to cook a pizza in around 3-4 minutes with a nice crispy top and a chewy crust.
Design Files
Other ideas for wildcard week I didn’t do!
Poor shops zund, fabric processing end effectors for shopbot.
One of the areas I looked into was building a small ultrasonic cutter that can be chucked into the collet on a large format cnc.
parts needed
piezo generation
powersystem
replaceable blades
swivel mount
one of the tricky elements for making the cutter will be balancing the peizo to resonate with the blade. a power junction that can rotate with the blade
Tempeh Growing System.
Another idea is to make a tempature system for making tempeh. I’ve grown tempeh before, but only in a fairly complex set up. a small countertop machine would be useful.
the main design goal is to keep a block of legumes that in inoculated with tempeh spore at 98 degrees. this is complicated by the fact that at the later stages of it’s life cycle the tempeh will start to give off heat and can overheat it self.
PID control for growing mold.
temperature sensor
heating element
tempeh form
container