16. Interface and application programming
Inspiration from automatetheboringstuff.com

Plan for this week
For this week I’m going to interface a DH11 temperature and humidity sensor with a GUI (graphical User Interface) via an IC board. My goal is to have a desktop application to display the current temperature. To do this I need three parts; a DH11 wired to an IC, a sketch running on the IC to read the sensor and export the result over a serial collection, and finally a program to read the serial line and display the result in a window.
Sensor Inputs
I worked with two sensors when I was experimenting with Pyserial and WXpython. First I used a hc-sr501 pyroelectric sensor with the code from this tutorial this outputs a text string to serial when motion is detected. Serial output in the arduino API
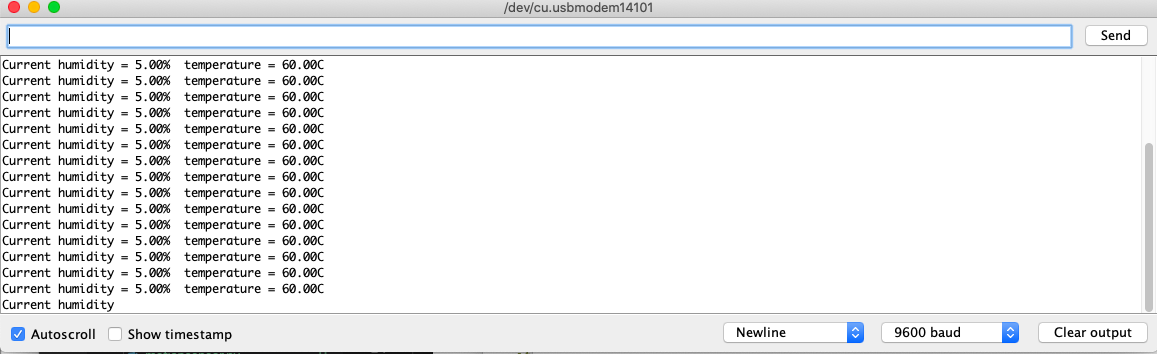
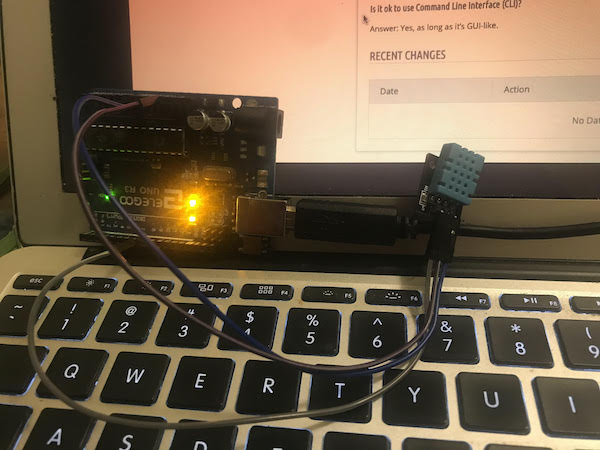
Secondly I used a dht11 temperature and humidity sensor with this code this worked better for what I’m hoping to make. So I decided to use this program and the sensor. I modified the program to simplify it to work with my GUI.
#include <dht.h>

#define dht_dpin A0 //no ; here. Set equal to channel sensor is on

dht DHT;

void setup(){
  Serial.begin(9600);
  delay(300);//Let system settle
  delay(700);//Wait rest of 1000ms recommended delay before
  //accessing sensor
}//end "setup()"

void loop(){
  //This is the "heart" of the program.
  DHT.read11(dht_dpin);

    Serial.print("Current humidity = ");
    Serial.print(DHT.humidity);
    Serial.print("%  ");
    Serial.print("temperature = ");
    Serial.print(DHT.temperature);
    Serial.println("C  ");
  delay(800);//Don't try to access too frequently... in theory
  //should be once per two seconds, fastest,
  //but seems to work after 0.8 second.
}// end loop()
With this running and printing to the serial line I can now focus on building the GUI.
Updating Python
first thing i did was update python to the latest version with:
brew install python3 && cp /usr/local/bin/python3 /usr/local/bin/python
Installing packages
there are two packages i’m using for my program. First is wxPython to create the GUI and secondly pyserial. I found that I needed to specify pip3 when installing for them to work with python3. I’m not completely sure how to make my default version to python3. I would like to figure this out sometime.
pip3 install -U wxPython
pip3 install pyserial
Building a GUI
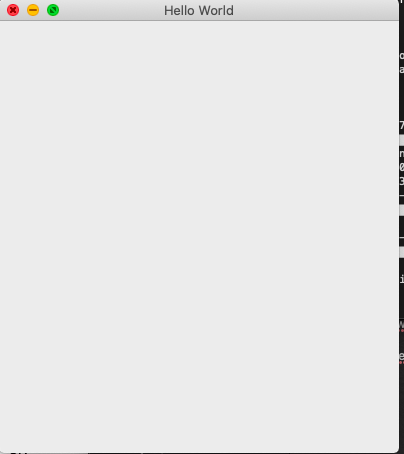
For creating the GUI I worked through this guide, it was helpful to get started with wxpython. I built a hello world program in a window and changed the sized and other settings of the window. I decided to try the WYSIWYG wxFormBuilder for creating my GUI. I ran through cloning and compiling the program. This process is still relatively new for me. I often go out of my way to find a compiled build, but it was nice to compile this. I built a hello world simple calculator to play around with wx.
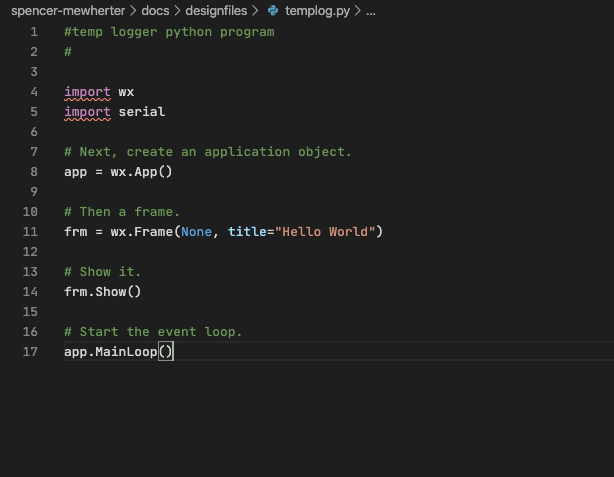
However I decided that for this project I would stay away from WXformbuilder and focus on modifying simpler code to get a display set up. I modified a hello world program to insert my Temp variable.
Working with pySerial
I read through the documentation and some tutorials though this was all helpful I found it to be a pretty tricky topic, I found the command for listing all of the connected serial ports very useful
I then made a simple serial output reader python script that worked in the command line. This was able to print the output from the sensors connected.
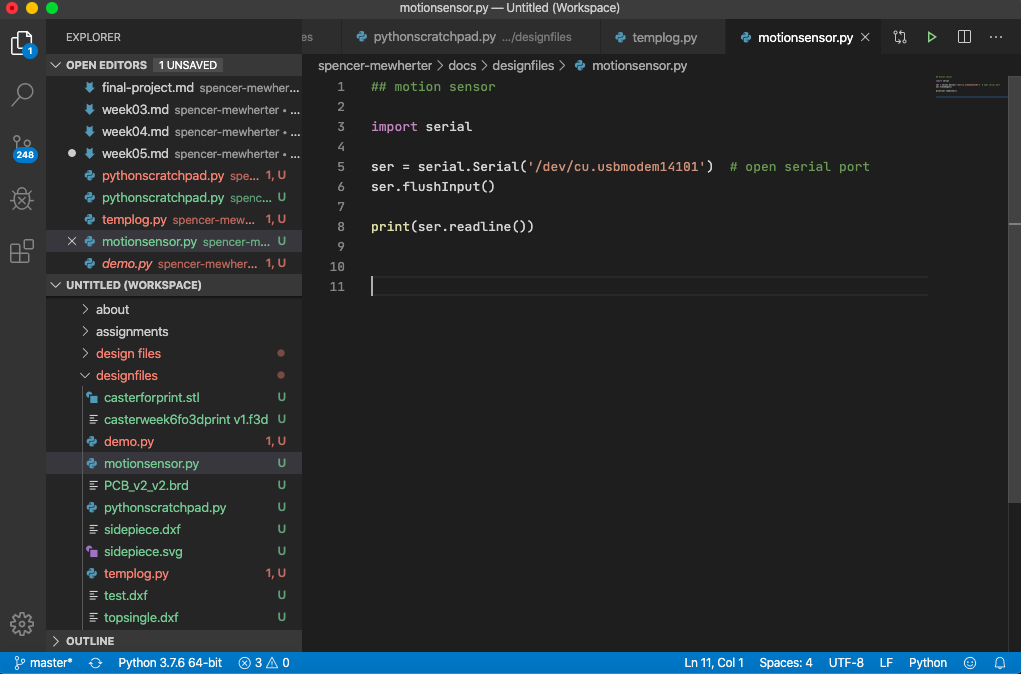
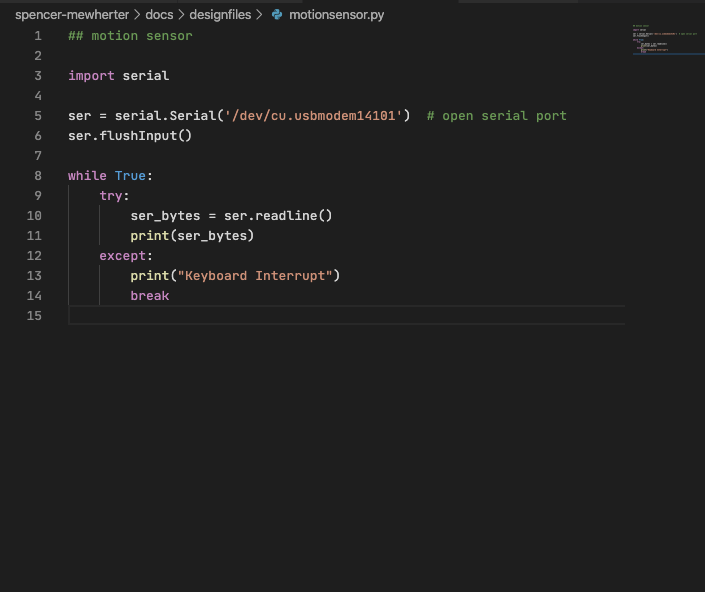
being able to define the serial output as a python variable gave me the confidence to start putting pyserial and wxpython together.
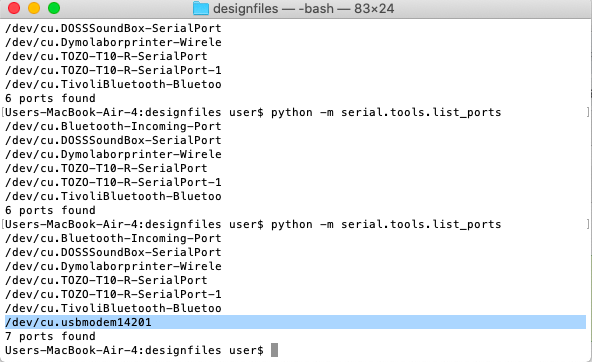
Finding Correct Serial Port
One tool I found useful was this line for listing the serial connections. I could then add the correct serial line to my GUI code.
python -m serial.tools.list_ports
Temp Reader Program
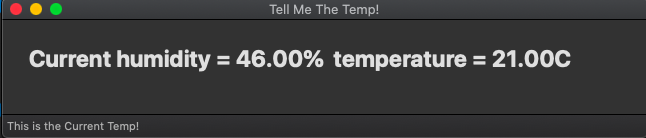
I was now able to start putting these elements together to make a simple GUI output page. I worked from a wx hello world program that i found useful as a framework. With this I added my variable temp, that was created from the serial output from the arduino temperature and humidity sensor. Though this is a very simple application I certainly found it very tricky to get to this point. It took a lot of trial and error to get all of these pieces together.
Temp display python program
#
import wx


import serial
ser = serial.Serial('/dev/cu.usbmodem14101')
ser.flushInput()

temp = ser.readline()

class HelloFrame(wx.Frame):
    """
    A Frame that says Hello World
    """

    def __init__(self, *args, **kw):
        # ensure the parent's __init__ is called
        super(HelloFrame, self).__init__(*args, **kw)

        # create a panel in the frame
        pnl = wx.Panel(self)

        # put some text with a larger bold font on it
        st = wx.StaticText(pnl, label=temp)
        font = st.GetFont()
        font.PointSize += 10
        font = font.Bold()
        st.SetFont(font)

        # and create a sizer to manage the layout of child widgets
        sizer = wx.BoxSizer(wx.VERTICAL)
        sizer.Add(st, wx.SizerFlags().Border(wx.TOP|wx.LEFT, 25))
        pnl.SetSizer(sizer)

        # create a menu bar
        self.makeMenuBar()

        # and a status bar
        self.CreateStatusBar()
        self.SetStatusText("This is the Current Temp!")


    def makeMenuBar(self):
        """
        A menu bar is composed of menus, which are composed of menu items.
        This method builds a set of menus and binds handlers to be called
        when the menu item is selected.
        """

        # Make a file menu with Hello and Exit items
        fileMenu = wx.Menu()
        # The "\t..." syntax defines an accelerator key that also triggers
        # the same event
        helloItem = fileMenu.Append(-1, "&Hello...\tCtrl-H",
                "Help string shown in status bar for this menu item")
        fileMenu.AppendSeparator()
        # When using a stock ID we don't need to specify the menu item's
        # label
        exitItem = fileMenu.Append(wx.ID_EXIT)

        # Now a help menu for the about item
        helpMenu = wx.Menu()
        aboutItem = helpMenu.Append(wx.ID_ABOUT)

        # Make the menu bar and add the two menus to it. The '&' defines
        # that the next letter is the "mnemonic" for the menu item. On the
        # platforms that support it those letters are underlined and can be
        # triggered from the keyboard.
        menuBar = wx.MenuBar()
        menuBar.Append(fileMenu, "&File")
        menuBar.Append(helpMenu, "&Help")

        # Give the menu bar to the frame
        self.SetMenuBar(menuBar)

        # Finally, associate a handler function with the EVT_MENU event for
        # each of the menu items. That means that when that menu item is
        # activated then the associated handler function will be called.
        self.Bind(wx.EVT_MENU, self.OnHello, helloItem)
        self.Bind(wx.EVT_MENU, self.OnExit,  exitItem)
        self.Bind(wx.EVT_MENU, self.OnAbout, aboutItem)


    def OnExit(self, event):
        """Close the frame, terminating the application."""
        self.Close(True)


    def OnHello(self, event):
        """Say hello to the user."""
        wx.MessageBox("Hello again from wxPython")


    def OnAbout(self, event):
        """Display an About Dialog"""
        wx.MessageBox("This is a wxPython Hello World sample",
                      "About Hello World 2",
                      wx.OK|wx.ICON_INFORMATION)


if __name__ == '__main__':
    # When this module is run (not imported) then create the app, the
    # frame, show it, and start the event loop.
    app = wx.App()
    frm = HelloFrame(None, title='Tell Me The Temp!')
    frm.Show()
    app.MainLoop()
The program displaying the output
Video
Here is a video showing the program running. I hold the temp sensor in my hand for a few seconds then demonstrate the change on the GUI