8. Computer controlled machining
week 8 homework
Oh wow! on to CNC milling I’m fortunate to have done a bunch of large format milling and teach a class for a while on it. I was really excited about this week as an opportunity to learn some new skills and hopefully get a really complete project done. Unfortunately the pandemic and various life disruptions that came along with that meant that I didn’t get to much done. Hopefully I’ll have more in this space real soon!
Testing the machine

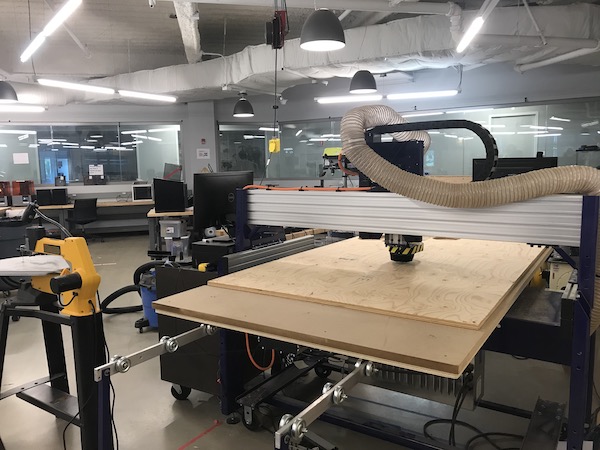
We did have a really great session learning the shopbot and running some test cuts.
Vcarve, my old pal/nemesis! definitely not the worse software to get started in, though there are some really rough learning curves in stupid places
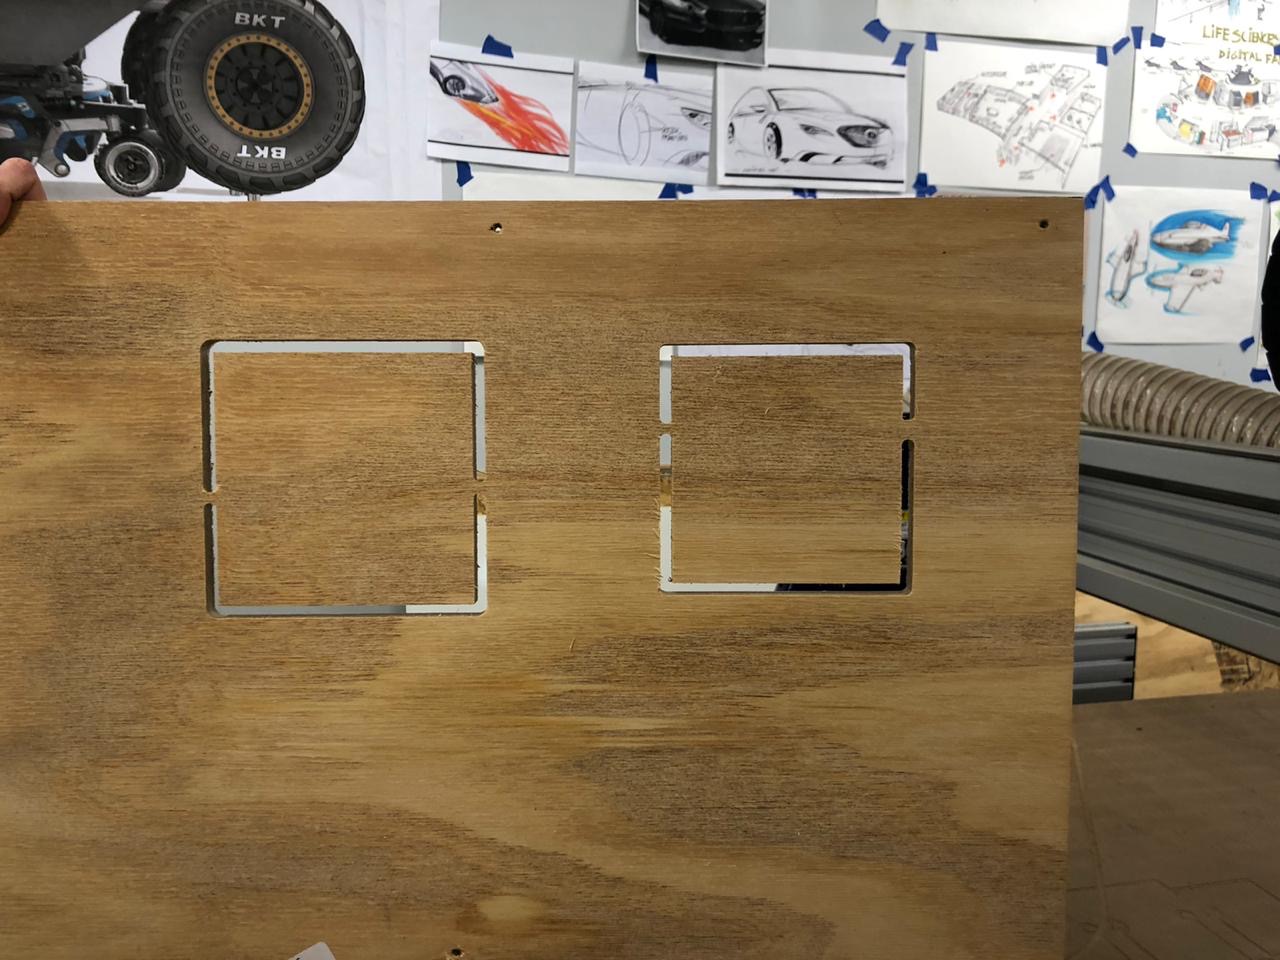
All cut out! we just did some simple test pieces
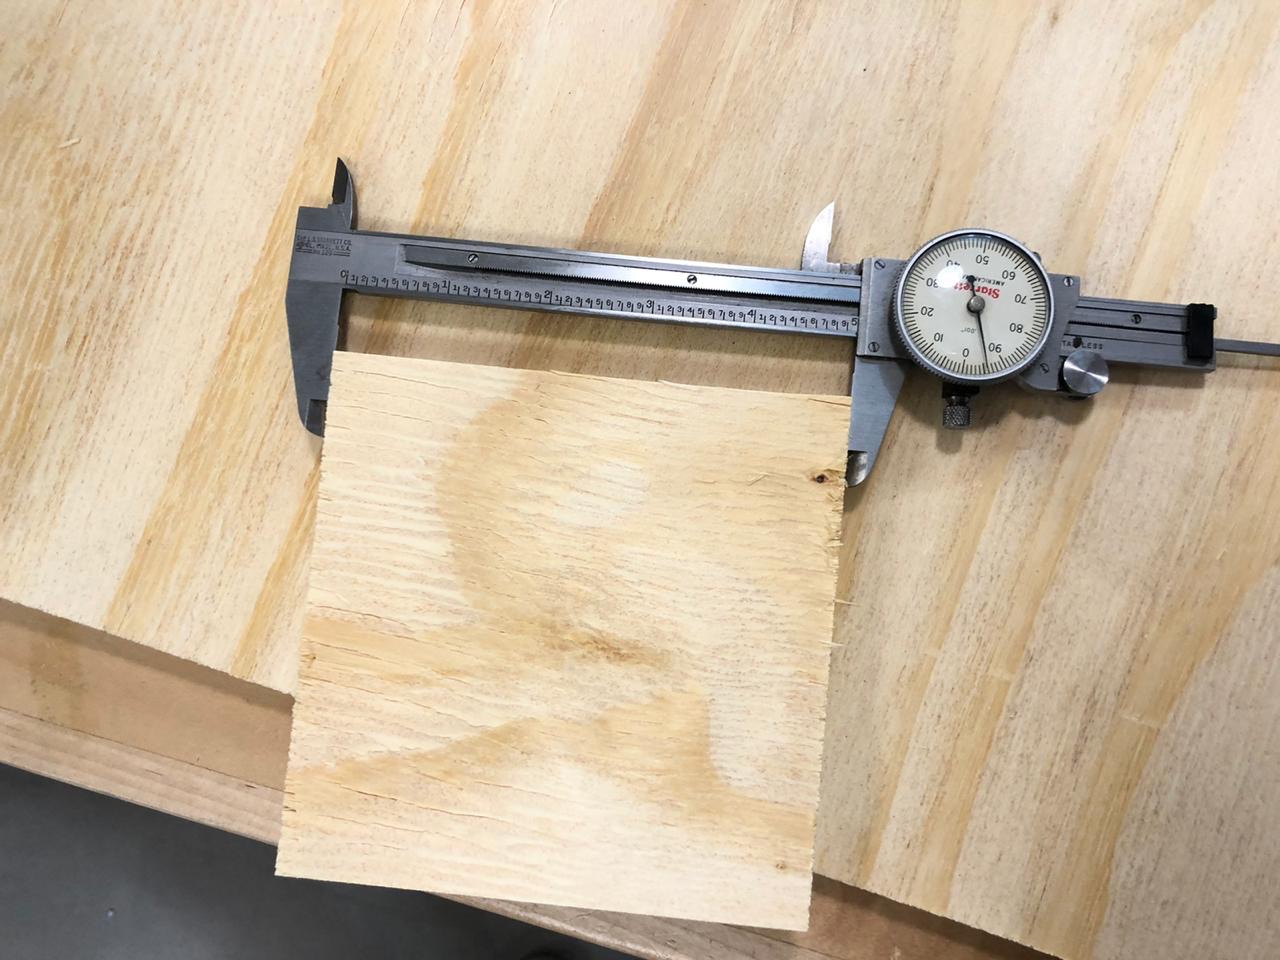
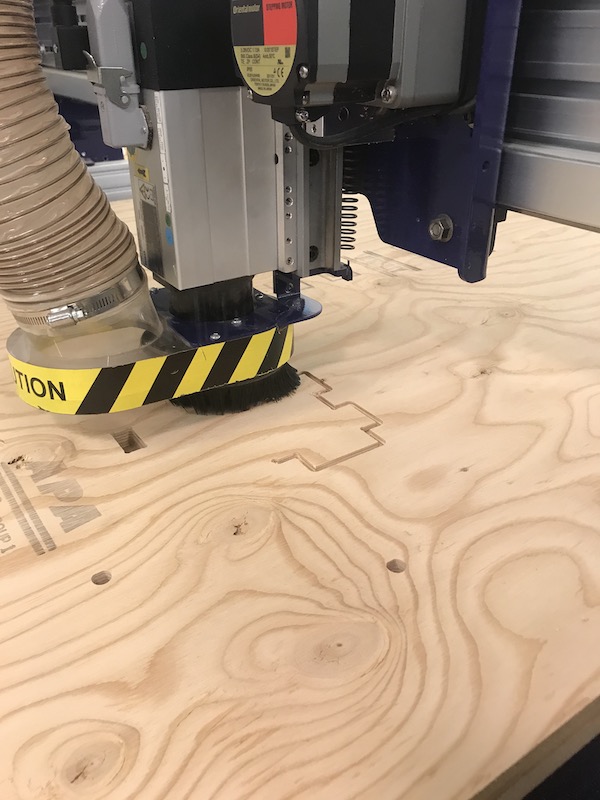
We measured the runout at around .03”
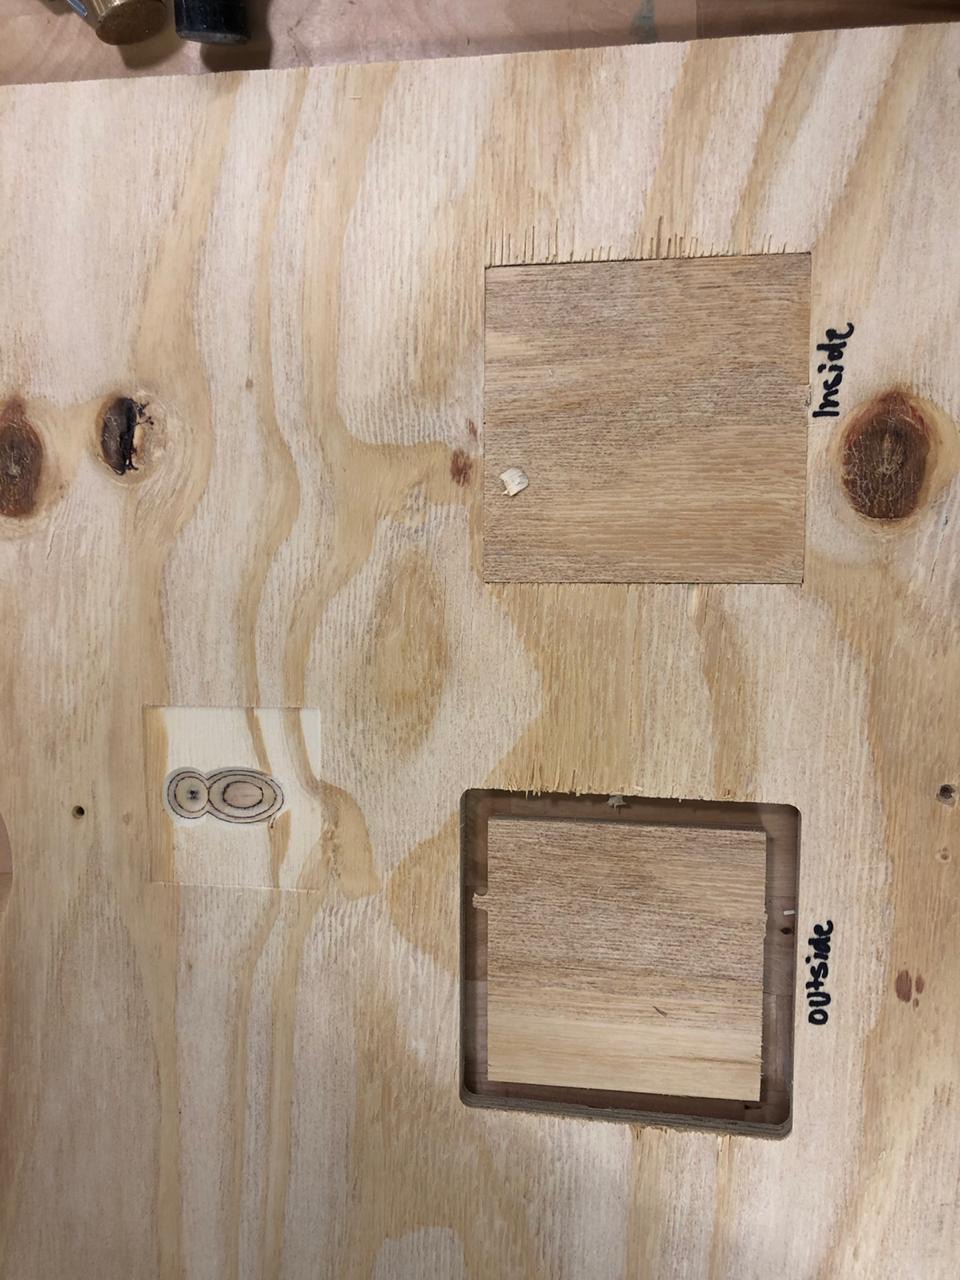
this test also gave us a good chance to look at some fitments, we did fillets and dogbones and saw how they fit together.
Project plan
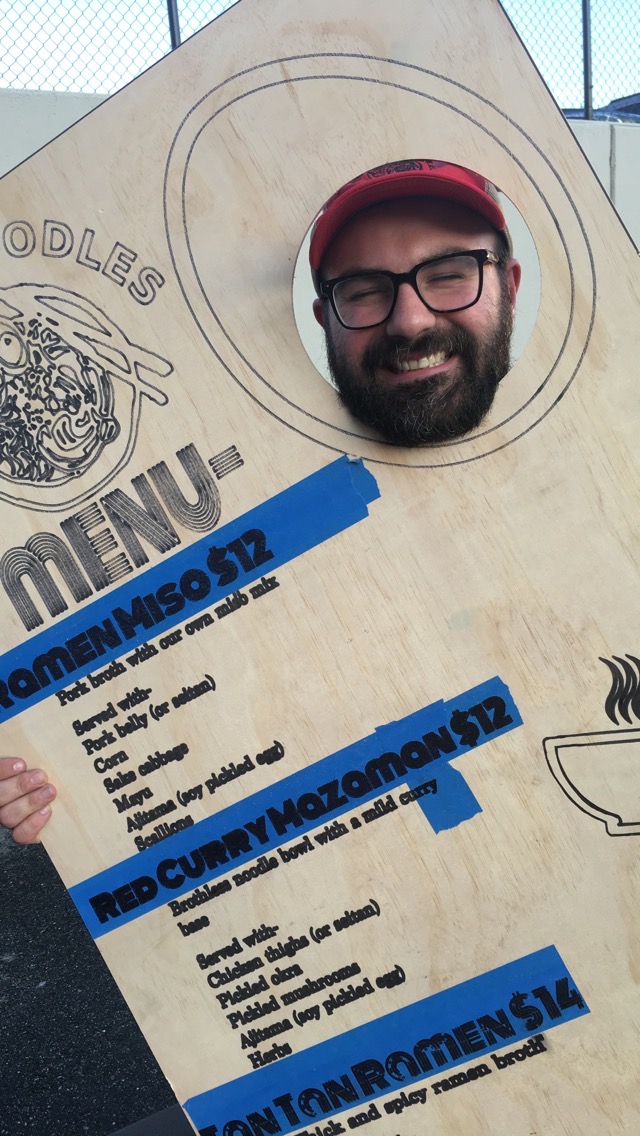
For my project this week I was hoping to combine a few of my favorite things to do on a large format cnc. one of these is to use a sharpie holder to use it as a large plotter for signage and faceholes.
I was also hoping to use the cleat wall system I’ve been developing for organizing my shop. using a 90 degree v bit we can rout the cleat wall from the back side.

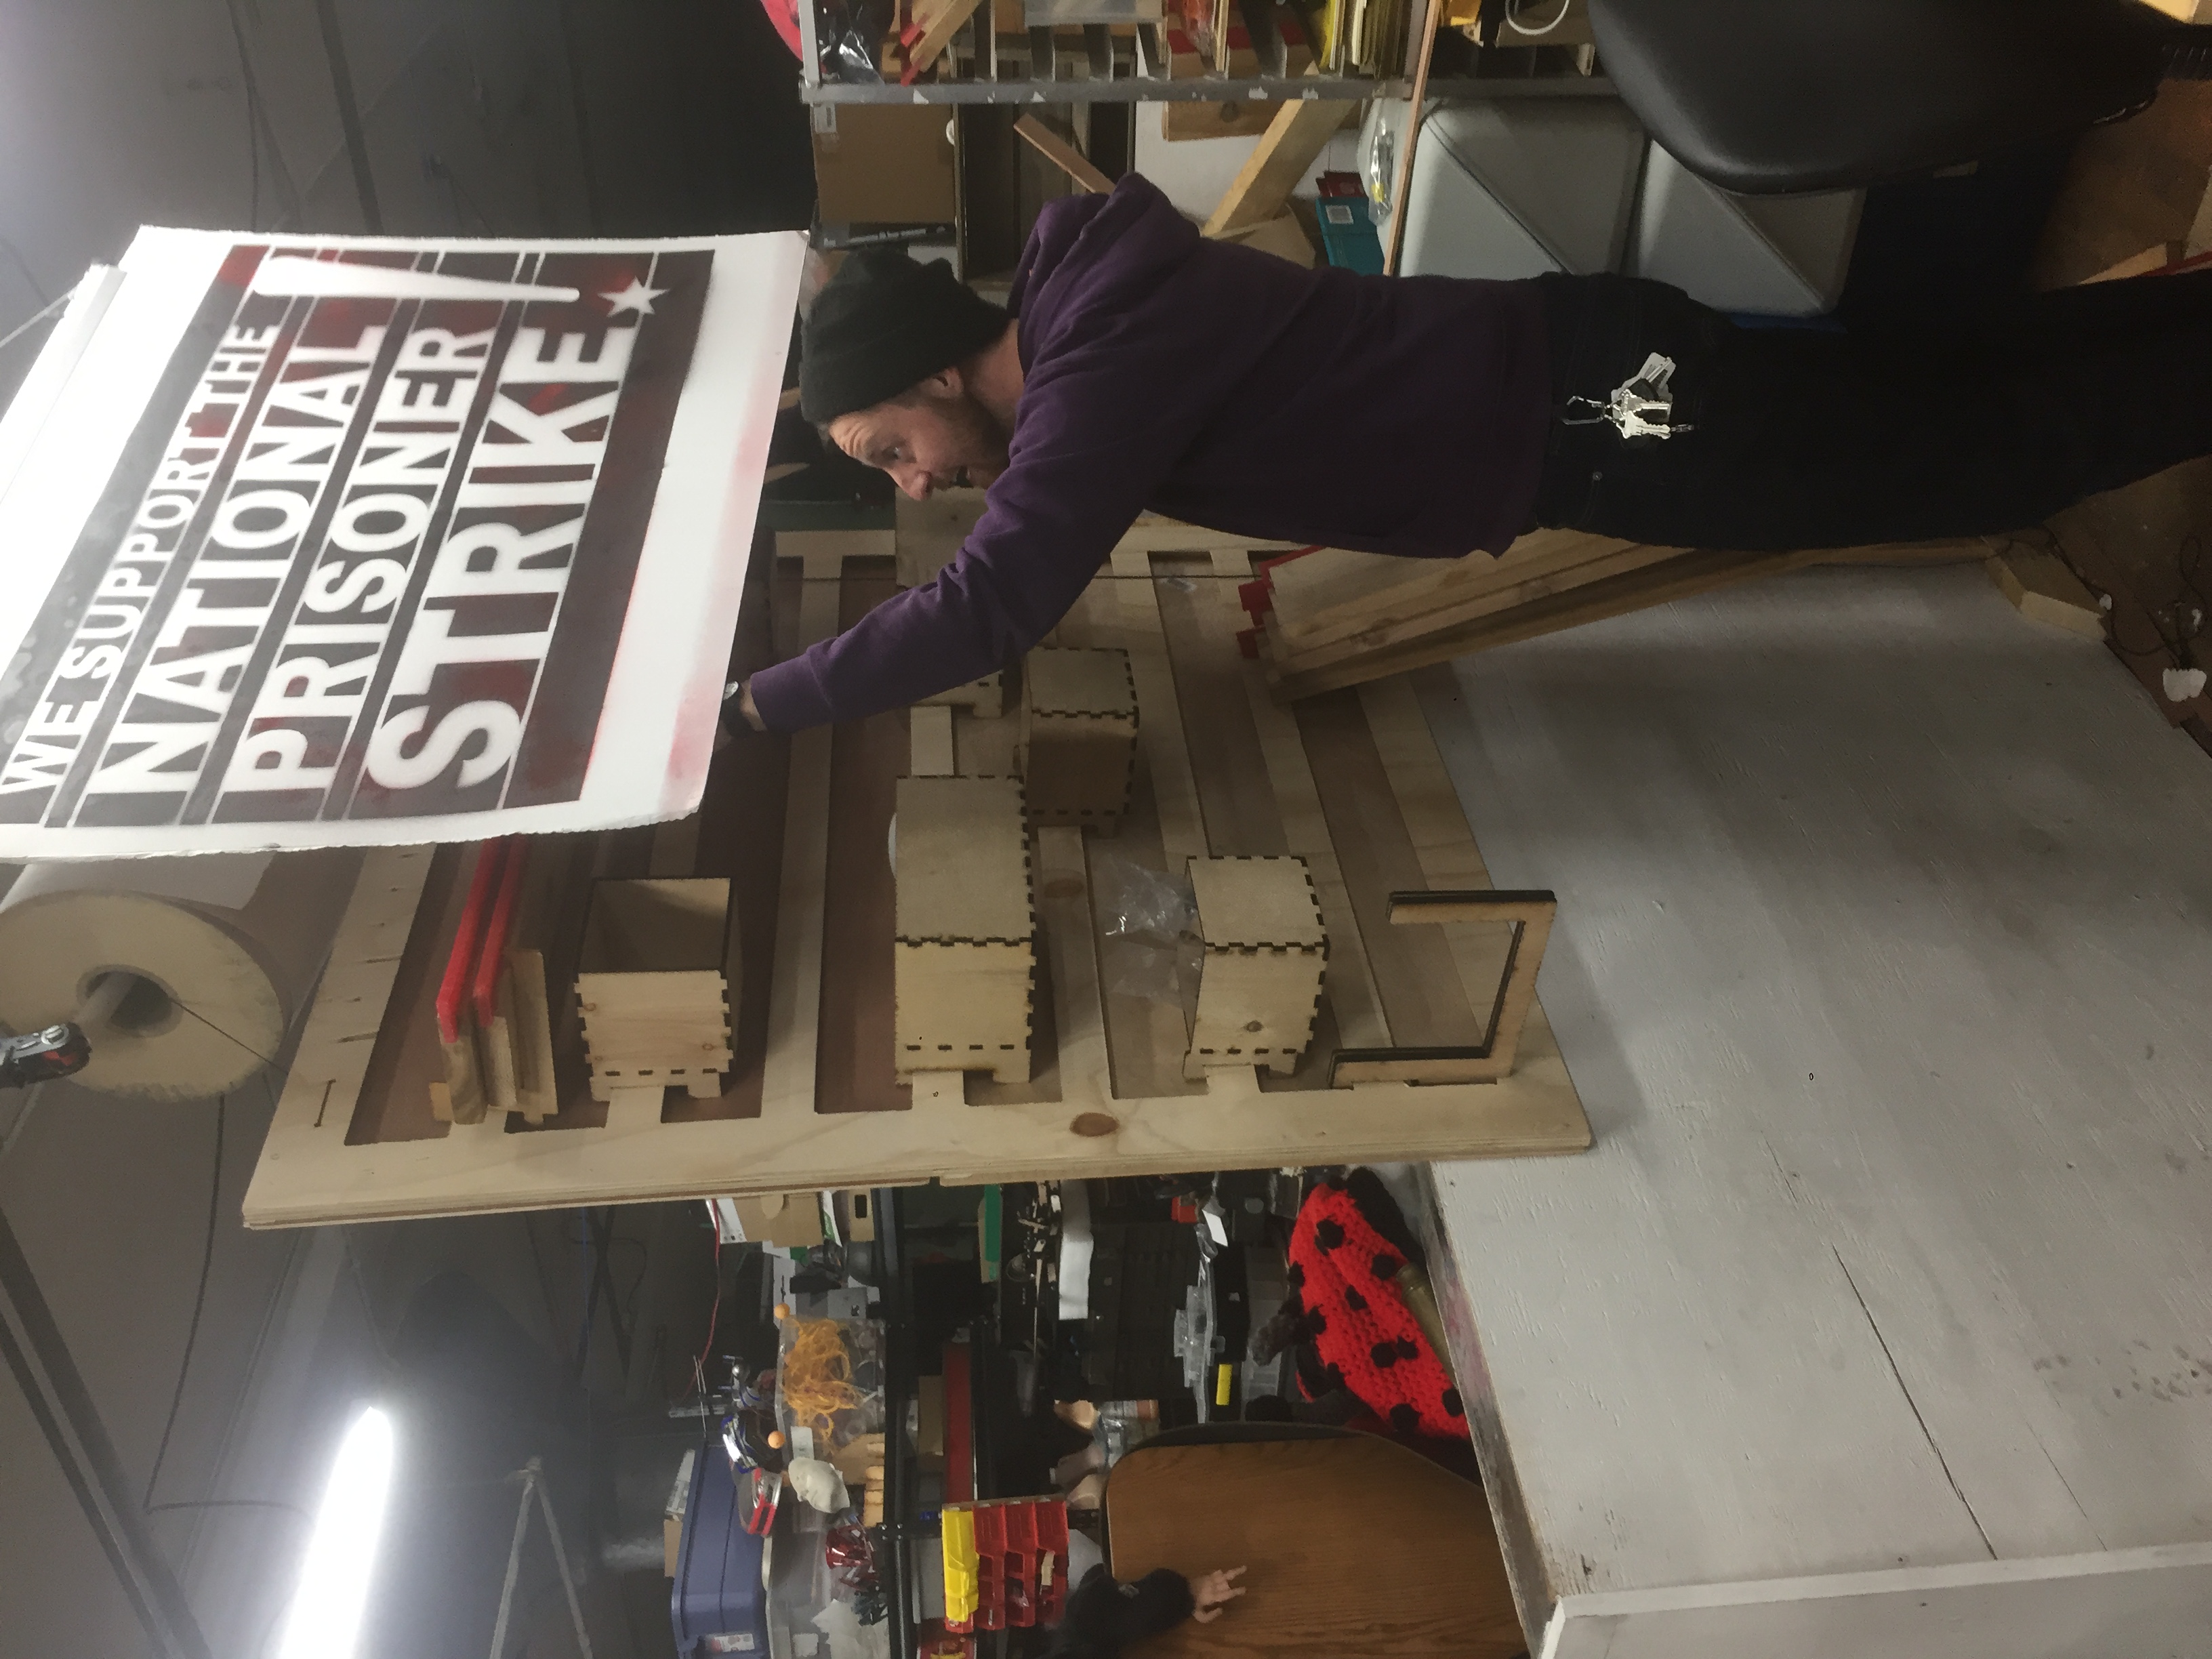
I also really like movable boxes for staying organized when on job sites and builds. I am hoping to make an unfolding cleat wall cabinet that can be easily transported.
Design
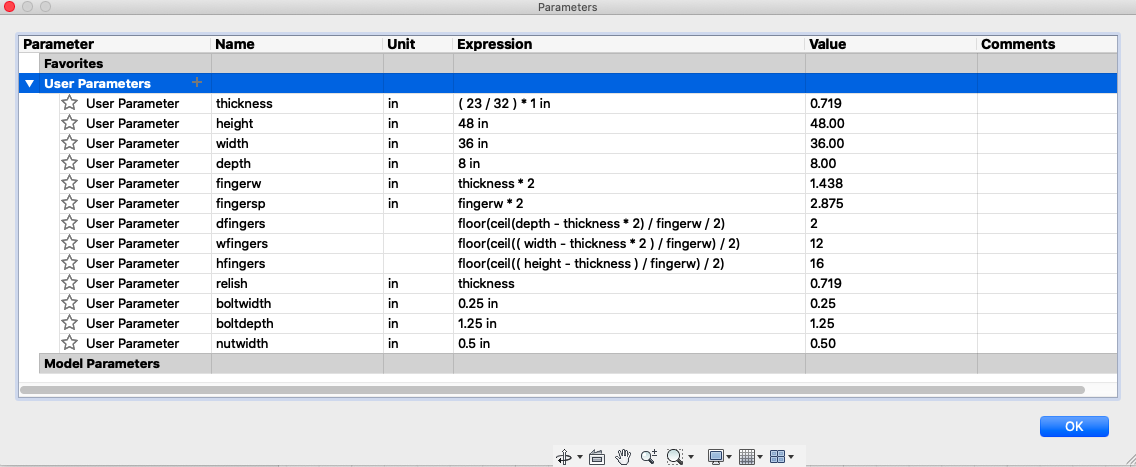
for the start of this project I made a parameter table. For my finger joints i used this tutorial I’m finding that this method if working is very enjoyable albeit still a bit slower for me.
onto the first sketch this allows for the placement of the finger joints onto the edge.
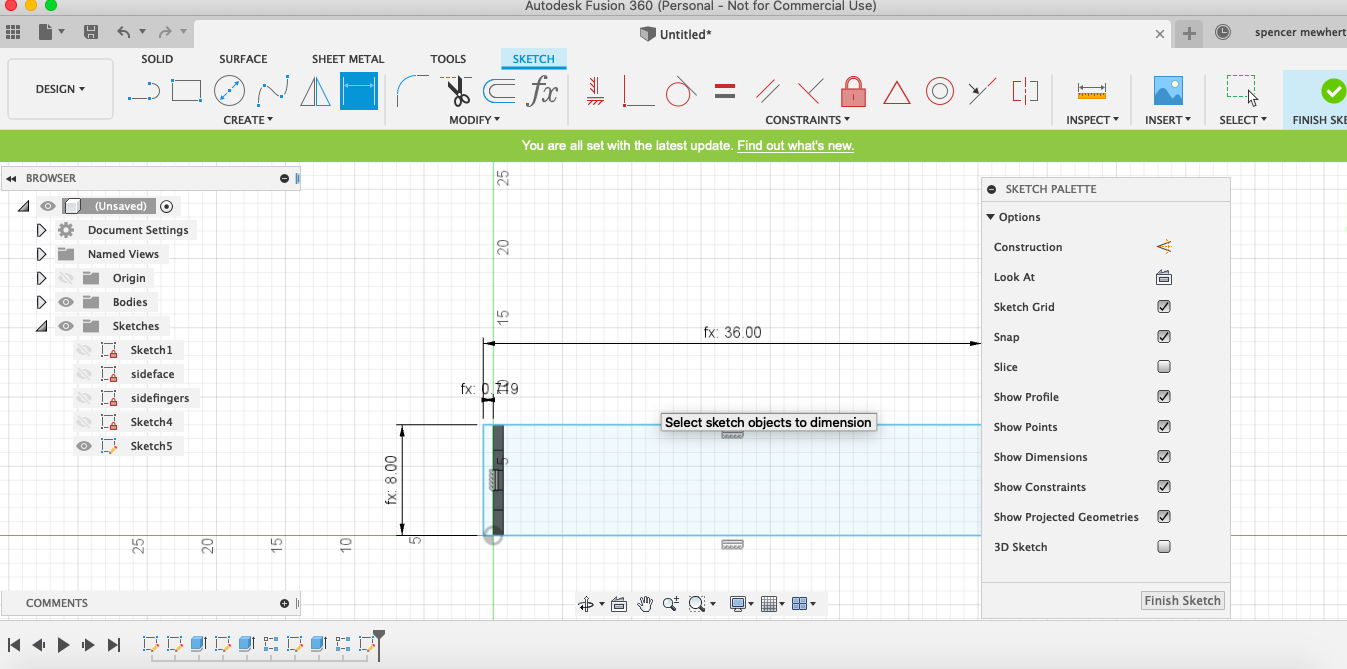
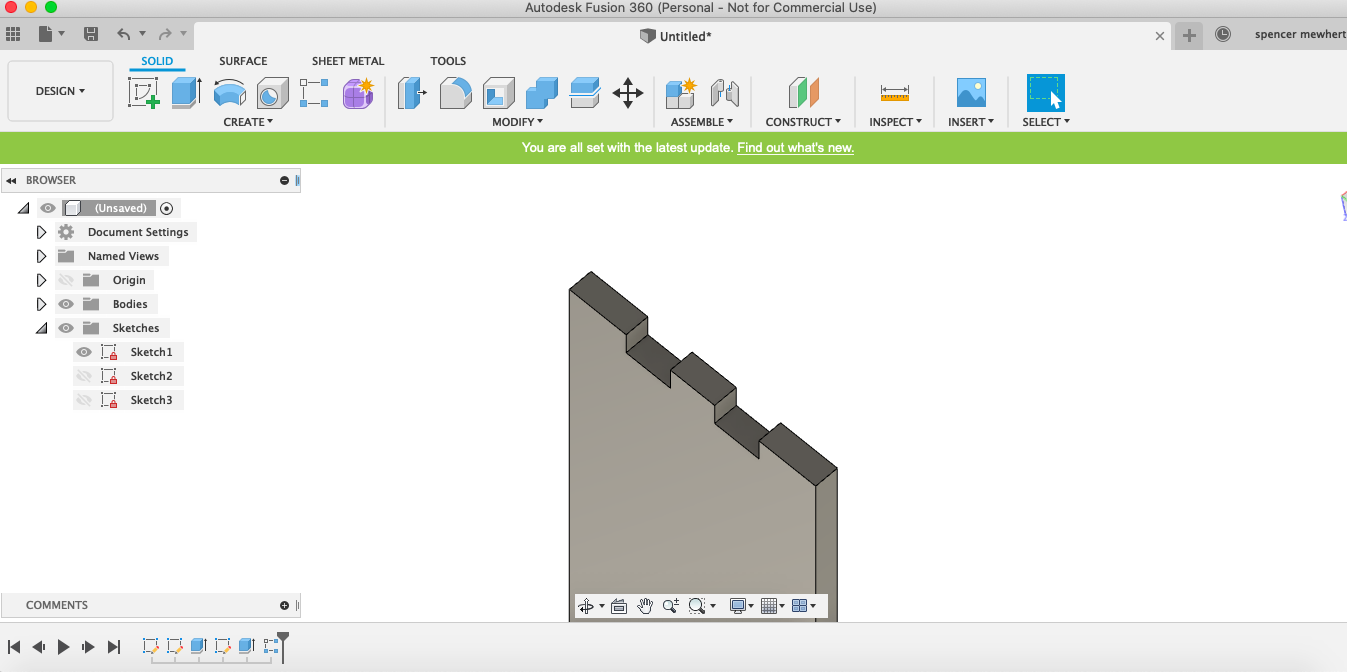

this is the joint that i am hoping to use. A captive nut and bolt combo that will allow for glueless assembly.
Cutting Gantry for Final Project
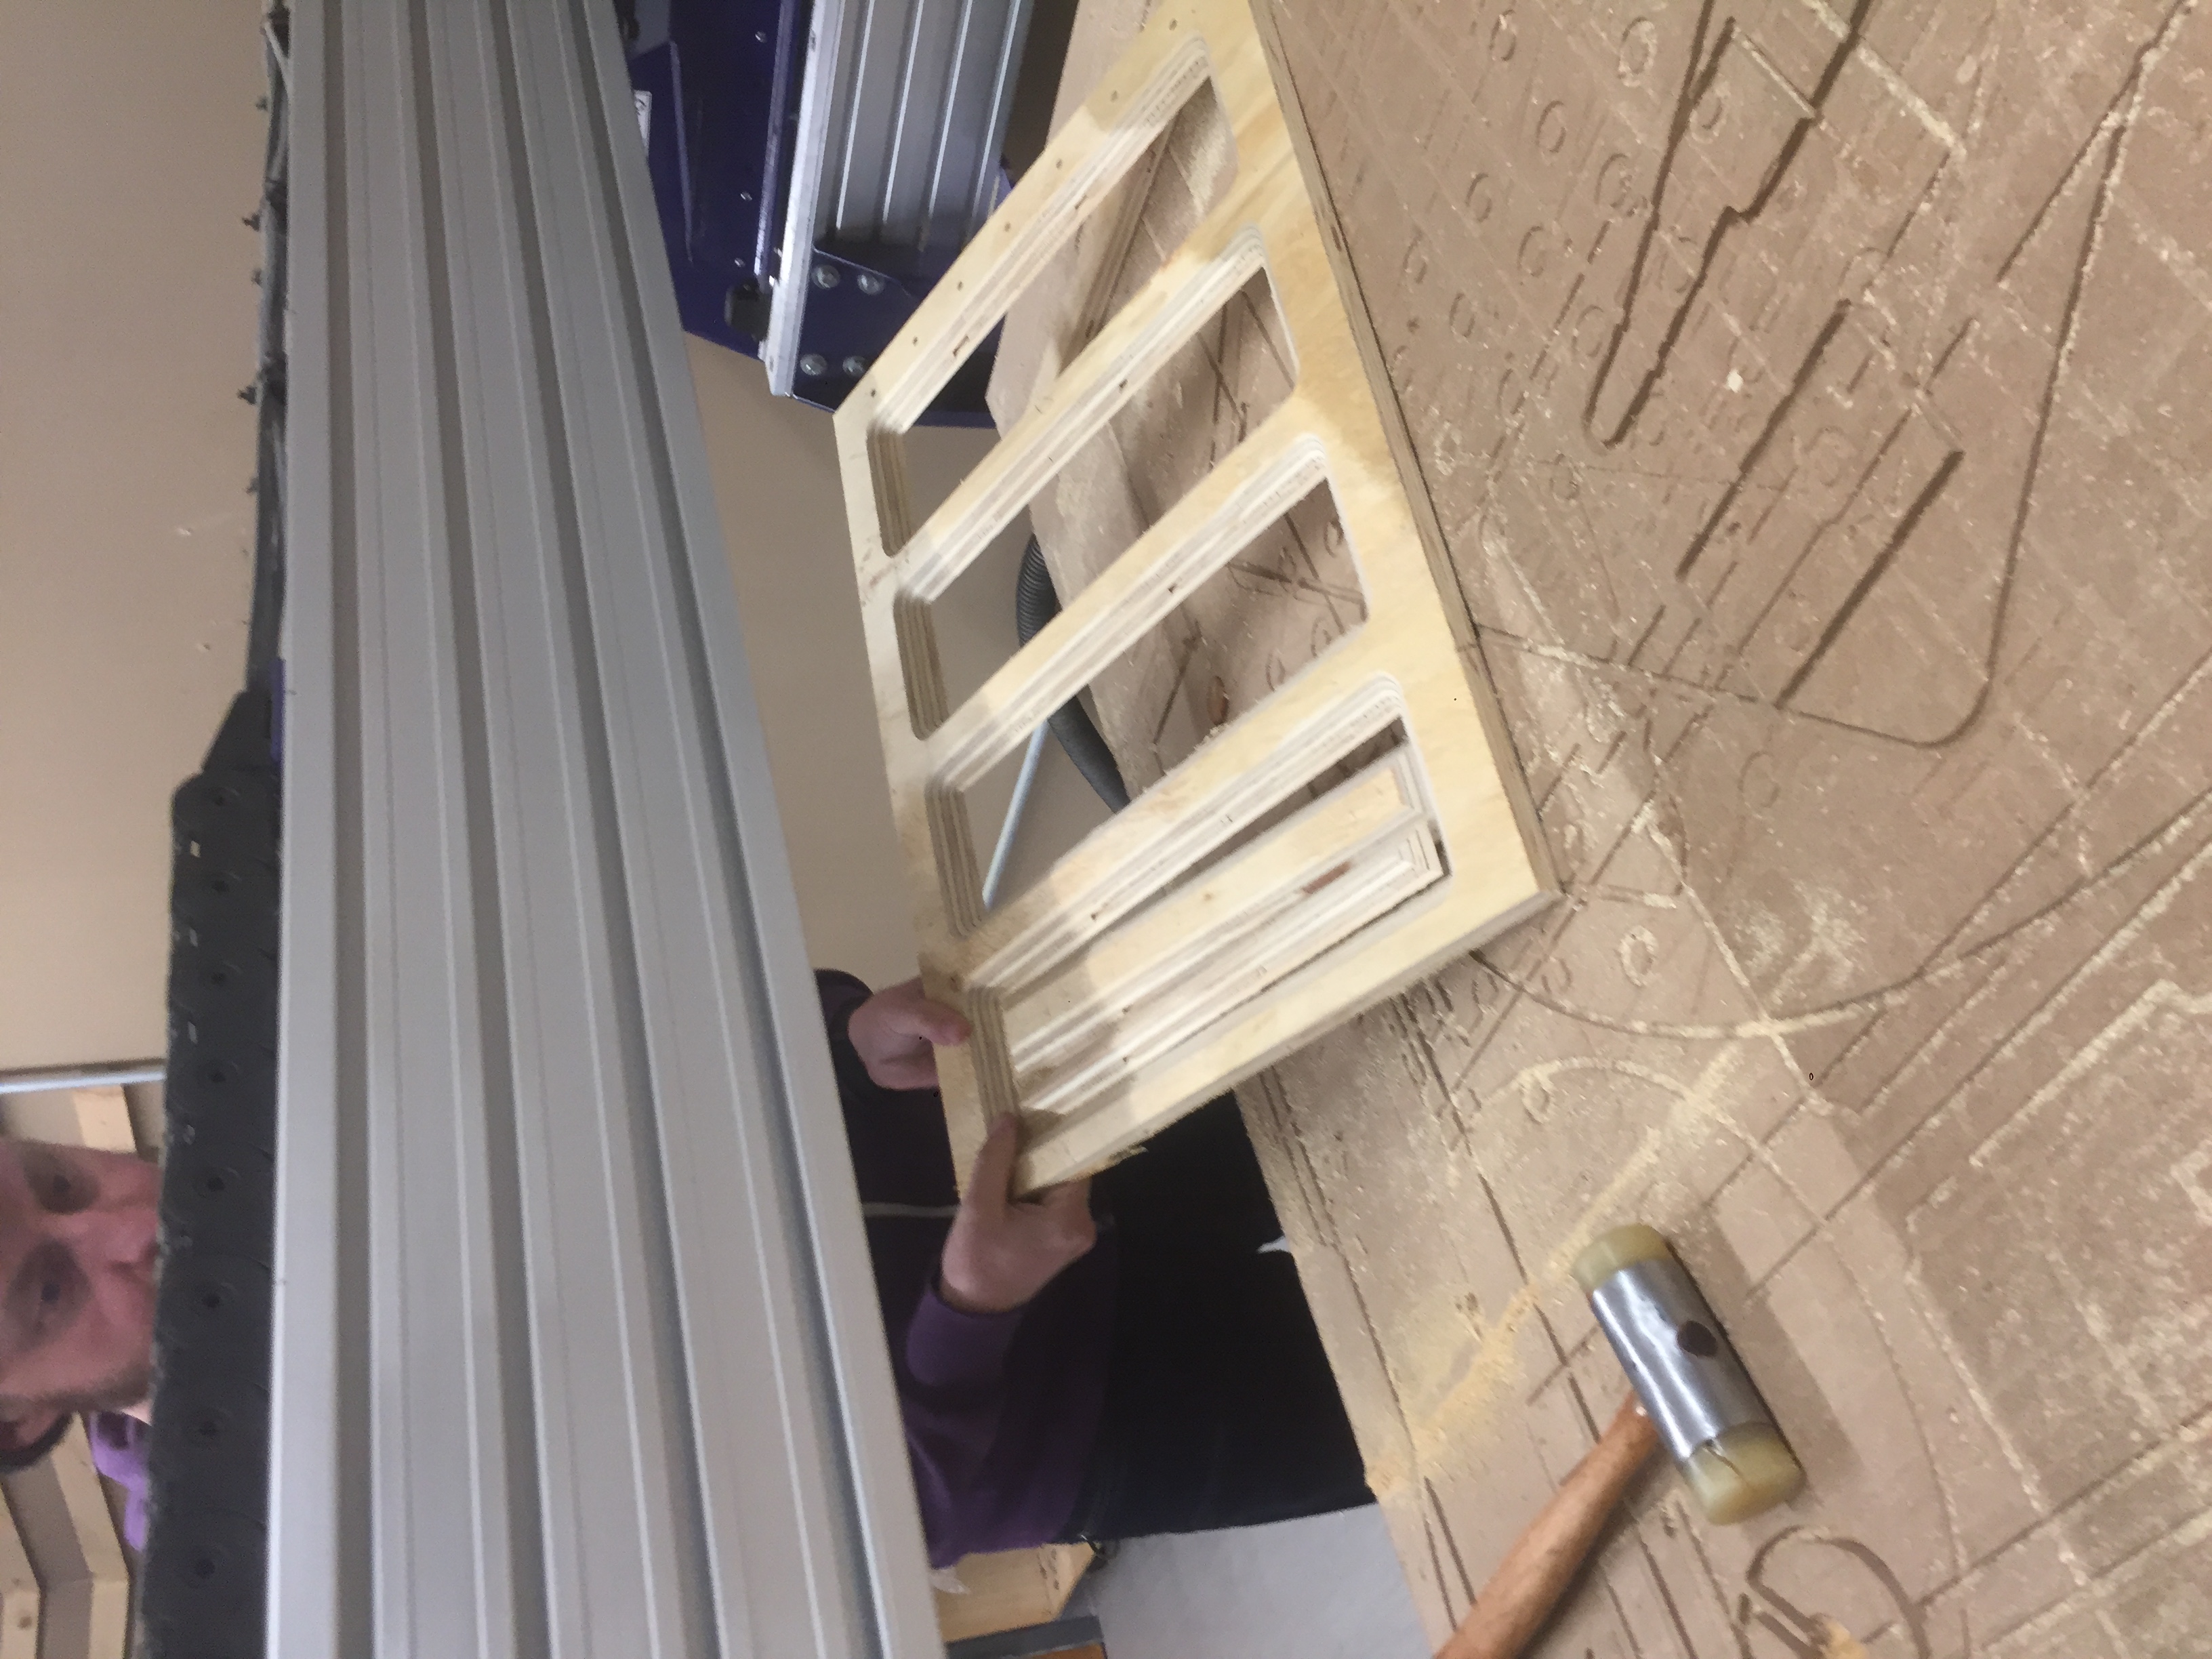
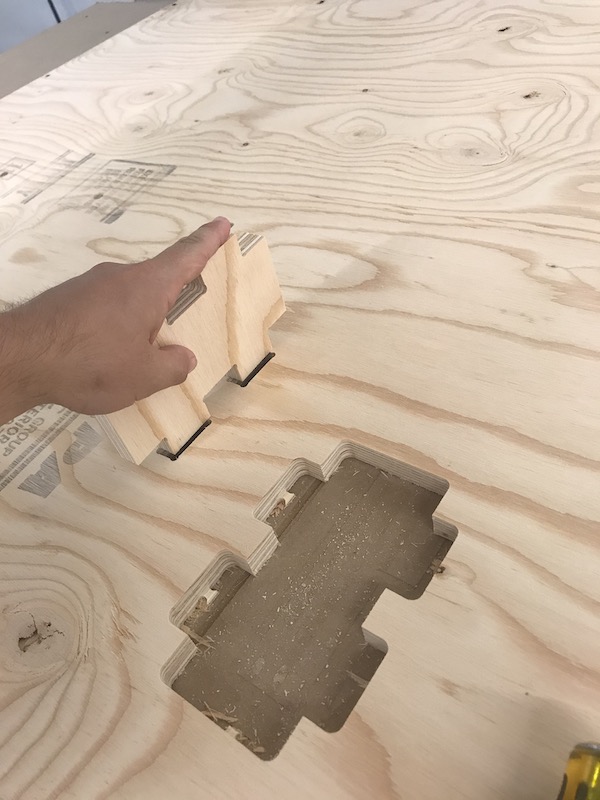
It’s been some months since working on the router. Half way through this week our region was placed into a lockdown. Getting back to this week I decided to fabricate the gantry for the CNC banner printing machine that I’m making for my final project. It is a simple press fit design reinforced with captive bolts and screws.
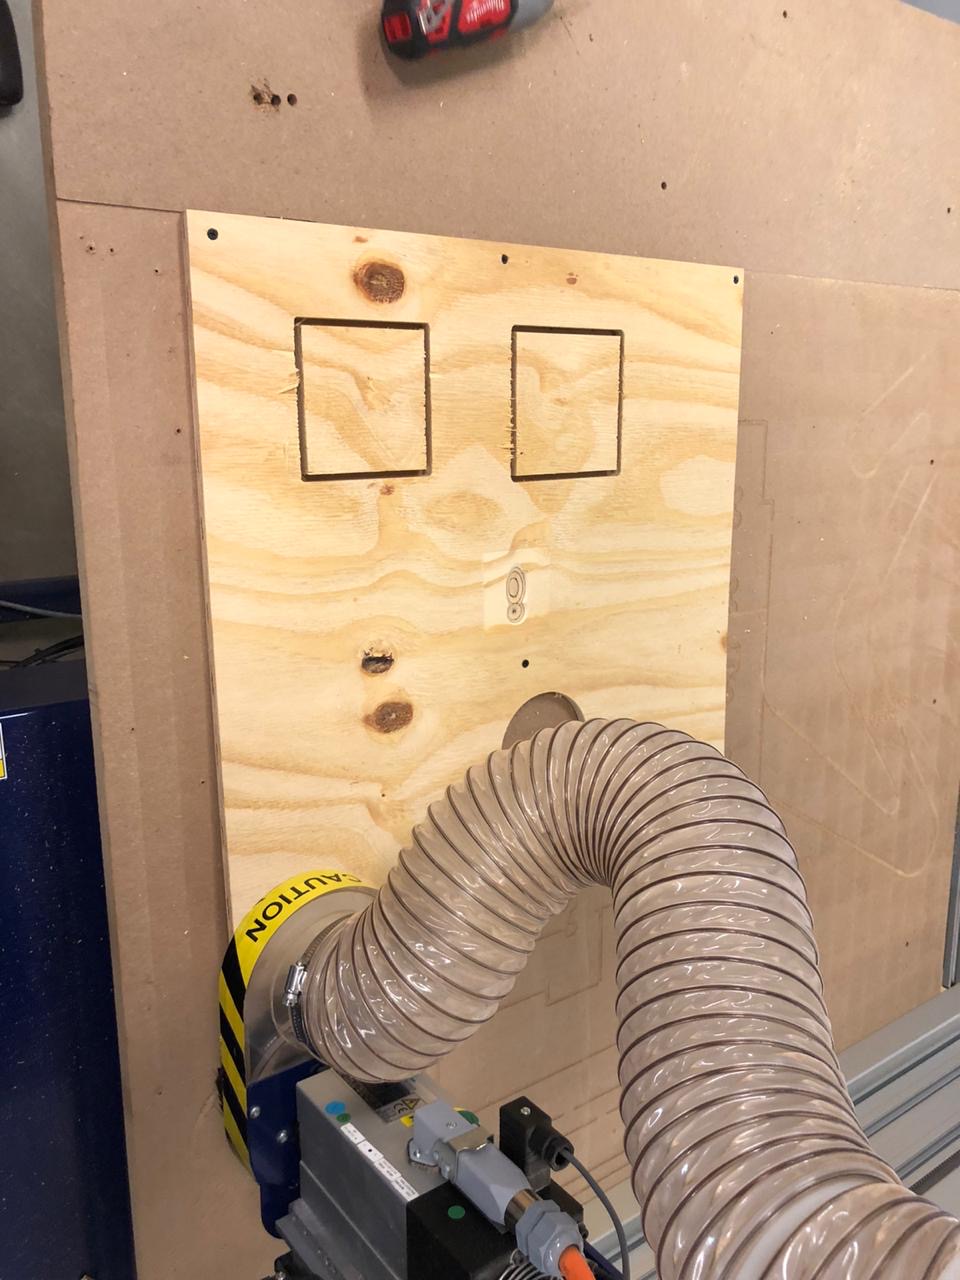
My design Is designed parametrically in regards to a few variables; material thickness, size of joinery, and length of the x axis beam. To get a tight press fit I want to input the correct thickness of the sheet of plywood, then do a test cut to check for a tight fit
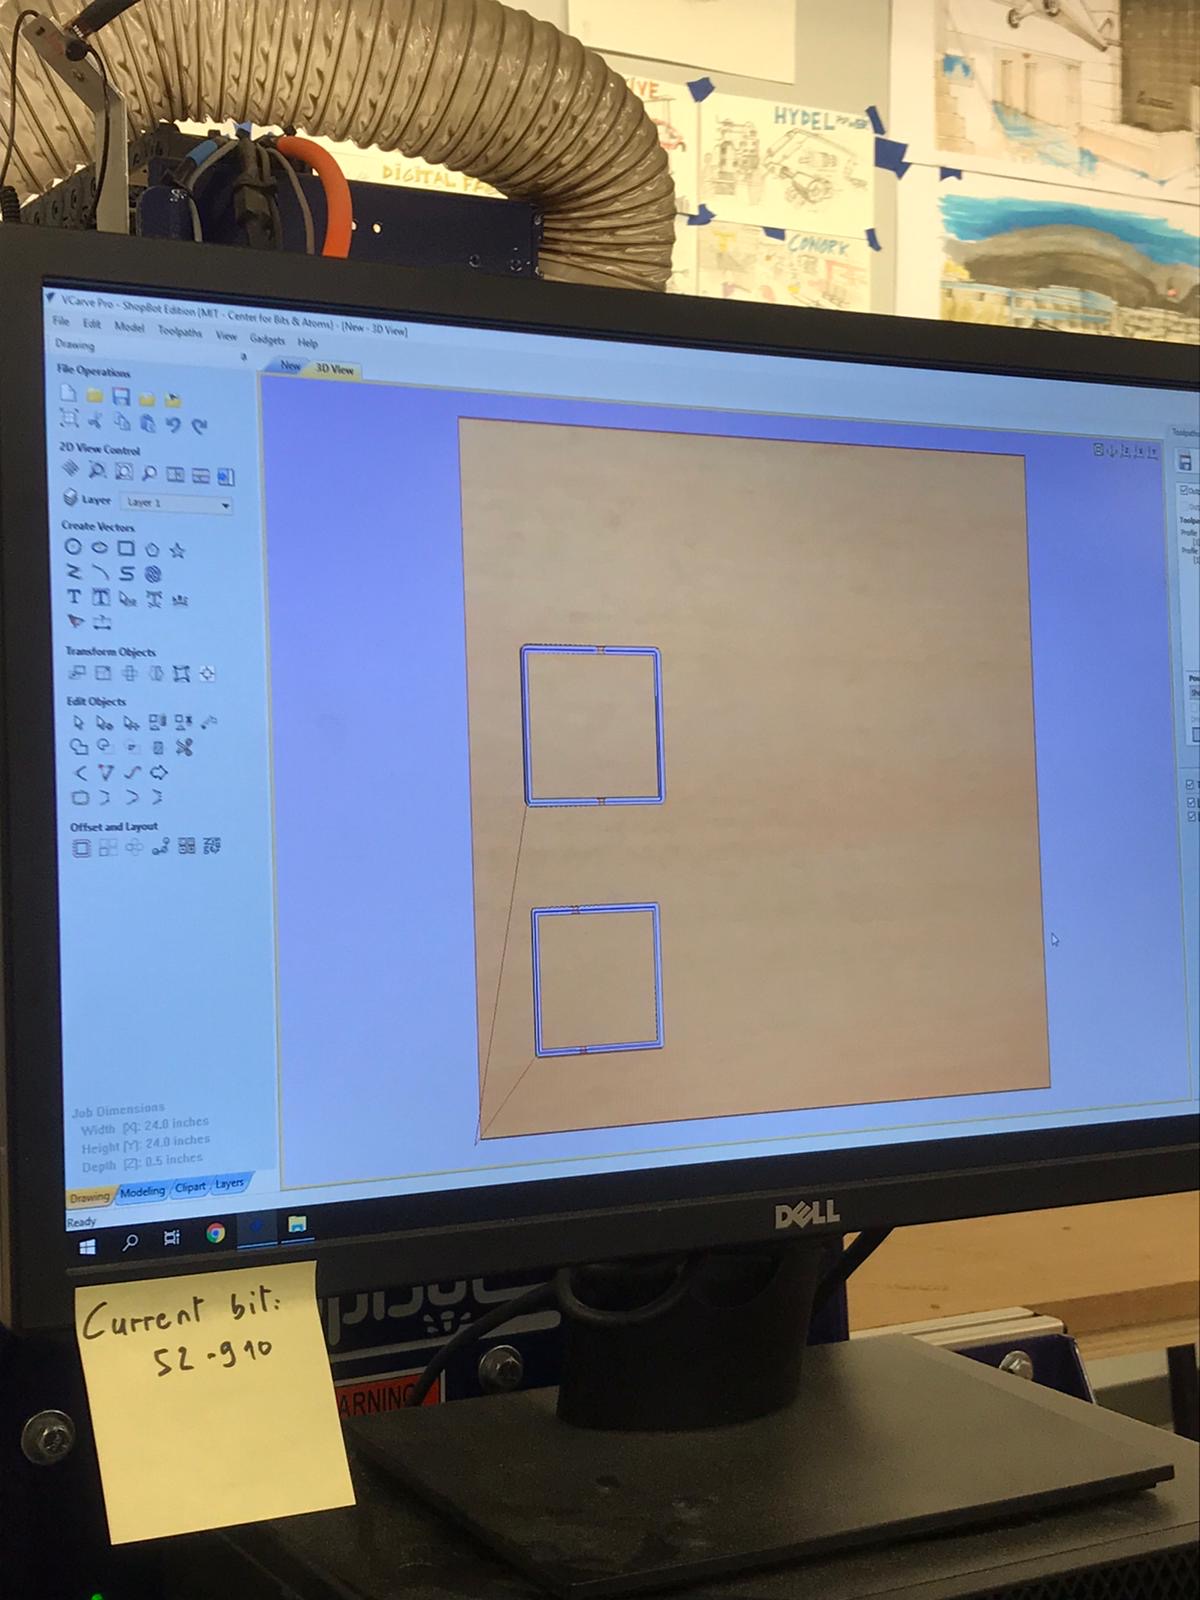
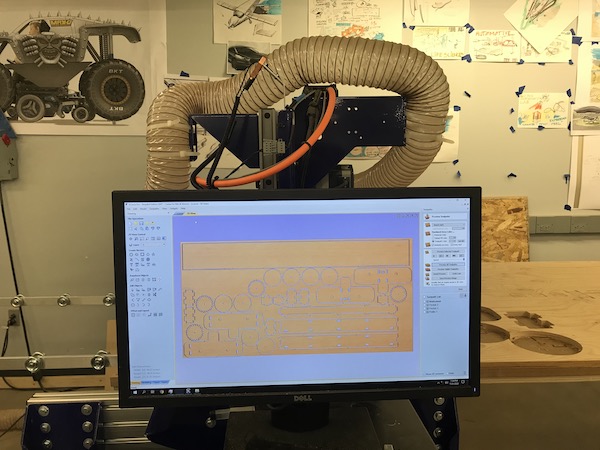
When I import my file the first thing I check is the scale of my file, second I check to see if all of the vectors are closed. meaning the vector lines are connected where they join. Vcarve fortunately has very easy tools to use for this.
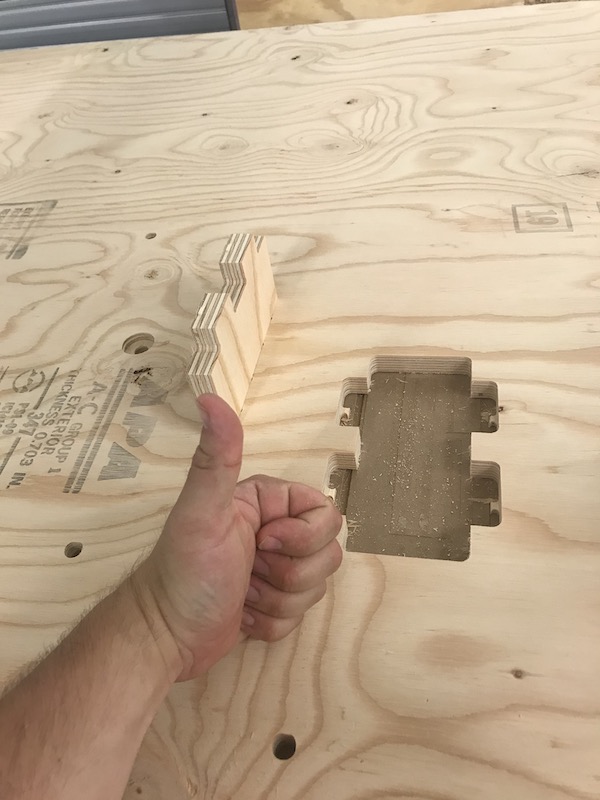
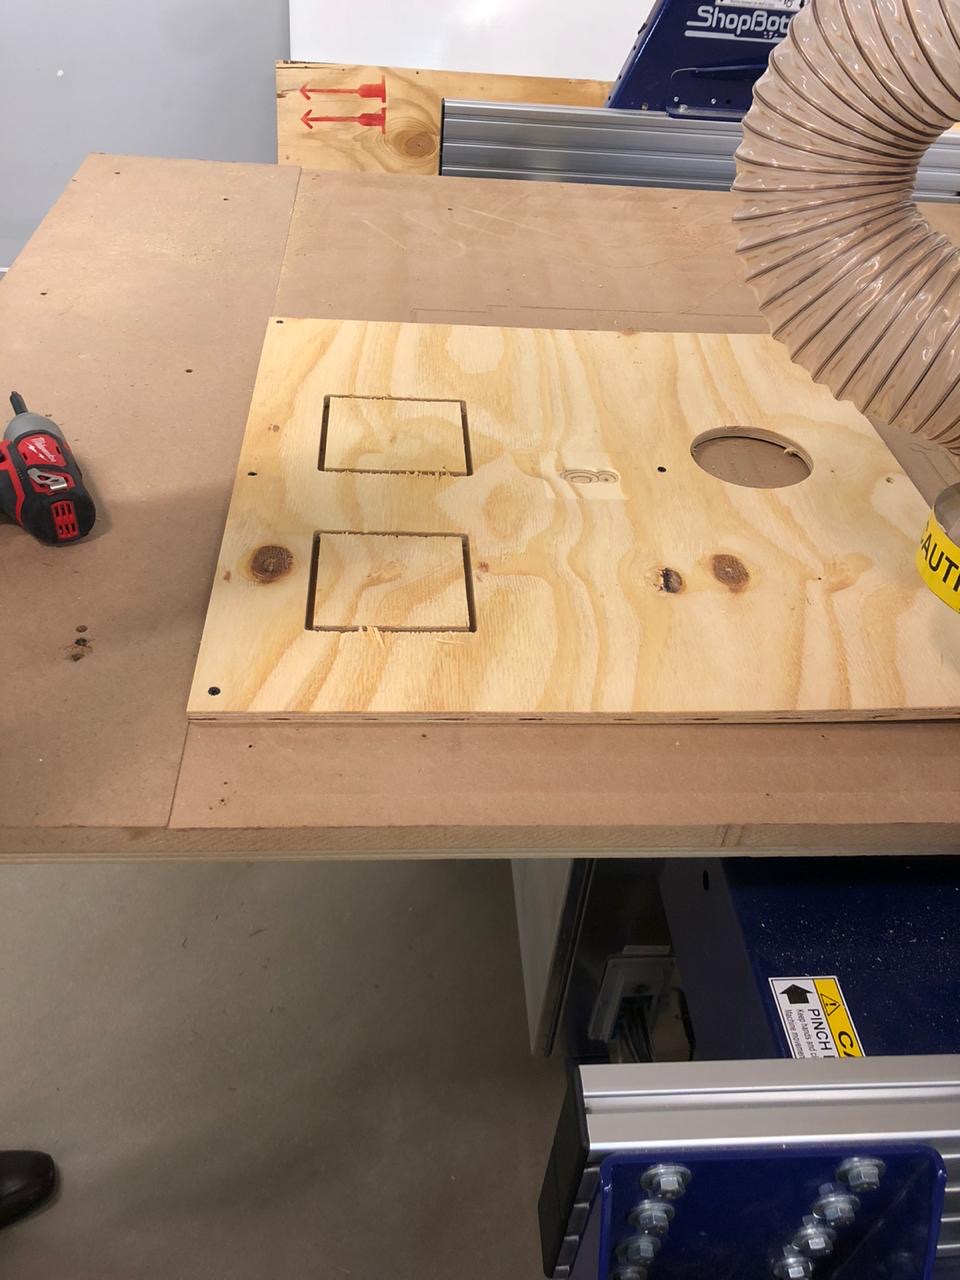
Confirming this fit gives me the confidence to go ahead with the rest of my cut. I always like to design in a test piece like this info my file. If there are issues I would go back and adjust the thickness parameter in fusion and reimport to vcarve. This can be time consuming but I prefer it to adjusting the vector in Vcarve or adjusting the offset while creating the tool path.
On to cutting the file
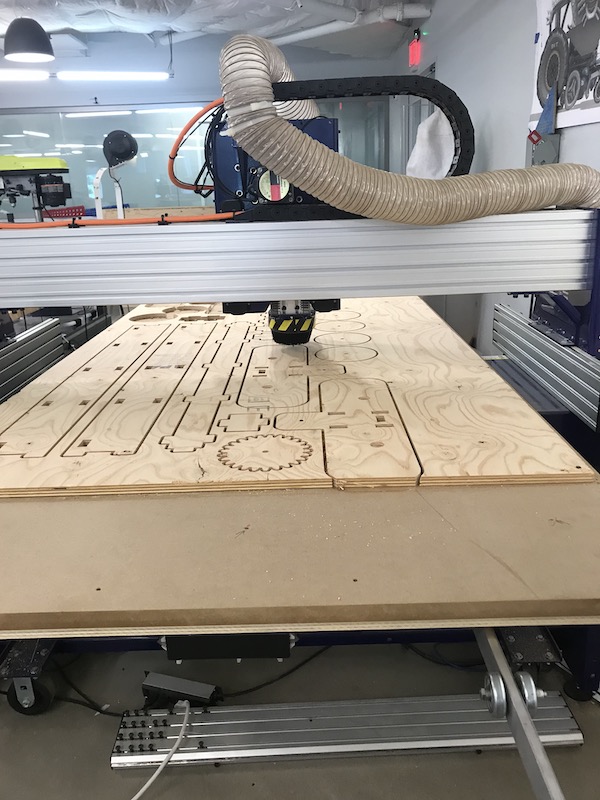
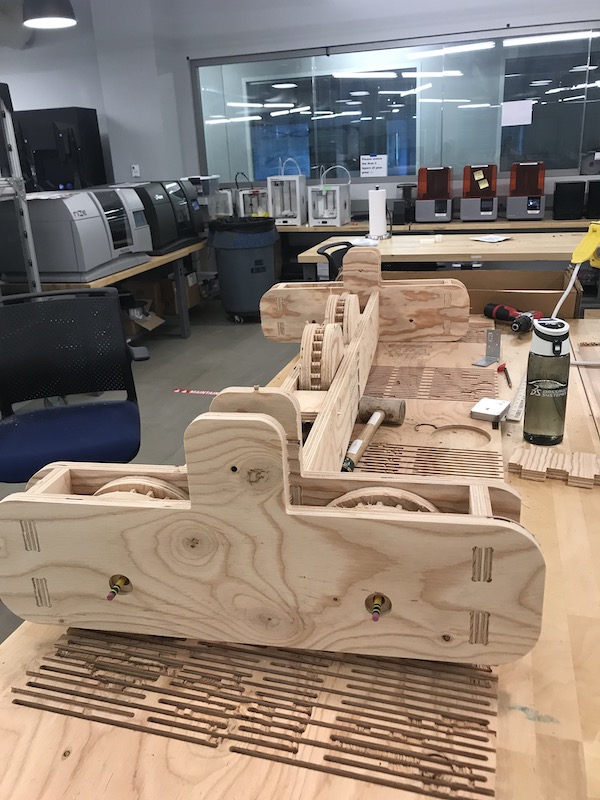
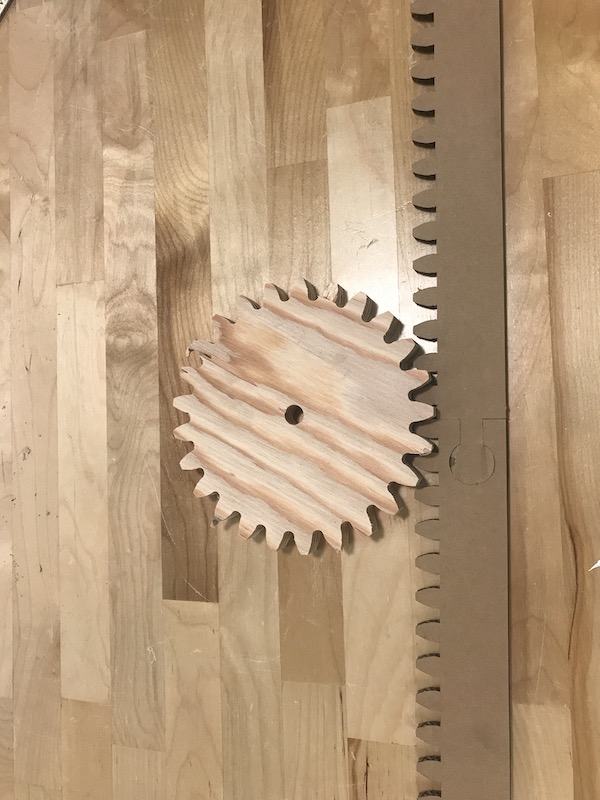
It’s assembles wonderfully! I’m excited to see everything together at last. My next step is to confirm that my gearing for my wheels will mesh with the rack I designed. Before doing a cut on the router in plywood I make a quick laser cut template to check the mesh. I added some fillets in fusion to simulate cutting the rack with a 1/4” router bit. I always like to confirm as much as possible before running a file. Not only does it result in less waste I find that I can focus more on the machine setup and if I’m not worried about parts not fitting!