4. Computer controlled cutting
This week we were assigned to make our own sticker on the vinyl cutter, create our own parametric design, and for our group project, characterize the laser cutter.
Vinyl Cutting
After thinking about what I wanted to make, I decided on a unicorn. I wanted to make my design from scratch, so I quickly made a sketch on my iPad. While drawing, my attempt at a horse snout looked more like a whale’s mouth shape which gave me the idea to turn it into a narwhal instead. I began by drawing the basic shape and then I added further details.

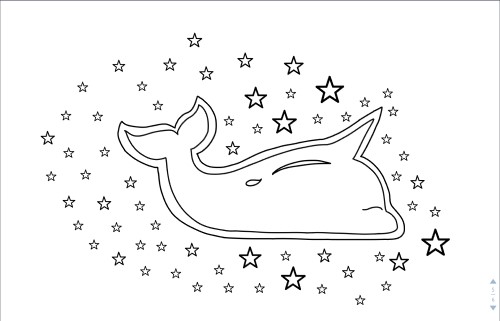

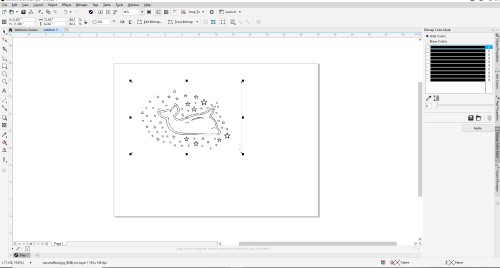
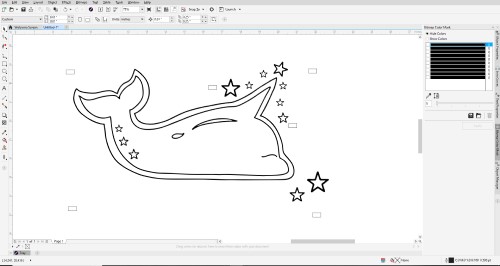
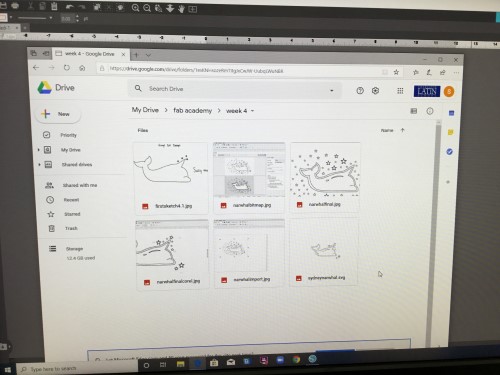
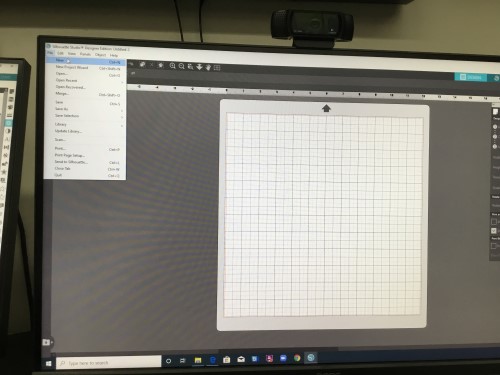
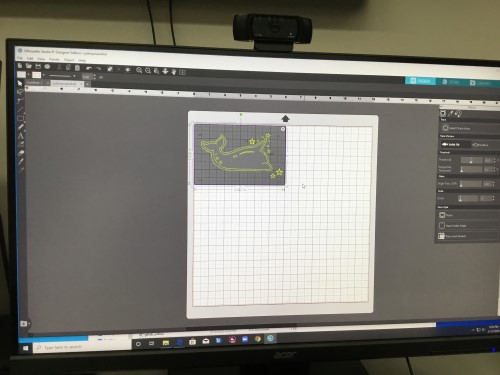
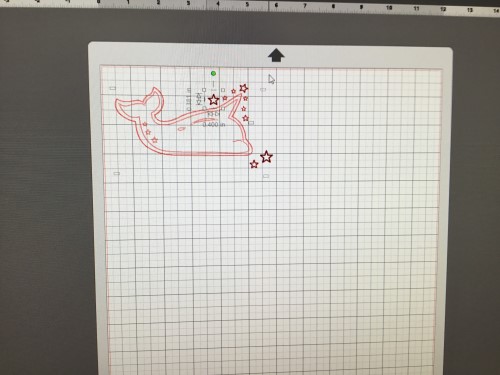
Once I had completed my drawing, I imported it into Corel Draw and traced it by clicking ‘Quick Trace’ under ‘Bitmaps.’ I changed the page to 30in x 20in to allow for more room. Originally, I had added stars all around the narhwal, but once on Corel, they did not look as appealing to me which probed me to delete most of them. To fix this, I rearranged the ones I left into a pattern I liked. After that, I added registration marks, so that when I was layering, I would have a point of reference. I did not know much about them nor where to put them, so I placed them at corners and by two stars that I thought I would like to have a reference point for as well. I proceeded to save it as an SVG file, and then opened the file in a program called ‘Silhouette.’ It did not allow me to take screenshots on the computer I was using, so unfortunately, for some of the following pictures, I had to take a picture of the screen.
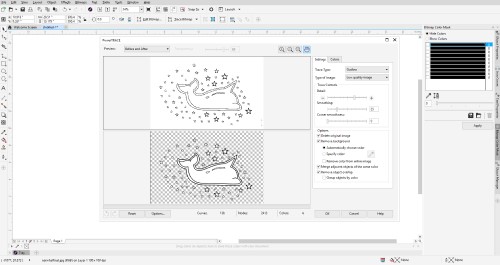
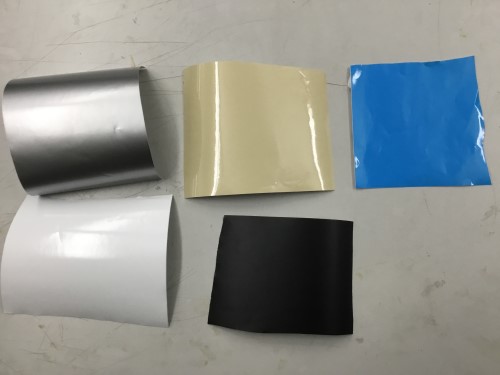
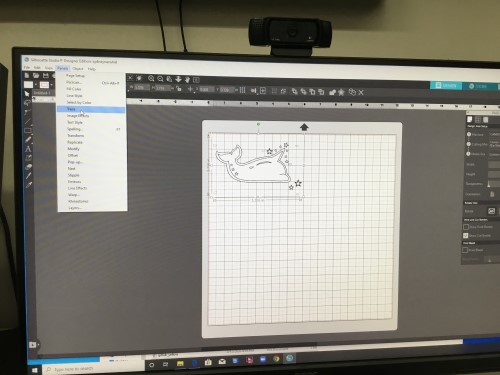
I then traced the picture and sized it to be about 3in x 5in. From there, I chose the colors I wanted. In the beginning, I wanted to make the body of the narwhal blue, the border and body details white, and the stars silver. But when I thought it over more, I wanted to have a specific theme, more specifically, something that represented Charlotte. What better way to do that than to make it Carolina Panthers themed? I selected the closest shade to Panther’s blue that I could find along with a matte black, silver, white, and coffee color. In the end, I omitted the white and coffee color eventually.


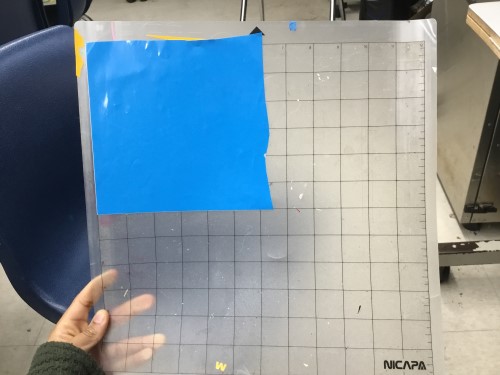
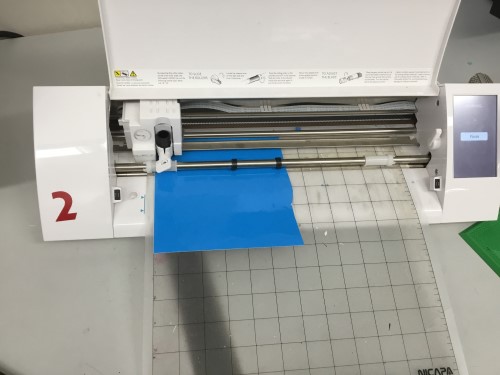
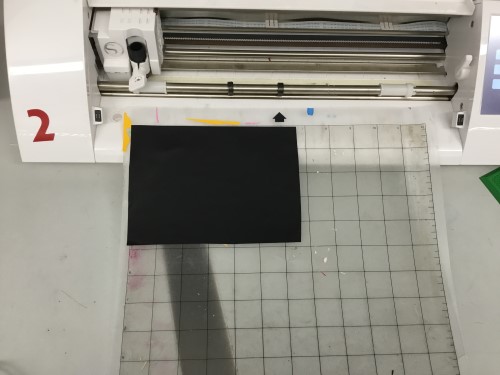
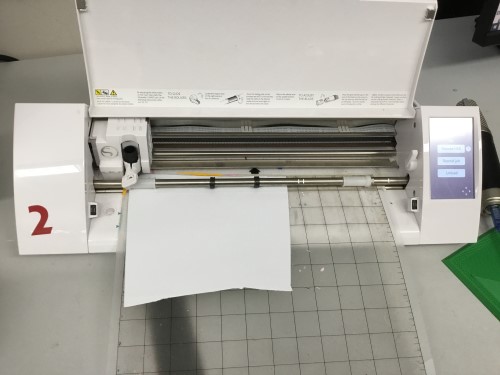
I stuck the square of vinyl onto a sticky mat and loaded it into the Cameo. Going back to Silhouette, I pressed print and printed the narwhal 2x without the stars, once in blue and once in black. Then, for the silver vinyl, I deleted the body of the narwhal from the trace and only printed the stars.
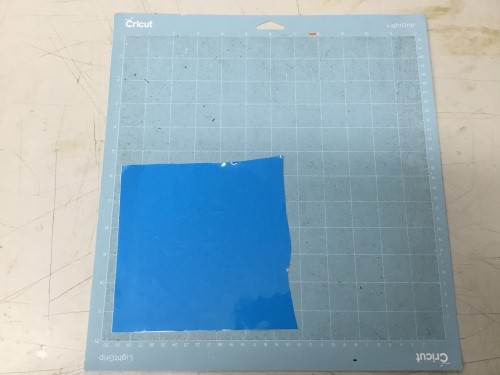
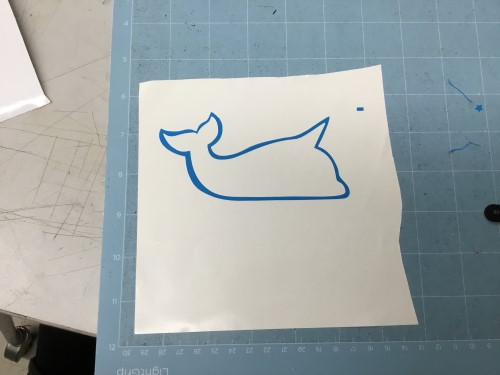
Once I had all of my layers printed out, I got a blue mat out and stuck the blue vinyl down first. With tweezers, I removed every part of the narwhal aside from the border. Next, I repeated the same steps with the black, but instead of solely keeping the border, I only kept the body. I used two tweezers to carefully place the body in the middle of the border. Intentionally, I left space between the border and the body simply because I thought it looked better. Again, I repeated the same process with the silver stars. I did not add as many stars, thinking they would look too cluttered.

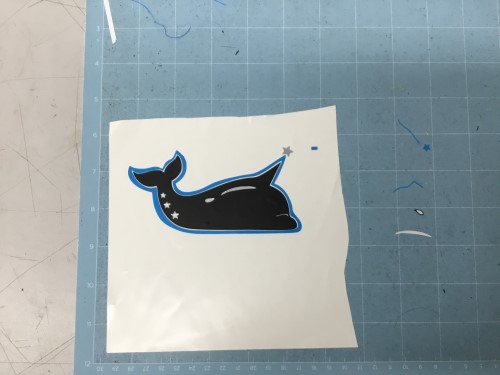
![]()
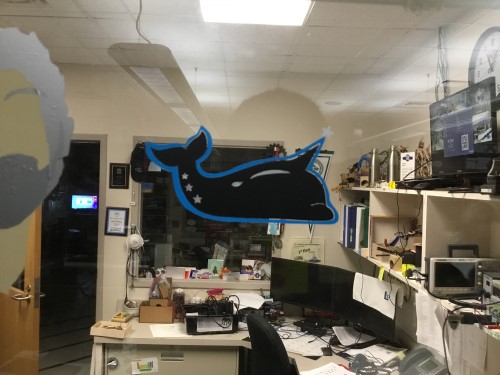
Finally, I placed transfer over the sticker and then put it on the glass window where all of my other classmates’ stickers were placed.
My Corel File: Here
Group Assignment: Characterizing the Laser Cutter
For the group assignment this week, we were assigned to characterize the laser cutter. My whole class decided to be a group for this first group project, so that we could get a feel of how group assignements will be in the future all together. Below, there is a link to our group site. My personal contribution to the project was to help define and calculate the kerf and document. To do this, I, along with two other classmates, cut out a 2in x 2in square of plywood using a file that another classmate had made. From there, we measured the square with a caliber and subtracted the dimensions we made on the document to the dimensions we actually got. This is explain in more detail on the group site.
Our site: Here
Parametric Design
To learn about parametrics and how to make a compatible design to laser cut in Fusion360, I referenced these websites:
What is Parametric Design? Designing a Laptop Stand in Fusion360
My Fusion File:
My Corel File: Click Me
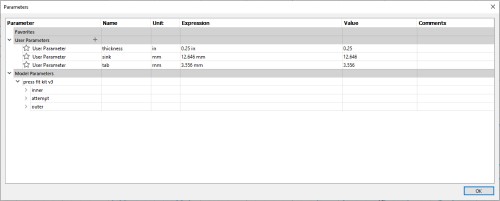
My parameters:
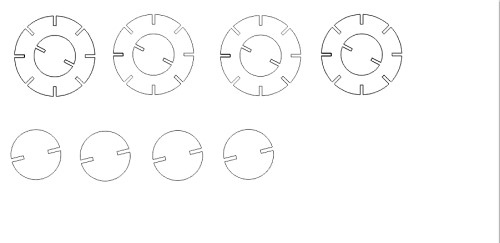
I based my design off of Saturn and only used circles in my design. I began by drawing out the pieces that I suspected I would need if I was going to create anything close to Saturn. After that, I created a sketch of the pieces in Fusion. Originally, I thought that I would need 3 pieces, but I realized that the two outer pieces were so similar that the outmost piece would suffice.
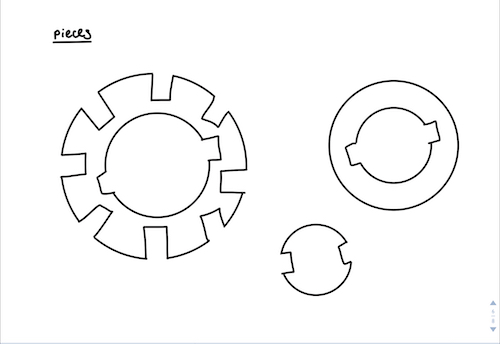
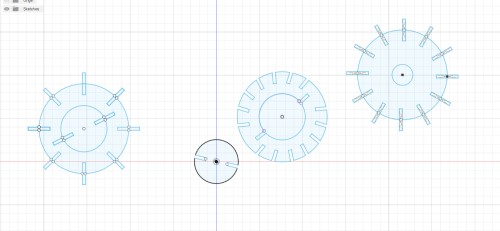
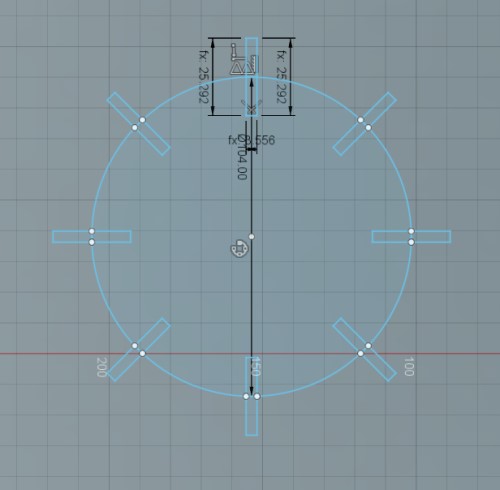
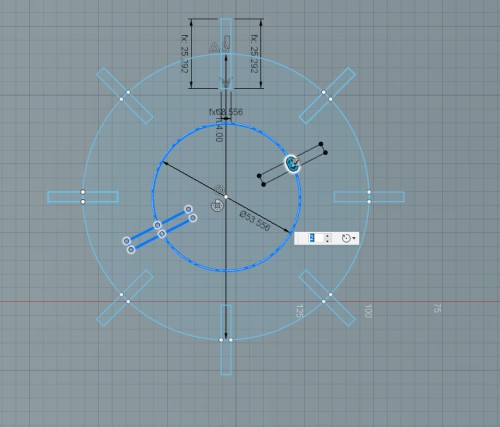
To create the inner piece, I drew a center-circle and that drew a tab on one end. The circle’s diameter was 50.8 mm (roughly 2 inches), so I drew a line from the center of the circle to the outside. I then split that line in half and got the depth of my tab which was 12.646 mm. I added a parameter and labeled it “sink” with this measurement. I repeated the same thing on the other side, however this time getting its measurements by calling the parameter. I made another parameter called “tab” which was the width (3.556 mm) of the tab. I used the “Circular Pattern” tool under modify to replicate another tab on the opposite end.
I had a bit more trouble making the outer circle/ring. At first, I drew two cirlces at first, one with a diameter of 104 mm and the other with a diameter of 82 mm. I subtracted 22mm to account for the length of the tabs, and extra room. I used the mirroring tool at first to create tabs “going out” of the middle which would, when finally cut, be removed. The difficulty came with the outer tabs. I had used the ‘Trim’ tool to get rid of excess lines which I later found to be an issue because it simply made it harder to modify the circle later on if I realized I needed a line that I had trimmed in the beginning.
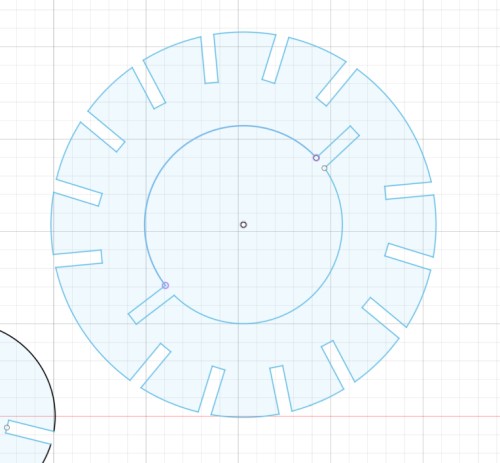
I ended up restarting all together and sketching a new circle with tabs sticking out, but this time, I left the tabs in. I realized that I could just edit them in Corel after the fact when I was going to laser cut. Once I had my new sketch, I drew the same circle with tabs poking out in the middle in the center of the outer circle to create the ring.


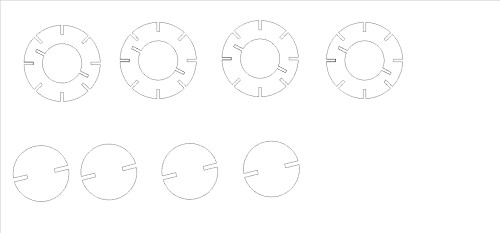
I imported my sketch as a DXF file into Corel Draw once I was done sketching and trimmed off the excess. Then, I selected a piece of 30 in x 20 in piece of cardboard and adjusted the preferences in Corel to fit the cardboard. In the settings, I made sure that the cardboard size was the same, that it was set to vector and not something else, and also ensured that the speed, frequency, etc settings were fit for cardboard. I thought I ran into a major issue because I realized that in order for the inner circle to fit, I would need the inner tabs to face into the ring. However, I later realized I was totally wrong. By then, I already changed the Corel design. It turned out to not be that major of an issue because I was able to still construct what I had imagined easily, but in retrospect, it would have been better if I had not made those changes.

Original:
Edited:
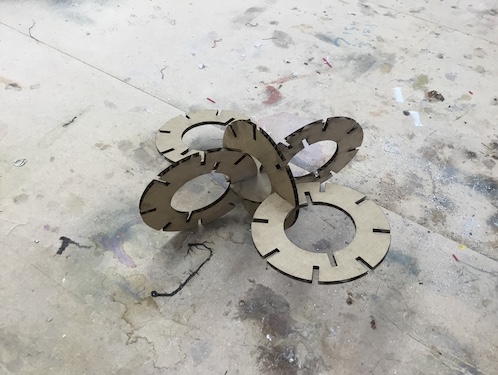
Final Product:
Conclusion
Vinyl Cutter -
It was really fun making and layering my own sticker for the first time. In the past, I had only searched online for images and pasted them into Corel where I then traced them to be able to send them to Silhouette. I had also never made a multi-colored sticker. Although I have never been the biggest fan of the vinyl cutter, this was a good learning experience.
Press-Fit Parametric Kit -
I enjoyed learning about what parametrics are and how to use them. Even though I made many mistakes along the way, they made me think of different ways to solve them which lead me to have a greater understanding of the task at hand. This will definitely help me in future assignments because I will also have my documentation to look back on.