12. interface and application programming
1. Assignment && week workflow planning
1.1 Assignment requirements:
- individual
write an application that interfaces a user with an input &/or output device that you made
- group assignment:
compare as many tool options as possible
1.2 Preparation
- Ask for advice from Tutor
1.Find a GUI library for Python/Javascript
2.Study how to display text and pics
3.Find existing libraries about Python/Javascript communicating with Arduino.(google to check how others did it)
4.Make Arduino talk to the application i developed - make the data display on the screen.
5.Do something else if i have time
- Read previous students work and learn what they did previously
I used the insite search and put class name as keyword and go to all the links list on the first page.
Arduino codes, Python, BLYNK
Data transmittion through Serial
Arduino and Processing transform guitar into a flamethrower.
- Read tutorials from FabAcademy
Tutorial links from Fabacademy
Important info that i got from it:
You can create web applications with Flask, Django and many other frameworks (I’ve just found this, Moya). You can write desktop app with TKinter, WxPython or PyQt. You can package your code into a redistributable executable with py2exe, py2app or pyinstaller. You can create Desktop and Mobile app with the same code with Kivy (you can access the hardware functions with plyer).
1.3 My workflow of the week
- Use Python wxPython library to create a GUI interface
pip install -U wxPython
- Use Python serial library to do serial communication
pip install PySerial
2. How i did it
2.0 HeroShot
- Successfully built a GUI interface for rotary switch
- A DHT11 sensor is read using Python
2.01[Updated 1130] Hardware that i used this week
| Name | Qty | Usage |
|---|---|---|
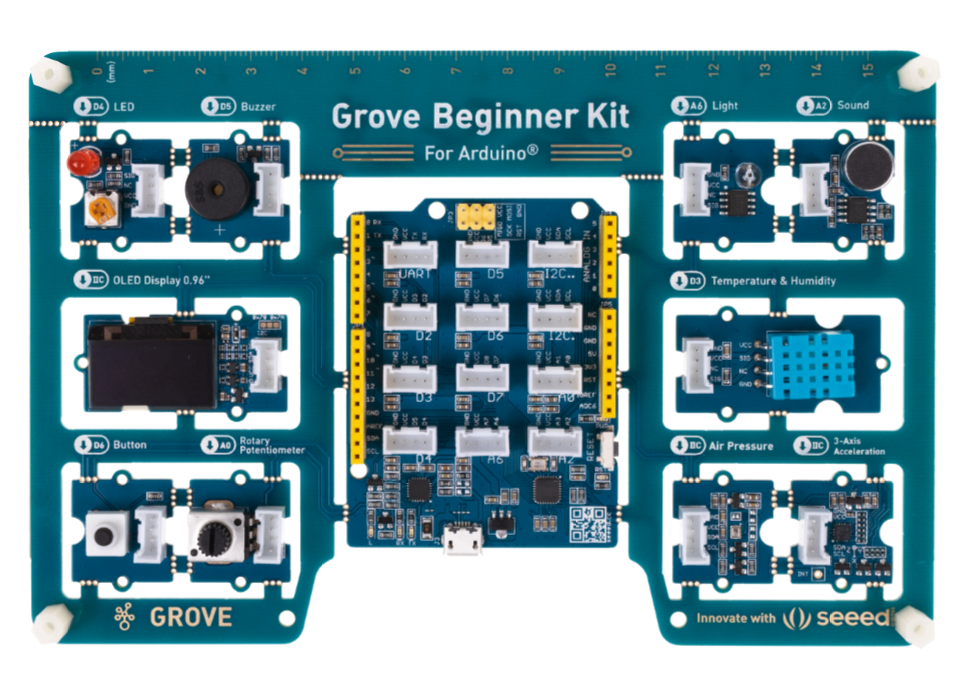
| GroveBeginnerKit | 1 | Using the DHT11 sensor and Rotary switch on board |
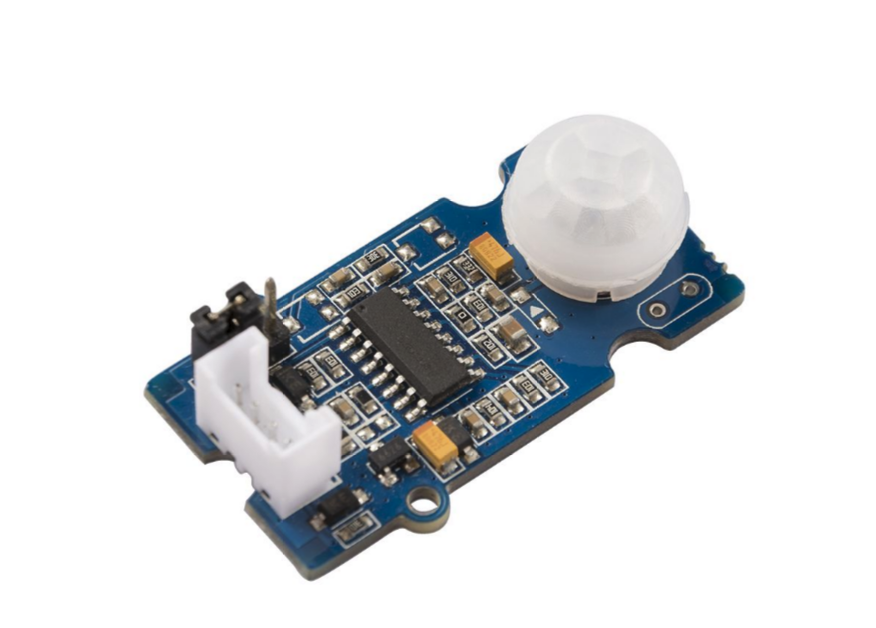
| PIR sensor | 1 | |
| My Attiny45 Board/Seeeduino Lotus | 1 | Either can be the main controller and i shifted using both this week |
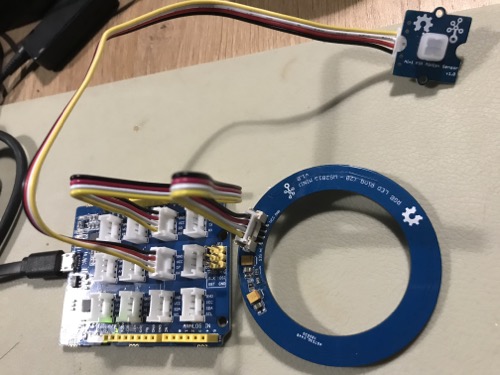
- GroveBeginnerKit
- PIR motion sensor
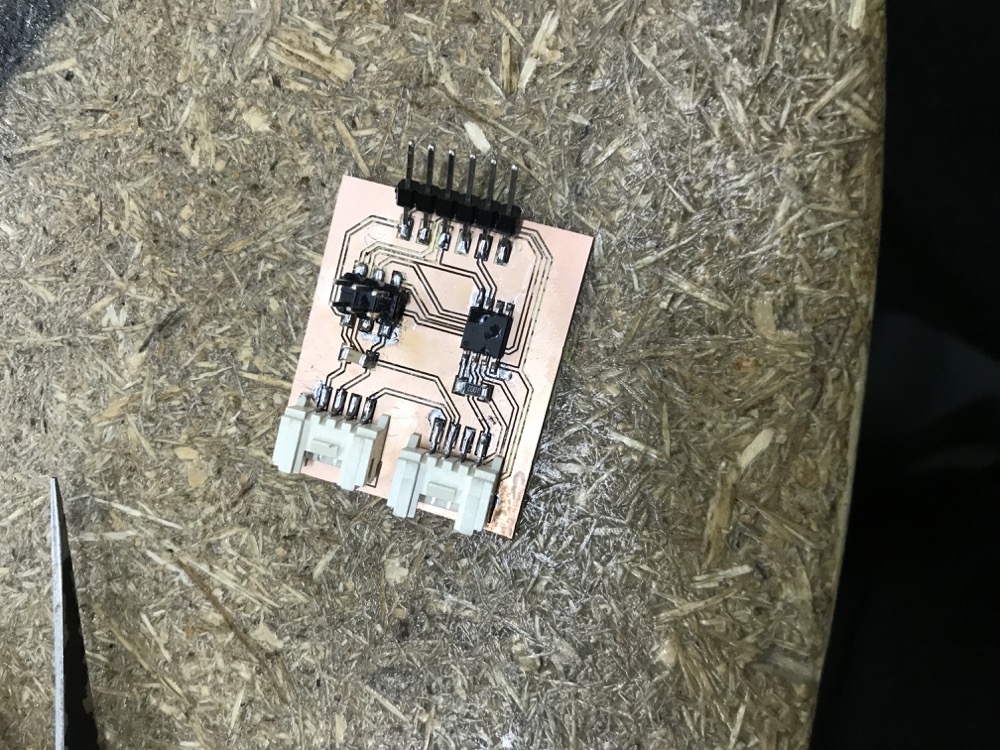
- My Attiny45
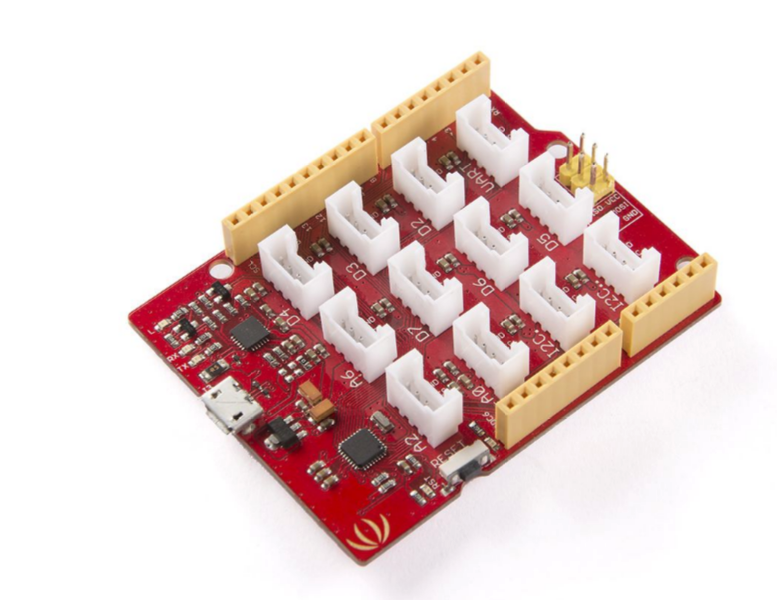
- Seeeduino Lotus
2.1 Read/Control an input/output from serial using Python
- Install a virtual environment for python3 in terminal and activate it.
//initialize virtual environment and the folder named venv
python3 -m venv venv
//activate the virtual environment
source venv/bin/activate
- Install the Pyserial library in order to have my mac talk to the COM serial port for further reading data.
pip install Pyserial
- I first tried with using an Seeeduino Lotus(An arduino compatible board) connected to a PIR sensor.
Following the code i write.
void setup() {
// put your setup code here, to run once:
Serial.begin(9600);
pinMode(6, INPUT);
}
void loop() {
// put your main code here, to run repeatedly:
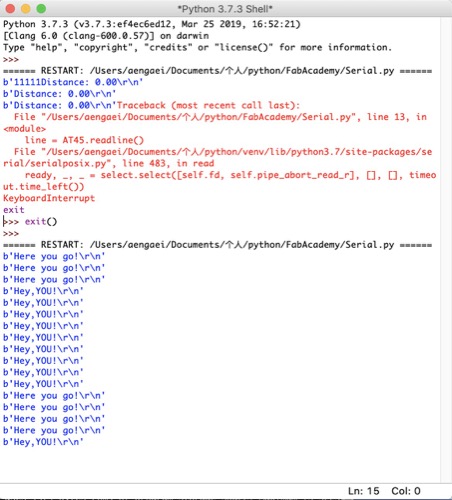
if(digitalRead(6))
Serial.println("Hey,YOU!");
else
Serial.println("Here you go!");
delay(2000);
}
Then i Wrote python code in order to read the data from the USB serial port.
# Import the library
import serial

# Try to connect to the port
try:
    AT45 = serial.Serial('/dev/cu.SLAB_USBtoUART', 9600)
except:
    print ("Failed to connect")
    exit()

# Read data and print it to terminal... until you stop the program
while 1:
    line = AT45.readline()
    print(line)

# We should close the connection... but since there's a while 1 loop before, we never reach this
AT45.close()
Ran - Here we go.
- Then i need my Attiny45 to send the DHT11 data through serial communication to USB port.
#include <SoftwareSerial.h>
#include <dht.h>


dht DHT;
#define DHT11_PIN PB4

SoftwareSerial softp(PB1,PB2);

void setup()
{
  softp.begin(4800);
}

void loop()
{
  // READ DATA
  softp.println("DHT11, \t");
  int chk = DHT.read11(DHT11_PIN);

  softp.println(DHT.temperature);

  delay(2000);
}
2.2 Create an GUI using Python to read/control an input/output
Things that i might use for accomplishing my work.
PyGTK, wxPython, and PyQt.
Pyserial module: Serial communication
tornado module: serve webpages and create websockets
Multiprocessing module:write concurrent code
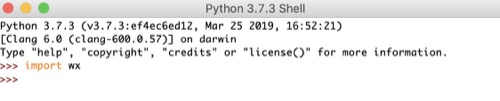
First i used Install wxPython by following command it turned out to be successful.
brew install wxwidgets wxpython
However it didn’t work.

And i go with ‘pip install’ and it worked.
pip install wxPython
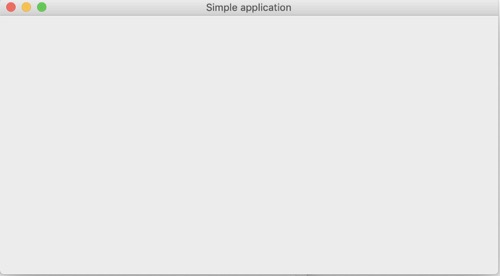
Firstly go with given simple.py example and ran.
Arduino code - Serial print the rotary number.
const int analogInPin = A0;  // Analog input pin that the potentiometer is attached to
const int analogOutPin = 9; // Analog output pin that the LED is attached to

int sensorValue = 0;        // value read from the pot
int outputValue = 0;        // value output to the PWM (analog out)

void setup() {
  // initialize serial communications at 9600 bps:
  Serial.begin(115200);
}

void loop() {
  // read the analog in value:
  sensorValue = analogRead(analogInPin);
  // map it to the range of the analog out:
  outputValue = map(sensorValue, 0, 1023, 0, 255);
  // change the analog out value:
  analogWrite(analogOutPin, outputValue);

  Serial.println(outputValue);

  // wait 2 milliseconds before the next loop for the analog-to-digital
  // converter to settle after the last reading:
  delay(200);
}
Python code - Serial read the Serial input and with GUI interface
from tkinter import *
from numpy import log
import serial

WINDOW = 600 # window size
eps = 0.5 # filter time constant
filter = 0.0 # filtered value

def idle(parent,canvas):
   global filter, eps
   #
   # idle routine
   #
   T = float(ser.readline())
   print(T)
   filter = (1-eps)*filter + eps*T
   x = int(.2*WINDOW + (.9-.2)*WINDOW*(filter-20.0)/10.0)
   canvas.itemconfigure("text",text="%.2f"%filter)
   canvas.coords('rect1',.2*WINDOW,.05*WINDOW,x,.2*WINDOW)
   canvas.coords('rect2',x,.05*WINDOW,.9*WINDOW,.2*WINDOW)
   canvas.update()
   parent.after_idle(idle,parent,canvas)

#
#  check command line arguments

###if (len(sys.argv) != 2):
###   print("command line: hello.temp.45.py serial_port")
###   sys.exit()
port = '/dev/cu.SLAB_USBtoUART'
#
# open serial port
#
ser = serial.Serial(port,115200)
ser.setDTR()
#
# start plotting
#
root = Tk()
root.title('hello.temp.45.py (q to exit)')
root.bind('q','exit')
canvas = Canvas(root, width=WINDOW, height=.25*WINDOW, background='white')
canvas.create_text(.1*WINDOW,.125*WINDOW,text=".33",font=("Helvetica", 24),tags="text",fill="#0000b0")
canvas.create_rectangle(.2*WINDOW,.05*WINDOW,.3*WINDOW,.2*WINDOW, tags='rect1', fill='#b00000')
canvas.create_rectangle(.3*WINDOW,.05*WINDOW,.9*WINDOW,.2*WINDOW, tags='rect2', fill='#0000b0')
canvas.pack()
root.after(100,idle,root,canvas)
root.mainloop()
Arduino code
#include <SoftwareSerial.h>
#include <dht.h>


dht DHT;
#define DHT11_PIN PB4

SoftwareSerial softp(PB1,PB2);

void setup()
{
//  softp.begin(9600);
  softp.begin(4800);

}

void loop()
{
  // READ DATA
//  softp.println("DHT11, \t");
  int chk = DHT.read11(DHT11_PIN);

  softp.println(DHT.temperature);

  delay(2000);
}
python code
#
# hello.HC-SR501.py
#
# HC-SR501 motion detector hello-world
#    hello.HC-SR501.py serial_port
#
# Neil Gershenfeld 11/16/15
# (c) Massachusetts Institute of Technology 2015
#
# This work may be reproduced, modified, distributed,
# performed, and displayed for any purpose. Copyright is
# retained and must be preserved. The work is provided
# as is; no warranty is provided, and users accept all
# liability.
#

from tkinter import *
import serial

WINDOW = 200 # window size

def idle(parent,canvas):
   global filt,eps
   #
   # idle routine
   #
   temp = float(ser.readline())
   print(temp)
   if (temp <= 27.0):
      x = 1
      text = 'cold'
      canvas.itemconfigure("rect",fill="#b00000")
      canvas.itemconfigure("text",text="cold")
   else:
      x = 0
      text = 'hot'
      canvas.itemconfigure("rect",fill="#0000b0")
      canvas.itemconfigure("text",text="hot")
   canvas.update()
   parent.after_idle(idle,parent,canvas)

#
#  check command line arguments
#
port = '/dev/cu.usbserial-A50285BI'
#
# open serial port
#
ser = serial.Serial(port,4800)
ser.setDTR()
ser.flush()
#
# set up GUI
#
root = Tk()
root.title('hello.HC-SR501.py (q to exit)')
root.bind('q','exit')
canvas = Canvas(root, width=2*WINDOW, height=WINDOW, background='white')
canvas.create_text(.5*WINDOW,.5*WINDOW,text="read",font=("Helvetica", 24),tags="text",fill="#0000b0")
canvas.create_rectangle(WINDOW,0,2*WINDOW,WINDOW, tags='rect', fill='#b00000')
canvas.pack()
#
# start idle loop
#
root.after(600,idle,root,canvas)
root.mainloop()
3. Problems Occurred & Solutions
3.1 How to identify my USB port on mac?
I found an instruction on stackoverflow how i can find it
ls -lha /dev/tty* > plugged.txt
ls -lha /dev/tty* > np.txt
vimdiff plugged.txt np.txt
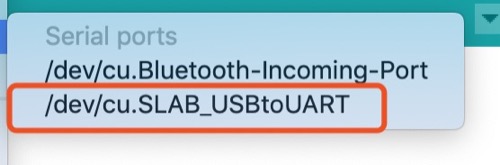
Also i tried with using Arduino to identify the port, it turns out the port i use was ‘/dev/cu.SLAB_USBtoUART’.
3.2 How to have my board send data to USB port?
This Tutorial explained it really well