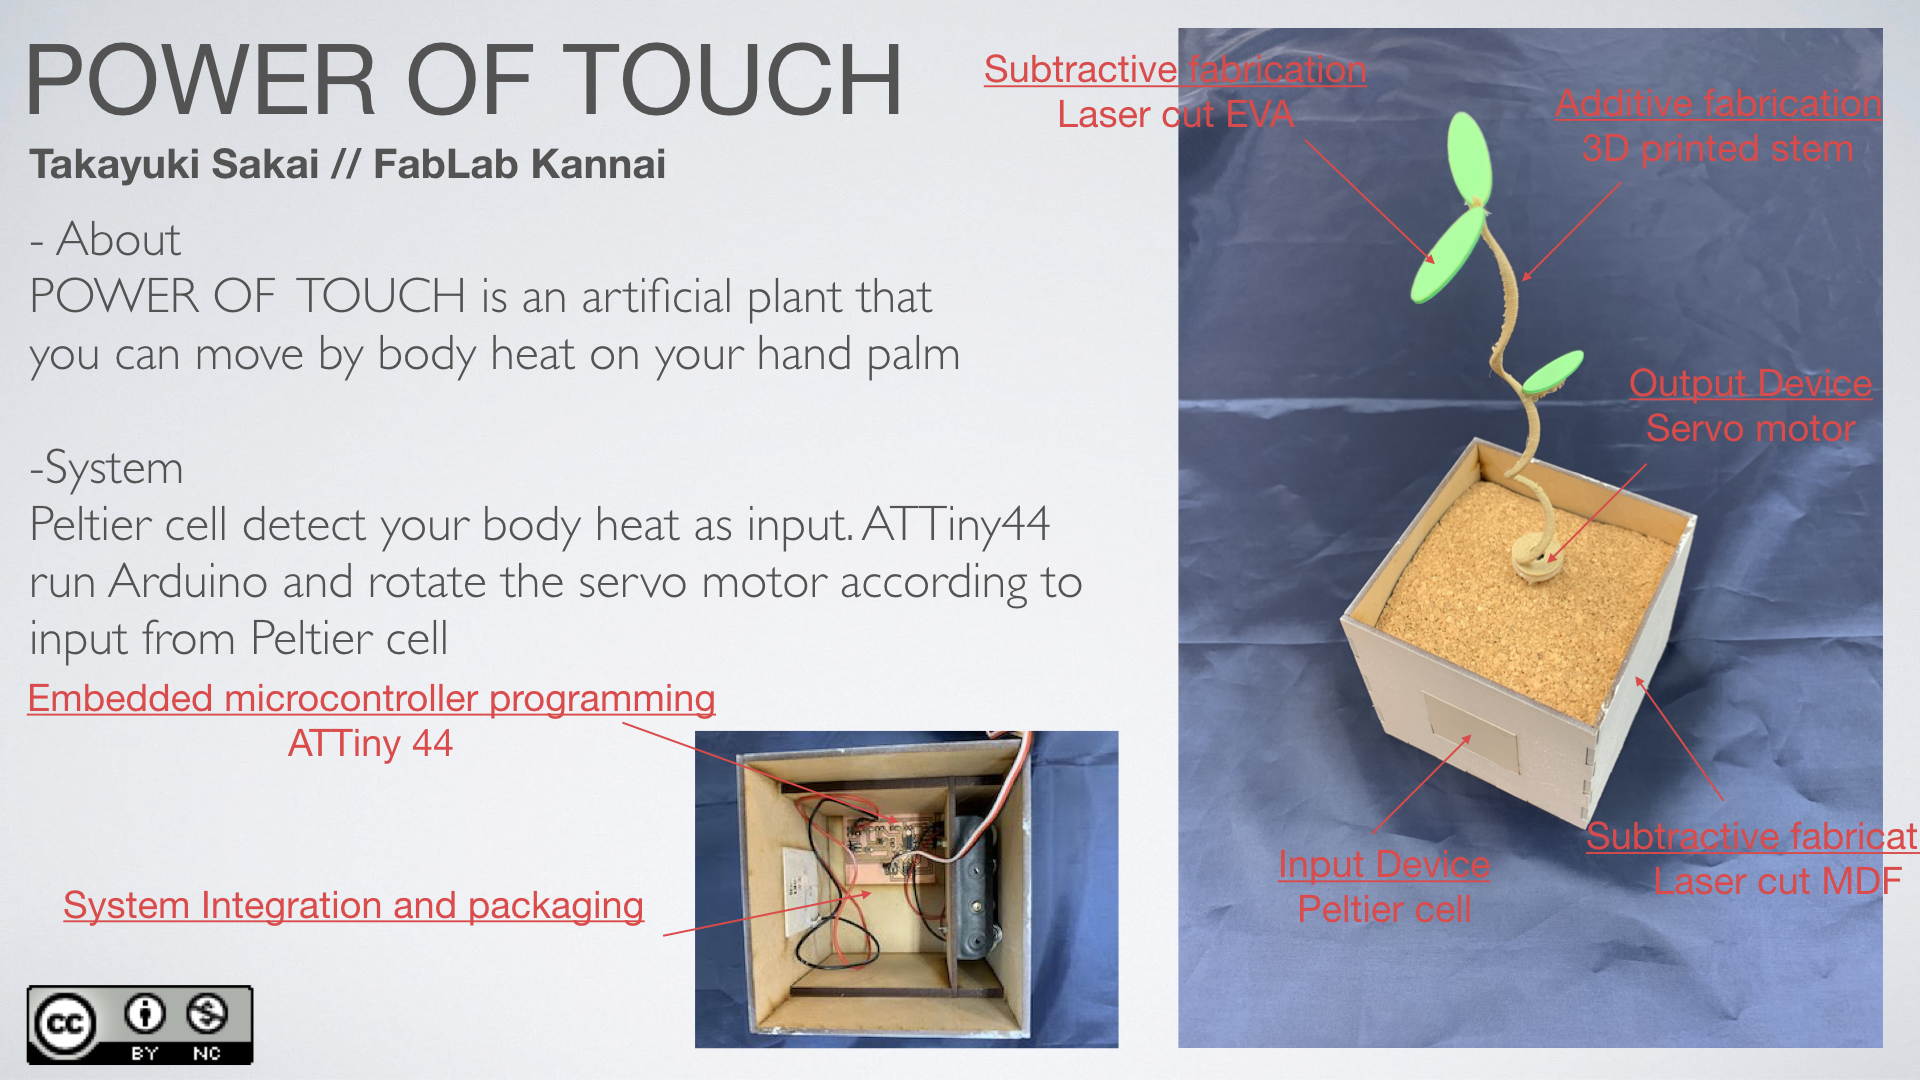
Final Project
Overview
License

This work is licensed under a Creative Commons Attribution-NonCommercial 4.0 International License.
Project development
It started from Idea sketch Week 1
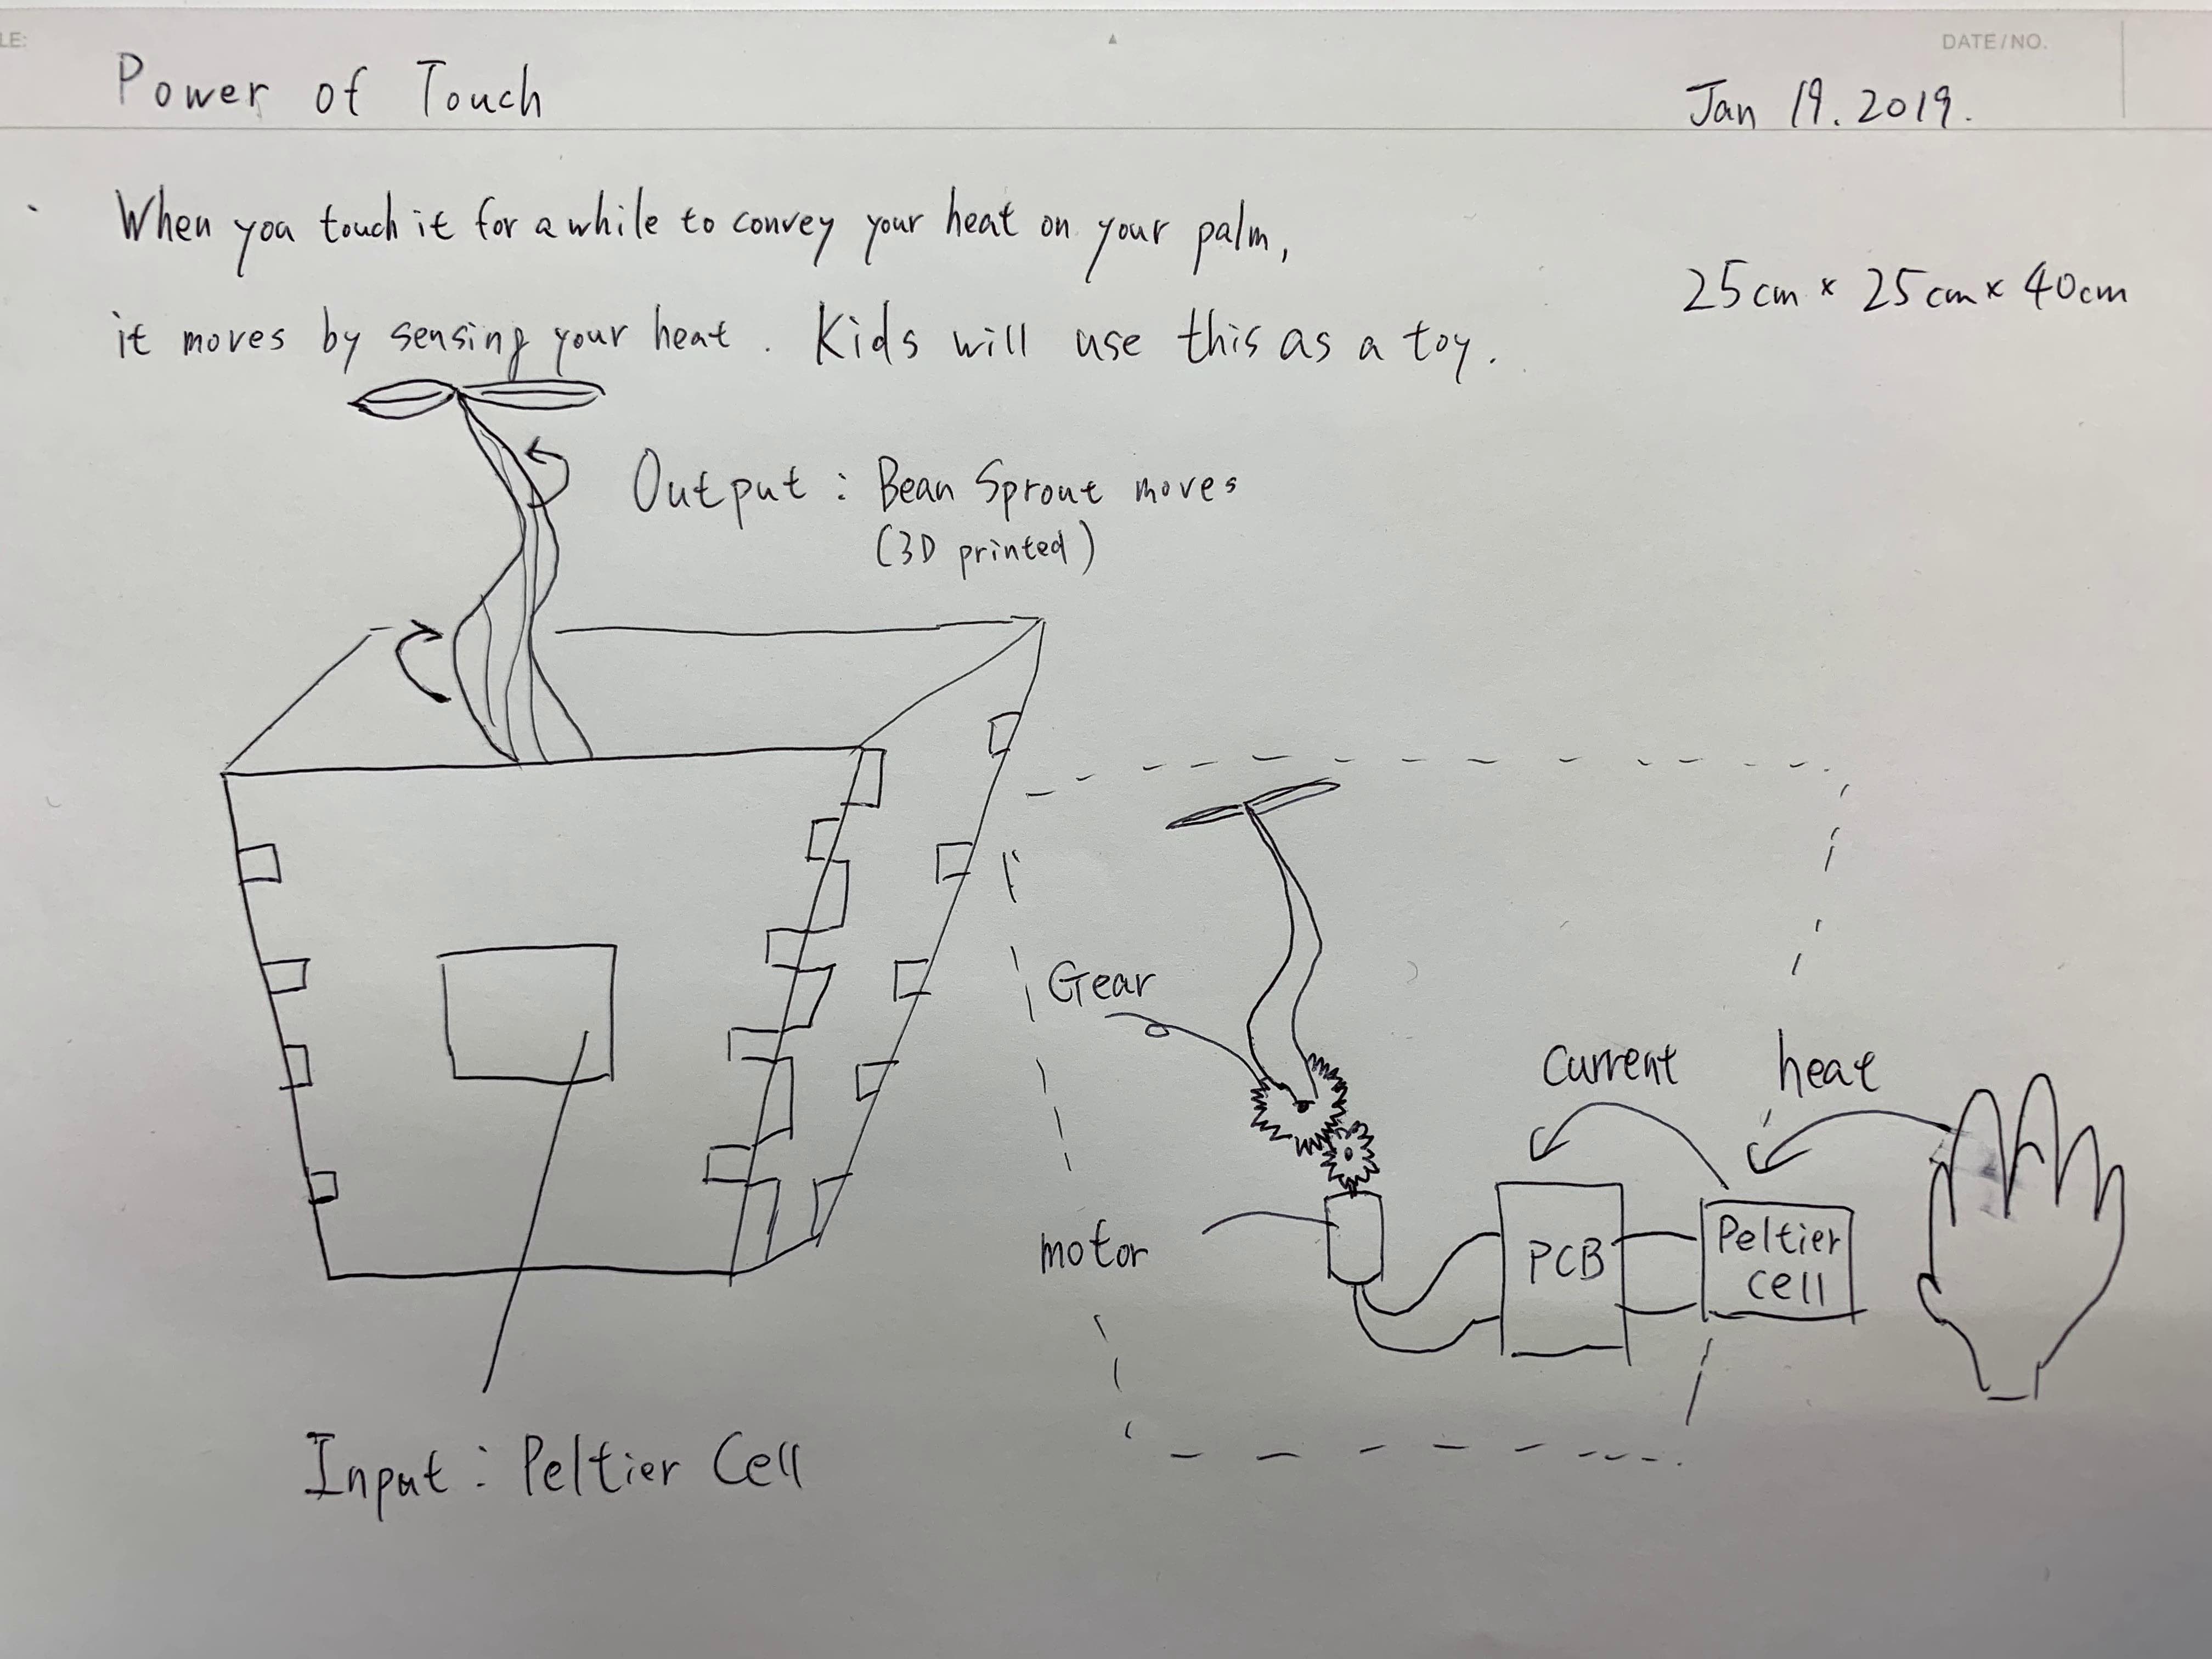
This idea came from my interest that visualizing/realising power that people have but isn’t noticed. You might experienced that heat of your parents’ hand healed your pain when you hit somewhere of your body parts.
2D model
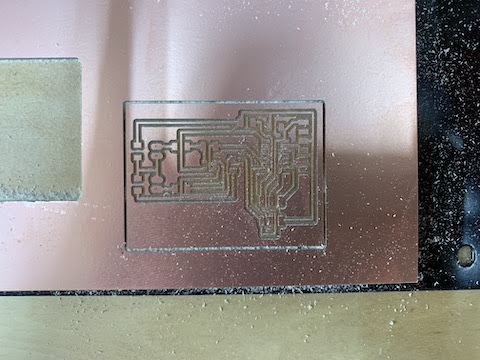
Board
- developed input part in week11
Cutting with 1/64 square drill
Soldered all parts
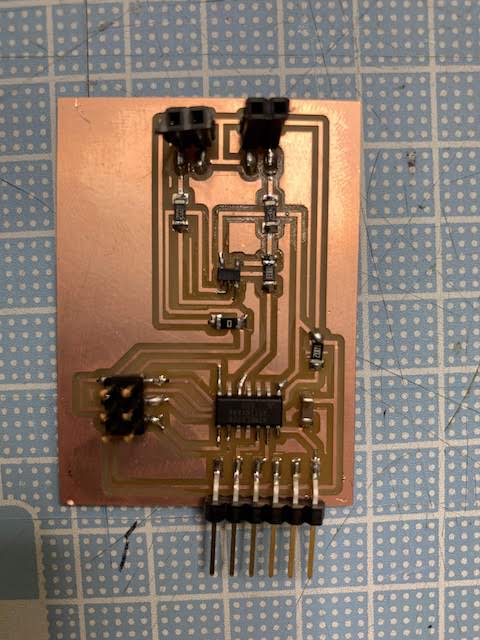
Connected peltier cell
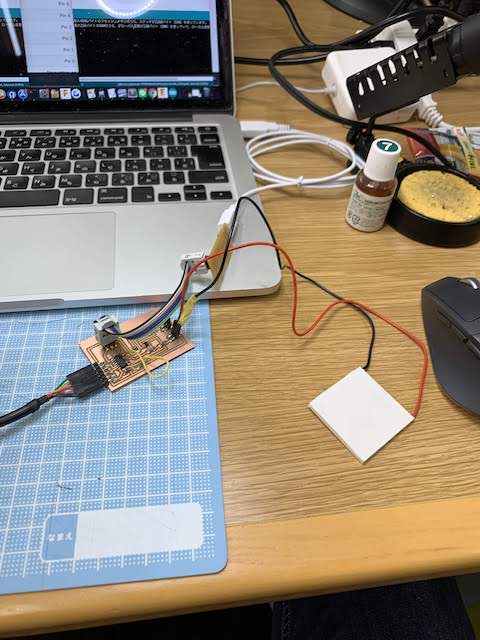
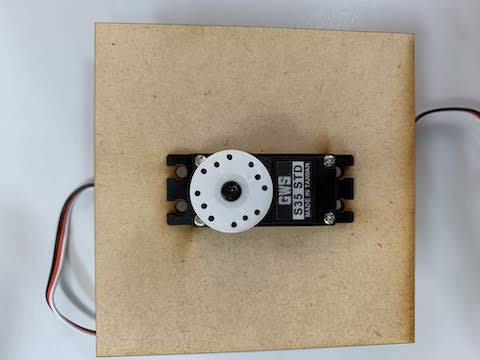
- developed output part in week 12
- Integration
Then added 3 pin header for the final project and integrated outcome from week 11 and 12
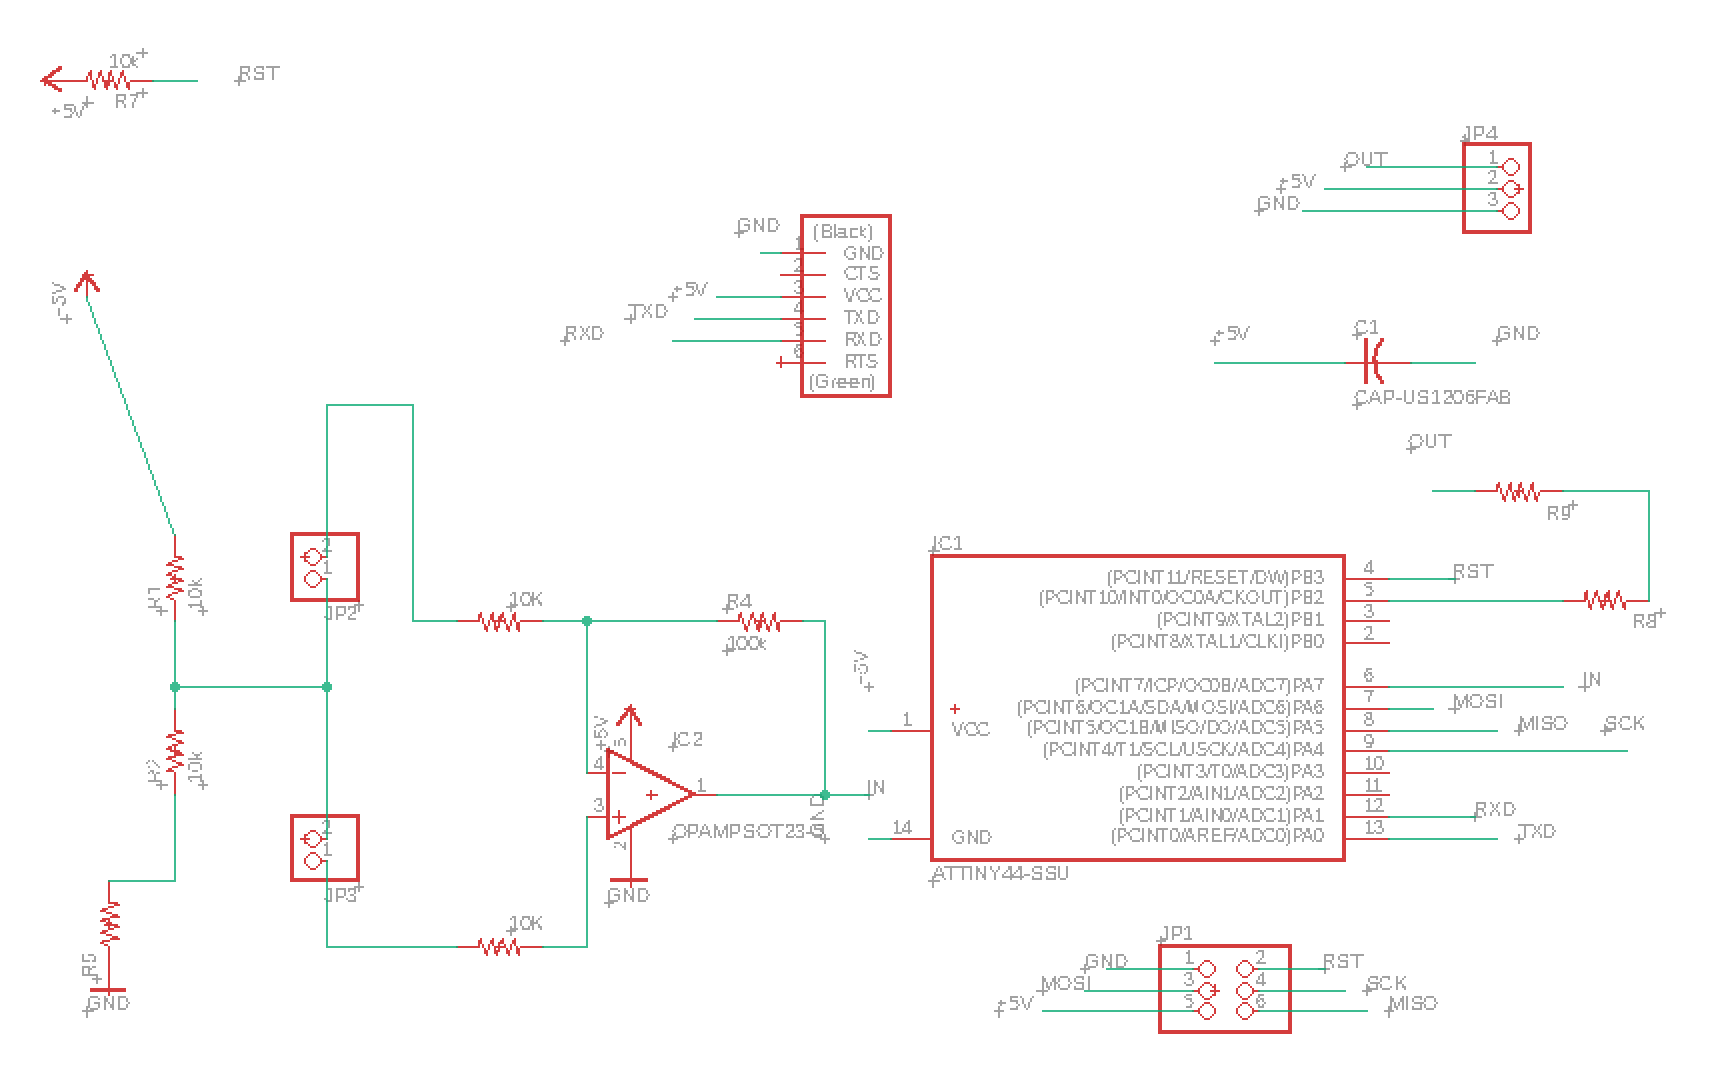
The circuit for the final
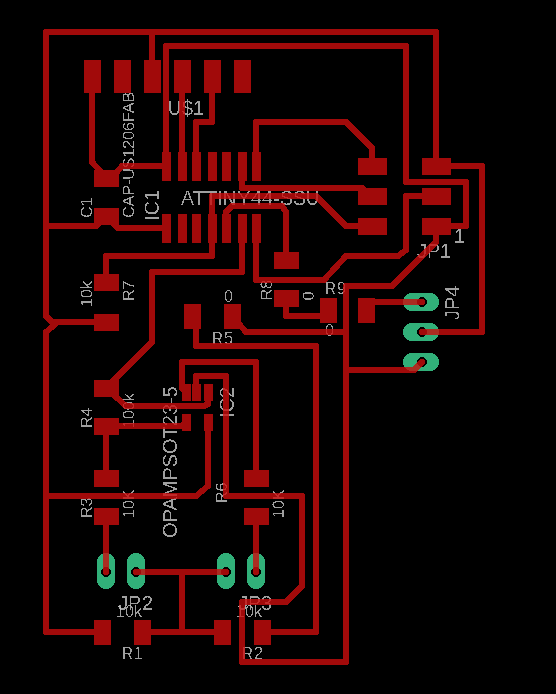
The board for the final
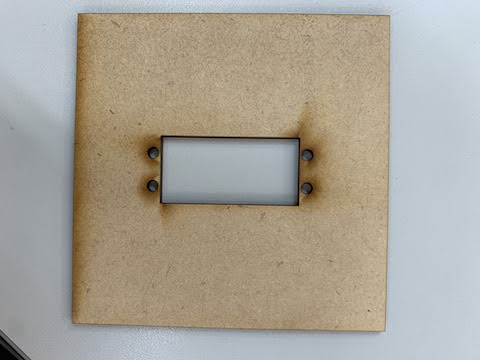
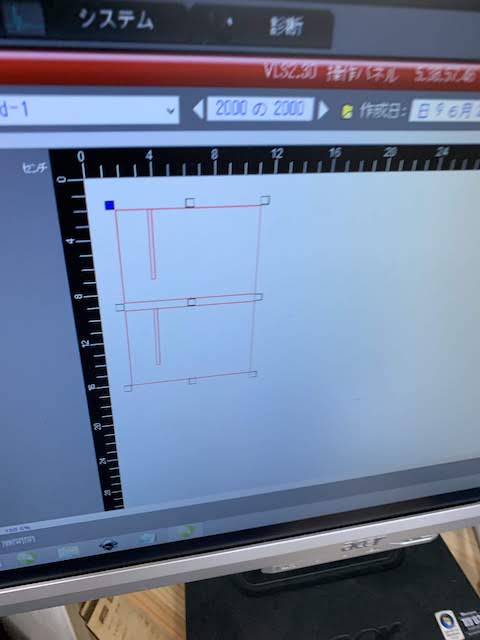
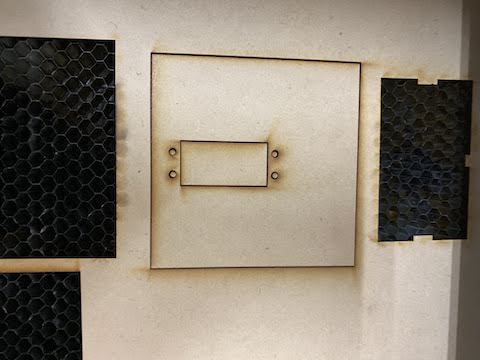
laser cut
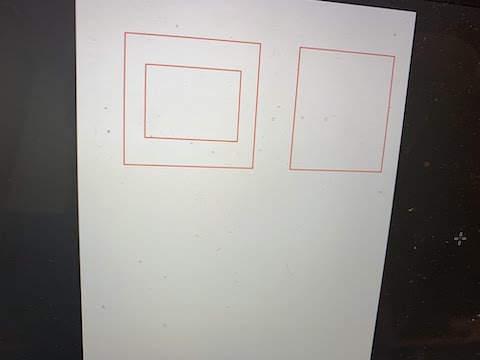
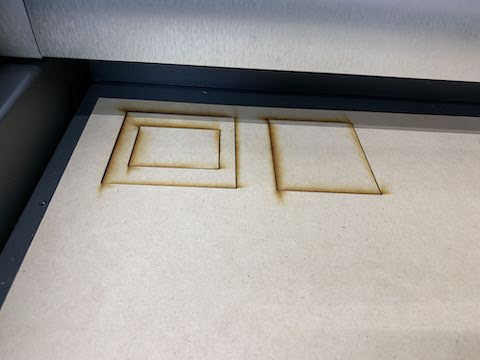
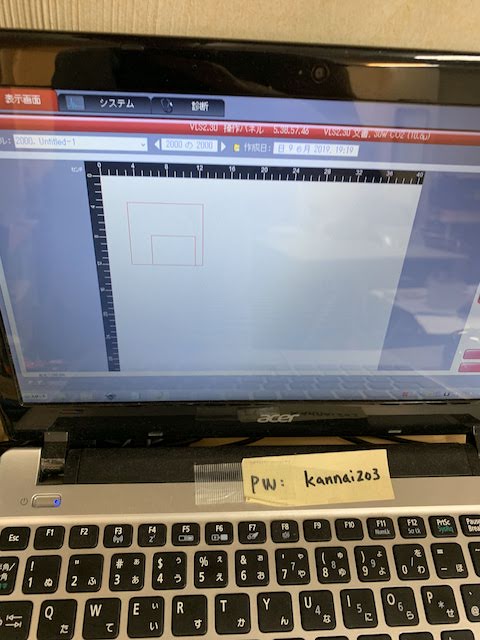
Developed laser cut data in week 20
- Cut a board for the parts to make them stable
- Box

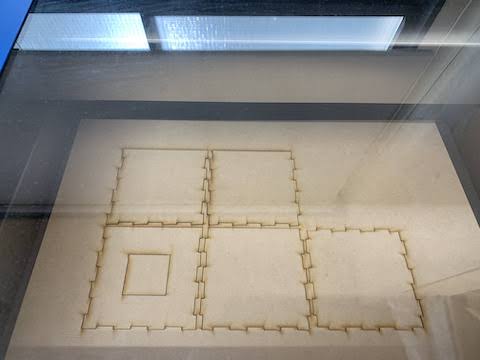
- servo mortar
- Box
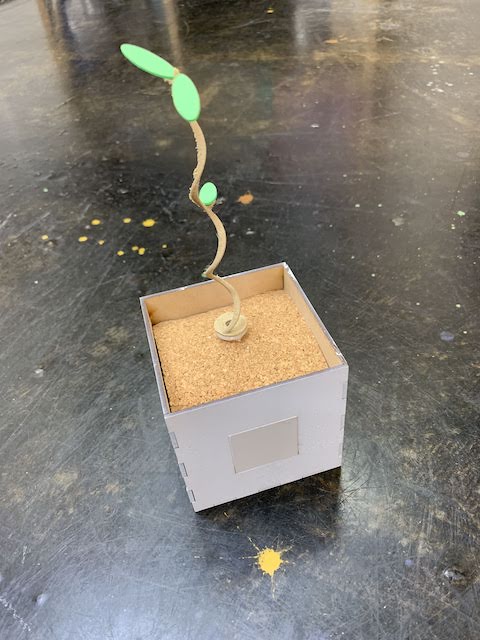
3D model
Plant
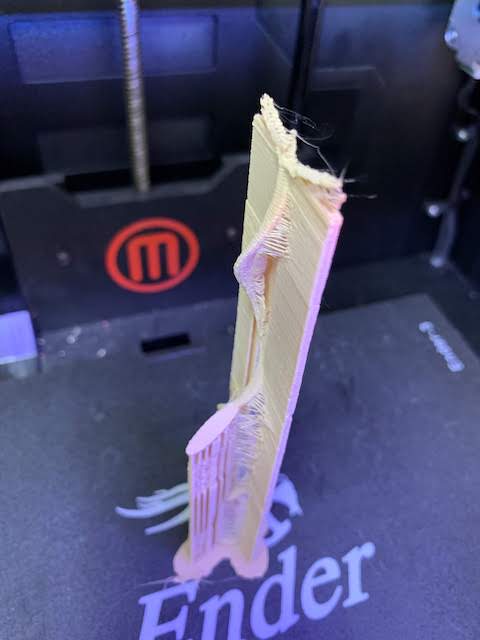
I designed 3D model with Fusion 360. I used a primitive coin shape to design twisted plant.
Printed with Makerbot Repricator Pro 2
This is one of the skill I learned in [week 3] (http://fabacademy.org/2019/labs/kannai/students/takayuki-sakai/assignments/week03/) and [week 6] (http://fabacademy.org/2019/labs/kannai/students/takayuki-sakai/assignments/week06/)
integration and spiral development
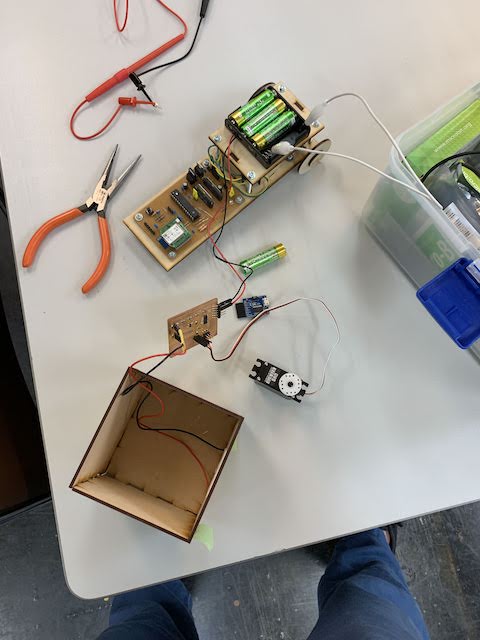
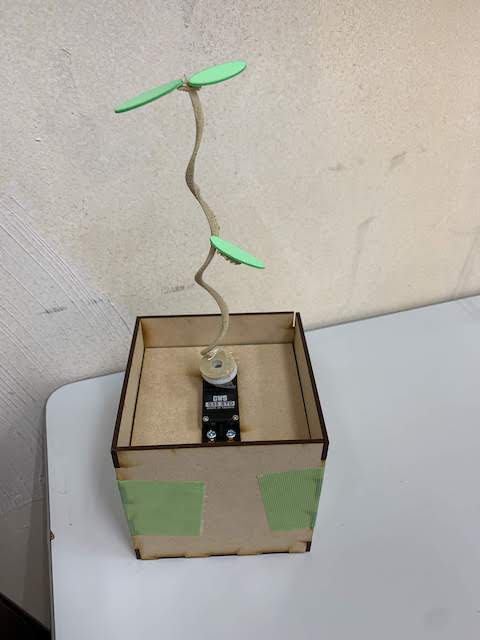
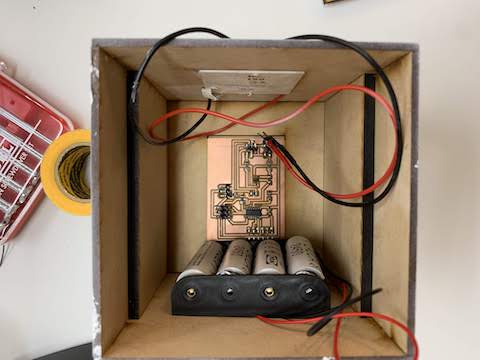
After I got minimum compornents(box, servo motor, peltier cell, and the board), I assembled them to make sure if it works.
Packaging
Assembled with duct tape

Cable from peltier cell interfered the board
Made slits by ultra sonic cutter

Now fit in the MDF

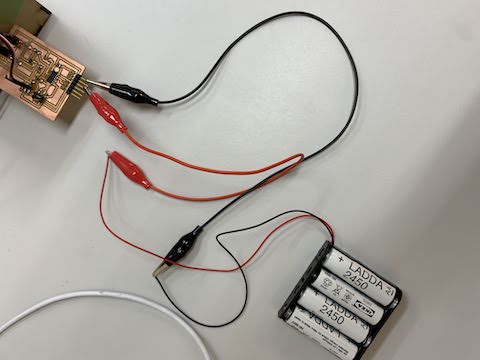
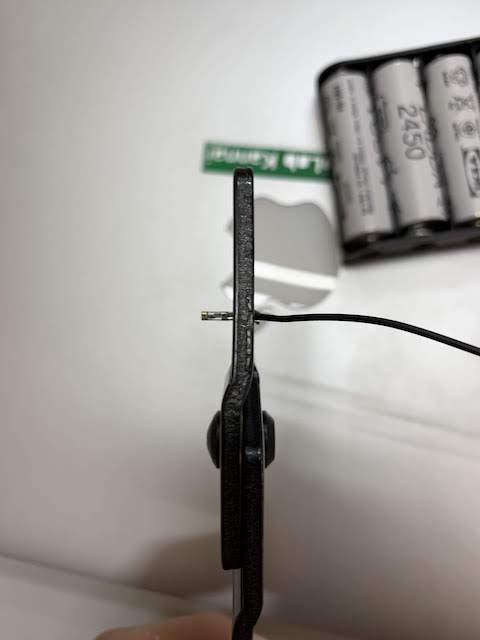
Making sure if it works with the battery. According to datasheet of Attiny 44, it works between 2.7V and 5.5V, so I connected three 1.5V AAA battery with it.
Combinned with 3D printed plant. It worked well.
This worked good but I would like to add more plant-ish visual, so desided to cut EVA sheet.
Here’s the plant after putting leaf
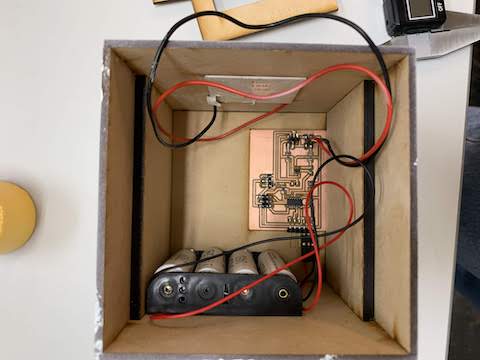
Then tested battery again with 1.2V four AAA
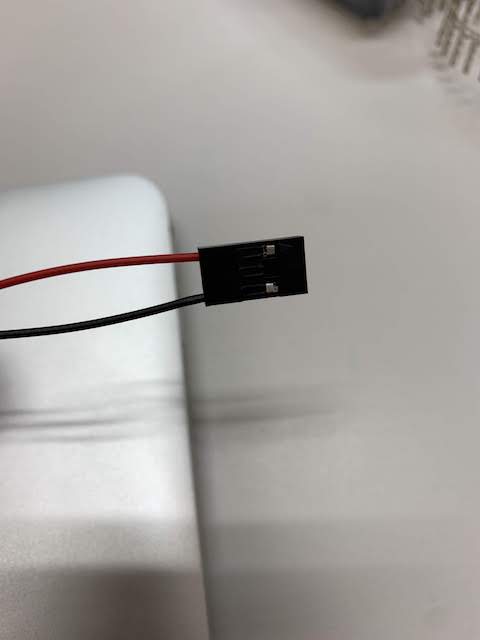
Added connecter at the end of cable from battery case
Inserted edge of cable
Closed the metal

Inserted into socket
Cut cork sheet along with inside and covered

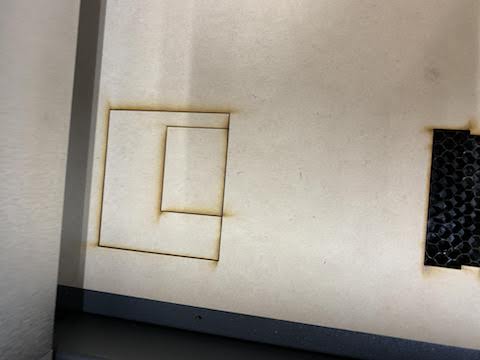
laser cut MDF for making board stable
But plugs from the board interfered to battery
So re-design and re-cut to move the board to the right

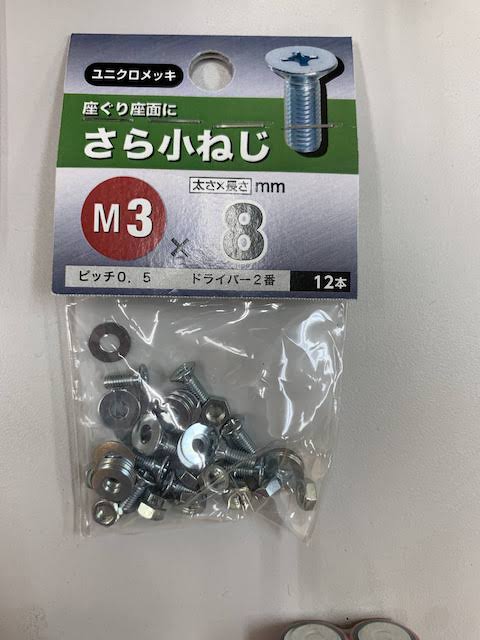
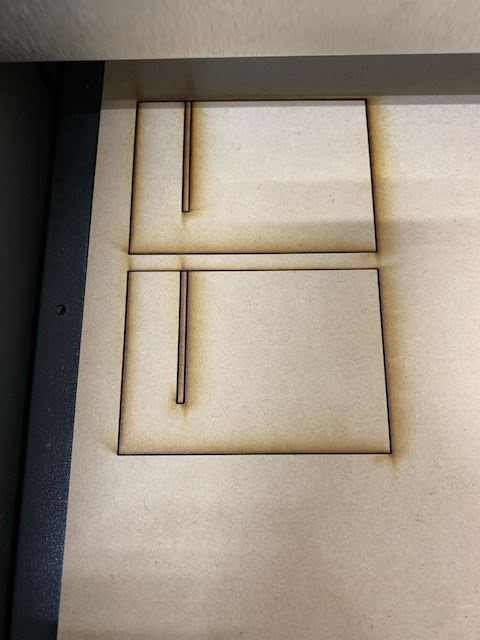
To make all parts stable, I cut MDF to make other parts
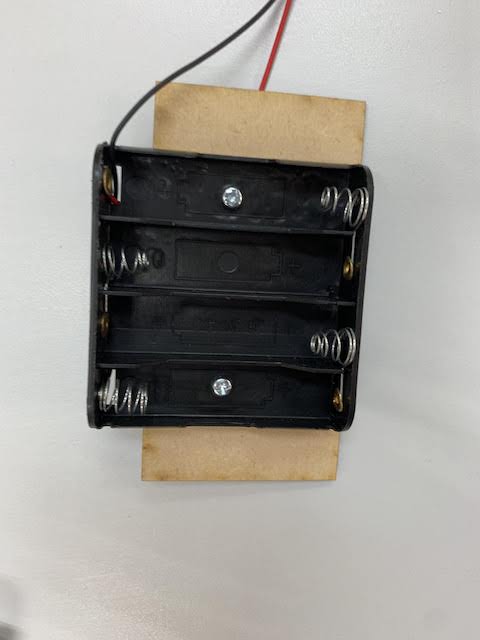
- battery case
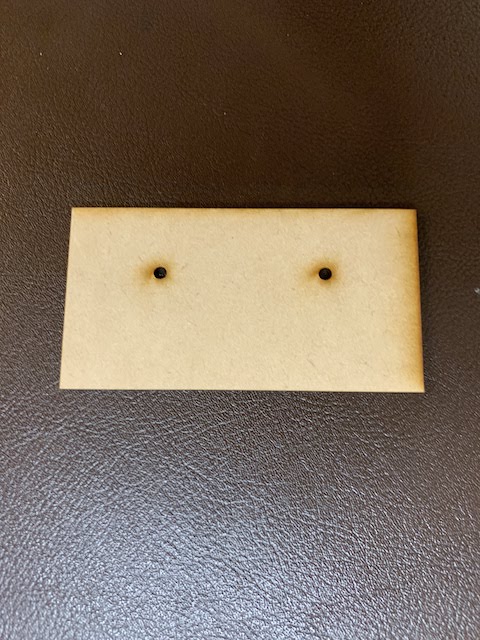
Stick battery case with this bis(Flat head screw M3*8mm)
-
electric board

-
Slit for assemble all
To place the servo moter the center of the top, I cut another MDF
Painted with white spray
Materials
| Qty | Description | Price | Link | Notes |
|---|---|---|---|---|
| 1 | ATTiny 44 | $ 0.82 | https://www.digikey.jp/product-detail/ja/ATTINY44A-SSU/ATTINY44A-SSU-ND/1914708/?itemSeq=279757414 | |
| 1 | Peltier cell: TEC1-12705 | $ 8.29 | https://www.amazon.co.jp/Kaito-Denshi-%E6%B5%B7%E6%B8%A1%E9%9B%BB%E5%AD%90-TEC1-12705-40mm%C3%9740mm/dp/B00VUXWKHM/ref=pd_lpo_sbs_328_t_0?_encoding=UTF8&psc=1&refRID=XFBAZ62RHR8Q528ZVE6H | |
| 1 | Servo motor: GWSV0008A | $8.29 | http://akizukidenshi.com/catalog/g/gM-08305/ | |
| 1 | Battery box: BH-341-2A150MM | $ 0.64 | http://akizukidenshi.com/catalog/g/gP-02671/ | |
| 2 | MDF(2.5mm) | $ 3.68(1.84 * 2) | https://www.amazon.co.jp/MDF-2-5mm-300mm%C3%97900mm-6%E6%9E%9A%E5%85%A5%E3%82%8A-P/dp/B00QSXVH6Y | from fablab inventory |
| 1 | 0 ohm resistor(311-0.0ERCT-ND) | $ 0.10 | https://www.digikey.jp/product-detail/ja/RC1206JR-070RL/311-0.0ERCT-ND/732131/?itemSeq=279755422 | from fablab inventory |
| 5 | 10K(311-10.0KFRCT-ND) ohm resistor | $ 0.50 (0.10 * 5) | https://www.digikey.jp/product-detail/ja/RC1206FR-0710KL/311-10.0KFRCT-ND/731430/?itemSeq=279755434 | from fablab inventory |
| 1 | 100K(311-100KFRCT-ND) ohm resitor | $ 0.10 | https://www.digikey.jp/product-detail/ja/RC1206FR-07100KL/311-100KFRCT-ND/731439/?itemSeq=279755436 | from fablab inventory |
| 1 | Ope amp(AD8615AUJZ-REEL7CT-ND) | $ 2.33 | https://www.digikey.jp/product-detail/ja/AD8615AUJZ-REEL7/AD8615AUJZ-REEL7CT-ND/951443/?itemSeq=279757177 | from fablab inventory |
| 1 | capasiter 1μF(445-1423-1-ND) | $ 0.27 | https://www.digikey.jp/product-detail/ja/C3216X7R1H105K160AB/445-1423-1-ND/569089/?itemSeq=279756182 | from fablab inventory |
| 1 | 6 pin header(609-5161-1-ND) | $ 0.83 | https://www.digikey.jp/product-detail/ja/95278-801A06LF/609-5161-1-ND/5967723/?itemSeq=279757798 | from fablab inventory |
| 1 | 3 pin header(S1011EC-40-ND) | $ 0.05 (0.66/40*3) | https://www.digikey.jp/product-detail/ja/PRPC040SAAN-RC/S1011EC-40-ND/2775214/?itemSeq=279757808 | from fablab inventory |
| 1 | Angle pin header(S1143E-36-ND) | $ 0.70 (4.23/6) | https://www.digikey.jp/product-detail/ja/GBC36SGSN-M89/S1143E-36-ND/862355/?itemSeq=279757805 | from fablab inventory |
| 2 | 1x2 pin socket(SAM1213-50-ND) | $ 0.32 (4.05/50 2 2) | https://www.digikey.jp/product-detail/ja/SSW-150-01-T-S/SAM1213-50-ND/1112255/?itemSeq=279757807 | from fablab inventory |
| Total Cost | $ 26.92 |
Code
I coded on Arduino for input, out device and micro controller by using skill I learned in week 9
#include <SoftwareSerial.h>
#include <Servo.h>

SoftwareSerial mySerial(0, 1); // RX, TX
Servo servo;

int analogPin = 7;

int val = 0;
int thresh = 550;

void setup() {
  pinMode(7, INPUT);
  pinMode(8, OUTPUT);
  mySerial.begin(9600);
}

void loop() {
   val = analogRead(analogPin);
   mySerial.println(val);
   delay(100);

  if(val > thresh) {
    digitalWrite(8, HIGH);
    delayMicroseconds(100);
    digitalWrite(8, LOW);
    delayMicroseconds(100);
  }
}
Future work
For the final project, I could make my work which was a plant moved by body heat. This is great since my idea turns into something tangible and interactive. For the future development, I’m thinking 2 things.
-
Adding more interactivity As I stated, this is interactive. However, looking at input and output, it’s one way: Input from peltier and output to servo. Like Cyboag botany, switching input and output will give more fun to this. So I will work on adding input feature on plant side.
-
Developing expression This time, I focused on the power of the heat on hand. This means my main purpose was to give a light on input. For future development, I would like to focus on output side. This time I rotate 3D printed-PLA plant but I would like to deep dive to the expression where represents the birth of life. Now I’m considering using bio-metal to express this.
Acknowledgment
First of all, Thanks Tamiya-san, who is the local instructor in Fablab Kannai, for your persistent support that makes me (manage to) get through the classes. And thanks FabLab Kannai team mate, Tomaru-san and Shimaka-san for sharing knowledge, and helping each other. Thanks FabLab kannai member, especially Matsumoto-san for sharing his knowledge about electric circuit design. Fablab Kamakura, you guys gave us opportunity to see the things from different angle. FabLab 2019 from all over the world, you guys are so talented and I got my inspirations from your presentations. Fab foundation staff, thanks for organizing classes. And lastly, Thanks Neil for creating such an interesting class. This was great opportunity not only developing my “fab” skill but also meeting inspirational people and work from them allover the world.
Files
Box file
Leaf file
Inner step file
Board for board file
Plant f3d file
Arduino file
SCH file
BRD file