10. Molding and casting
Assignment
group assignment:
review the safety data sheets for each of your molding and casting materials,
then make and compare test casts with each of them
individual assignment:
design a mold around the stock and tooling that you’ll be using,
mill it (rough cut + (at least) three-axis finish cut),
and use it to cast parts
Learning outcomes
Design appropriate objects within the limitations of 3 axis machining
Demonstrate workflows used in mould design, construction and casting
nueval-Check List
Explained how you made your files for machining
Shown how you made your mould and cast the parts
Described problems and how you fixed them
Included your design files and ‘hero shot’ photos of the mould and the final object
Reviewed the safety data sheets for each of your molding and casting materials, then made and compared test casts with each of them
What We did
What I did
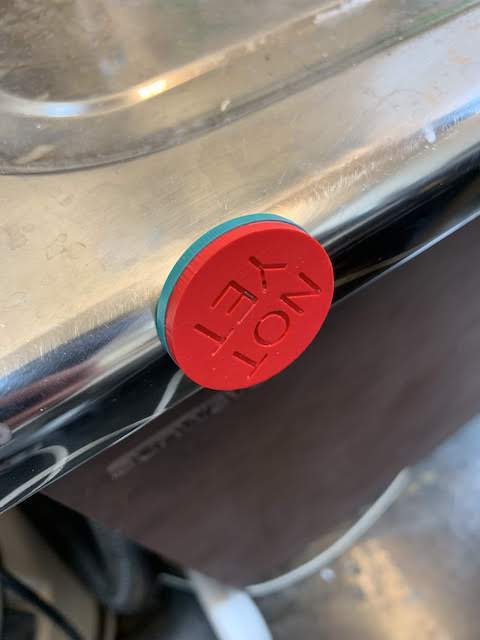
For this week, I mold and casted a coin with magnet inside. This is used for you can check current status of shared devices.
Milling
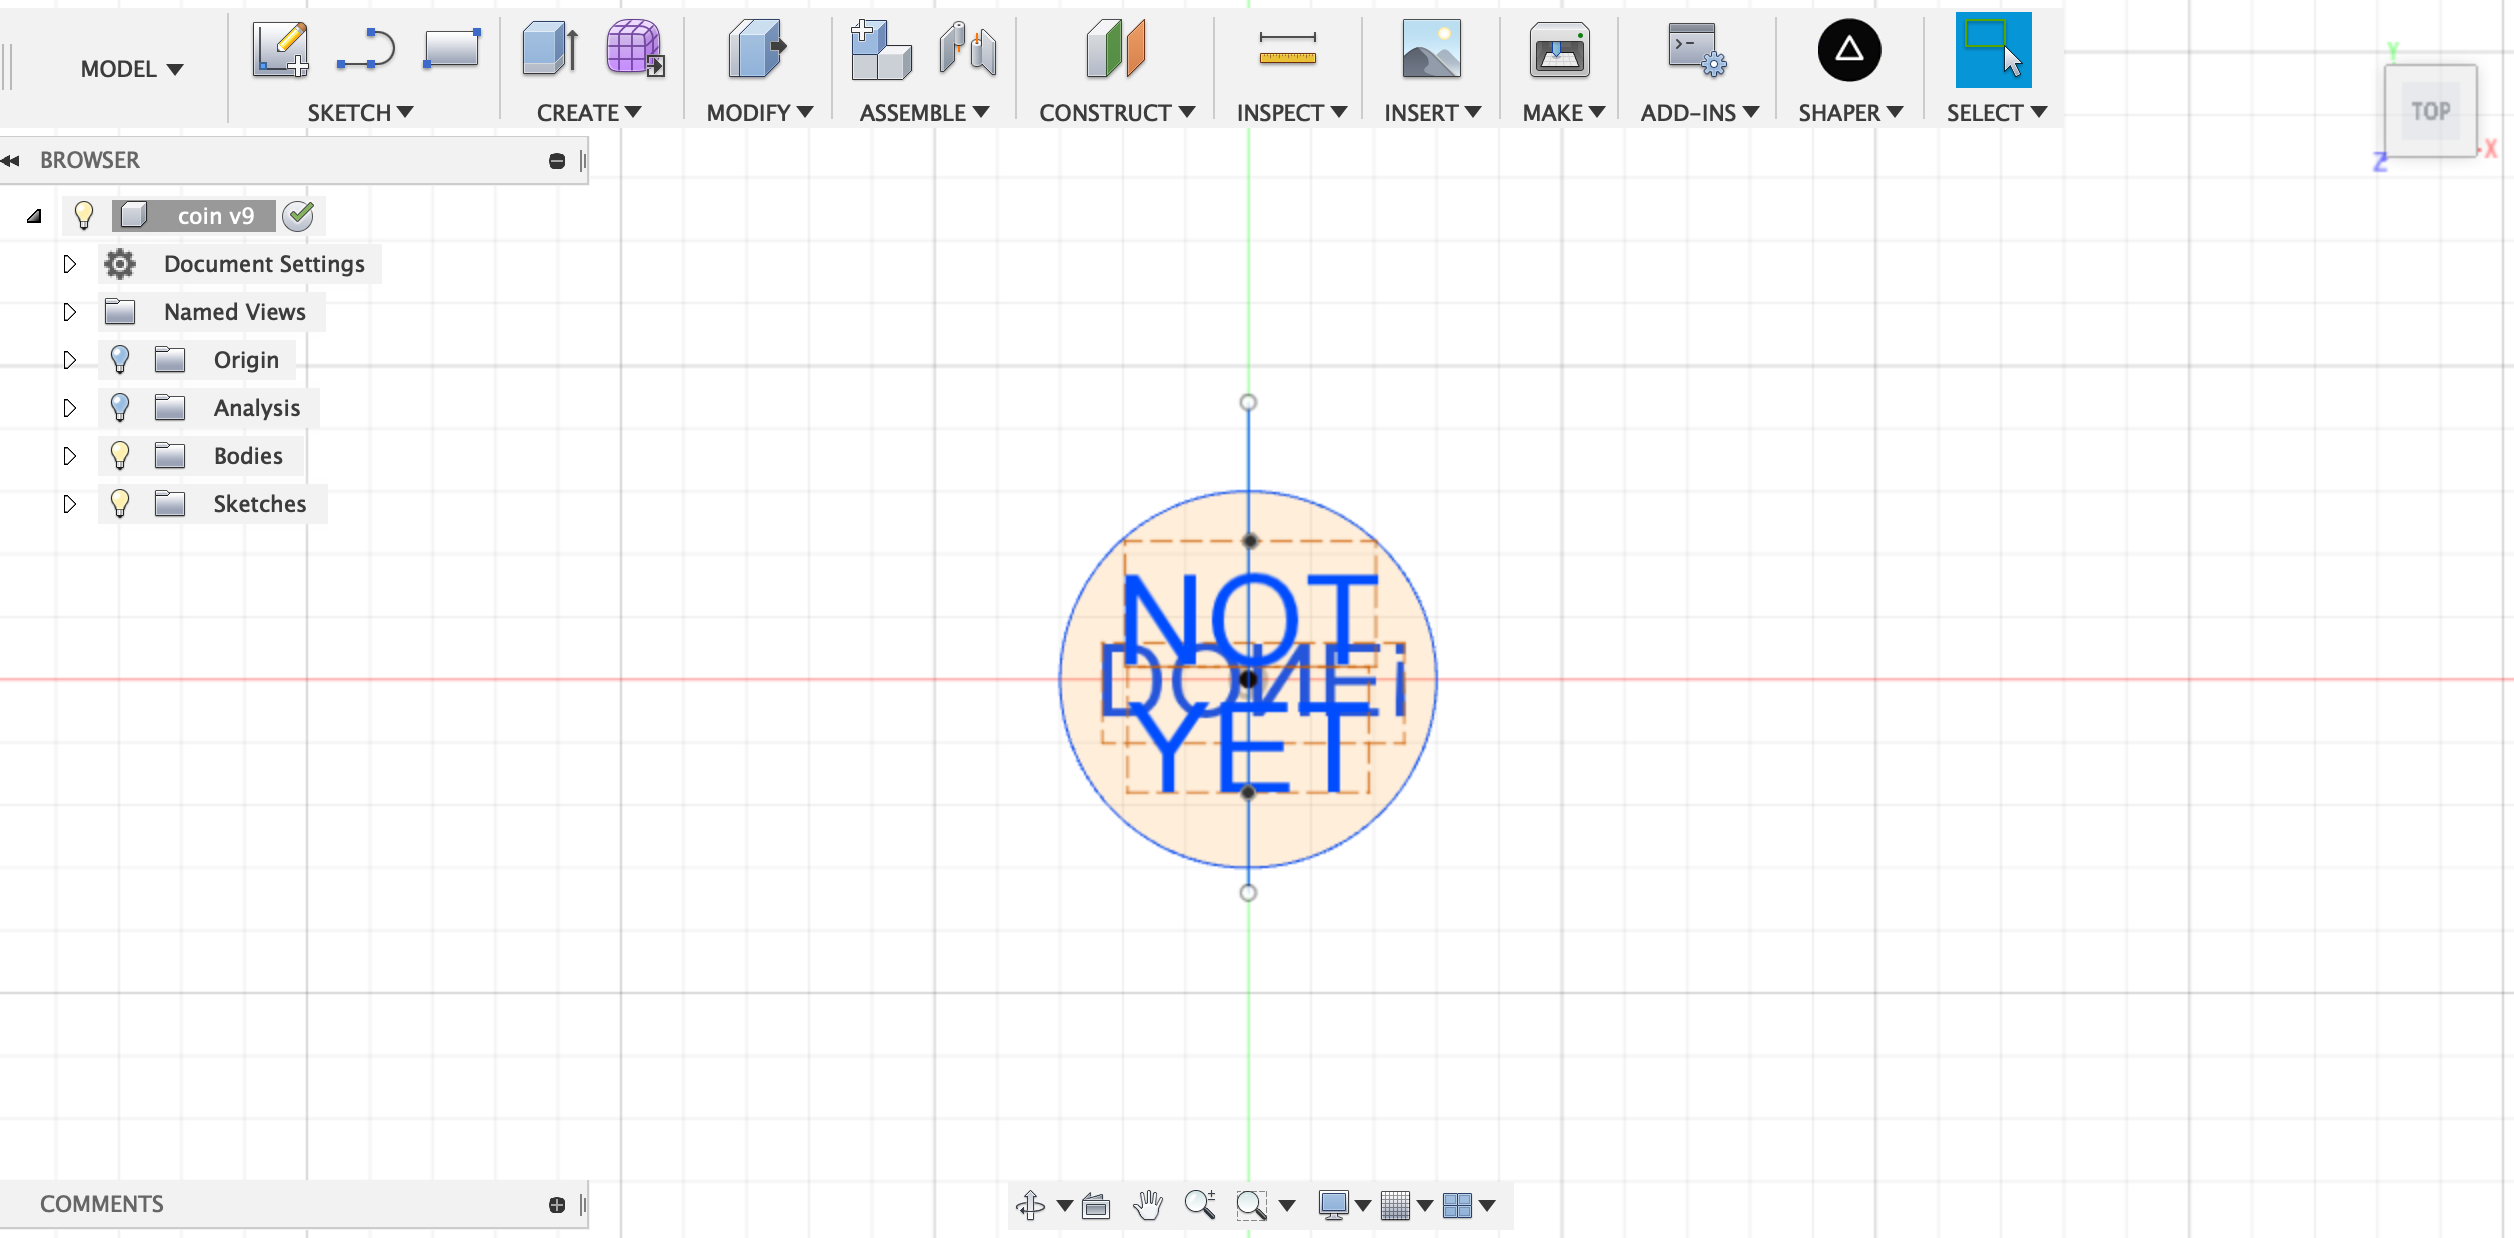
First, I created 3D models with Fusion 360.
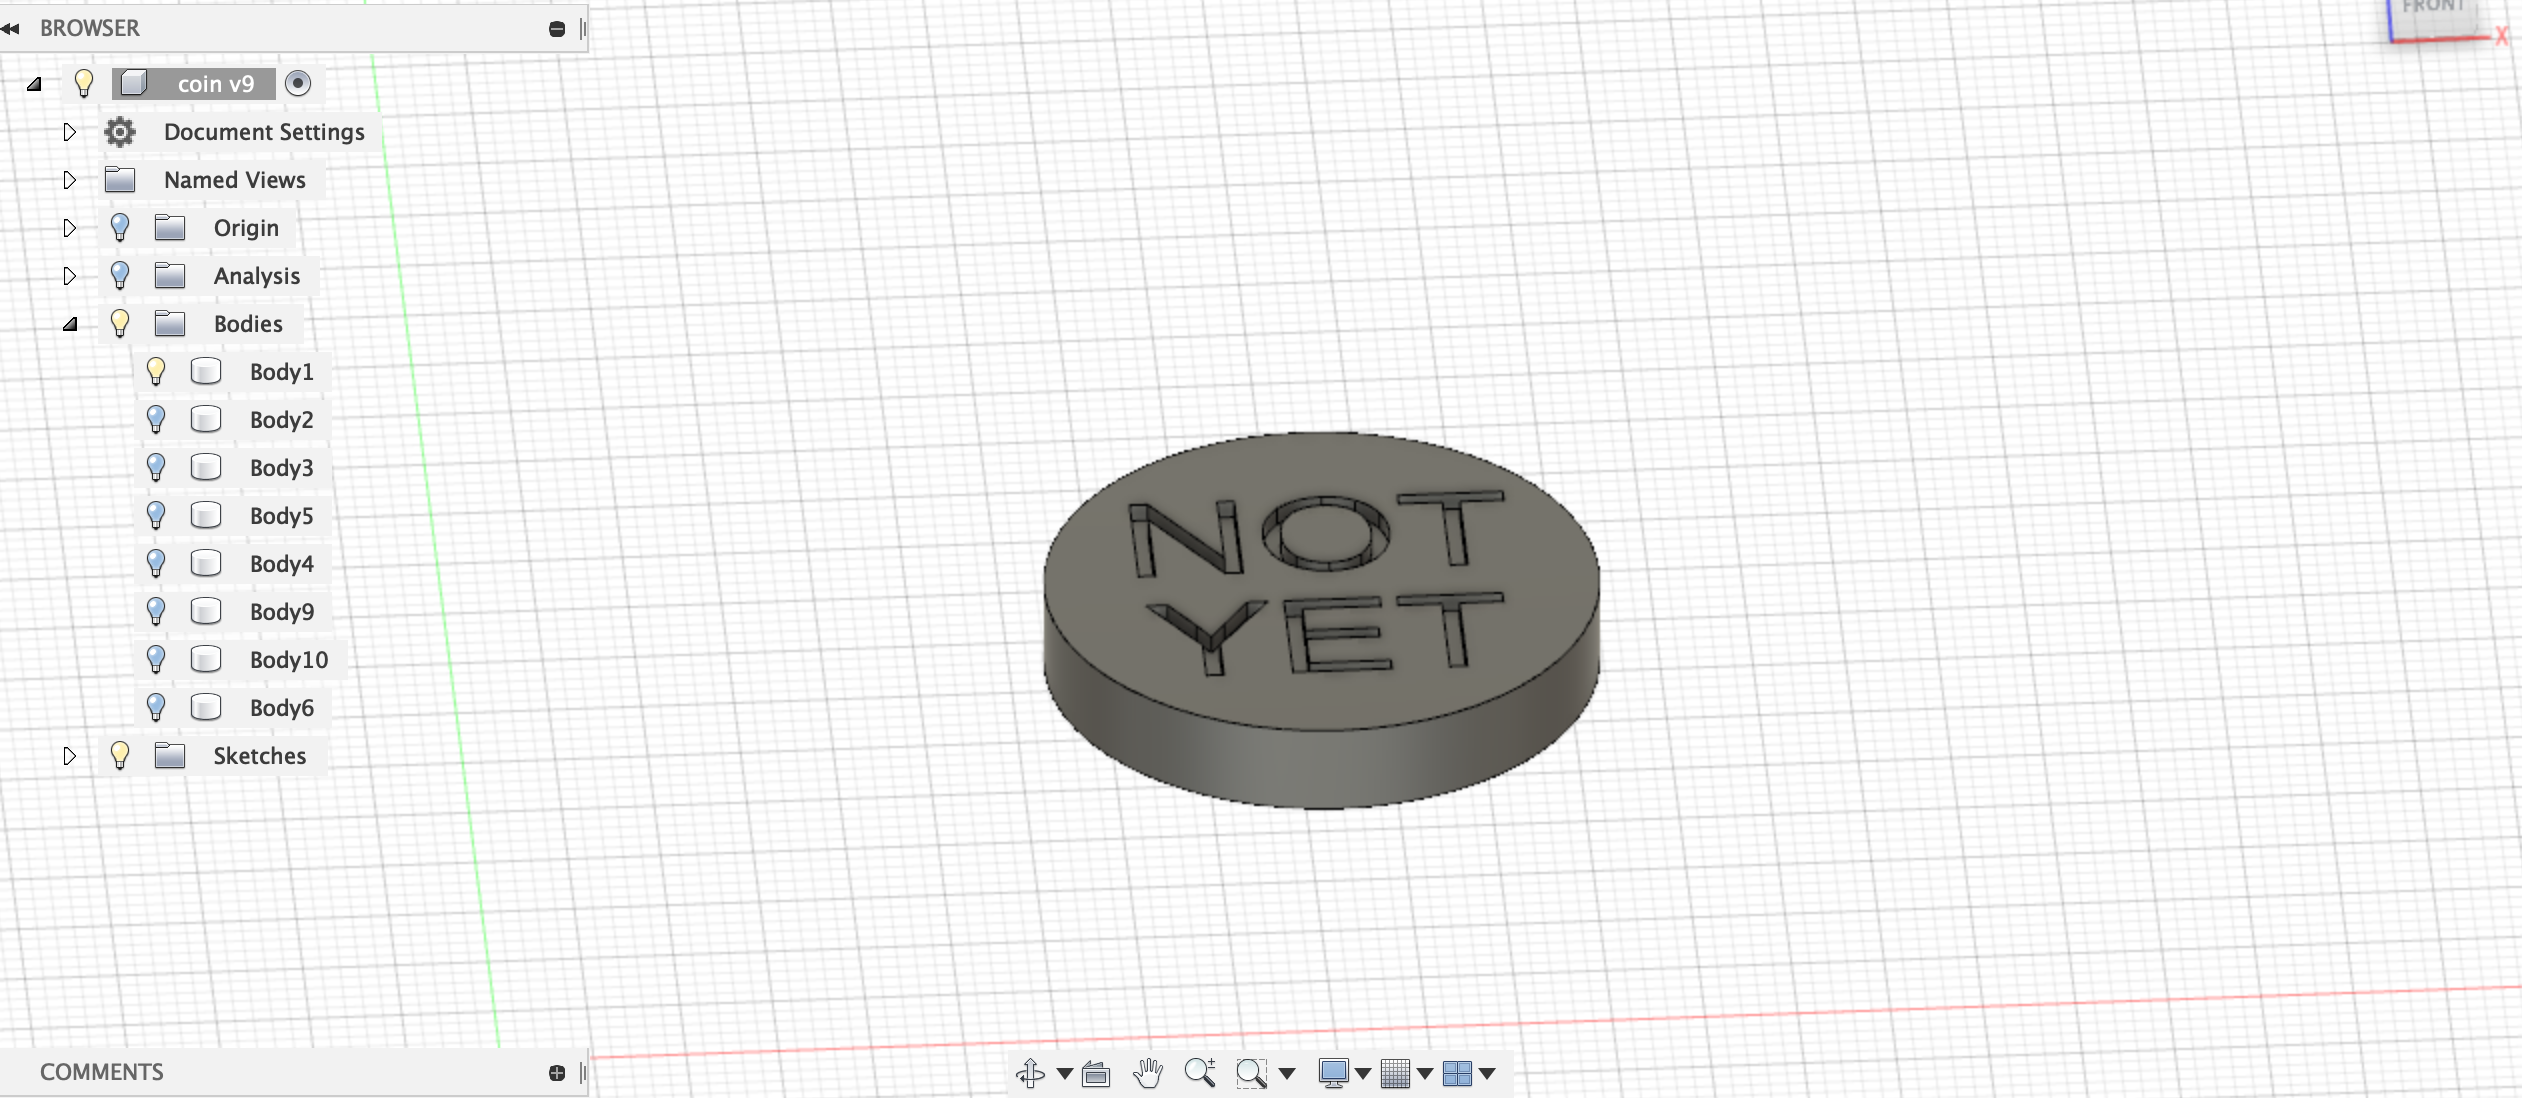
Modeled coin part.

Modeled molding part
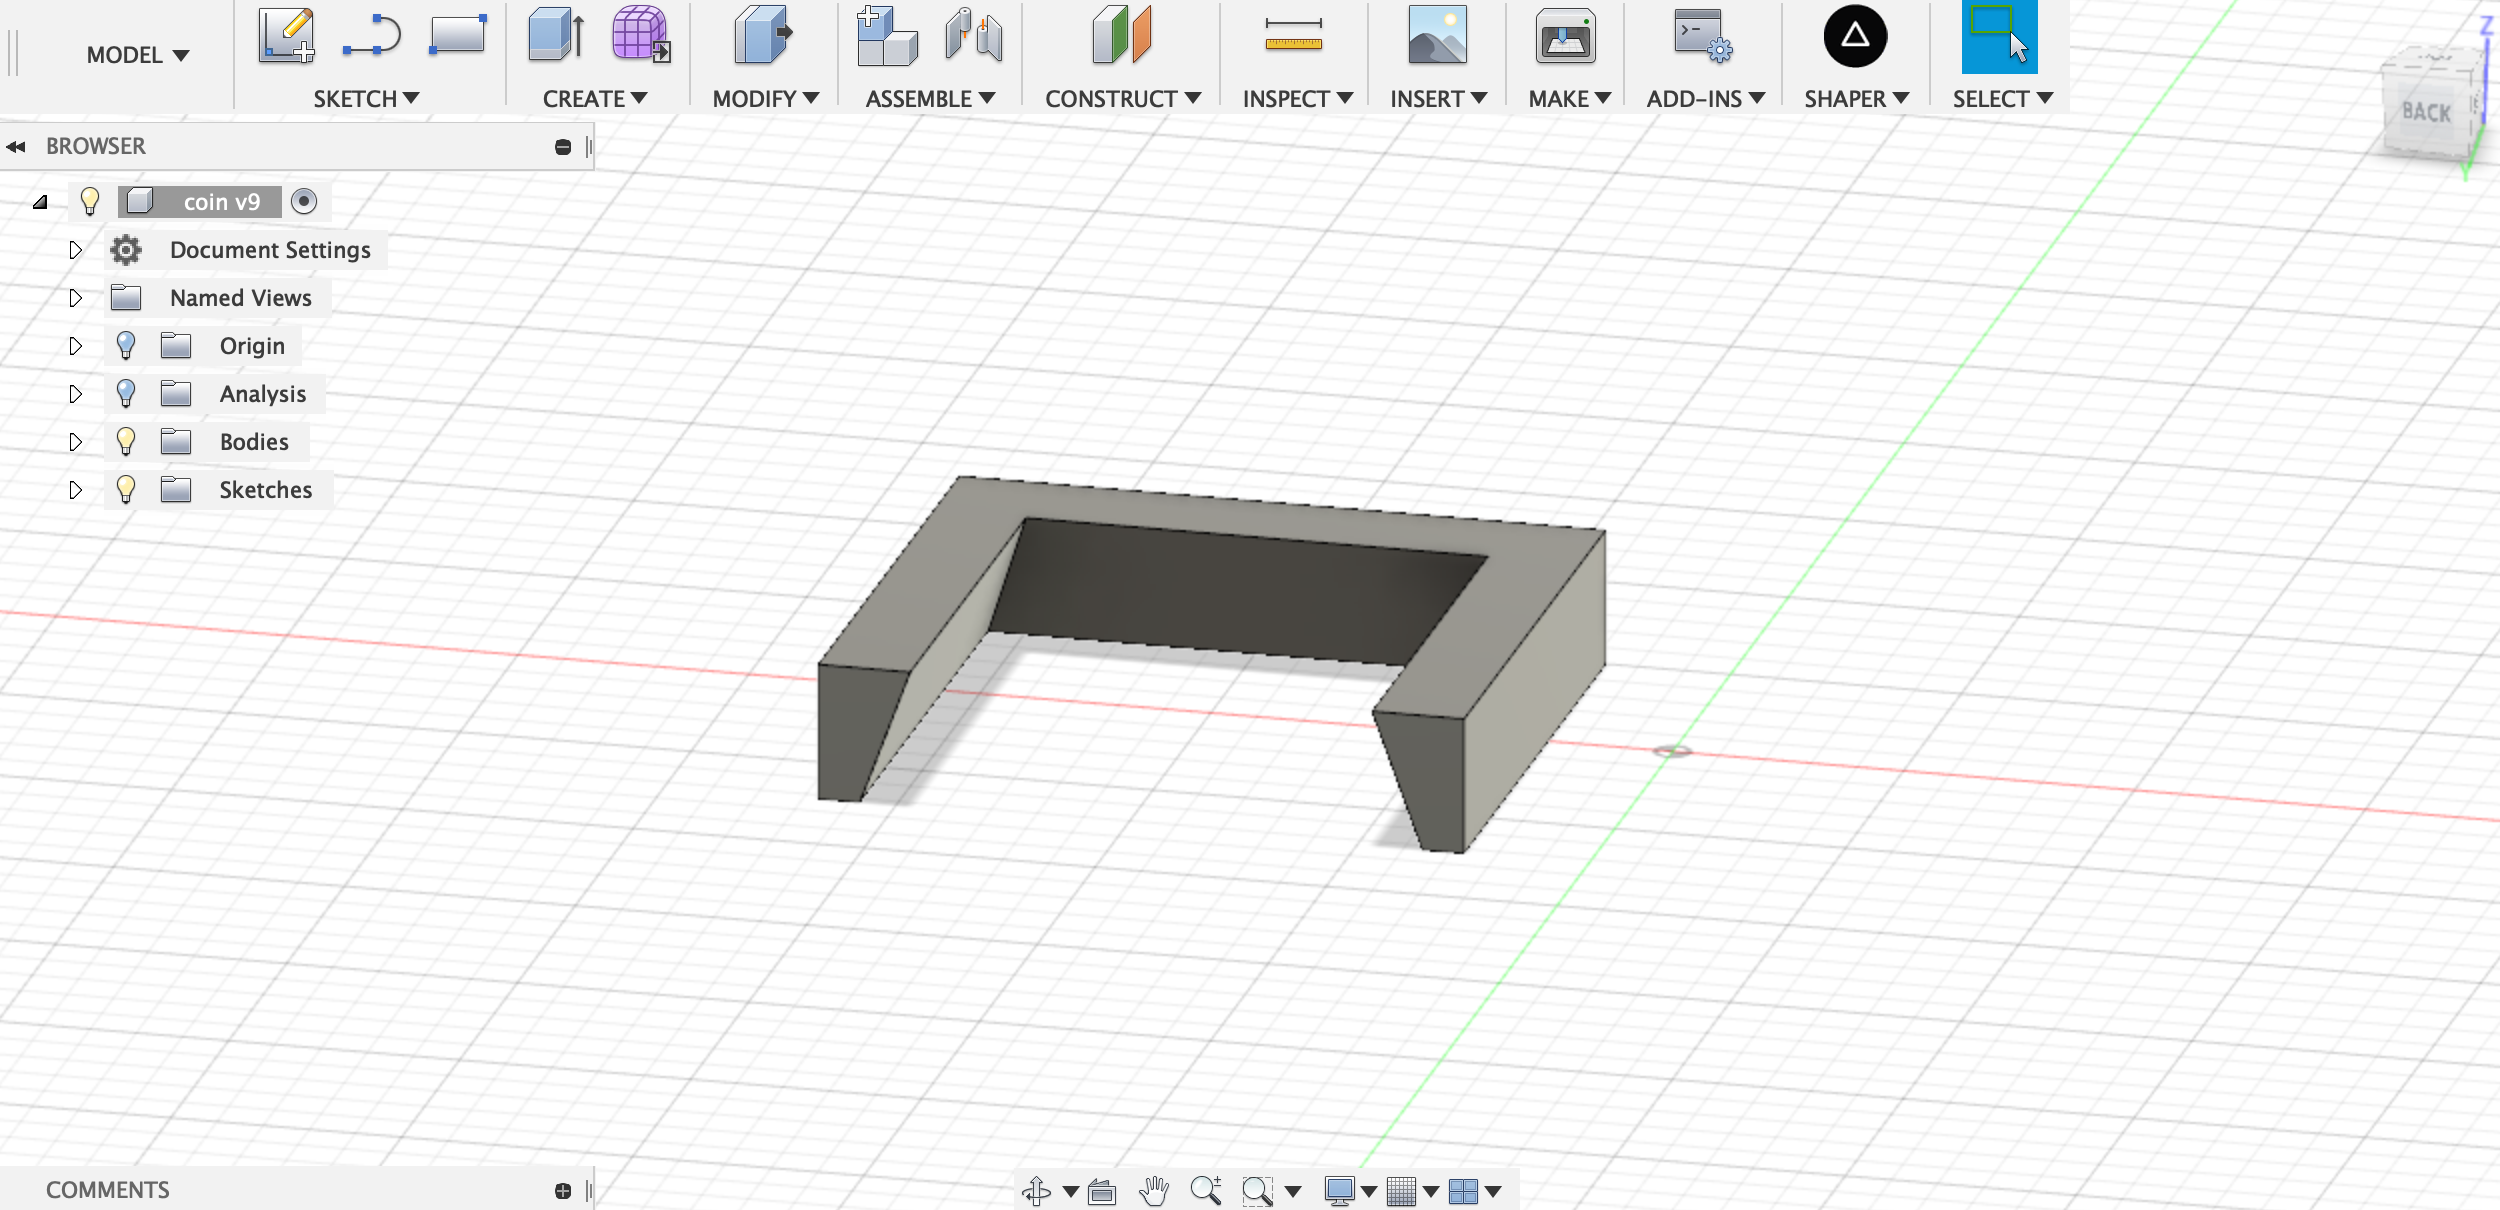
Then combined both, created 3D model for casting

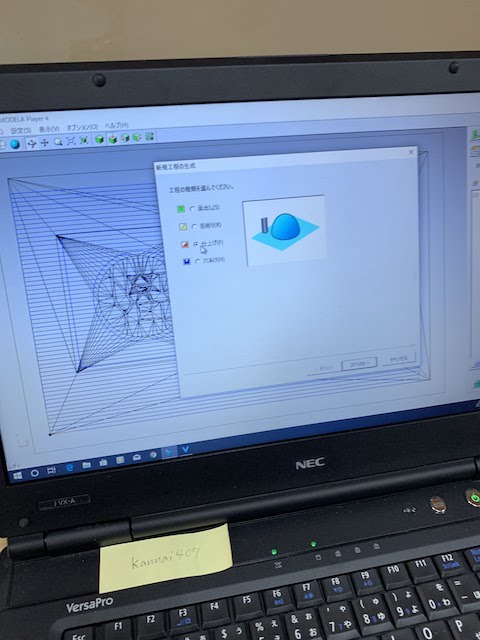
Then, move to mold with MDX-15.
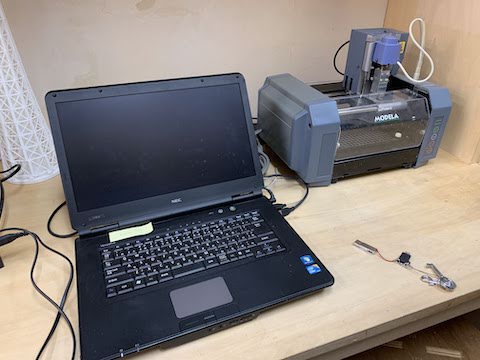
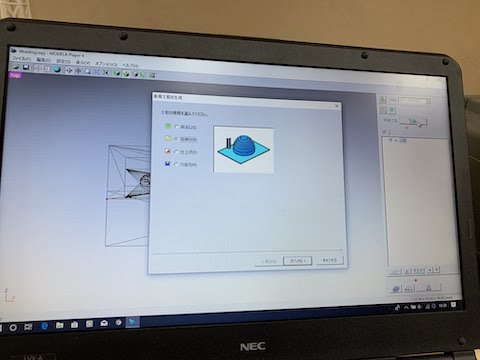
Then, set data for rough cut. For this time, basement(data except coin part) is milled. Softwere I used was MODELA Player 4.
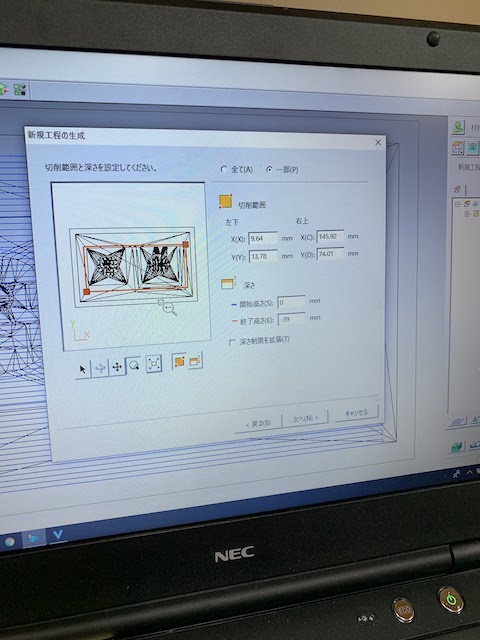
Setting rough cut.
In order to reduce time for milling, this time I descoped milling area just outside of basement part.
This time I used modeling wax called “Ferris File-A-Wax Blue 92 x 152 x 39 mm”
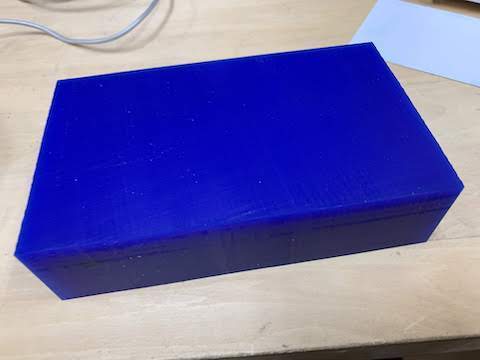
From the datasheet, It’s not good for High-Speed CNC, this time I use normal setting.
Milled basement part.
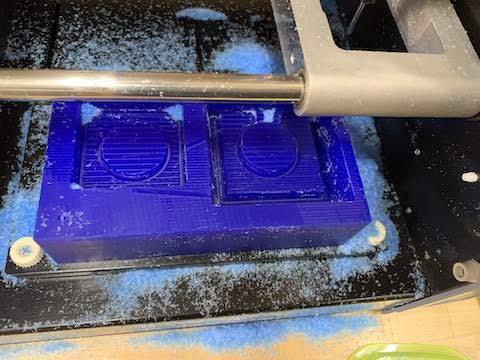
Then set finsh cut and milled
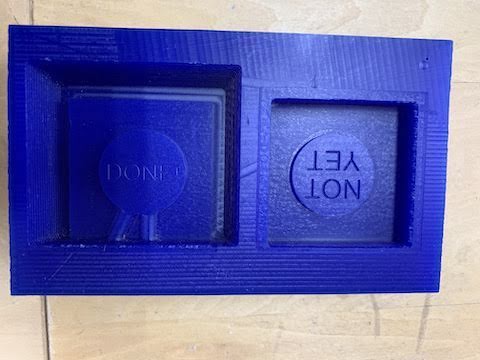
Then milled letters.
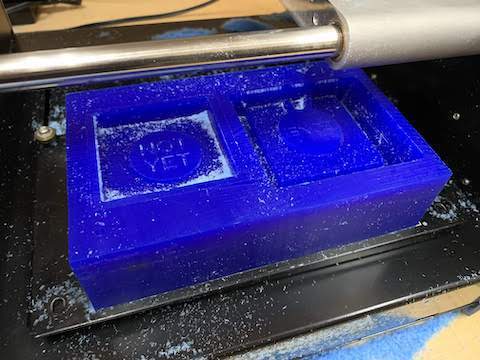
Here’s milled wax
Molding
Then I moved to molding.
This time I used Smooth-on MOLD STAR 16 FAST
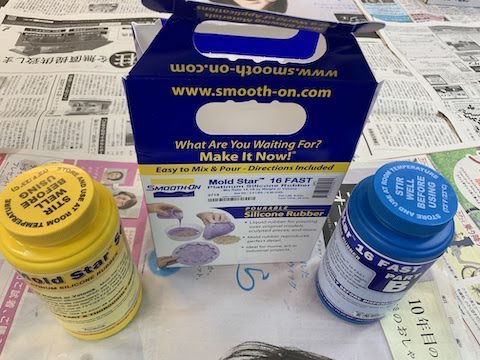
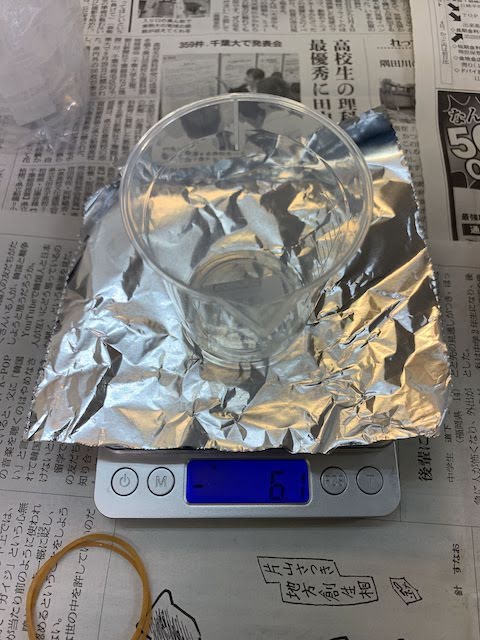
According to the safety data sheet, this consists of liquid A and B, and should be mixed 1:1 weight, so I measured weight of both.
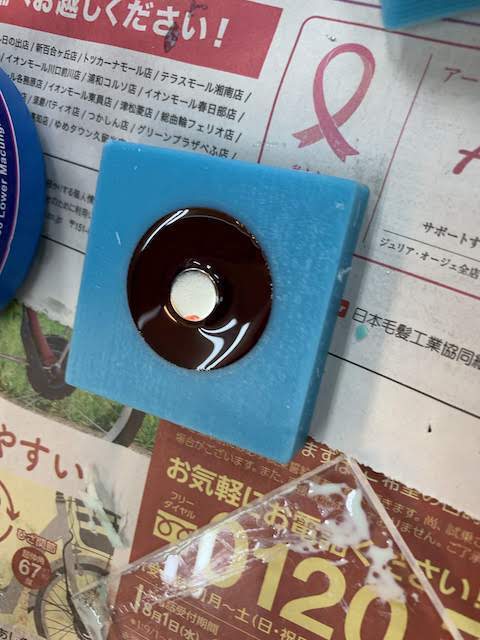
Mixed it and pour it into modeling wax
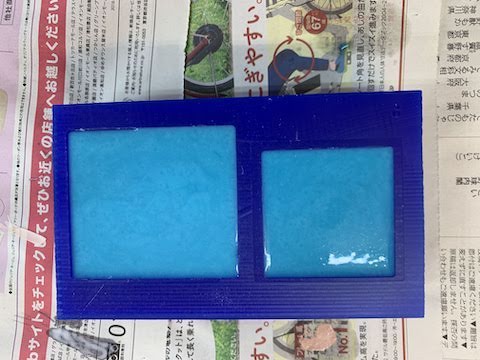
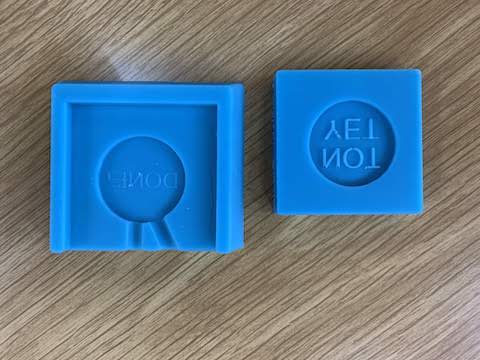
This should take 30 mins to subtle. After 30 mins, I got this.
Casting
Then, moves to casting.
This time I used Smooth-on Smooth-Cast 300

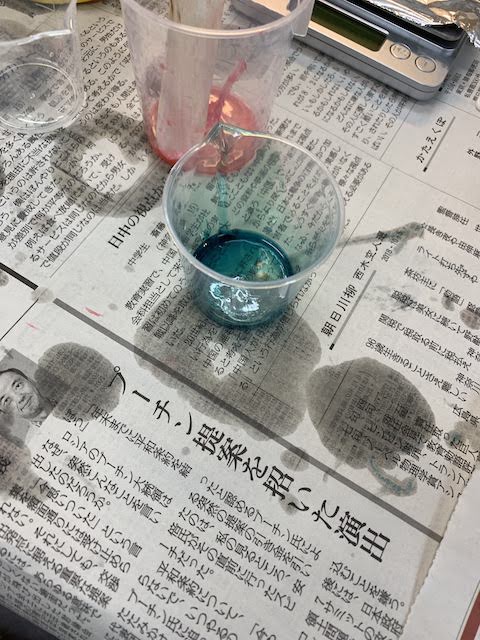
According to safety data sheet, This consists of liquid A and B, and should be mixed 100A:90B weight, so I measured weight of both. For this cast, I wanted to put a magnet into center of the coin, so I devided casting process into 2 parts. In addition, I wanted to make the color different on both side, so added red and blue color.
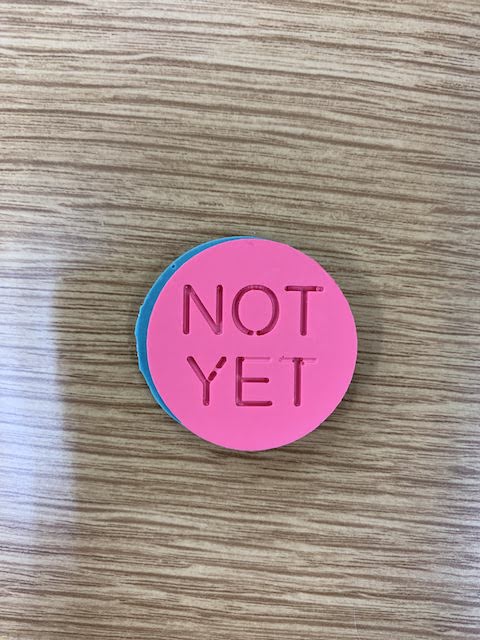
First, I put red color in liquid A with wood mudler. It was just 1 dip. And mixed with B. Then pour into “Not yet” side.
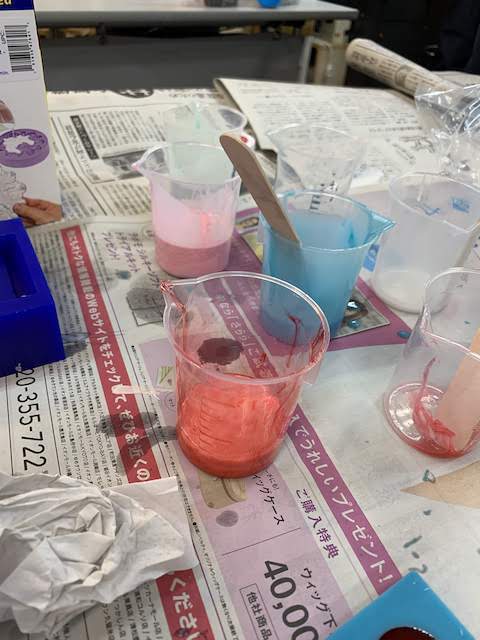
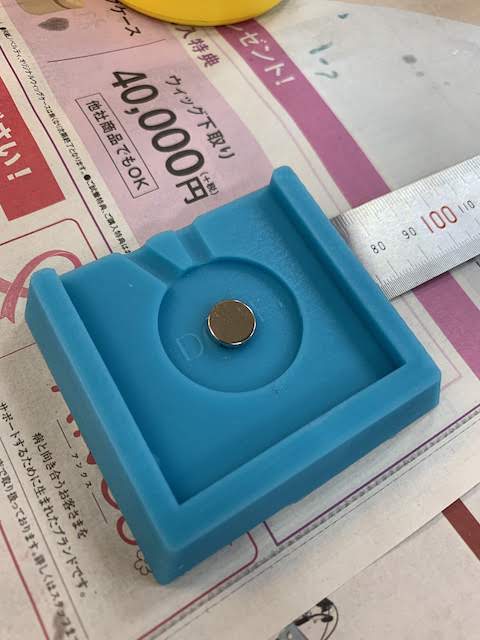
Then put blue in liquid A with the same method and amount. And mixed with B agein. Placed magnet in the center of “Done” side and pour liquind into it. Then combined “Not yet” part immidietely, and sandwitched with vise.
Waited 20 mins to solidify. On catalog, 10 mins to solidify but it was 10 degree celcius(catlog data was for 20 degree celcius), so took twice as long.
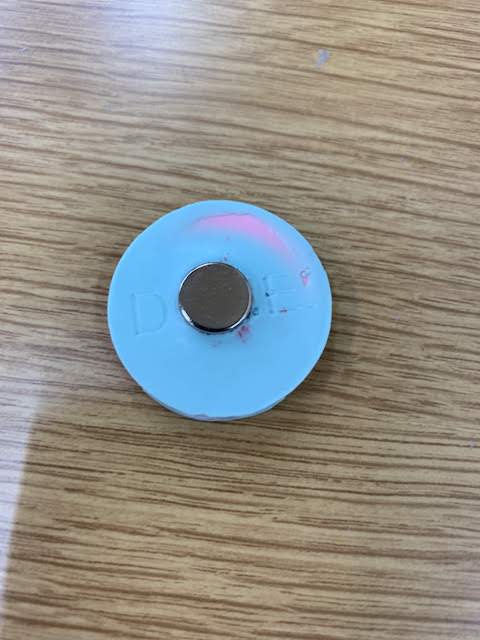
This time I pushed it too hard by vise, so magnet came off from the surface. Also coler was a bit blight. So I reprodeced the former procedure with double dip of color, and more gentle sandwitch with vice.
This time I could mine a magnet but color was still blight.
So I again reproduced the procedure with triple dip of color.
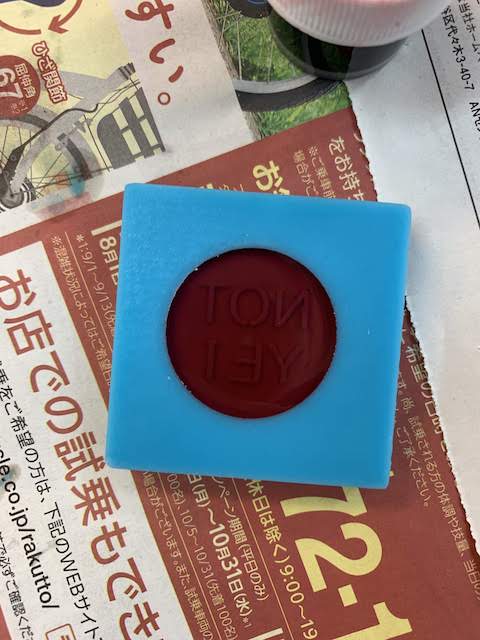
I finally get the coin with the colors I wanted.

Magnet worked very well
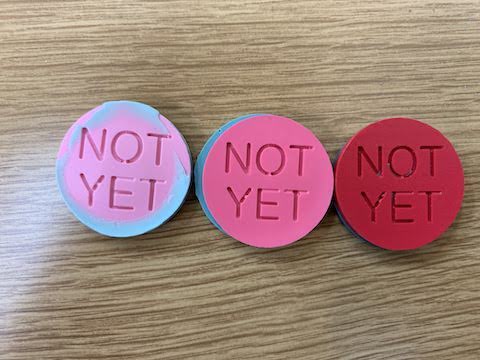
This is the result of try - error. This orders from leftt(the oldest) to right(latest.)