W9 -MOLDING AND CASTING
GROUP ASSIGNMENT
Setup
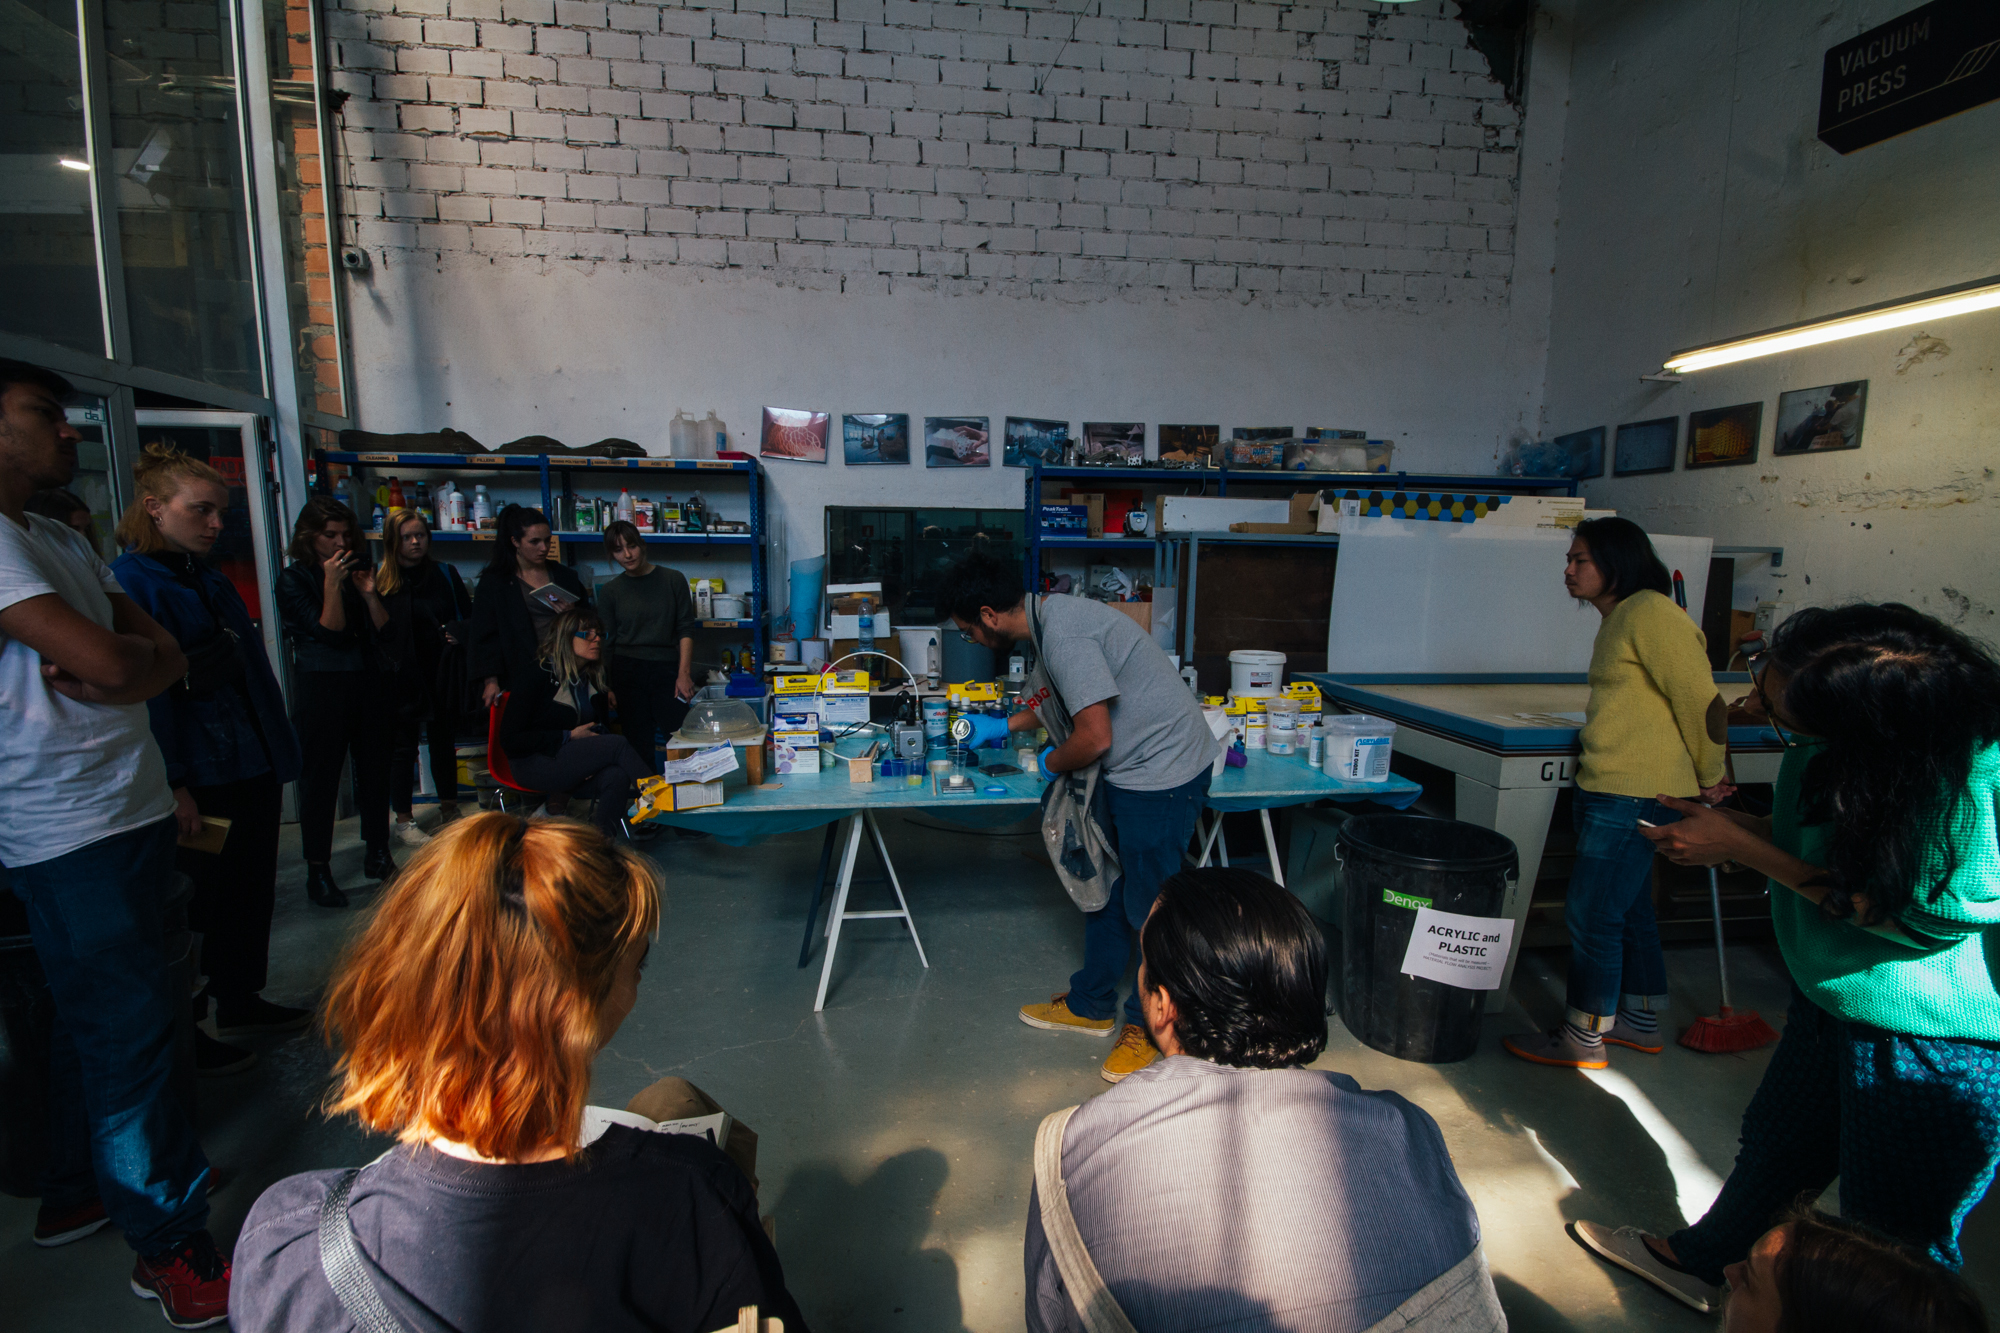
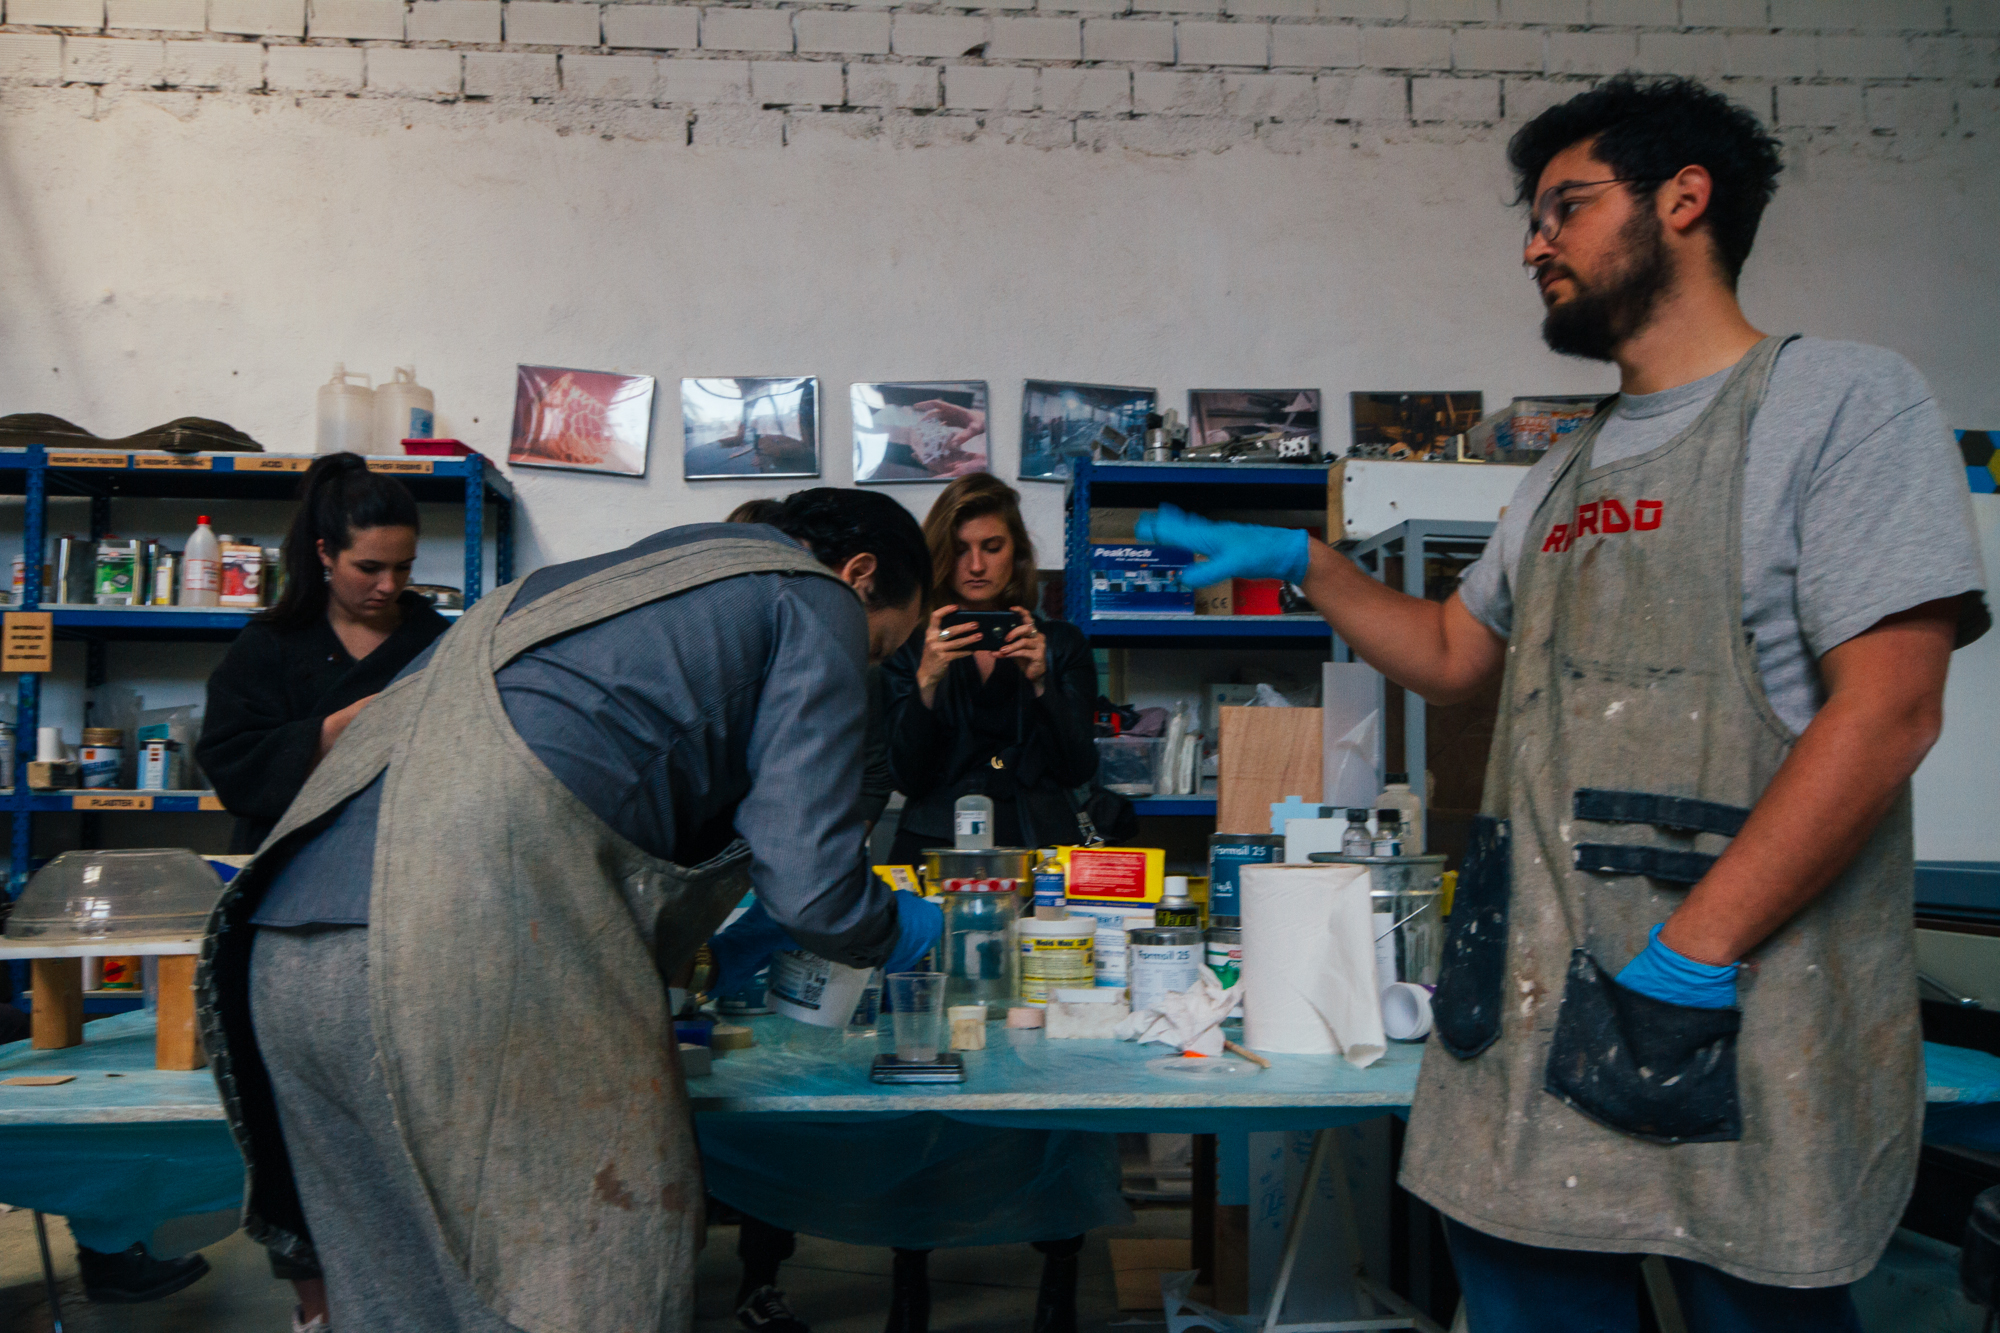
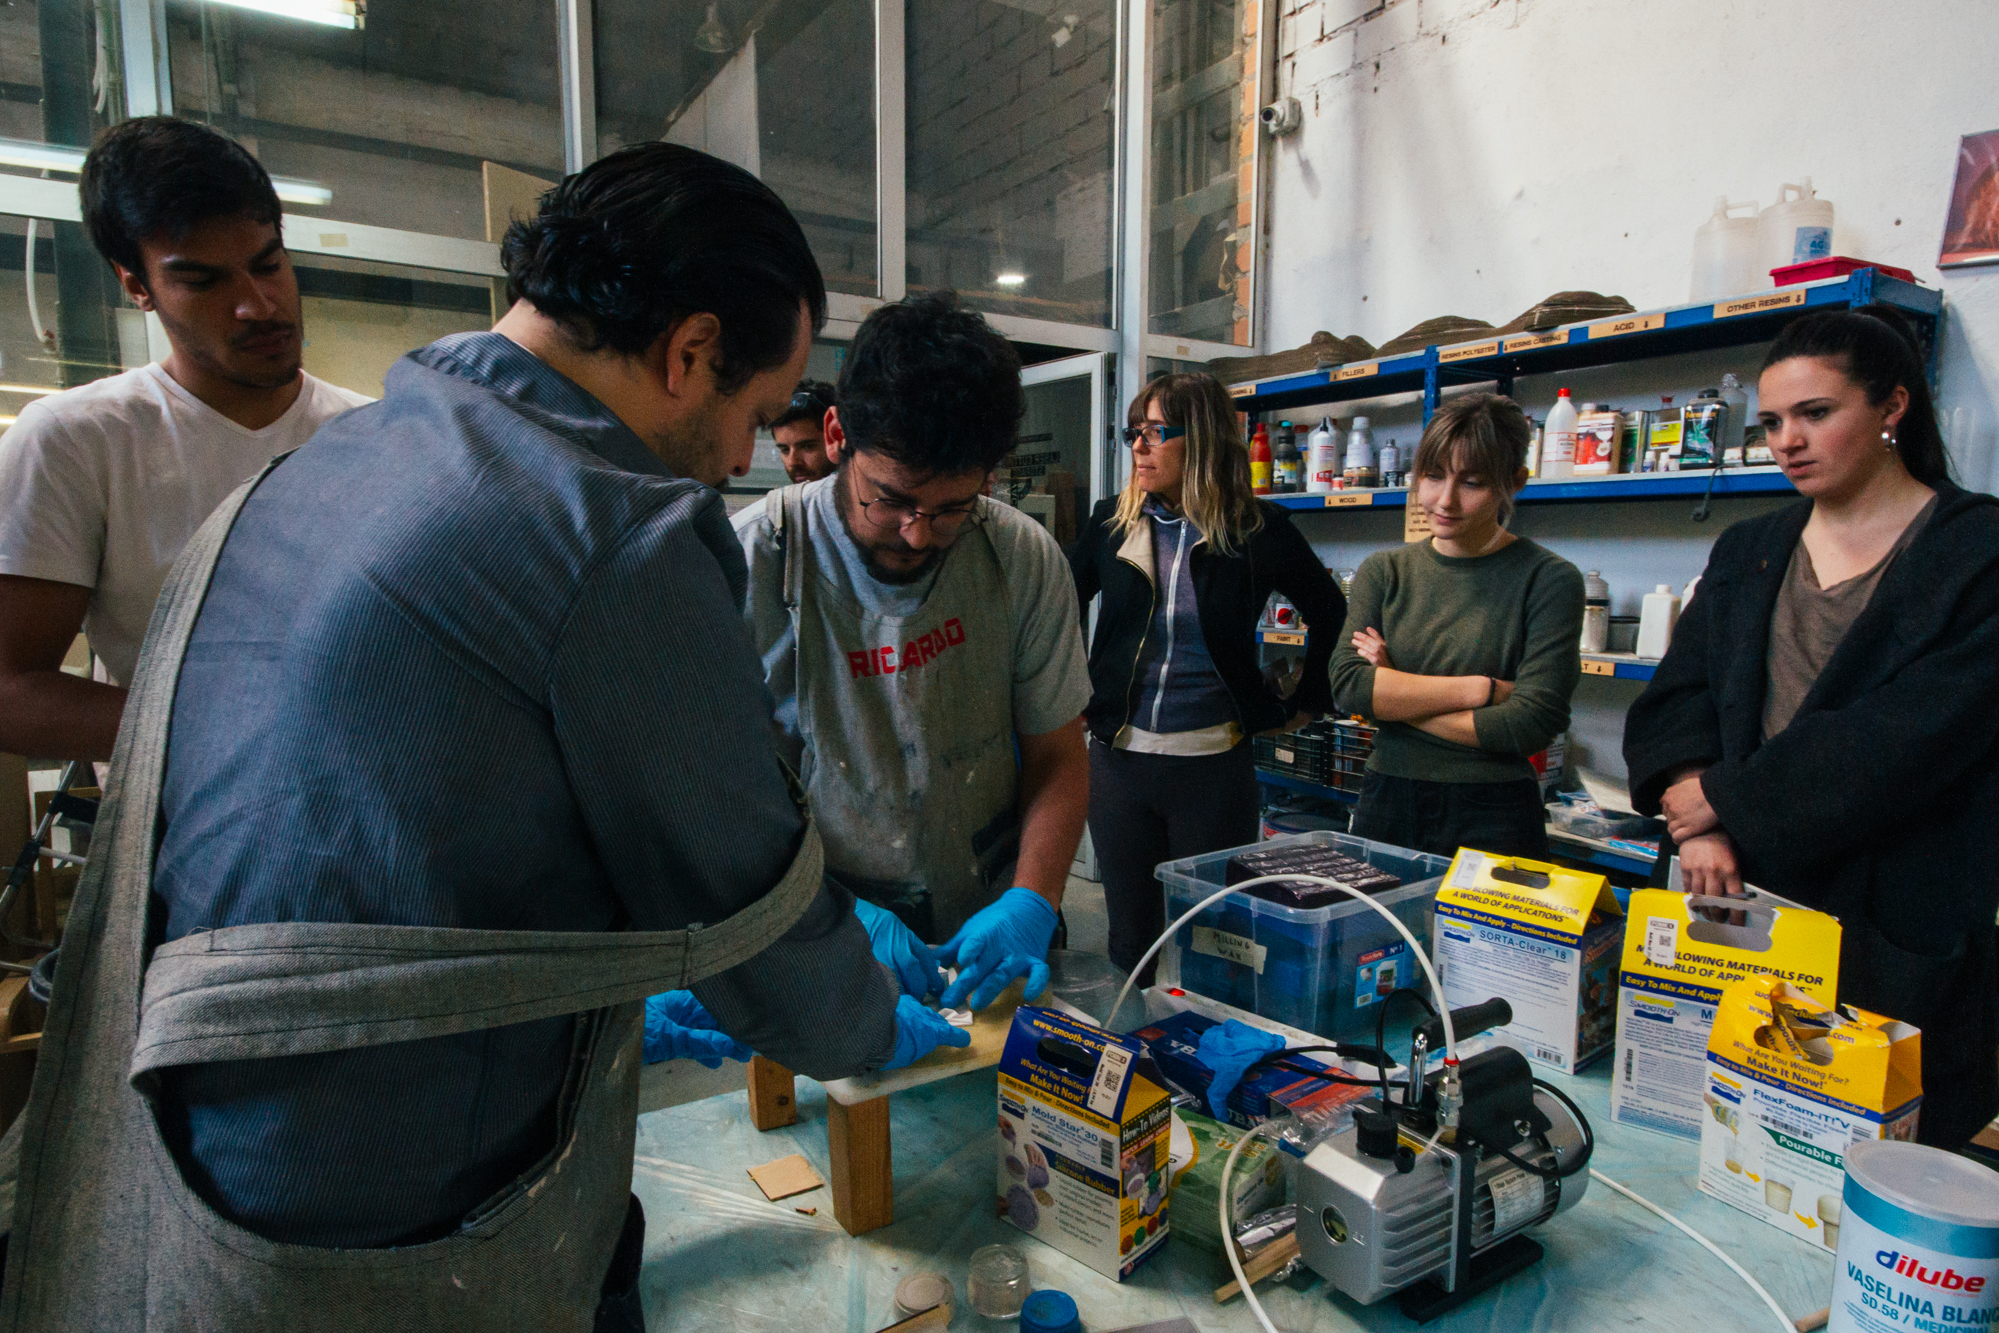
To compare the uses, curing times, mold releases and to have some safety instructions we had a big class where Edu showed us all of our options here in the Fab Lab.
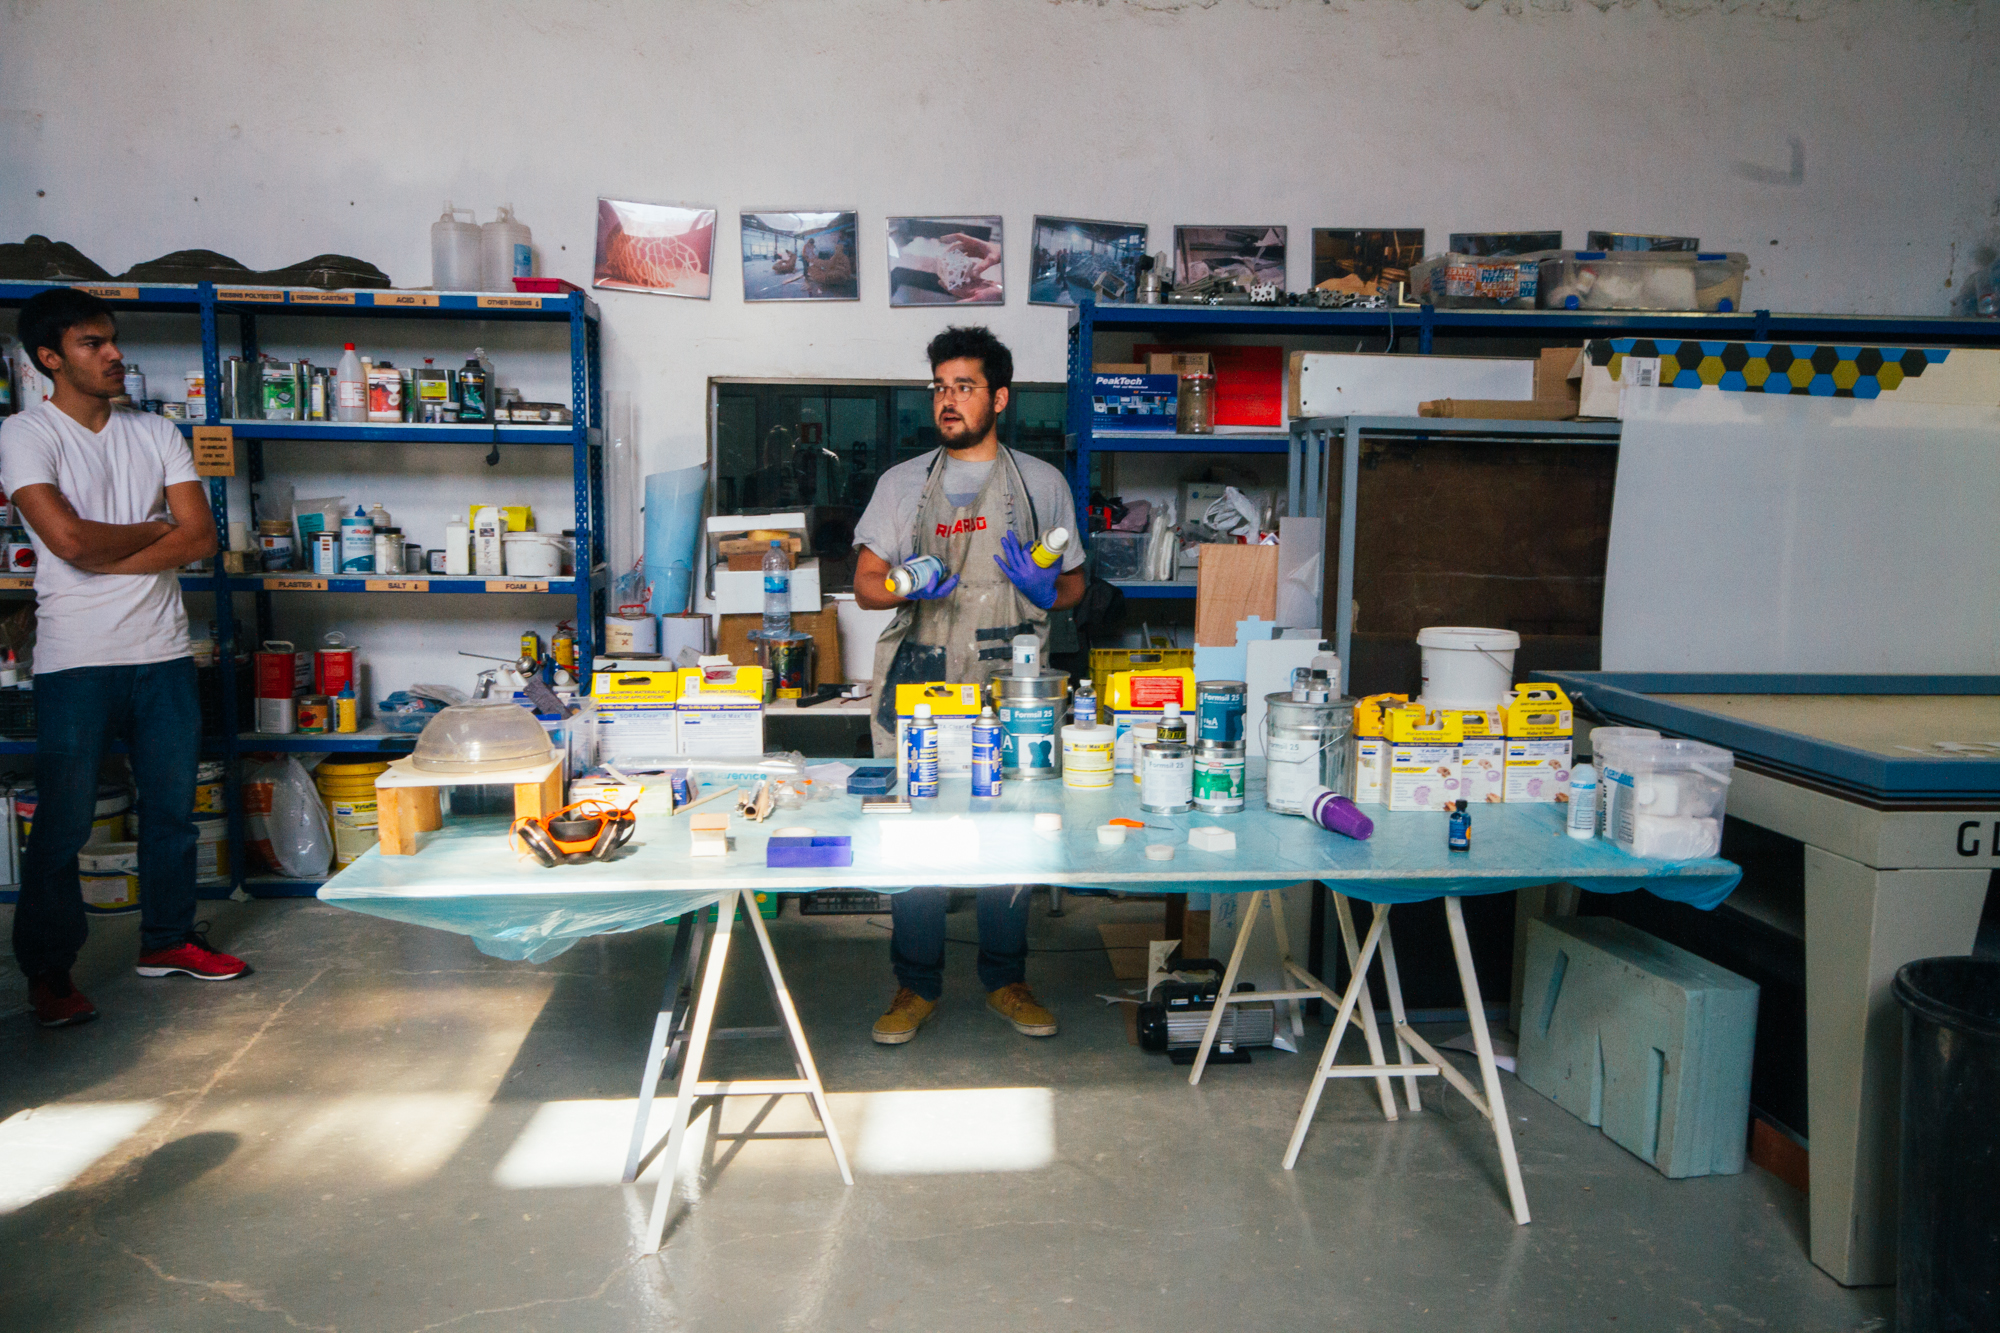
We reviewed the safety sheet, instructions and procedures to be followed with each one of the materials we have available.
Made some tests with different materials to see how the curing time is really important.
And we learned how to use the vacuum chamber to take the bubbles out of our mixes.
WHEEL
I had prepared many objects to mold and cast, maily for jewelery as it is something I already do with castable 3D printing, sadly the evil lord of fablab said it was too complicated. So I finaly learned the lesson, do sometging easy and later do something cool.
So I ended up molding a keechain version on the wheel for my skateboard I plan to do for wildcard week.
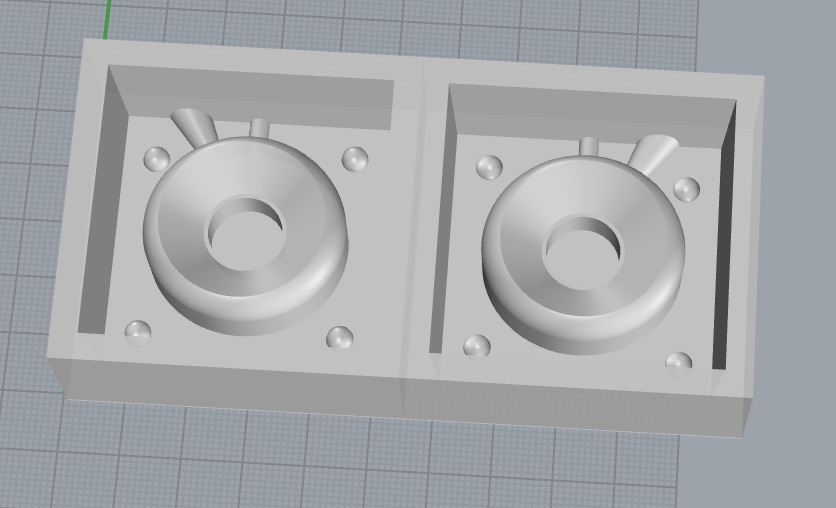
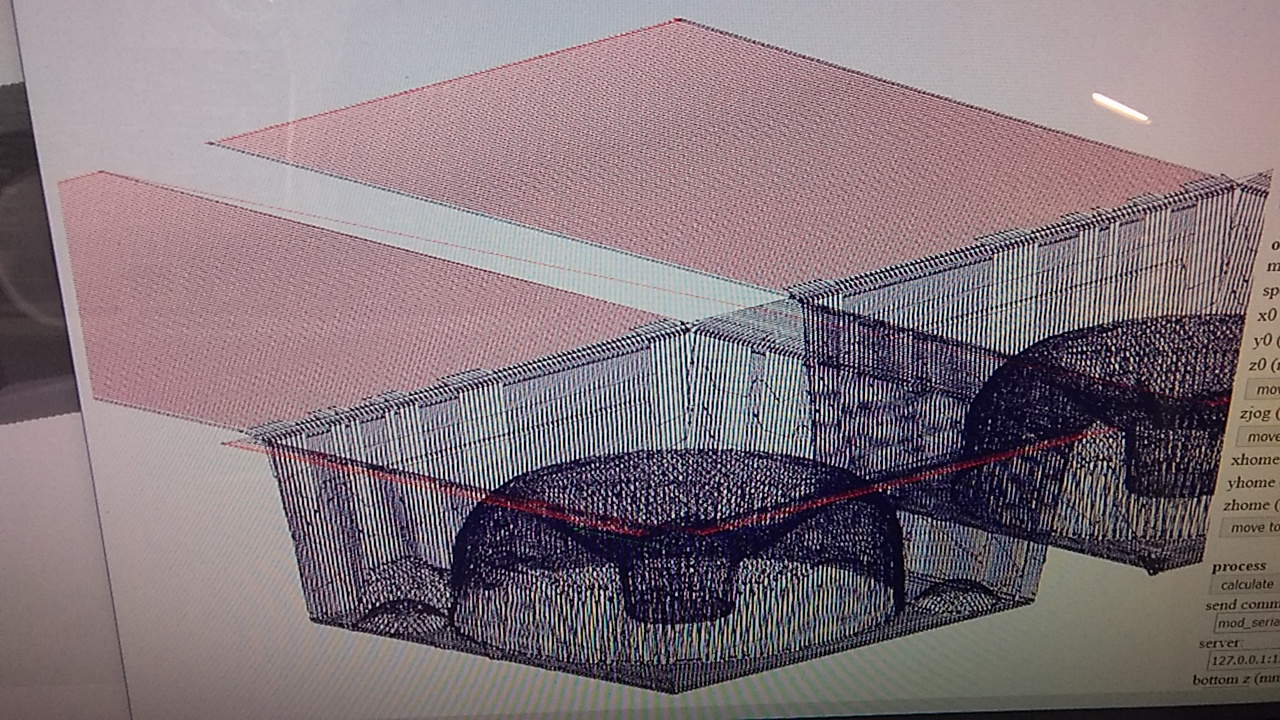
to prepare the unmolding of the final mold, the walls have to be kind of trapezoidal, being wider at the outside to help demolding.
then I did the milling. File
Important!
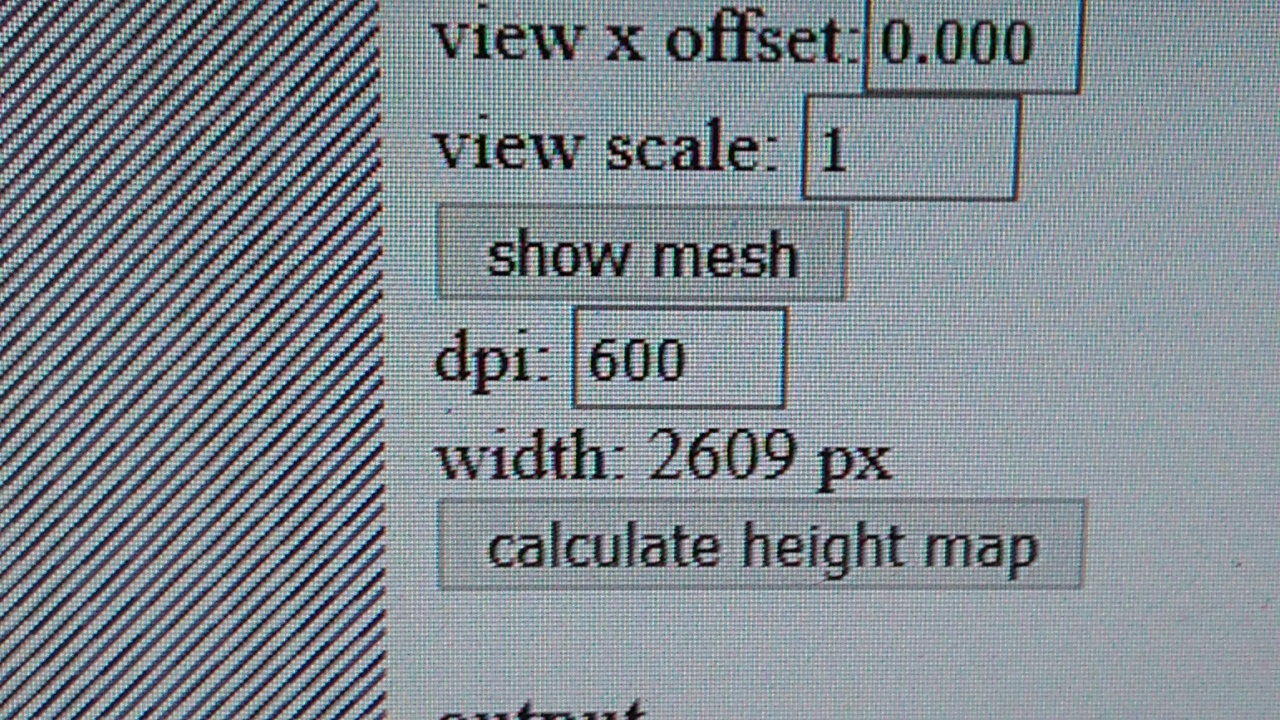
- Get the file in STL,
- Change the scale from 1 to 25.4 to convert to inches,
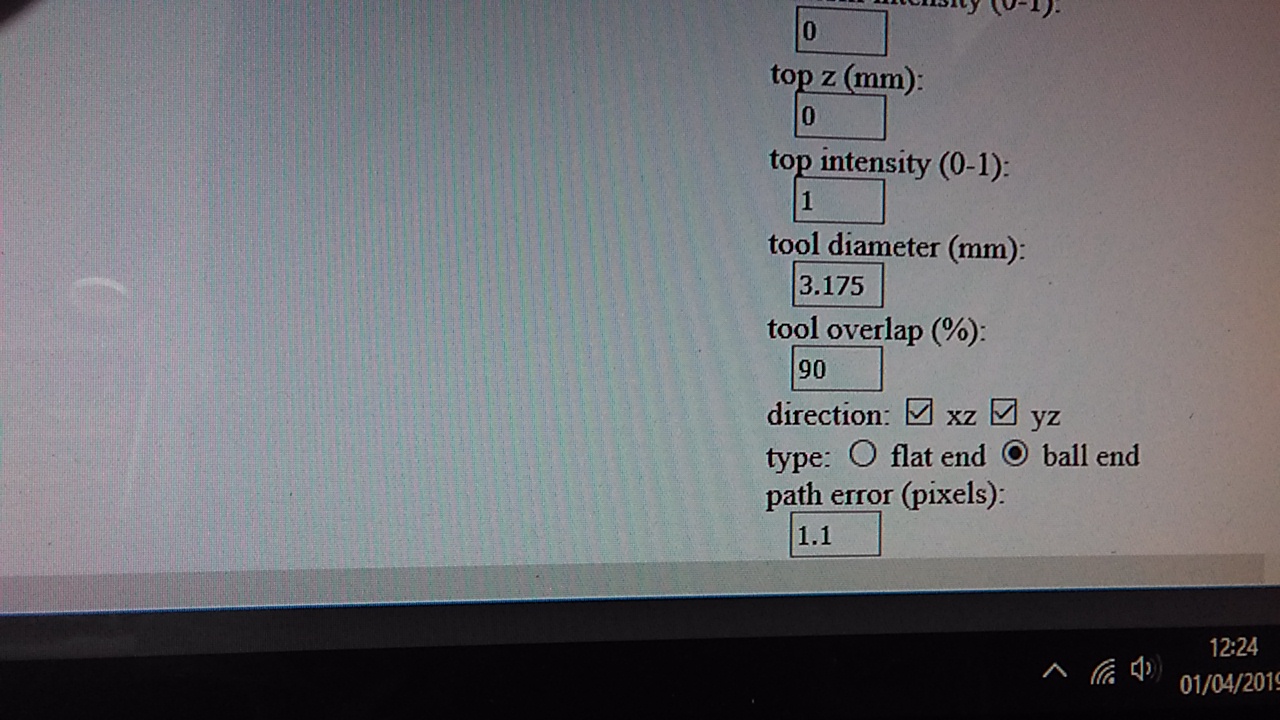
- change the resolution to 100 for the roughcut (maybe to 1000 back for the fine, confirmed! and change to round mill)
- Then do the highmap then choose milling tool size and machine
- Make sure you choose the proper mill type (round or flat) at the bottom of the right handside inputs.
- Calculate
- Happy milling
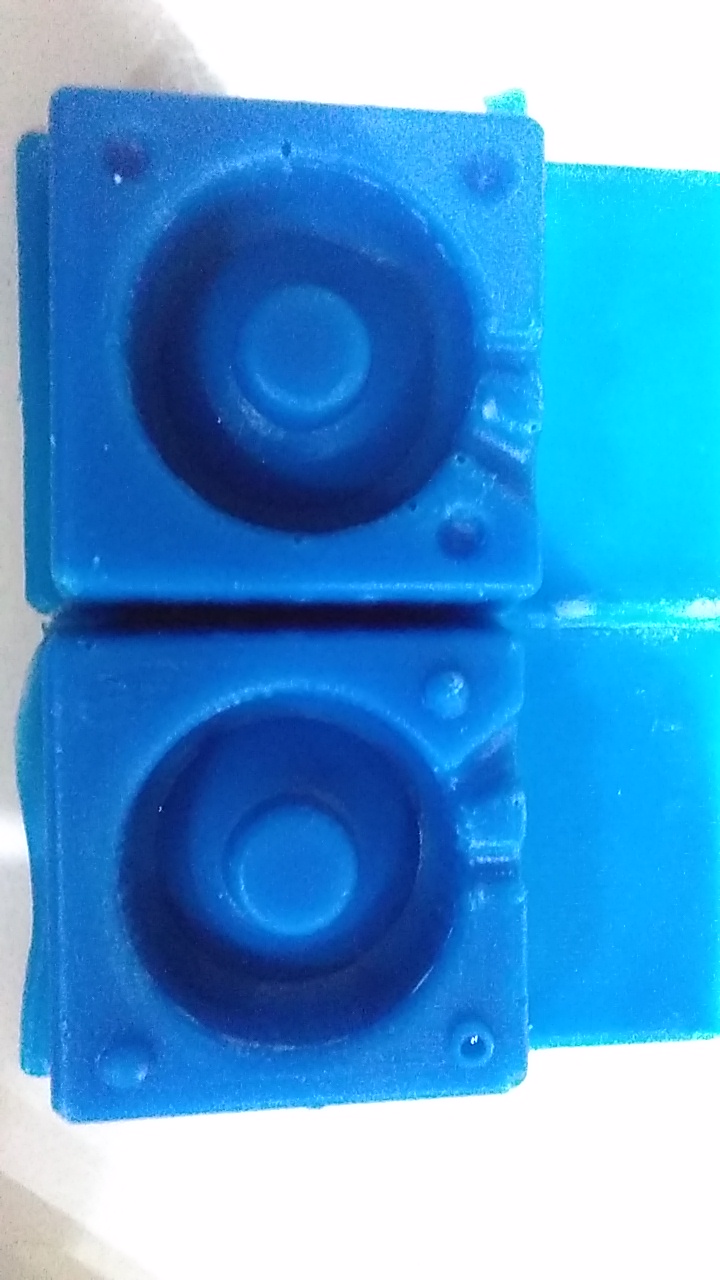
MOLDING
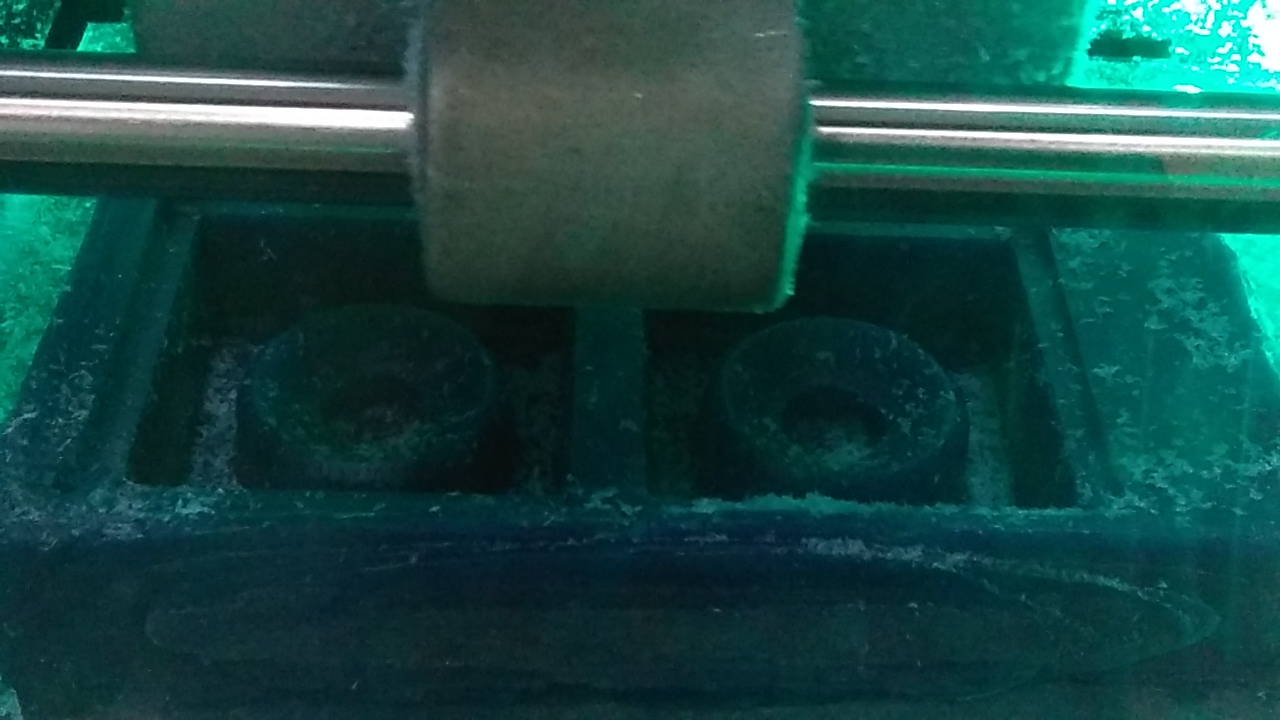
After milling is complete (mine was not so amazing finish, i probably should have used a round as second tool) you cast. (Later I learned that I had to use the ball mill and probably reduce speed)
Chose the material of your final product, and based on that the material you are gonna cast your mold, preferably soft and drformable to ease the demolding, remember the walls had to be trapezoidal. Also the material of your mold shouldn’t stick to your product even if you use spray
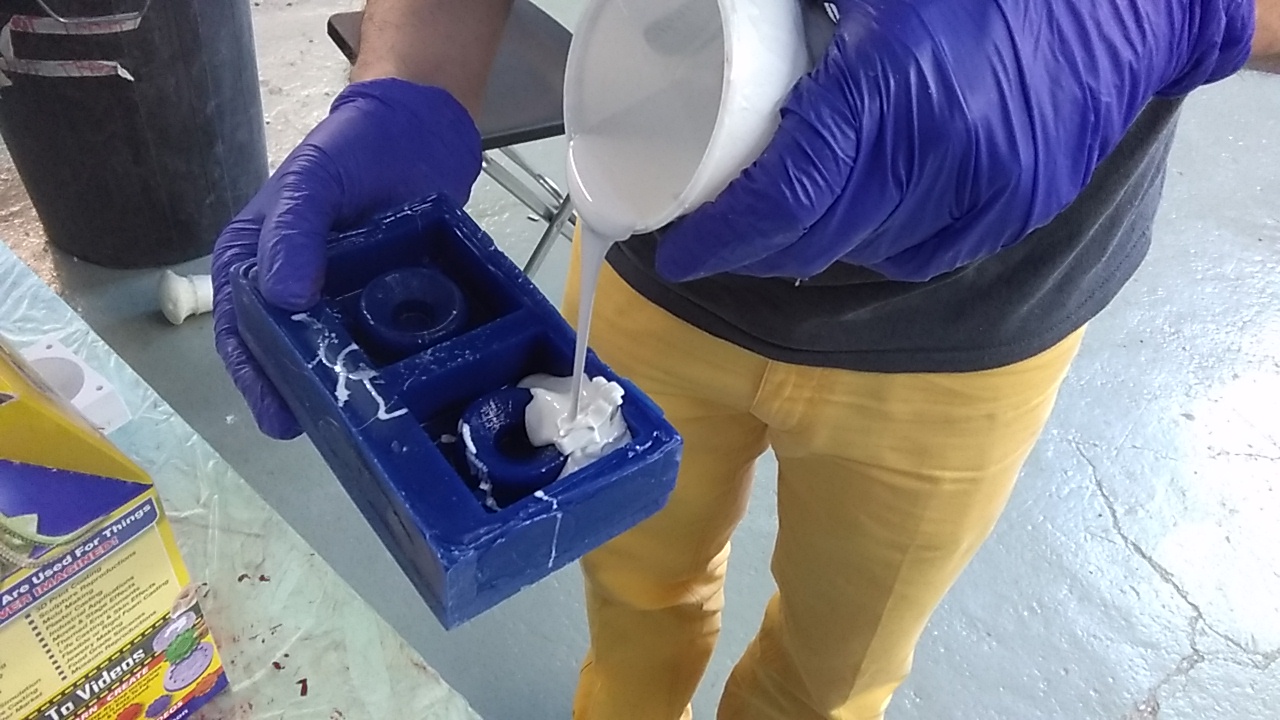
it didn’t work, i used an old silicone, the environment etc, so had to clean it and start all over
- Use the newest silicone if available!
- Use ACETONE better than alcohol to clean up your mold from the gooey silly-con.
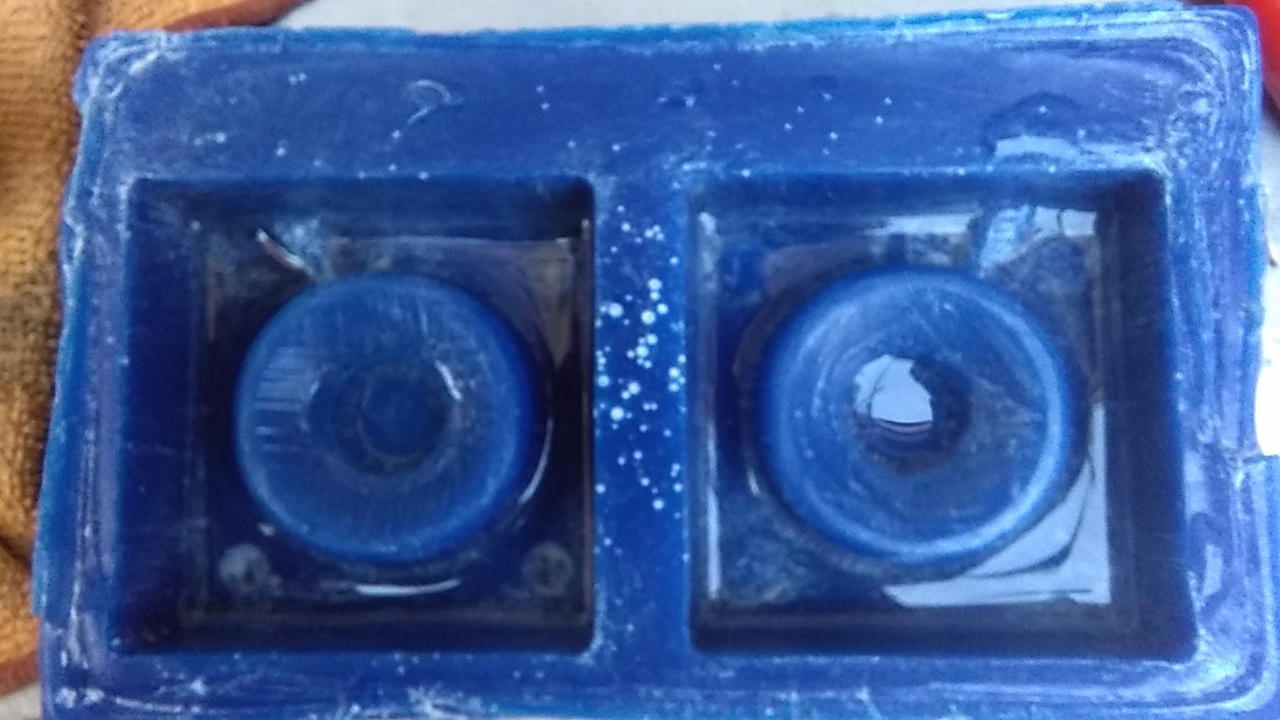
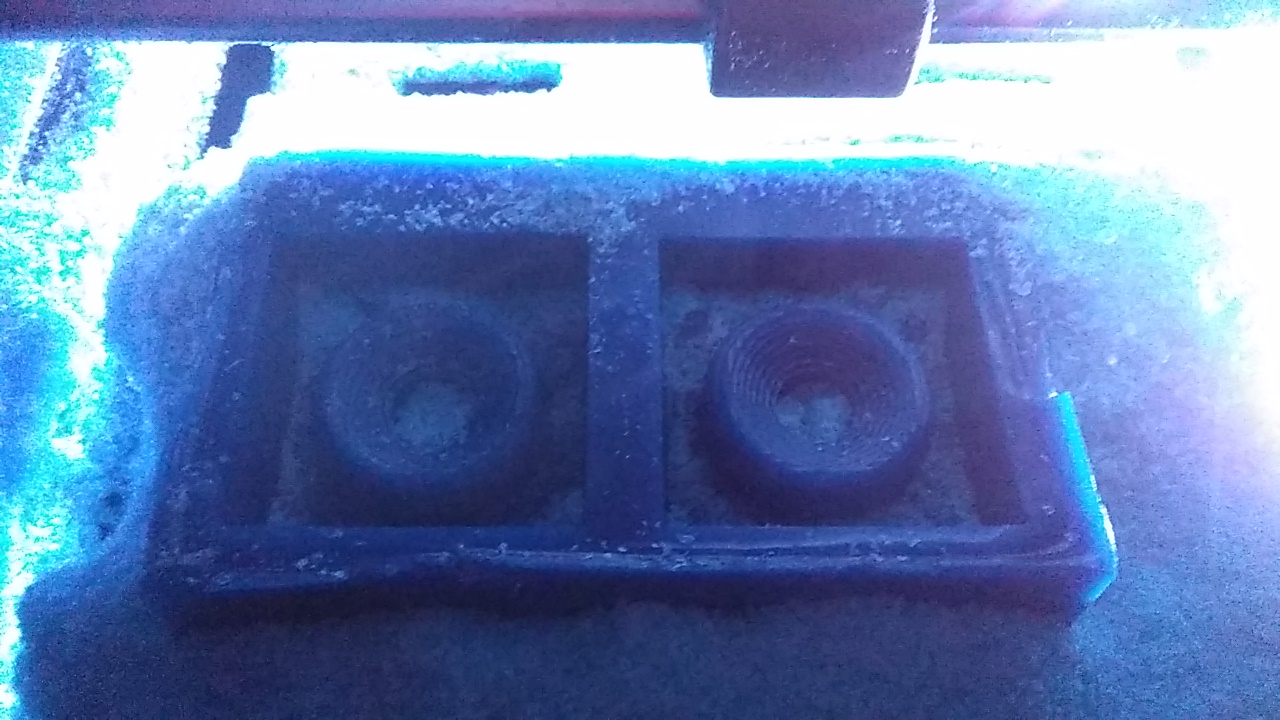
While cleaning I noticed that the bumps had a bridge connecting them to the walls. the problem is that the mill couldn’t pass through.
- Put the bumps AFTER you shrink the piece!
- Change mills for finecutting!
I tryed to mill an improved version.
I bumped the mill on the Z axis, because u was rushing to set it overnight.
- Don’t rush!
It gives me an error error 007 it starts to home in XY and the in Z, it is hust about yo cut and bam! error. It seems that gollows the orders if tho program, zeroing, then loads the GCODE and starts and stops executing so the problem must be in the GCode.
Confirmed
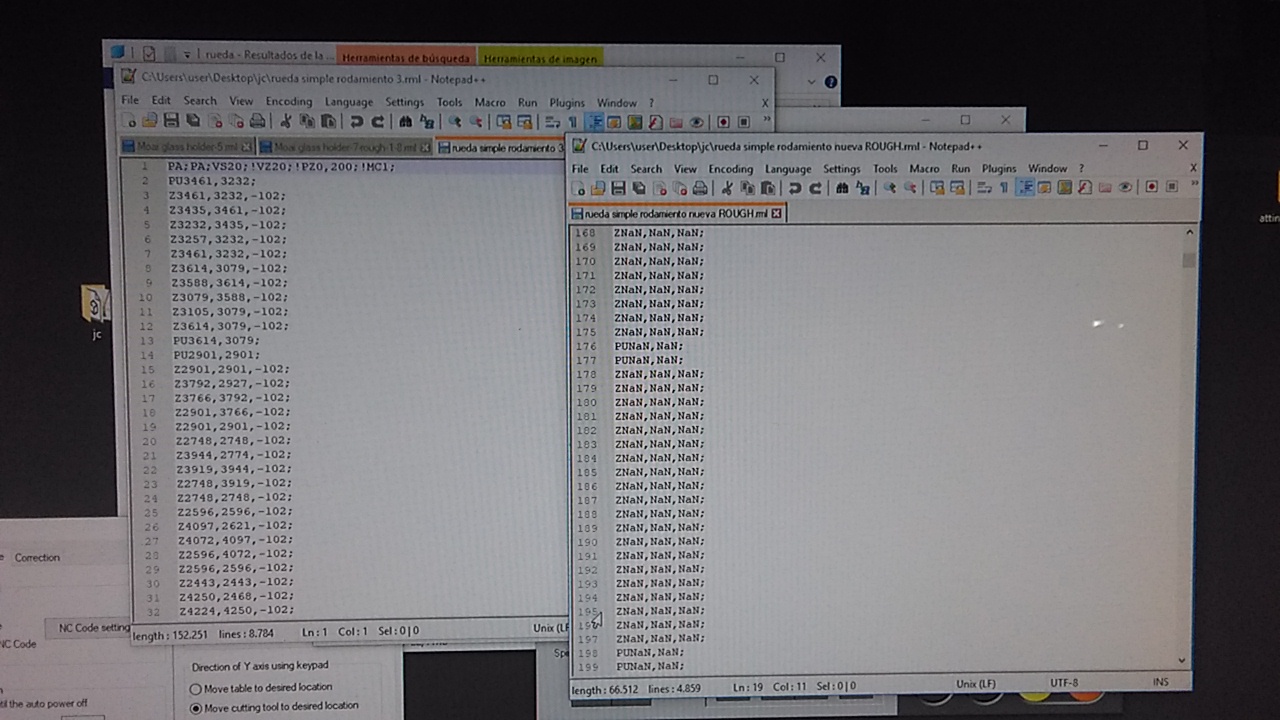
Redid the Gcode and started milling.
The wax was very hard, it seems like soneone combined blue and purple wax, the mill sounds funn. The speed is set at 20mm/s I had to reduce it to a 10% i took forever but i managed to finish.
Now for the fine cut
- better results with round mill. remember to select ball end (round) at the bottom right otherwise the results look like it did nothing. (first fine cut with flat mill was done at 20% speed)
The rest done as before.
- change the resolution from 100 to 600 and your surfaces will be babybutsmooth.
There is a glitch that if I don’t set the mill’s tip as ball happens nothing, I repeated the steps several times and this is how it looks like if you do, nothing horrible for this design but shouldn’t happen.
Full speed
Done
Aniwhooo,
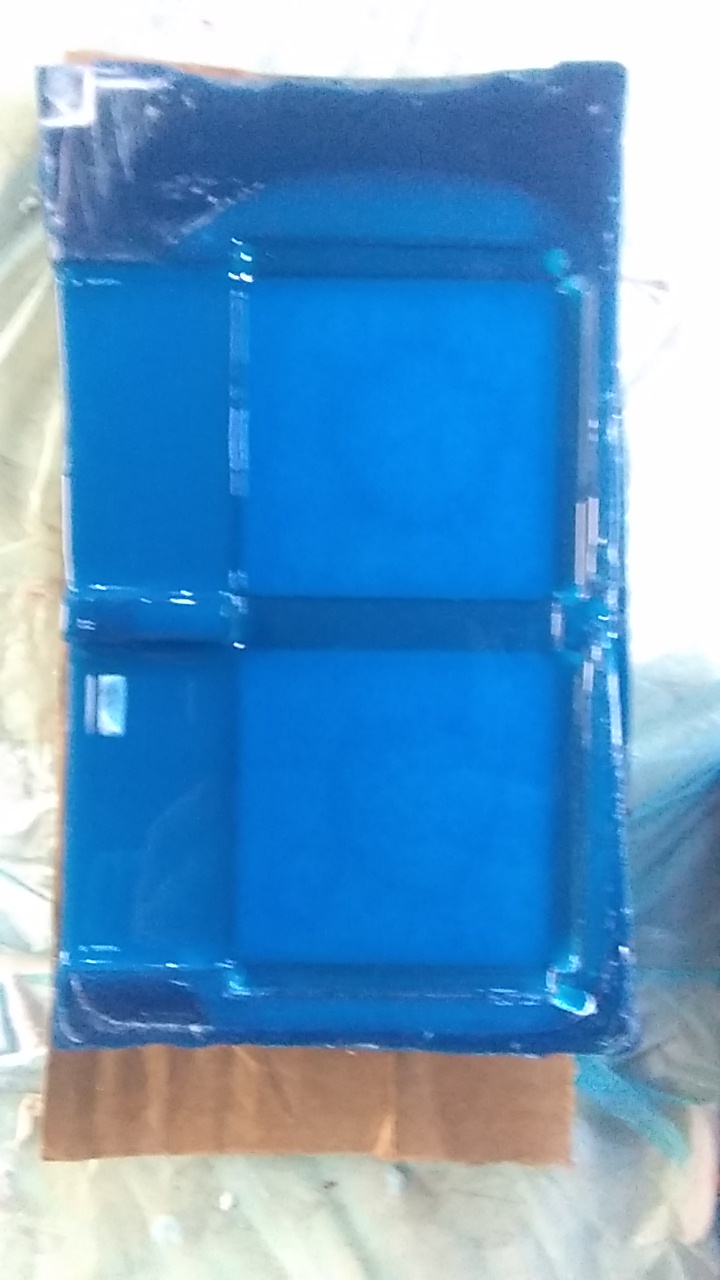
CASTING 2.0
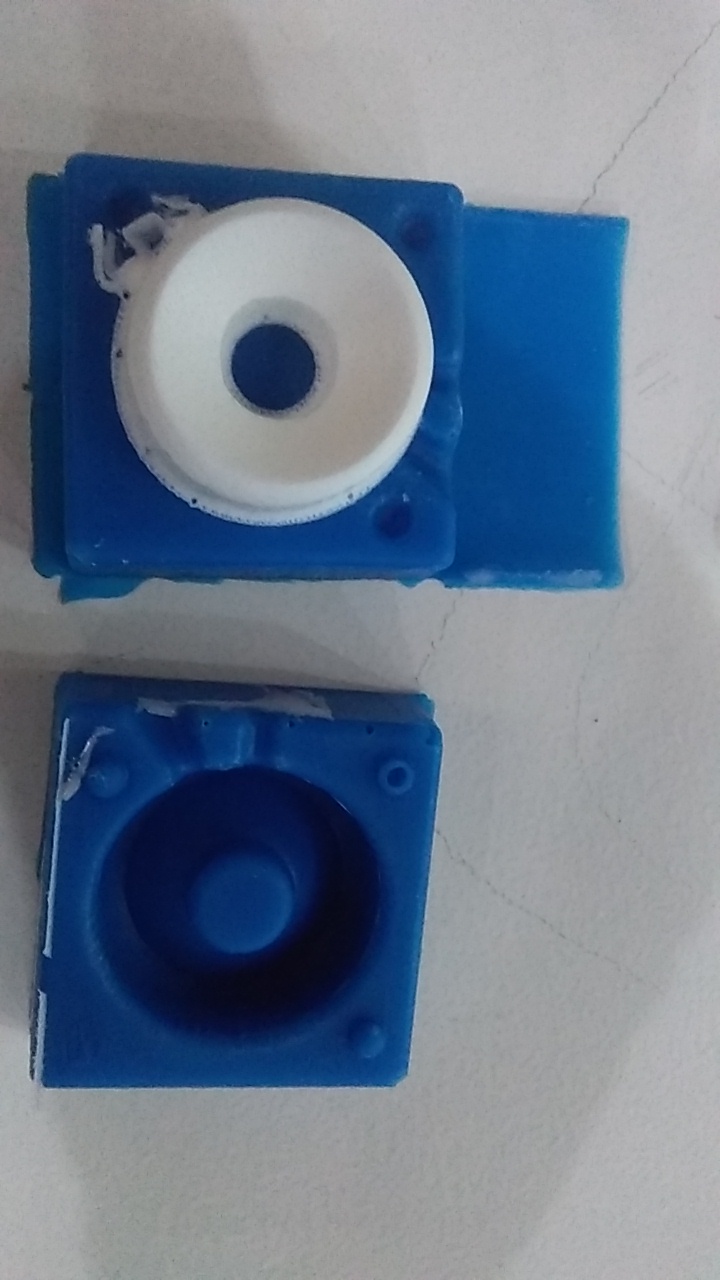
Now the final mold is ready to be casted!
I tried …again to use white silicon, new silicon but I used an old catalyzer, non of us who used this made a mold successfully ;(
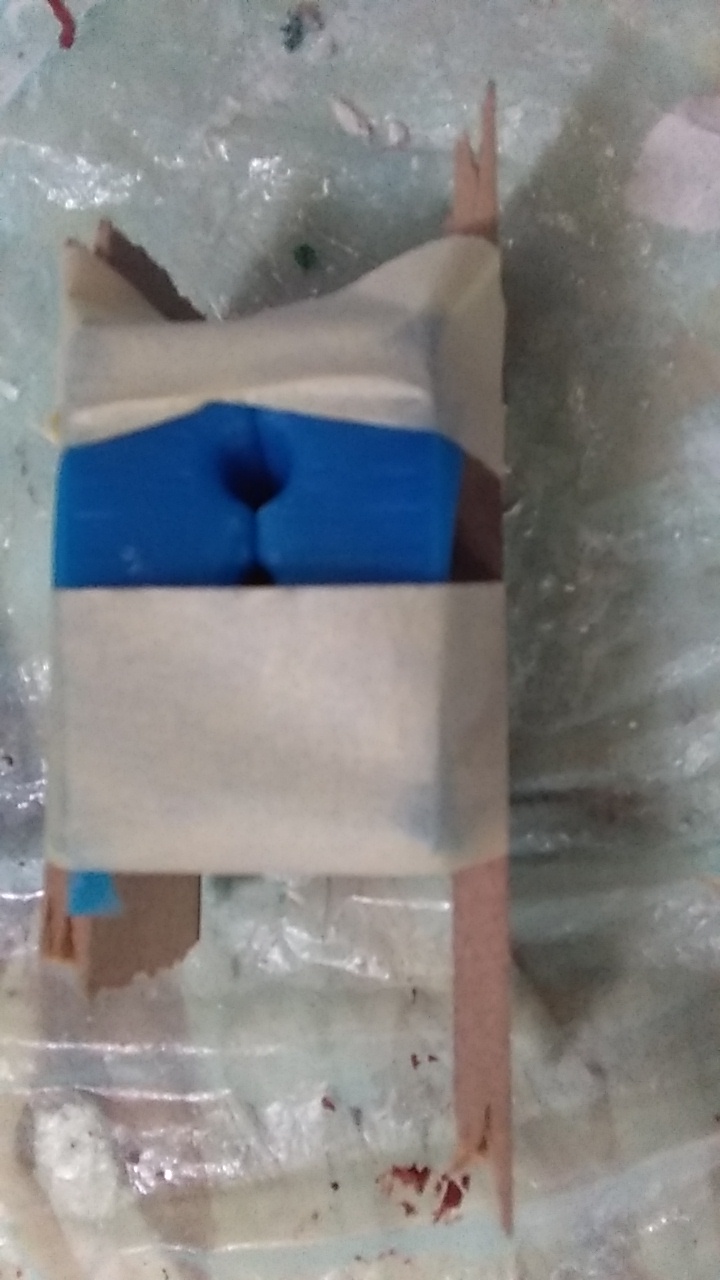
Clean up 2.0
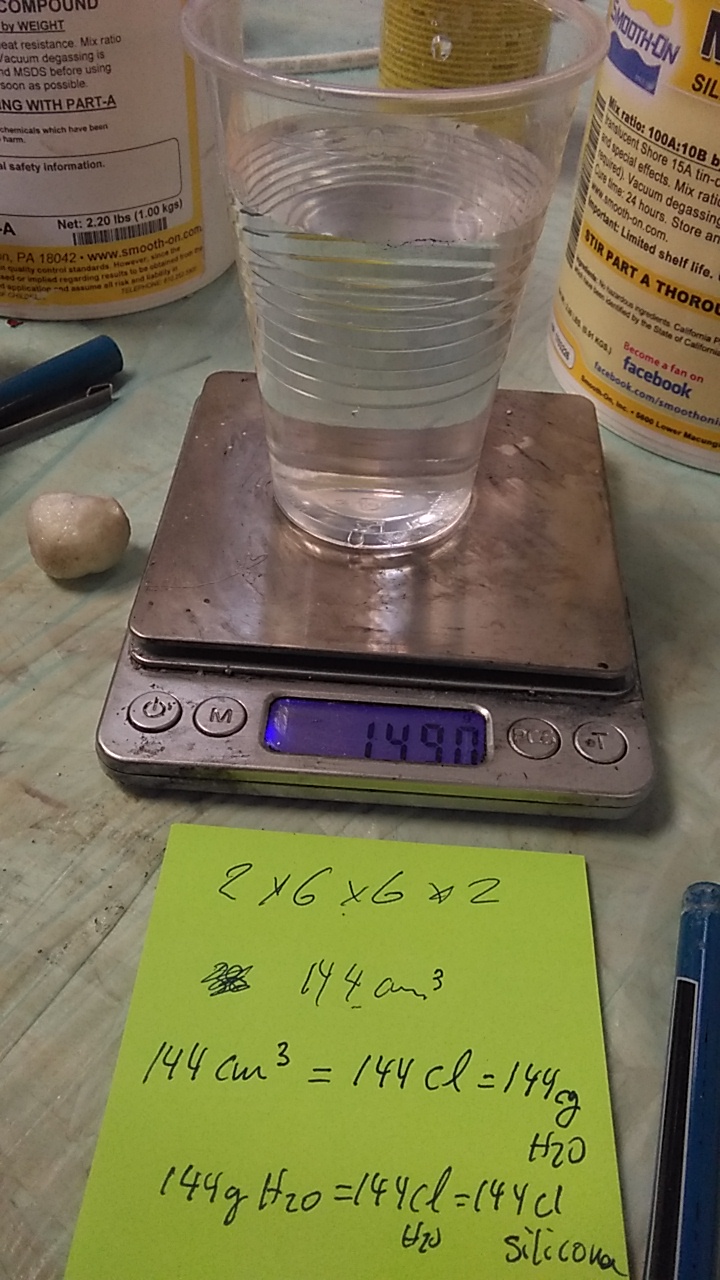
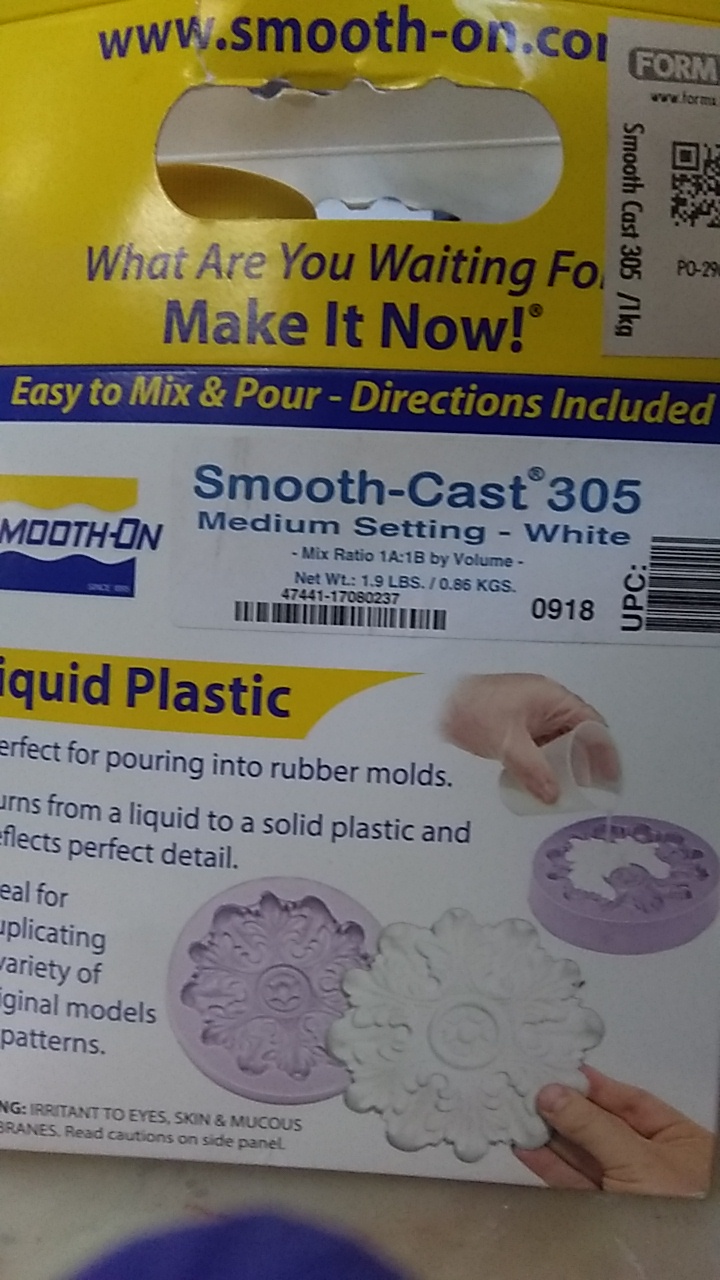
I´m going to do it with the silicon for dummies the A=B in Vol.  .
.
Moldstar 30
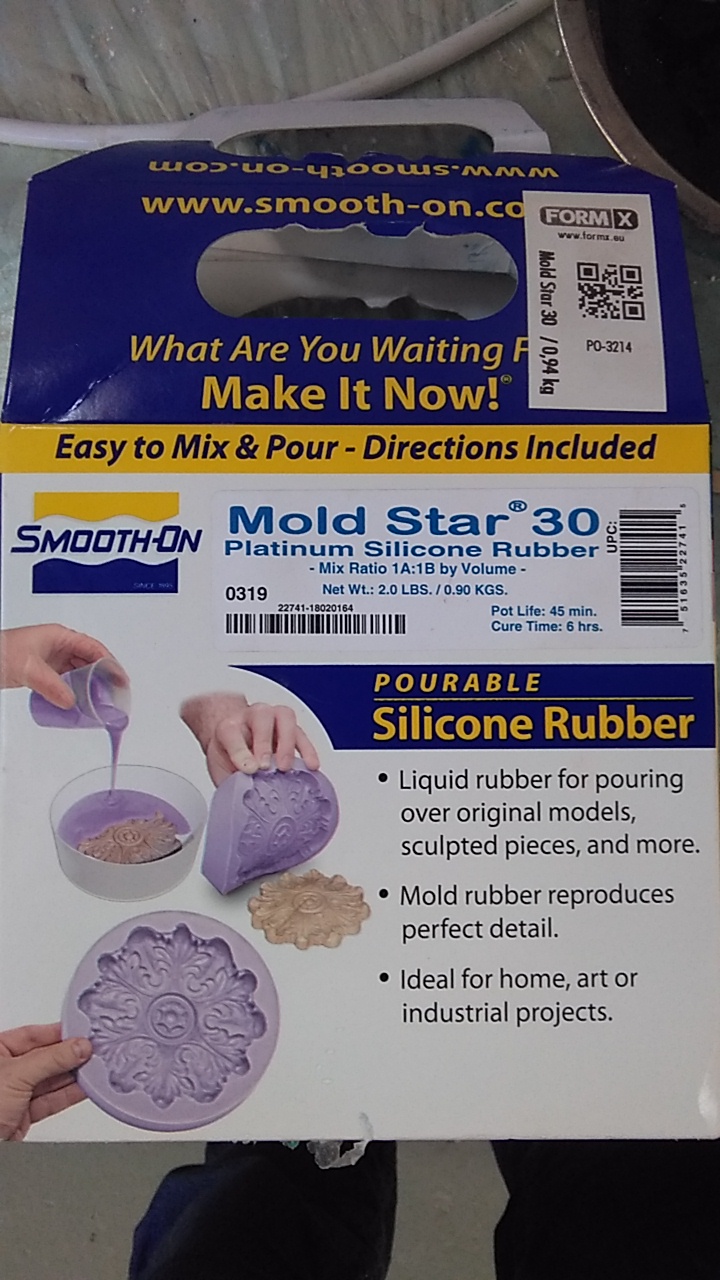 datasheet
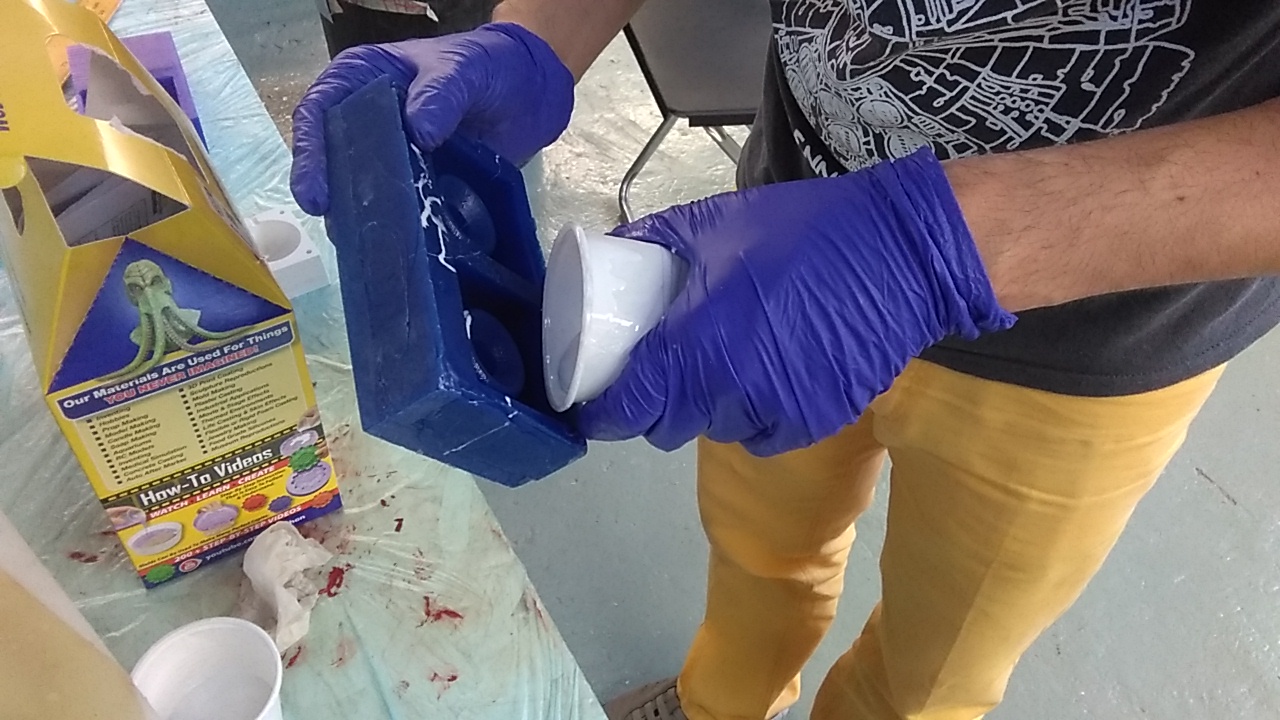
Casting of the actual part.
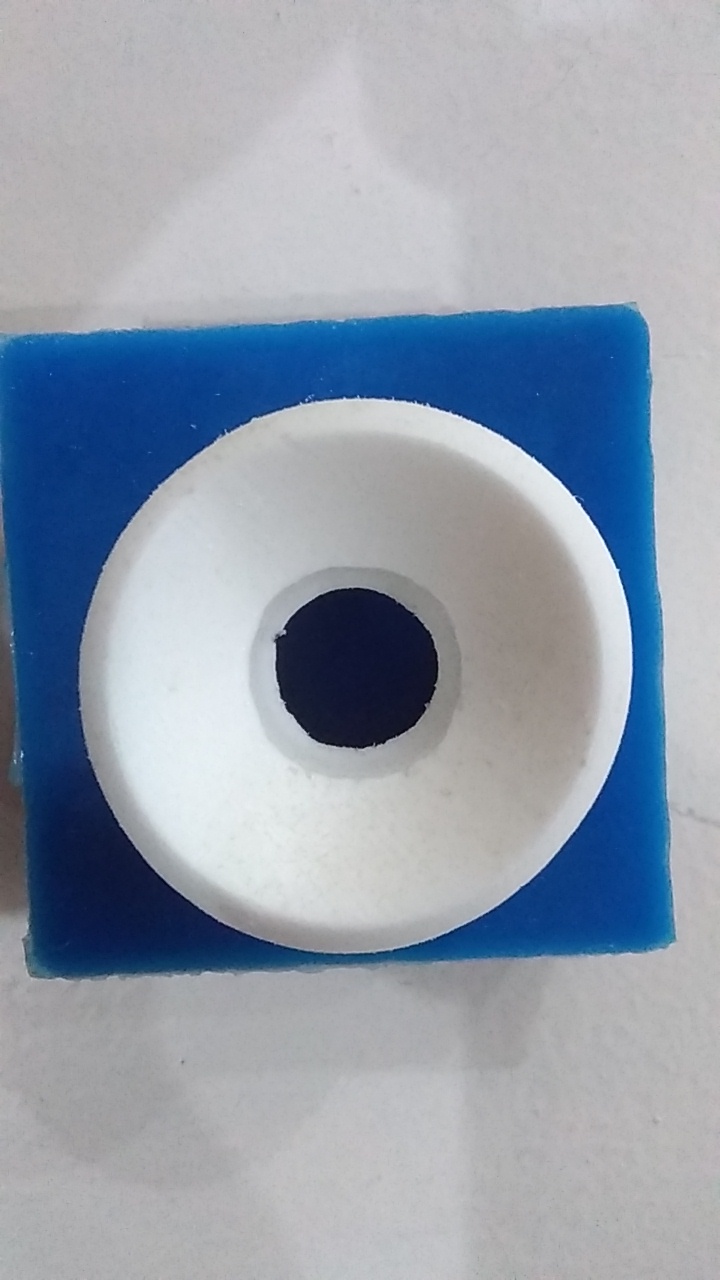

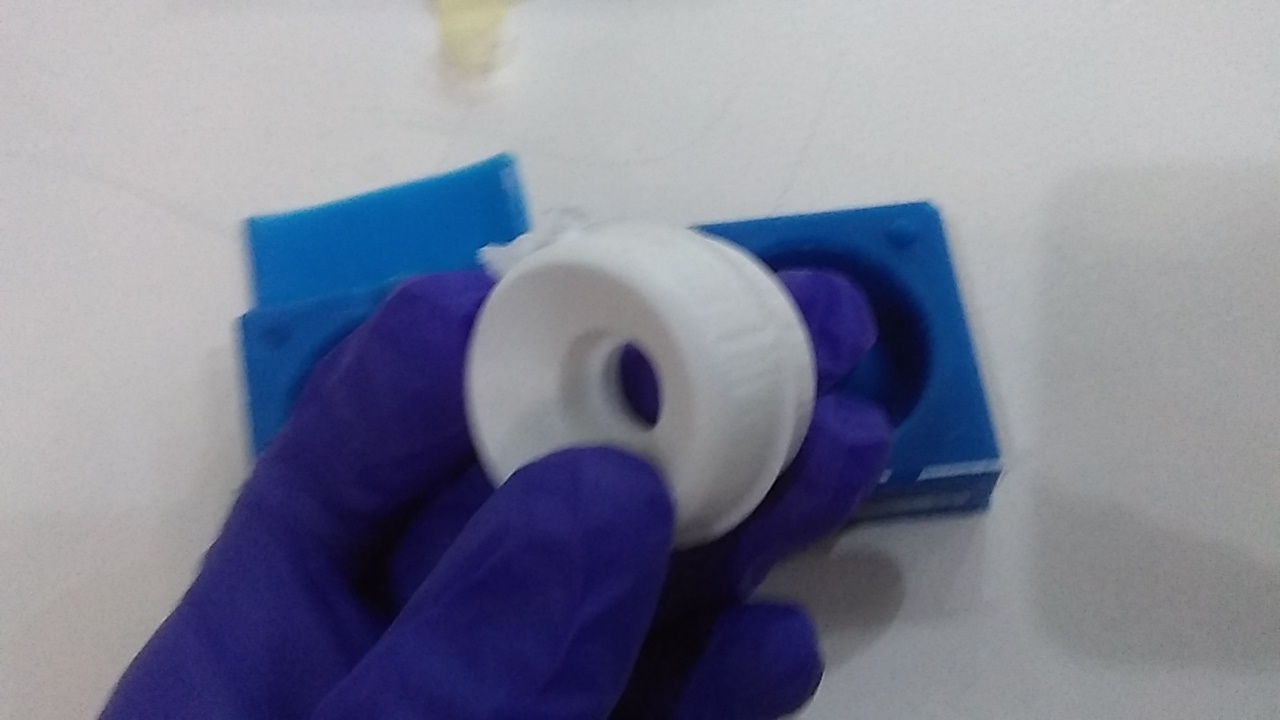
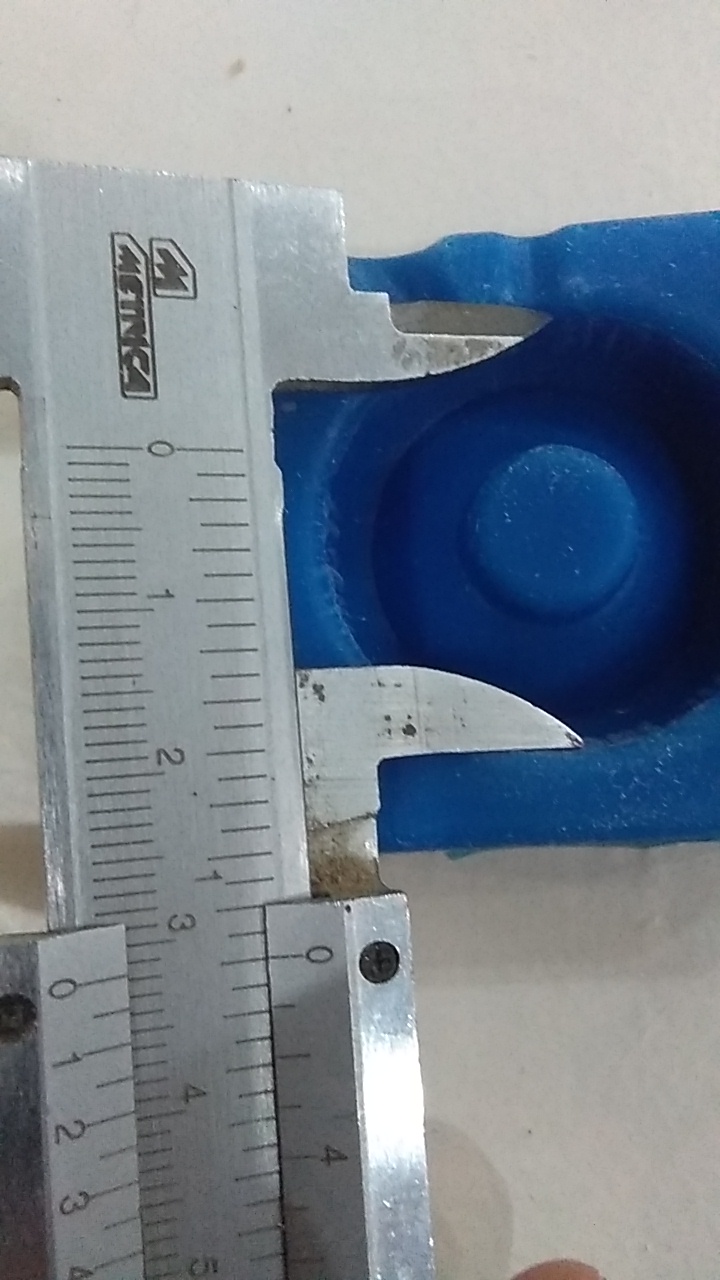
Errors, there is a little bit of bur (rebaba) this is not caused by separation of both parts of the mood but due to de round edge on the border of the mold, it was not cleas cut but rounded, a possible explanation is the many attempts to make the fine mill, I doubt it but I have no better explanation for it.
There is a little bit of an oval shape in the final roduct, this may be due to the mold was to tightly fixed wit the tape or the natural retraction of the mold’s silicone. Okham says that the first one is more likely, due to the characteristics of the material used in the mold.
but actually… it is the mold!
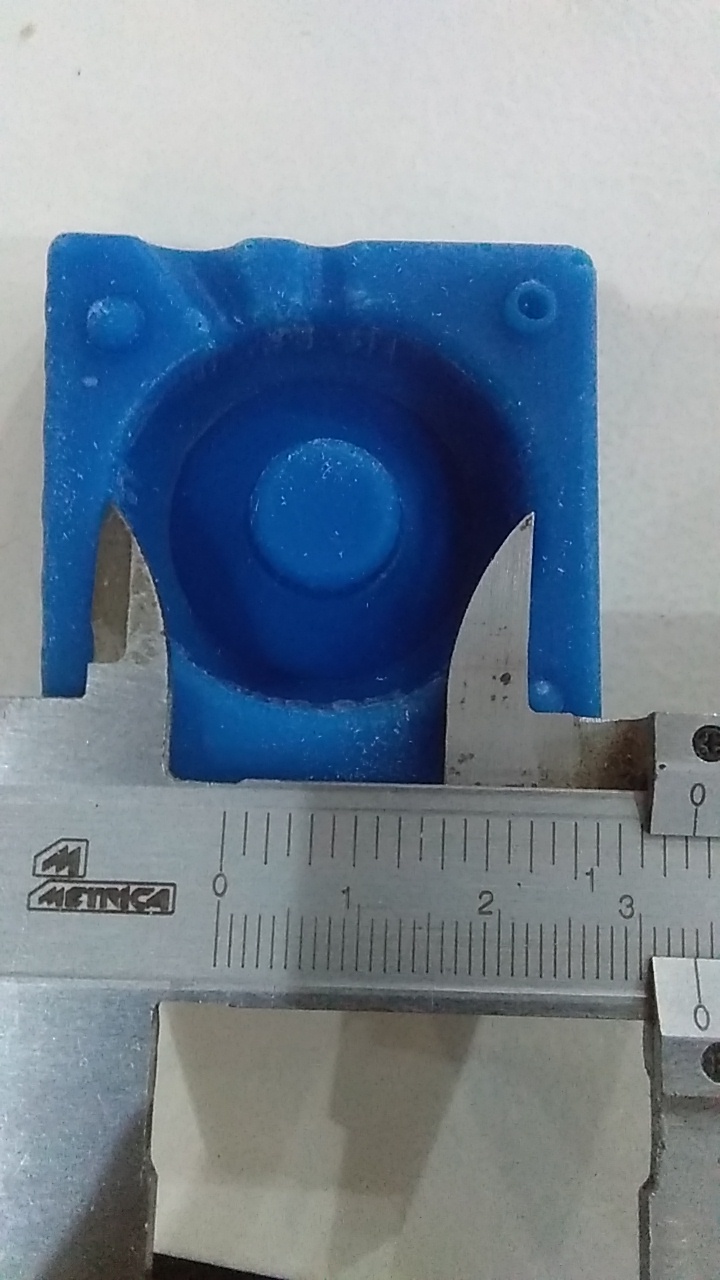
the original in wax is perfectly round, Edu says it may be because of the temperature during curing but it is a problem of the material properties.
Funny science note
The resultant shape has the characteristic of stabilizing the rotation of the wheel no matter how badly thrown.
My guess is that the elliptical shape in one plane together with the roundness of the wheel in the transversal plane must give the wheel an unstable and an stable point that with the help of the inertia of the throw creates an autostabilizing effect.
This reminds me to the Gomboc
Next step, do an actual size wheel!