W3- COMPUTER CONTROLLED CUTTING
GROUP ASSIGNMENT
Machine description
Out of the 3 machines Fab Lab Barcelona have, we choose to use the Trotec Speedy400. It is a 1000x610mm 100W machine.
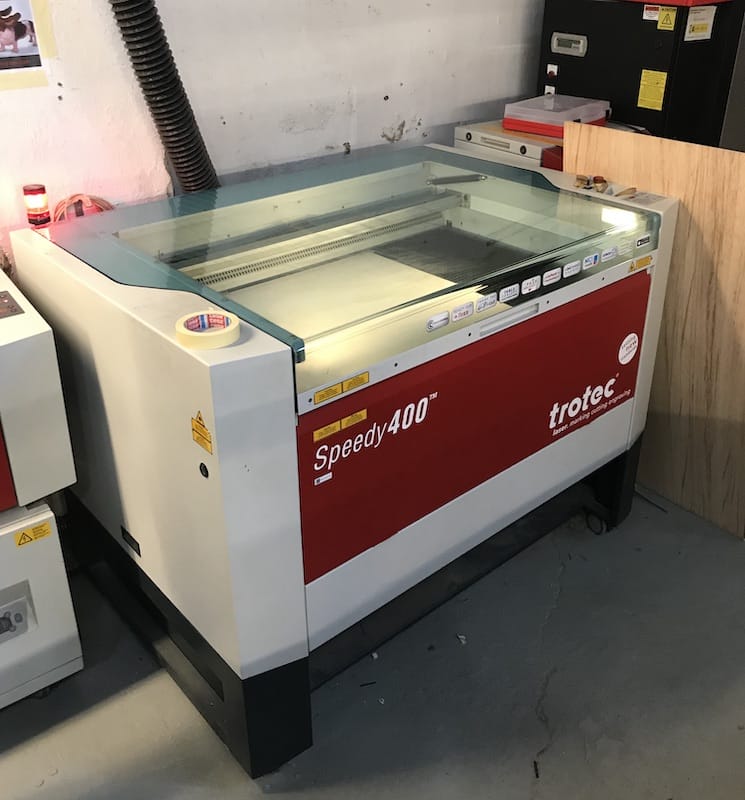
The jobs are run from a computer next to it, through Rhinoceros, print driver and controller.
The software is basically used for importing files and assigning colors and layers. This step is important specially if you are going to work with more than one work operation.
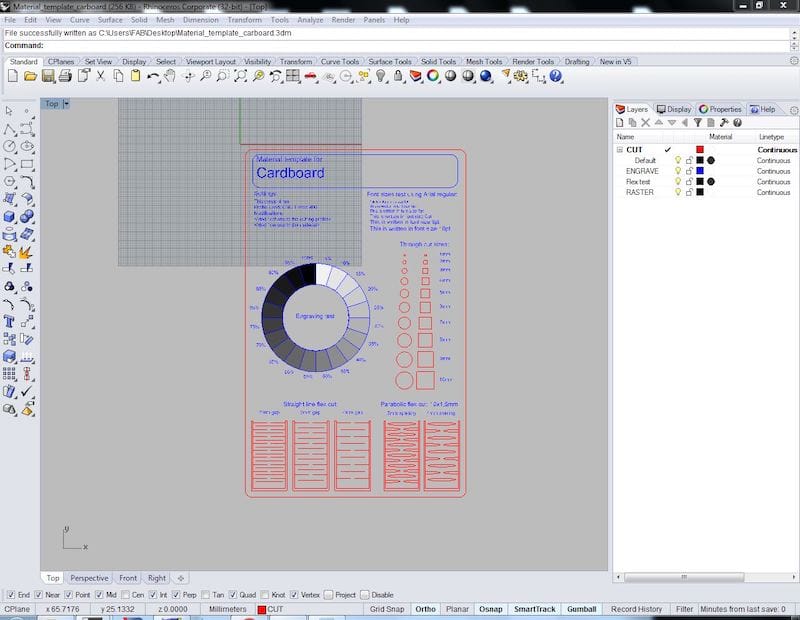
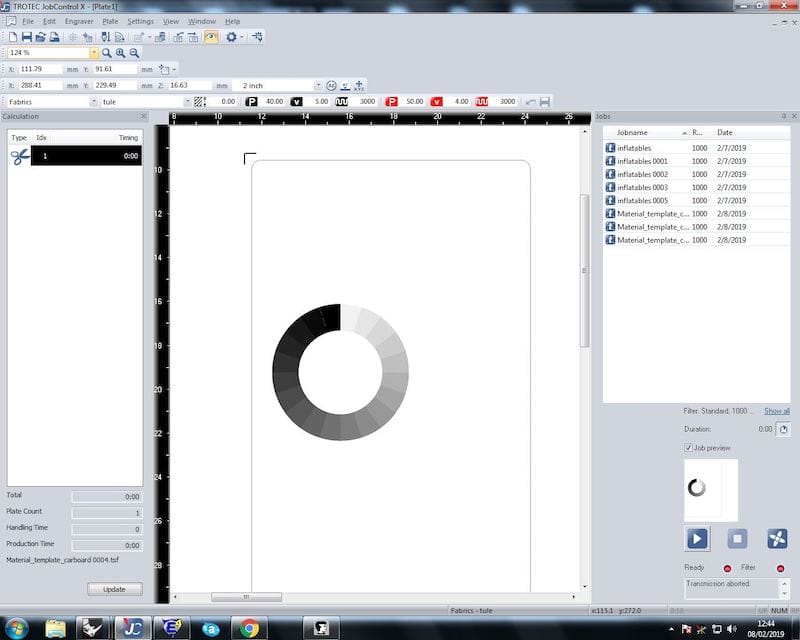
After setting the layers and sending the print command, the job goes to the controller.
After setting the layers and sending the print command, the job goes to the controller.
Add the material
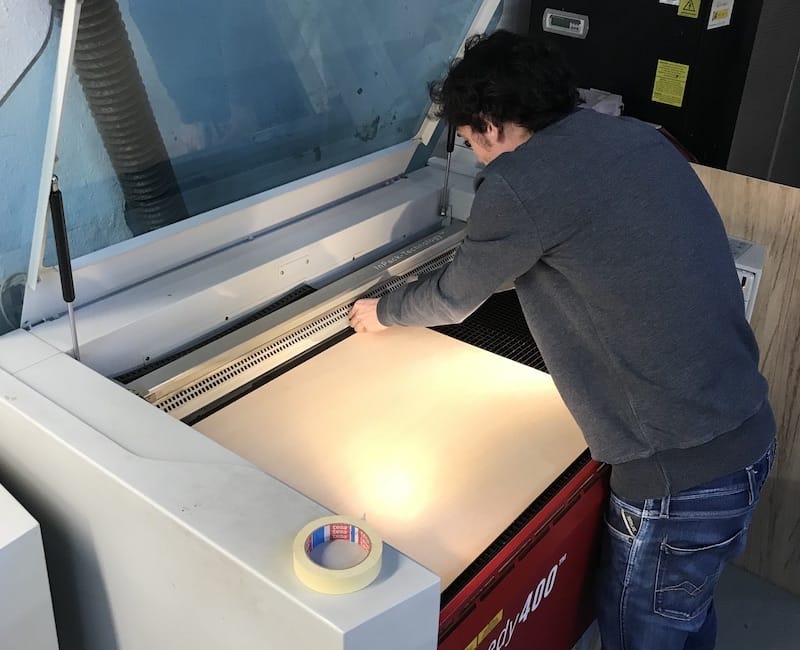
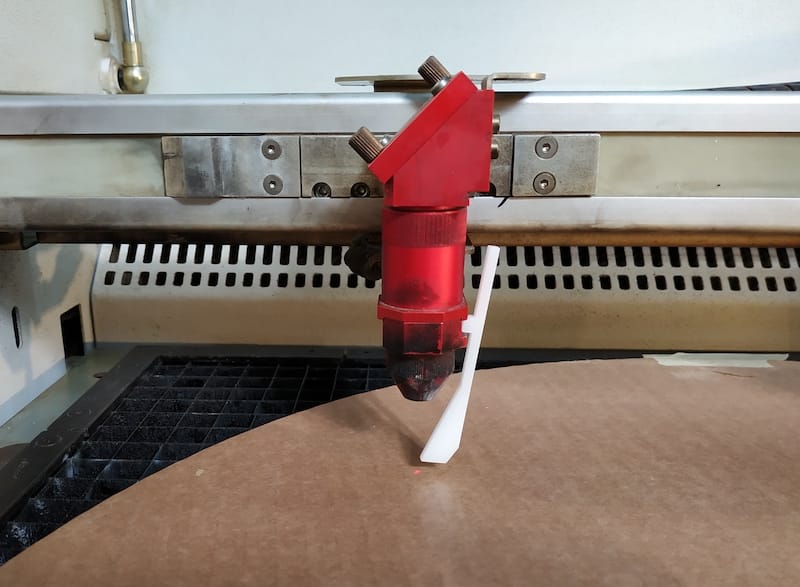
Focus the machine
Then we’re done
Tests
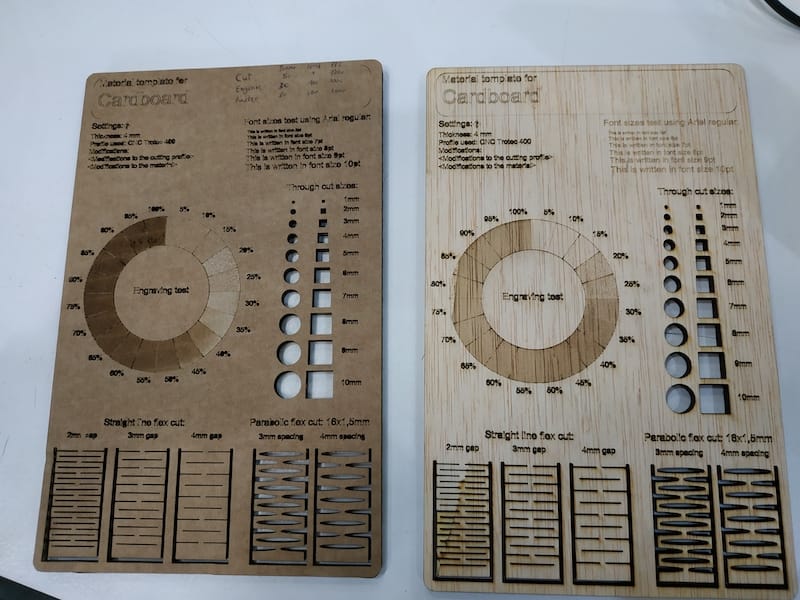
We used cardboard and plywood for our tests.
Settings used:
Cut: 4mm Cardboard: 50 Power, 1 Speed, 1000 PPI 4mm Plywood: 75 Power, 0,8 Speed, 1000 PPI
Engrave: 4mm Cardboard: 30 Power, 100 Speed, 1000 PPI 4mm Plywood: 60 Power, 100 Speed, 1000 PPI
Raster: 4mm Cardboard: 80 Power, 100 Speed, 1000 PPI 4mm Plywood: 60 Power, 100 Speed, 1000 PPI
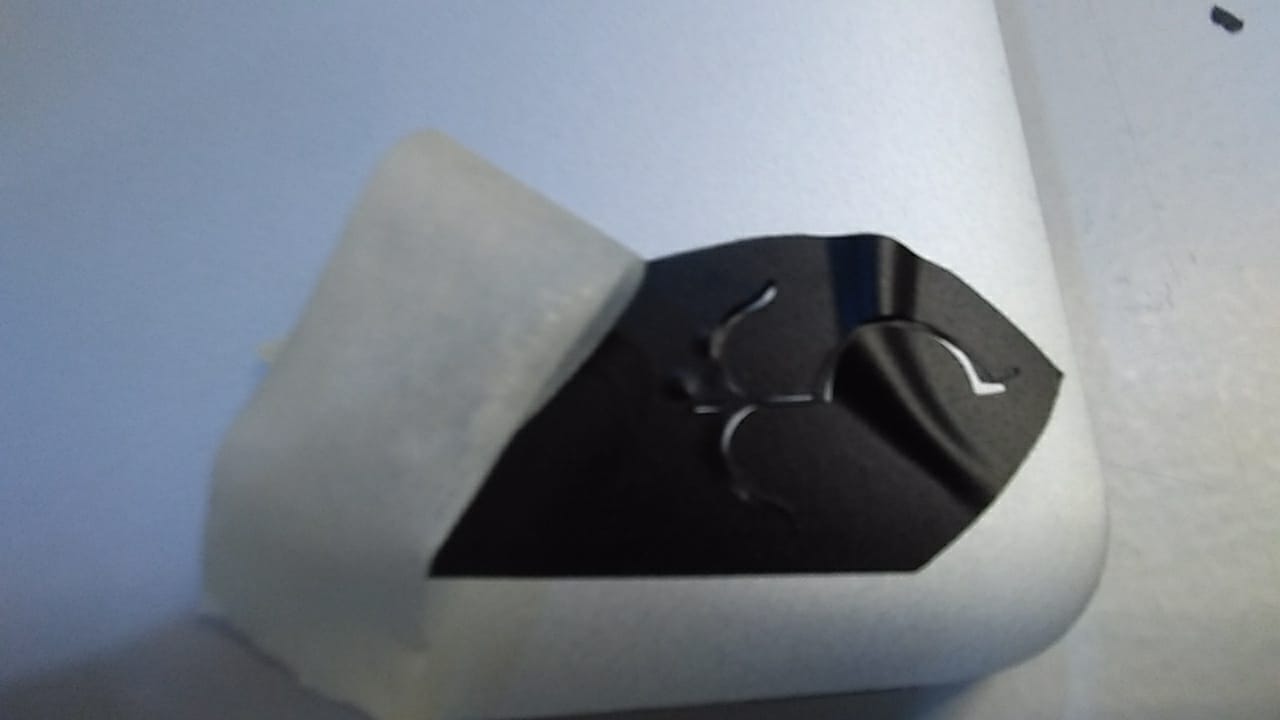
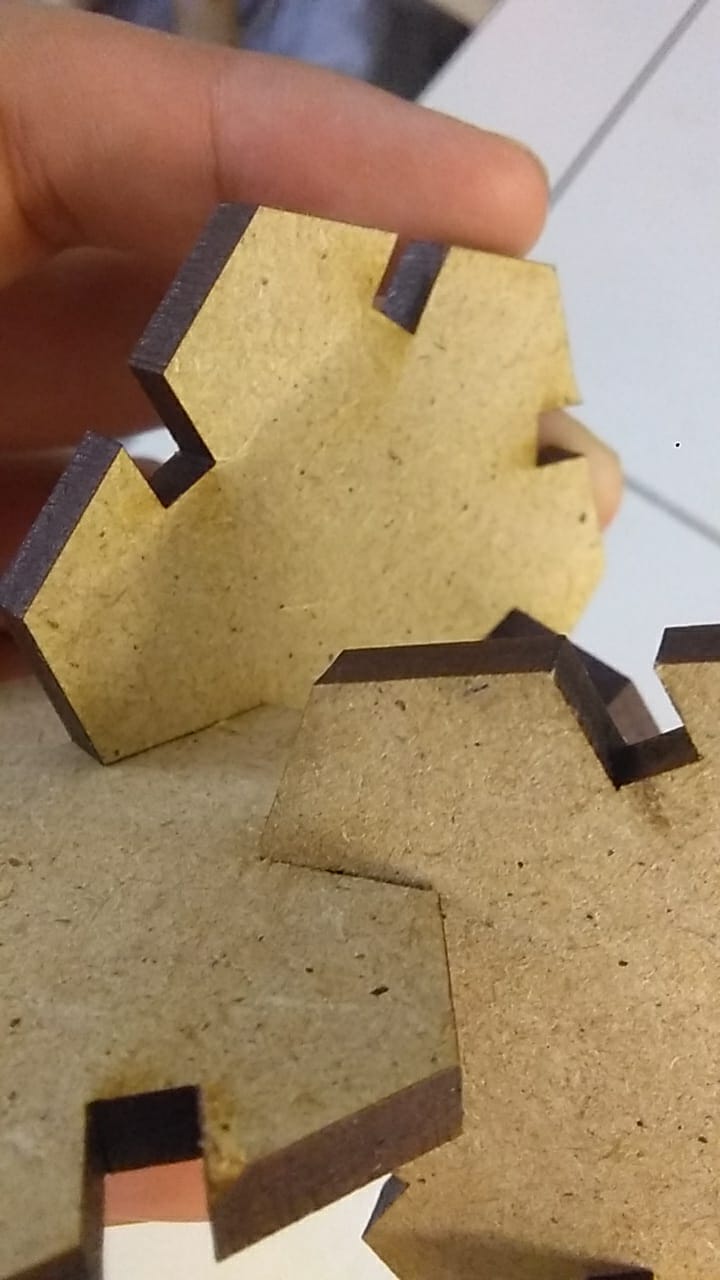
After getting the right settings for the materials, we went to test the press kits
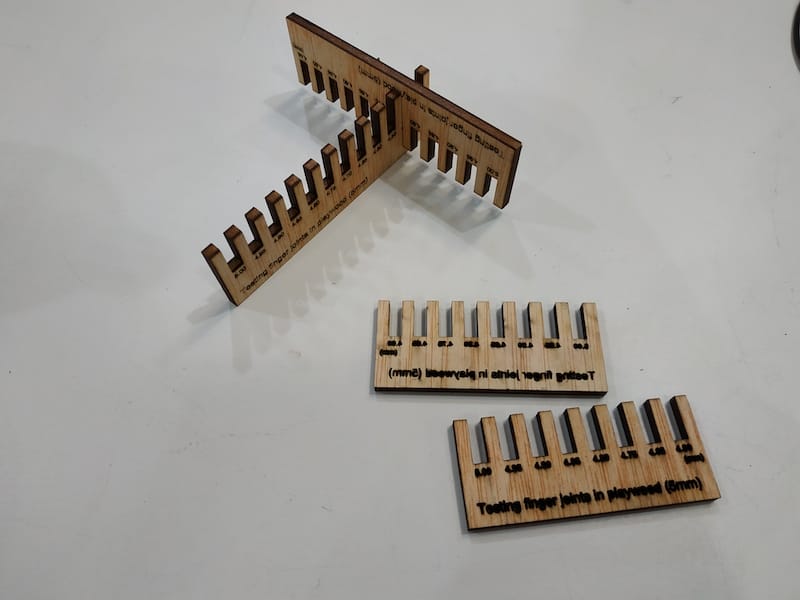
The best results were 3.85mm and 3.35mm gaps for plywood and cardboard respectively. This big difference between the two comes from two reasons:
The cardboard had a bigger kerf. Maybe just because the material burn more easily. But we believe it may come from laser being over powered Cardboard squeezes way more than plywood. Fitting in tighter gaps
INDIVIDUAL ASSIGNMENT
First try
(continues from W2 where you can find the files) Thanks to the parametric design I was able to modify the dimensions that depended from the 1.5mm proportional 1.5cm thickness of the wood to be cut in the CNC, to the 4mm thickness of the MDF to be cut with the “LASER”.

The design has two slots on each the two different parts of the rotating axis that fit the the scanner vertical rails.
- picture of the slots and the rails connecting
The rails have holes that must fit a 1mm rod (or 1cm in real life) to keep them steady.
There is the position carry made by this parts, taking advantage of the material thickness the two horizontal parts are pressjoined together by two squares transversally shoved in the hole in the middle of the two mentioned parts
 . .
. .
HOW TO WITH THE “LASER”
First we have our design, in this case in Rhino, if you raster, by convention the layer color is red, otherwise, use other colors, black would be the logical for cutting.
- Hit print
- Make sure is vector to cut (or raster if is the case)
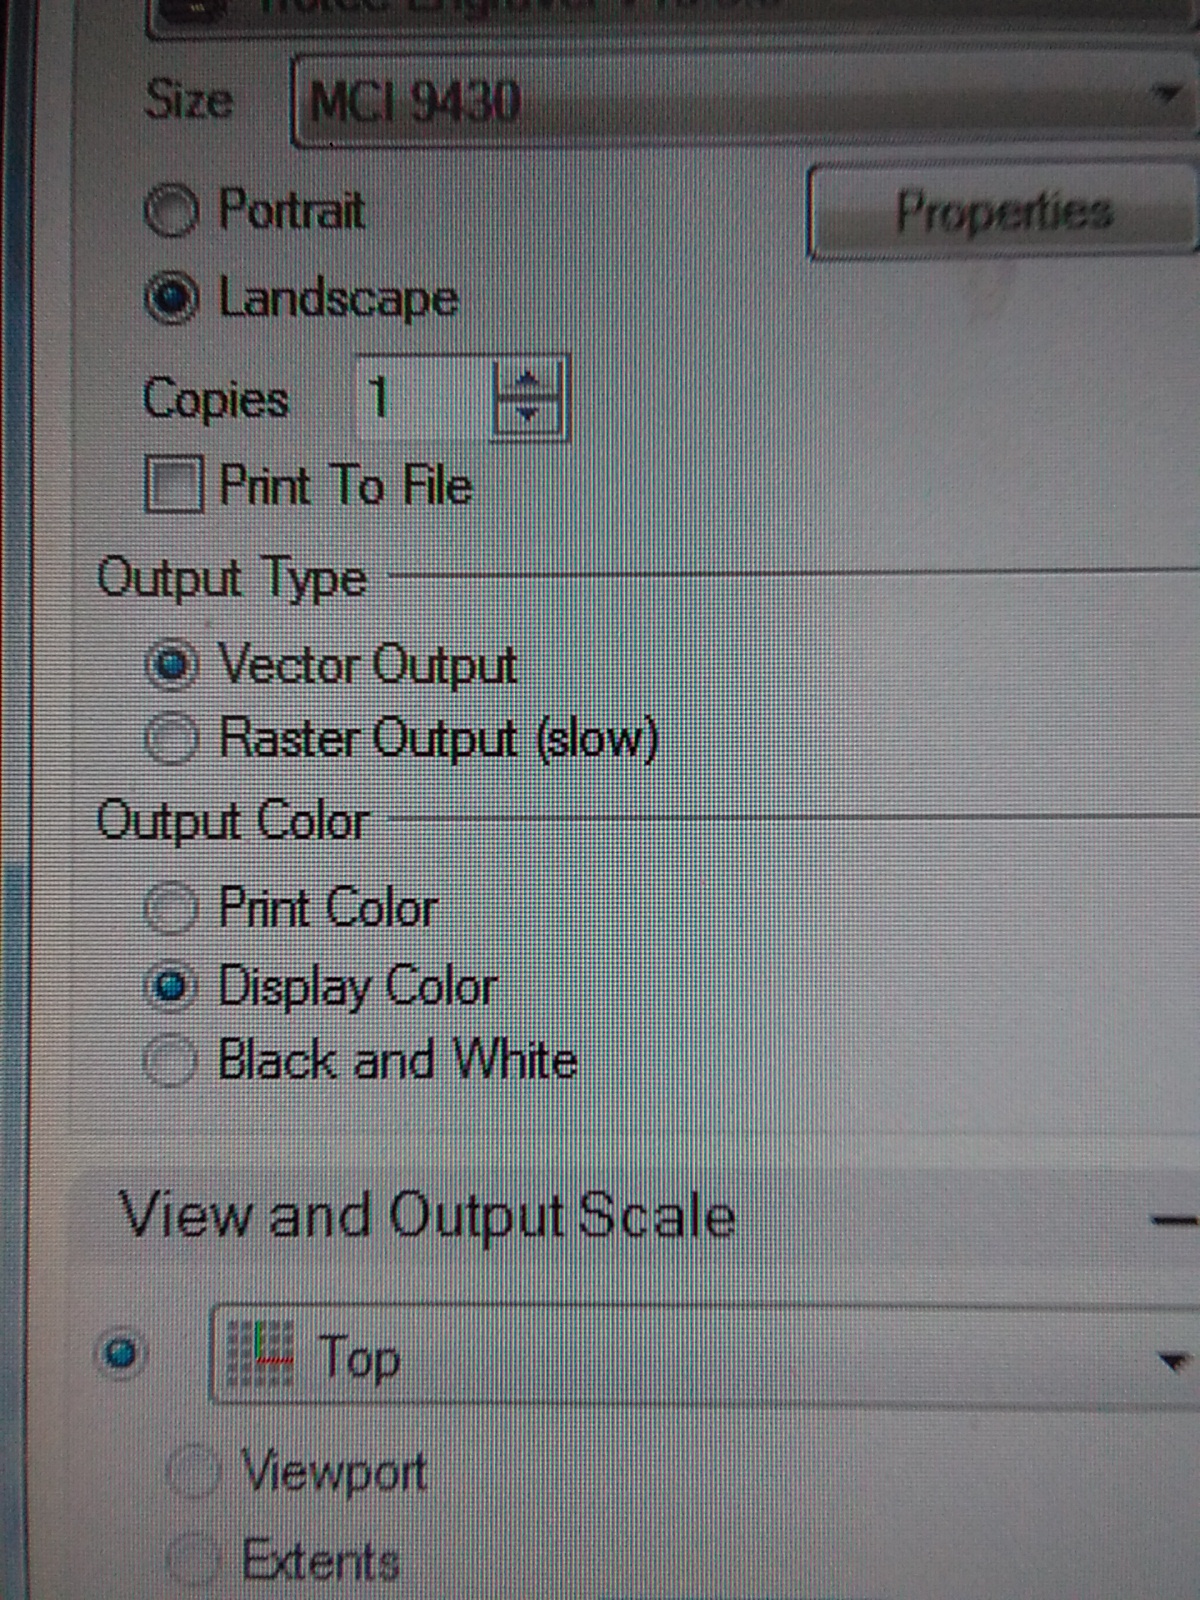
- Make sure that the object to cut is centered.
-
Hit set to set the window size.
-
Once is ready, PRINT.
-
Go to JC program and

and select the layer to use and set the parameters according tho the material to be used and job, no PETROL BASED MATERIAL!!
The sample cards com in handy.
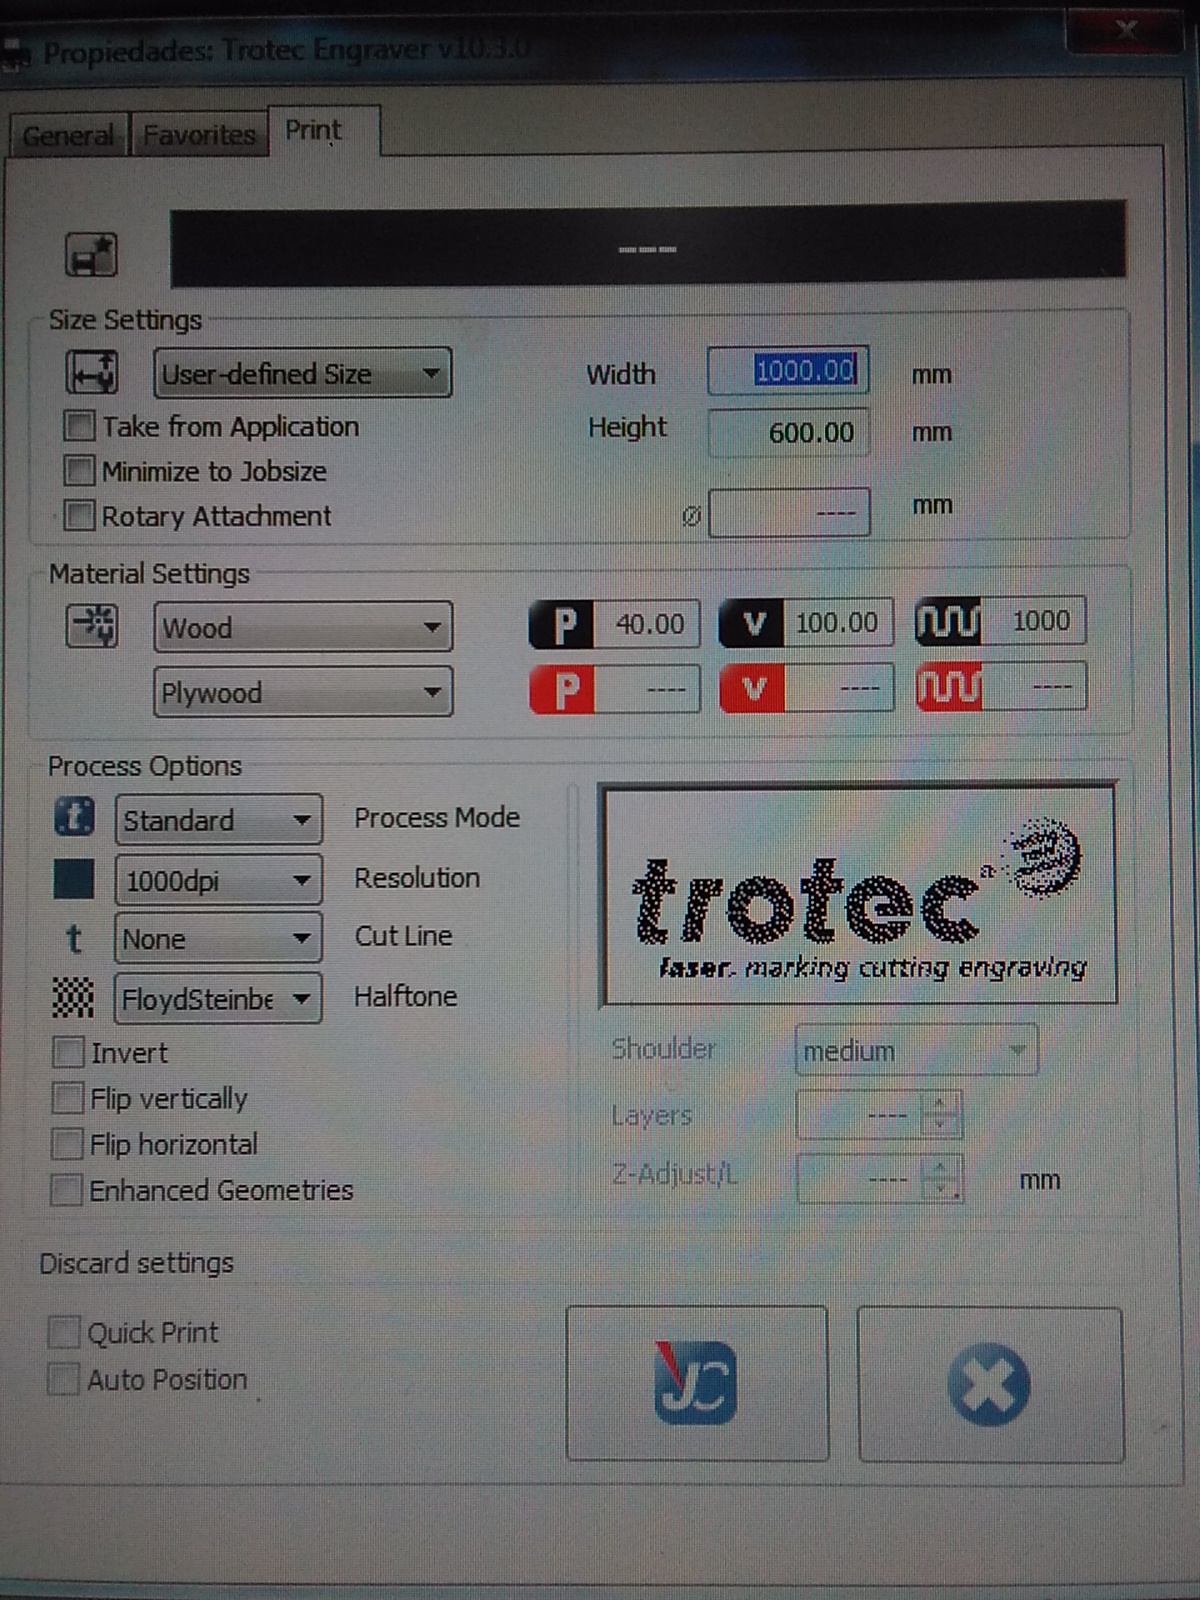
In this case I used the settings of the picture, but in the black layer *
This is the final result
The parametric design proved useful in the laser cutting process as I had designed things to be 1.5 thick and the MDF was 4 (cm, mm are not important in this case, as been parametric multipliers are what matters)


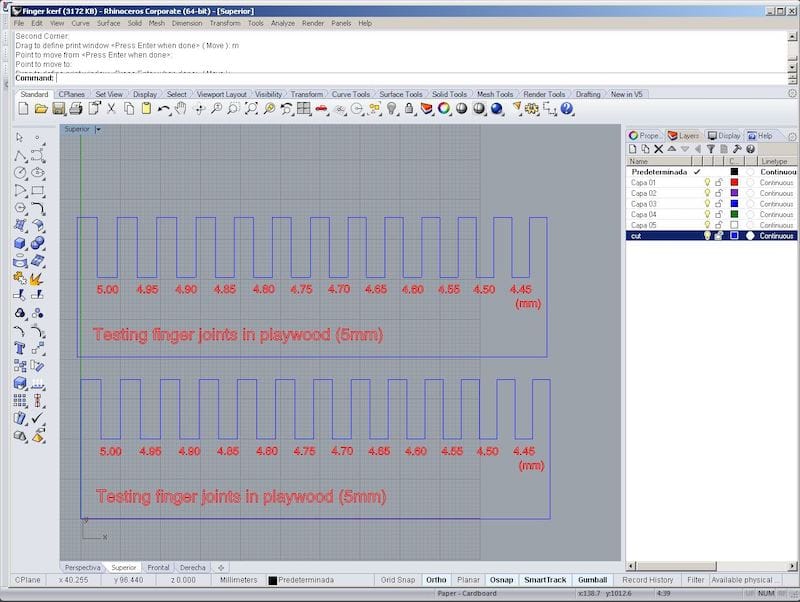
Second try.
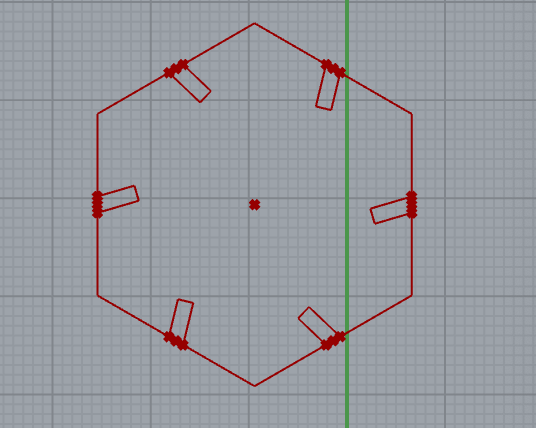
First I do one Cutting the intersecting lines and rebuilding the curve
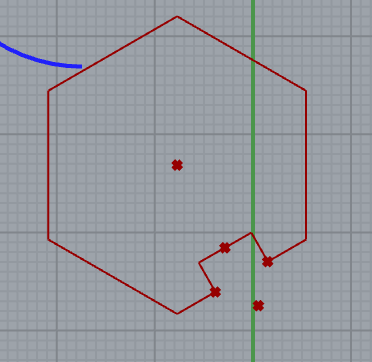 It works, Then I do the ssame for all the sides of the hexagon.
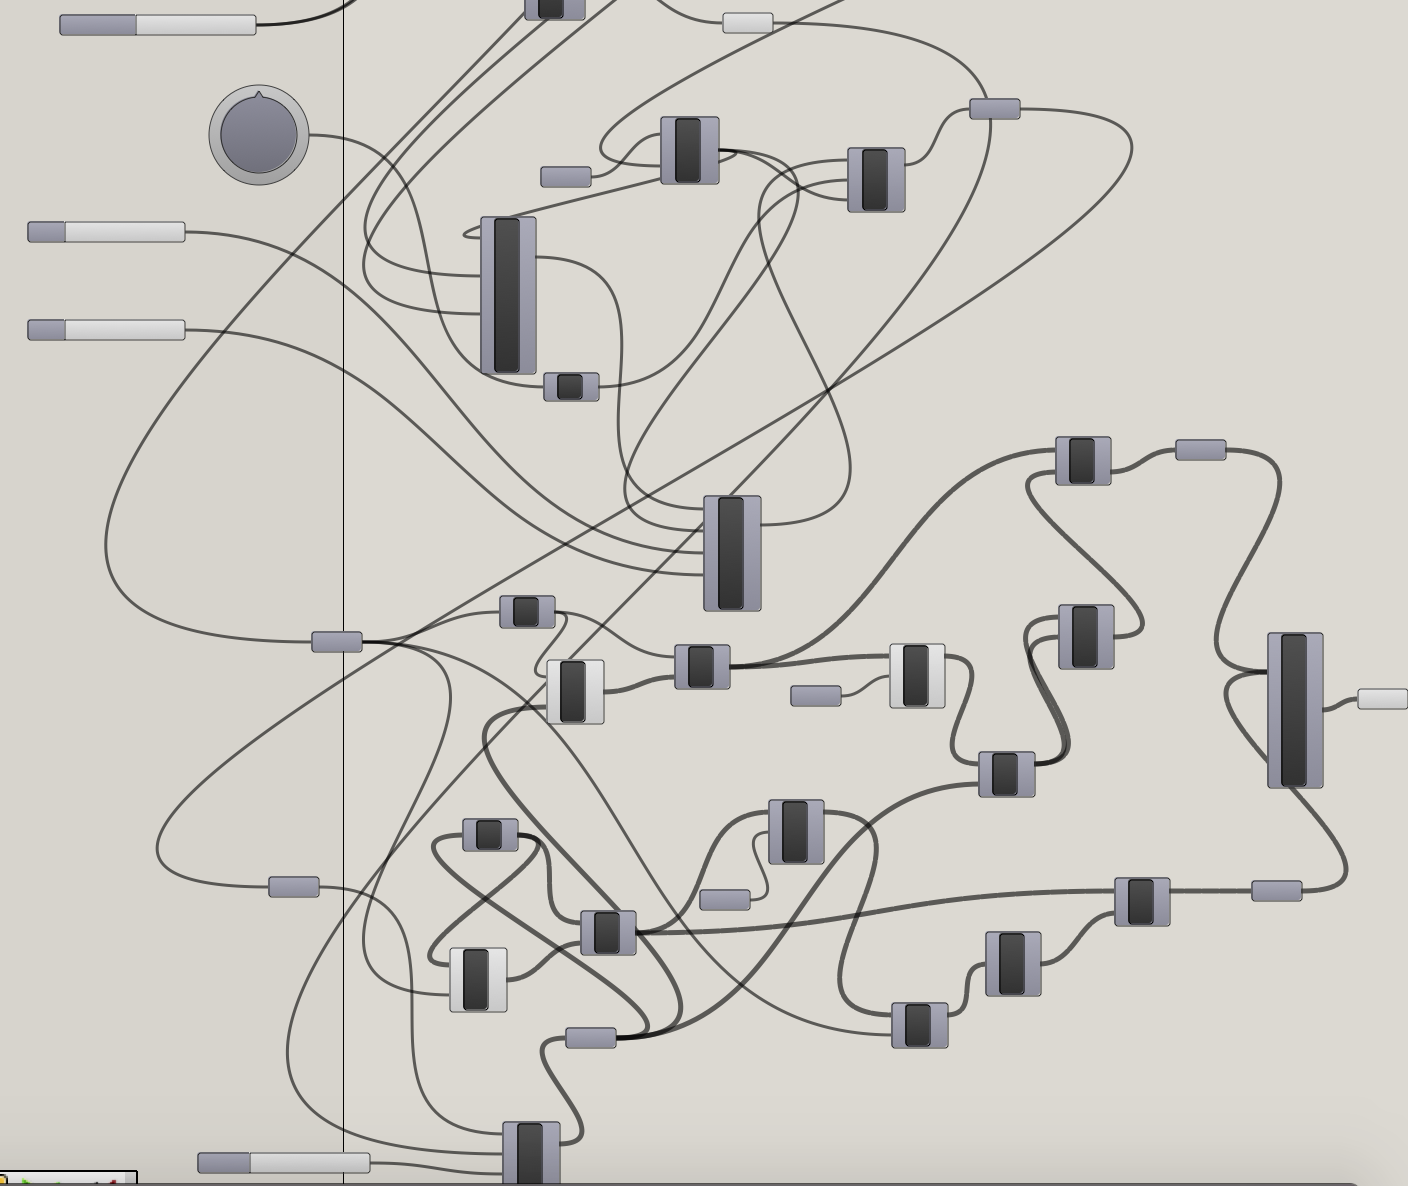
This is the whole gh program:
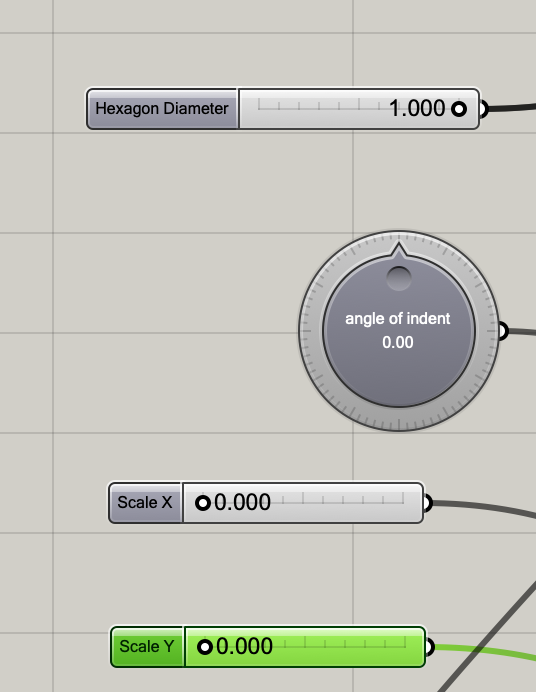
 I control the size of the hexagon, originally I even had a control for how many sizes I wanted, but I kept it simple. Also control the size of th indentation and its angles
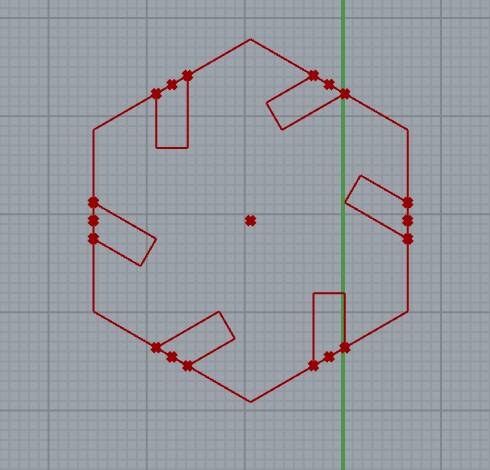
 First “try”
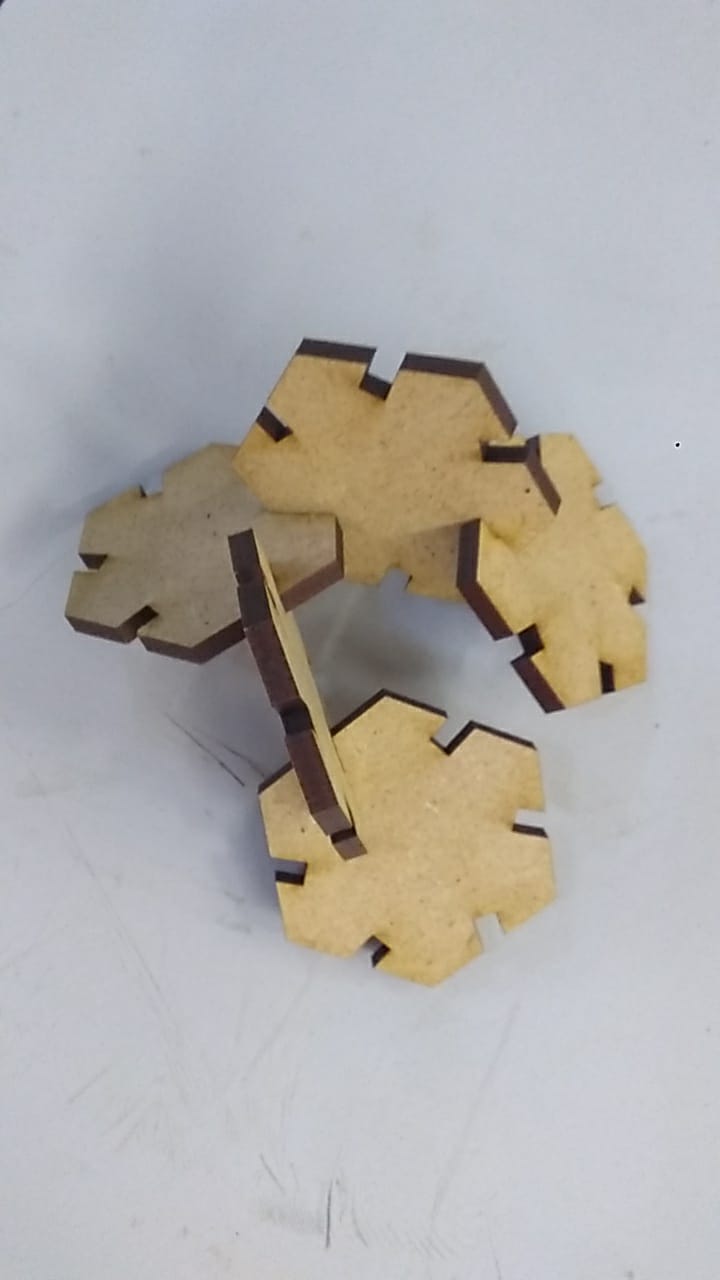
 Oh the pieces can´t connect!
The thickness is wrong!
No problemo IS PARAMETRIC!
Oh the pieces can´t connect!
The thickness is wrong!
No problemo IS PARAMETRIC!
 grasshopper files
I learned that lines have to be decomposed in segments and then you can work with them, also to wire more than one curve you have to Si¡hift+drag, and to tell GH. to distiguish between parts of lines to cut you have to set points of the line and decide wether are in or out of the boundaries you set, then cut whatever you decided.
VINYL CUTTING
I’ll use the Silhouette Cameo 3 Because I used the Brother for the FABSCANNER logo and being so thin the lines, it was difficult to get a clean cut, we will se with this one.
- Store in BMP or JPG your image,
- Open and go to TRACE (THE LITTLE BUTTERFLY AT THE EDGE)
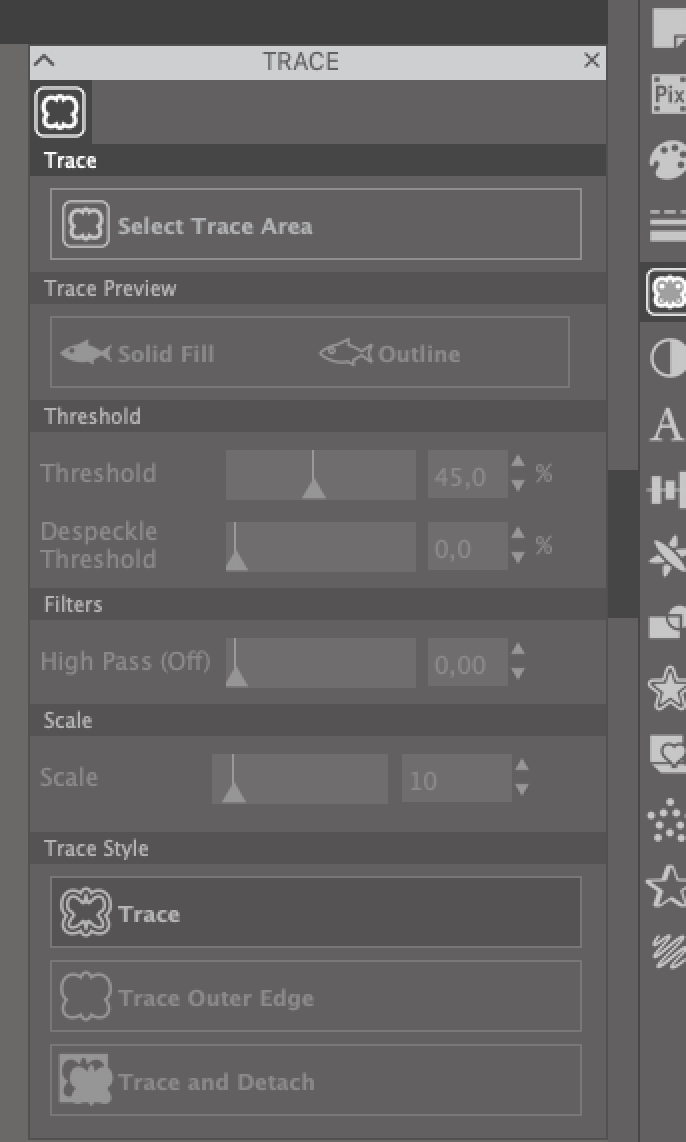
- Select the area of influence of the tracing
- Select outline or Solid fill, I chosed outline
- TRACE
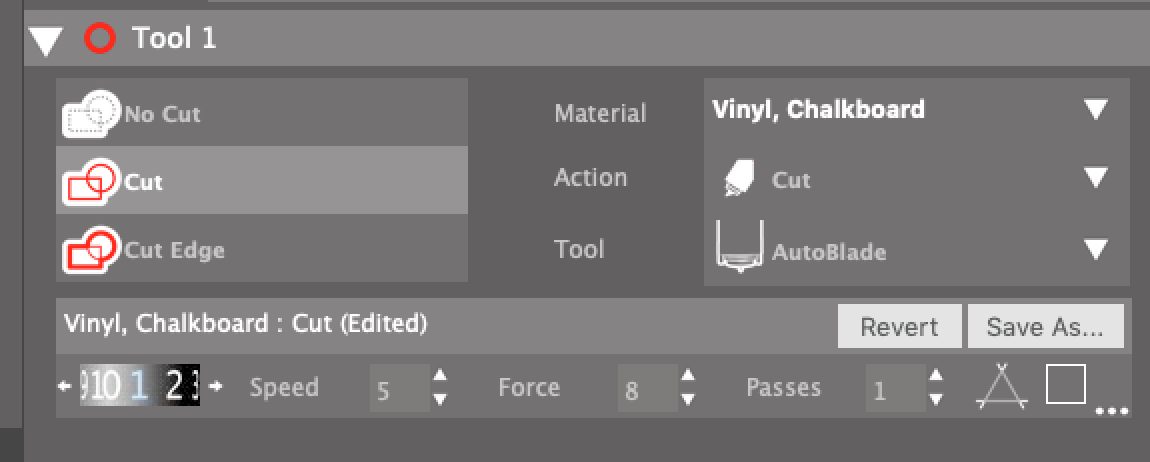
- Click send in the blue bar at the upper left
- This are the settings for matt vinyl.
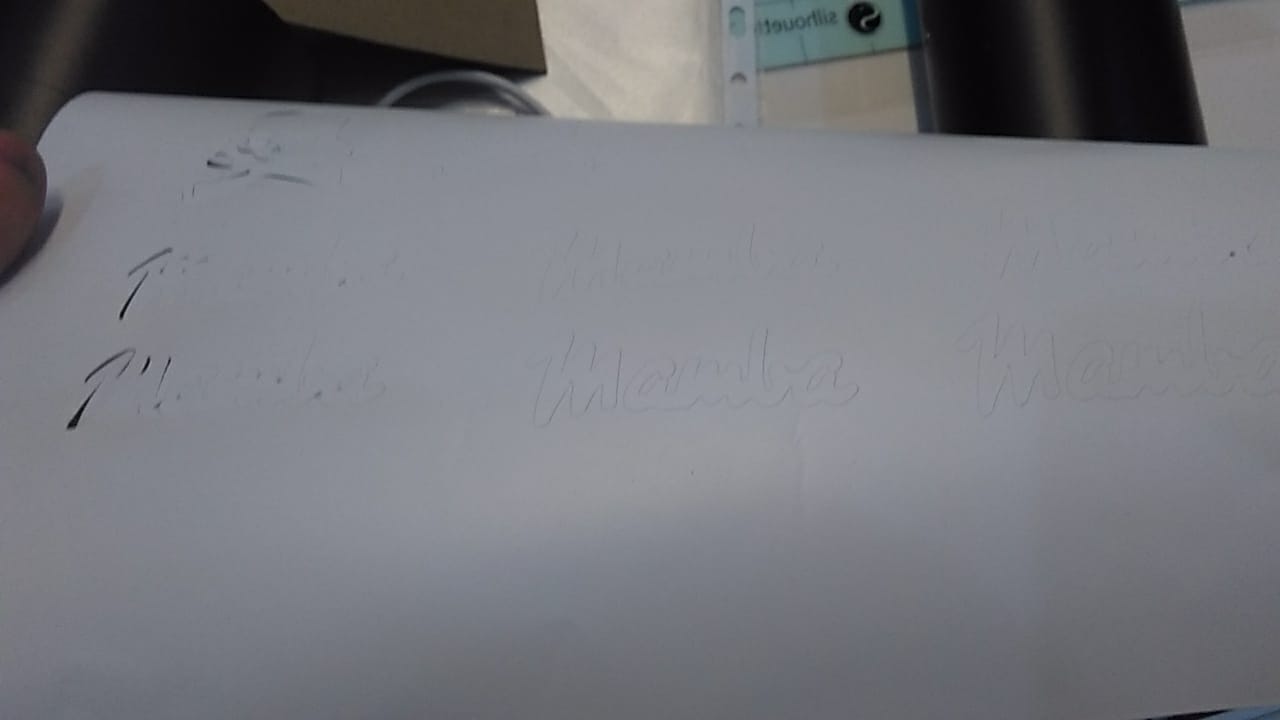
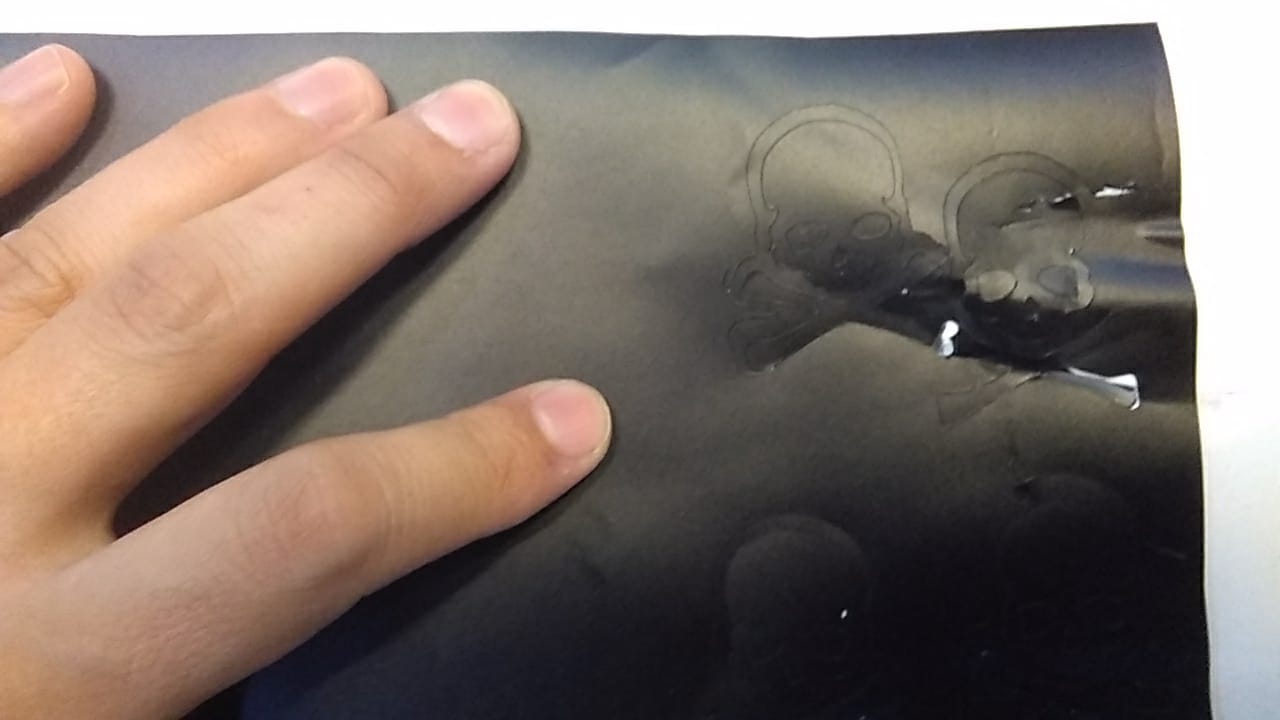
I had many problems, basically it only cuts well in the middle, if you try to cut on the edges it goes like this:
Was not exclusive of the right side, it happened the same in the other side.
If you don’t setup the rollers properly holding the material (The right holder moves, as is new is a little hard) it looks like this:
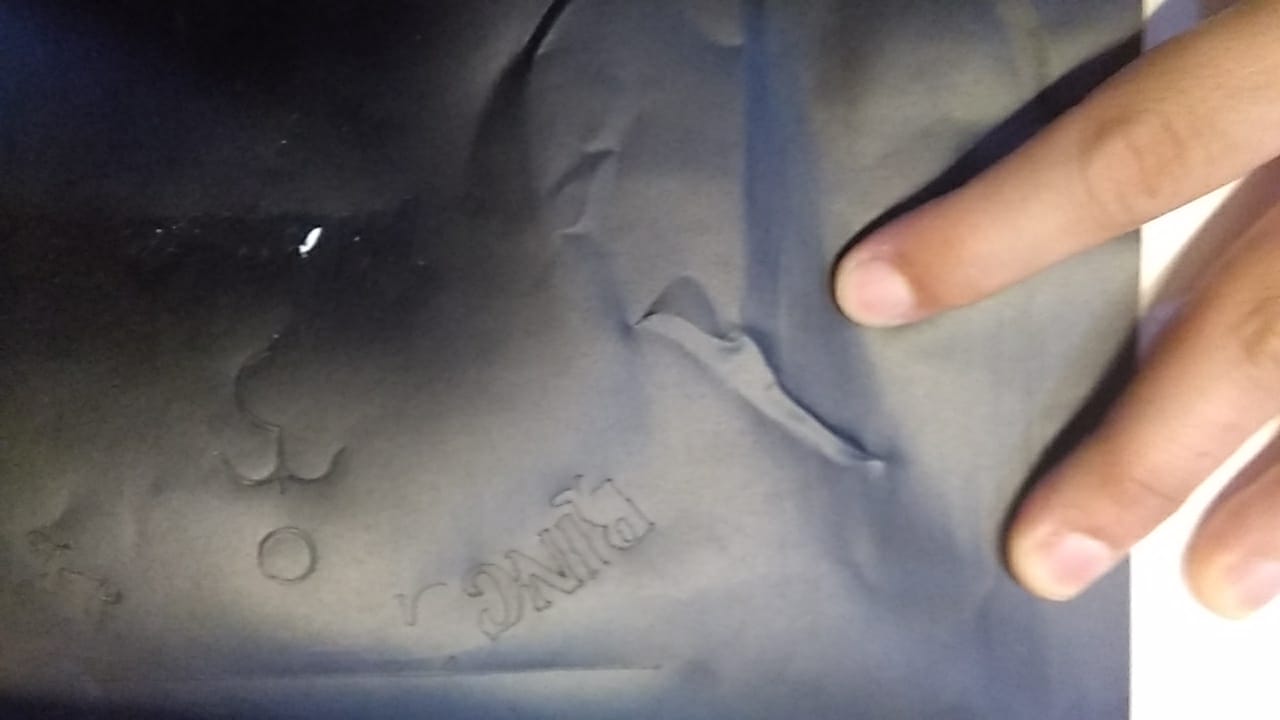
The lever on the right to release the paper is a little flimsy.
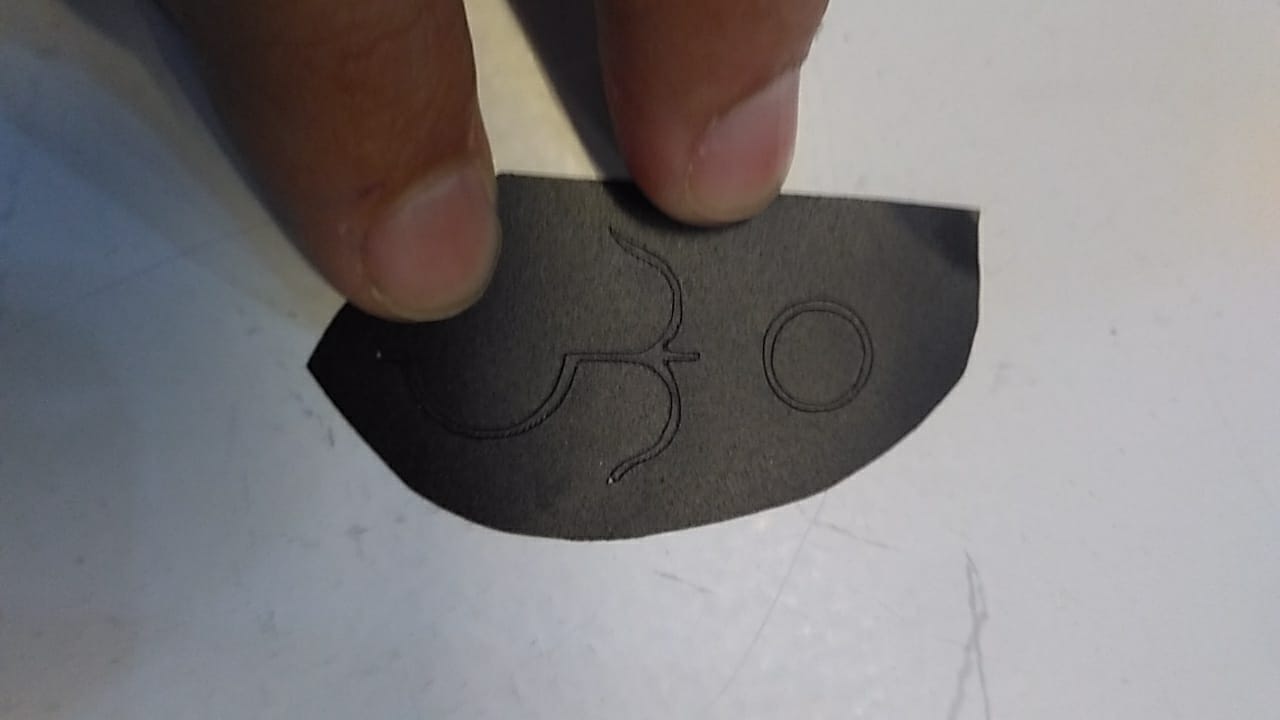
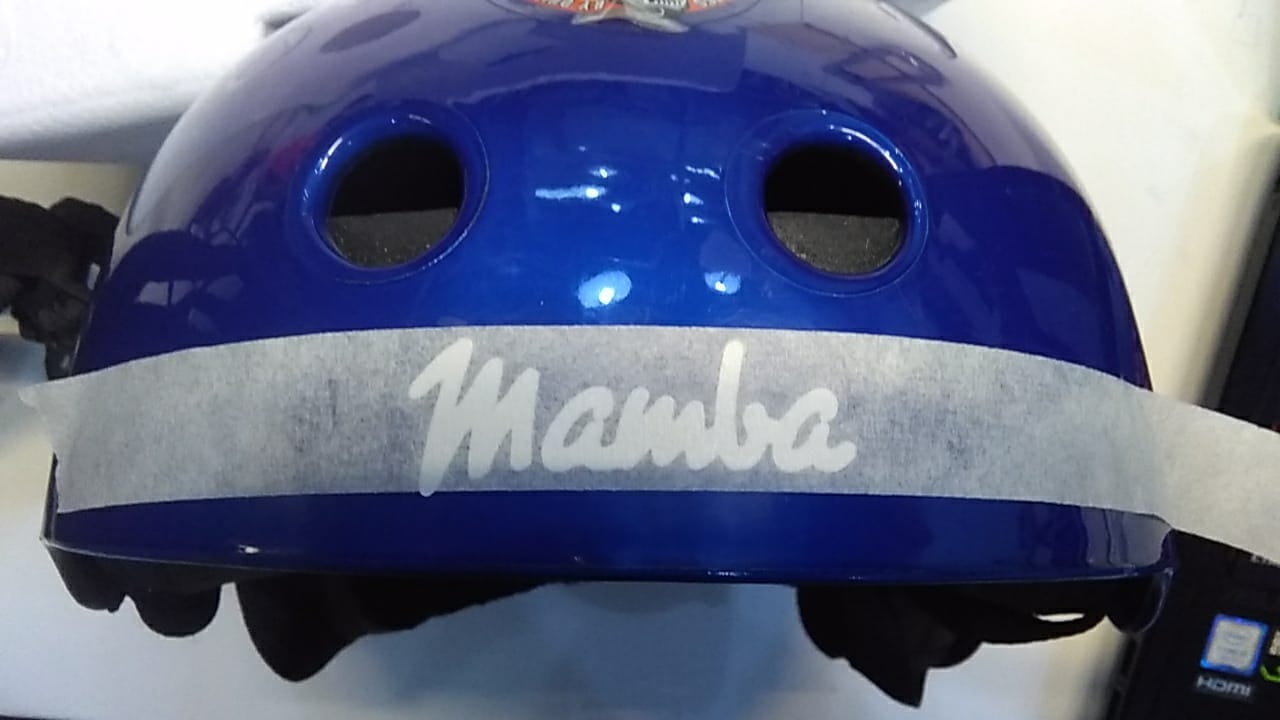
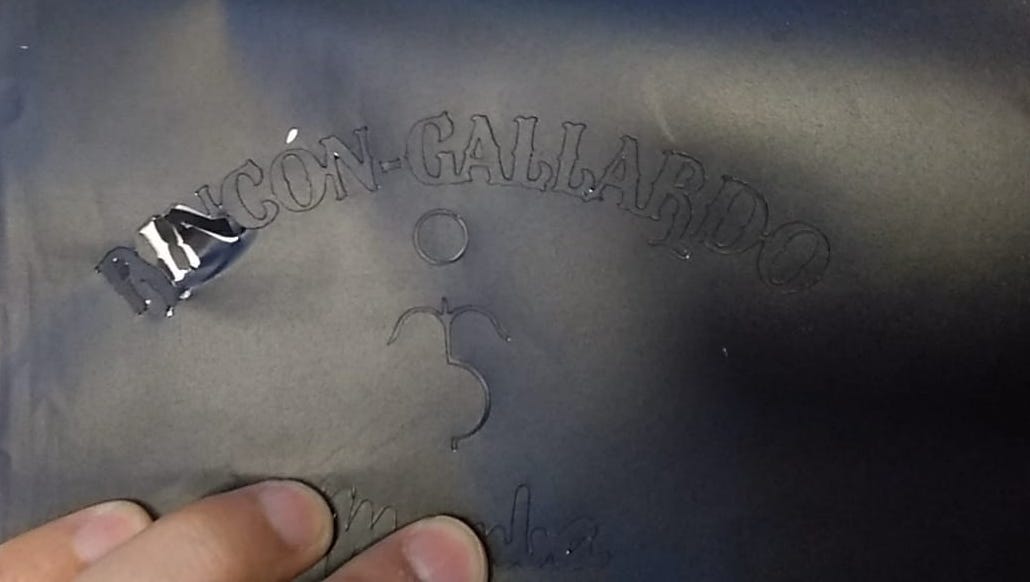
This is what I cut, I´ll use it as an stencil for the longboard of wildcard week.
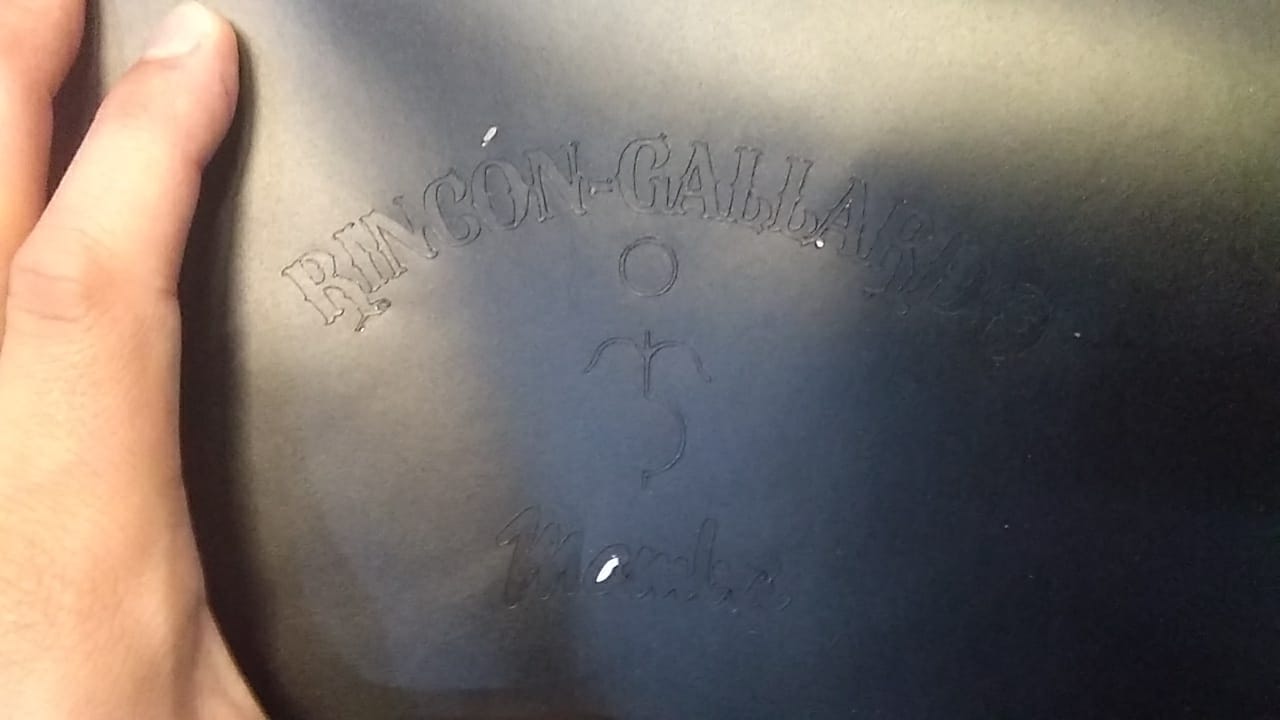 Is my family name, the iron to mark the cows and horses of the family hacienda (long time ago) and Mamba is an skateboard brand I like.
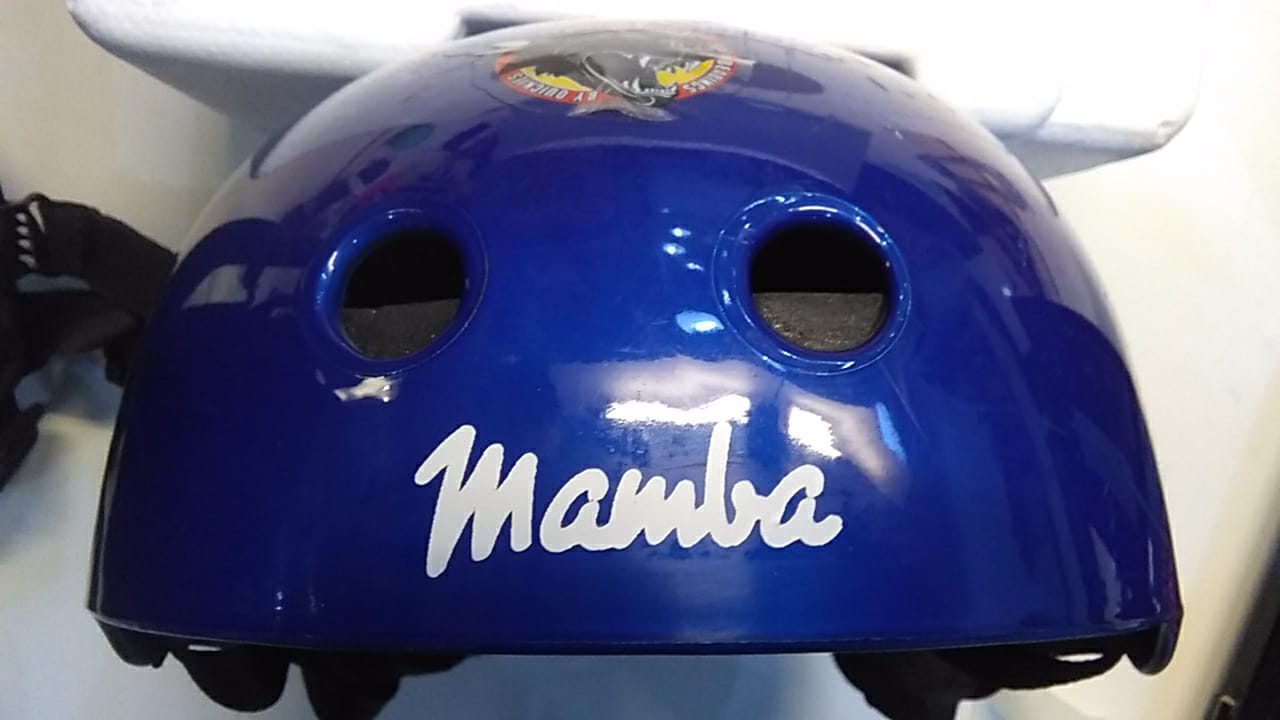
I try to push the thing to the max detail to see if it could, this is what happened:
This are a couple of other final results:
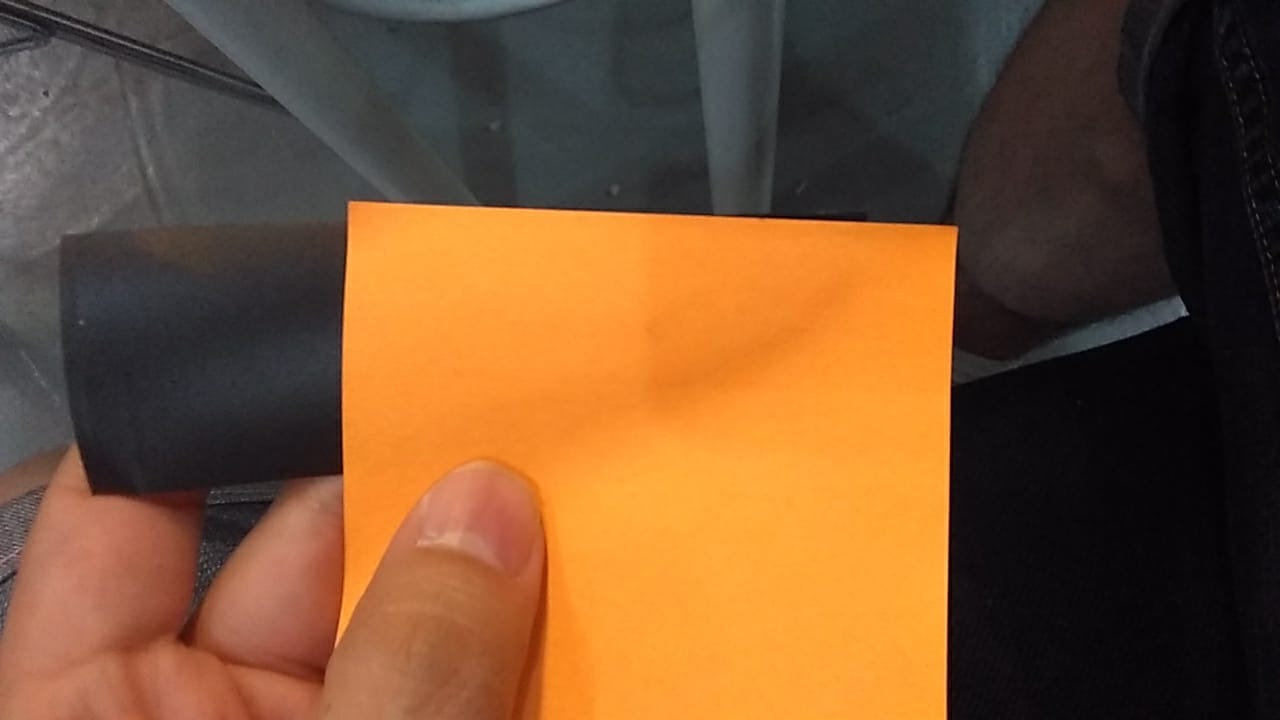
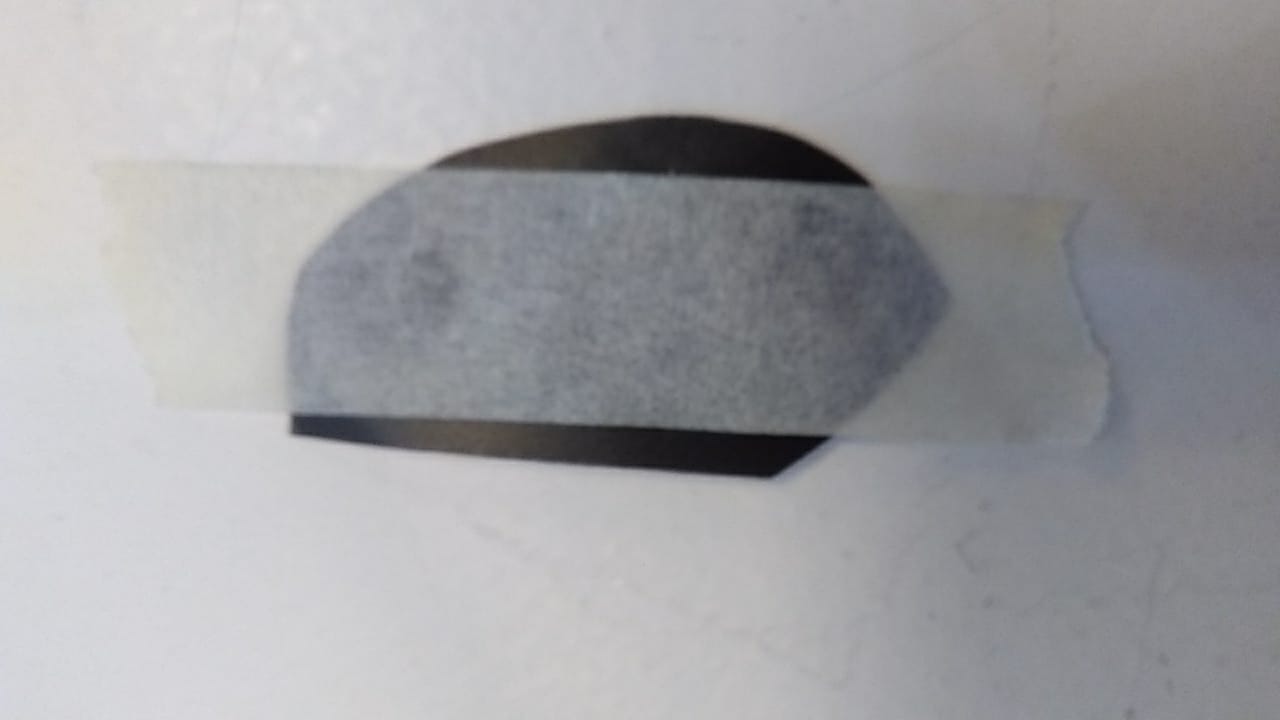
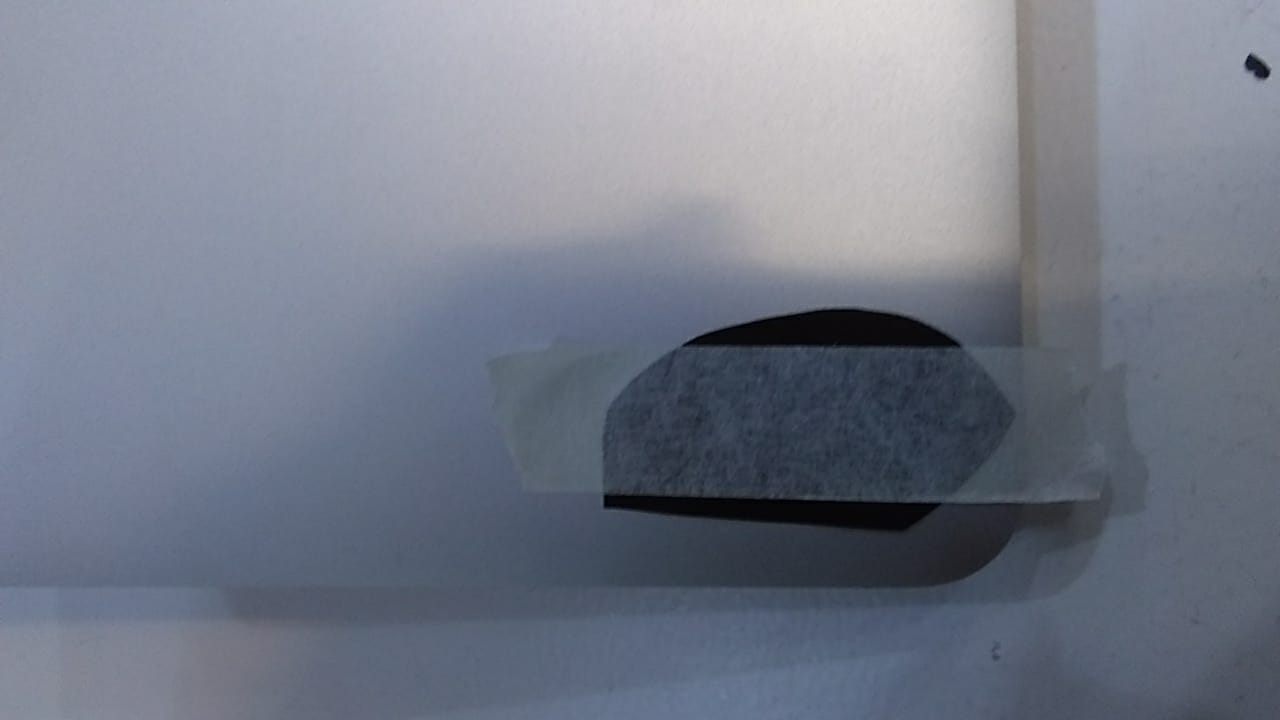
This is how you put it, I tried with another piece of vinyl, and with a post-it, (Harder sticky power and lower vs. the masking tape) Not perfect, but masking tape wins.