13. Networking and Communications
• Group assignment: Send a message between two projects.
• Individual assignment: Design, build, and connect wired or wireless node(s) with network or bus addresses.
Group assignment
Participants
Josep Marti, Felipe Santos, Alberto Lopez, Diar Amin, Gustavo Abreu, Juan Carlos, Eva Blsakova.
For this week group assignment we decided to connect our HelloBoards with an I2C Bus adapting my scripts. This was an easy and simple way to communicate our boards, we first wanted to use Bluetooth, but we didn’t had enough modules or we only had BLE modules and we had some troubles with them.
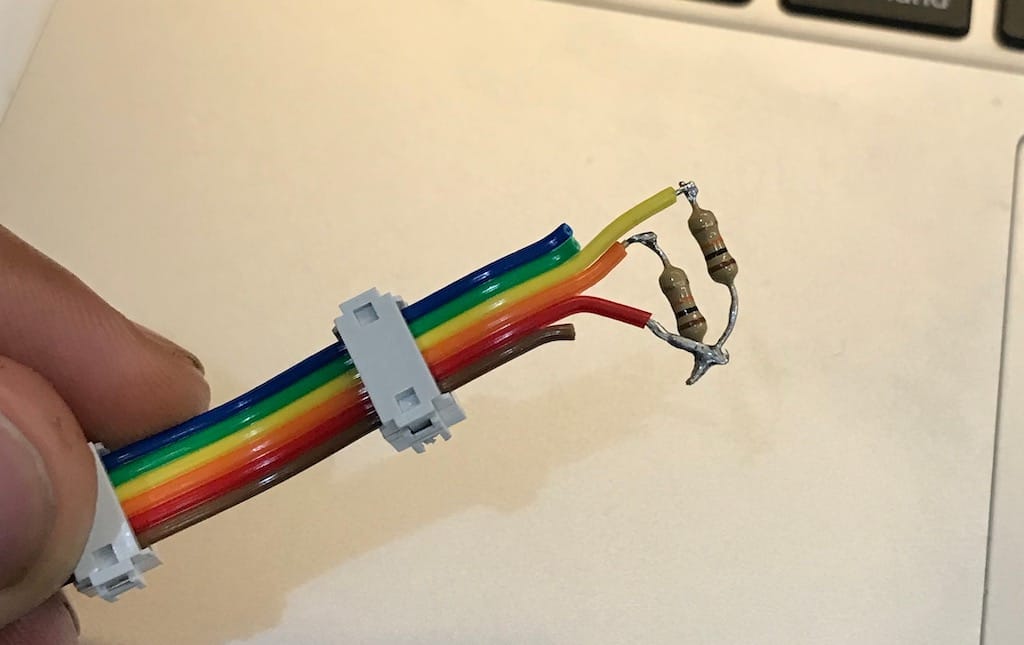
For I2C to work we need two PullUp resistors, like this:
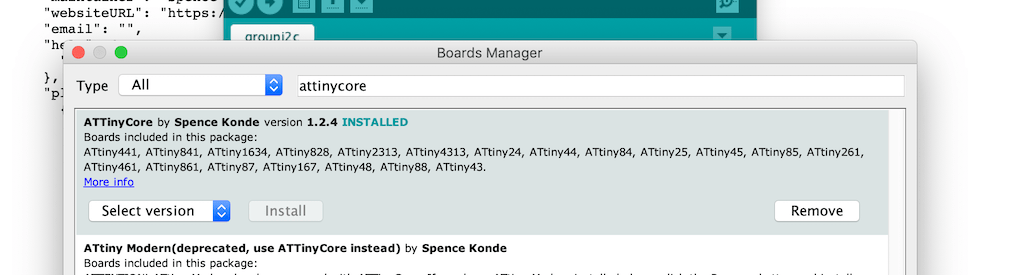
Since we’ll be using Attiny44s and it doesn’t support the Arduino wire library. The first step is to add the AttinyCore from this link to arduino, then install it on the boards manager.
By adapting Josep’s code, we managed to get all boards talking and changing the master’s color when pressing the buttons.
This is the master’s code:
C
#include <Wire.h>

int State[] = {0, 0, 0};

int but=8;
int R=7;
int G=2;
int B=3;

int Gustavo = 1;
int Diar = 2;

void setup() {
  Wire.begin();
  delay(5000);
}

void loop() {
  if (digitalRead(but)== HIGH) {
    analogWrite(R,255);
    analogWrite(G,0);
    analogWrite(B,255);
    State[0] = 1;
  }

  else {
    analogWrite(R,255);
    analogWrite(G,255);
    analogWrite(B,0);
    State[0] = 0;
  }
  readU();
  writeU();
  delay(10);
}

void readU() {
  Wire.requestFrom(Gustavo, 1);
  State[1] = Wire.read();
  Wire.requestFrom(Diar, 1);
  State[2] = Wire.read();
}

void writeU() {
  Wire.beginTransmission(Gustavo);
  Wire.write(State[2]);
  Wire.endTransmission();
  Wire.beginTransmission(Diar);
  Wire.write(State[0]);
  Wire.endTransmission();
}
This is the slaves:
C
#include <Wire.h>

int LED = 1;  //Change it for your LED pin
int But = 2;  //Change it for your Button pin

int Gustavo = 1;
int Diar = 2;
int LEDState = 0;
int ButState = 0;

void setup() {
  Wire.begin(Diar); //Change the name
  Wire.onReceive(receiveEvent);
  Wire.onRequest(requestEvent);
}

void loop() {
  if (digitalRead(But)==HIGH) {
    ButState = 1;
  }
  else{
    ButState = 0;
  }
  if (LEDState == 1) {
    digitalWrite(LED, HIGH);
  }
  else {
    digitalWrite(LED, LOW);
  }

}

void receiveEvent() {
  LEDState=Wire.read();
}

void requestEvent() {
  Wire.write(ButState);
}
Individual assignment
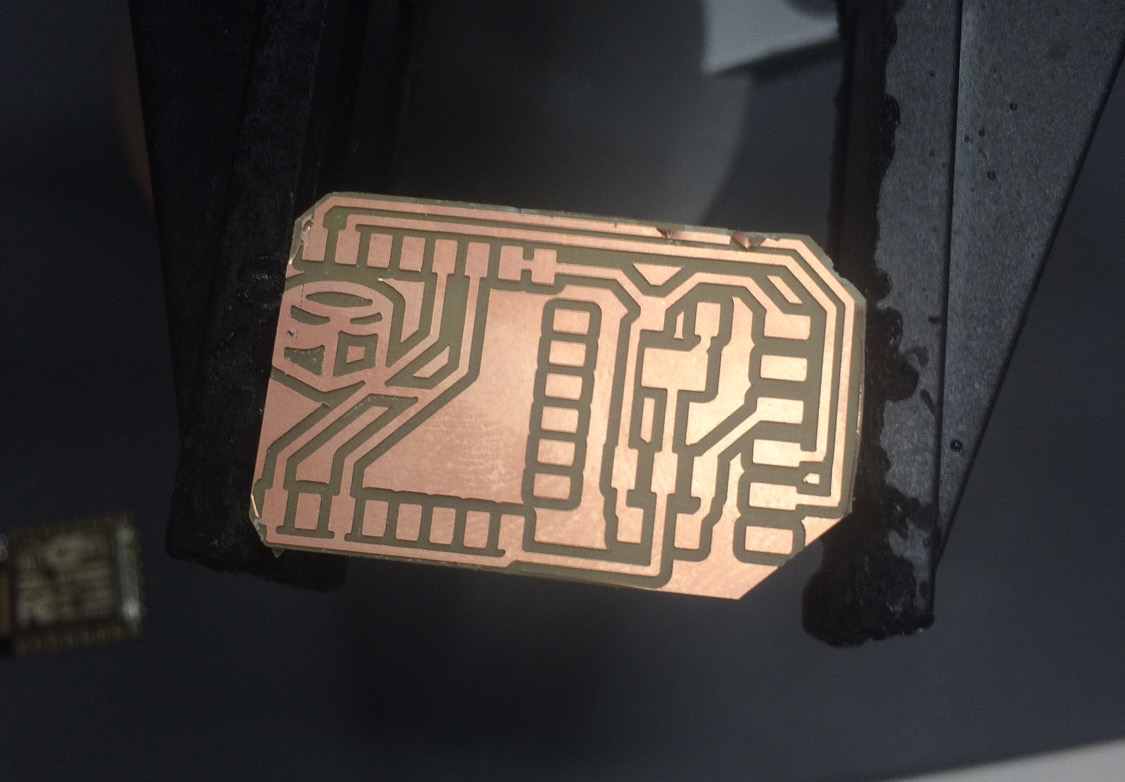
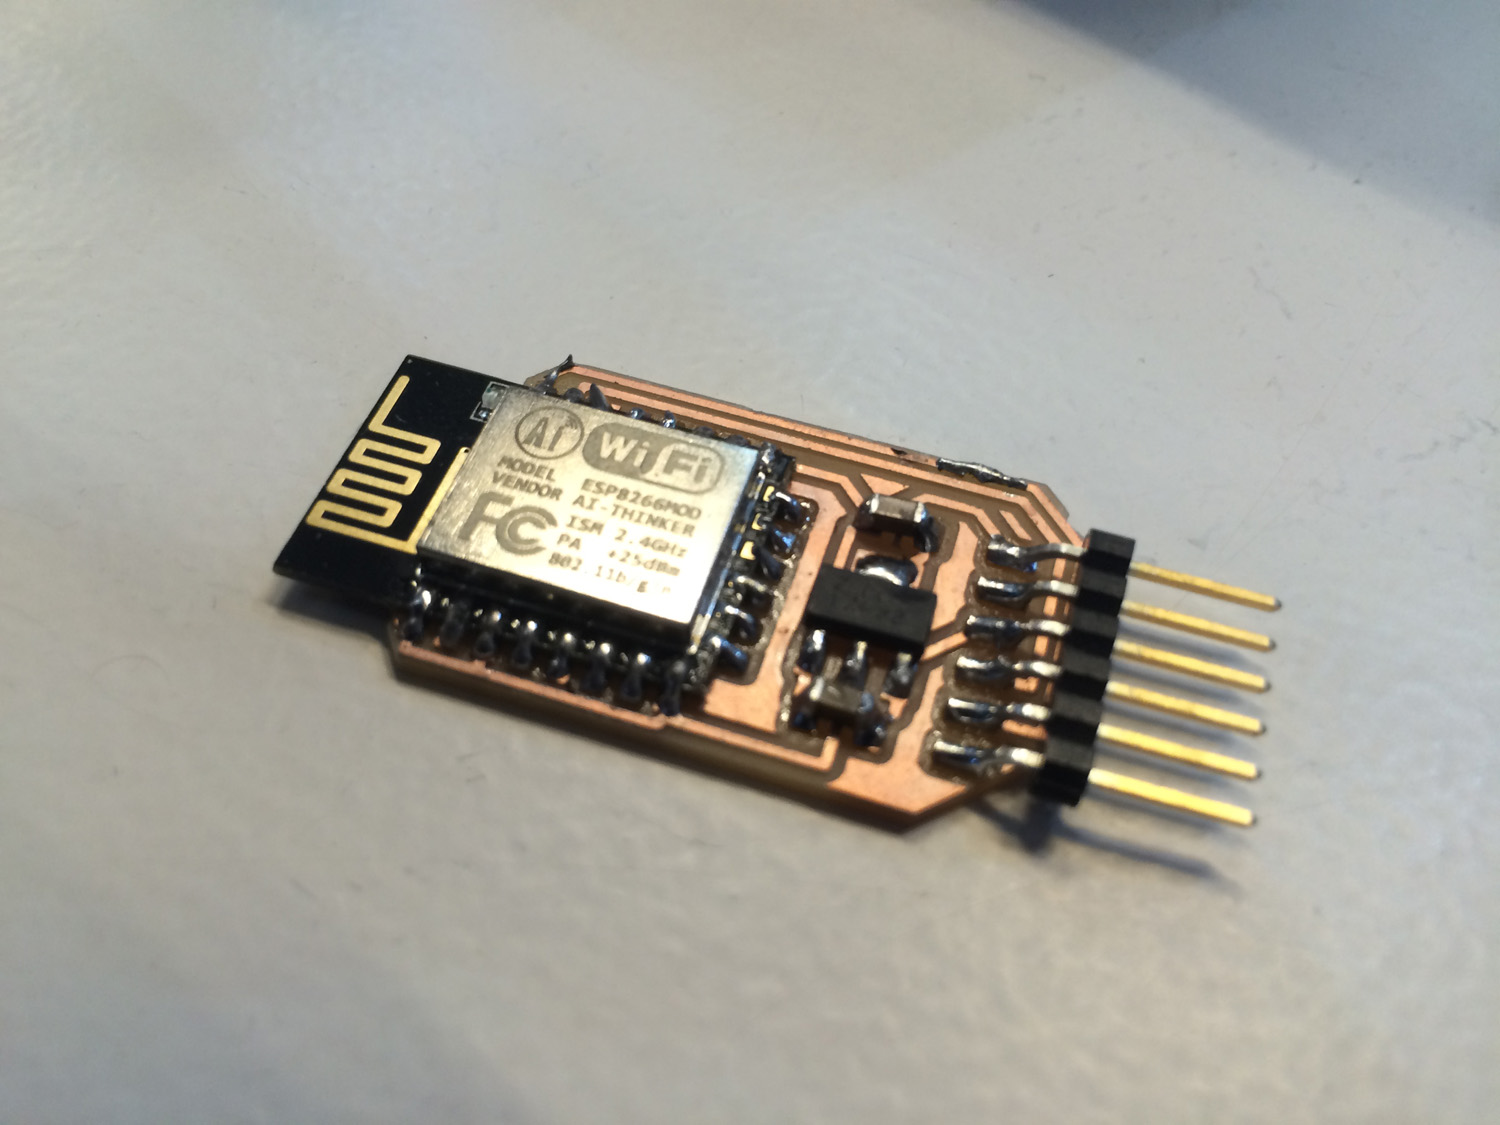
ESP8266 2.4GHz Wi-Fi
For this week I redesigned the Hello ESP8266 Board in Eagle with a library for the component that I found in this Git Hub.
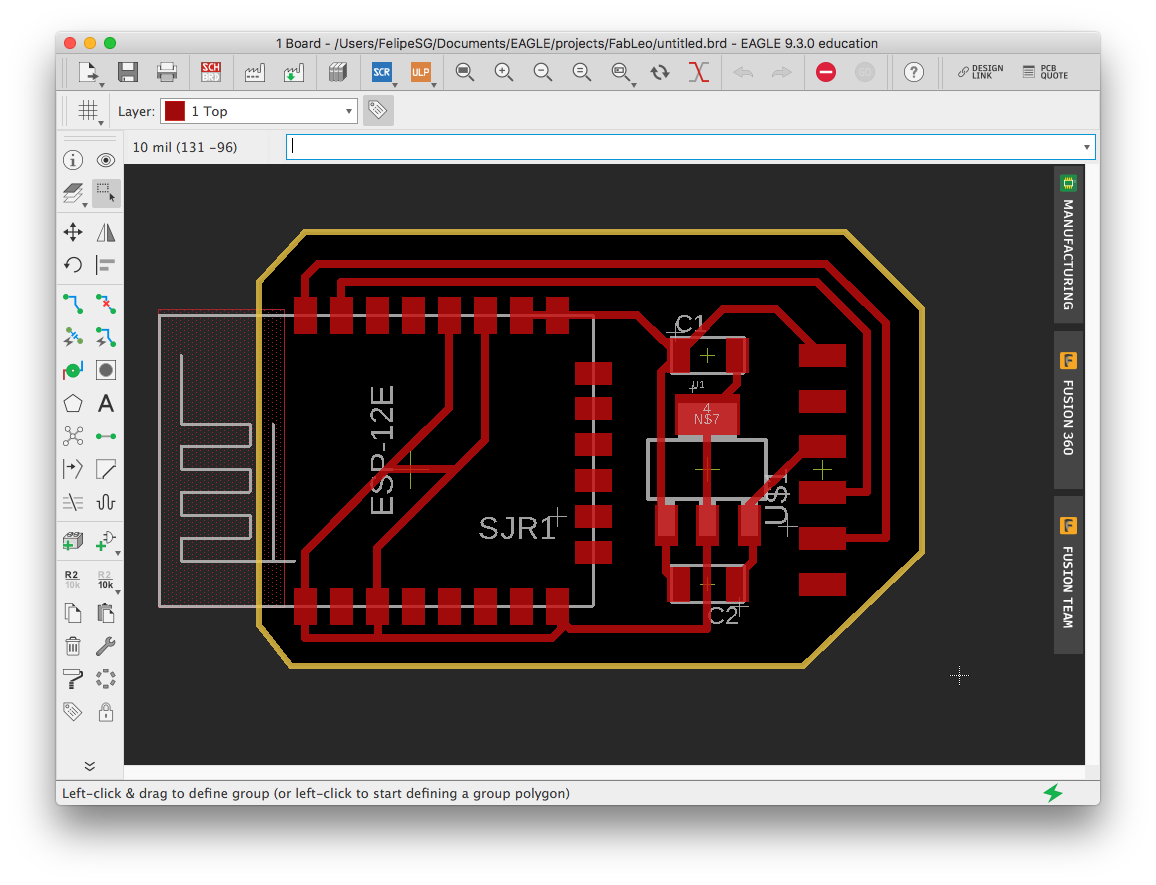
The design is really simple, it only permits you to talk with the ESP through the serial port but it does not allow you to flash it or program it.
After milling the board and soldering the components as usual I tried to connect via FTDI cable.
Then I ran the ESP8266 Serial-to-WiFi Module to test it’s features. It is a Python script, to execute a connection test is simple:
python esp8266test.py serial_port baud_rate ssid password
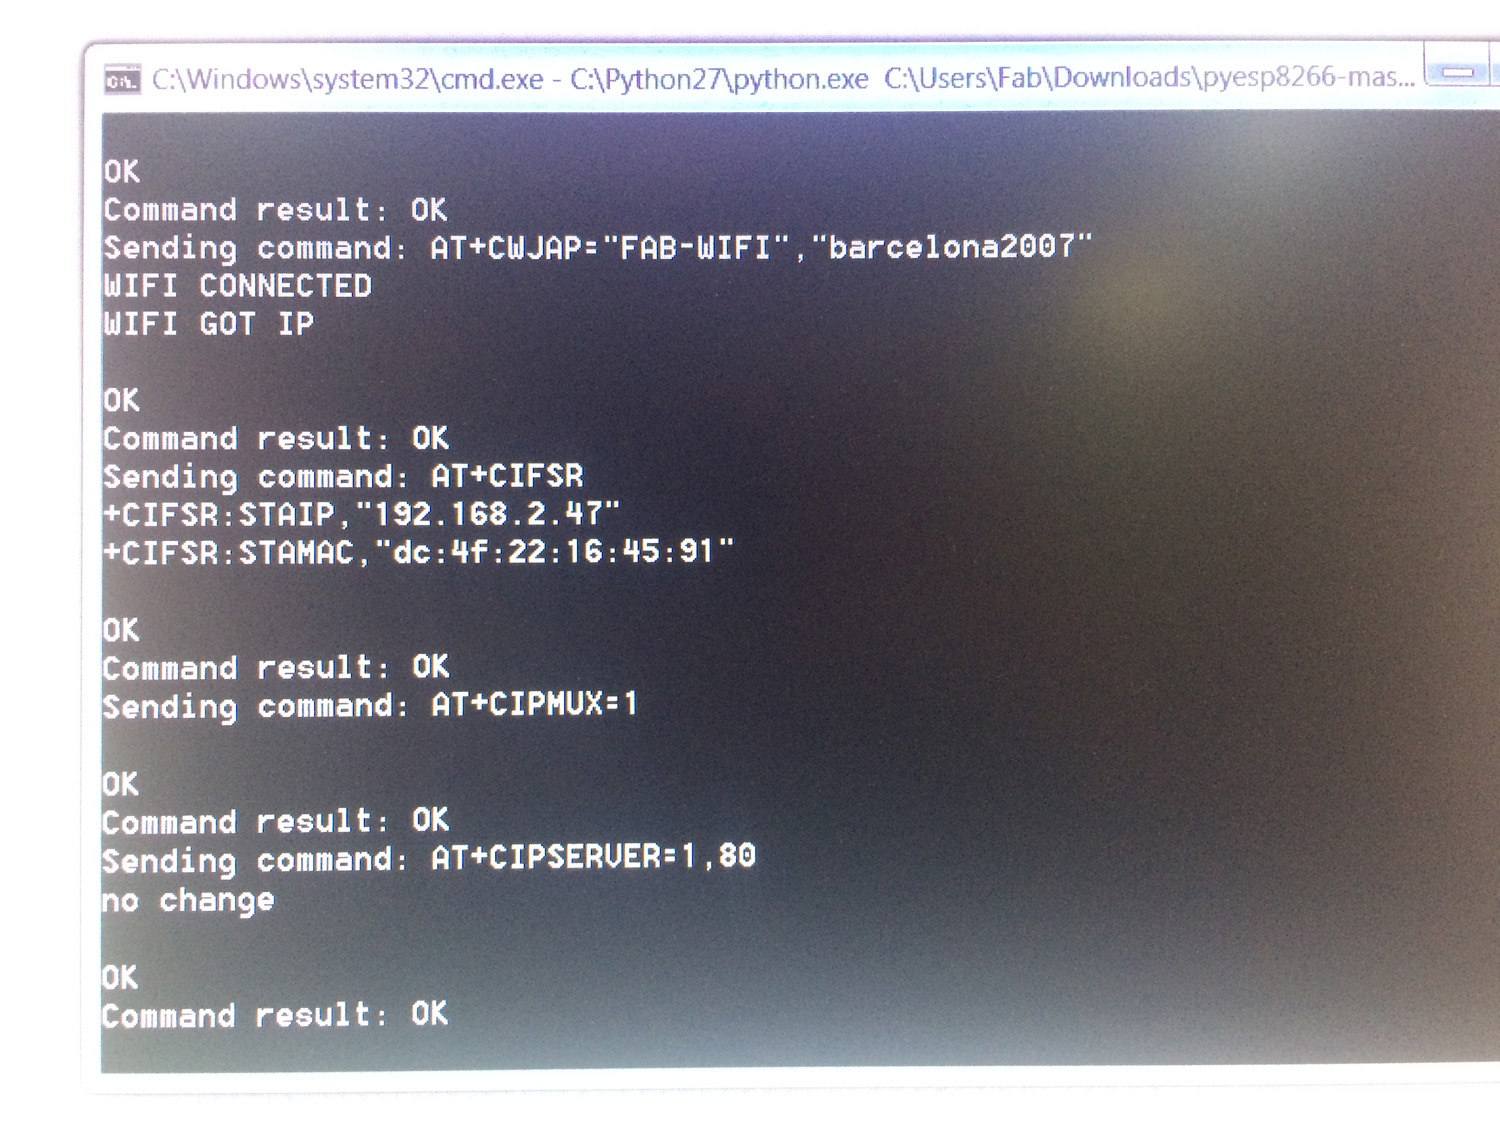
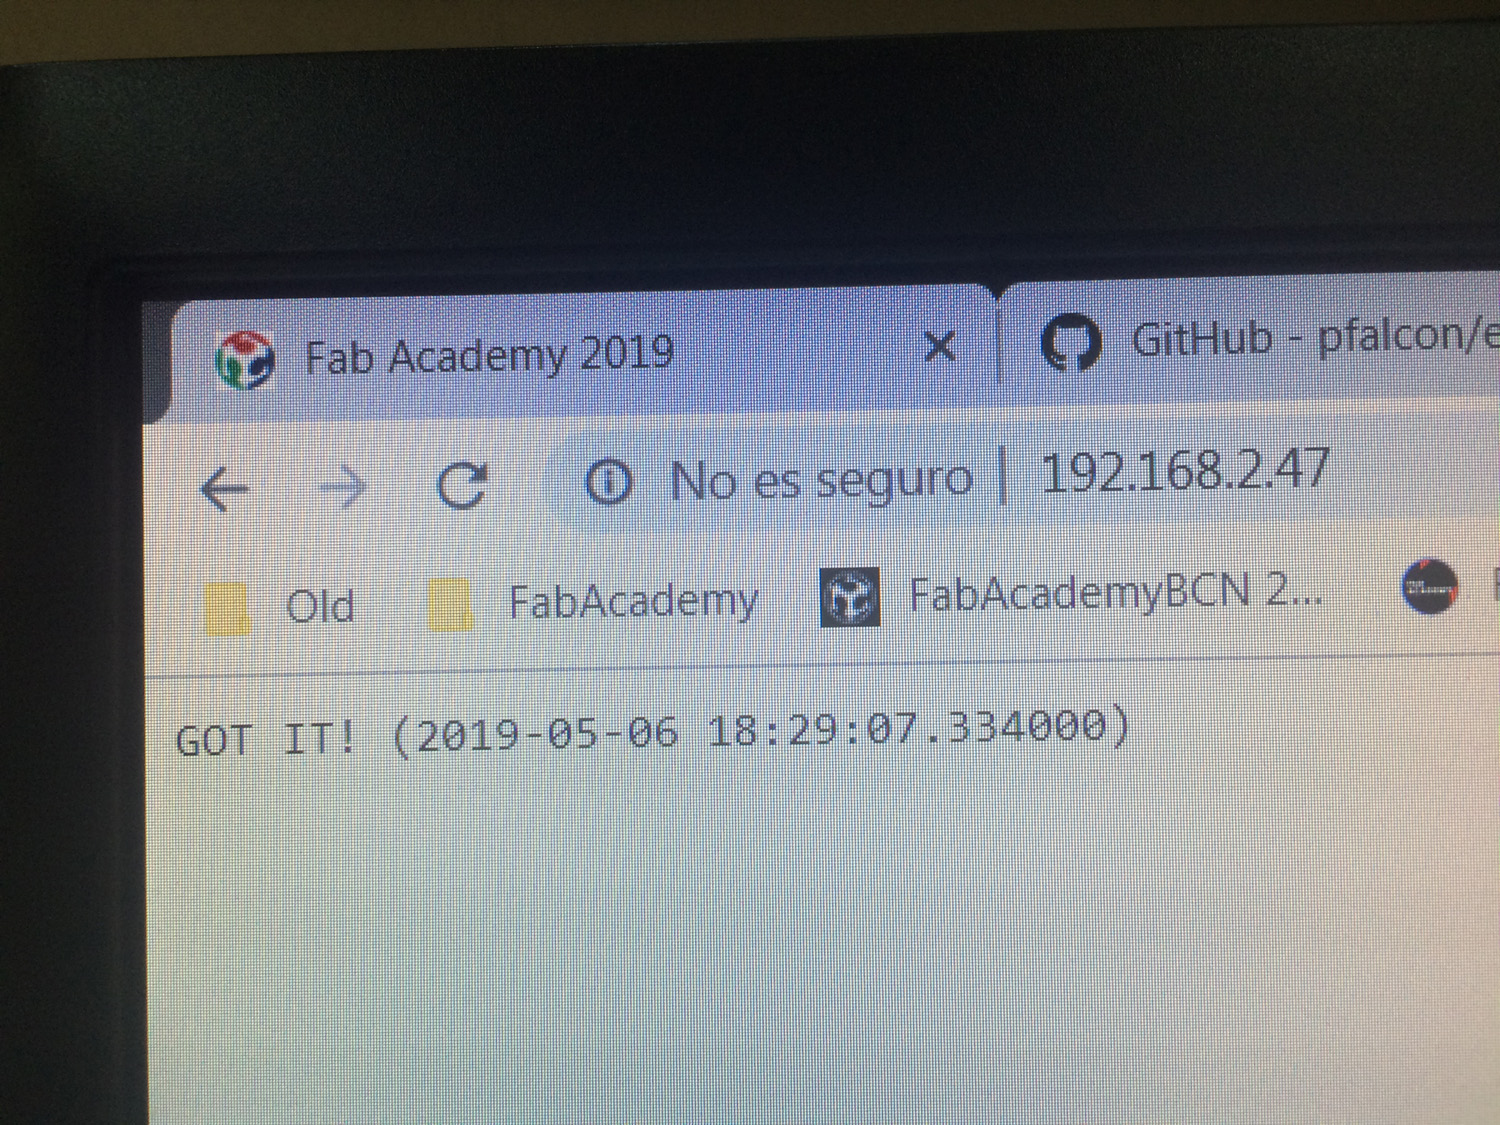
After this I tested the board as a web server running:
python esp8266server.py serial_port baud_rate ssid password
The board returns you an IP address so you can see if it’s working.