5. 3D scanning and printing
• Group assignment: Test the design rules for your printer(s)
• Individual assignment: Design and 3D print an object (small, few cm) that could not be made subtractively. 3D scan an object (and optionally print it)
Group assignment
Participants
Josep Marti, Felipe Santos, Alberto Lopez, Diar Amin, Gustavo Abreu
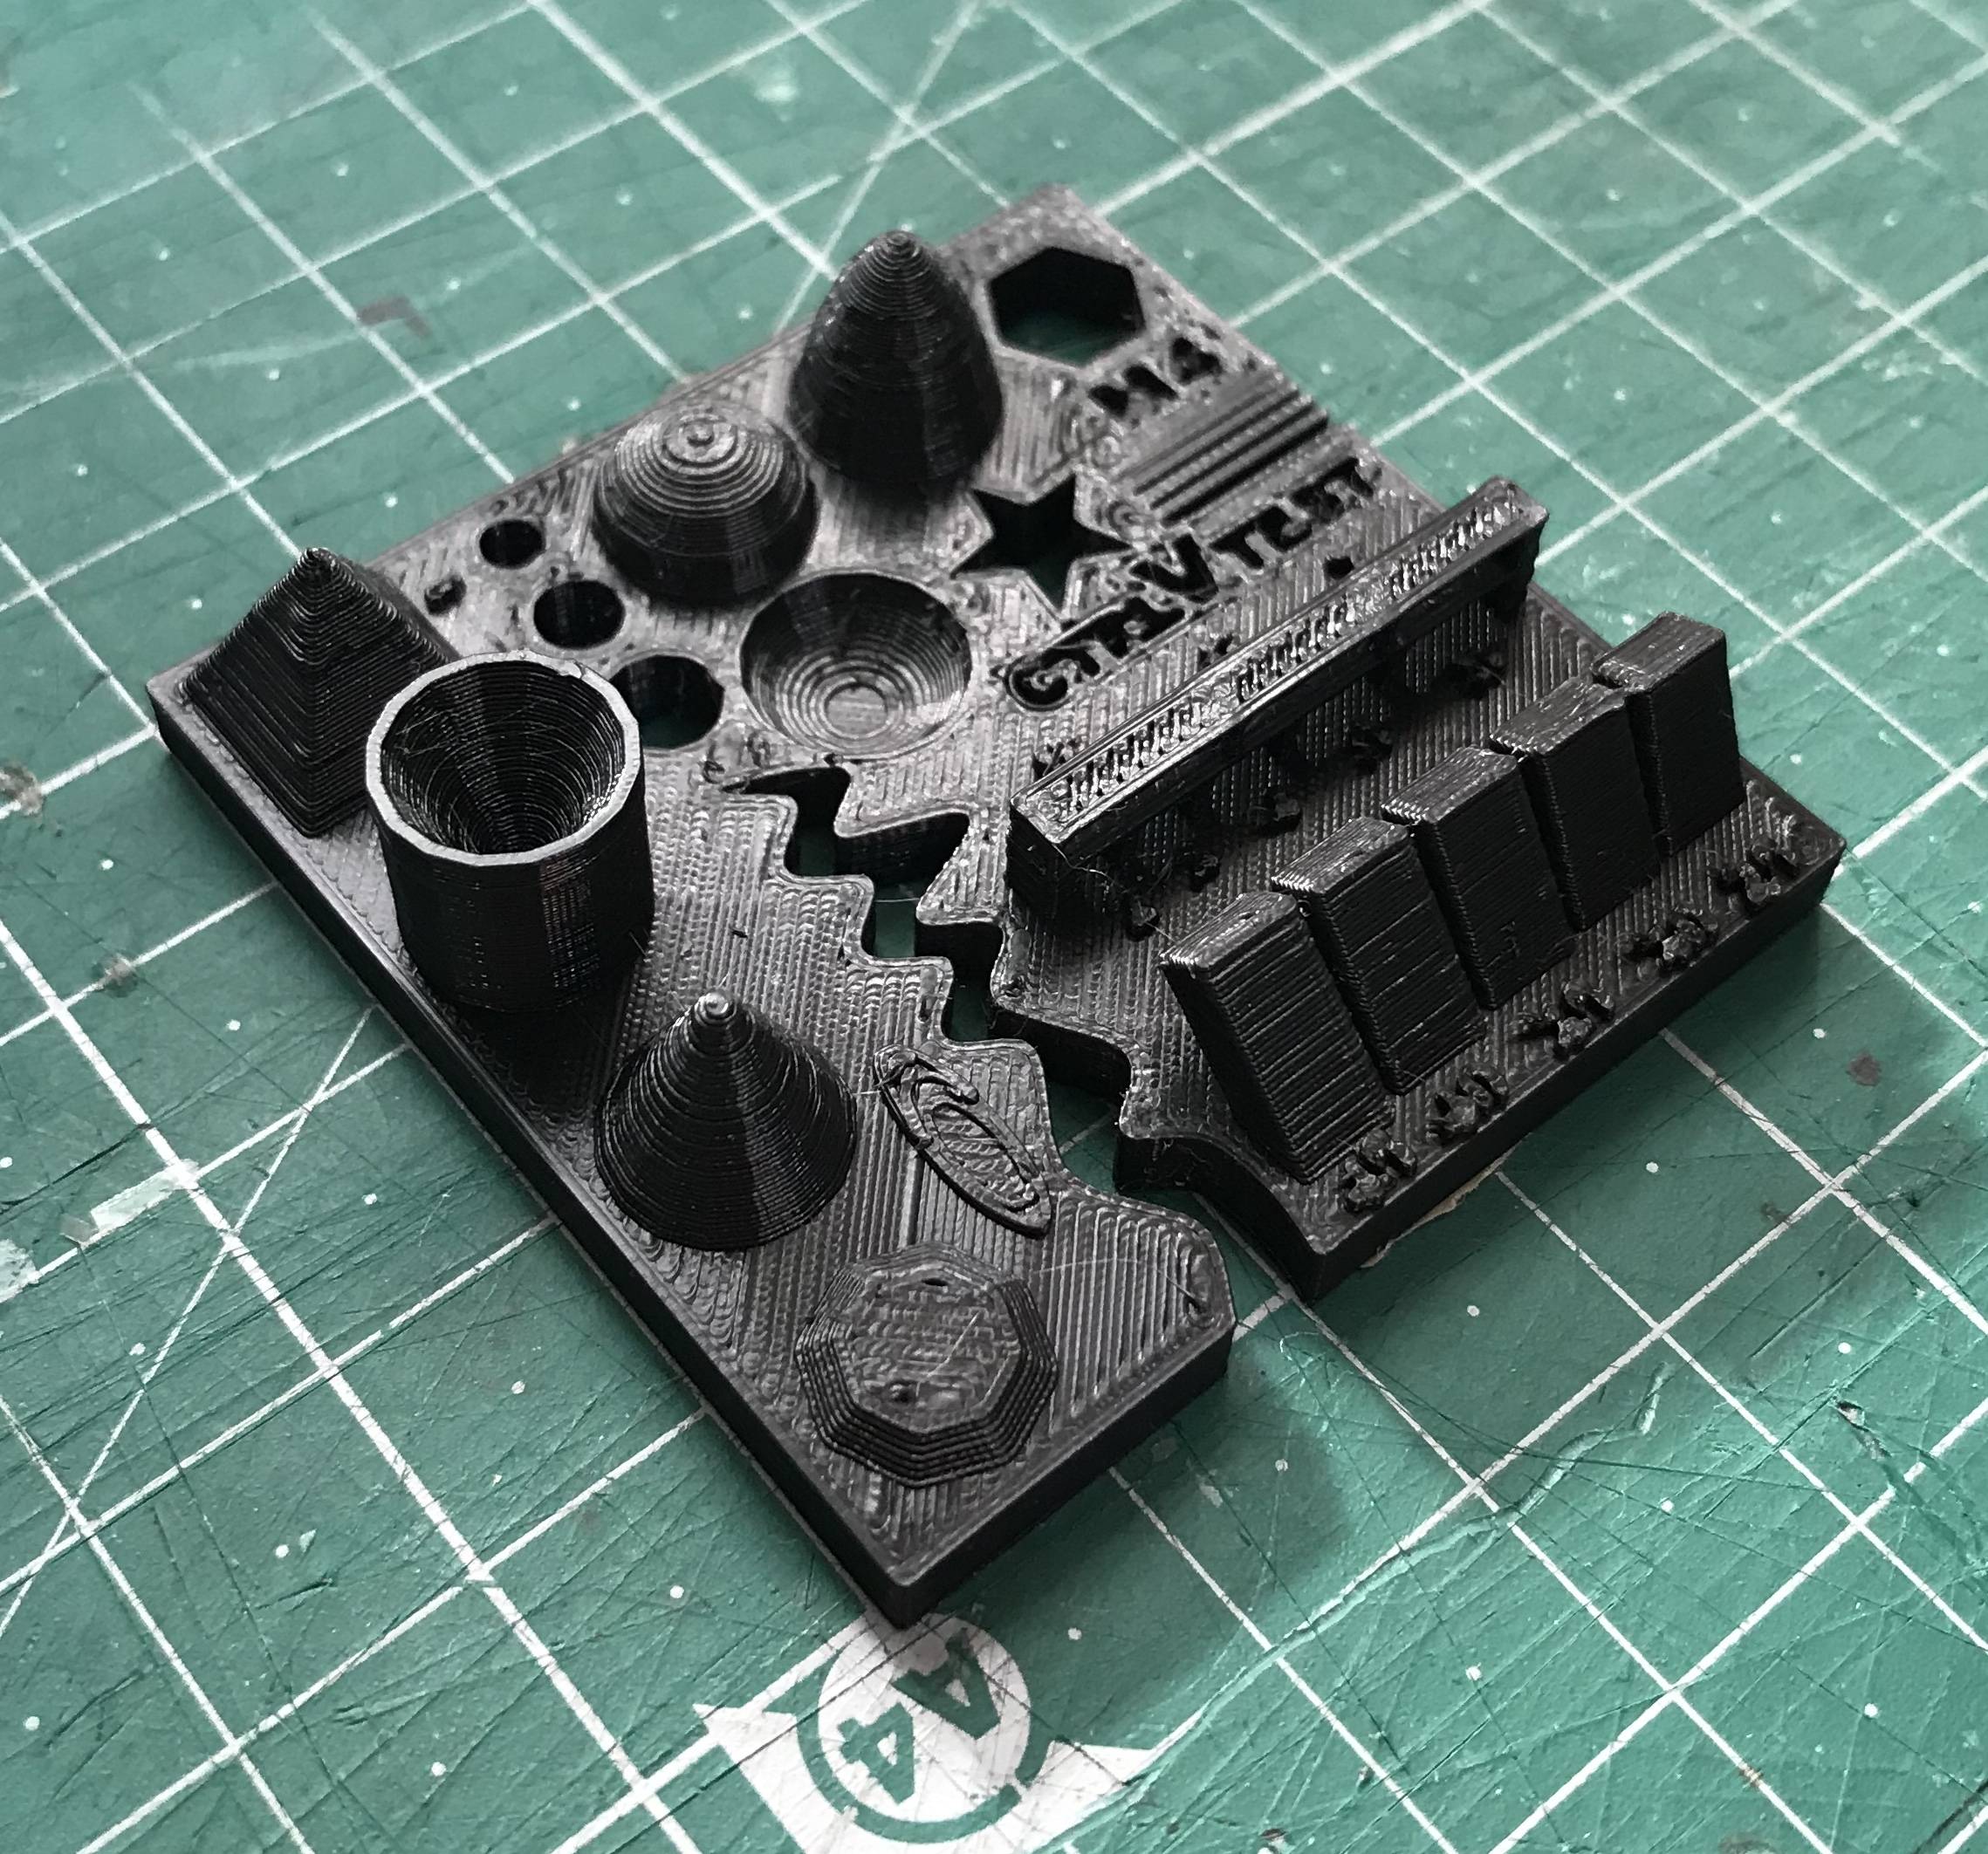
Test file
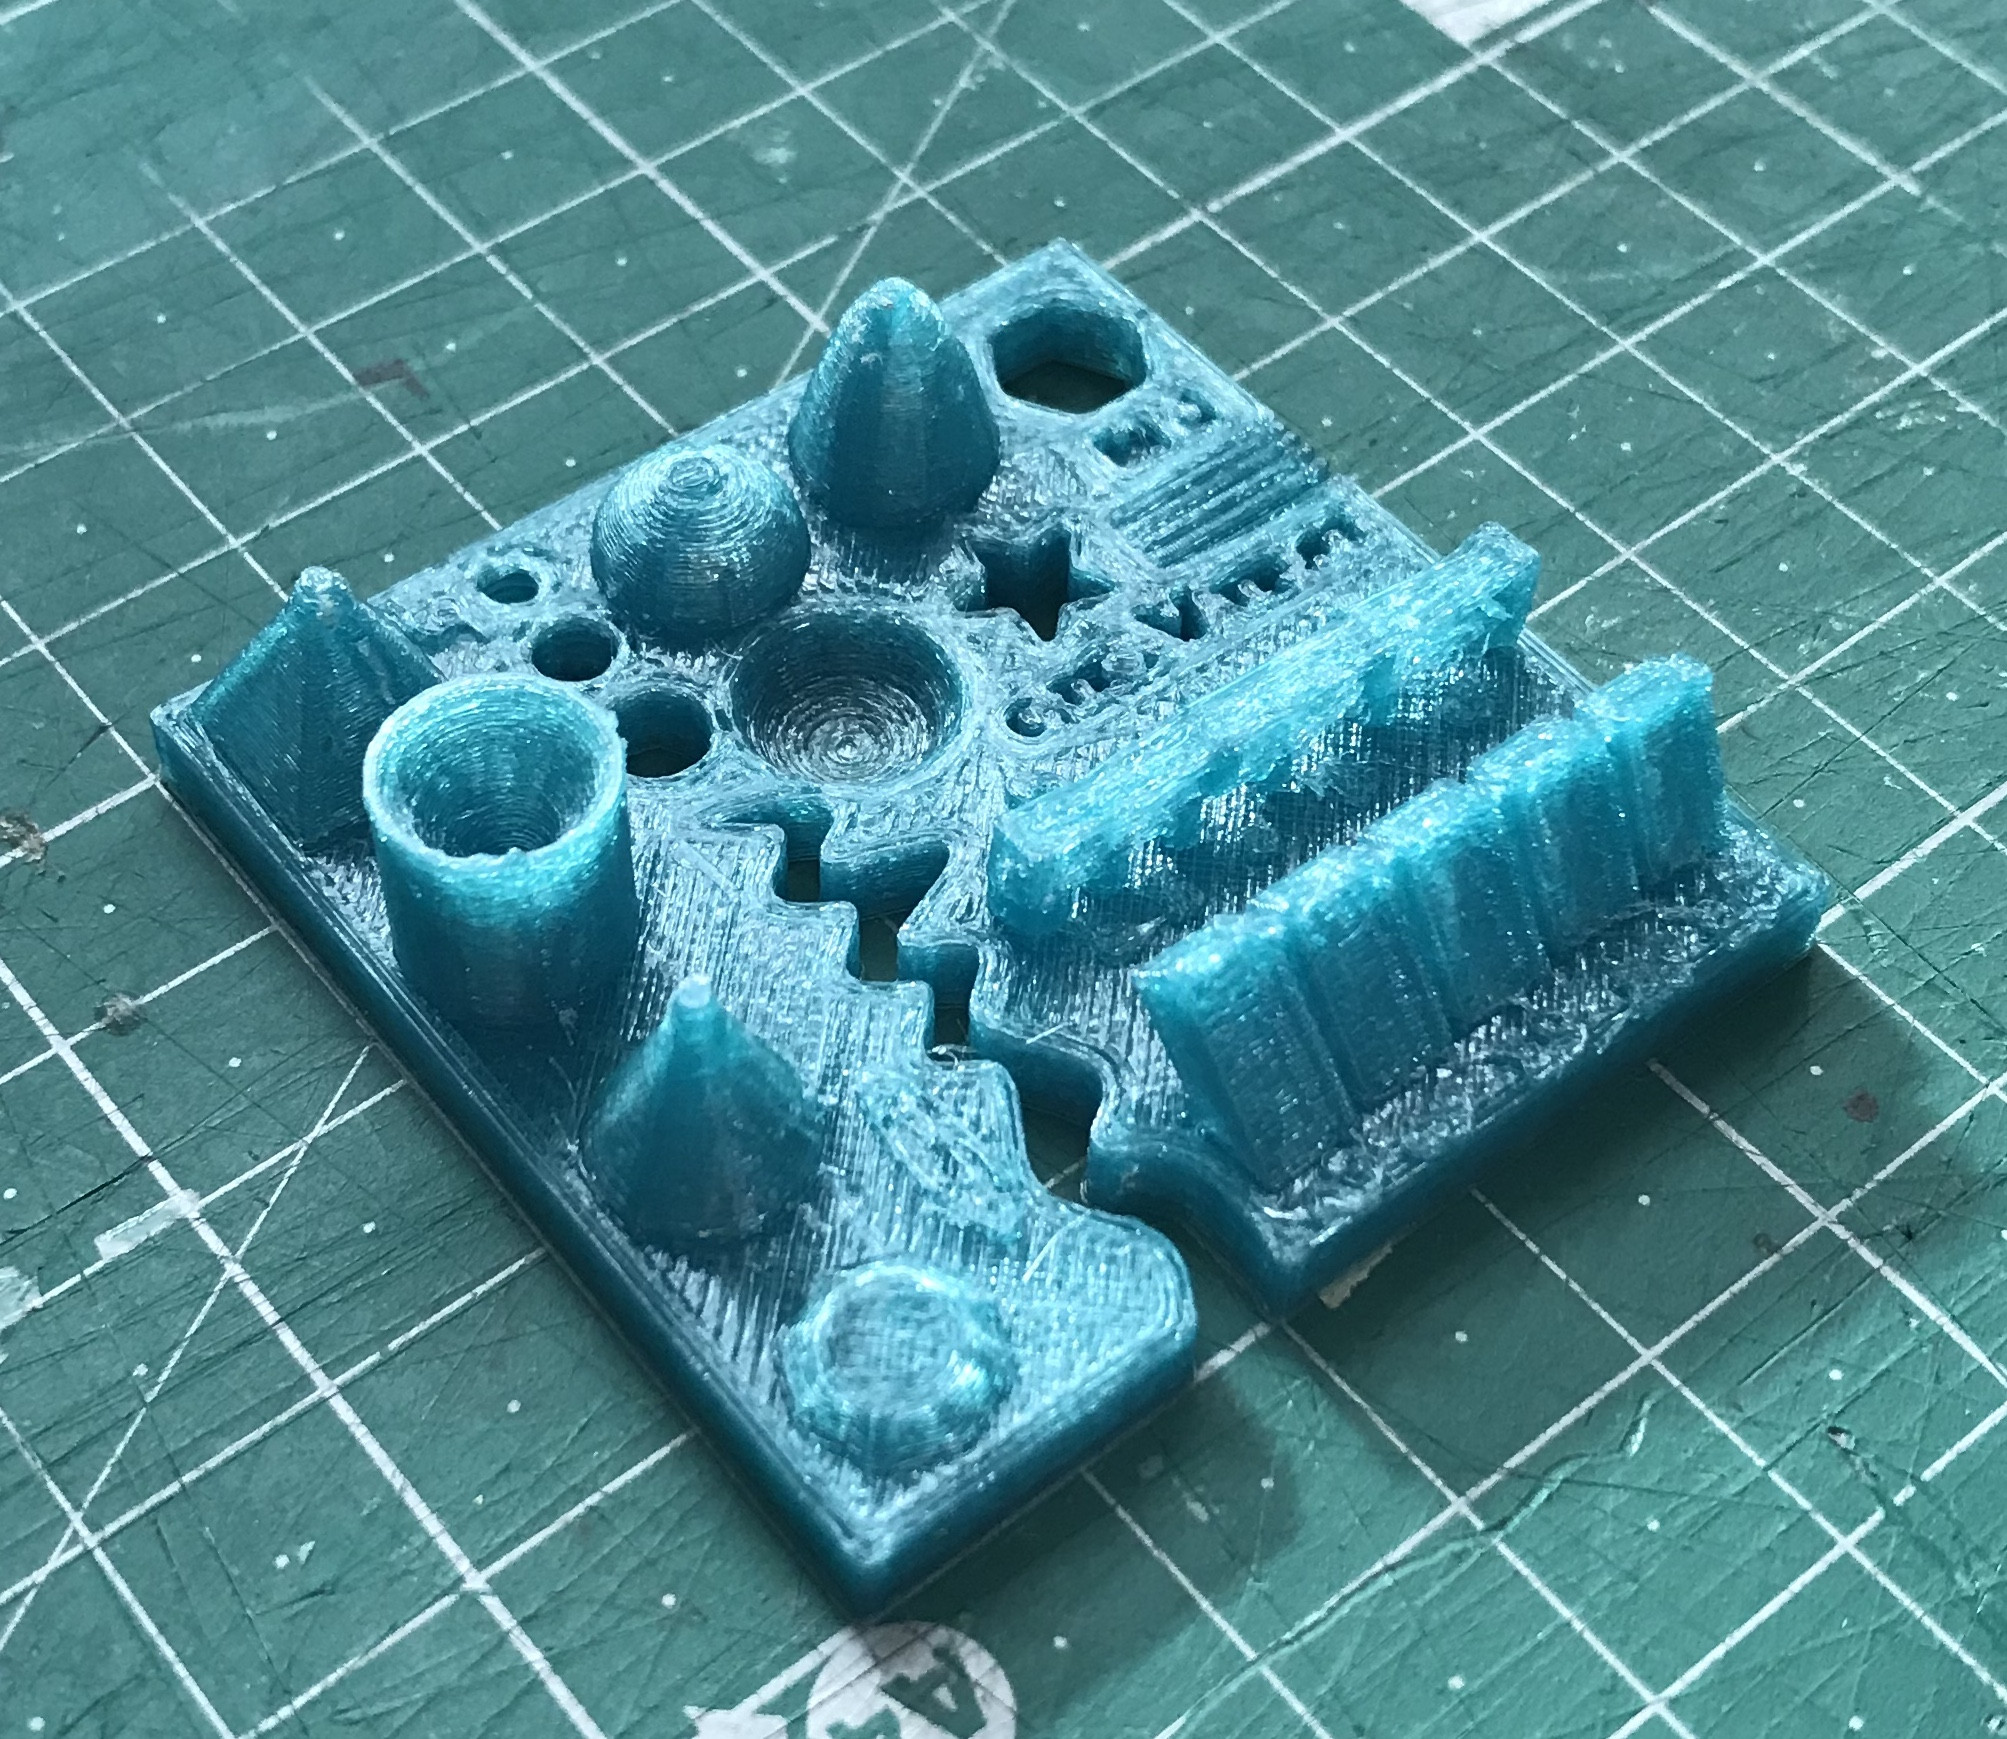
To test the different printers, the best option is to print a part that shows how the printer behaves in different situations. To do this, we’ve used a file from 3dprint.com available on thingiverse.

The article explains what should be measured as pointed below:
- Size: the object is 4 x 50 x 50 mm (baseplate) — measure with a caliper
- Hole size: 3 holes (3/4/5mm) — measure with a caliper/drill
- Nut size: M4 nut should fit perfectly — insert an M4 nut; it should need a little pressure
- Fine details: pyramid, cone, all numbers — check if all things look nice and smooth
- Rounded print: wave, half sphere — check if all things look nice and smooth
- Minimum distance between walls: 0.1/0.2/0.3/0.4/0.5 mm — depending on your nozzle size and slicer settings you will get different results
- Overhang: 25°/30°/35°/40°/45° — depending on printed material/cooling, these will not be as seen on the rendering provided
- Flatness: all flat areas — these should be flat with no gaps
We’ve used the same slicing parameters on every machine to have somewhat similar results. Although we could not use the same filament since the diameters were different.
Slicing settings:
Layer height: 0.2mm Wall line count: 2 Top layers: 6 Bottom layers: 4 Infill: 20% Speed: 60mm/s Nozzle temp.: 205 Bed temp.: 60 Material: PLA
Printers description
Anycubic Kossel Plus
 Area (x,y,z): 23x23x30
How to print: SD card
Nozzle diameter: 0.5mm
Filament diameter: 1.75mm
Axis movement: Delta
Area (x,y,z): 23x23x30
How to print: SD card
Nozzle diameter: 0.5mm
Filament diameter: 1.75mm
Axis movement: Delta
Ultimaker 2
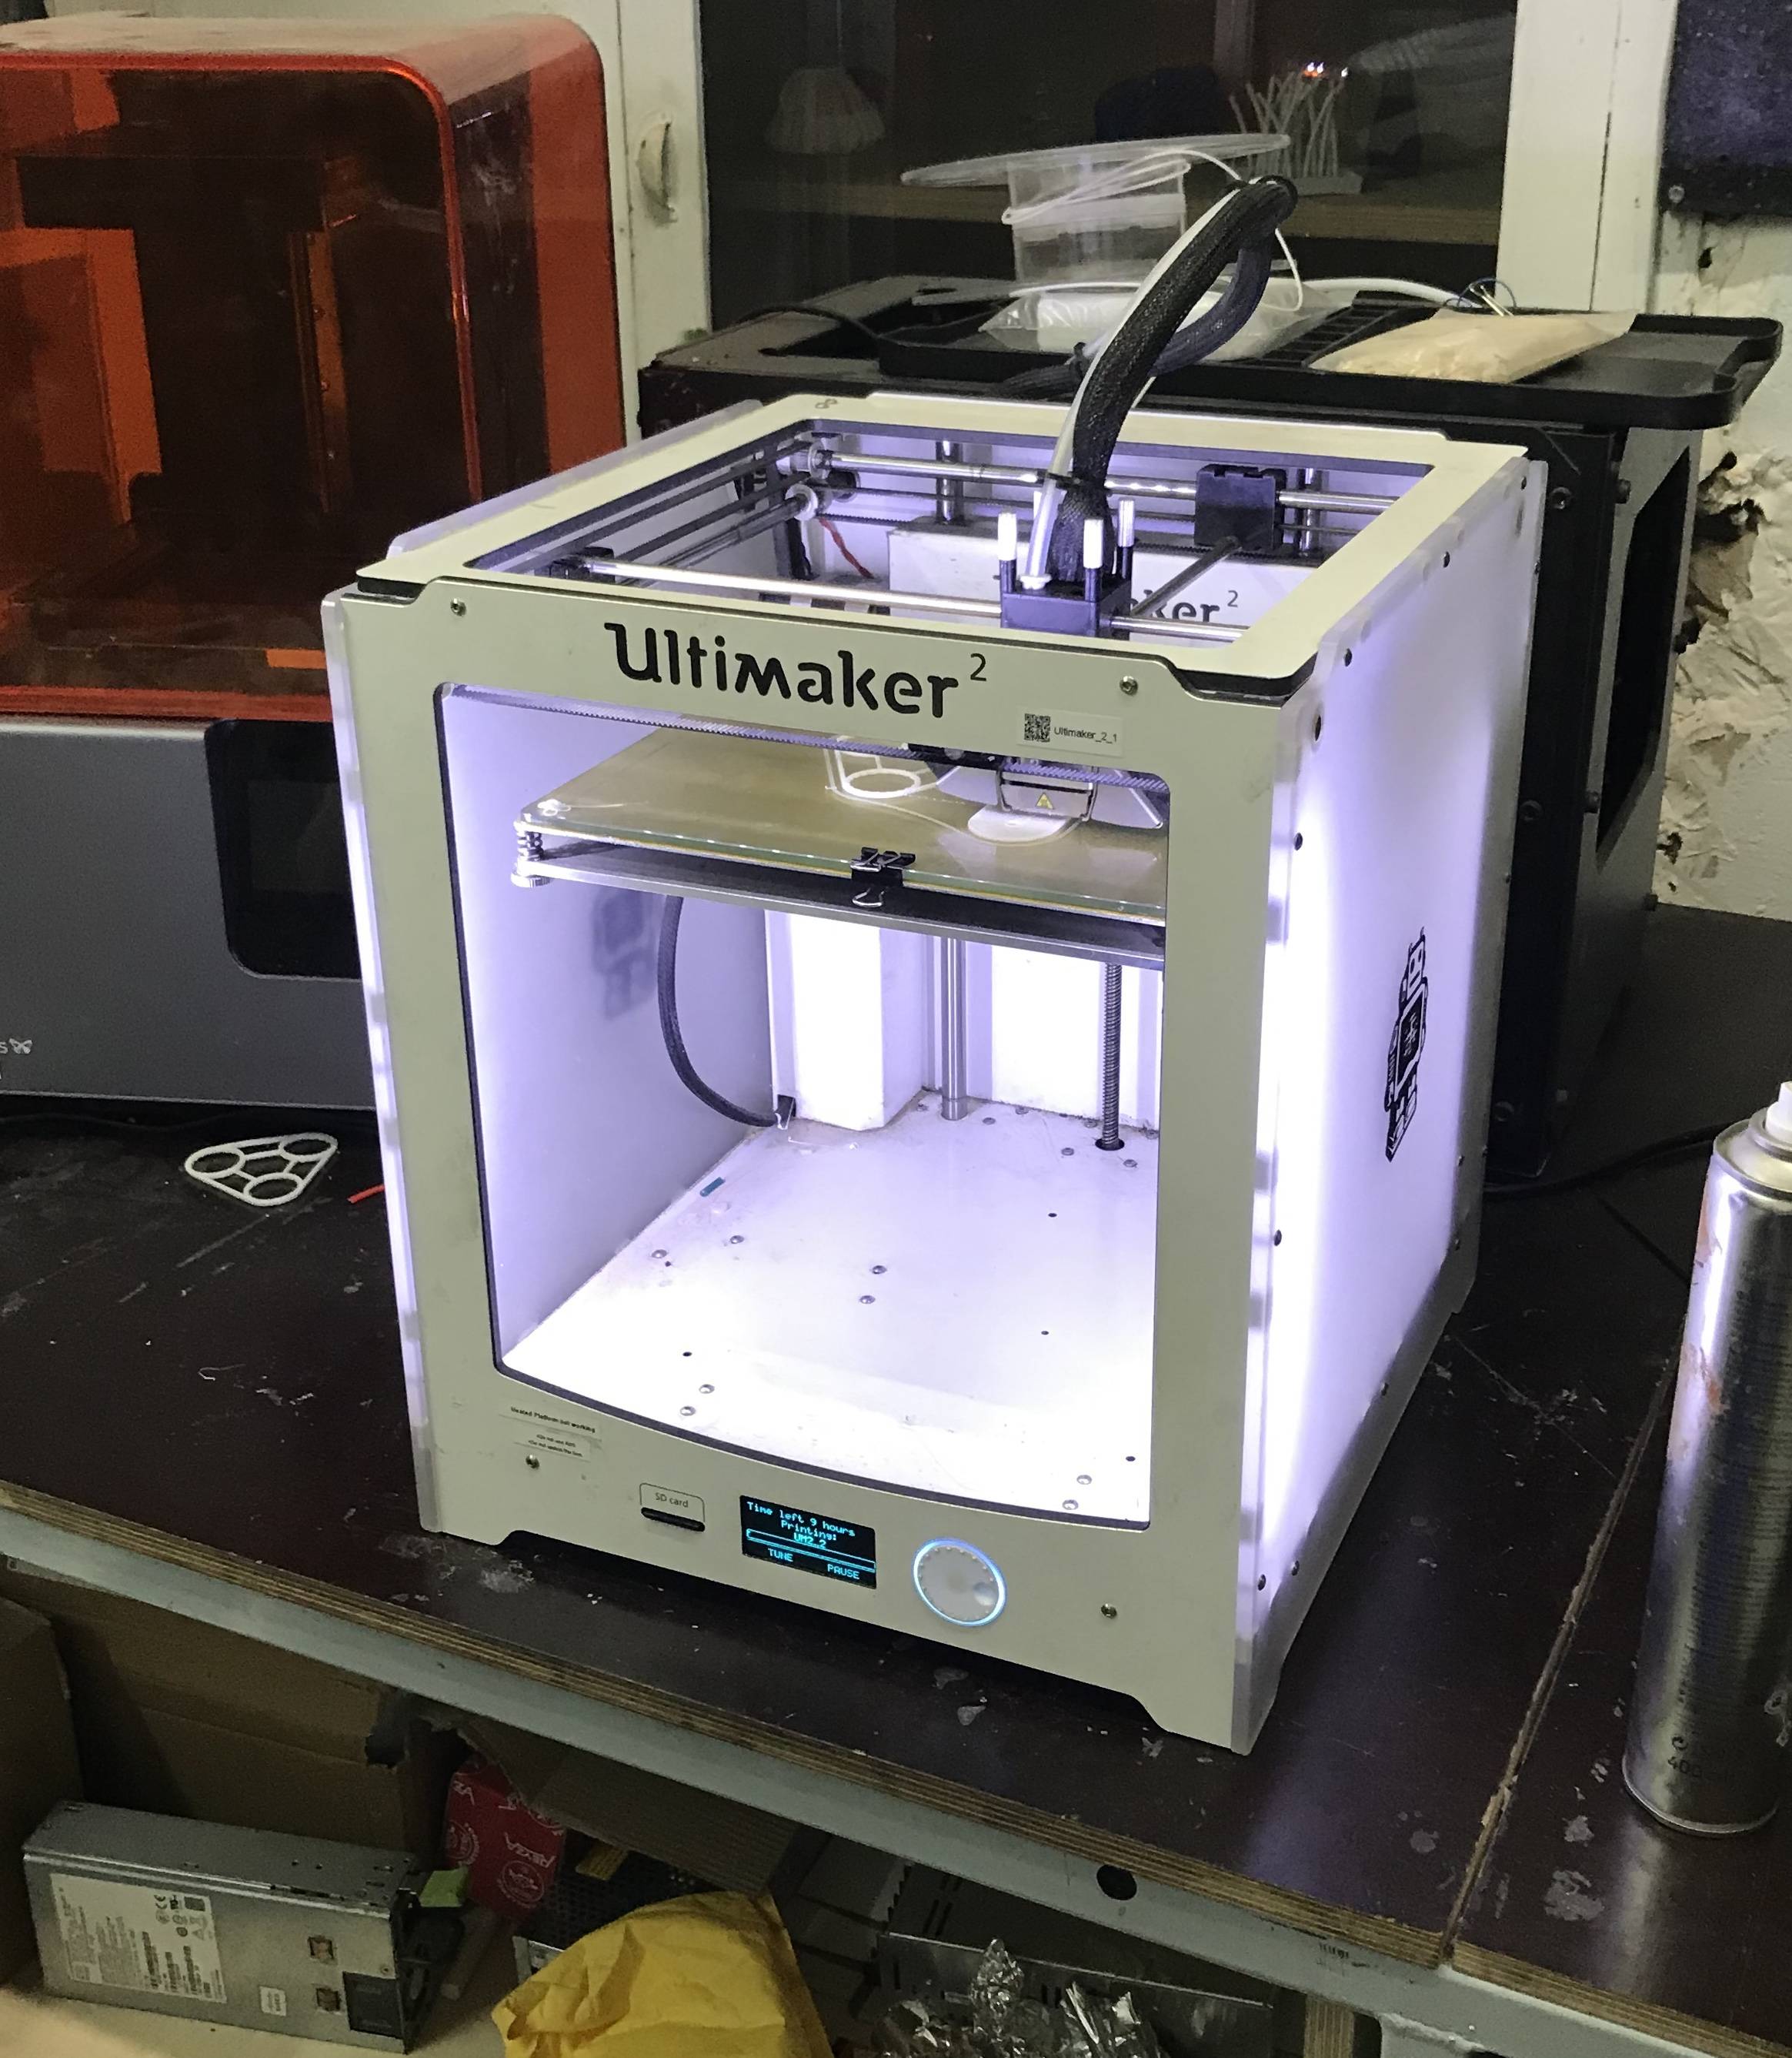 Area (x,y,z): 22x23x20
How to print: SD card
Nozzle diameter: 0.4mm
Filament diameter: 3mm
Axis movement: CoreXY
Area (x,y,z): 22x23x20
How to print: SD card
Nozzle diameter: 0.4mm
Filament diameter: 3mm
Axis movement: CoreXY
RepRap
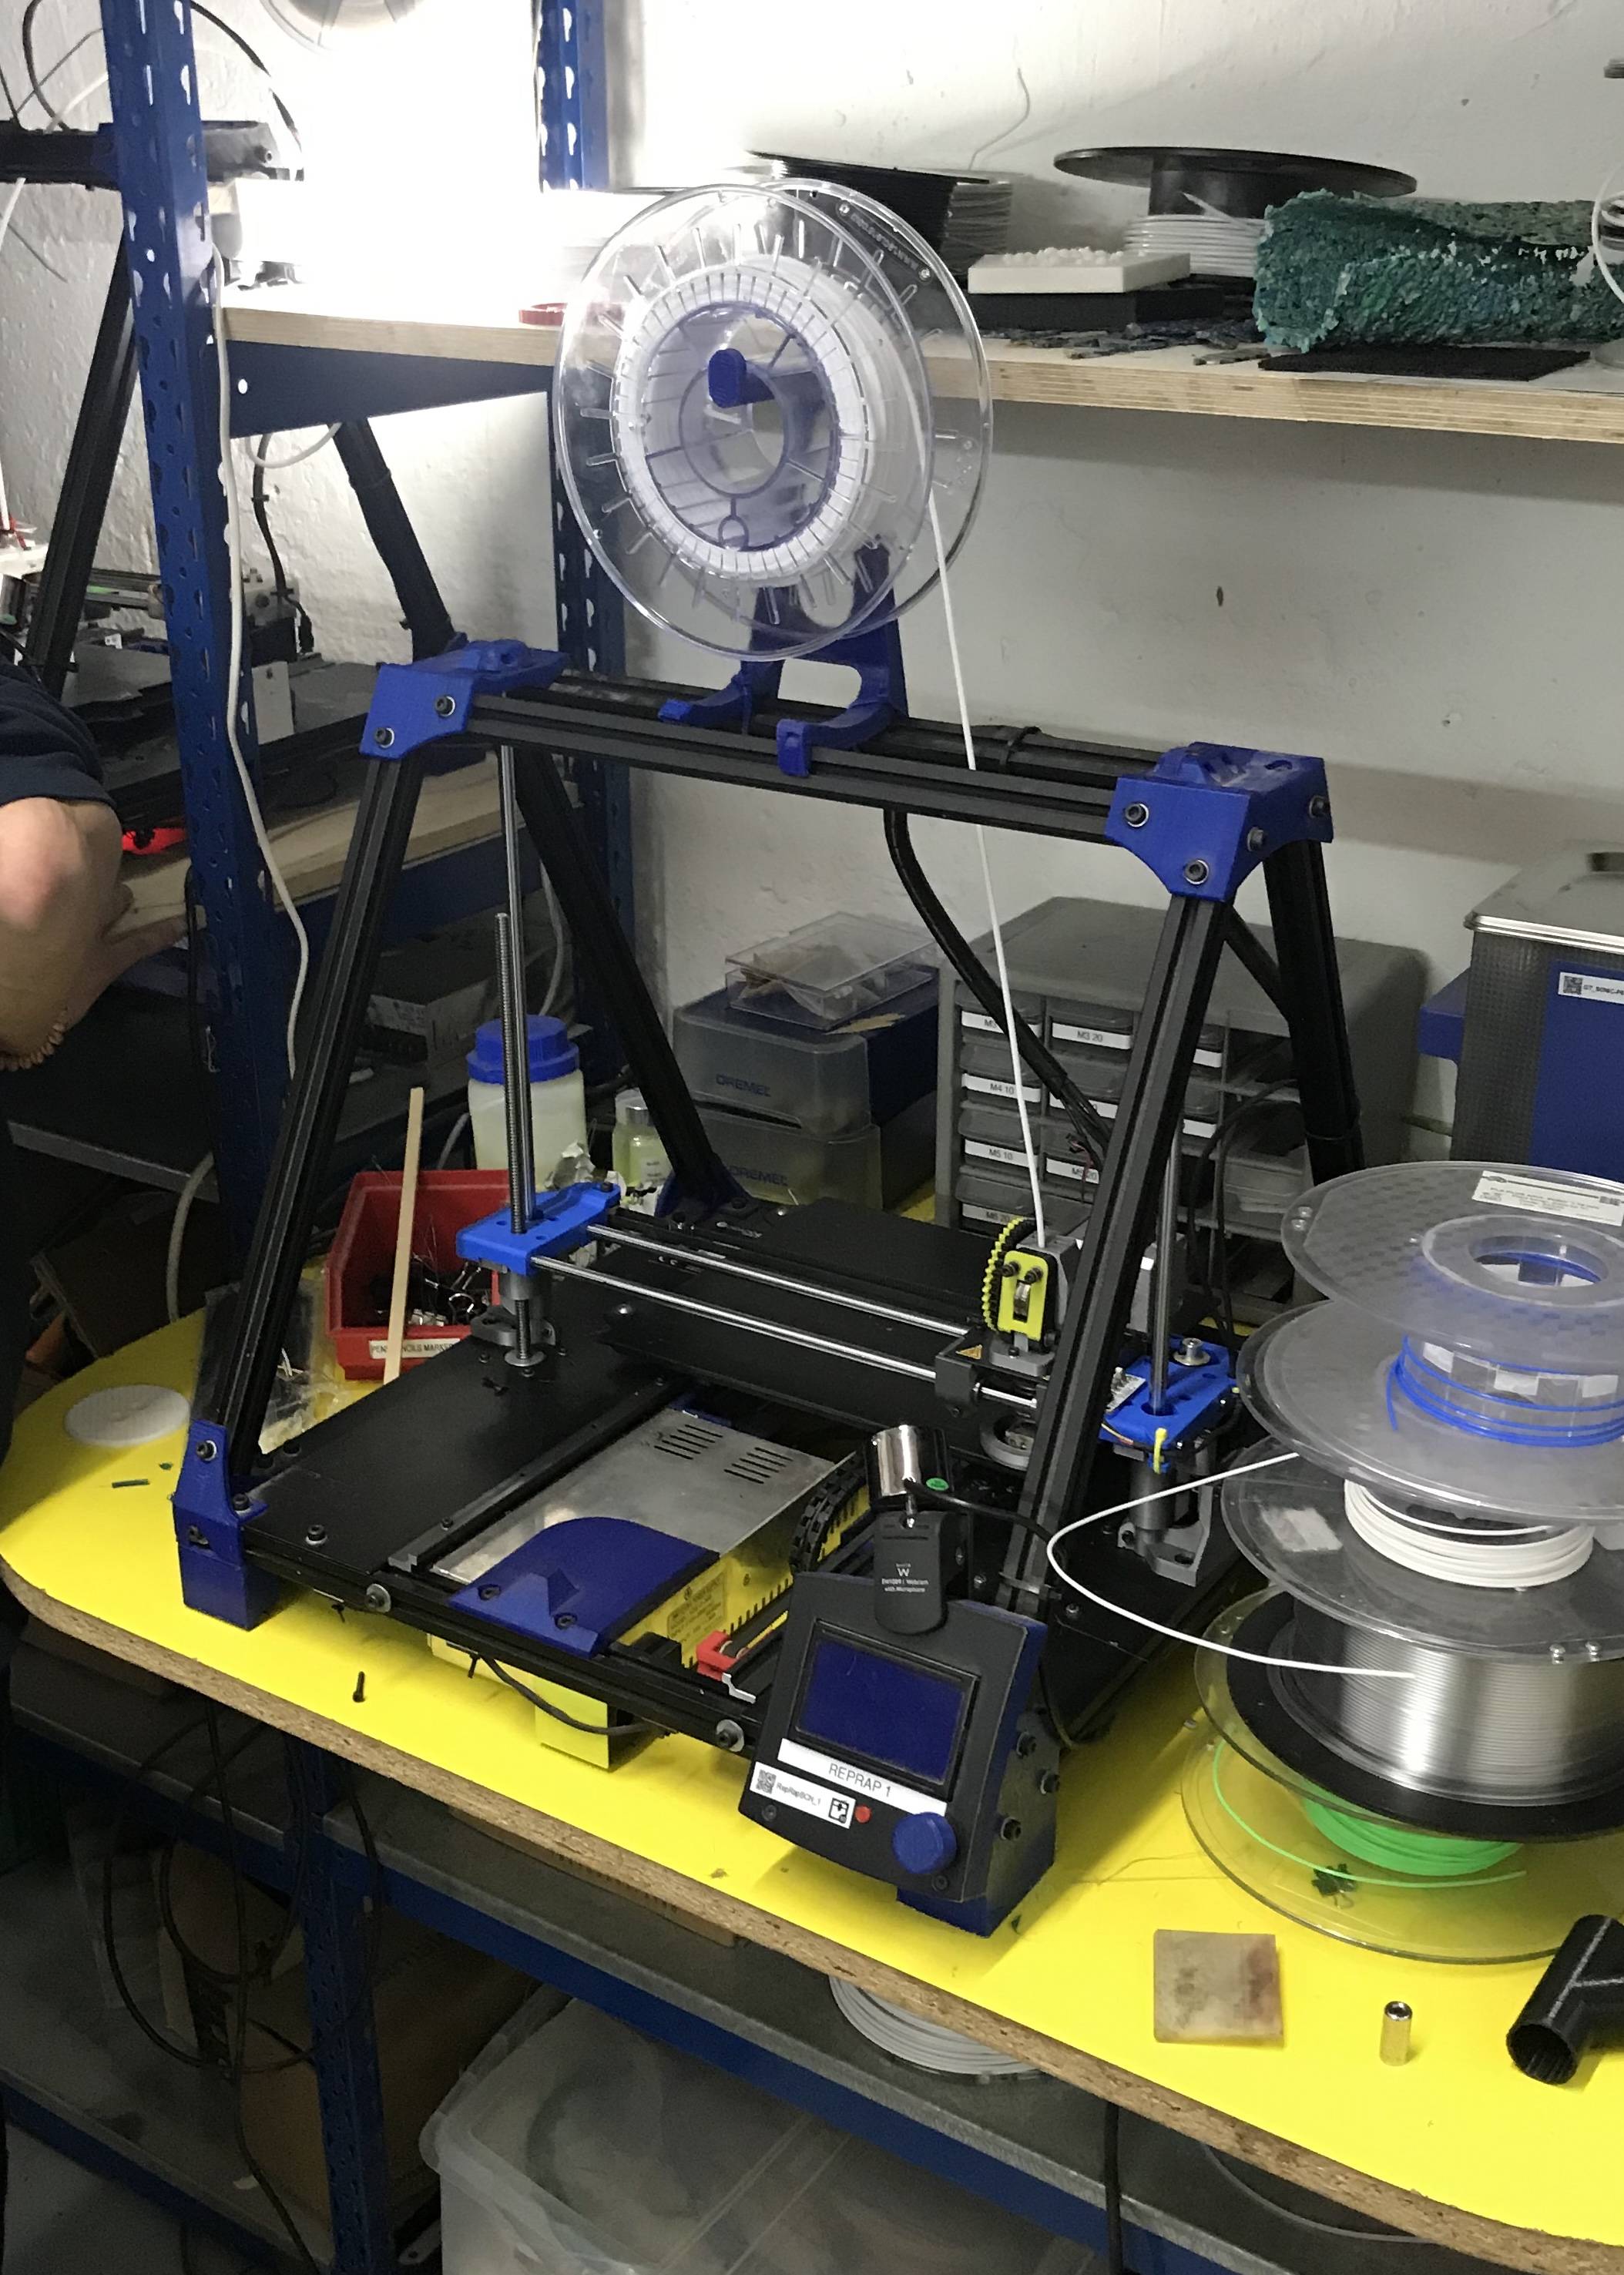 Area (x,y,z): 24x23x20
How to print: SD card or Octoprint
Nozzle diameter: 0.6mm
Filament diameter: 3mm
Axis movement: Cartesian
Area (x,y,z): 24x23x20
How to print: SD card or Octoprint
Nozzle diameter: 0.6mm
Filament diameter: 3mm
Axis movement: Cartesian
Prusa i3 Mk3
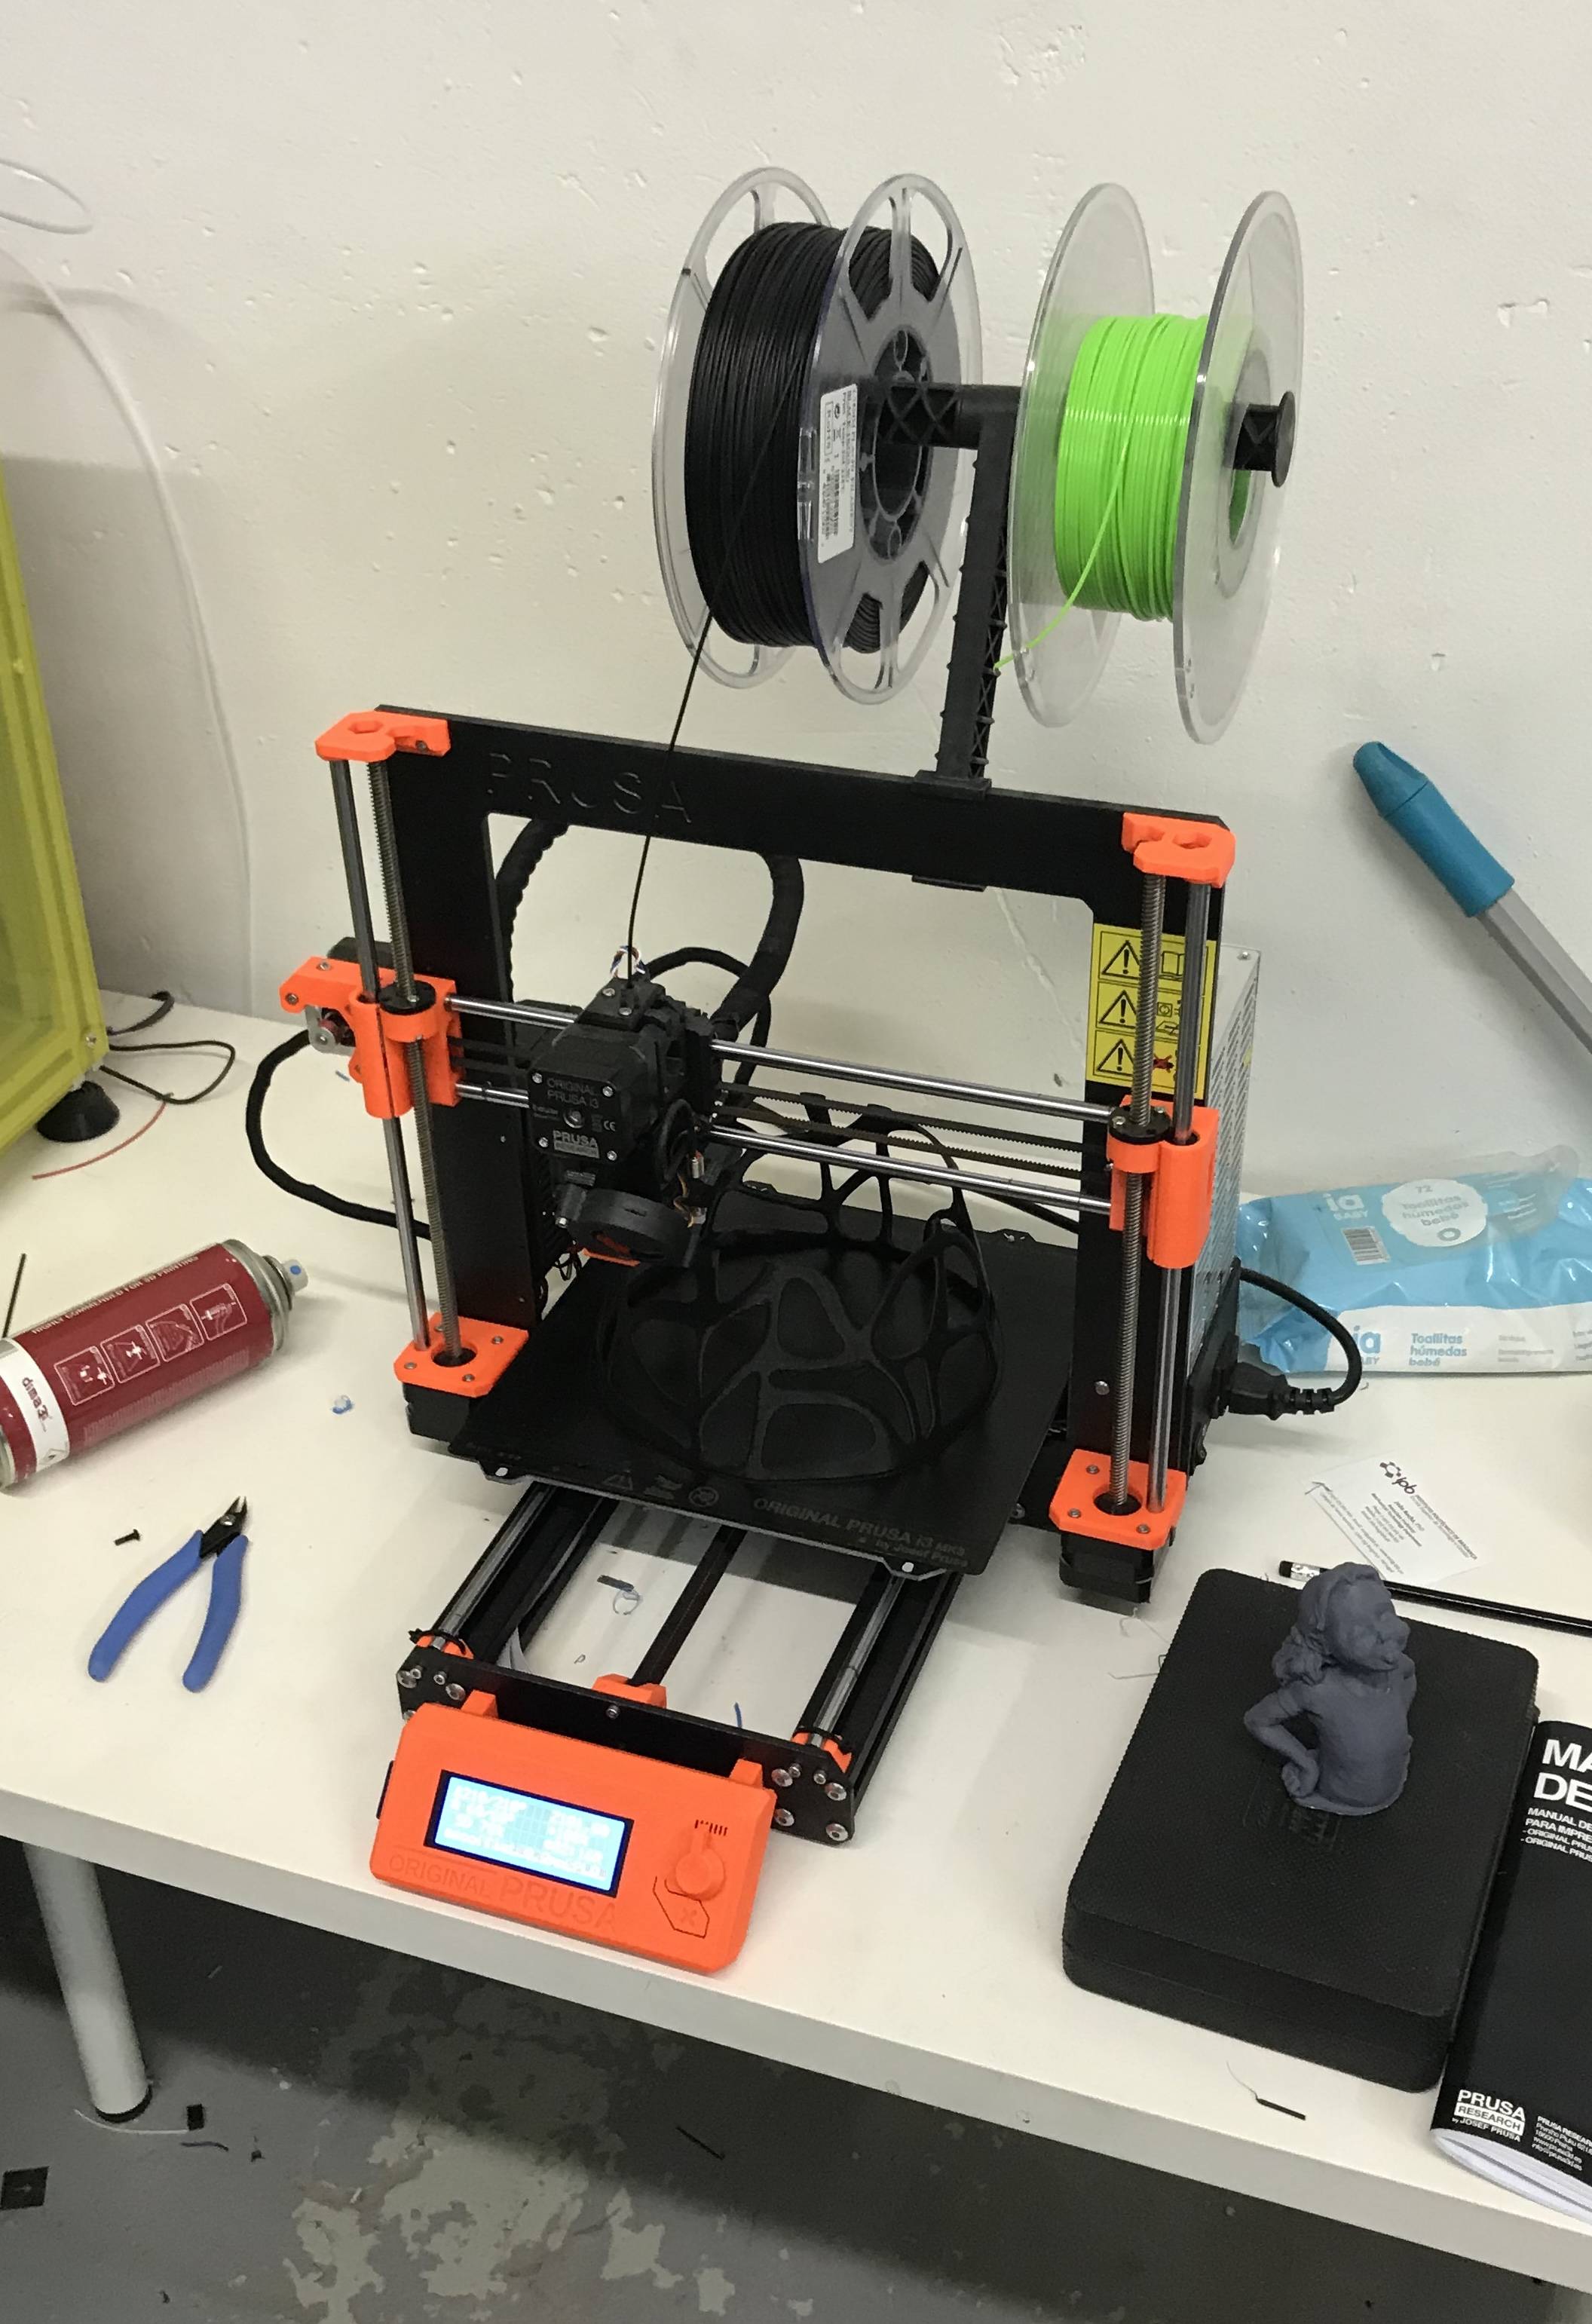 Area (x,y,z): 25x21x20
How to print: SD card
Nozzle diameter: 0.4mm
Filament diameter: 1.75mm
Axis movement: Cartesian
Area (x,y,z): 25x21x20
How to print: SD card
Nozzle diameter: 0.4mm
Filament diameter: 1.75mm
Axis movement: Cartesian
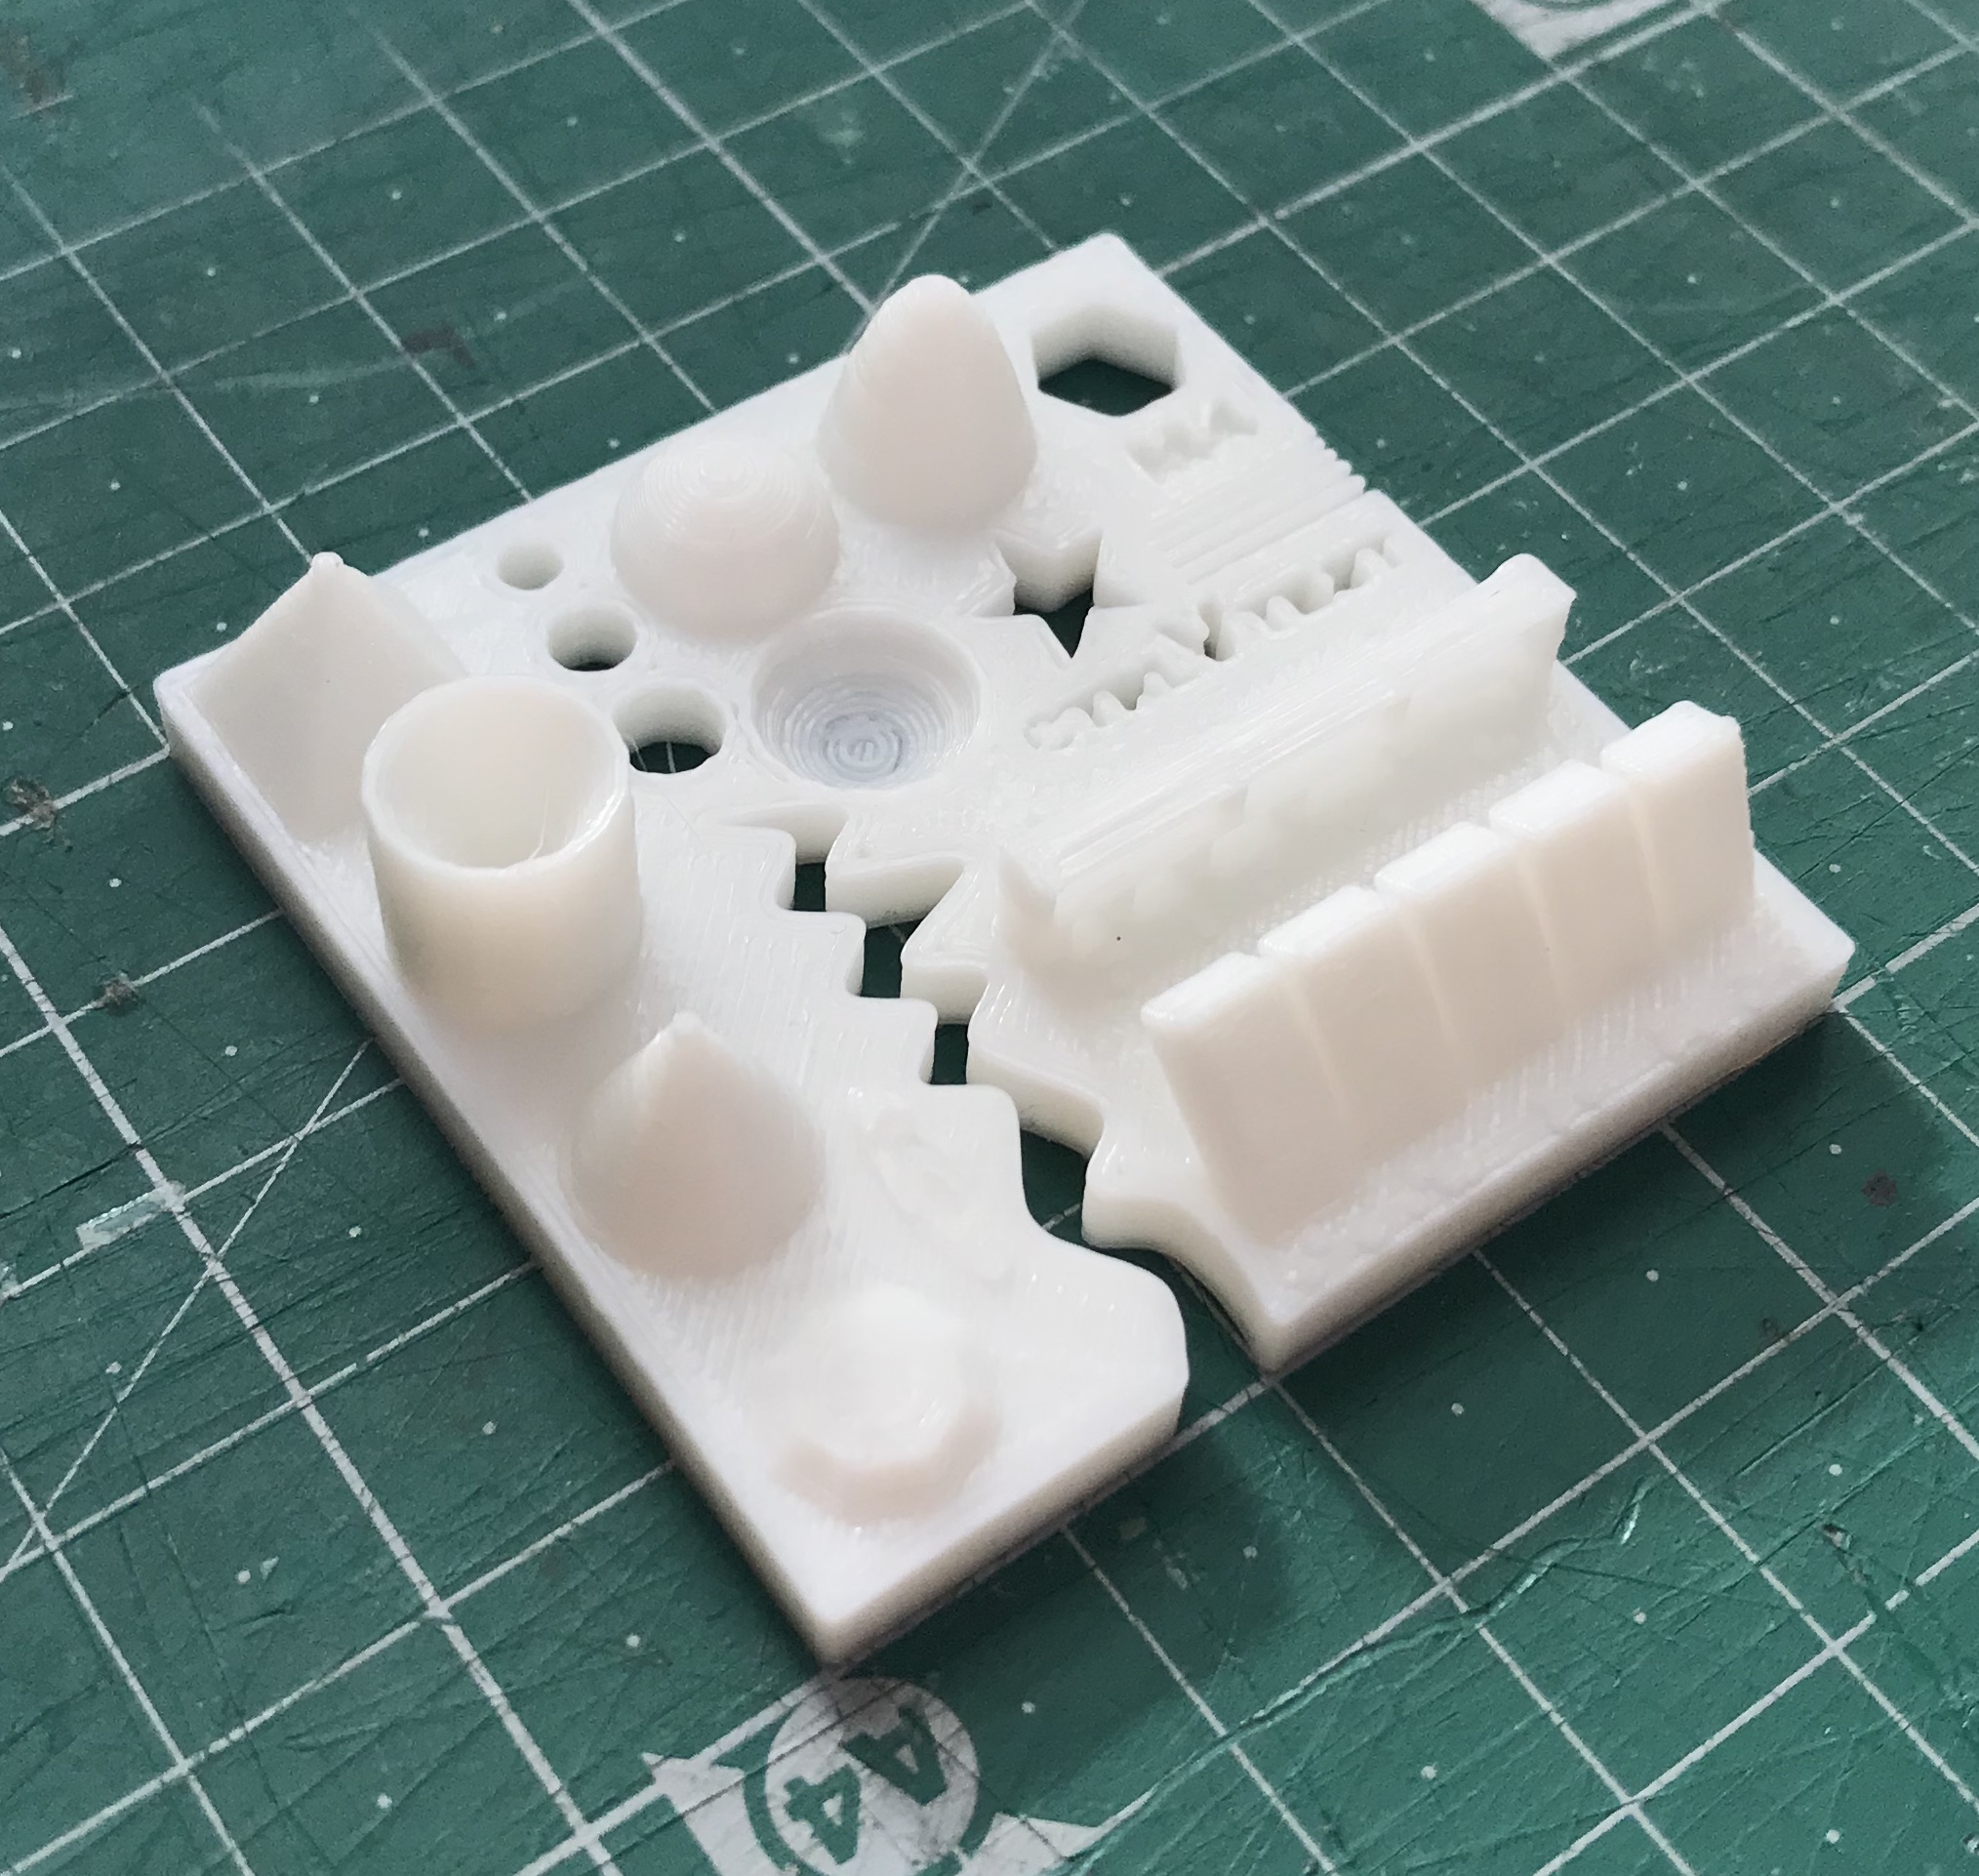
Print tests
Prusa i3
 Size: 4x50x50mm
Hole size: 4.7,3.7,2.5
Nut size: Snug fit
Fine details: Smooth
Rounded print: Smooth
Minimum distance between walls: 0.3mm
Overhang: Up to 45º smooth
Flatness: All closed
Bridges: Up to 9mm smooth
Size: 4x50x50mm
Hole size: 4.7,3.7,2.5
Nut size: Snug fit
Fine details: Smooth
Rounded print: Smooth
Minimum distance between walls: 0.3mm
Overhang: Up to 45º smooth
Flatness: All closed
Bridges: Up to 9mm smooth
Ultimaker 2
 Size: 4x50x50
Hole size: 4.6,3.7,2.3
Nut size: Snug fit
Fine details: Smooth
Rounded print: Smooth
Minimum distance between walls: 0.3mm
Overhang: Up to 45º smooth
Flatness: All closed
Bridges: Up to 9mm smooth
Size: 4x50x50
Hole size: 4.6,3.7,2.3
Nut size: Snug fit
Fine details: Smooth
Rounded print: Smooth
Minimum distance between walls: 0.3mm
Overhang: Up to 45º smooth
Flatness: All closed
Bridges: Up to 9mm smooth
Anycubic
 Size: 4.1 x 50 x 50 mm
Hole size: All of the drills almost fitted
Nut size: Almost fitted but not entirely
Fine details: Looks nice and smooth
Rounded print: Looks nice and smooth
Minimum distance between walls: Problems only with the 0.1/0.2mm wall distances but printed nicely
Overhang: No problem printing the overhangs
Flatness: Flat with no gaps
Bridges: It printed it all but with a little problem in the bridge of 6mm
Size: 4.1 x 50 x 50 mm
Hole size: All of the drills almost fitted
Nut size: Almost fitted but not entirely
Fine details: Looks nice and smooth
Rounded print: Looks nice and smooth
Minimum distance between walls: Problems only with the 0.1/0.2mm wall distances but printed nicely
Overhang: No problem printing the overhangs
Flatness: Flat with no gaps
Bridges: It printed it all but with a little problem in the bridge of 6mm
Reprap
 Size: 4.1 x 49 x 49 mm
Hole size: Any of the drills fitted at all
Nut size: Doesn’t fit
Fine details: Looks nice but not smooth
Rounded print: Looks nice but not smooth
Minimum distance between walls: It could print only one wall with wrong distances
Overhang: No problem printing the overhangs
Flatness: Flat with no gaps
Bridges: No bridges at all
Size: 4.1 x 49 x 49 mm
Hole size: Any of the drills fitted at all
Nut size: Doesn’t fit
Fine details: Looks nice but not smooth
Rounded print: Looks nice but not smooth
Minimum distance between walls: It could print only one wall with wrong distances
Overhang: No problem printing the overhangs
Flatness: Flat with no gaps
Bridges: No bridges at all
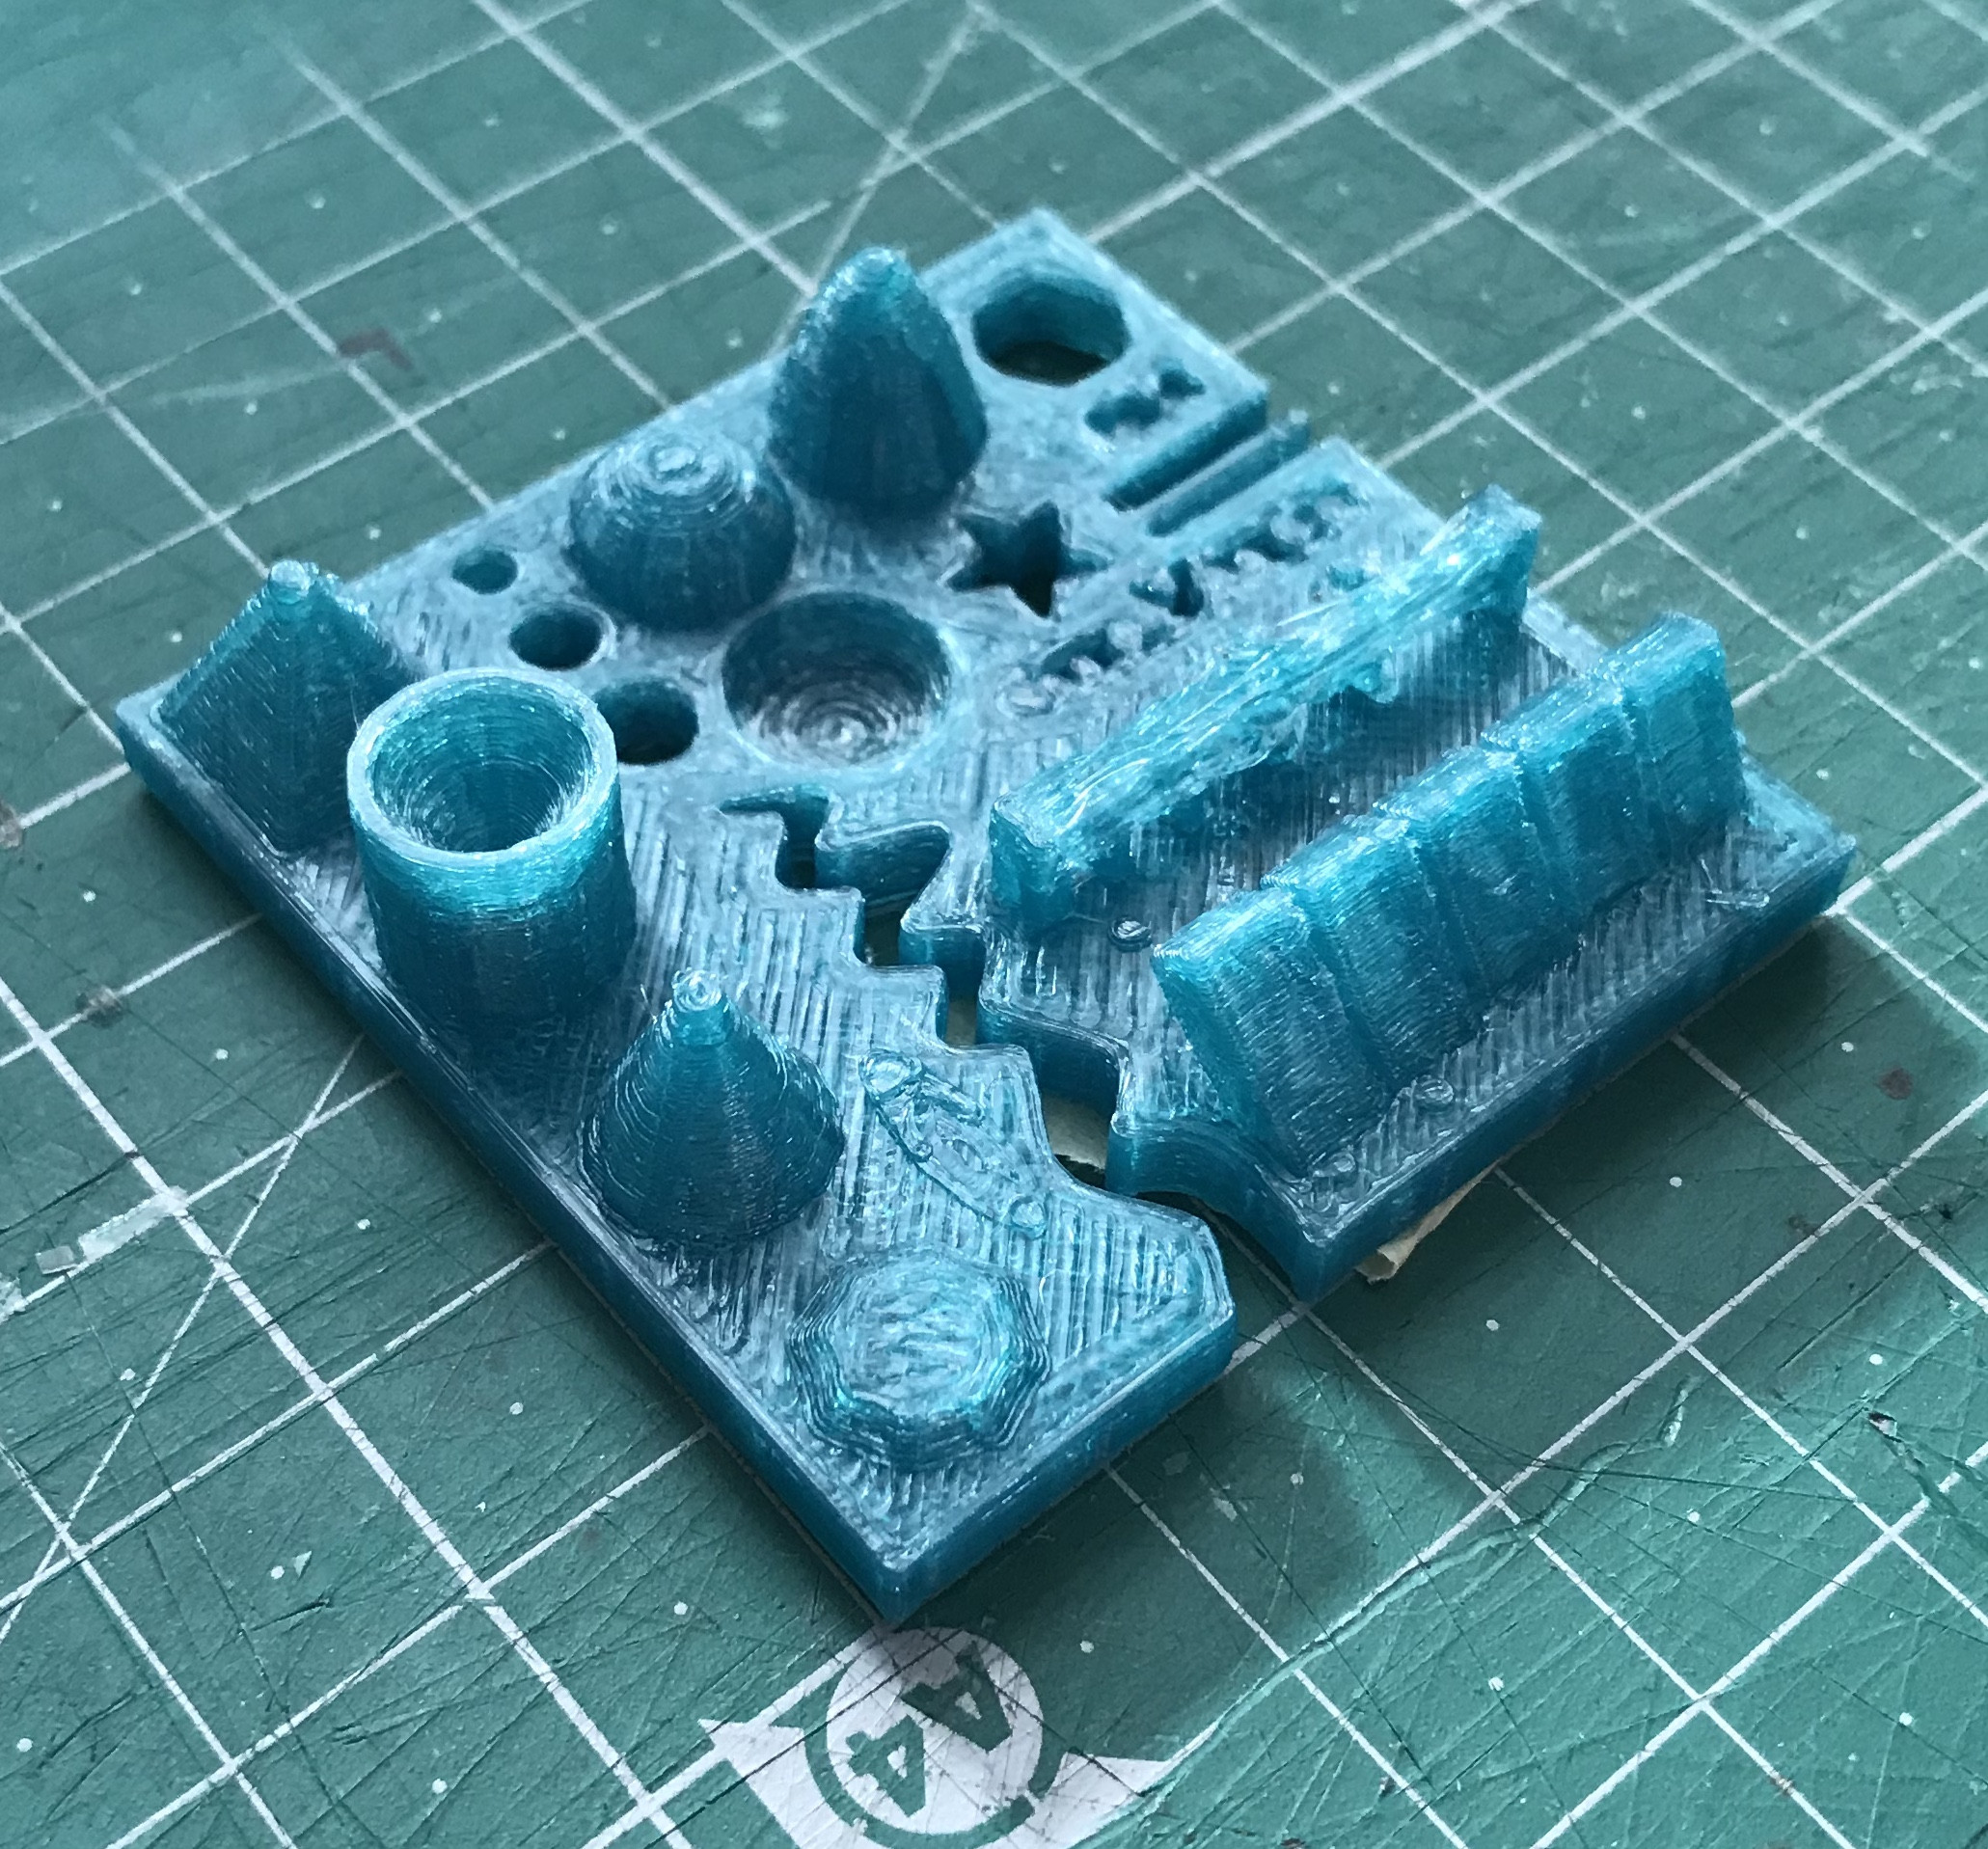
Conclusions
The Prusa i3 Mk3 did the best printings with accurate measurements, nice bridges, overhangs, spaces between walls and a lot of details. Anycubic and Ultimaker had similar good results.
The worst result was on the Reprap, we believe we could fine tune the slicing to improve the print. But, other than it having a 0.6mm nozzle, the main reason could be the old filament we’ve used. We may try again with a new one as soon as it arrives.
Since we had to use different softwares and filament between printers, we had very different results, but overall, they were good prints.
Individual assignment
Design
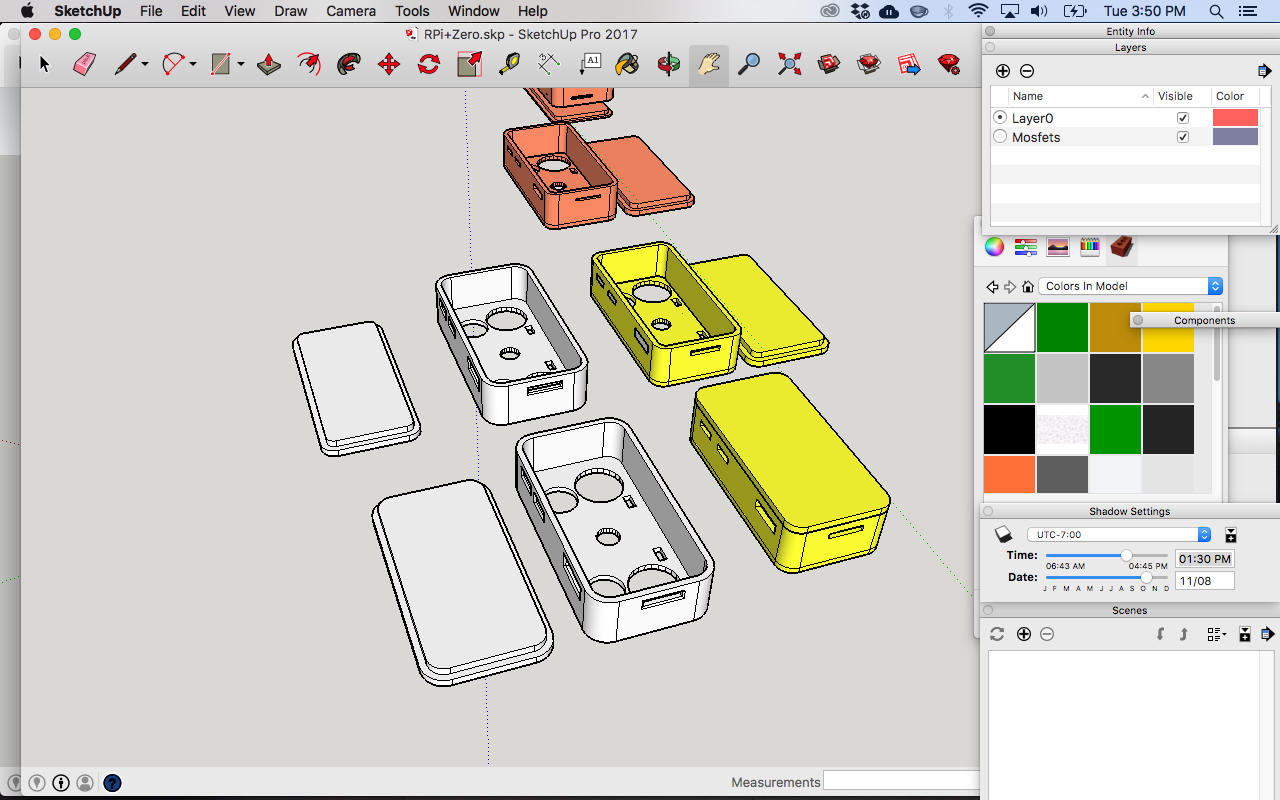
For designing the model that I’m using in this week I started with Sketchup to be easier and quickier. The problem is that Sketchup isn’t really designed for 3D printing so I had to get a plugin to export in .STL which worked fine for me before.
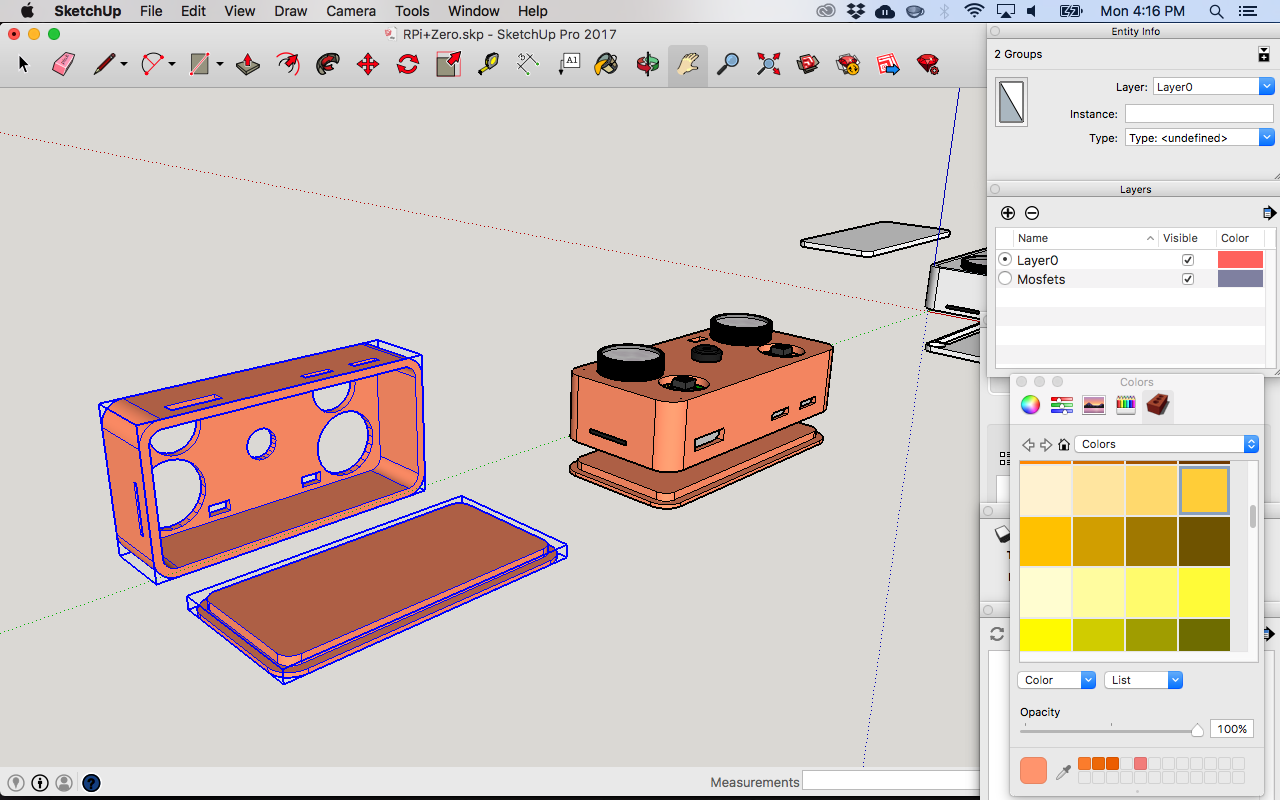
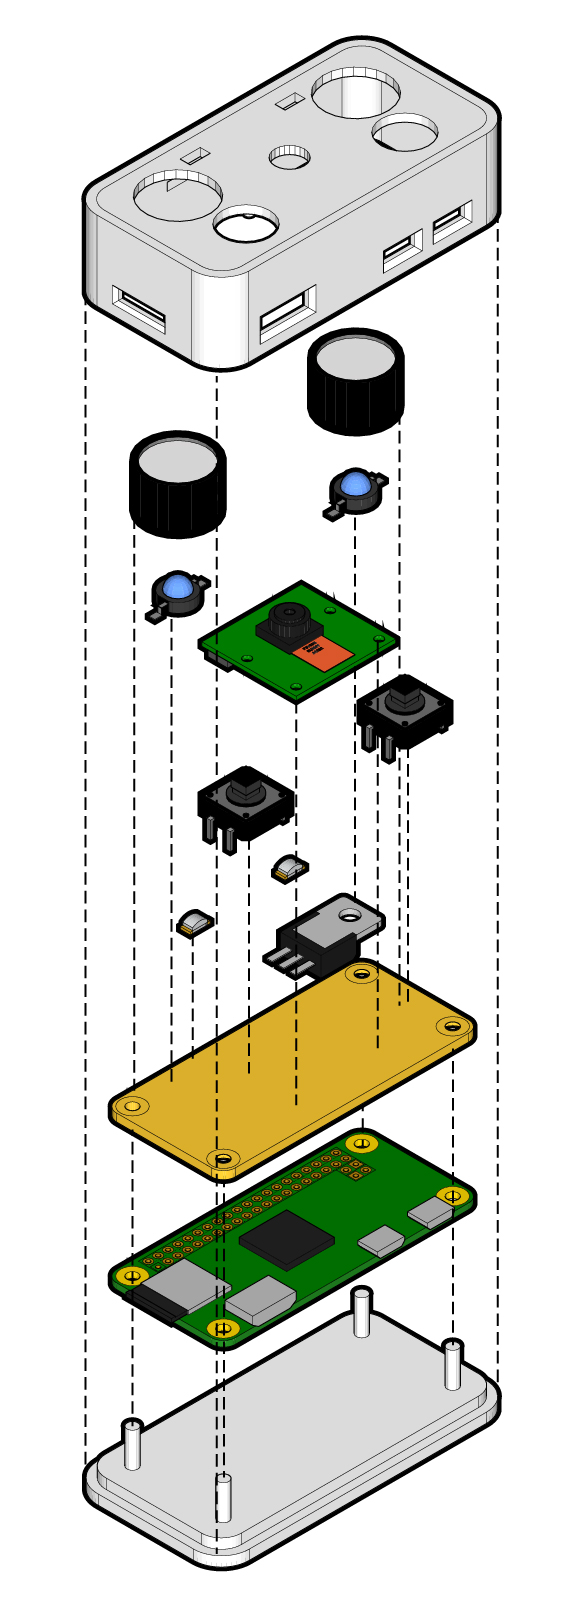
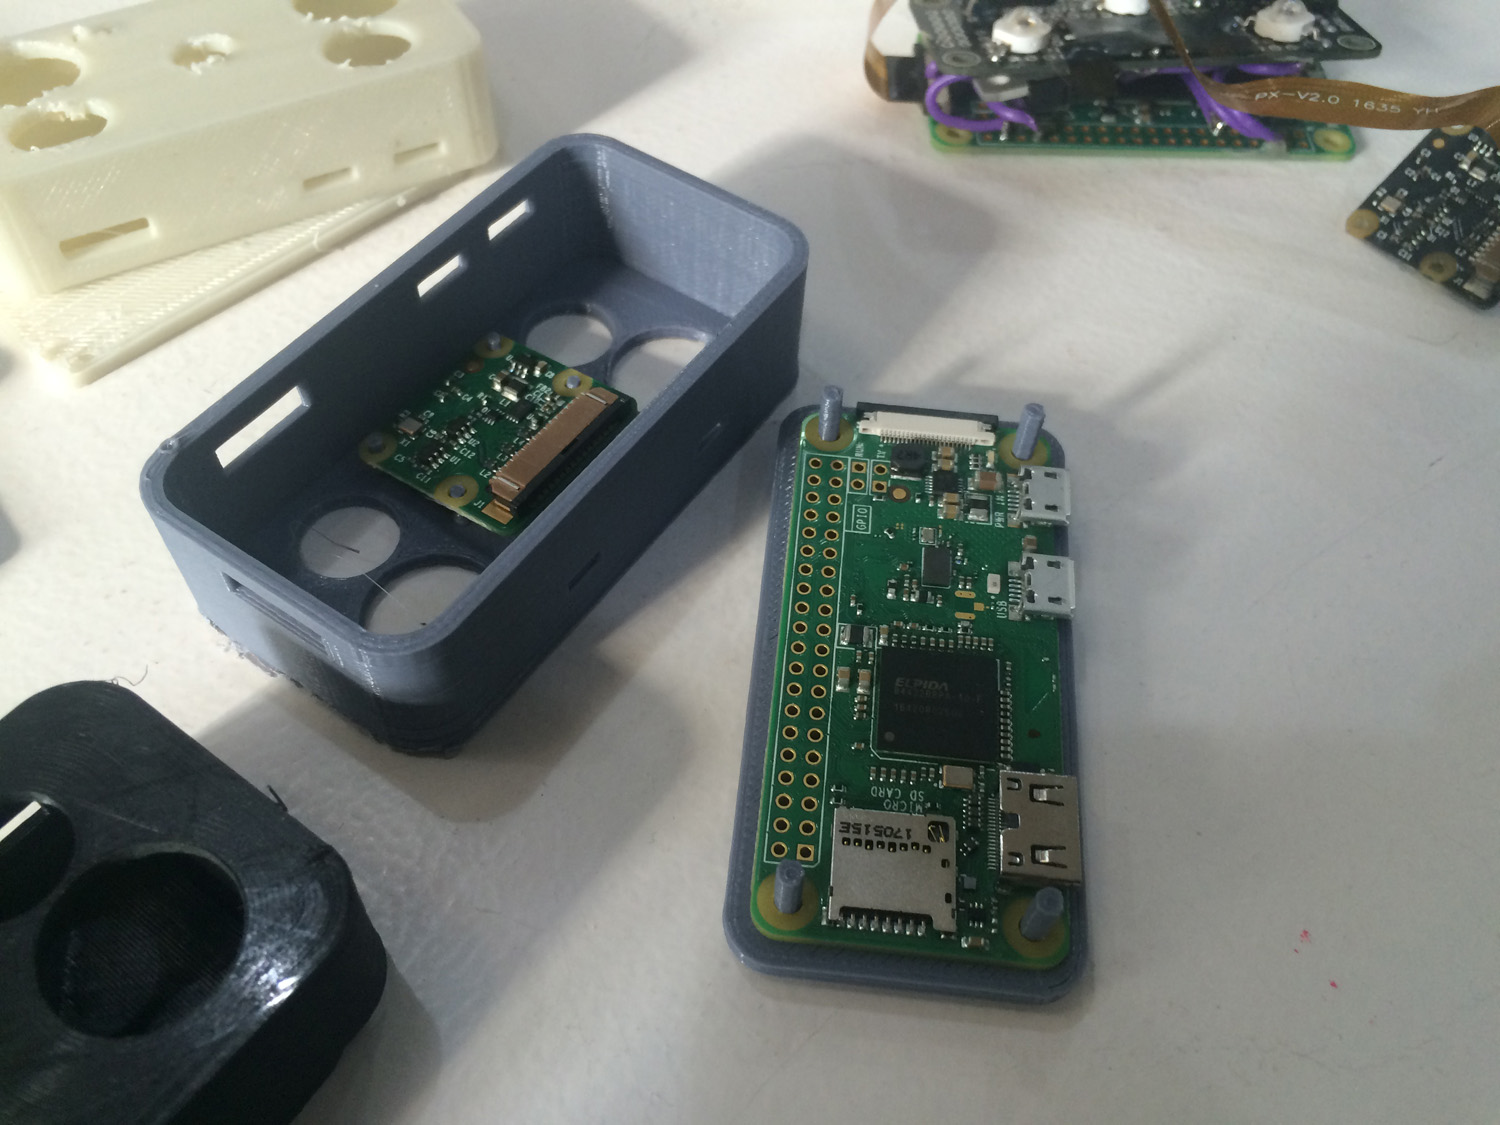
At the moment I’m designing a case for a project that I started a while ago: a IR GIF camera based in a Raspberry Pi Zero.
I also made a separated page for this little project as I’m planning to make a nice PCB too: IR GIF Cam
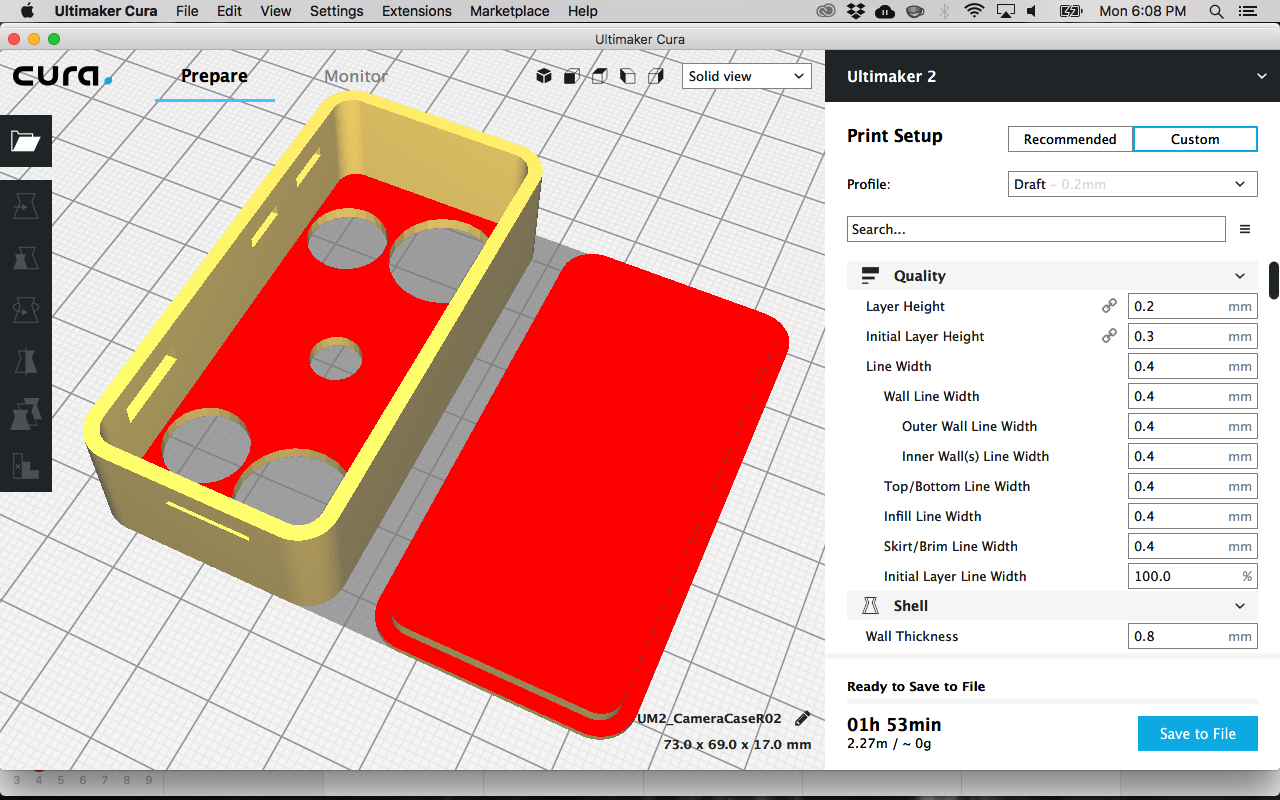
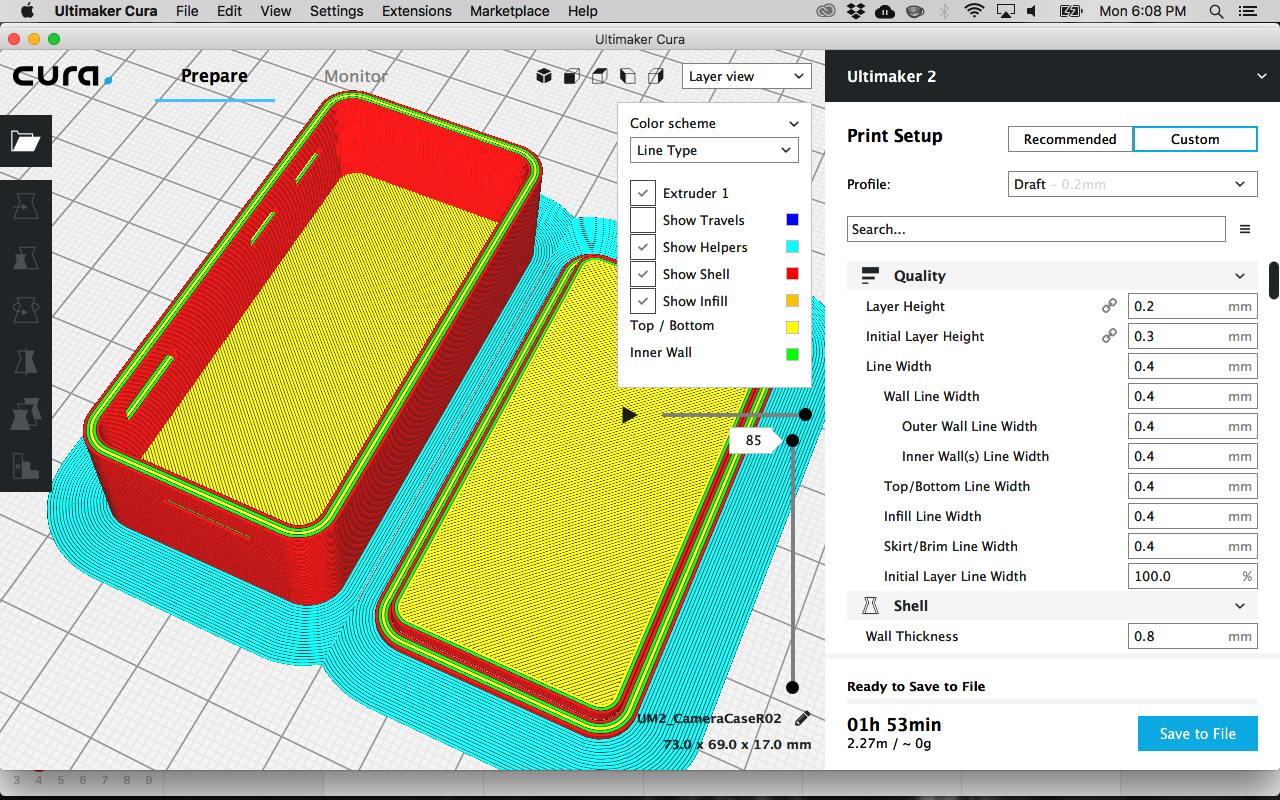
This time I had some problems when importing the .STL in any of the slicer softwares that I tried. When I was in Solid View the model looked alright but as soon as I went to the Layer View the holes of the models didn’t appear.
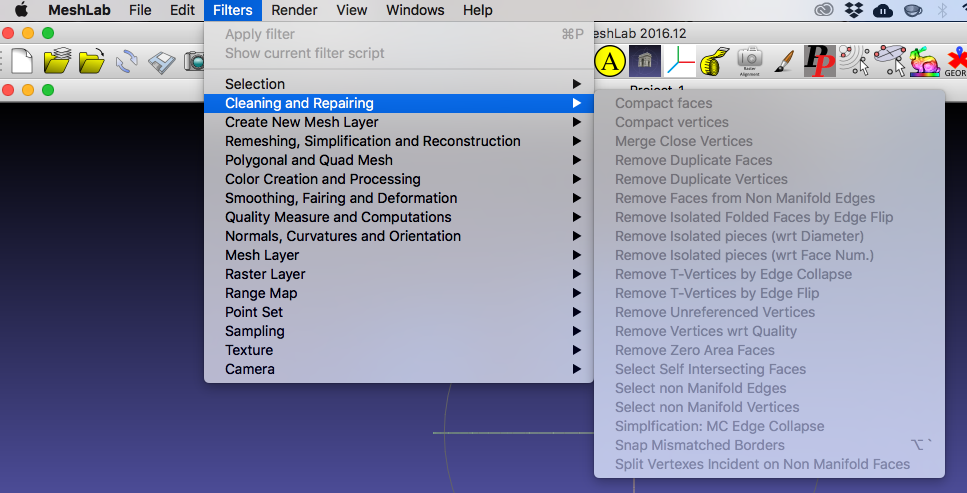
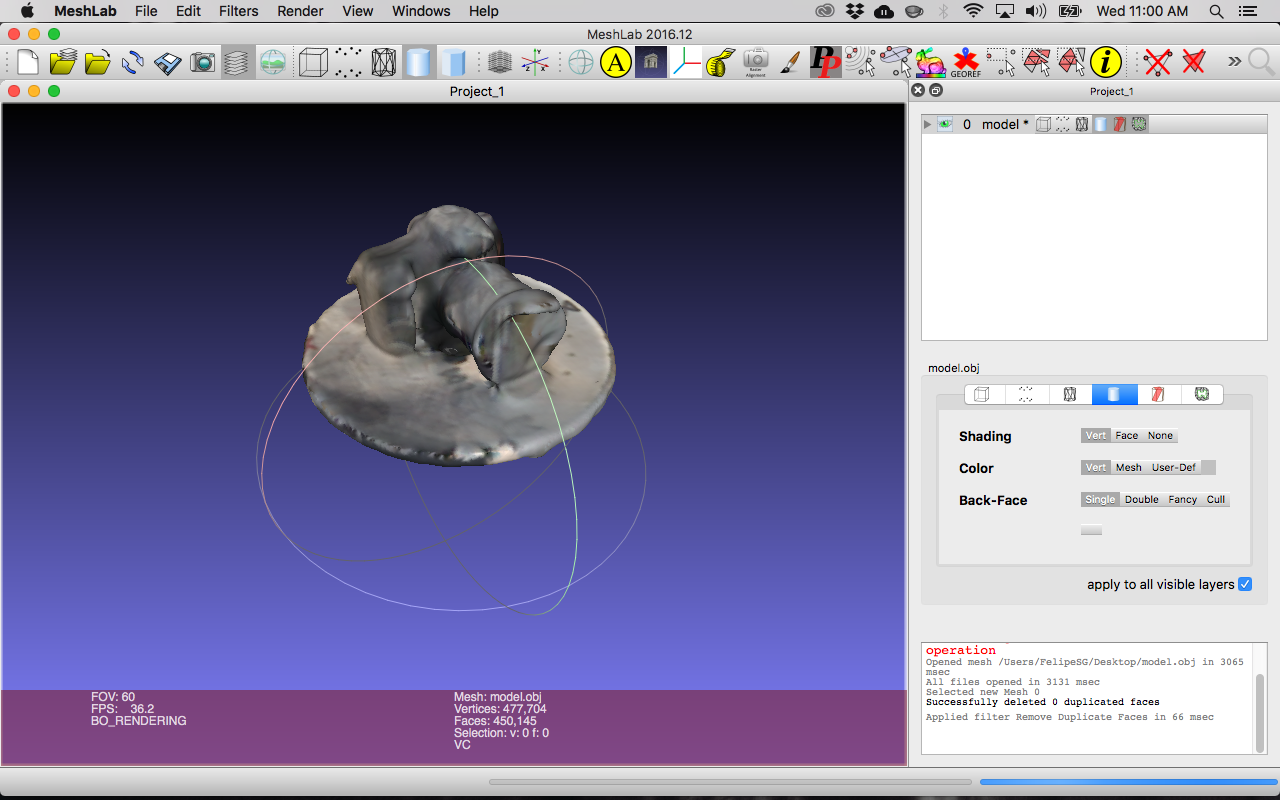
So I tried to fix the model in MeshLab
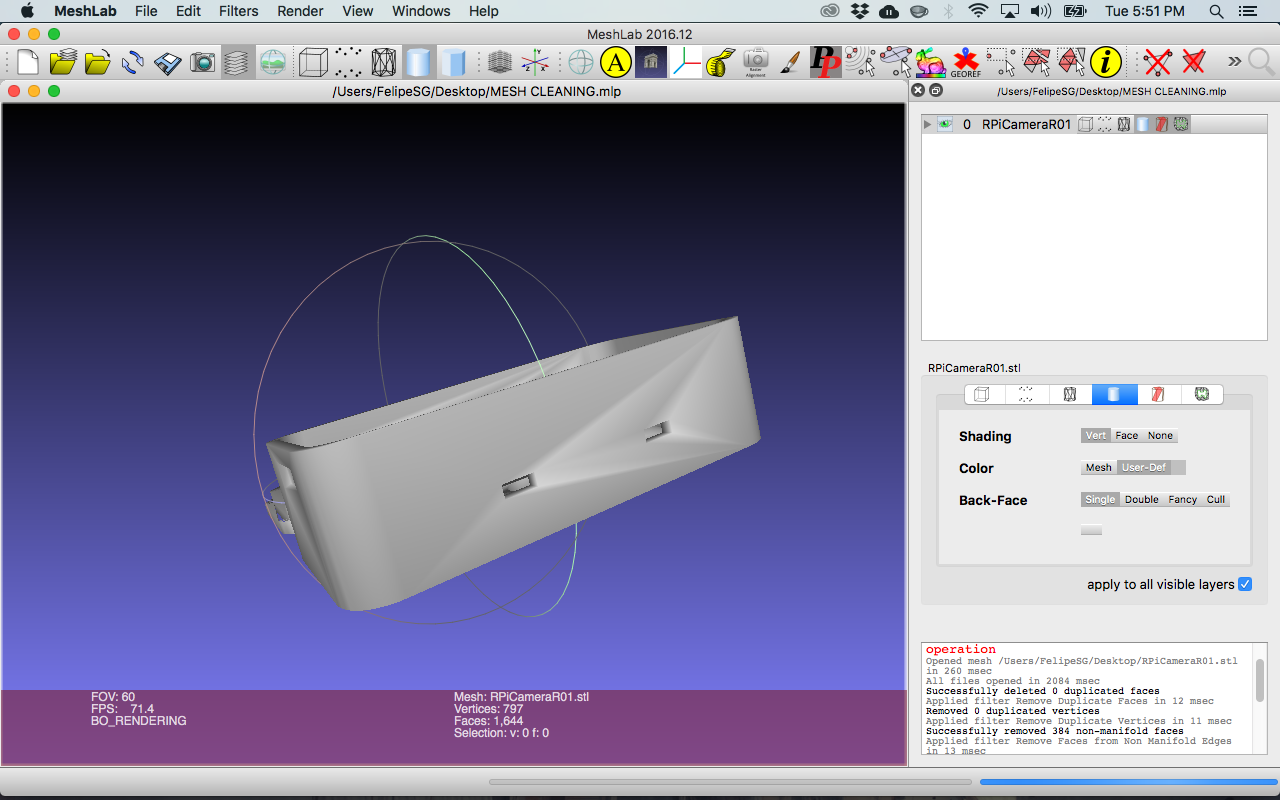
Ran some of the built-in filters like Remove Duplicate Faces, Remove Duplicate Vertices and Remove Faces from Non-Manifold Edges. Exported in .STL again and it finally worked fine!

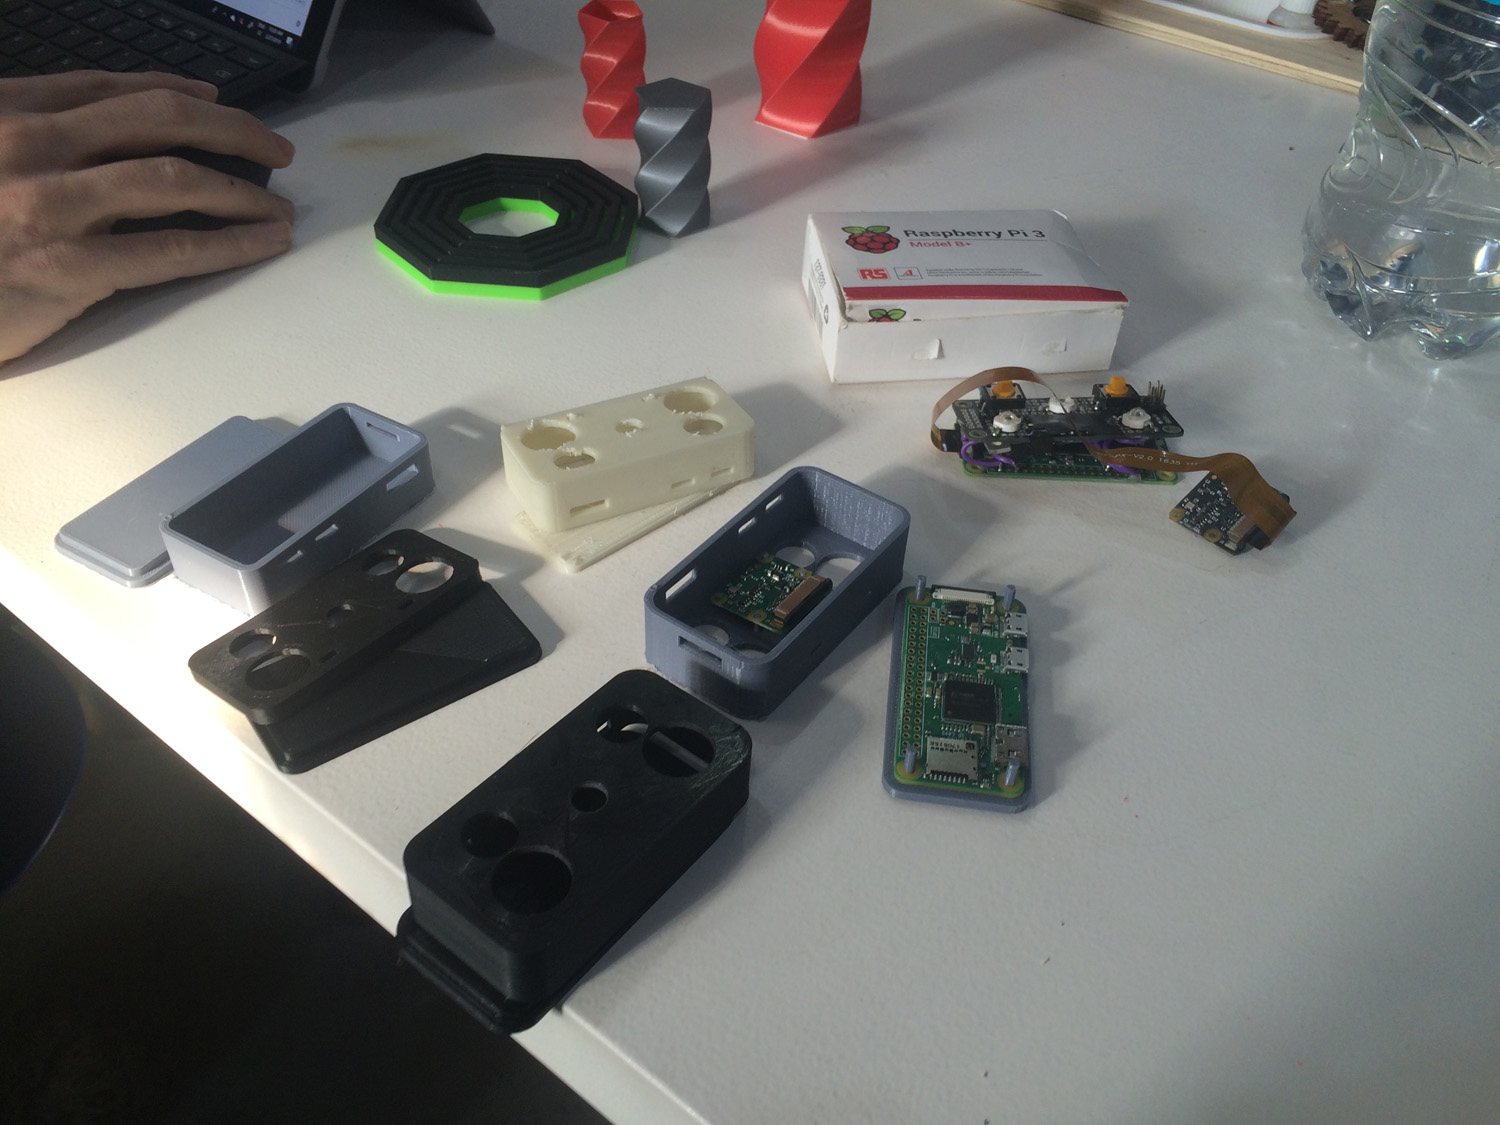
Printing and fitting
The first model I printed had some problems with the fitting of the components but the snap fit case worked fine with the 0.12mm tolerance that I used for the lid. I used the same tolerance for all the lids I tried to print but I got some different results, after talking with the people from the lab we came into the conclusion that the type of infill was important for this kind of tolerance.
After a lot of trial error I got the model and the printing right.
I used the Creality CR10 and the AnyCubic Kossel printers we have here in the lab, both of them with a draft quality which was with a layer height of 0.2mm, the other settings were from the preset of Cura.
I also tried the 0.12mm tolerance for the components fittings and worked very well, maybe I can even try 0.13mm to have a really good fit. Now that the case snap fits the lead and the components fits their positions I can think about a PCB for it.
3D Scanning
I used Skanect for 3D scan with Kinect and Autodesk Recap for photogrammetry.
In both softwares I tried to scan my DSLR camera to check how high is the 3D scan resolution in both methods.
I think that Kinect technique is for bigger objects so my DSLR camera model had poor results no matter how were the settings in the software.
I tried some basic corrections with MeshLab but even though the model was really bad.
This is the model made with Skanect:
But with Recap I had amazing results! Not only the 3D model was better but also the textures were really good. I’m on a Mac computer so I asked my friend (Thanks Josep!) to run Recap in his computer.
This is the model made with Recap:
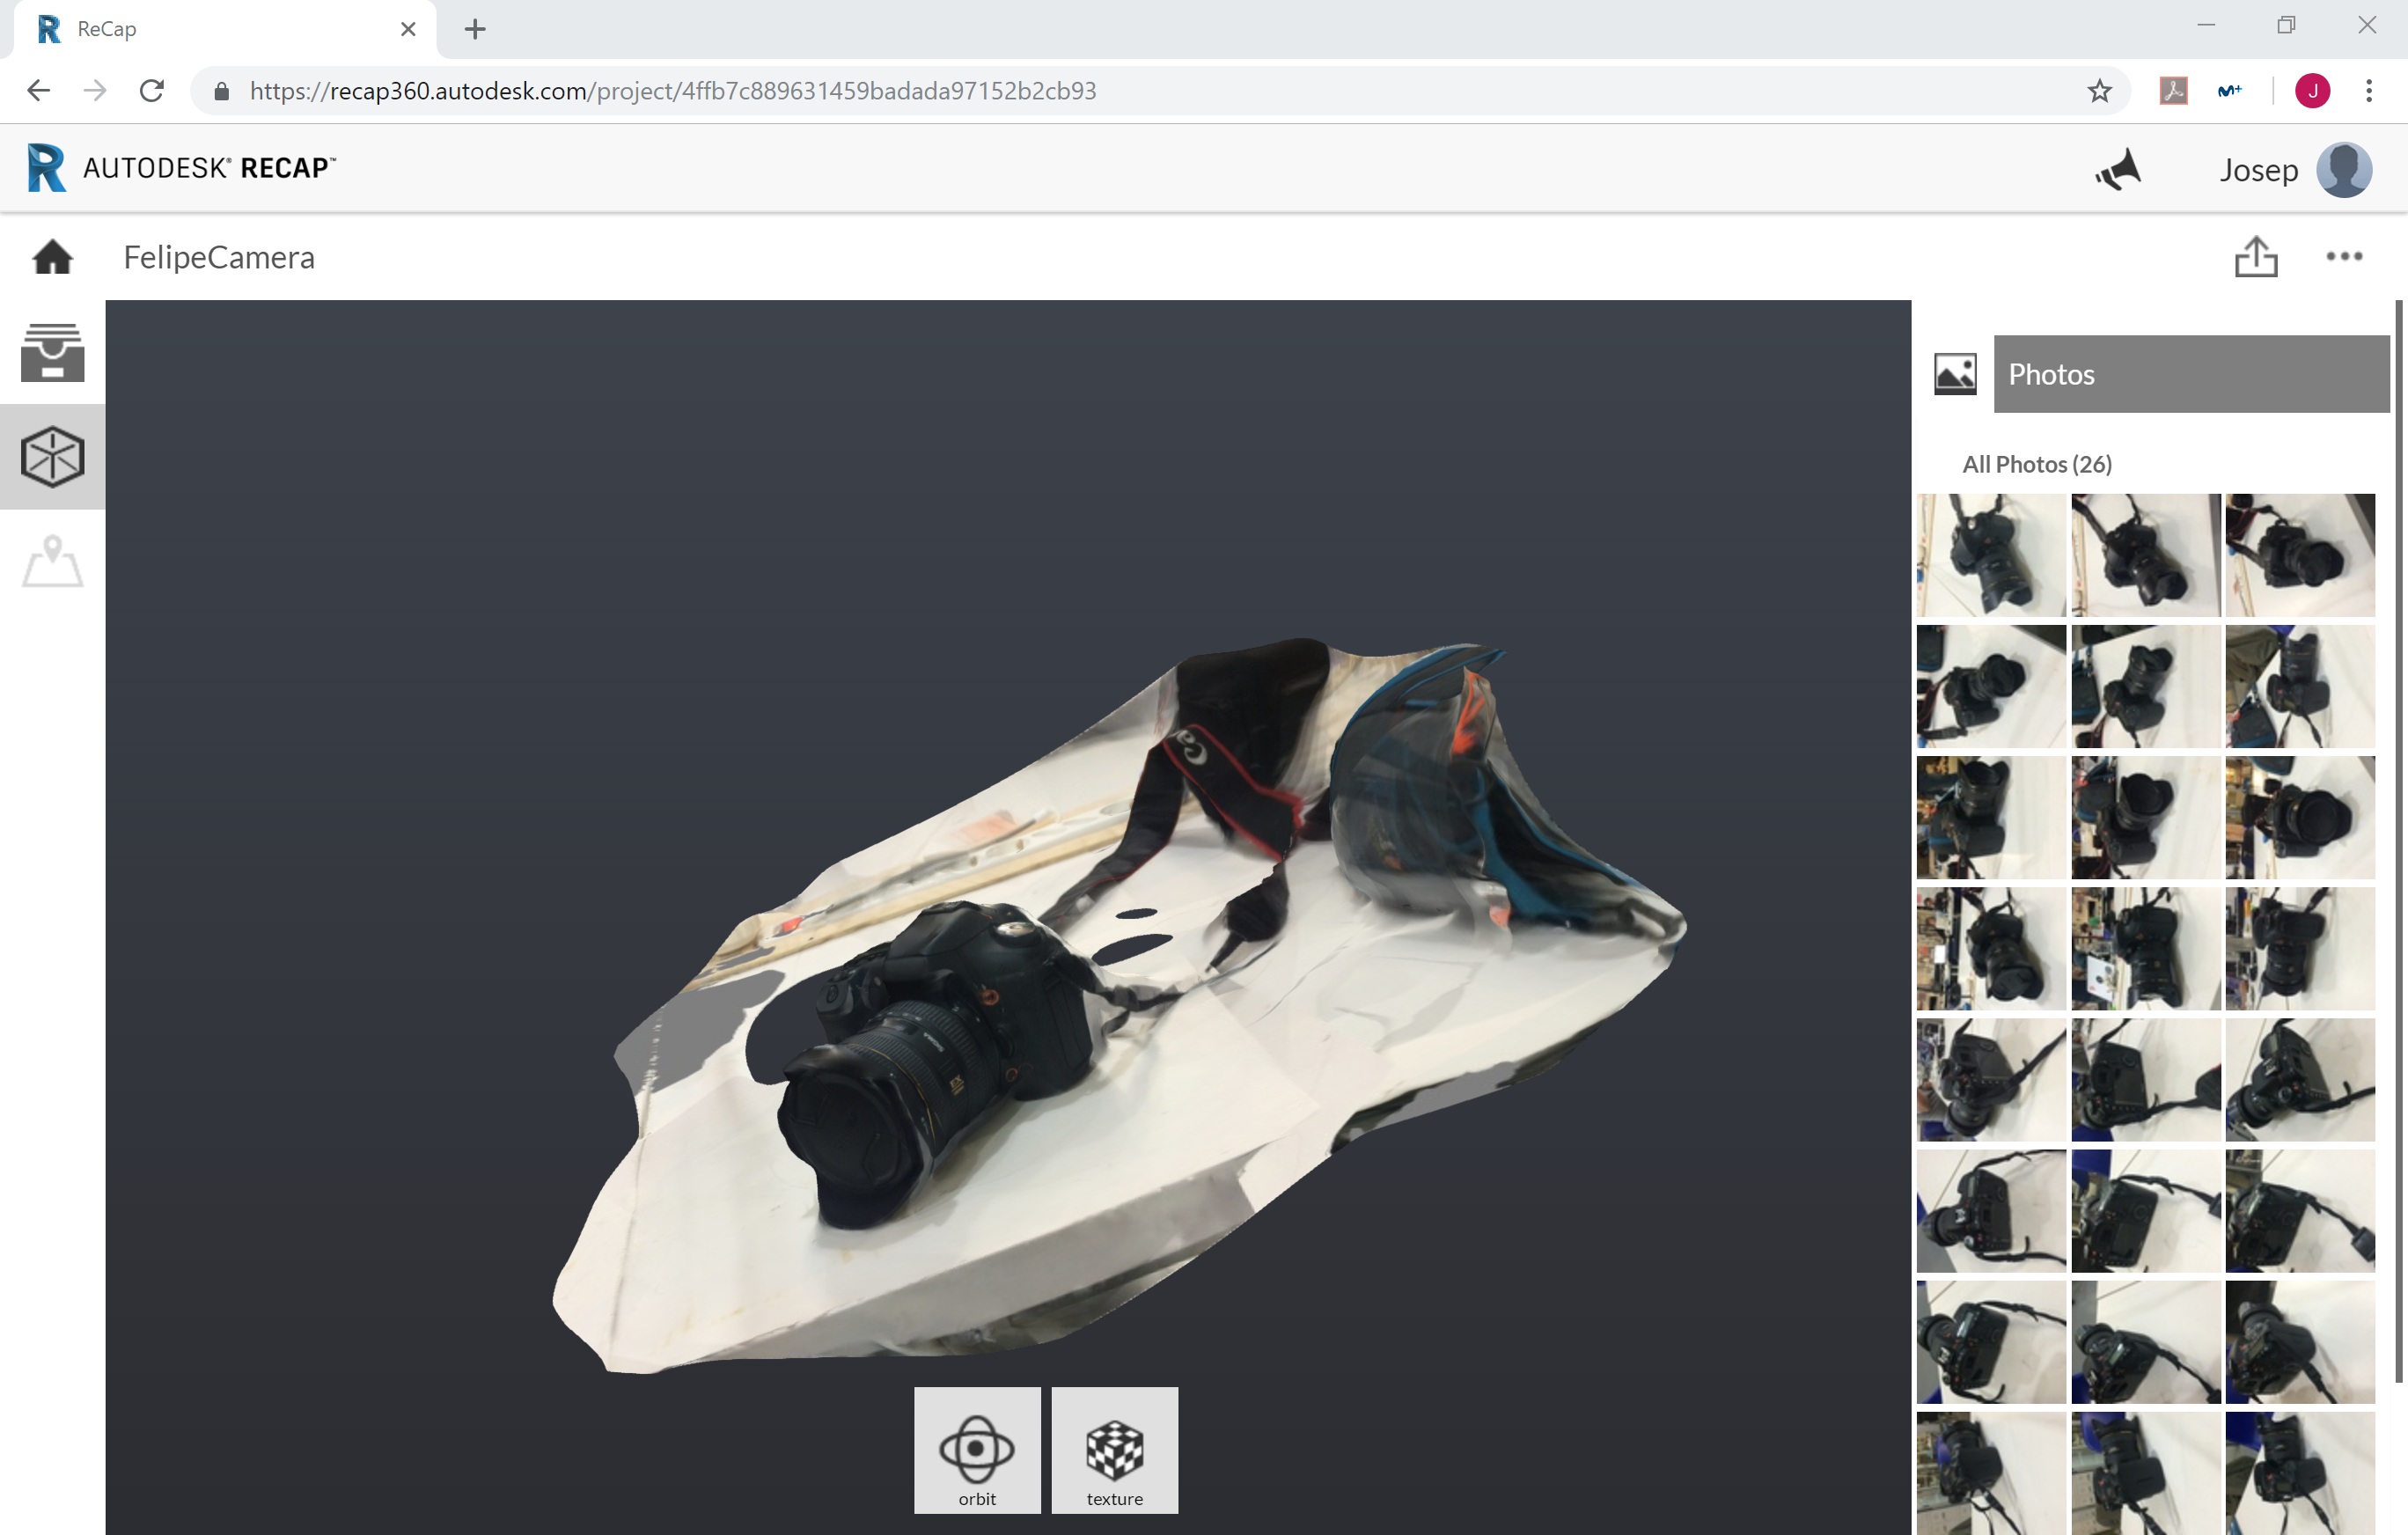
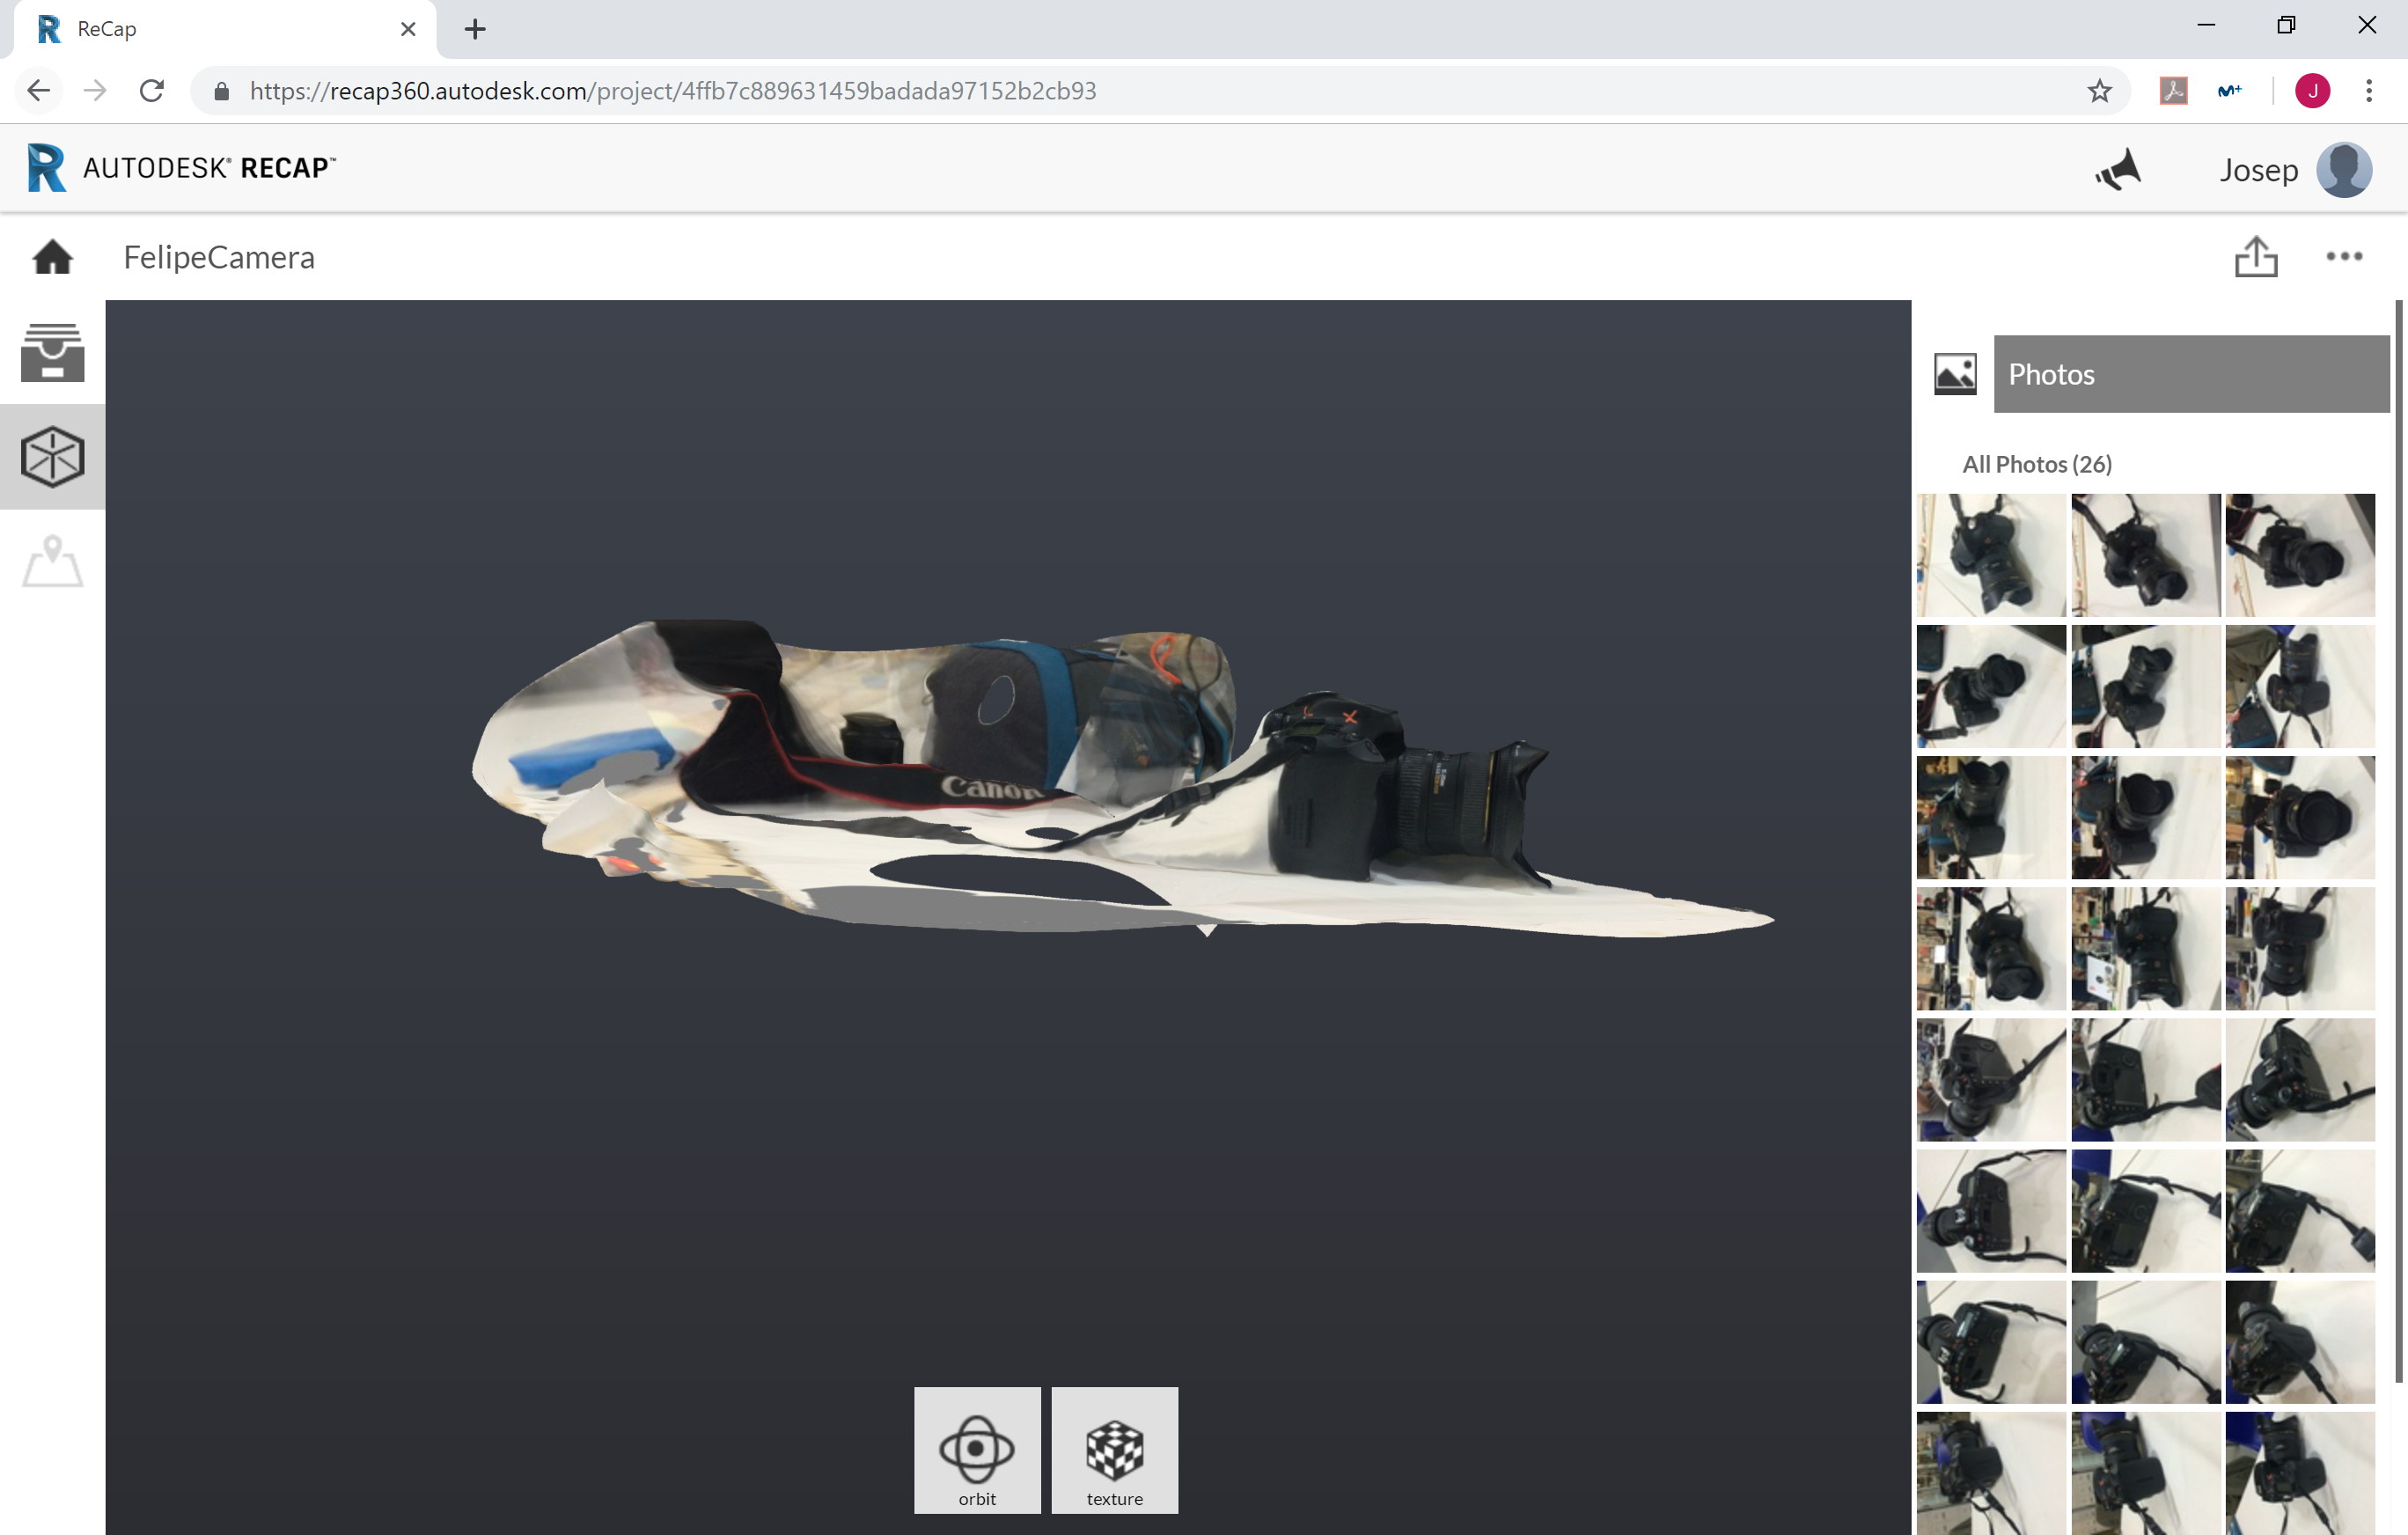
In both of softwares I didn’t play too much with the settings, I tried to see what it would do with the automatic presets.
I will play a little more with 3D scanning after I finish the other assignments.