2. Project management
This weeks’ task:
- Build a personal site describing you and your final project.
- Upload it to the class archive.
- Work through a git tutorial.
Website attempts
In the previous week, we had to only think of an idea for our final project. This weeks’ first task is to create a website in order to document all the work being done to achieve the final project. Therefore, we have been asked to research and get information about creating a website in which we will be requiring it for the course. I found plenty of things online which helps in designing a website. Since I do not have a proper background in IT, I have decided to use a template and edit it according to my own needs. I started by using Wix and created my initial website there. The following images will show my initial website. For your information, the website was not completely done, it only had some bits and pieces around.
Home page

This shows the site header design that I have chosen for my home page website. The “learn more” button will be linked to a different page called “About me” which will have detailed information about myself.
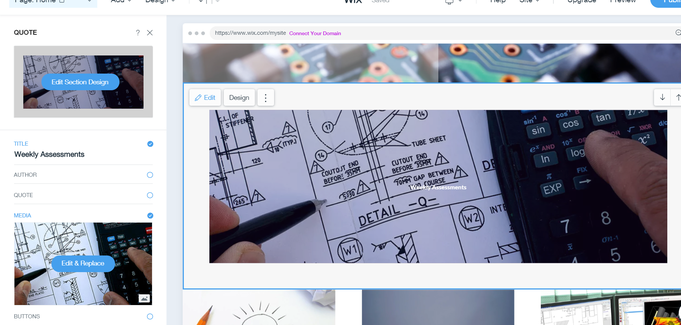
Continual of the home page, below my site header, I have inserted an image in this section as a header to represent the weekly assessments.
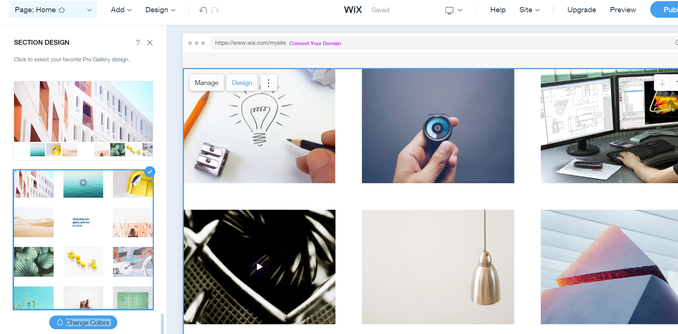
Below the weekly assessments will a folder representing every week until the end of the course. These folders will be updated weekly which will show the work that the student had achieved to design the final project, starting from week 1 up to week 20. All types of work will be uploaded and documented weekly. In order to design the folders, I have chosen this layout in which each image represents a new week. I was able to change couple of images depending on the lecture title that I have referred to in the FabAcademy website. Each folder will have a different image to show the work that will be done in the specific week. For instance, the image in week 1 illustrates an idea has been thought of, which corresponds to week 1 task, in which an initial idea of the final project had to be thought of. Likewise, the third image illustrates software modelling and design, which means the lecture in week 3 will be about CAD.
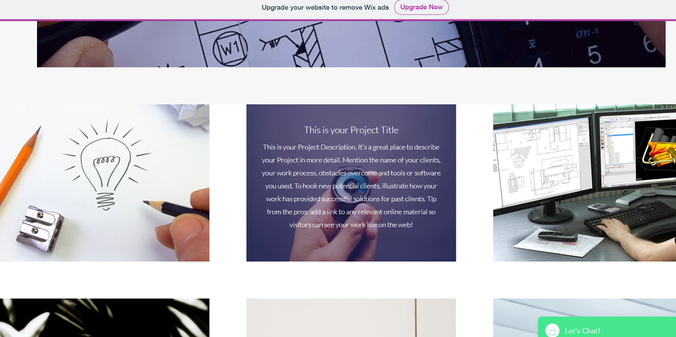
Once the mouse is hovered over one folder, the week title will appear, for example, “Week 1; Principles and practices” which will then be followed by a brief description on the task.
About me
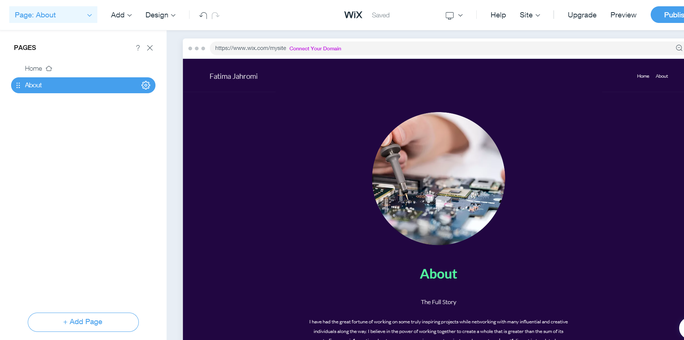
As mentioned earlier, this page will have a detailed information about me. I have not yet filled in my details, however, this will be the layout of the page.
Unfortunately, the website development in Wix could not be completed since one of my colleagues discovered that Wix could not be imported into GitLab. Therefore, I had to stop working on Wix and find another web developer that suits the FabAcademy requirements.
Version Control Systems
Version control is a system that records changes to a file or set of files over time so that you can recall specific versions later. As per the tutorial it shows that VCS can benefit us in many different ways, such as:
- Version history of file will be there we can revert each file if needed.
- Merging different versions of each file can be done which helps us to edit two different parts and then join them back together in one version.
- We can branch a project which creates a new working copy of the file and then merge back the changes.
- Pull files from a repository.
- Push changes to a repository.
- If many users make changes to the same files in the same lines there is a merge conflict.
There are many VCS, however the two popular one used in Fab Academy are Mercurial and Git. The software that I used was Git. This had a ready website template in which we were allowed to edit and use for our course. Some attempts were made using GitLab in order to create the website, however, I was not able to use it efficiently until our instructors prepared a 3-hour workshop in order to teach us the basics of GitLab using the git tutorials. Creating my website in GitLab was time consuming and not very easy since it was my first time using it. My progress was quite slow however I managed to create it using the help tool in GitLab.
Git Bash
I started editing my website indirectly using Git Bash which uploads the changes I do in my website manually without using GitLab. To do this, a local repository should be connected to GitLab, in which a SSH key should be created first. The following steps will show a detailed demonstration of how it was done.
Initially, I had to install Git Bash on my laptop. I downloaded it online which did not take much time. In the installation process, I just kept the default settings as it was and clicked next until it finished. Next, the first was I did was,
-
Configuring my identity

-
Generating SSH key

-
To copy the key in it to the clipboard in the SSH key section in GitLab

-
Paste the SSH key in step 2 into the box named “key” shown below and click on add key to generate.

-
In Git Bash, cloning should be done in order to have the exact copy of the website. Therefore, the following command line was typed

-
After cloning, a folder (fatima-jahromi) was created in order to edit my website locally. As an example, I selected my index page, which is the home page and roughly edited a sentence in it. I used notepad to do this step.
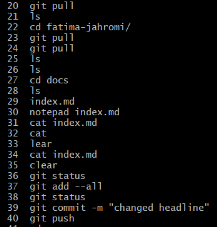
Explanation of step 6 commands step by step
cd fatima-jahromi was to call folder name
git pull is to bring together the last status of the website without causing any conflict while editing.
Ls is to list all the files
cd docs is to open the docs folder
index file was chosen
notepad index is to open notepad and edit the information in the index page using notepad
git add –all is to add all the changes that was done
git commit –m is to type a keyword that will describe the change that has been made
git push is to push all the changes made into the website
In summary, some of the important command lines and steps used in Git Bash will be shown below.
Git Bash steps to edit locally
- Cd (folder name): calling folder name
- Git pull
- Ls: to list all the files
- Cd (folder name): to open the required folder you wish to edit the file in
- Ls: to choose the specific file you want to edit
- Type in the text editing tool you wish to use for editing and then the name of the file you want to edit. (refer step 30 in the above image)
- Cat (file name). (refer step 31)
- Git status
- Git add –all
- Git commit –m “….”
- Git push
Important Git Bash commands
- Clear: to clear the codes
- Change Directory (cd): this is to navigate between folders by typing cd followed by the folder name.
- Ls: to list all the files in the desired folder
- Ls –lah: this gives me the list of files with their corresponding file sizes
- Makdir: to create a file/directory
- Touch: to create a file
- Cat: shows what is in the specified file
- Rm: to delete a file. For example – rm.. /foldername/filename
- Cp: to copy a file. For example – cp.. /foldername/filename
Student Agreement
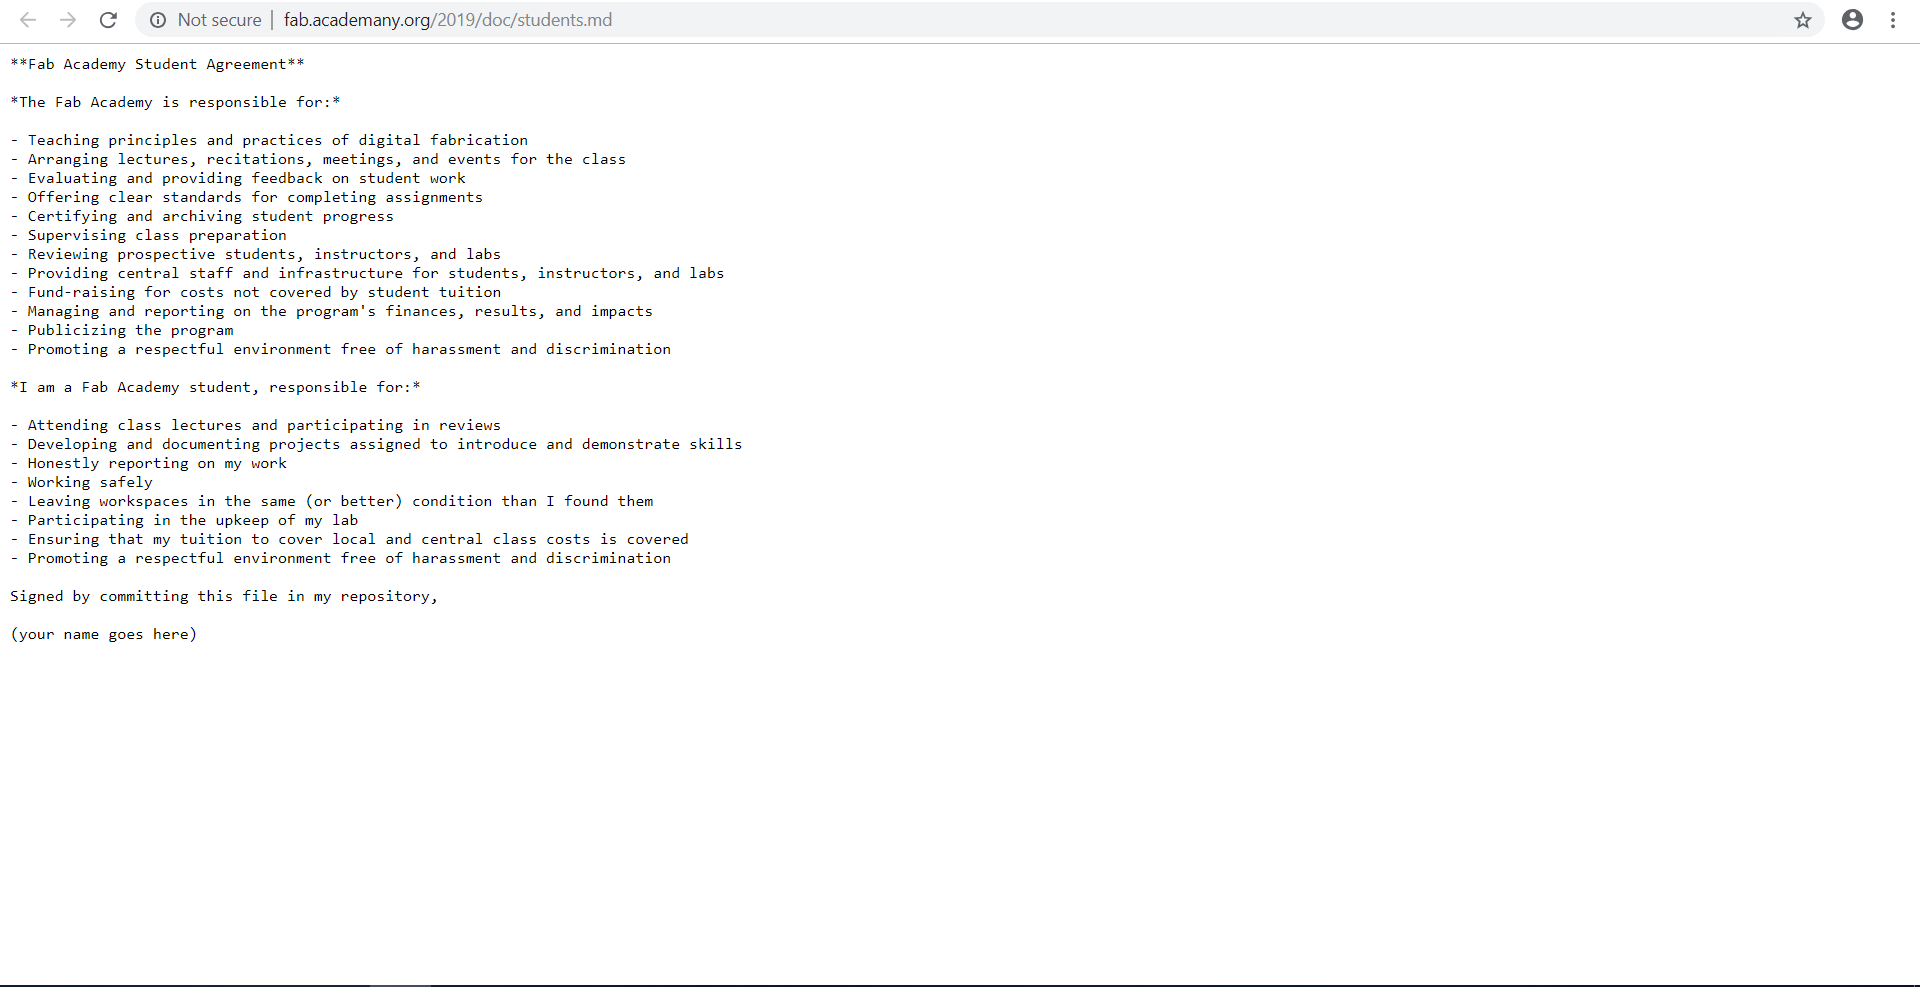
The student agreement was found in the FabAcademy website, in which it was copied and pasted in the GitLab.
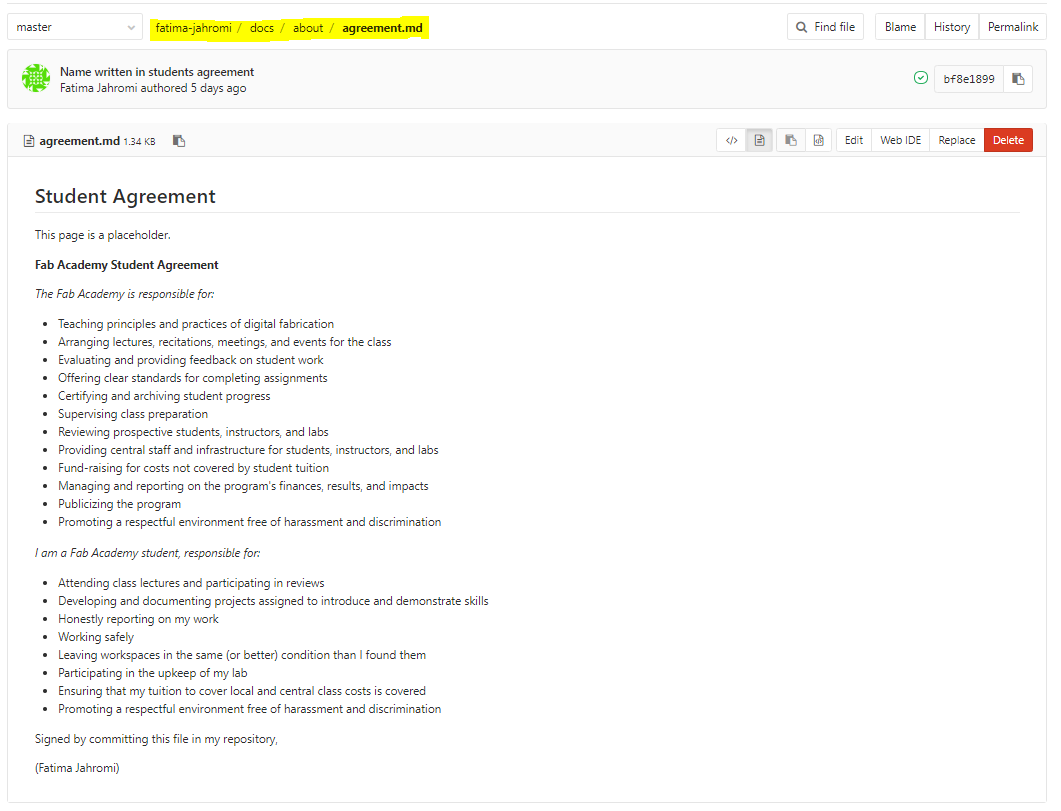
The student agreement should be pasted in the agreement folder present in GitLab. The highlighted text in the image shows how to find the agreement folder. The agreement was then pasted here and signed below by typing your name.