Menu
HomePrinciples and Practices
Project Management
Computer-aided Design
Computer-controlled Cutting
Electronics Production
3D Scanning and Printing
Electronics Design
Computer-controlled Machining
Embedded Programming
Molding and Casting
Input Devices
Output Devices
Interface and Application Programming
Networking and Communications
Mechanical Design
Machine Design
Wildcard
Applications and Implications
Invention, Intellectual Property, and Income
Project Development
Final Project
Week 10
Molding and Casting
Week Assessment :
Design a 3D mold around the stock and tooling that you'll be using
machine it, and use it to cast parts
Machine : Roland SRM 20
Software: Fusion 360 and SRP player
Material: Machining wax and silicone
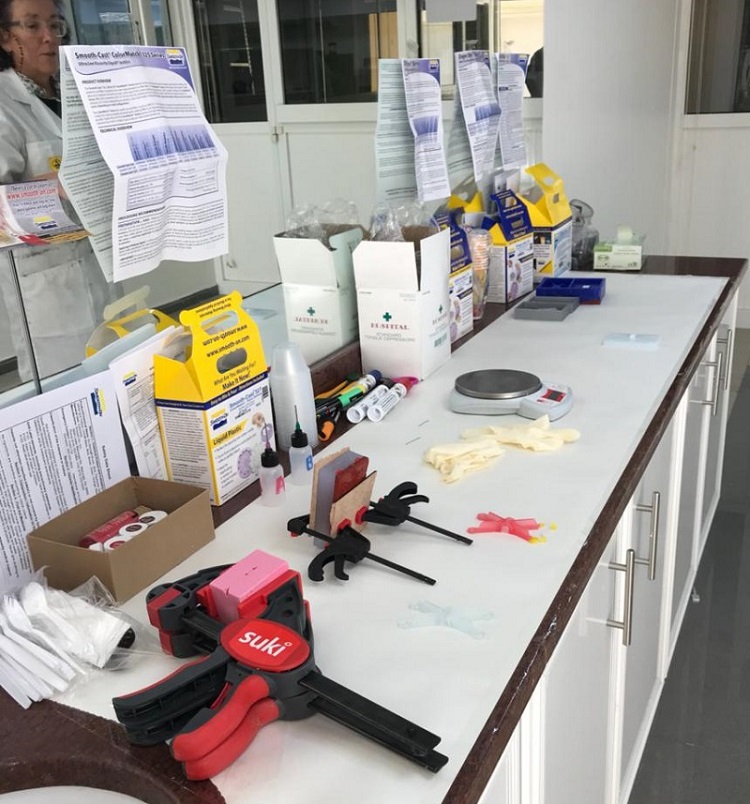
Our mentor Wendy gave us a session. She prepared the place with safety equipment gloves, eye protection, and material safety sheet. The datasheet was behind each box.
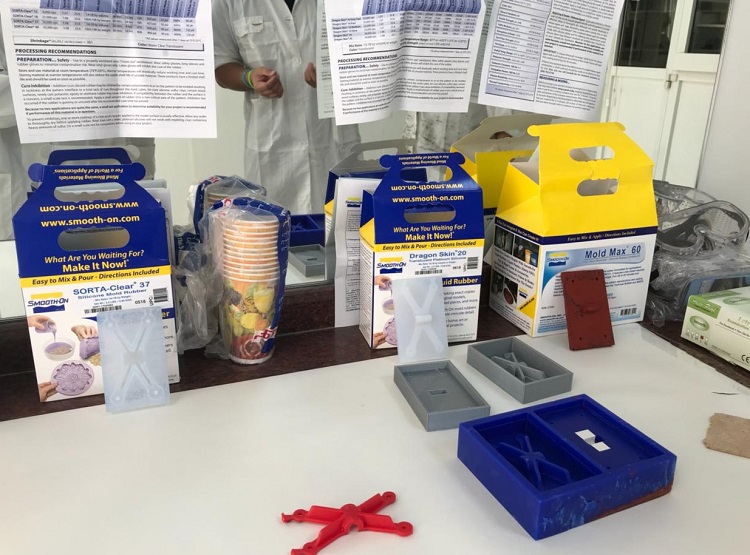
She showed us what she did and the process of making it. There were three type of materials.
1- Food safe
2- Skin safe
3- Temperature safe
Always start with B container and we need to shake it. Then we add A and we mix them well. We measured by gram scale. We measure according to the mixing ratio in the datasheet. Each material has a different mixing ratio, thue it very important to read the datasheet and safety datasheet before you start.
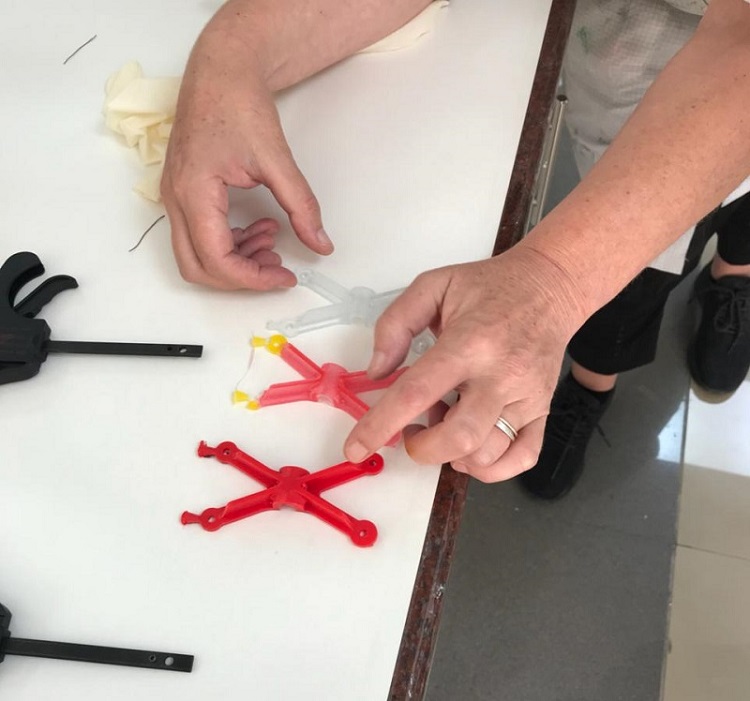
The second session was about how to Design mold in Fusion 360
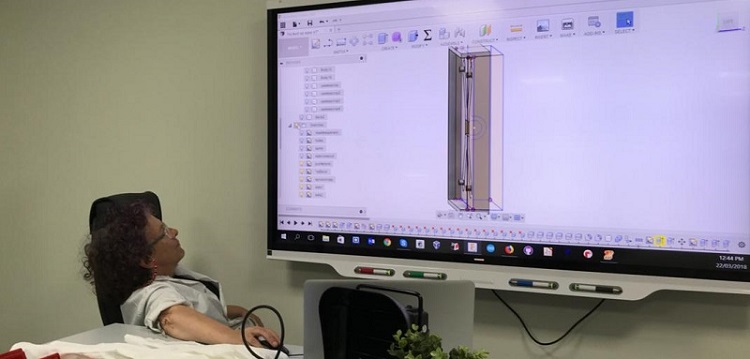
After we get some idea about casting. We moved to next step where we will start with which is molding and how we design it in 3D. Wendy runs another session on how to design our mold in Fusion 360. She showed us how she did here mold. It seems complicated to me. As usual, I did my mold in my way which I feel comfortable with. Then we moved to Roland RSM 20. We used the machine before. The only new thing is that will mill machining wax and there is a recycle bin for wax so we can reuse it.

I designed my mold in fusion 360. I begin with a draw in the sketch then I use extrude tool to extrude the shape that I draw so I can have in 3D then I create a box and I used combine tool and I changed the operation into a cut. the mold is ready to for milling.


Hasim runs a session on how to create you milling settings in Fusion 360.He showed us how to use CAM mode in Fusion 360 as replacement of SRP player.
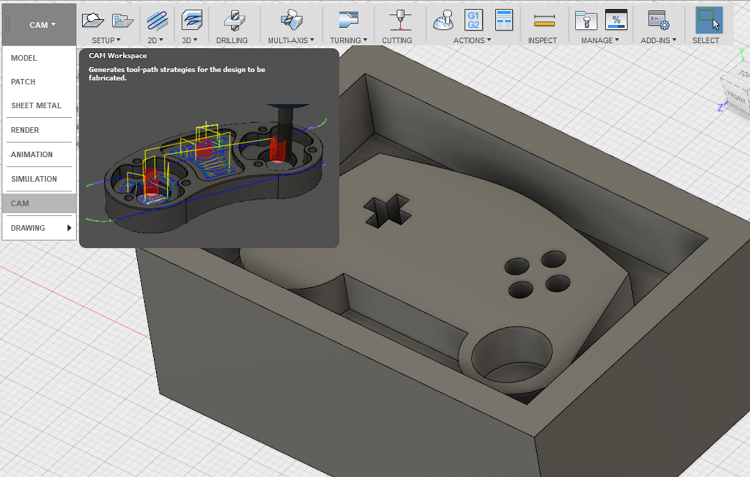
In Fusion 360 you can simulate the machining. its looks good but you will have to set the bit manually in the library.
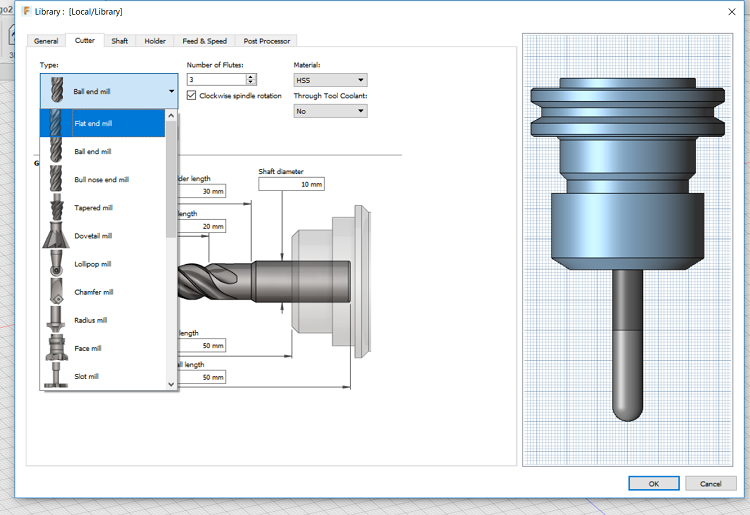
Another advantage is you can change the origin while in SRP player is fixed in the center.

Even thou Fusion 360 looks awesome it seems complicated to me. I used SRP player to set up my settings.I asked Zahrah to teach me how to use SRP play and she showed me how to use the software.
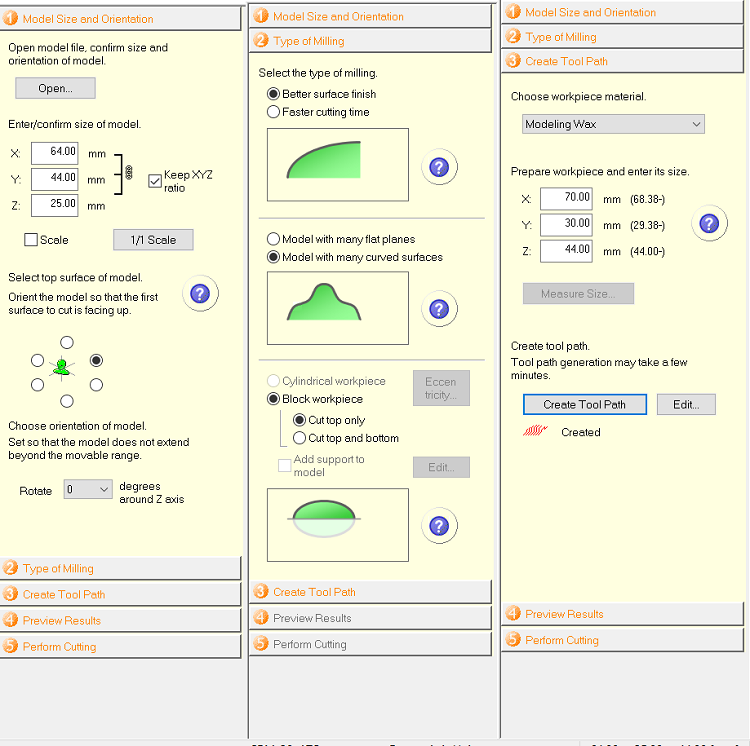
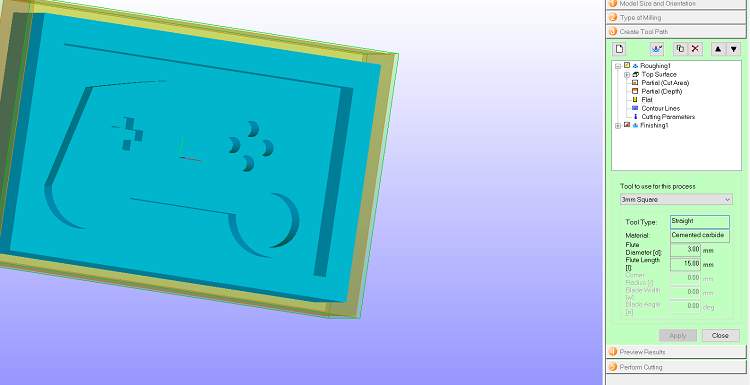
I selected in 3mm flat mill bit for roughing
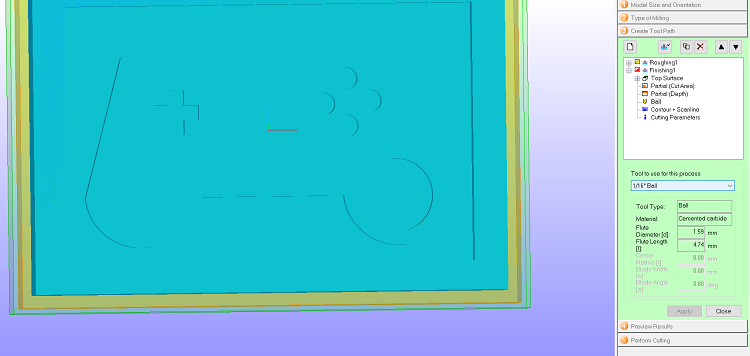
and 1/16 ball nose for finishing
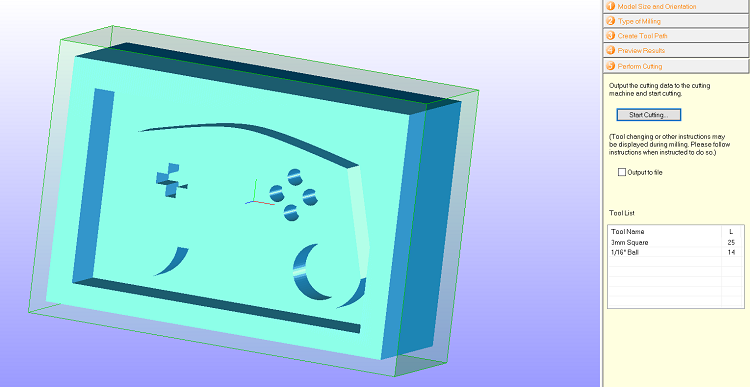
I made sure that all the holes will mill from the preview window
I found SRP play faster to use. I placed the mill bit into the machine. Wendy showed us a way to set origin point. The origin of SRP player is fixed in the center so I had to mark in the wax where is my center or where I want it to be.
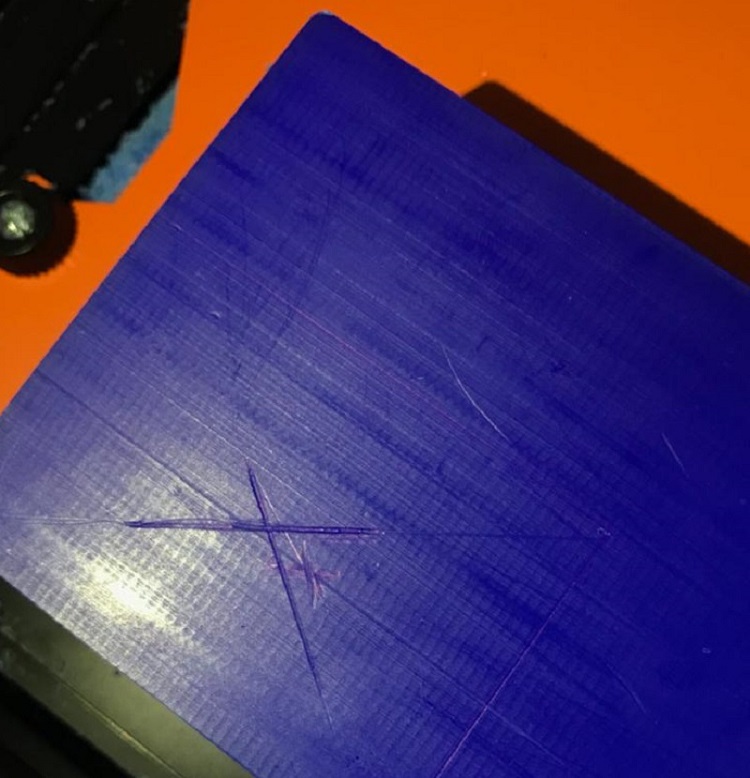
I placed the mill bit where I marked in the wax


Here is my mold

I used Dragon Skin Silicones 20
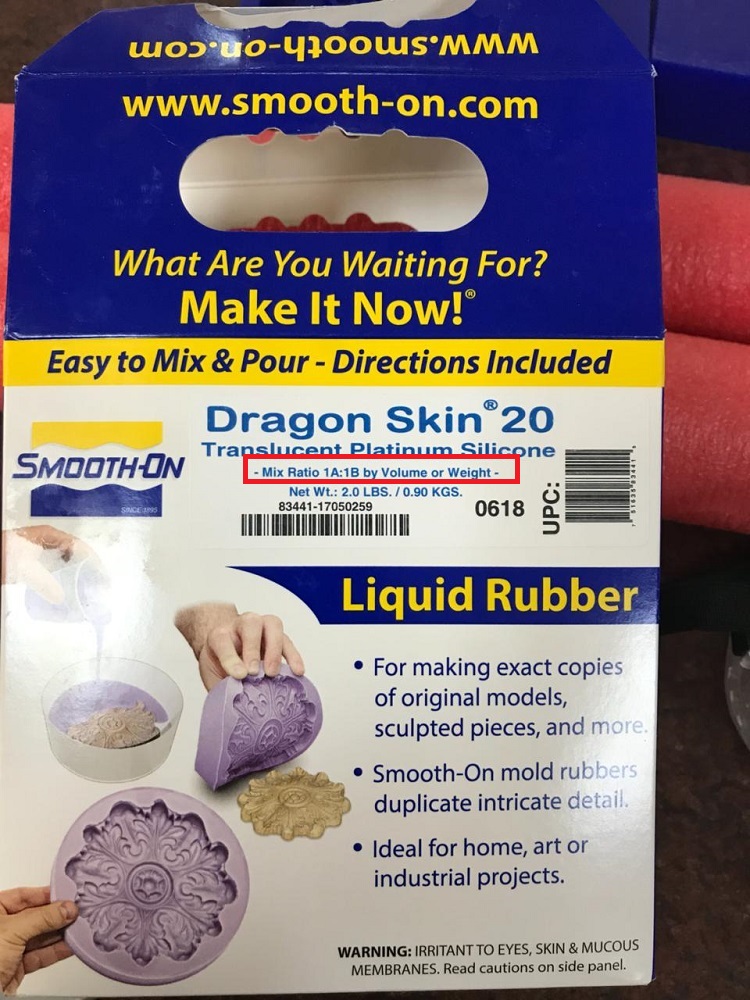


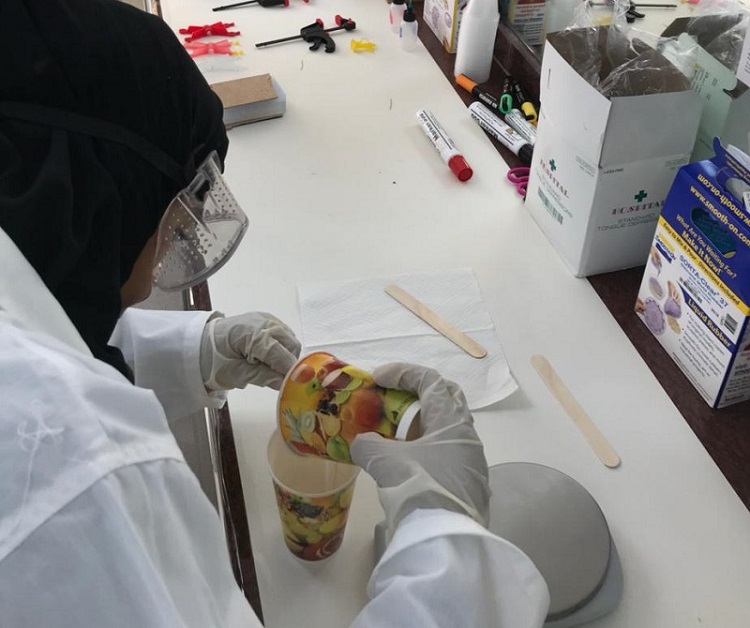
This is the picture of me mixing
I poured the liquid rubber in the wax.

Then I mixed smooth-cast 327 with purple color. A was 5g and B was 4.3g
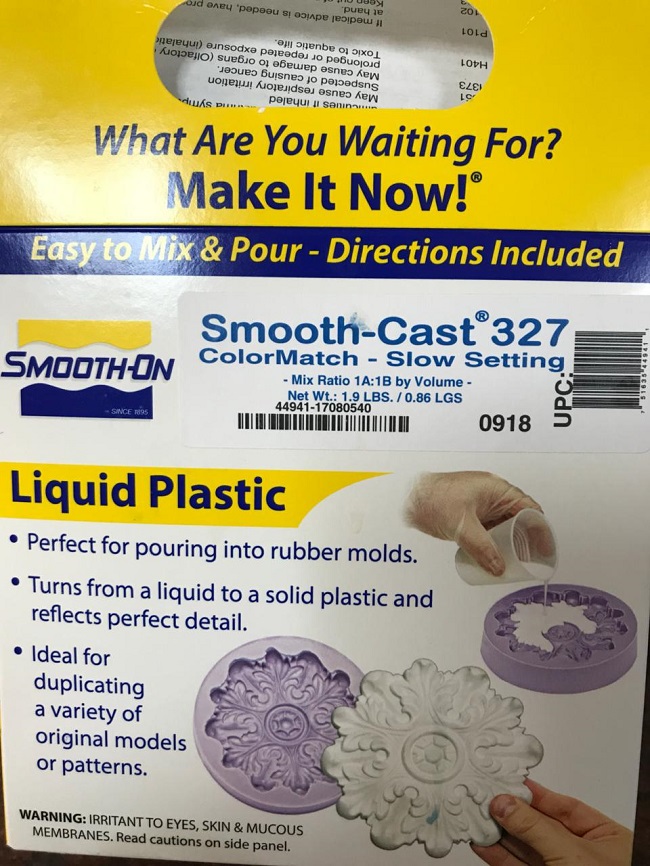

I had to do the casting part again. because in the first when I poured the liquid plastic it didn't fill the holes there was air the prevent the mixture to go in the holes. so I repeated the same process with pouring slowly till the holes get filled. Then I poured the liquid plastic and this is the result.

Wendy told me to redo the assignment because what I did is 2D mold and the final result looks like it's been cut by the laser machine. So I did a new 3D mold design and I decided to do a cute bear face.
Draft angle
A draft angle is a slight taper added to assist in the ejection of the molded part from the mold. Surfaces parallel to the direction the part is ejected in, will cause difficulties in production.The amount of draft added will depend on the material to be used and the surface finish of the part.Highly polished surfaces often have a draft angle of 1.5 while heavily textured leather-like surfaces can require a draft of 6 to 8 This information from Autodesk . I used the Draft tool in fusion 360 in Project Development.
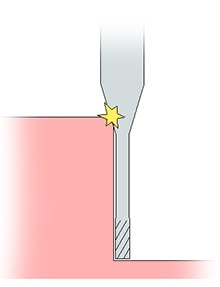
I had to mill the mold three times. The first try I got the design wrong and the dimensions of my mold I sit it in SRP player is bigger than the workspace and I ignored the finishing. In the second again I did the design wrong and I did not change the dimensions then Al-Zubair set the dimensions smaller than the workpiece but I did the finishing. The last try I got the dimensions and the design correctly and I did the finishing. This time I did not forget the draft angle. The draft angle for my mold size 1.5 degree which is fine for my roughting path. The 1/16 mill bit is shorter that 3mm mill bit and the draft angle was not big enough. I had change from metric collet to imperial collet that fit for The 1/16 mill bit. besides, the surface of the wax was not straight.

The last mistake I did is changing the mold depth to 10mm and the flute length is 8mm. To make you understand more I found this useful imag.
Again I used SRP player to create the G-code for the SRM-20. This is the correct roughing settings. Feed rate 1440 mm/min and the spindle 7000 rpm and I used flat 3mm mill bit.

This is the correct finishing settings. Feed rate 1200 mm/min and the spindle 7000 rpm and I used ball nose 1/16 mill bits.
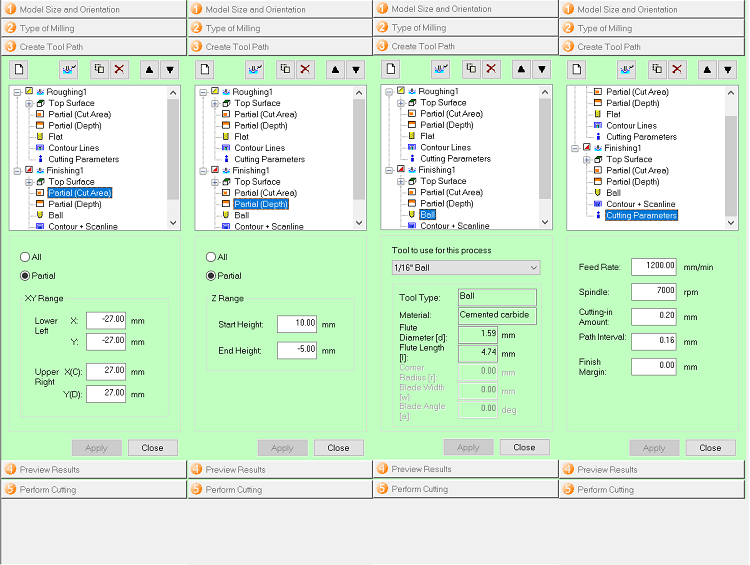
Again I used Dragon Skin Silicones 20 mold and liquid plastic for cast. For the cast I had to repeat it twice.
The first try I let the plastic to cure in a place without any air conditioner. Here in Dubai temperature reached more than 47 degrees and I let the cast to cure the whole weekend. when I return to the lab on Sunday this what I got. But before that, I washed the mold so I think water is behind this bubbles holes.
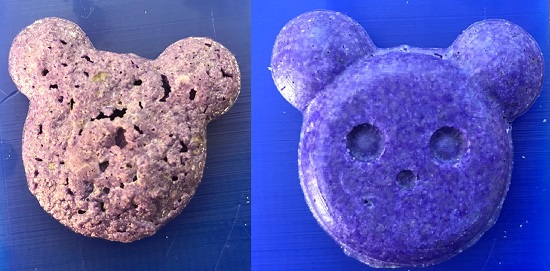
I had to do the cast again. I repeated and I put it in a cooler room. This what I got.
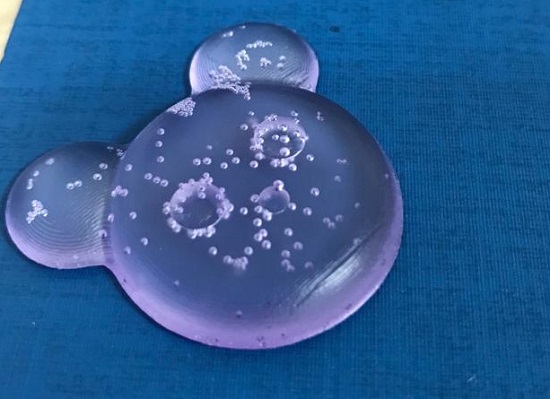
A lot of small air bubbles I had to pour slower. But anyway I learned so many things from my mistakes.
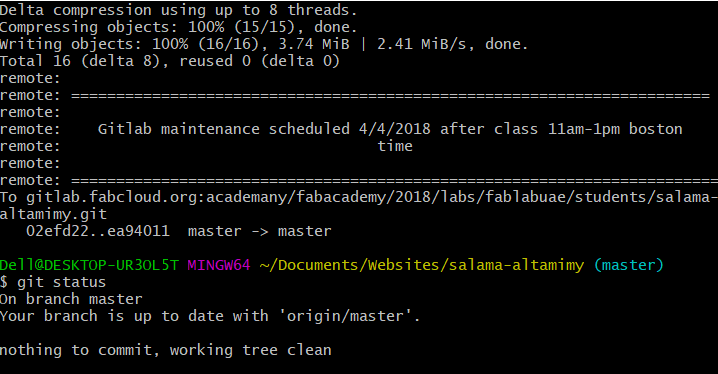
I got this message when I pushed my webpage
File
Fusion360 fileSTL file
Other activity
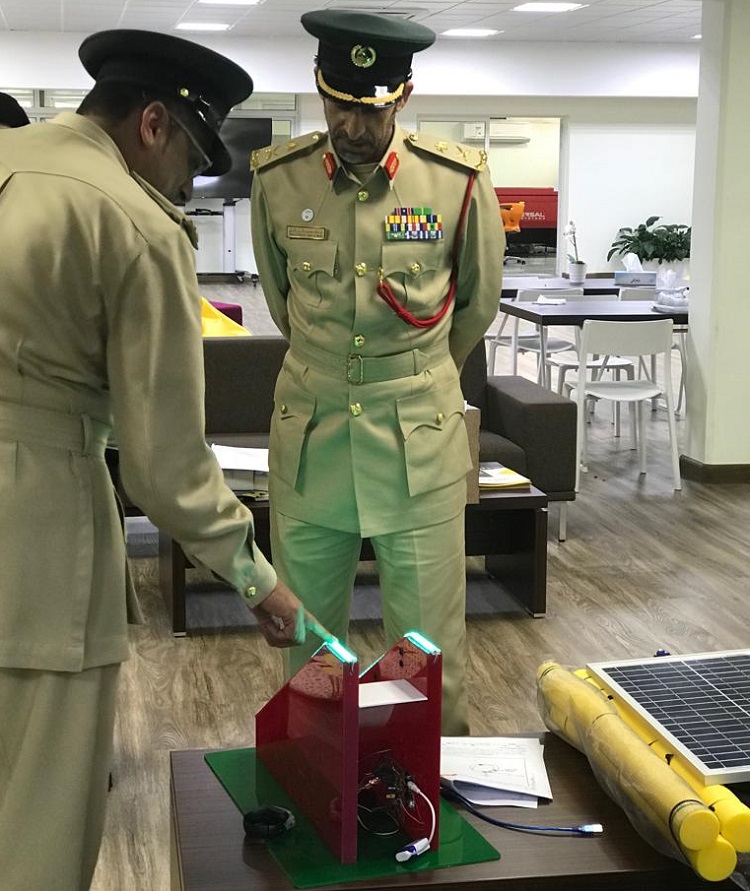
This week a delegation from Dubai Police visited us in the Lab. They had a meeting before they came out and see the projects that were involved in the hackathon. I present our smart praying mat to Abdullah Al-Marri the Commander-in-Chief of Dubai Police. Unfortunately, I don't have any picture of me while presenting.
