WEEK 8 - COMPUTER-CONTROLLED MACHINING
INTRODUCTION
There is nothing more satisfying in the whole world than the sense of self ability to create something and then use it, that is why I was so excited this week as it is about doing something BIG!. I wanted to make a piece of furniture that can be used at home. I decided to give it a try and do it end to end from designiong till assmebly and use.
Assignment Description
- Make something big (on a CNC machine).
Learning Outcomes
- Document the process of design and production to demonstrate correct workflows.
- Identify areas for improvement if needed.
Have you (Checklist)
- ✔ Explained how you made your files for machining (2D or 3D)?
- ✔ Shown how you made something BIG (setting up the machine, using fixings, testing joints, adjusting feeds and speeds, depth of cut etc)?
- ✔ Described problems and how you fixed them?
- Included your design files and ‘hero shot’ photos of final object
STEPS PERFORMED:
2D AND 3D DESIGN
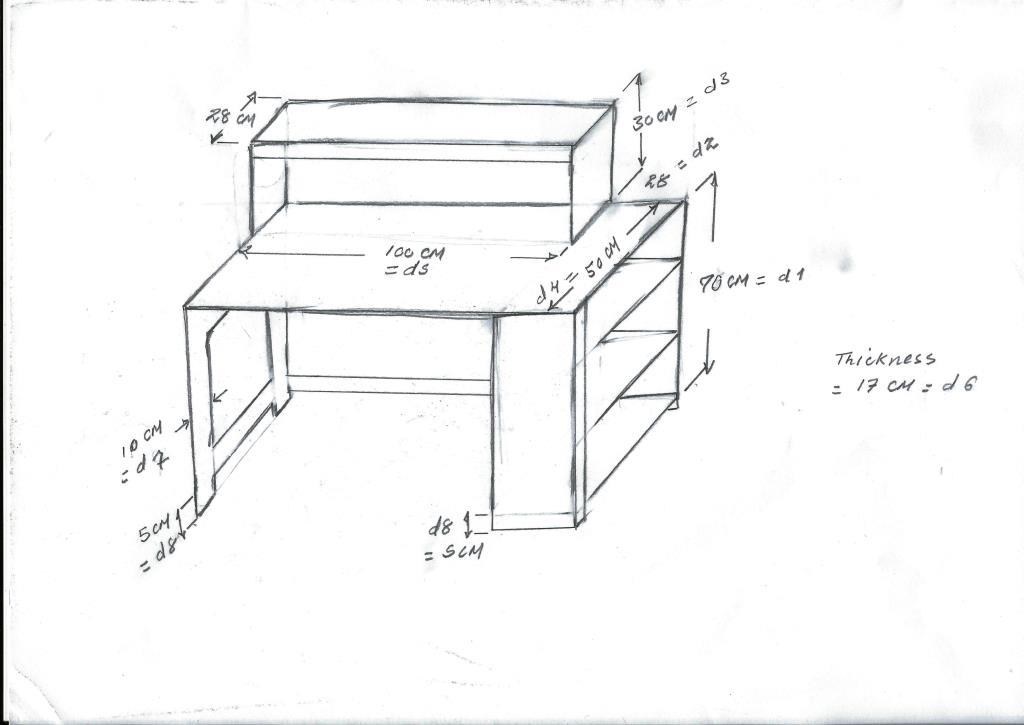
- I decided to create a desk, I started by sketching by hand the 3D design and I looked up the standard dimensions for a typical desk as shown below
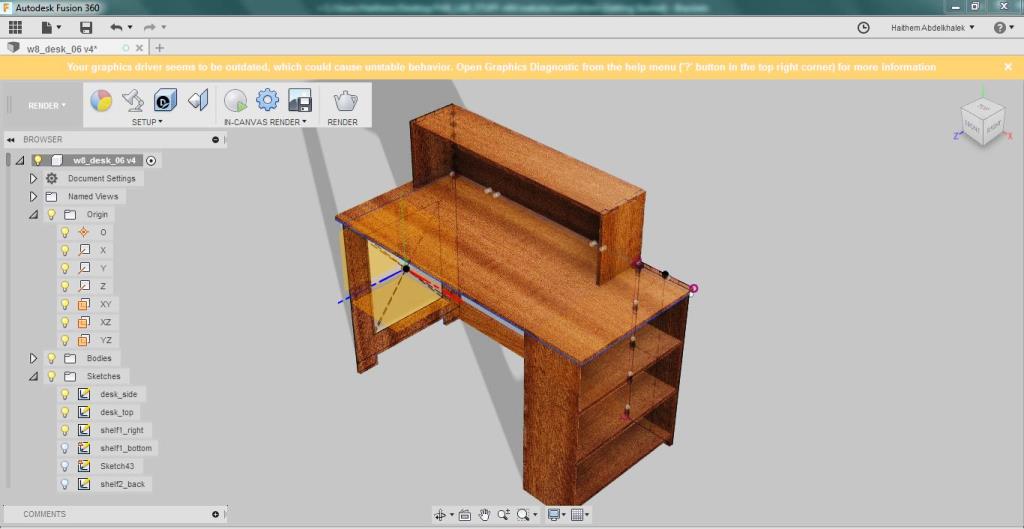
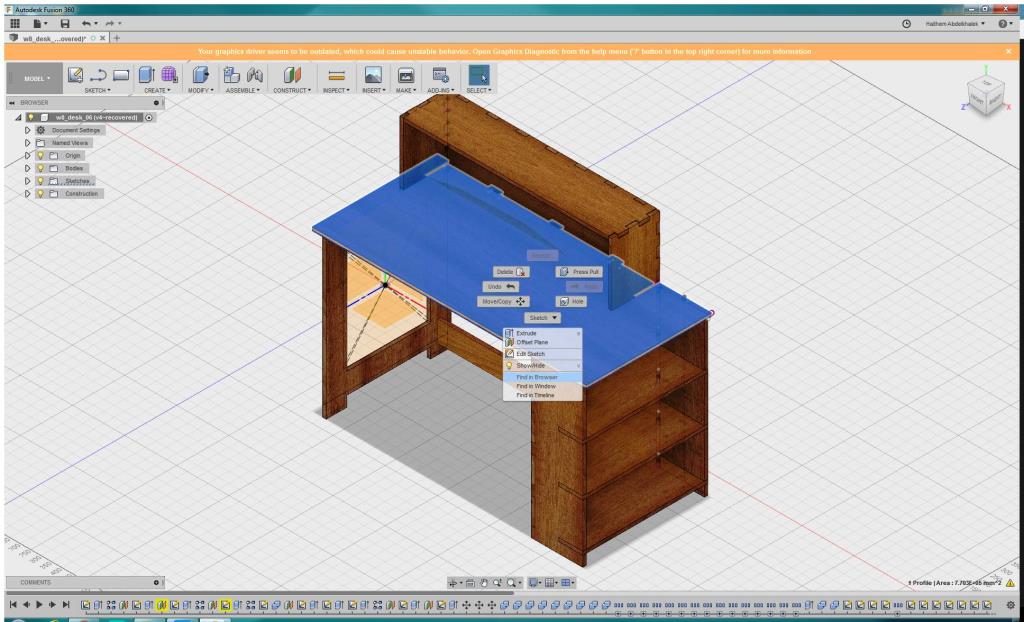
- I then opened Autodesk Fusion 360 and performed the following steps:
- I added parameters to ensure my design will be parametric and easier to modify.
- I created the desk sides and Extruded them.
- To ensure that the sharp edges inside any pocket will be sharp, I had to create dogbone fillets. More about the dogbone can be found HERE.
- I searched for a way to create dogbone fillets automatically in Autodesk Fusion 360 and I found a plugin that uses python script. The Add-in and the instructions to install it are found HERE
- After installing the plugin: Go to "add-in" from the top bar -> Choose "scripts and addins" -> Choose "dogbone" add-in
- Open the plug-in and add the tool diameter, then select the edges where you want to apply the dogbone fillets.

- I did combine the created parts and used cut to create the holes and pockets.
- I checked the interference for the created parts and I found NO INTERERENCE.
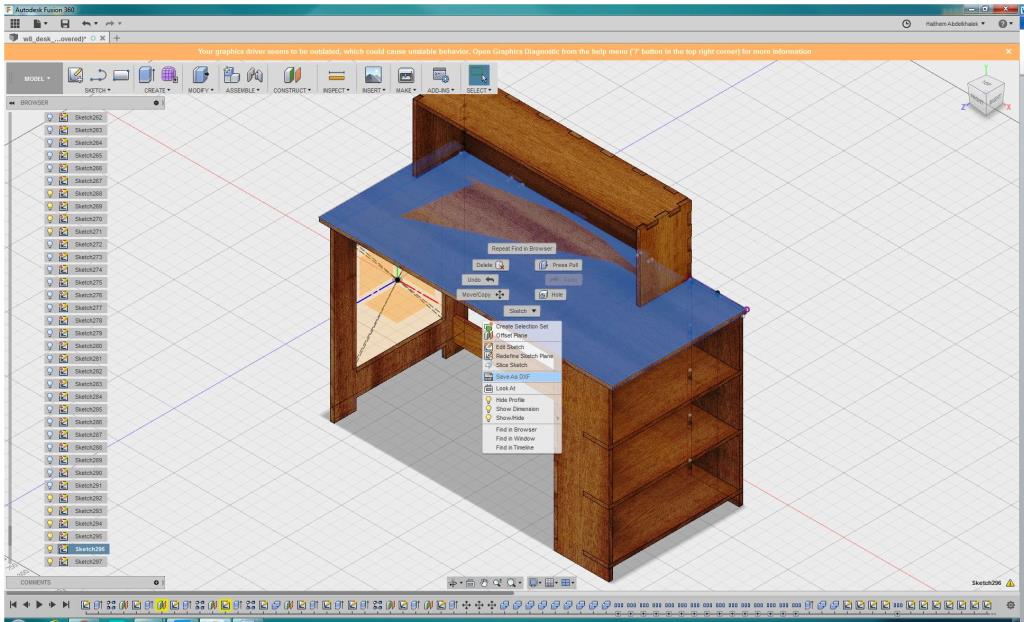
- I exported all faces as DXF files by right clicking on the face -> creating a new sketch -> right click on the new sketch and click Save as DXF. More about this step can be found in WEEK 3 ASSIGNMENT.
CAM DESIGN:
- For CAM Design, we used ArtCAM version 9. We performed the following steps:
- Open the artCAM and create a new model
- Set the size of the wood sheet that you will work on, in my case it was Length 2440 mm x Width 1220 mm.
- Go to FILE -> IMPORT -> Vector Files and choose the DXF files we exported in Autodesk Fusion 360. Cleck OK and ensure that the DXF is centered and adjusted well in the sheet and accept t ojoin the vector lines in case they are not connected.
- Select the vectors you want to create toolpaths for, Create a tool path, choose PROFILE and use the following settings:
- Select the cutting direction as OUTSIDE, Finish Depth = 20 mm, The sheet thickness is not unifor and it ranges from 17mm to 18.5 mm, we chose 20 to ensure that all the parts will be cut properly.
- Select Profile tool as wood cutting drill bit with diameter = 6mm, choose stepdown to be 6.7mm (this will make the full cut performed on 3 paths), plunge rate = 100 mm/sec.
- Give the toolpath created a name and click on the NOW button.
- change the cutting direction to INSIDE for the pockets and then repeat the above steps.
Problems Faced and How we solved them?! - When one of my colleagues did his task on the machine before me, I noticed that in some areas the cut was not clean and it did not cut fully, The cutting took a long time and there was 4 paths with one path to cut only 1 mm depth.
To avoid that: I increased the cut depth to 20mm and I increased the plunge rate to 100 mm/sec. I also made the stepdown 6.7 mm to ensure it will cut the 20 mm on 3 steps not 4.
To avoid that: I increased the cut depth to 20mm and I increased the plunge rate to 100 mm/sec. I also made the stepdown 6.7 mm to ensure it will cut the 20 mm on 3 steps not 4.
- Go to toolpath menu -> save tool path -> arrange the toolpaths and start with the inside pockets first then the external cuts, choose machine output to be MACH2 mm then save.
- My task required 2 sheets so I did the same steps as below for the second sheet.
CNC CUTTING:
- The CNC router we used in EGYPT Lab can be found in this LINK, the technical specifications of hte router are as follows:
- Size = 130 CM x 250 CM
- Spindle Power = 3 / 6 / 7.5 / 9 kw
- Origin = HSD Italy / HQD China
- Cooling = air Cooling
- Moving motors = servo or stepper
- Voltage = 220 - 380 V
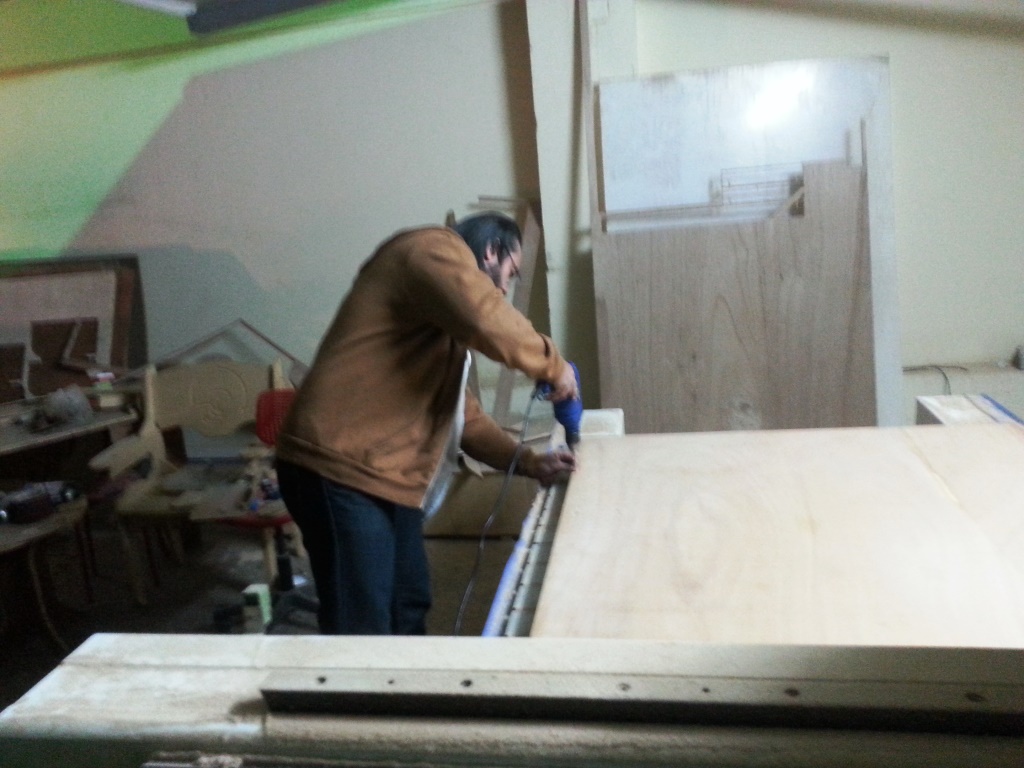
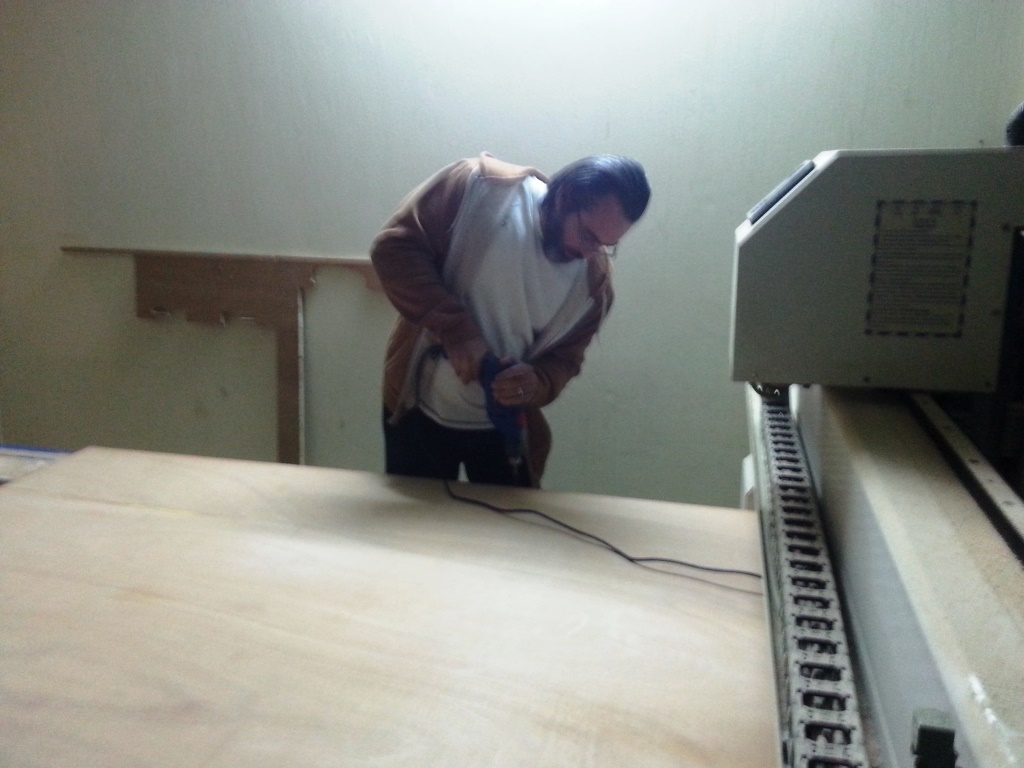
- Final stage is to work on the CNC Machine itself, I performed the following:
- Install the drilling End mill bit (Diameter = 6mm)
- Clean the CNC bed surface.
- Fasten the wooden sheet (Length 2440 mm x 1220 mm) to the CNC bed (above the sacrificial layer) with at least 6 scres at different edges, (Beware of the positions of the scres to ensure that the end mill will not hit them during drilling the cutting paths)
- The CNC Controller use a windows operating system pc with a software named NC Studio, open the CNC Studio nad perform the following steps:
- Adjust the origin by clicking the arrows for the X, Y and Z positions till it reach the desired point.
- Move down (Slowly) the drilling end mill using the Z positioning arrow on the softwware, try to spin theend mill with your hands and if you felt that it moves hardly then you reached a good Z Zero-position
- Click on the set origin button, load the CNC file you exported from ARTCAM then start the CNC drilling process.
Problems Faced and How we solved them?! - although the standard thickness of hte wood was 17mm, however when we measured the real thickness one sheet was 17mm and the other was almost 18mm, and because my design spanned 2 sheets changing the thickness parameter would have not solved the problem.
To solve that: I did the task using the 17mm thickness parameter and I did widen some press fits using sand paper and I did hammer it with a rubber hammer to fit.
To solve that: I did the task using the 17mm thickness parameter and I did widen some press fits using sand paper and I did hammer it with a rubber hammer to fit.
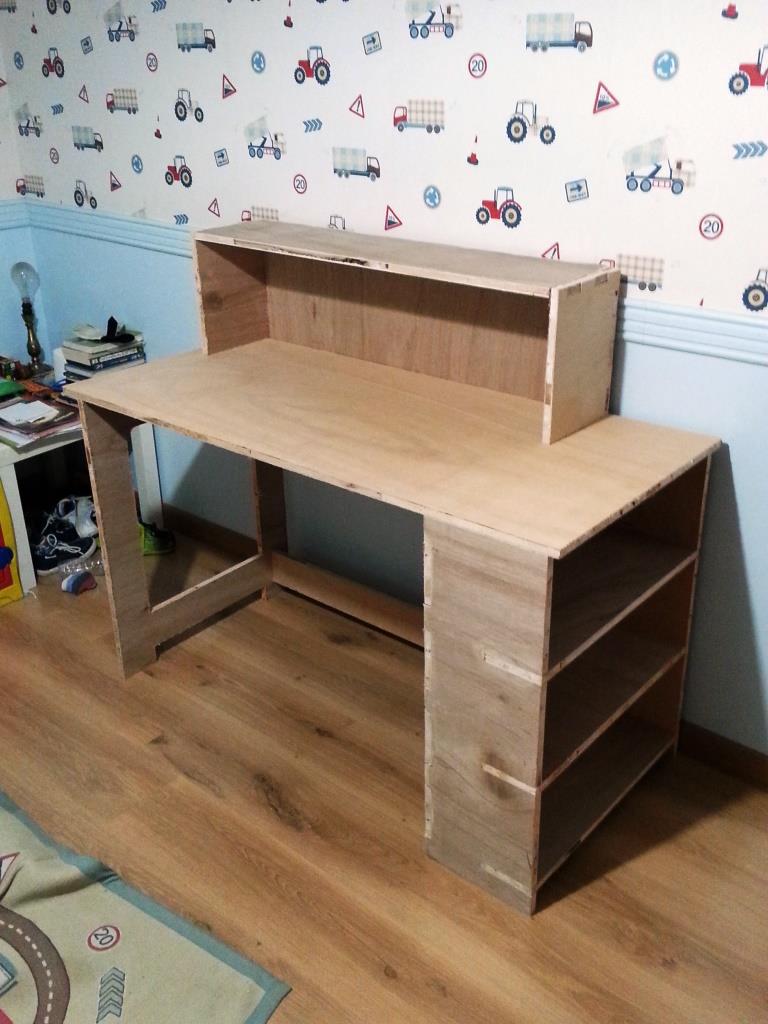
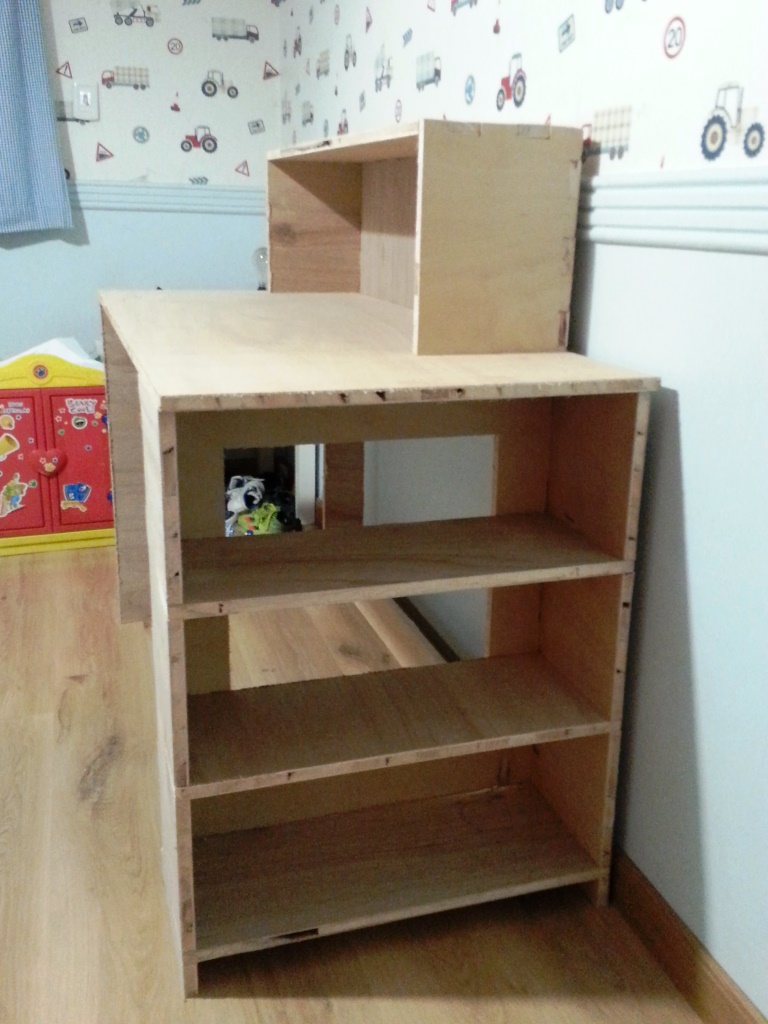
- Finally, pick up the parts that have been cut and start the assembly.
- Here is the result, Hurray ... we have something BIG!.
Files: