WEEK 17 - WILDCARD WEEK (COMPOSITES)
INTRODUCTION
In this week we are given the freedom to choose from a range of options but I chose to do COMPOSITES because I was interested in how the composites can change the charctersitics of materials. I decided to create 2 deliverables: A lamp cover and a knife!
Assignment Description
- GROUP ASSIGNMENT: produce test coupons for your composite fabrication process(es).
- INDIVIDUAL ASSIGNMENT: Design and produce something with a digital fabrication process (incorporating computer-aided design and manufacturing) not covered in another assignment, documenting the requirements that your assignment meets, and including everything necessary to reproduce it. Possibilities include (but are not limited to) composites, textiles,biotechnology, robotics, and cooking..
Learning Outcomes
- Demonstrate workflows used in the chosen process.
- Select and apply suitable materials and processes to create your project.
Have you (Checklist)
- ✔ Shown how you made your project.
- ✔ Described problems and how you fixed them.
- ✔ Included your design files and ‘hero shot’ photos of the project.
TOOLS AND MATERIAL USED (COMPONENTS):
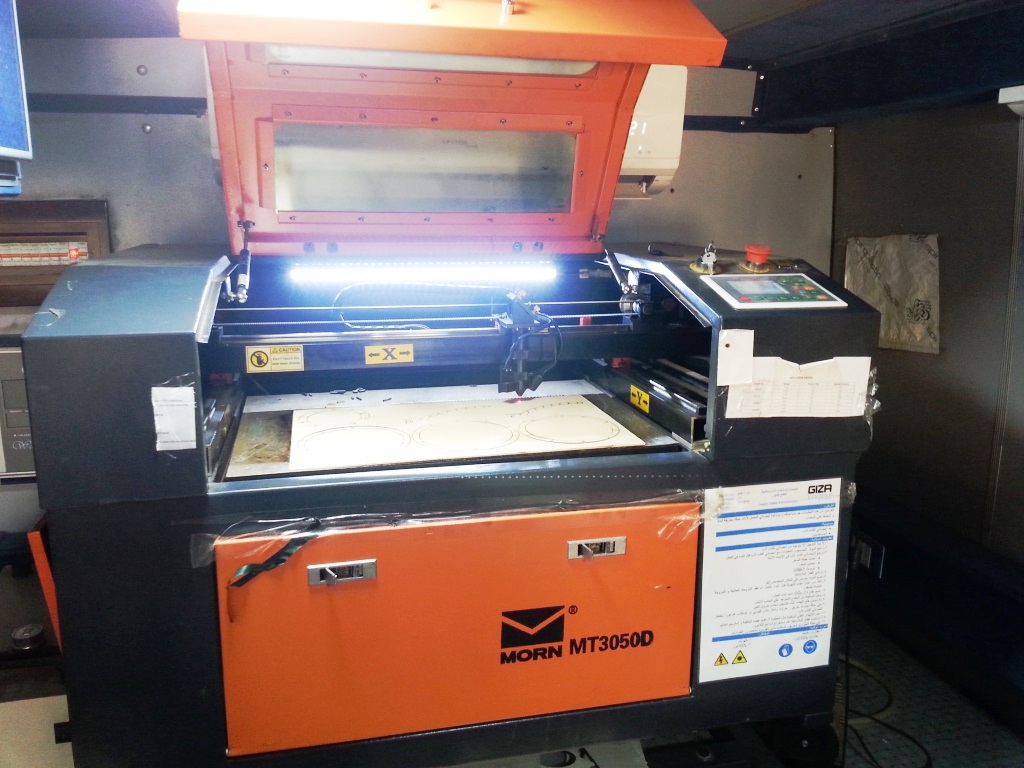
- 1 x Laser Cutter Machine (MORN MT3050D).
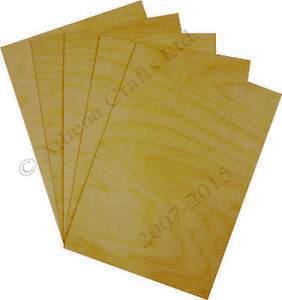
- 5 x Plywood Sheets (3 MM Thickness X 500 MM X 300 MM).
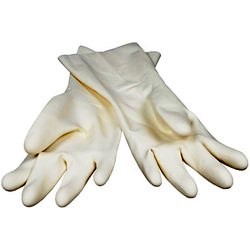
- 1 x pair of rubber gloves
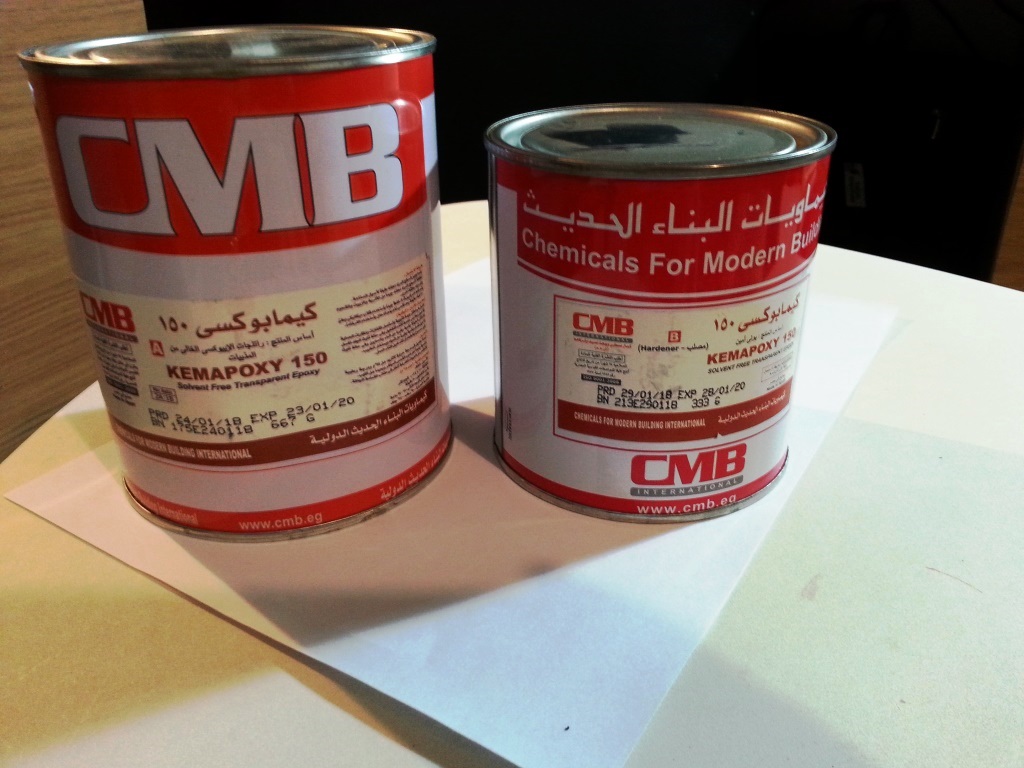
- 1 x EPOXY (CMB Kemapoxy 150) and its hardner, check DATASHEET.
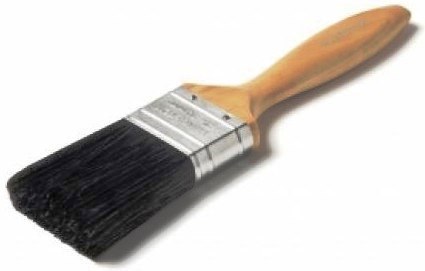
- 1 x Paint Brush.
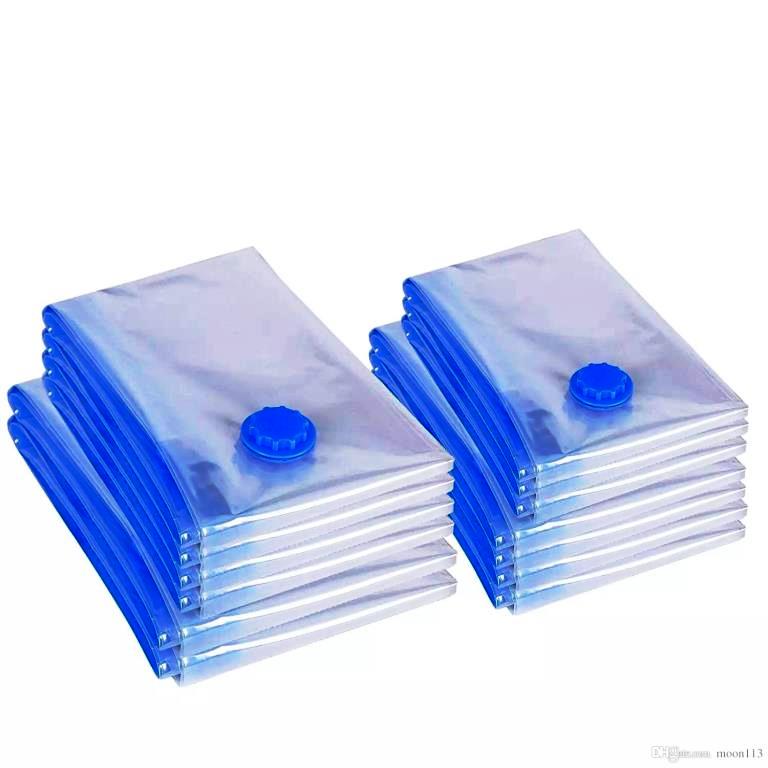
- 1 x Vaccuam Bag.
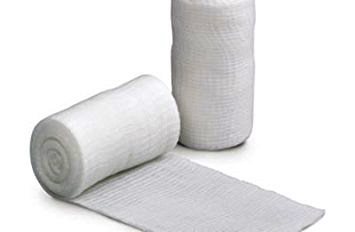
- 1 x Medical Bandage Roll.
- 1 x Jute (Rough Fabric)
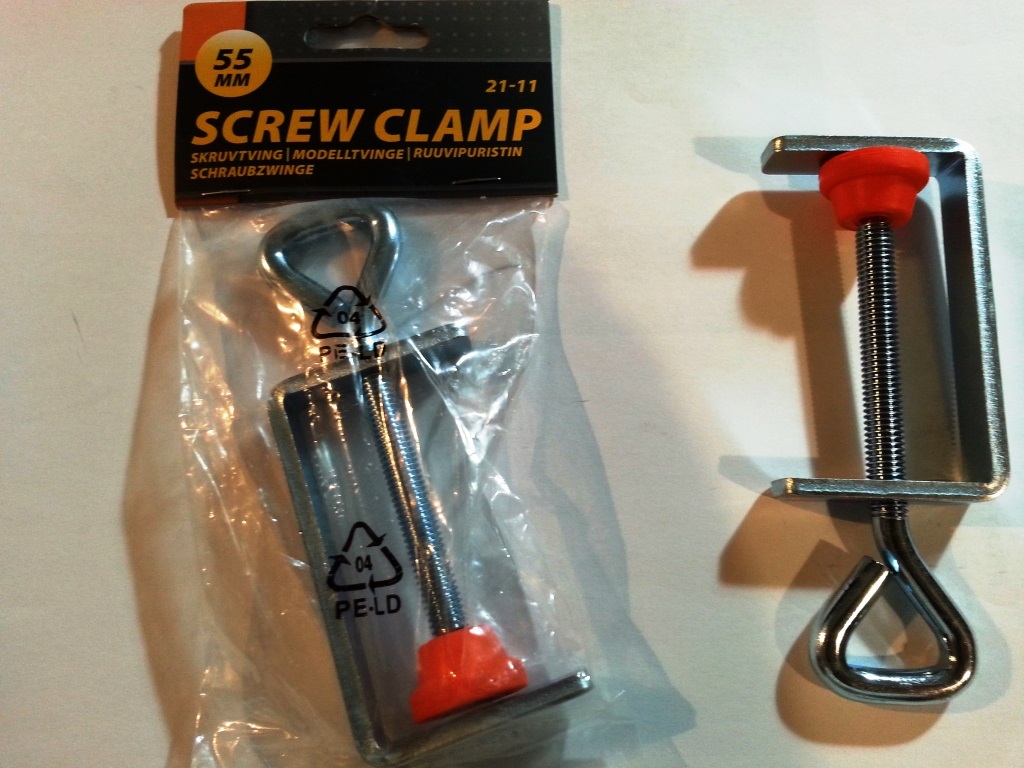
- 2 x Clamps

EPOXY TECHNICAL DATASHEET:
- I did not find the safety datasheet for the epoxy with local providers but I did search over the internet and I dound the following precautions:
- Avoid eating, drinking or smoking while use
- Use gloves during use and wash your hands after use.
- use in a place with good ventilation..
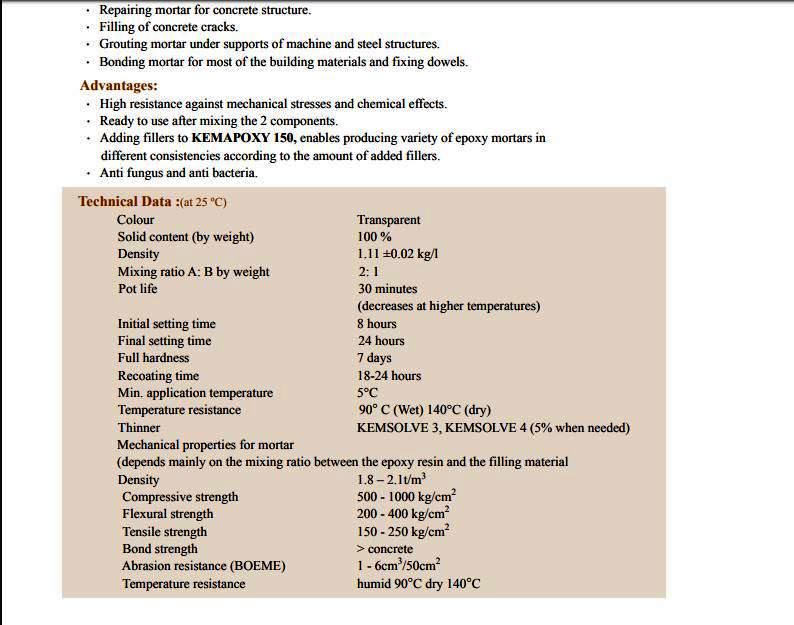
- For the EPOXY product I found a technical data sheet where it stated the (Epoxy) 2 : (Hardner) 1 ratio.
GROUP ASSIGNMENT:
- As a group we are requested to produce test coupons for different composites, for that I performed trhe following steps:
- I got 2 square pieces of wood and covered them with plastic sheets.
- I cut pieces of fabrics (I used 2 samples, Jute and Medical bandage) to test different materials.
- I mixed the Epoxy and the Hardner in a ratio of (EPOXY) 2 : (HARDNER) 1 in a plastic cup and stirred the mix for 1 minute.
- With a paint brush I covered the fabric pieces with the Epoxy mixture and then I stacked the fabric sheets above each other.
- I created different number of layers in different areas in the coupon to create different thickness.
- I also adjusted the orientation of the threads to cross each other to ensure I have a net shape.

- Finally, I copressed the painted Fabrics between two layers of plastic covered wood and applied pressure on them using a wieght
- After 12 hours the rsult is as follows:
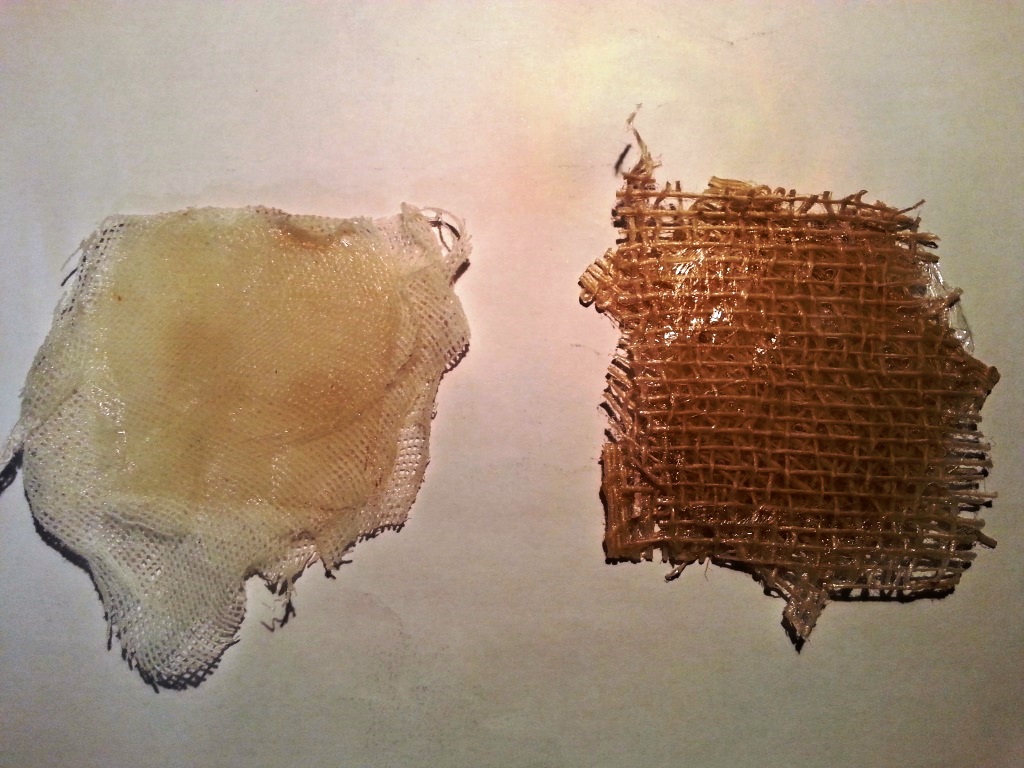
CONCLUSION: After examining the coupons of both the medical bandage and the jute I reached the following conclusions:
- The Hardness (low Elasticity) is directly proportional to the number of layers of fabrics (i.e: MORE layers, MORE Hardness)
- The Hardness (low Elasticity) is Inversly proportional to the density of the net of the fabric (i.e: MORE density of threads, LESS Hardness)
INDIVIDUAL ASSIGNMENT:
DESIGN THE SHAPE (SKELETON):
- I decided to make 2 products this week: A LAMP and A KNIFE.
- For the LAMP, I performed the following Steps:
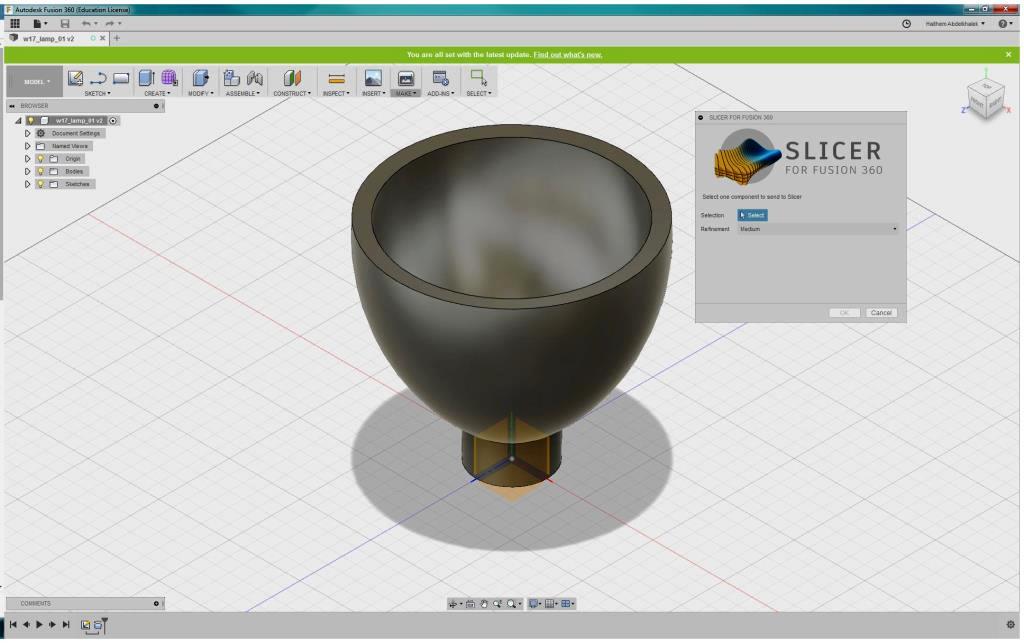
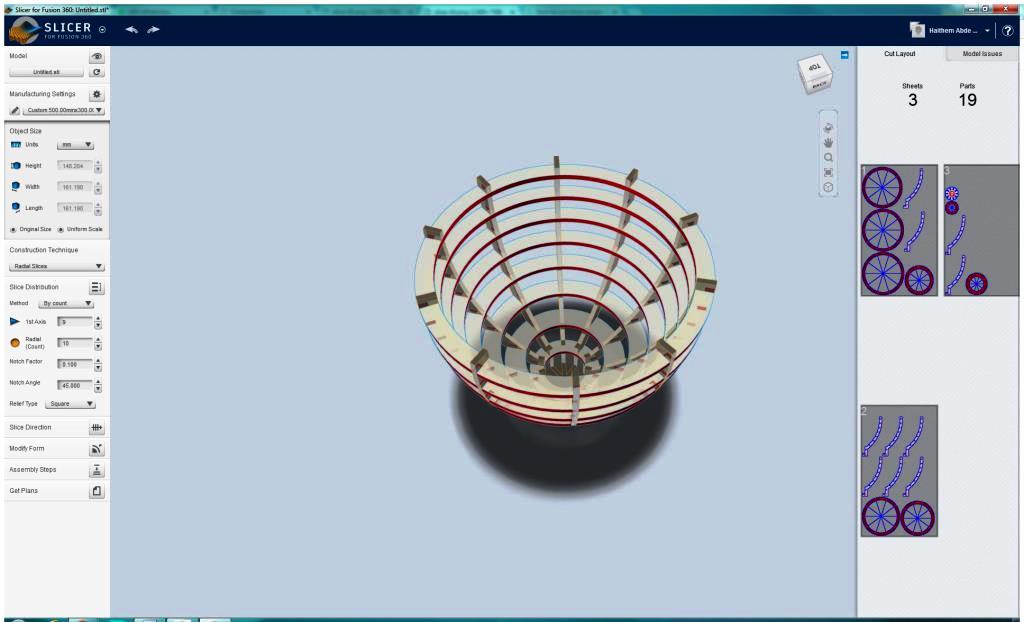
- I used AUTODESK FUSION 360 to draw the shape in the image below and then revolved it.
- To createthe skeleton of the lamp, I used a FUSION plug-in called SLICER, Download the SLICER plug-in from HERE and install it.
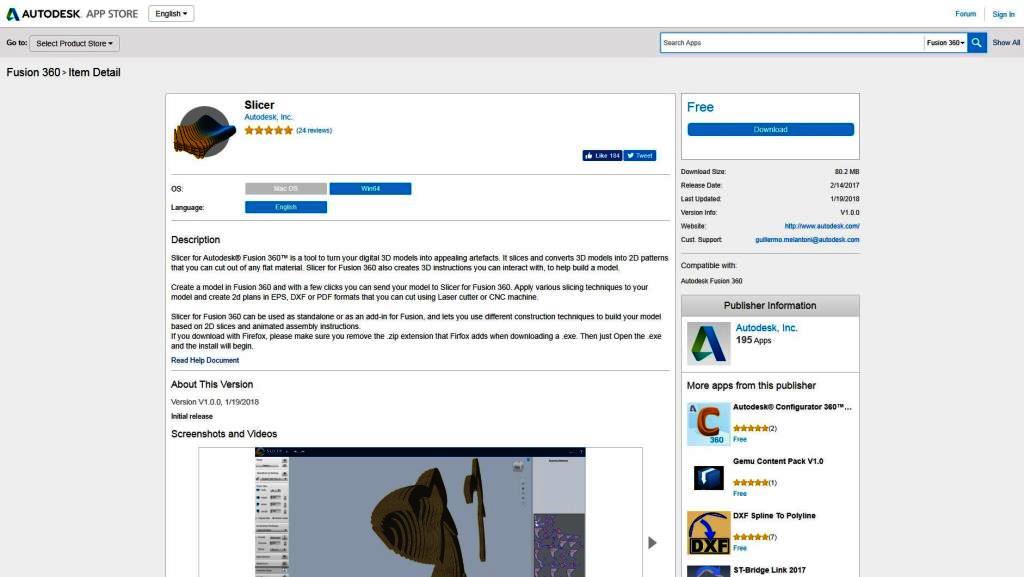
- I then went through THIS and THIS video Tutorials to know how to use it.
- In Fusion 360: Got to "MAKE" -> Choose "Slicer for Fusion 360"
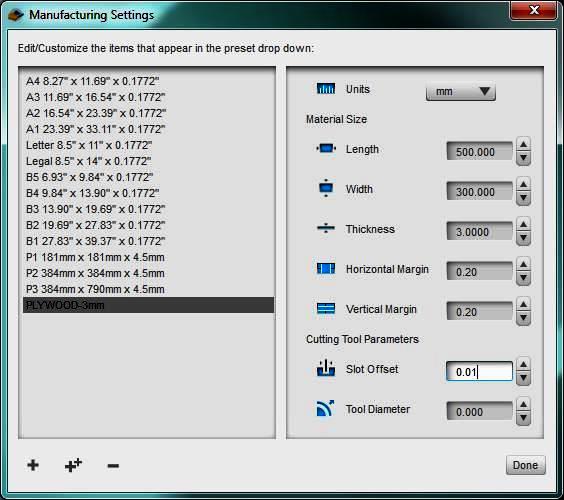
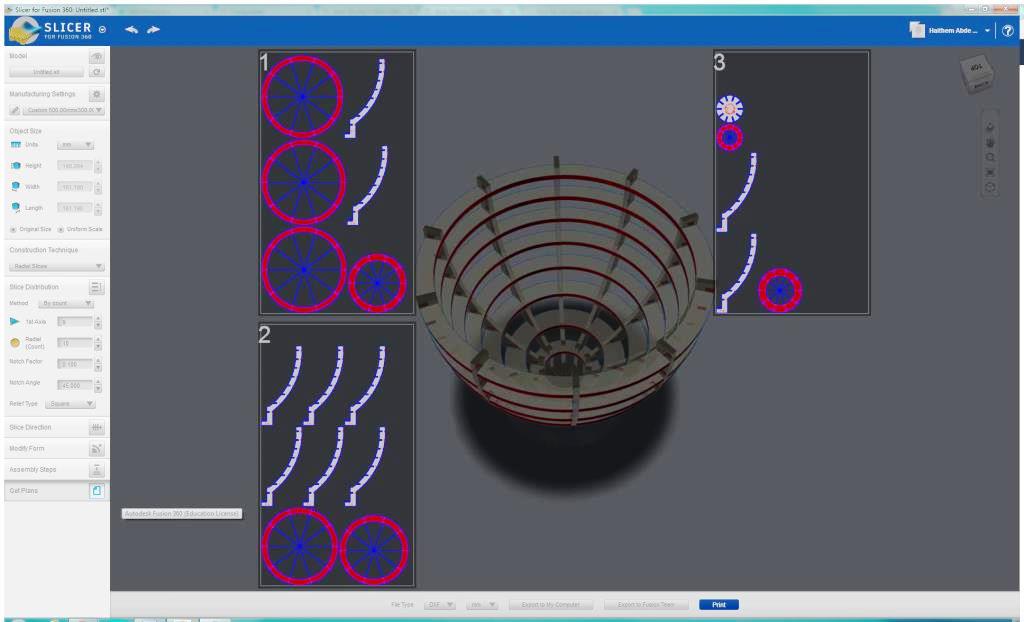
- In the SLICER window: Add new material, Name it PLYWOOD and insert the values in the screenshot below
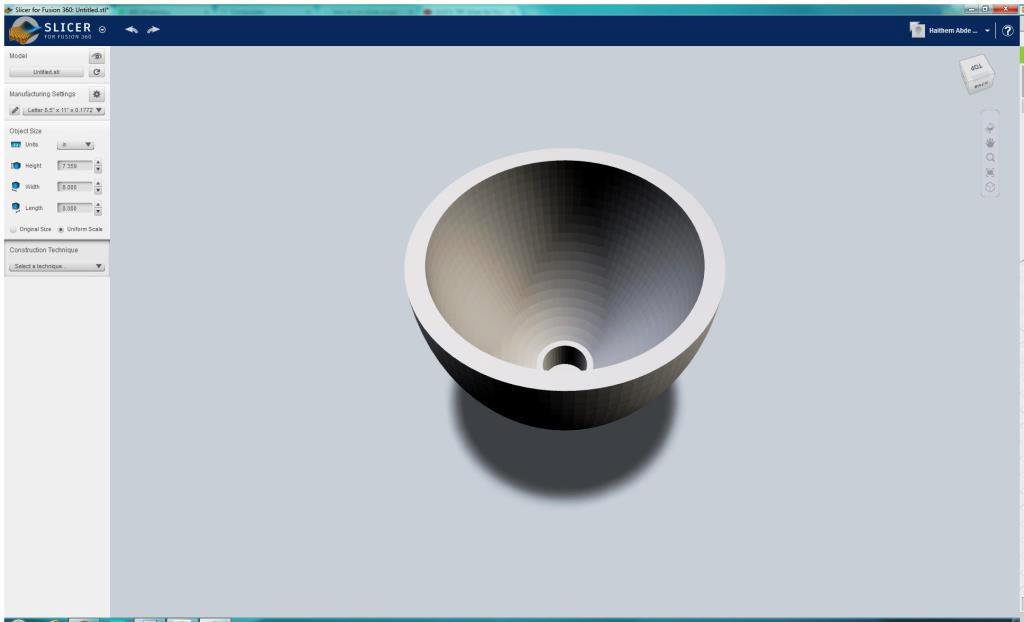
- Finally, Export the DXF files of the sliced shape
- For the Knife, I performed the following Steps:
- I used AUTODESK FUSION 360 to draw the shape in the image below using Straight and Curved Lines.
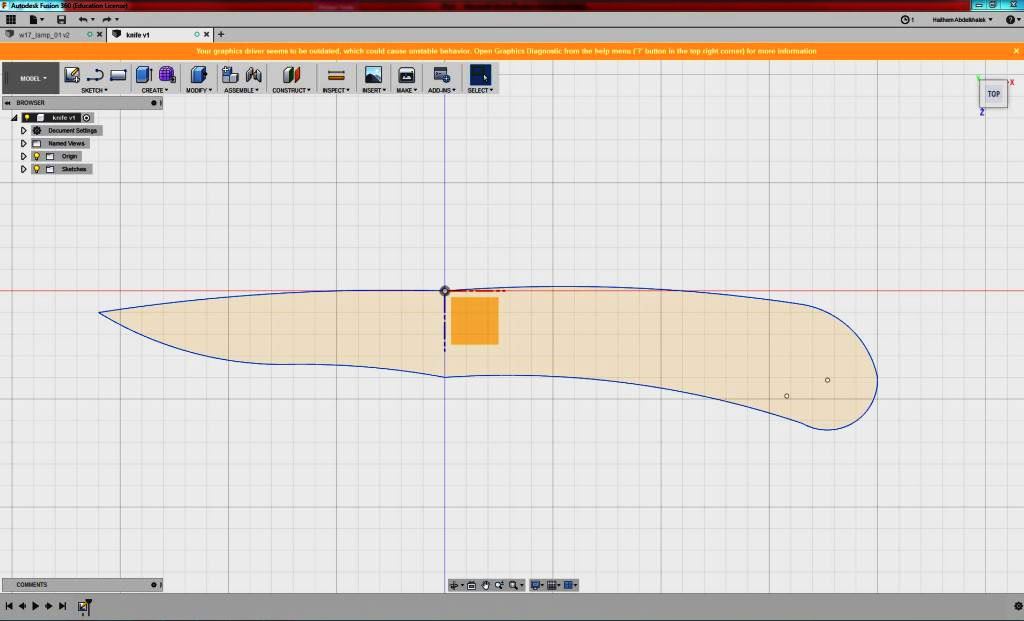
- I right clicked on the face of the shape I drew and exported it as DXF.
FABRICATING THE LAMP SKELETON AND KNIFE FRAME:
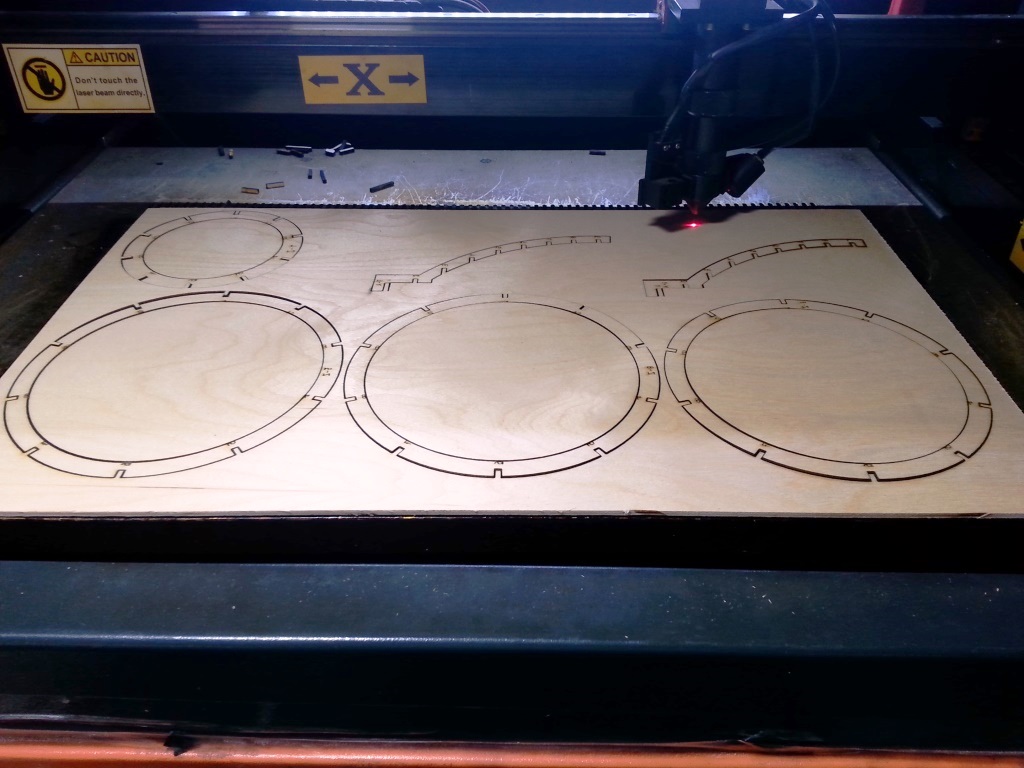
- I started cutting the LAMP SKELETON and the KNIFE Frame on the laser cutter.
- I installed the RD Works on my laptop and connected the Laser cutter USB cable to the laptop.
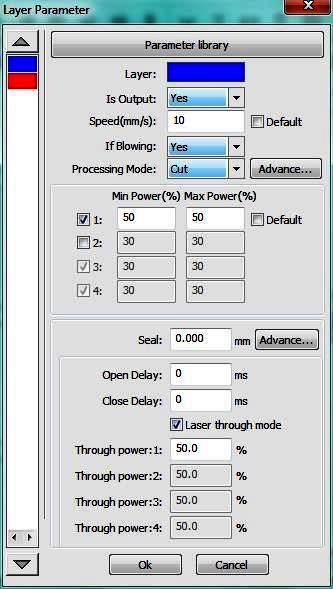
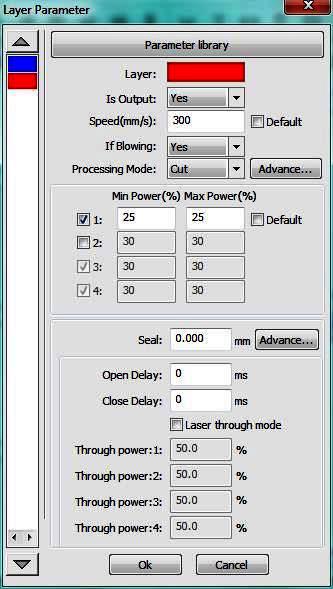
- I imported the first DXF file and adjusted the Power and speed as follows:
- For Cutting: POWER = 50, SPEED = 10
- FOR ENGRAVING: PPower = 25, SPEED = 300
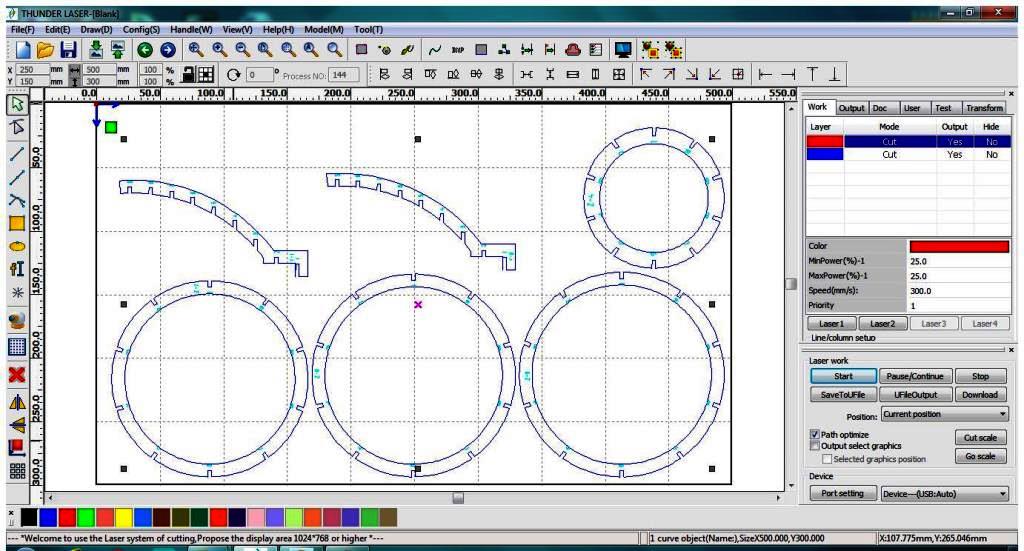
- I repeated the previous Steps with all the DXF files
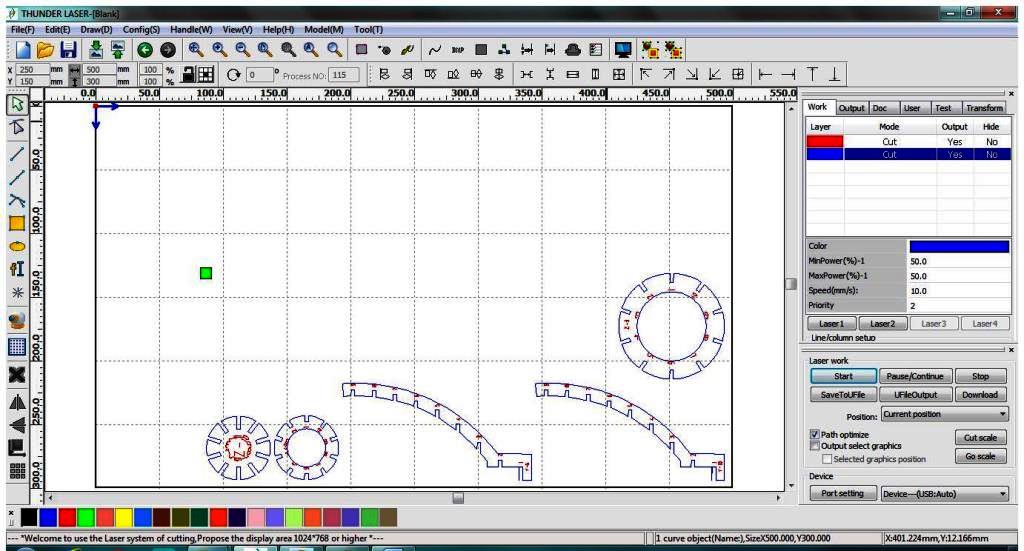
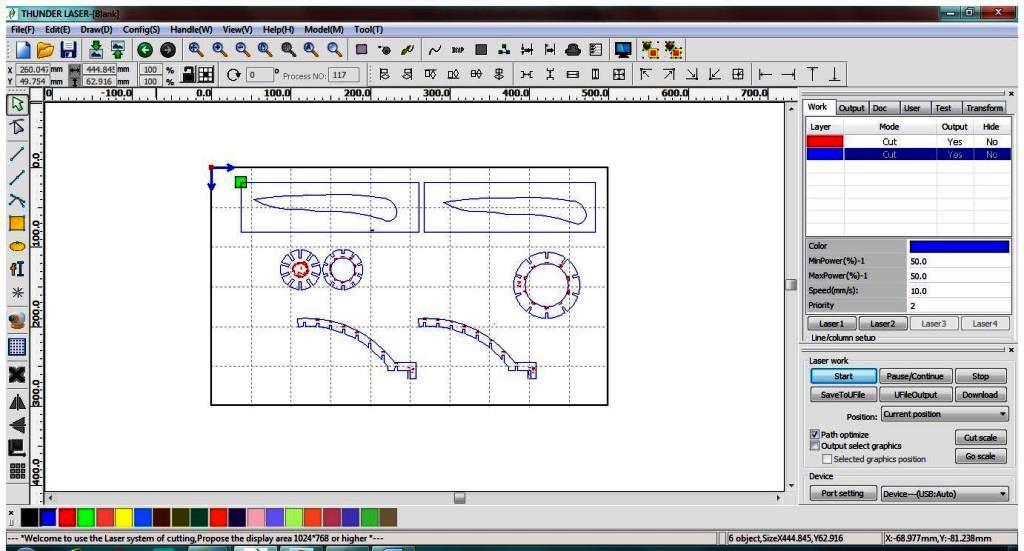
- I then cut the parts on the laser cutter
ASSEMBLY OF THE CUT PARTS AND PASTE THE COMPOSITE:
- For the LAMP I did the following steps:
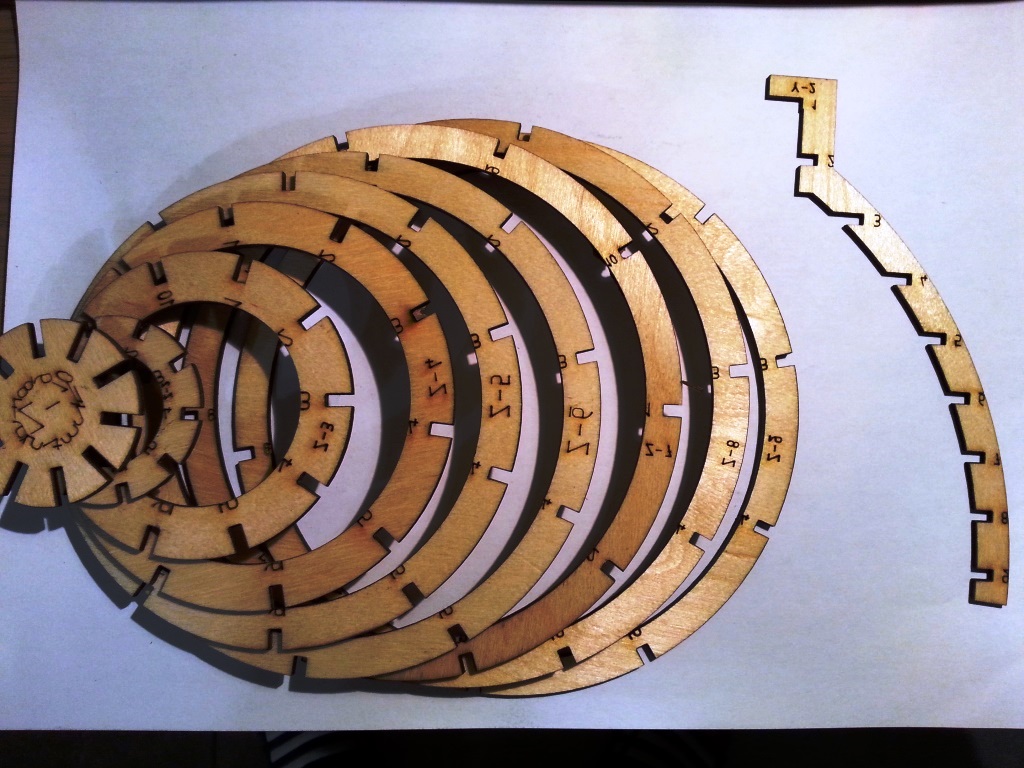
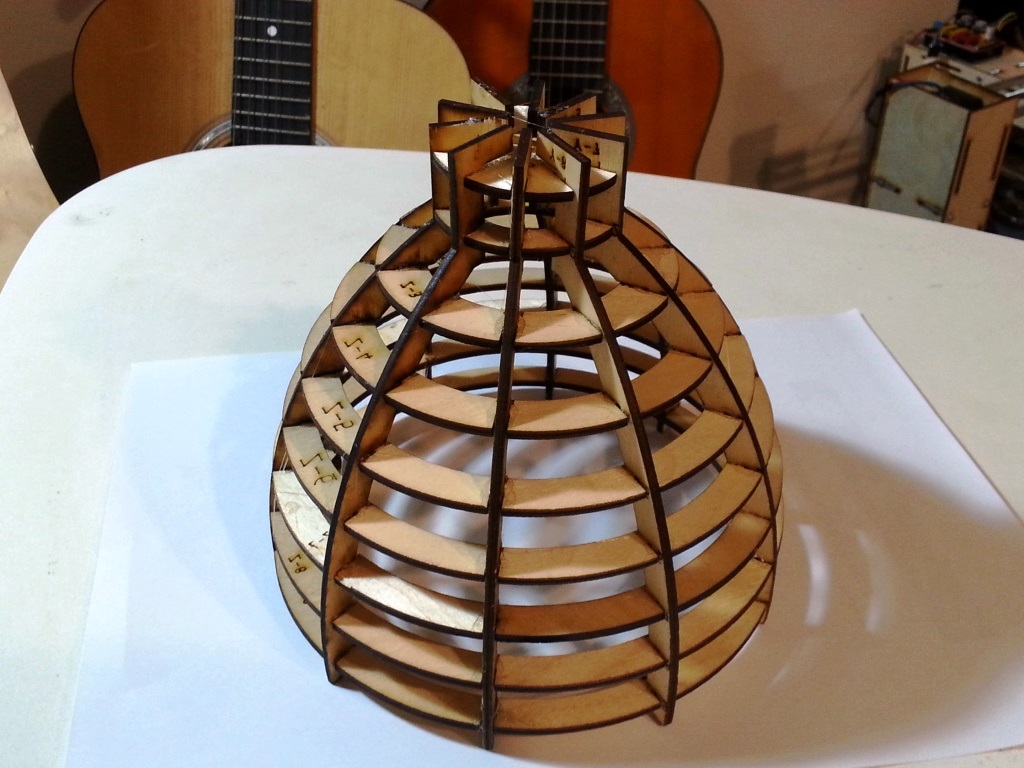
- Assemble the parts in order, notice that each Citcle has a number ingraved on it and it matches the number in the slots of the side support as shown in the image below
- I wrapped the assembled skeleton with plastic
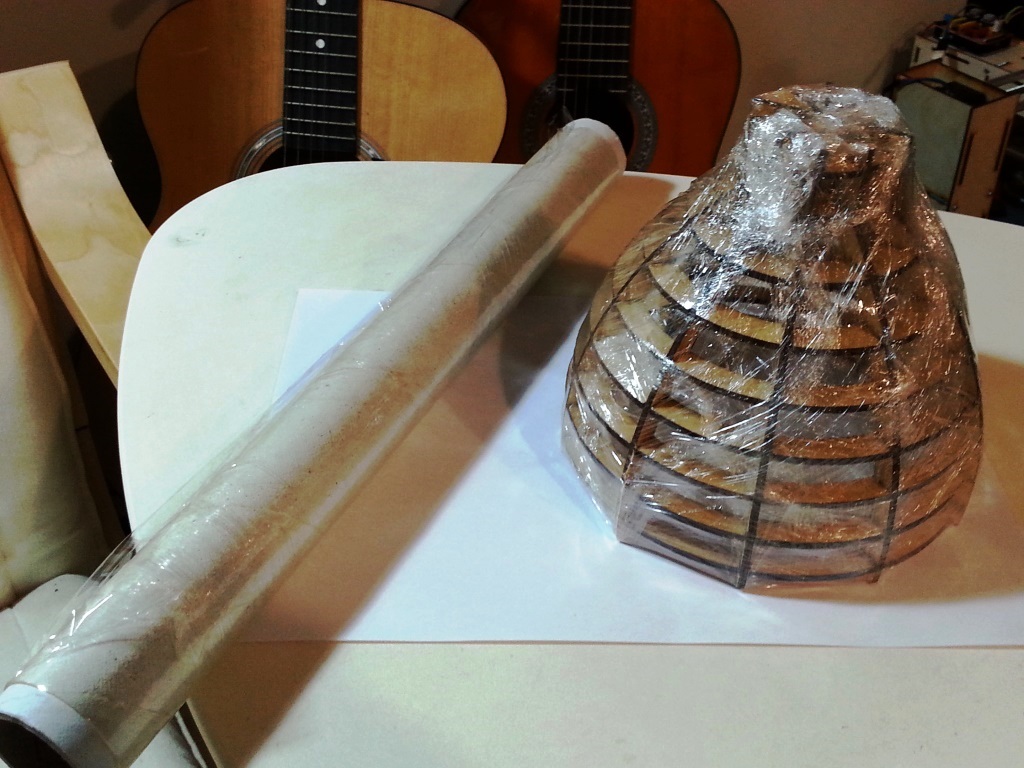
- I painted with the brush pieces of medical bandage using a mixyre of EPOXY 2:HARDNER 1 and stacked them above each other on the skeleton.
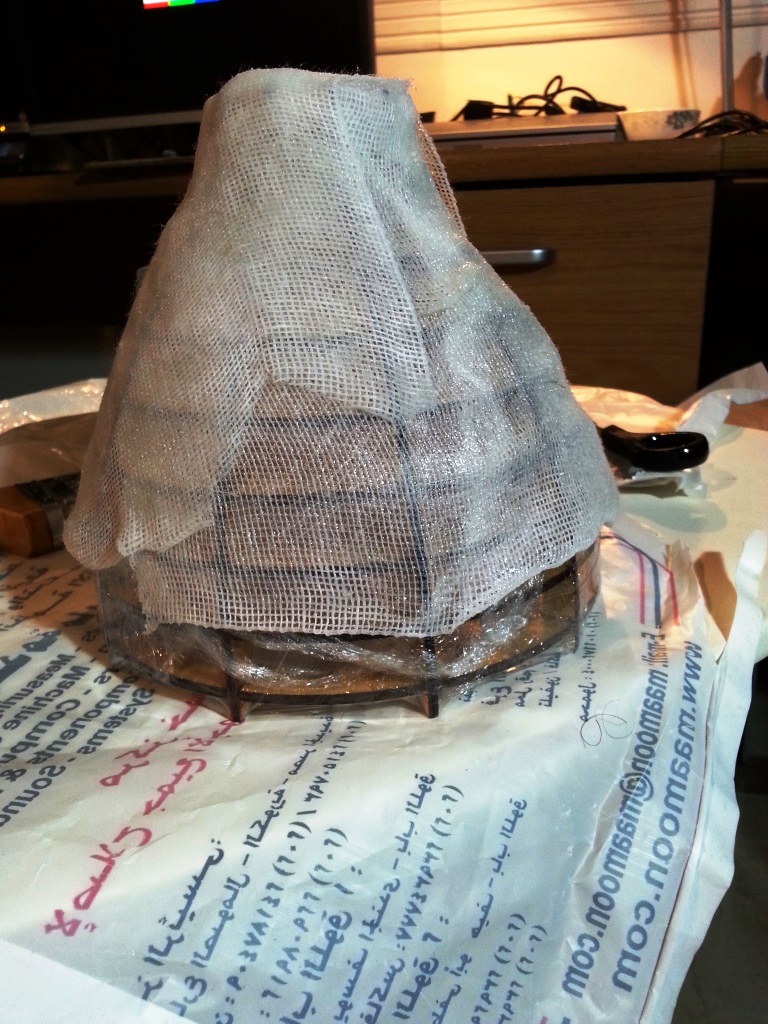
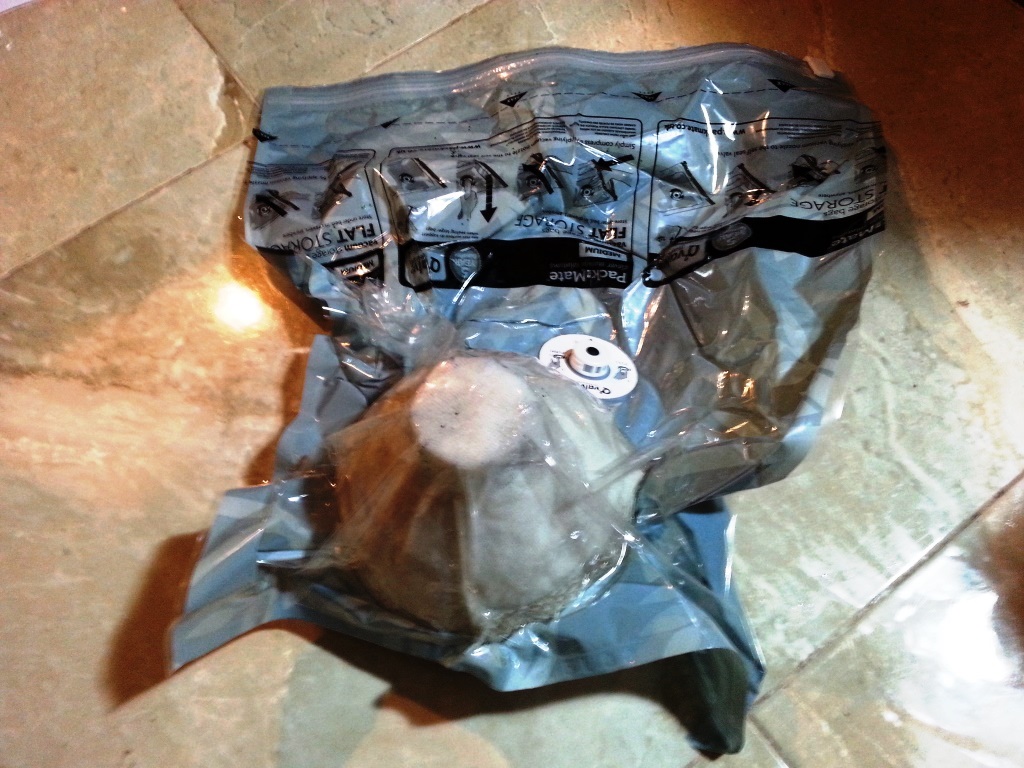
- I inserted the skeleton inside a vacuum bag and sucked out the air from the bag using a vacuum cleaner. Then I left it for 24 hours.
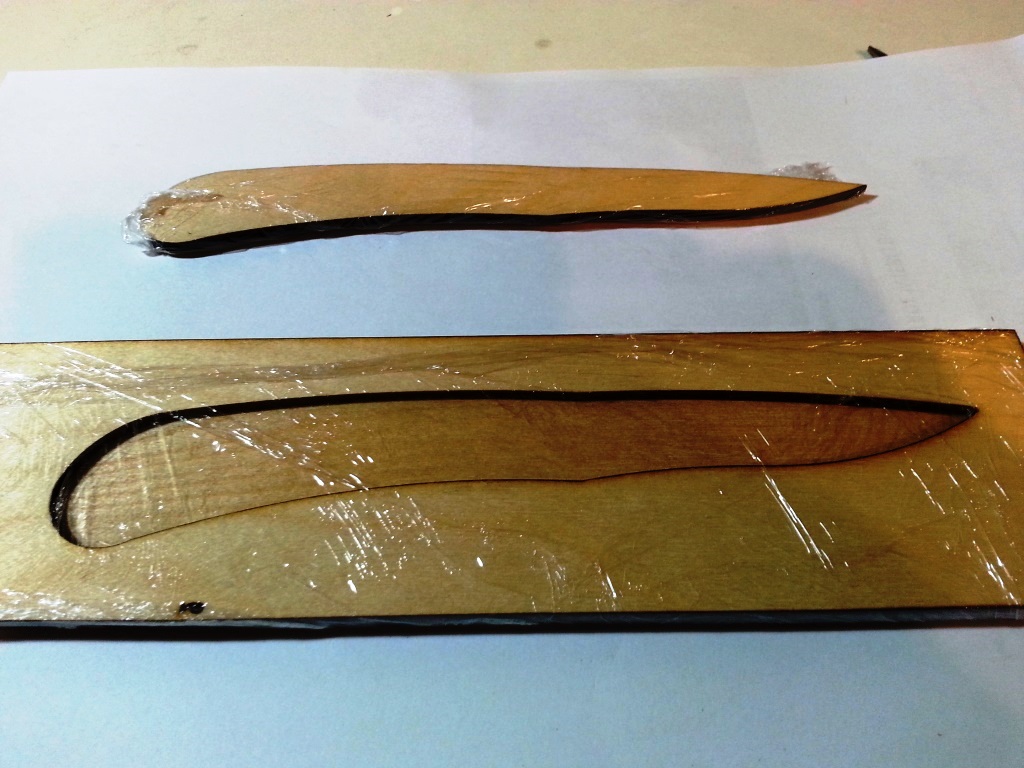
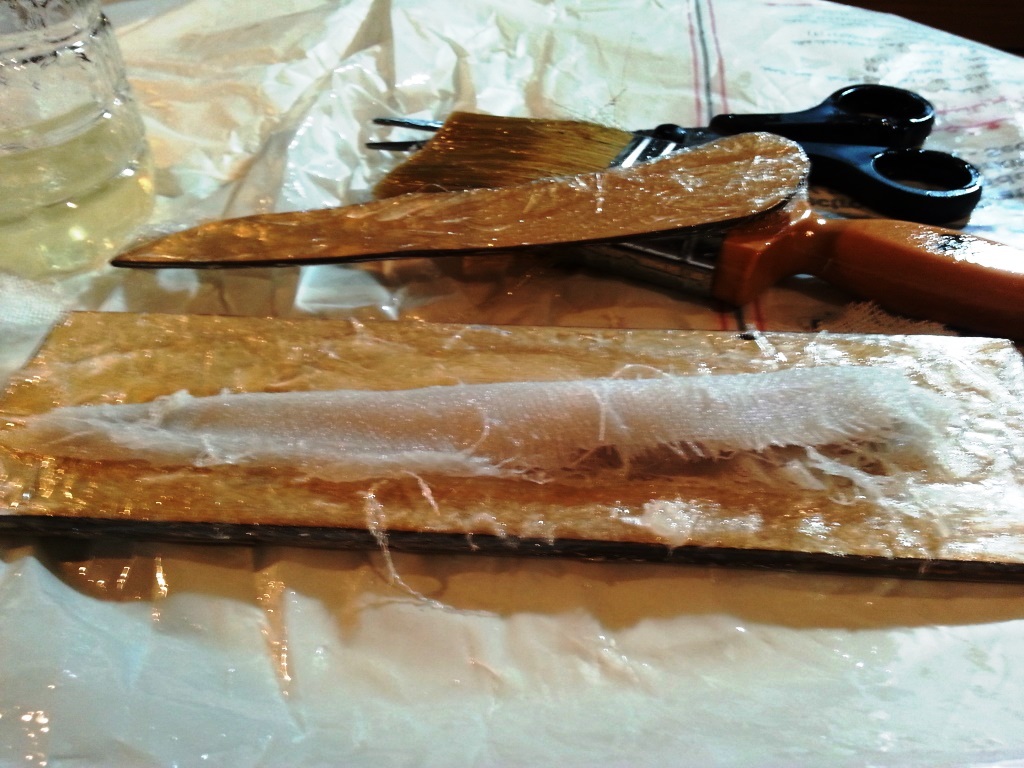
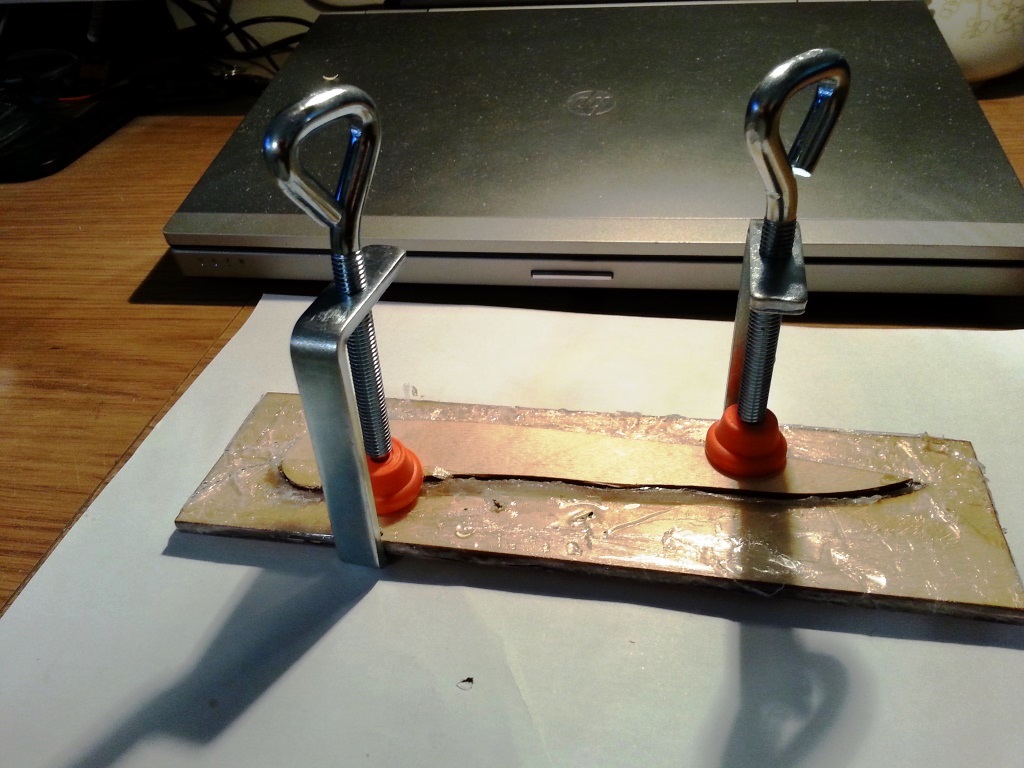
- For the KNIFE I did the following steps:
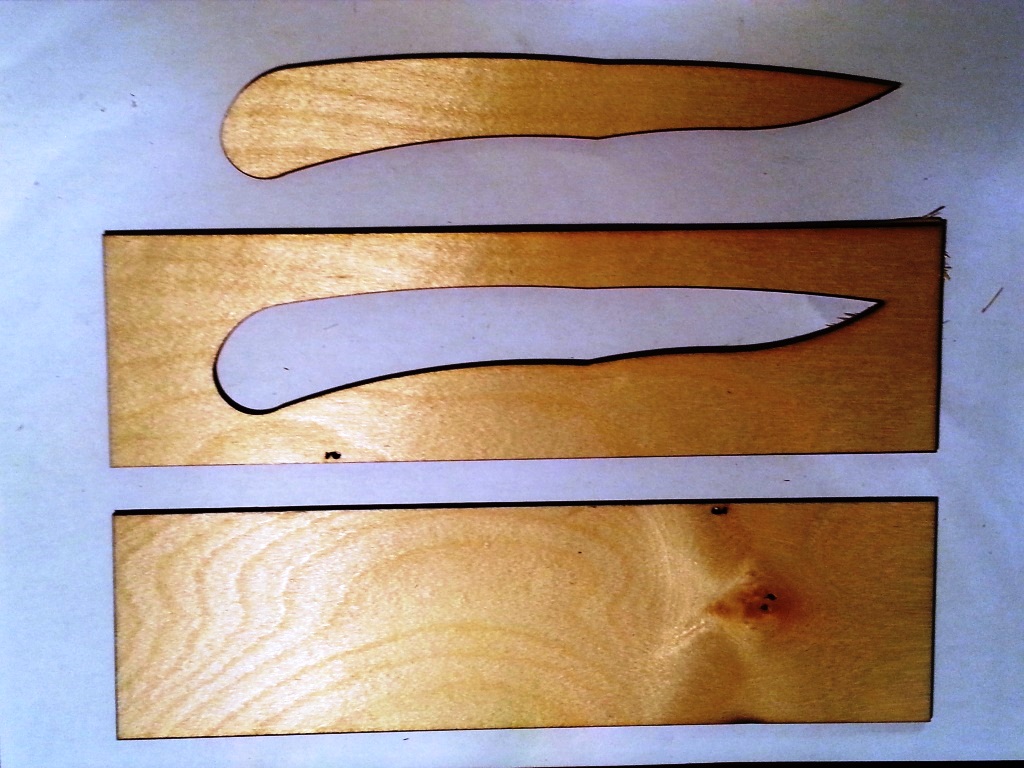
- Assemble the cut parts as shown in the image below:
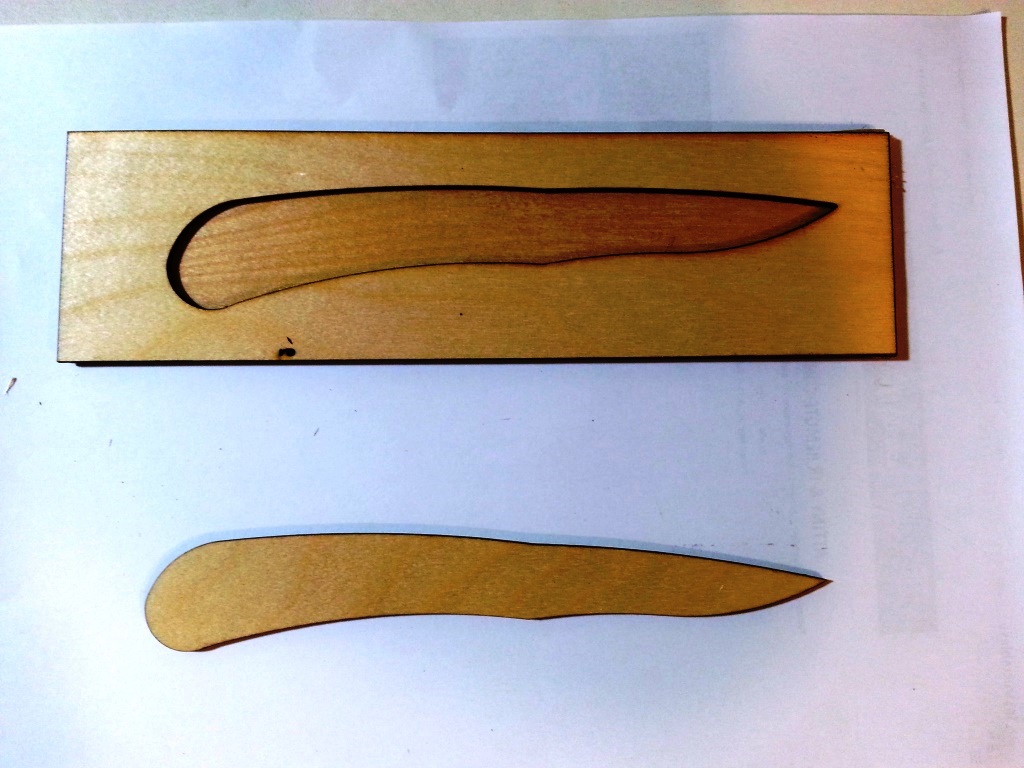
- I painted with the brush pieces of medical bandage using a mixyre of EPOXY 2:HARDNER 1 and stacked them above each other inside the frame.
- I applied pressure on the frame using clamps and left it for 24 hours.
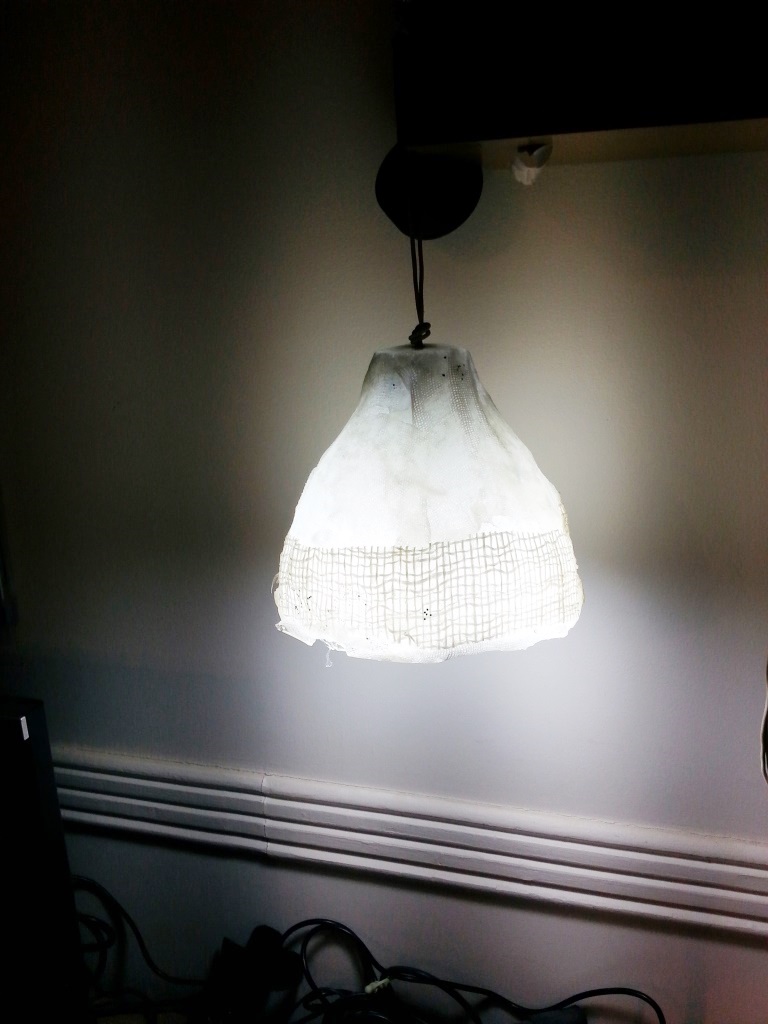
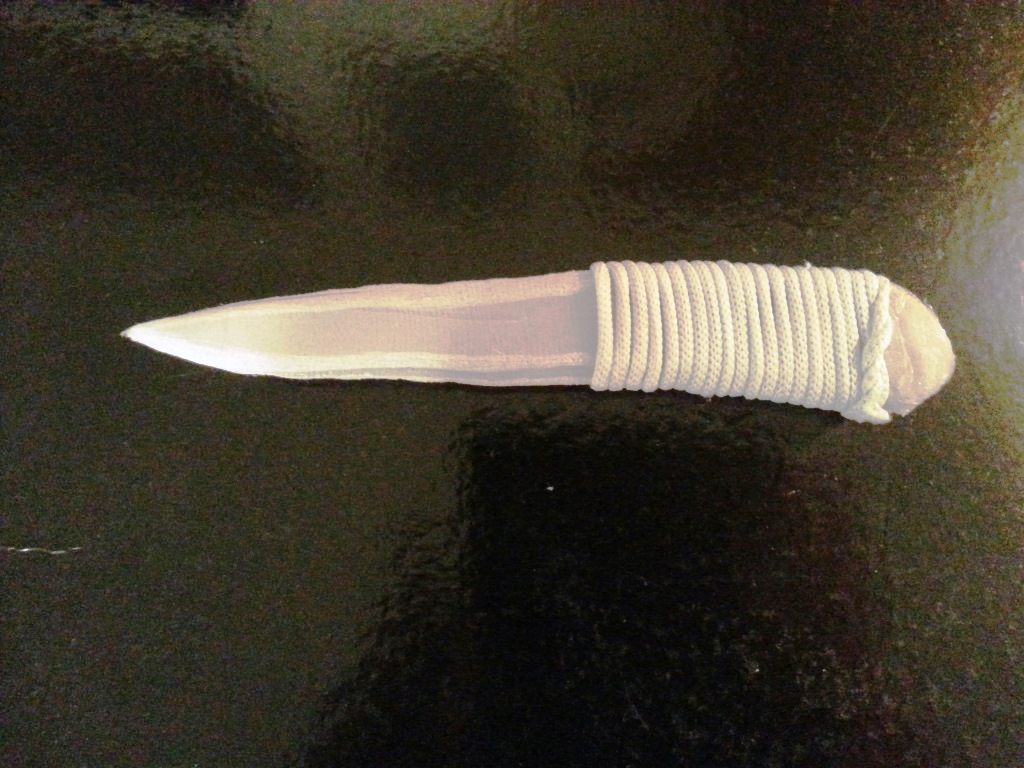
FINAL RESULTS:
- I removed the Lamp from the Vacuum bag and the knife from the frame and the final result is as shown below
Files: