WEEK 2 - PROJECT MANAGEMENT
INTRODUCTION
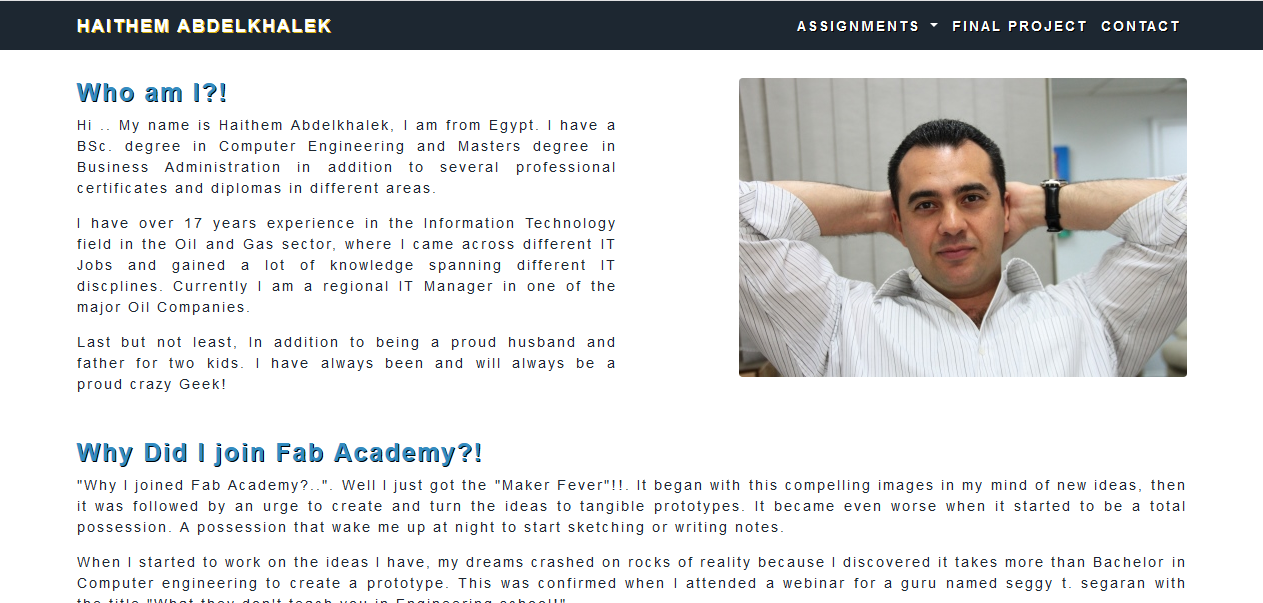
To be honest, I knew a lot about HTML and CSS coding, so the website implementation was not the hard part in this assignment. The hard part was to come up with the convenient design for the site that will suit the contents that I intend to add to the website in the coming weeks and will minimize the need for any modifications for the design in the future. Also as it is my first time to work with GIT, it took me sometime to get familiar with it. To ensure that your job will be much easier than mine, I will do my best to make this documentation as explanatory and detailed as possible ... Enjoy the ride! ☺.
Assignment Description
- Work through a git tutorial.
- Build a personal site in the class archive describing you and your final project.
- Upload it to the class archive.
Learning Outcomes
- Explore and use website development tools.
- Identify and utilize version control protocols.
Have you (Checklist)
- ✔ made a website and described how you did it?
- ✔ introduced yourself?
- ✔ documented steps for uploading files to archive?
- ✔ pushed to the class archive?
STEPS PERFORMED:
- Create / Reset password for the provided account on https://gitlab.fabcloud.org.
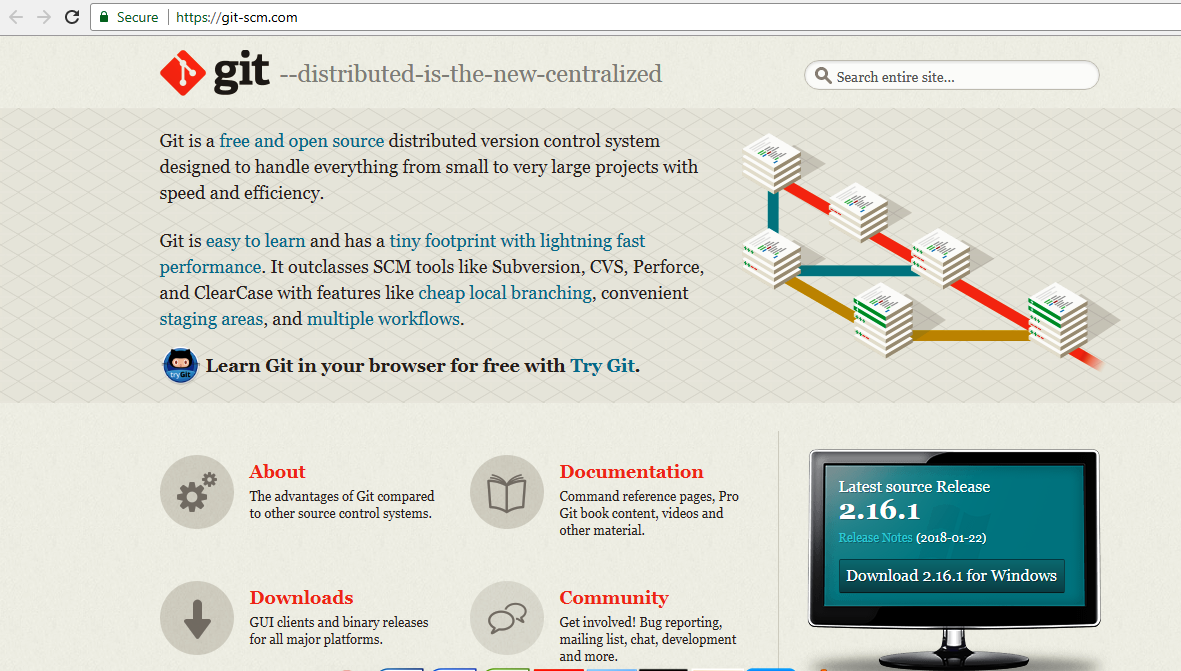
- Download and install git bash from https://git-scm.com/.
Generating SSH key:
- Using the git bash you need first to check that you don't have a previous SSH key using the command: cat ~/.ssh/id_rsa.pub
- If you have a previous key it will show a lot of letters and signs

- If you don't have any key then write: ssh-keygen -t rsa -C "yourmail@example.com" when prompted for location and file name, just press enter to use the default so that the key can be used automatically.
- Then enter a Password.
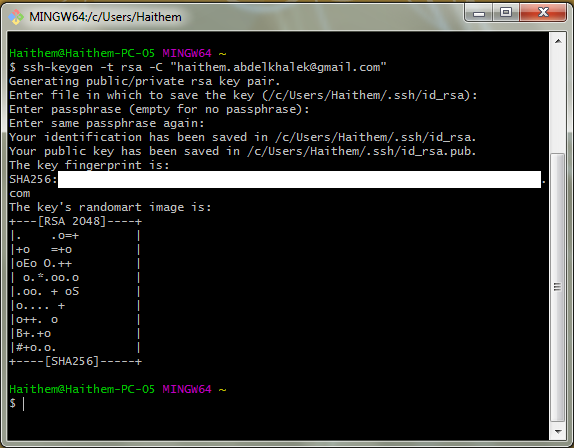
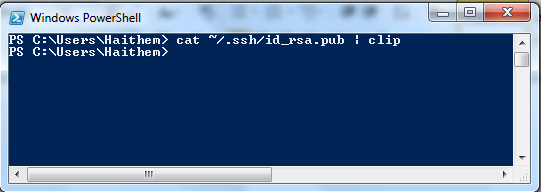
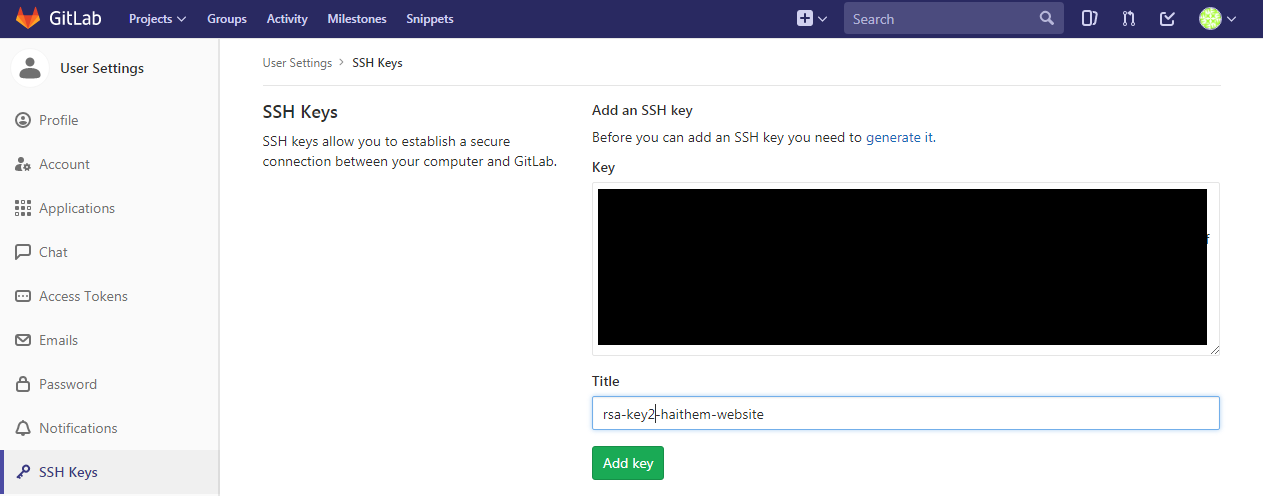
- Then go copy the generated SSH key from the location given at the last message after entering the password (try to open it by NotePad ++) OR you can get it by opening windows powerShell from START menu and enter this command as follows: cat ~/.ssh/id_rsa.pub | clip
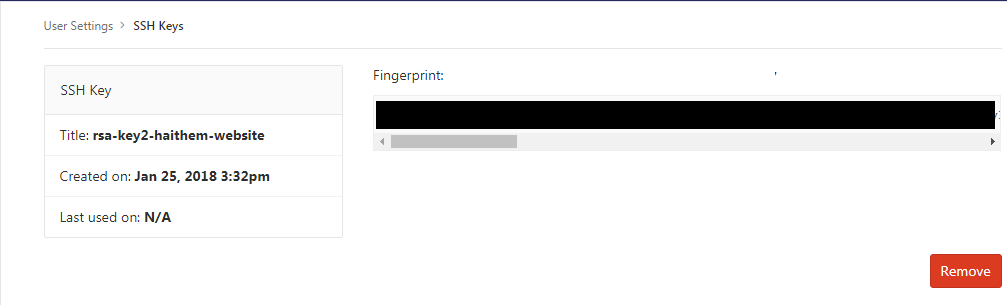
- NOW you need to go to your profile (Top Right) on GitLab, then profile settings then SSH keys then paste it in the Key box and give it any TITLE you want then click ADD KEY button. Now you are ready to push and pull repository!.
- I did not use Git before so, I went through a quick tutorial which was very helpfull. The tutorial is located in this Link
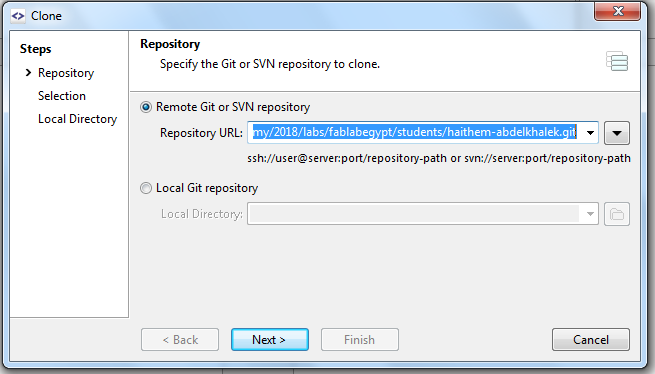
- I then downloaded and Installed smartgit from http://www.syntevo.com/smartgit/.
- Open Smartgit and choose clone an existing repository
- In the pop-up window paste the remote repository URL after copying it from your gitlab as shown in the screen shot below:

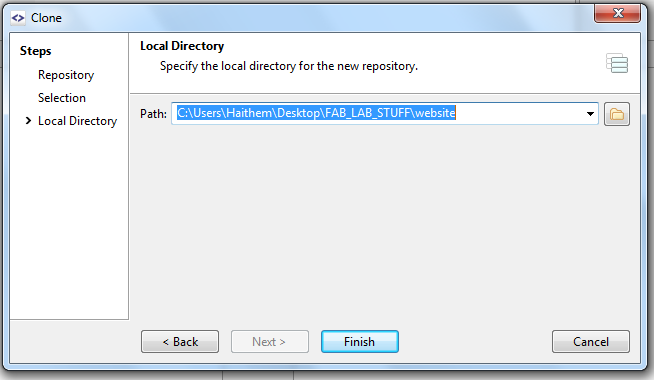
- Clone Succeeded!
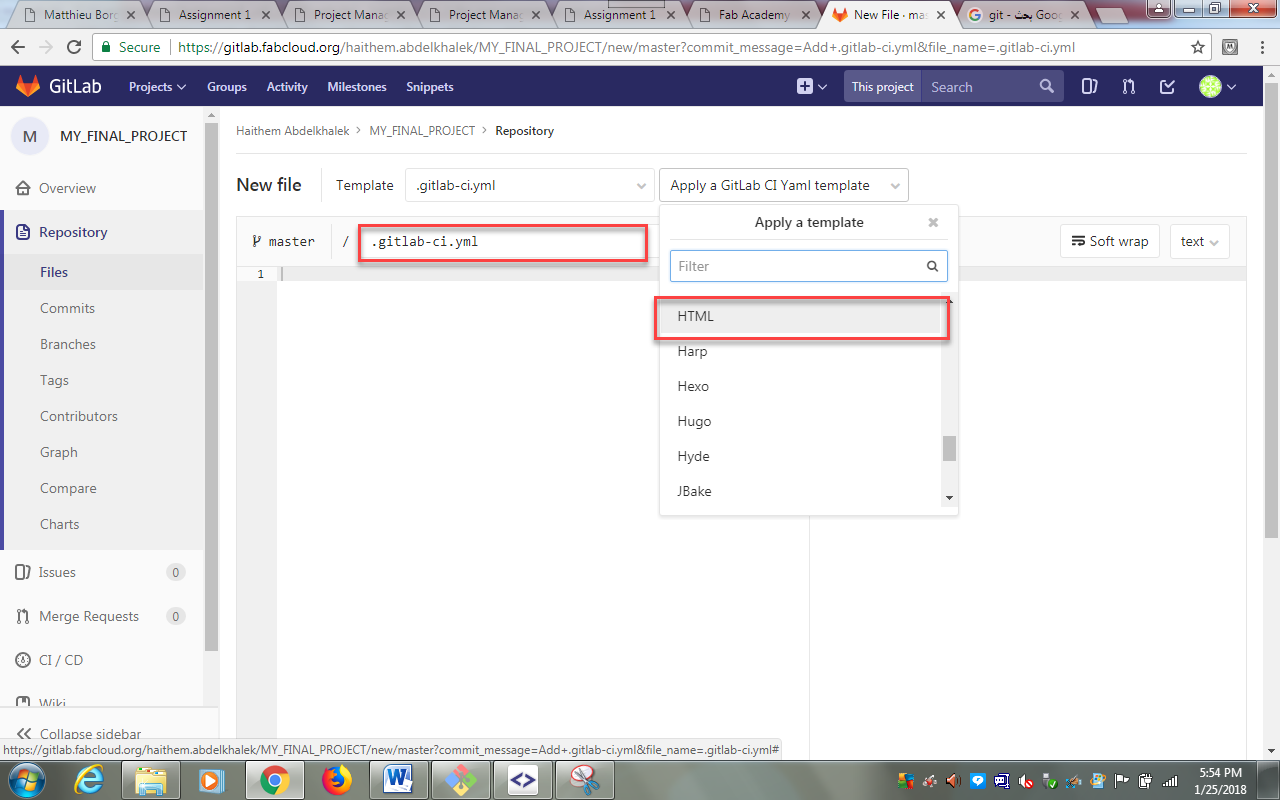
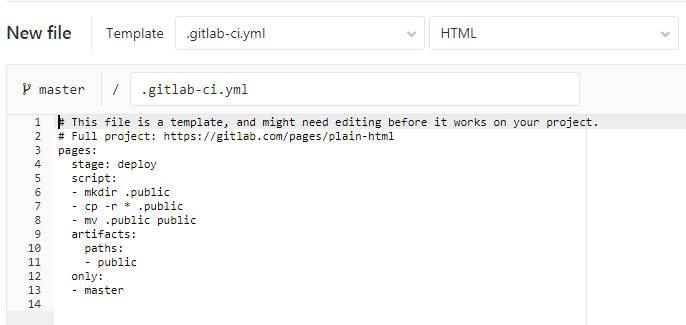
- Create CI File, the file simply is responsible for executing a series of tasks or commands to guarantee that the files we will upload are going to be published

- Special thanks to Matthieu Borgognon ( "http://archive.fabacademy.org/2017/at3flo/students/3/index.html#tw-href0104" ) from at3flo project as his documentation of this assignment really did good help.
- Now do the needed changes on the local folder where the remote repository is cloned, every time you need to make sure your changes are reflected in the remote repository do a PUSH as shown below.

Generating the HTML and CSS codes for the website:
- I read through a quick tutorial about bootstrap in this Link and to save time and efforts, I decided to use a bootstrap template then modify it to suit my needs.
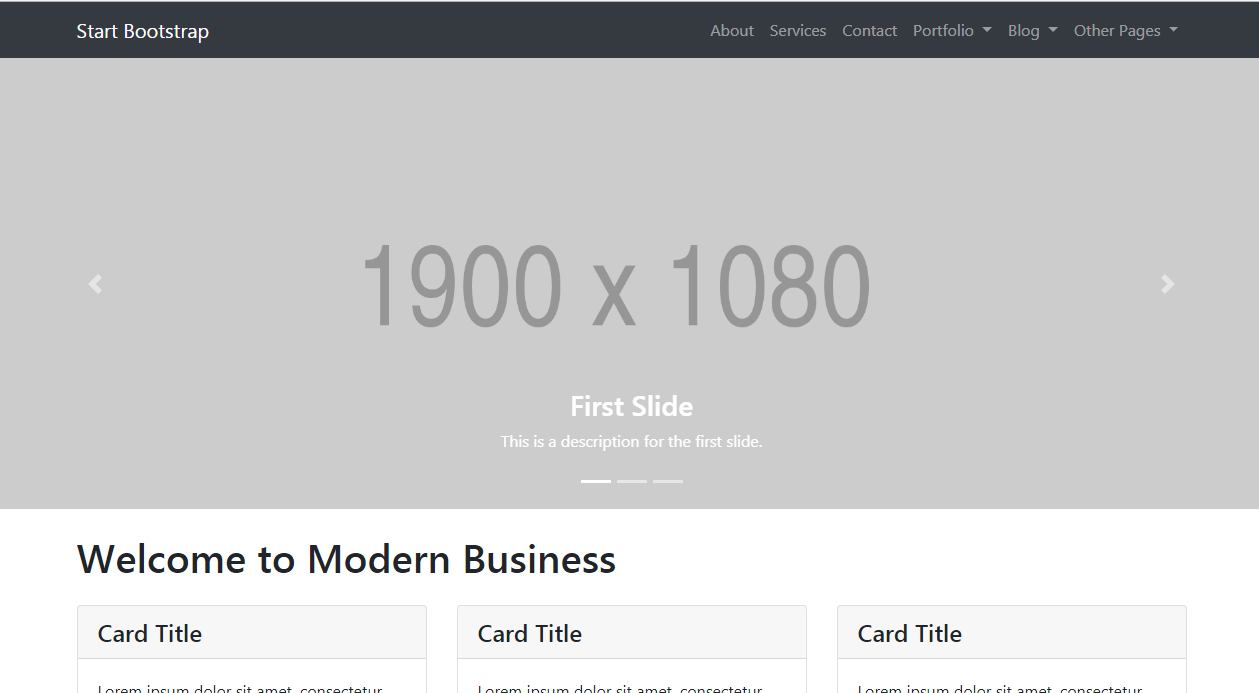
- I browsed the previous years sttudents websites and I got a clear view about the needed site map and its associated pages, then I downloaded the closest match free template from https://startbootstrap.com/ which was very plain as below.
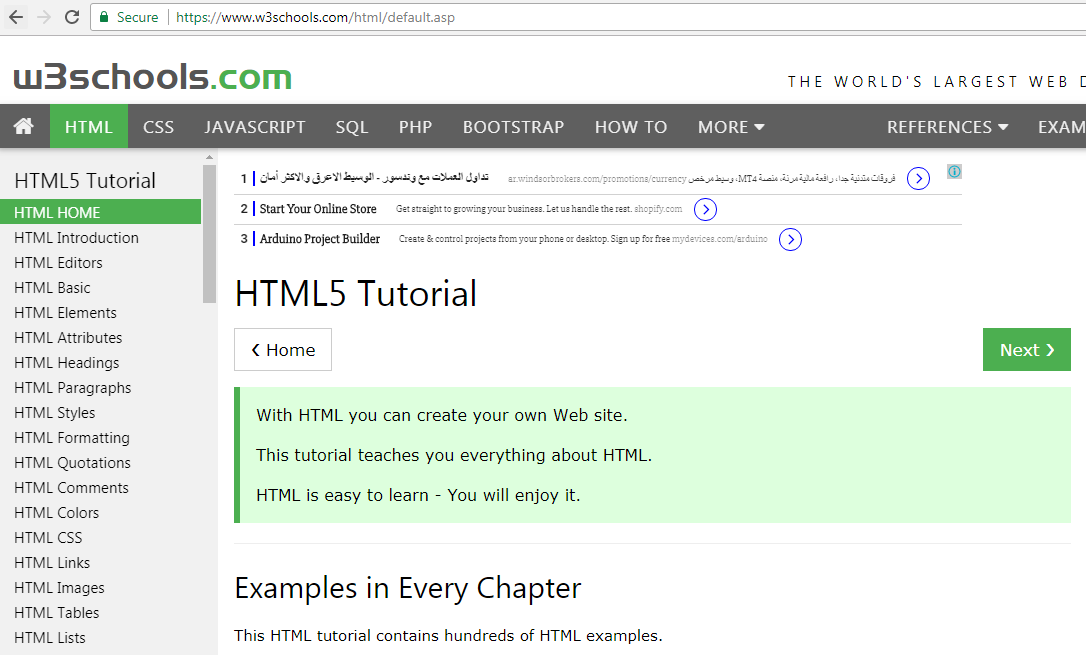
- I then used the https://www.w3schools.com online tutorials to get all the knowledge I need about HTML and CSS coding.
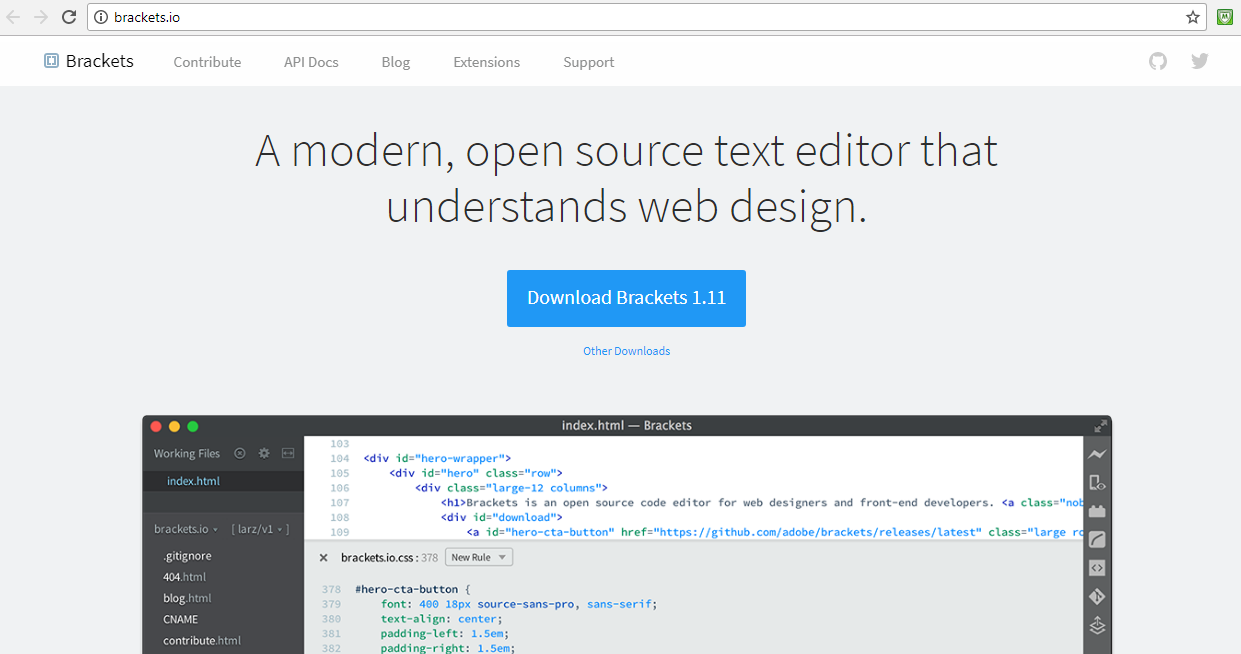
- I needed a powerful code editor application, so I decided to download and install Brackets editor from this Link
- Now, it is time to jump to modifying the code.
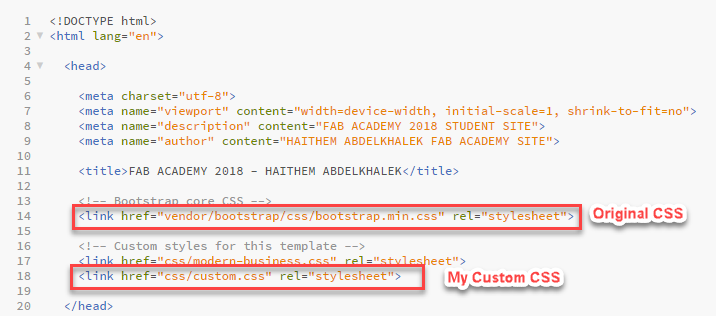
- Instead of modifying the website CSS code directly, it was recommended to create a new CSS where I added my modifications. So i created custom.css and I added a reference to it in the HTML files as shown to override the original CSS settings.
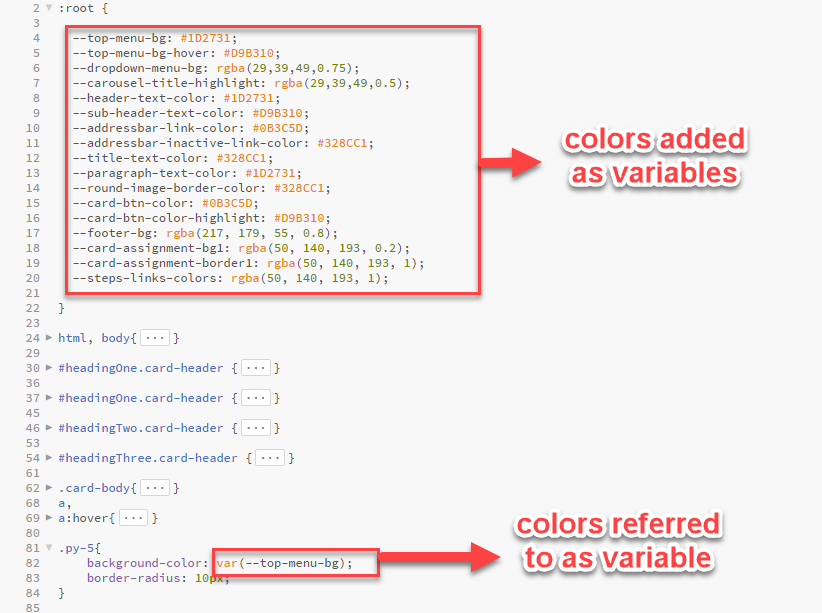
- Since I wanted to make any future changes to the colors easier, I added a full section in my custom.css files to colors represented by variables and I refered to the variables in my code. This way I can change ONE LINE OF CODE where the color stored in the variable and have my website colors changed entirely ... cool right?!!
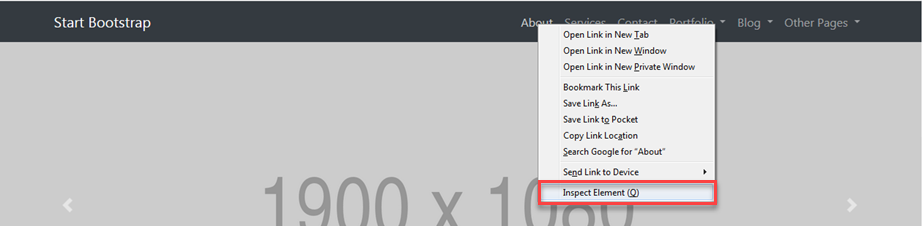
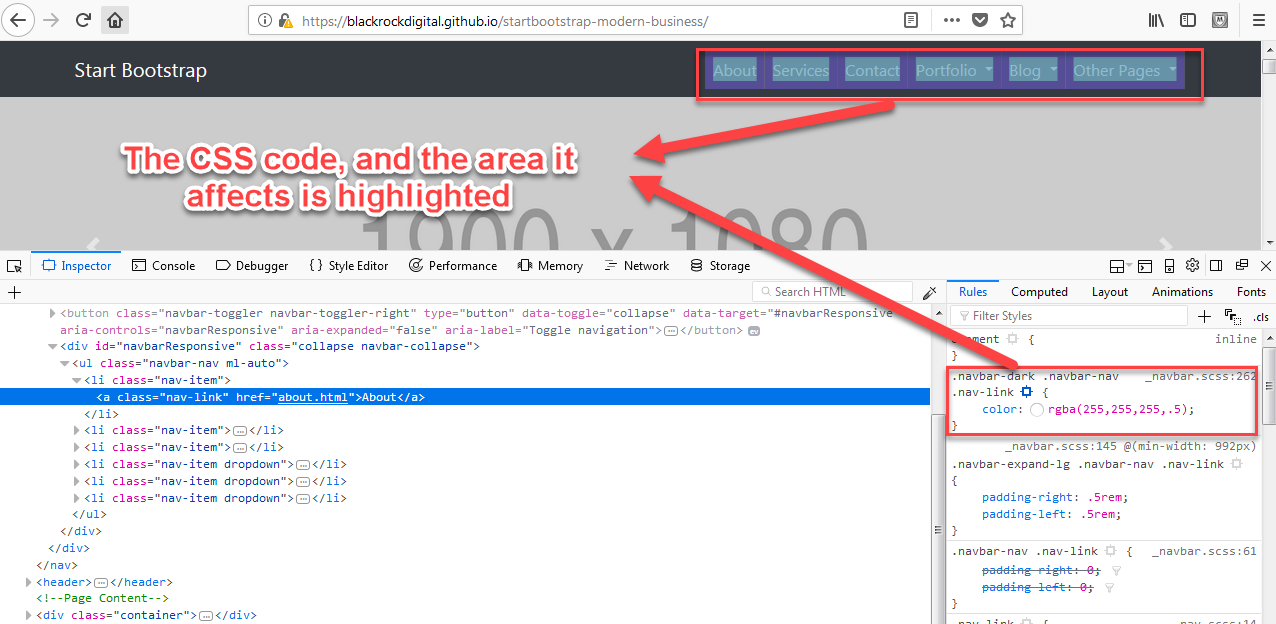
- It puzzled me in the beginning what CSS codes I need to change or add but to know about the CSS selectors I needed to modify I right click the element and choose "Inspect", then get the name of the selector, copy the style and paste it in the custom.css file then modify it.
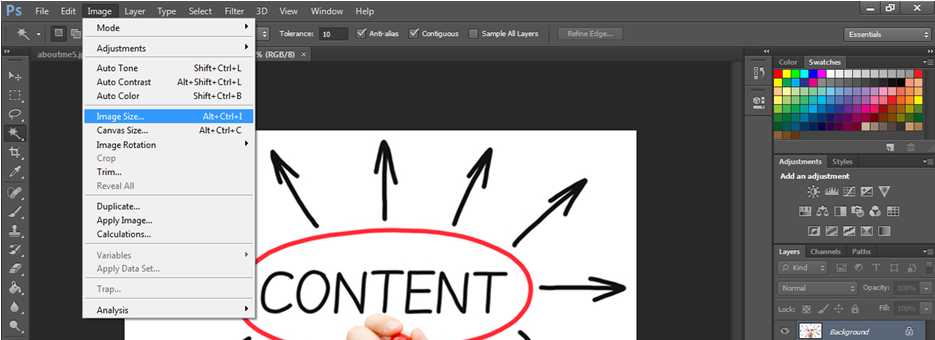
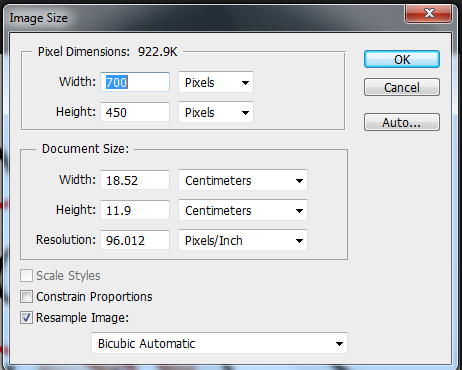
- I used adobe Photoshop to work on the images I used in the site and to perform the following tasks: Edit th photos and their colors, resize the photos to fit in the site, compress the photos file sizes to web size
- Finally, here is my website after all the modifications I performed. Well ... That was really FUN!