Assignment 9
Molding and Casting

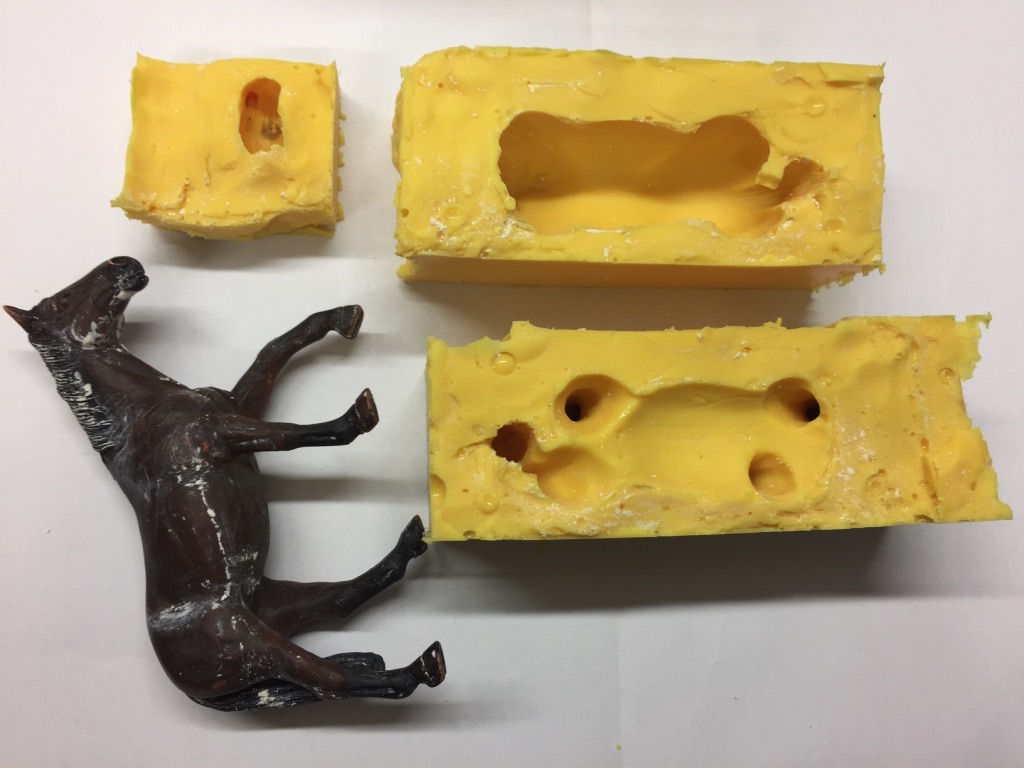
This week the topic was molding & casting. I was really looking forward to getting to know techniques of casting & molding as I have never done it before and I like the idea of being able to reproduce an usual object with different materials than wood or PLA. We used two ways for creating molds:
1. Use the CNC milling machine to create a mole
2. Use the three way process to produce a mole
Again, we were asked to do a group assignment: review the safety data sheets for each of your molding and casting materials and make compare test casts. You can find the documentation on the Group project page.
Design with Fusion360
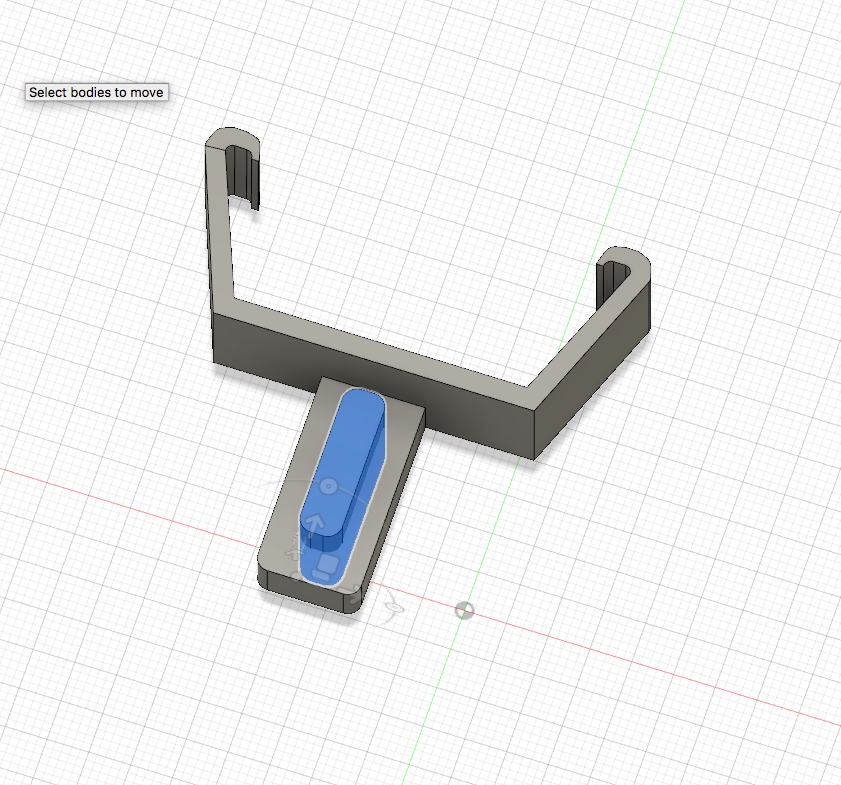
For the CNC milled mole I first created a 3D model with Fusion 360.
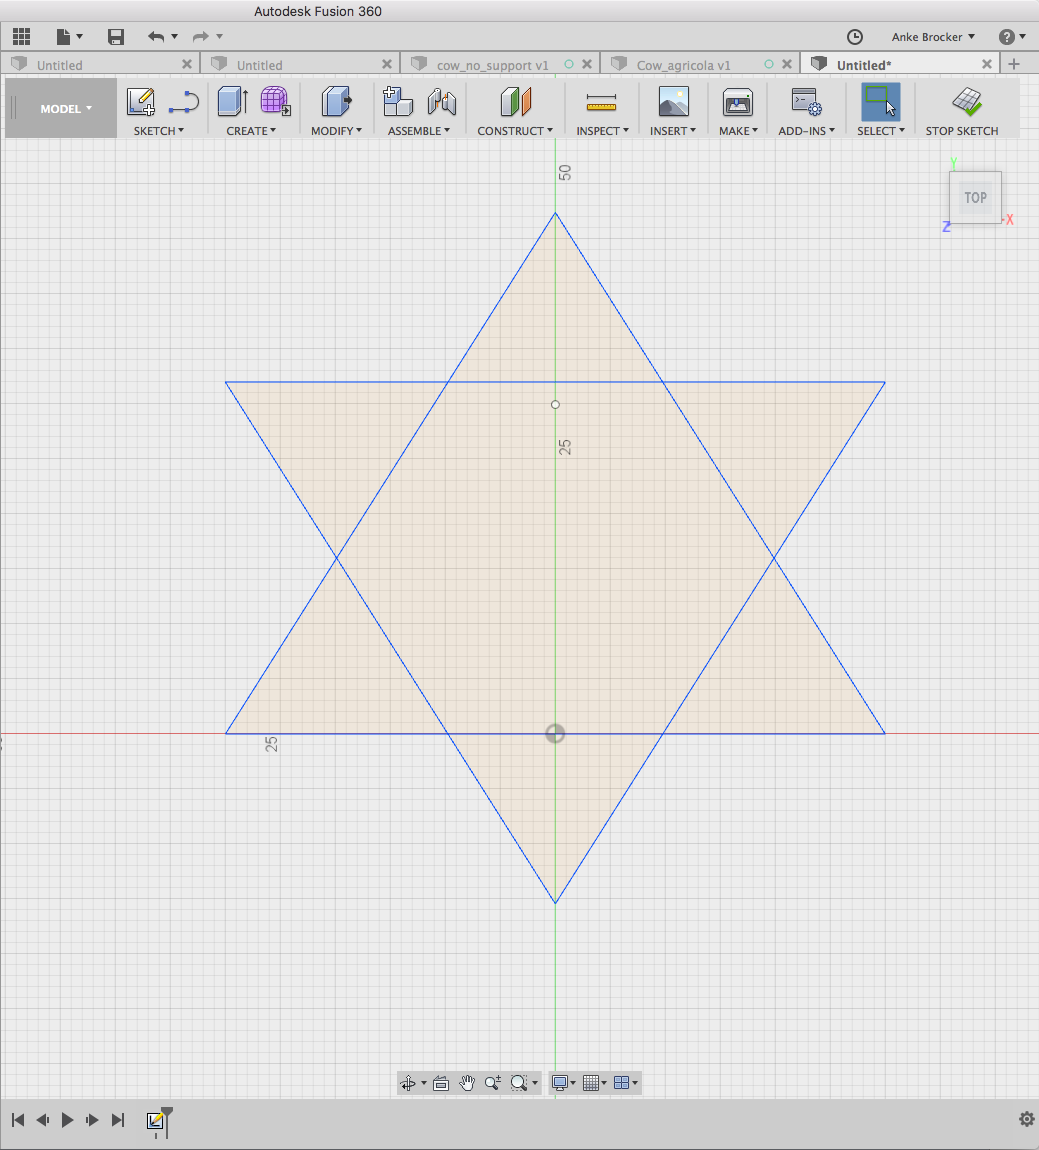
2. Duplicate the 2D start shape and create different stars by varying their dimensions.
3. Use the tool 'Extrude' to form 3D objects.
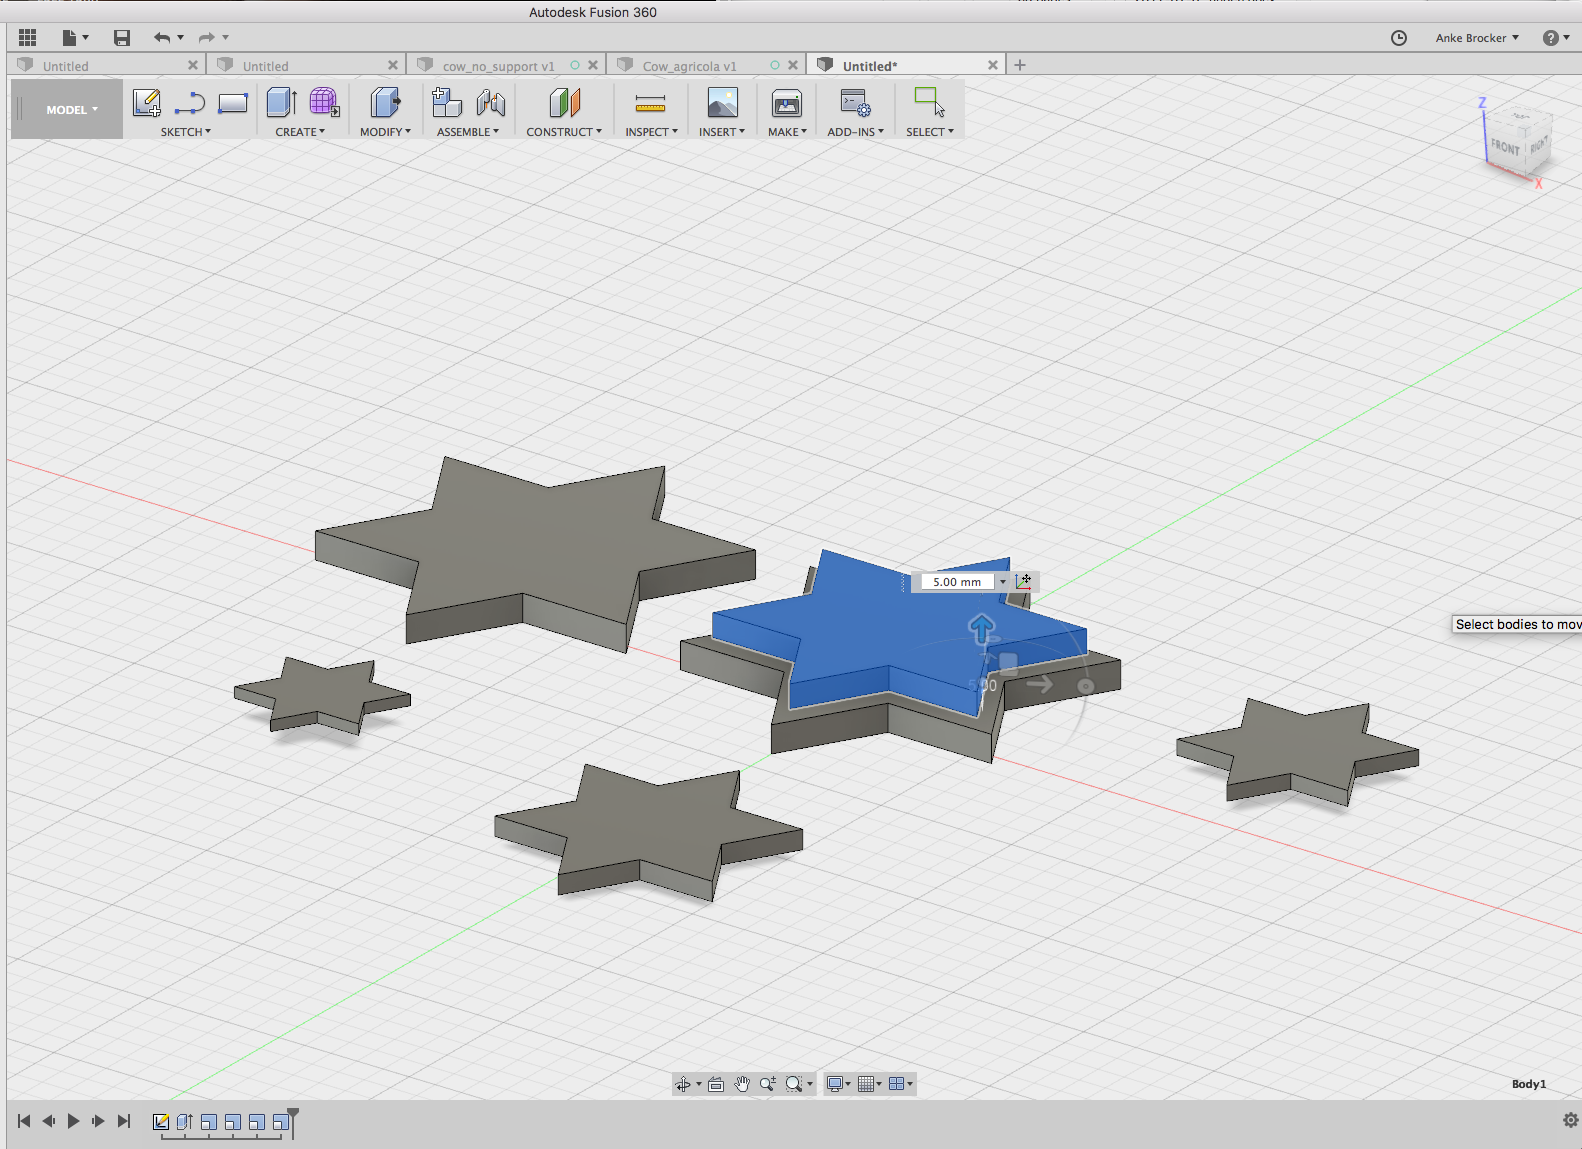
5. I decided five stars on top of each other are enough. The star on the top level was modified with the tool 'Rule Fillet'. This way the top of the star was made round.
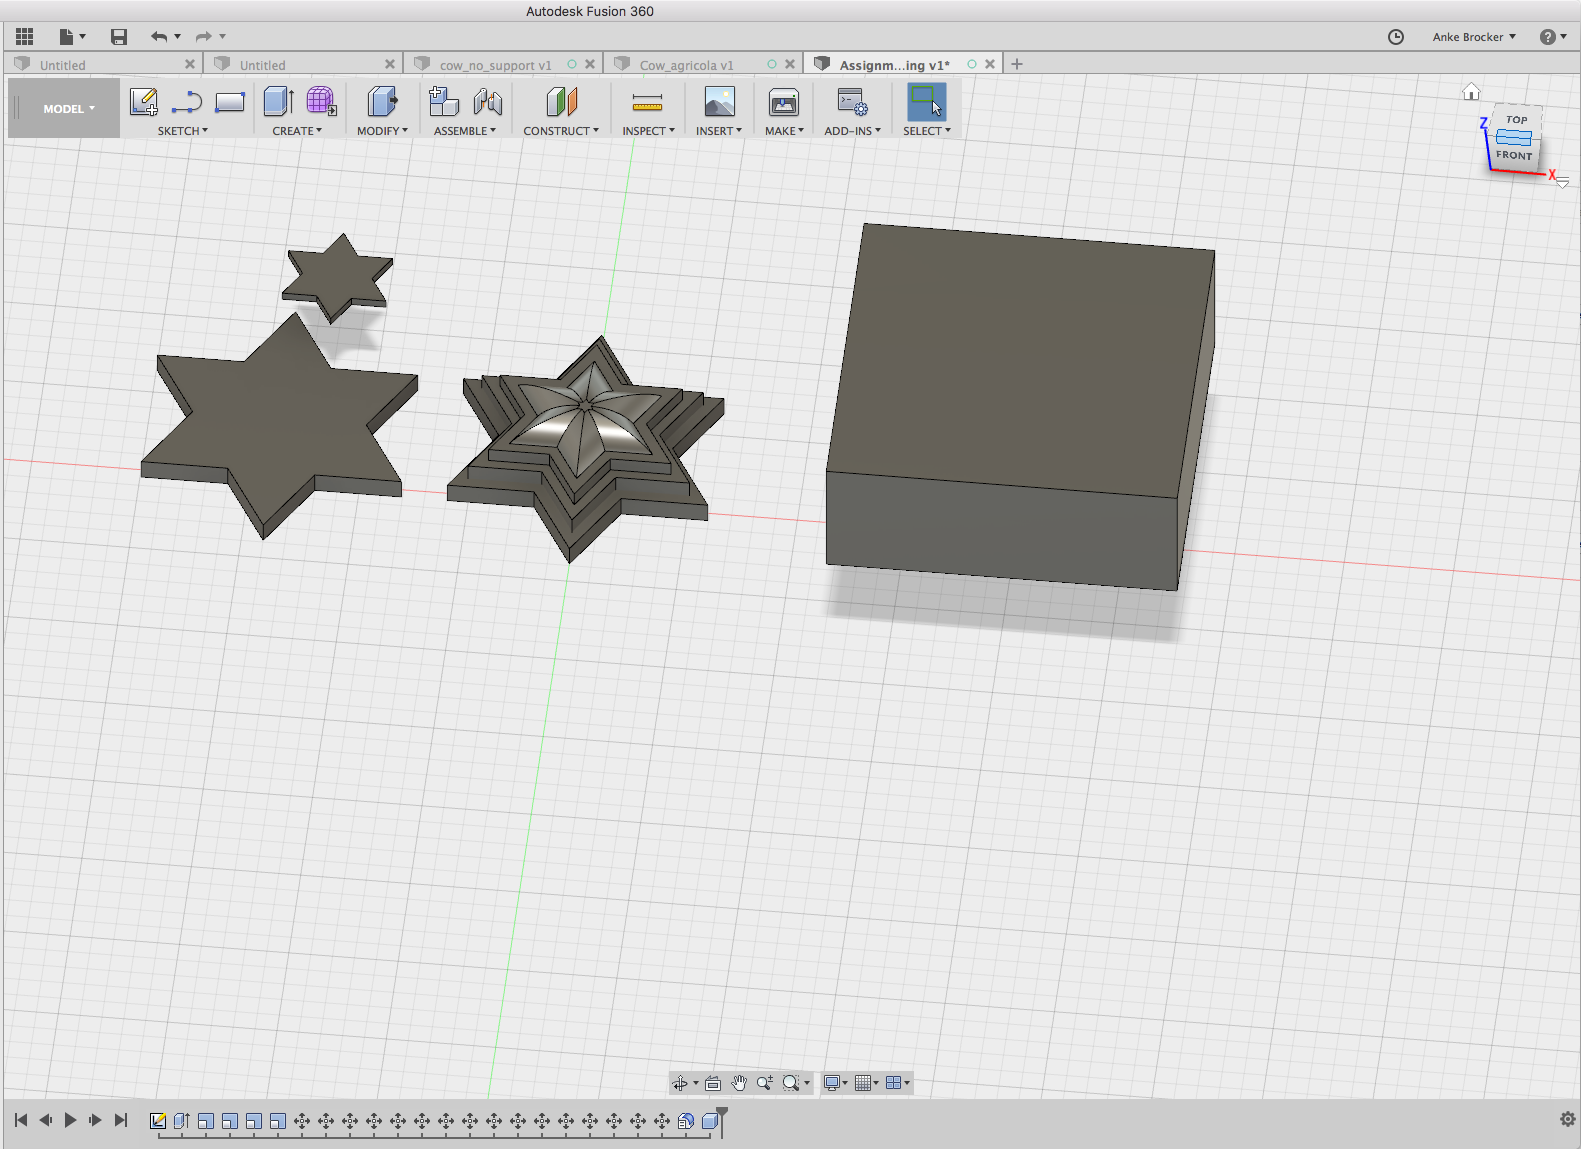
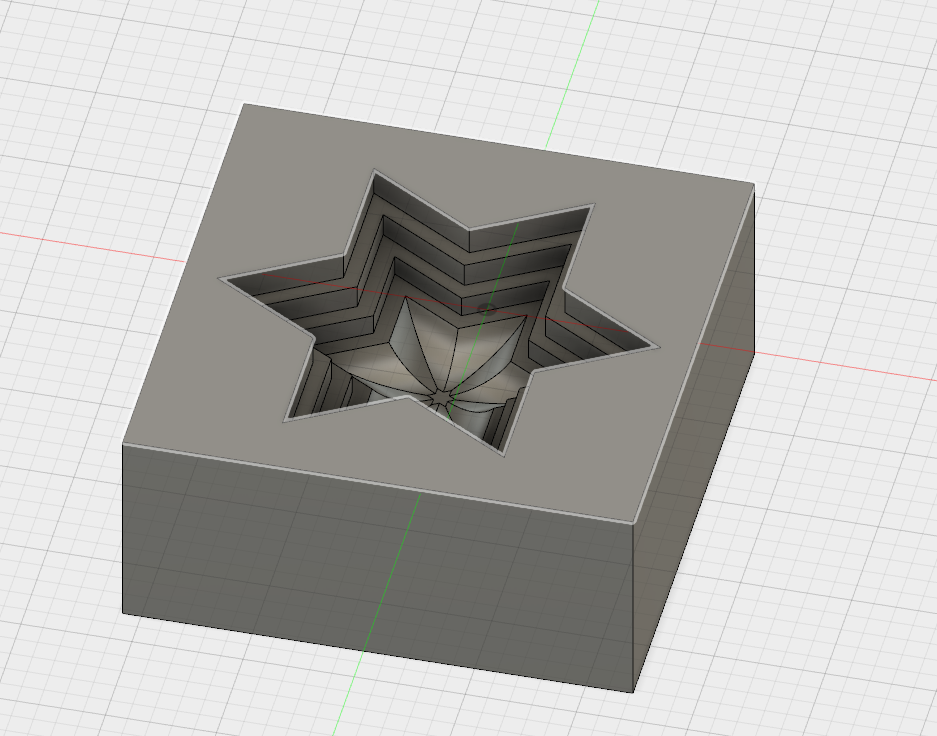
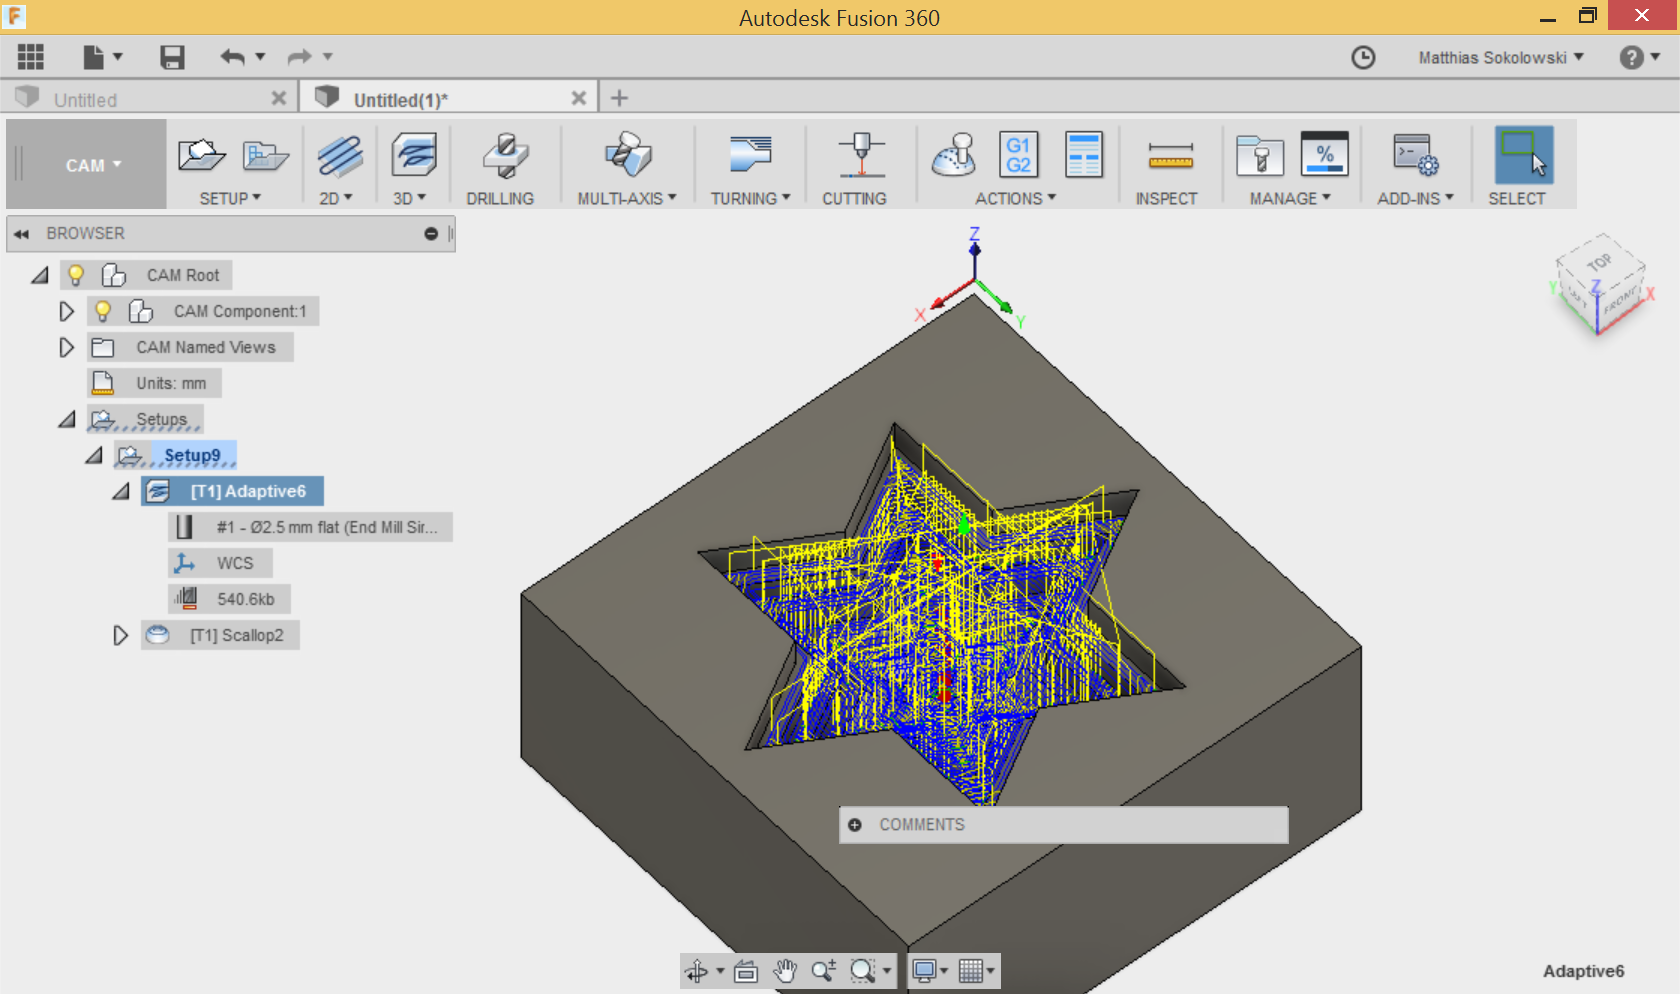
CAM processor of Fusion360
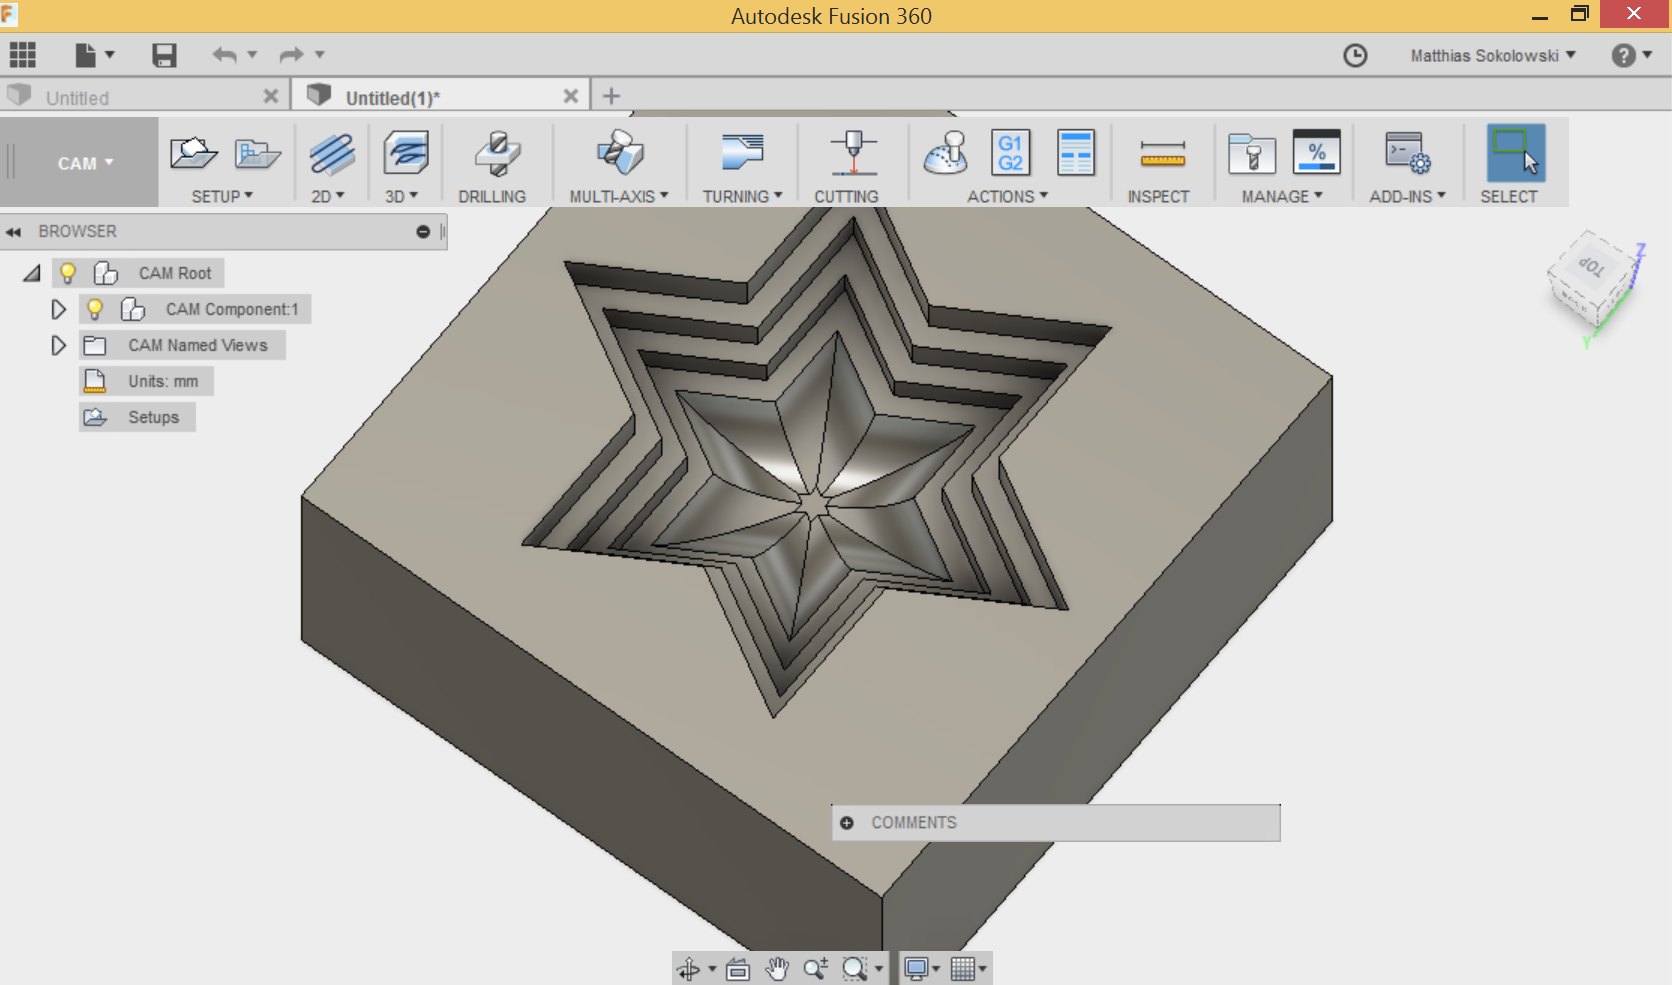
The steps in the CAM processor to prepare the model are the same as in the CNC milling week. Except this time I did not define a 2D Contour. I defined 'Adaptive Clearing' in 3D by clicking on this
UCCNC software Stepcraft
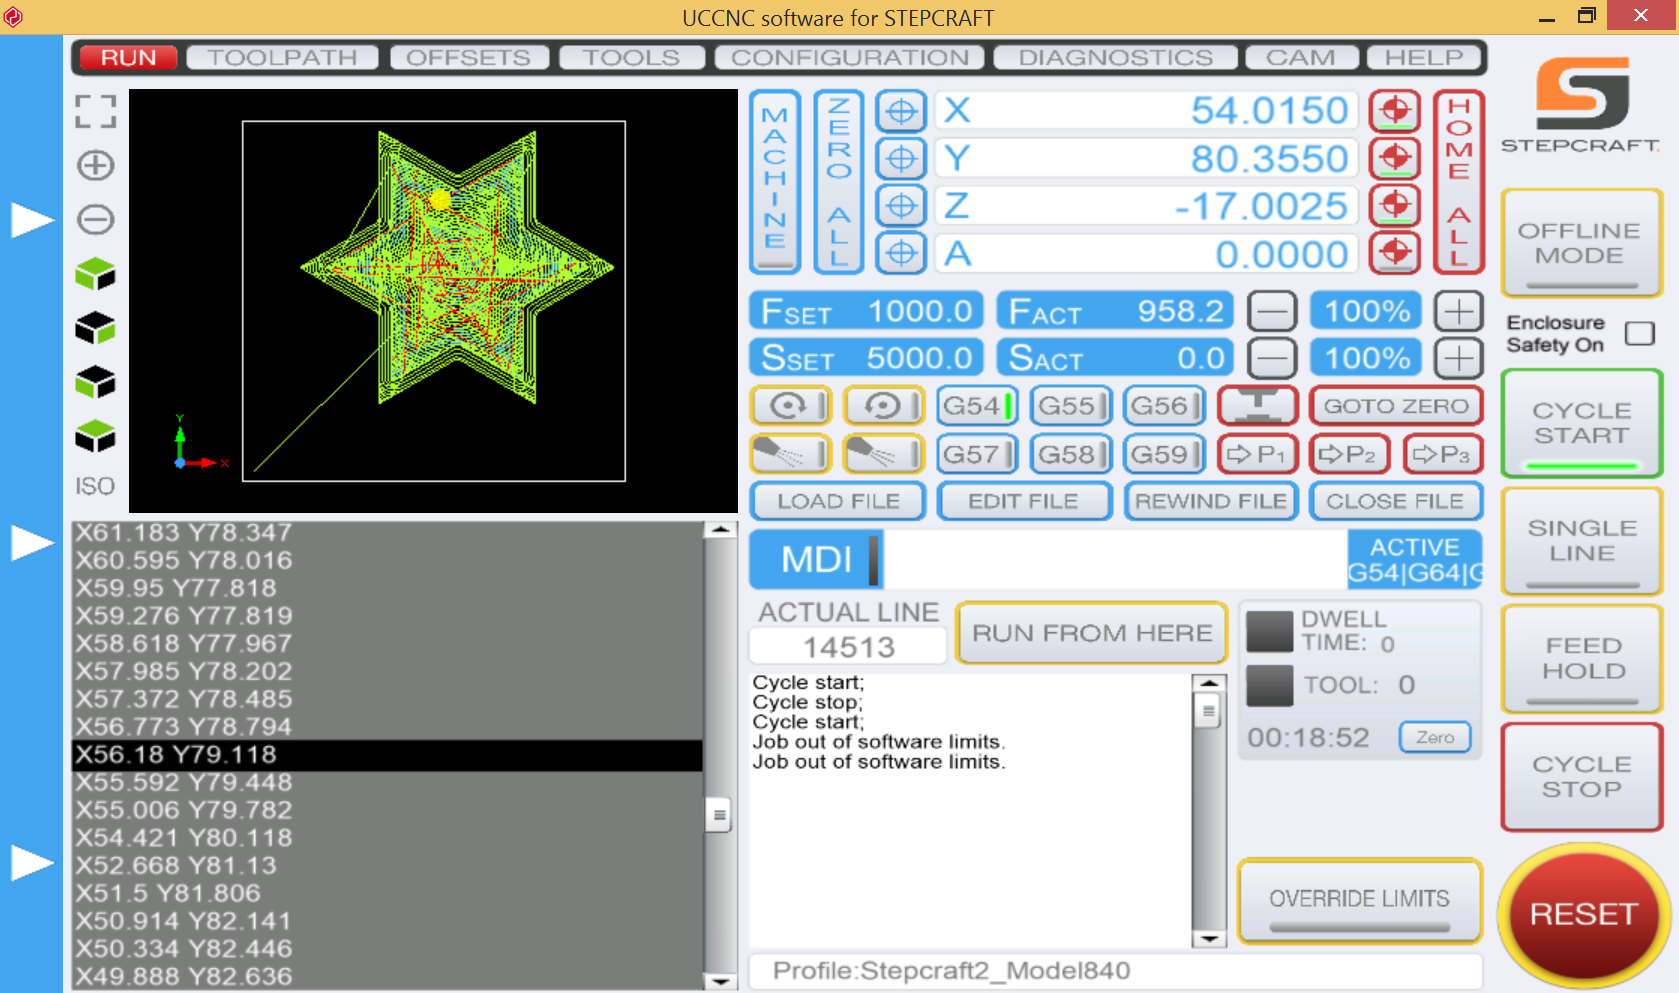
The steps in the UCCNC software to mill the model are the same as in the CNC milling week. Please have a look there to see the exact procedure you need to follow. The two provided pictures underneath show the star in the UCCNC software during the mill process.
Milling the Molds
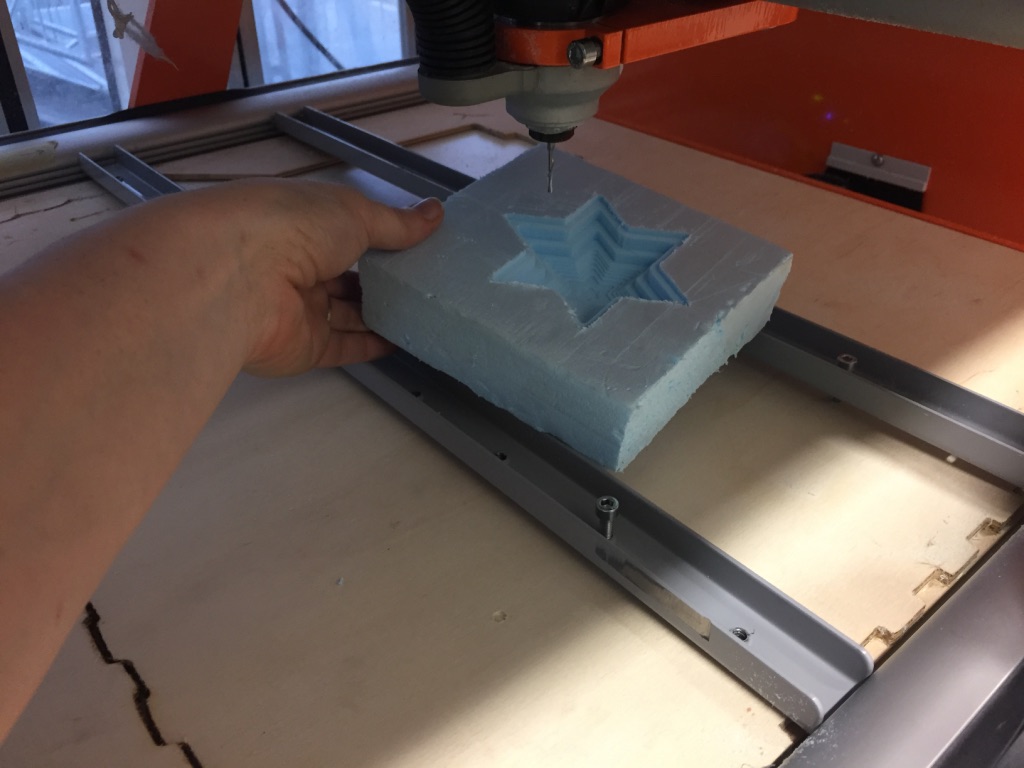
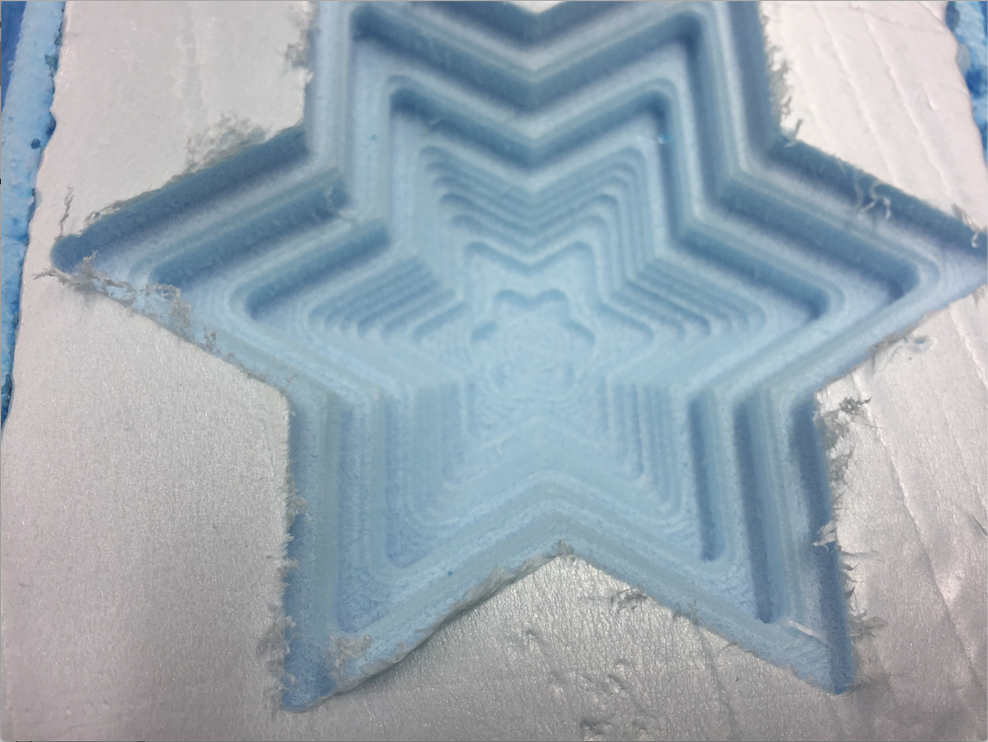
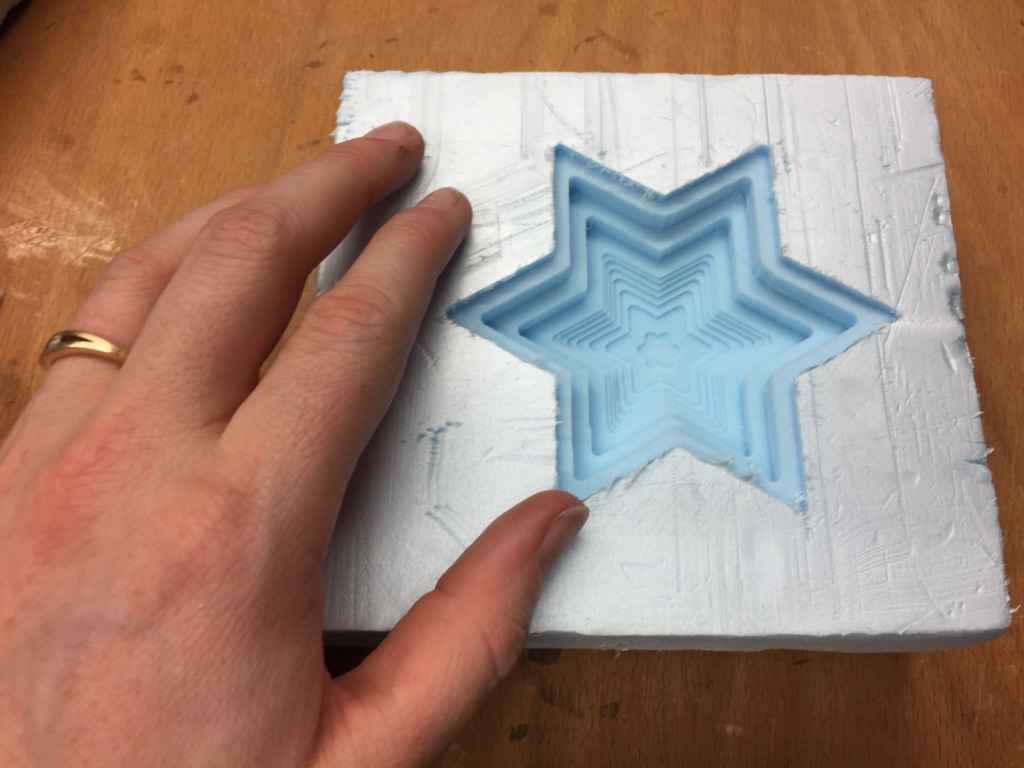
For the milling process I took care of the same steps as in the CNC milling week. The pictures underneath give a better impression of how milling worked. I milled two molds, one with sharp edges and one with rounded edges. For the sharp edges I used a nut mill head. For the rounded mold I made use of a radius mill head that has the effect of smooth edges.

Creating the Casts
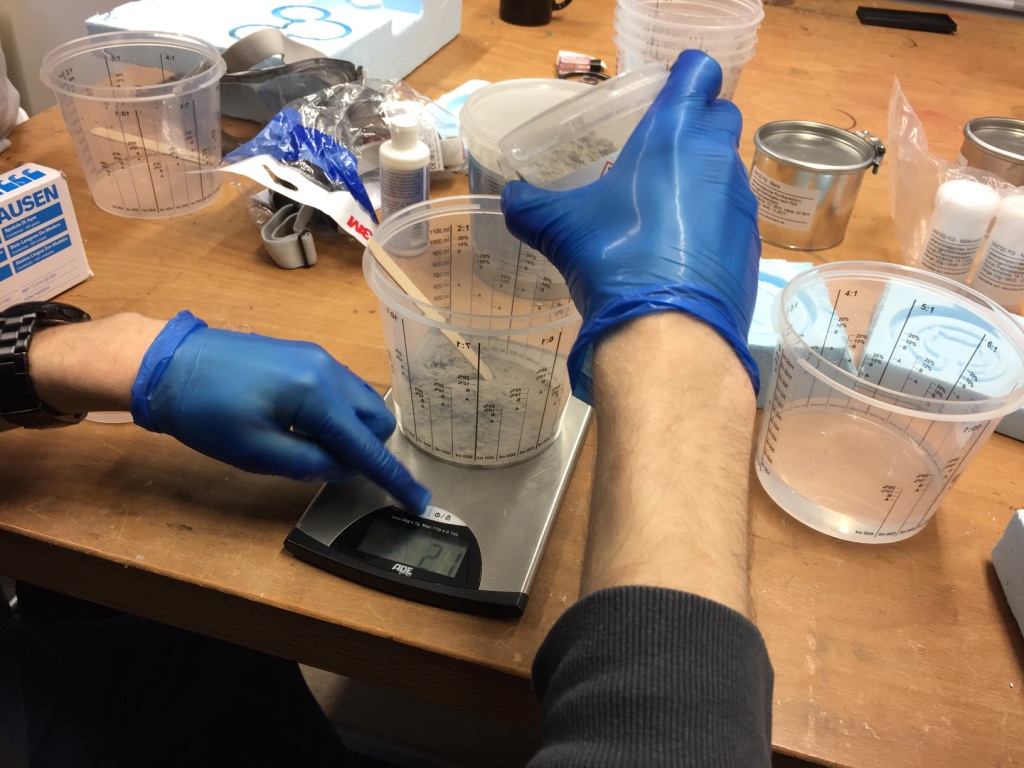
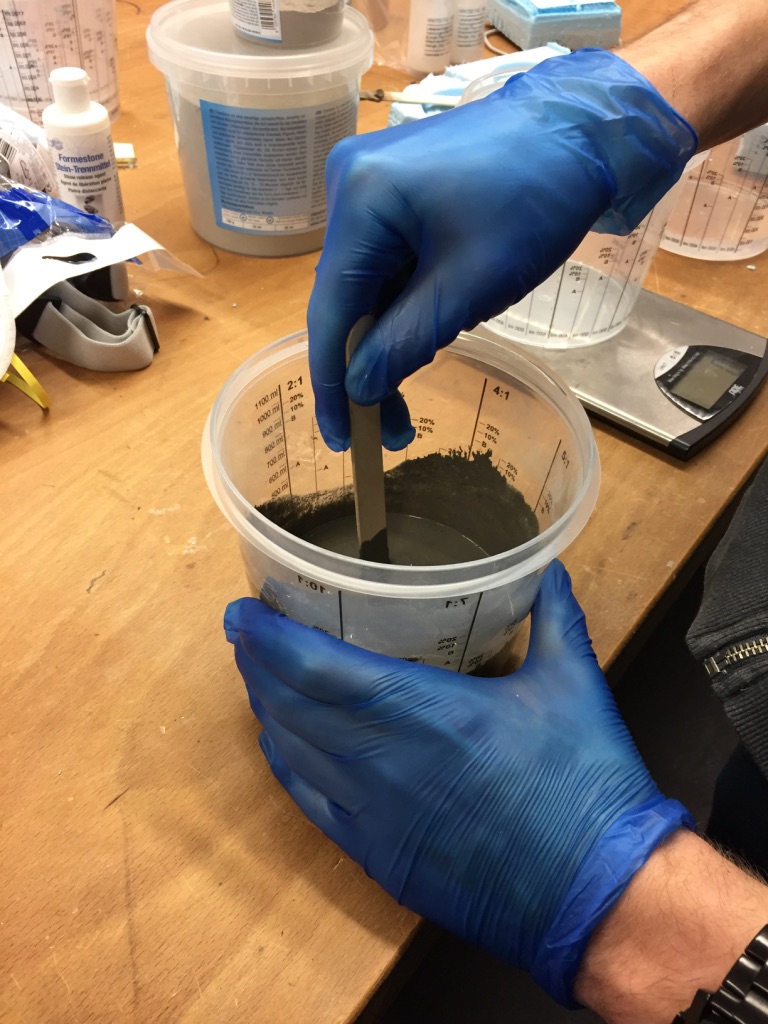
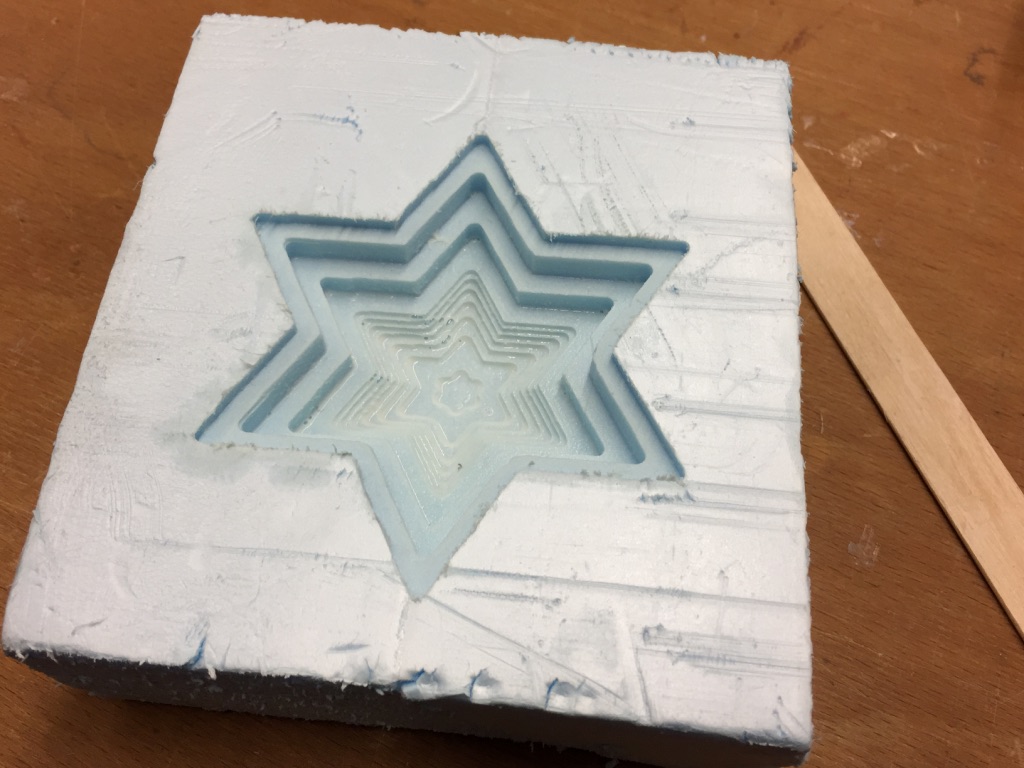
I decided to use concrete to fabricate casts with my milled molds. Depending on how the molds can be dissolved from the concrete material I plan to test silicone for the cast as well.


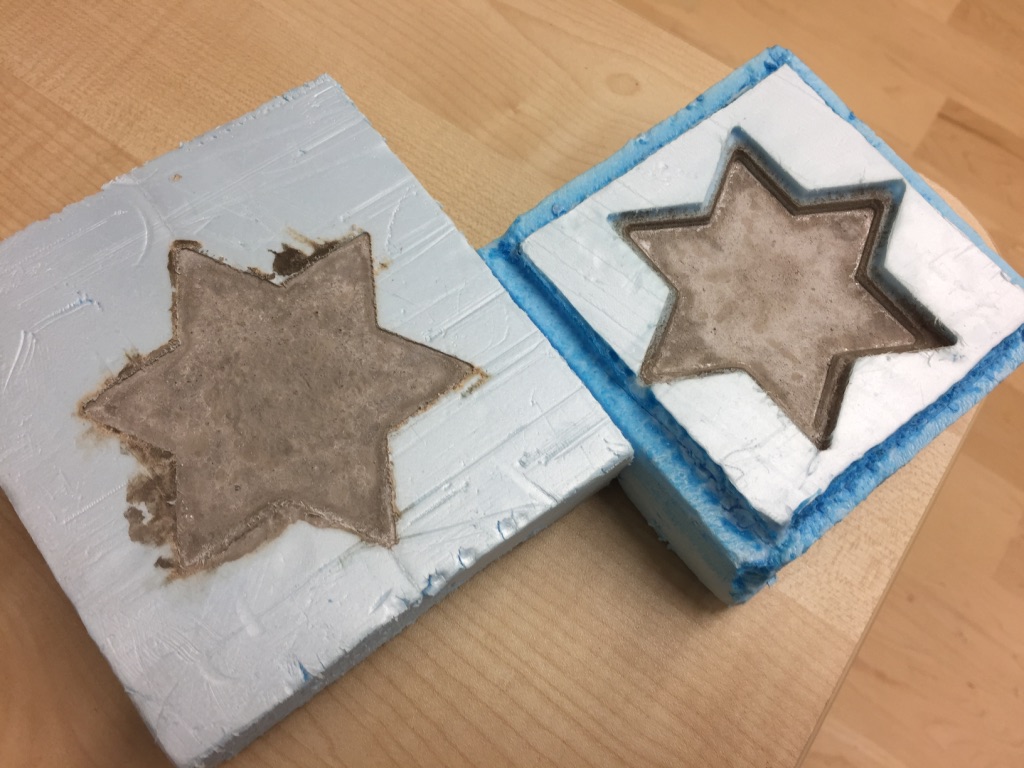
Dissolving the Casts
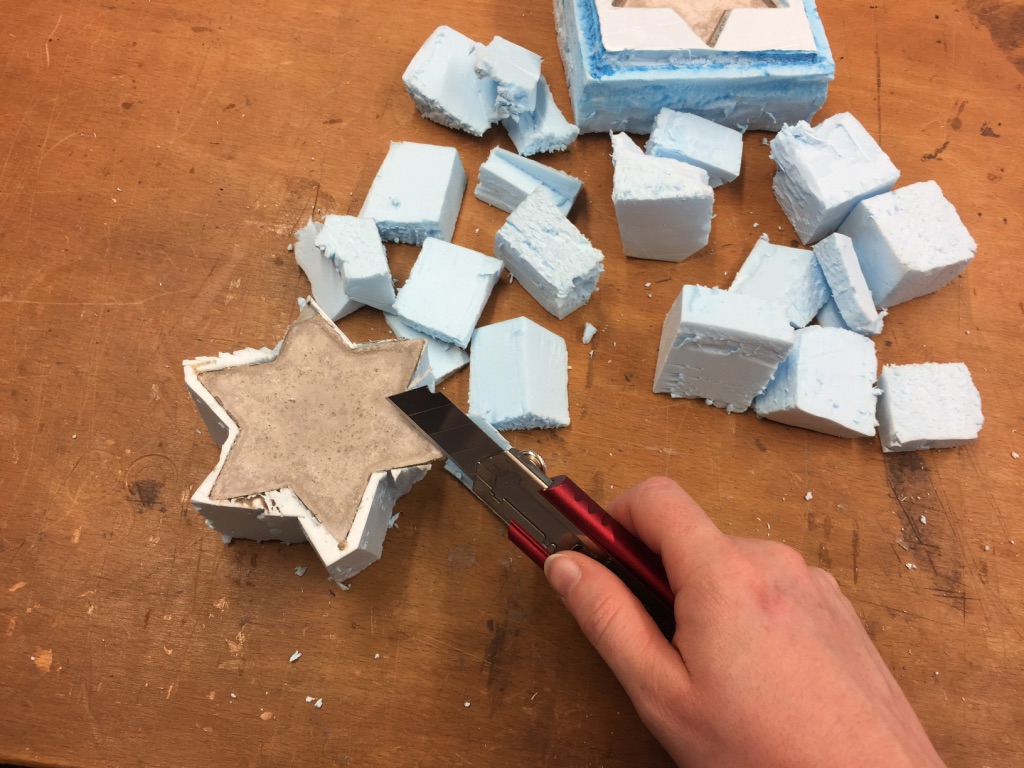
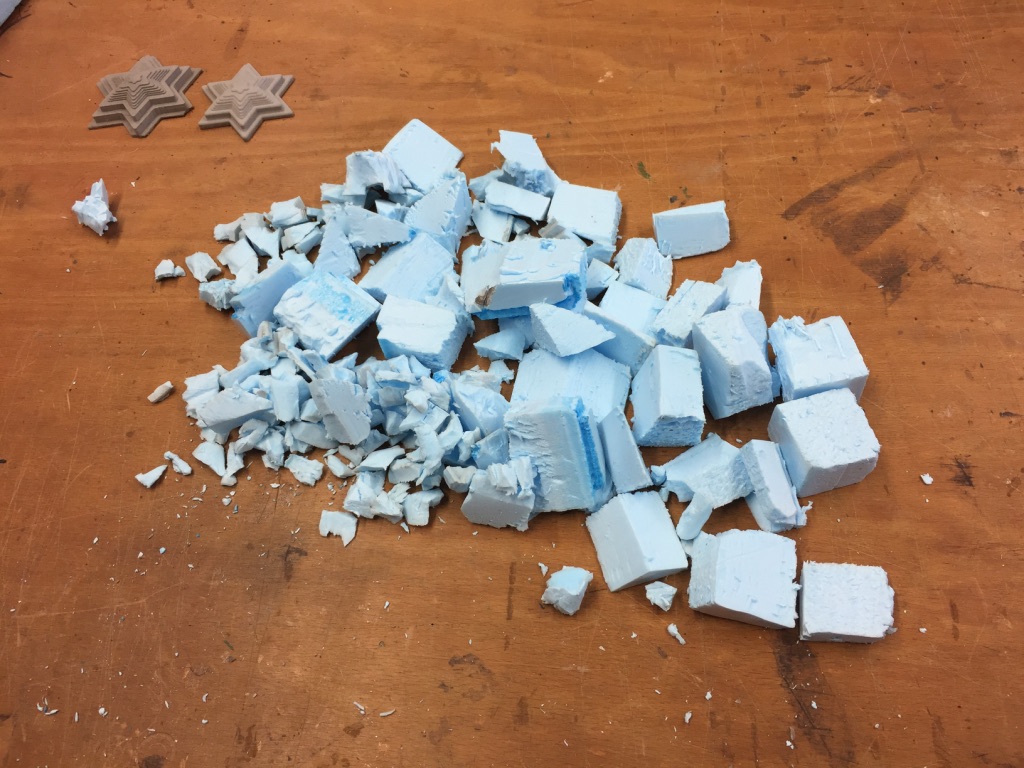
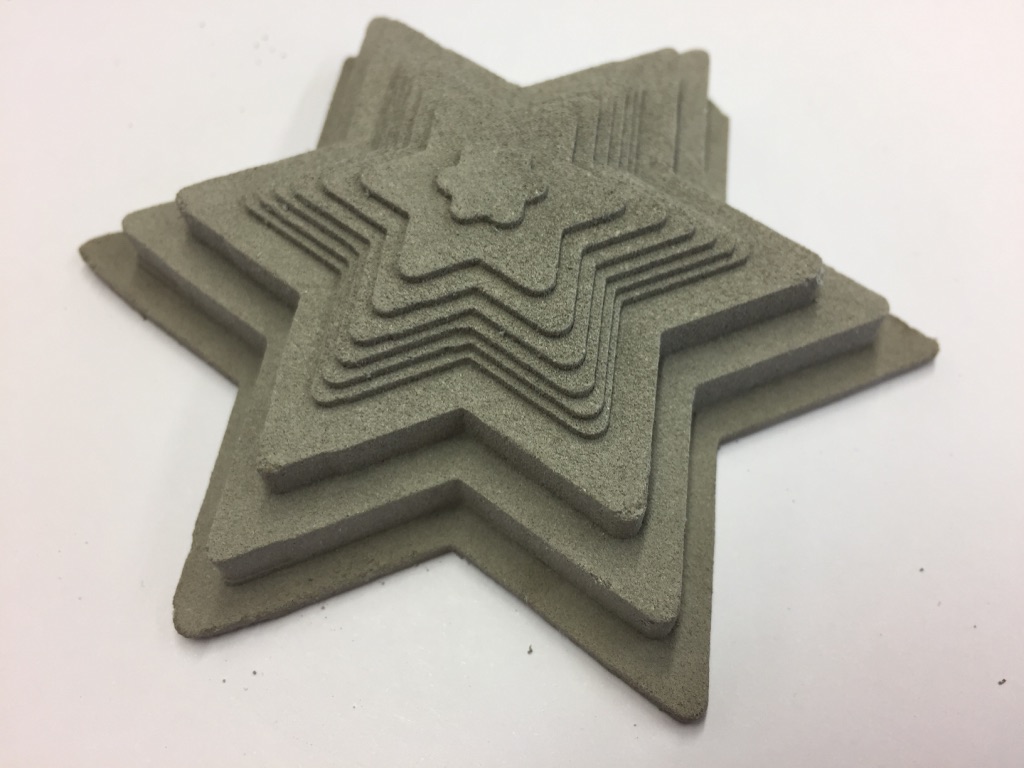
After both molds have been filled with the concrete I put the molds aside and had to wait for 3 days until it was dry enough to be dissolved.

Three Step Mold
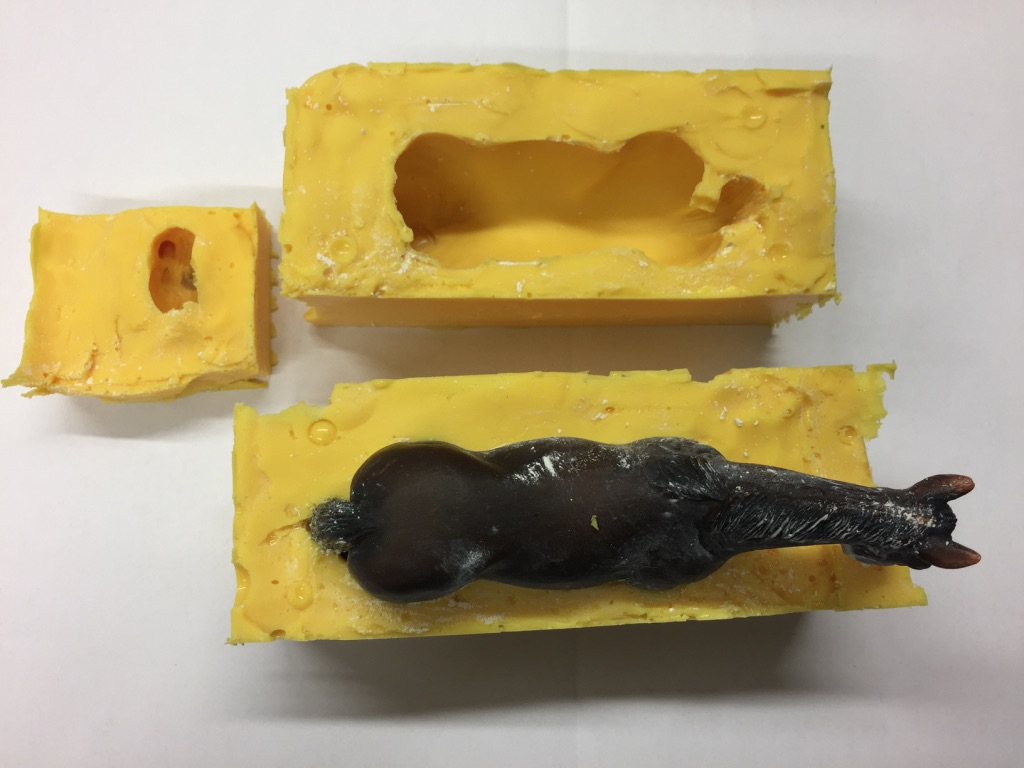
As a second process to fabricate a cast and mold I made use of the 'three step mold' technique. I.e. using a real object to produce a mold. This mold can later be used make
the cast. This way you are able to replicate a real object and you do not need to use and design software.
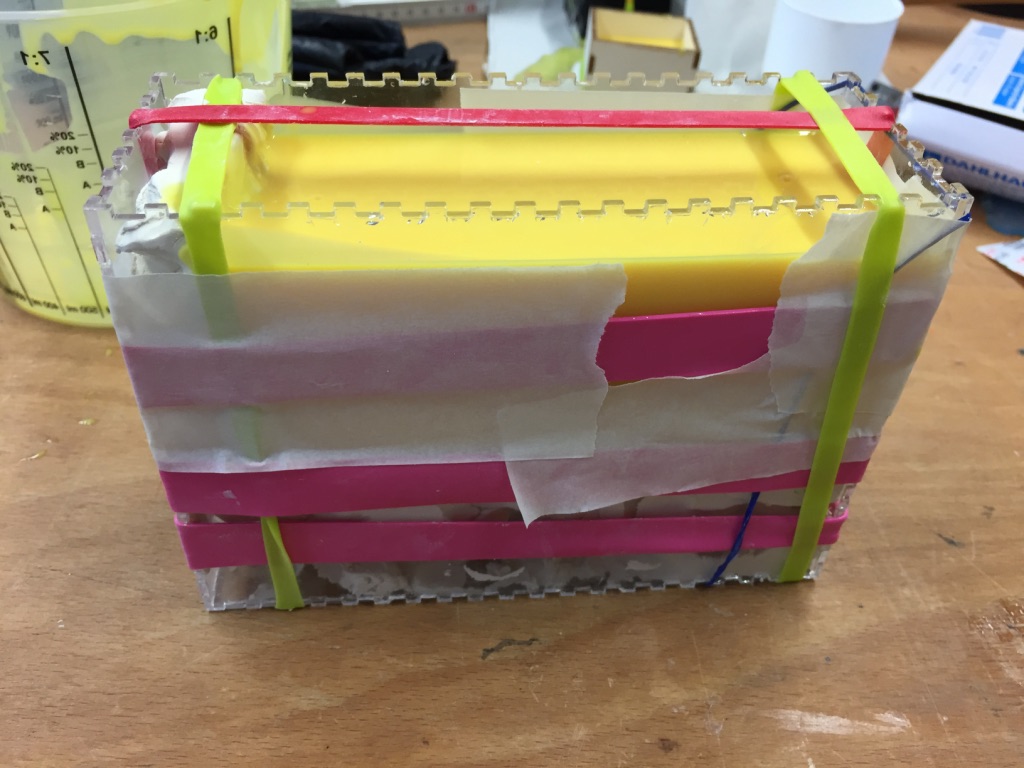
Important: To create the mold I had to build a simple box that was used as the housing during the molding process. You need a housing, in which you can put the real object
and then lavish the silicone on it. I simply laser cut a box out of acrylic glass. I used
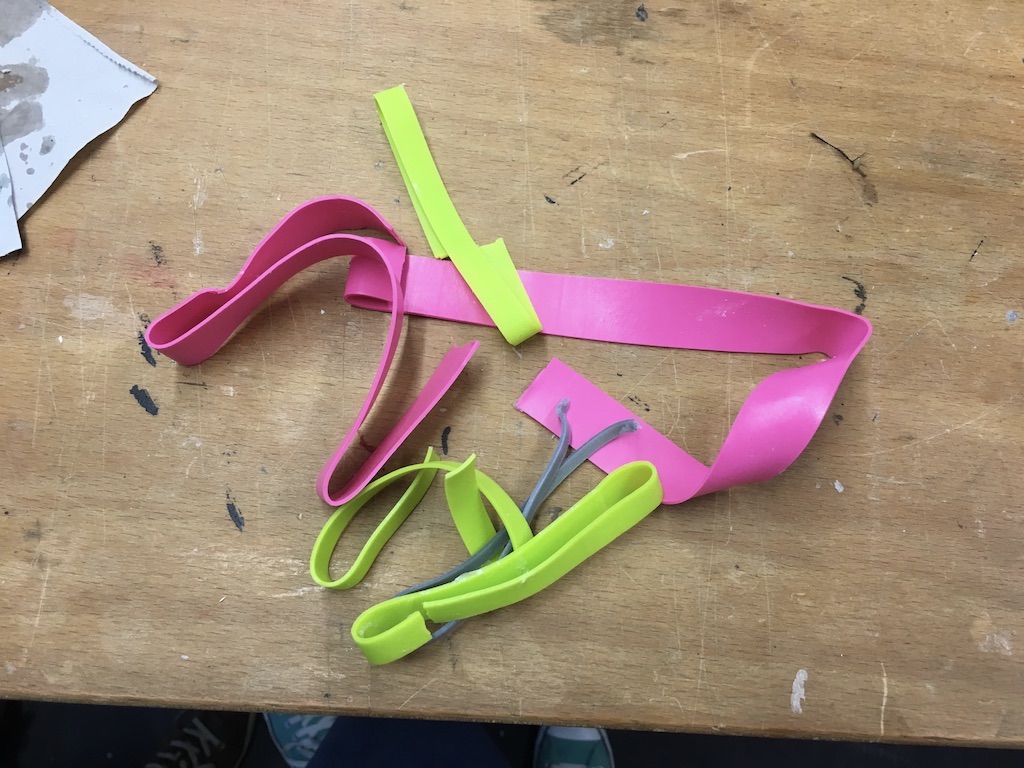
this box generator to get a box with the correct dimensions. Additionally, during the fabrication of the mold I used rubber bands
to keep the box together tightly.
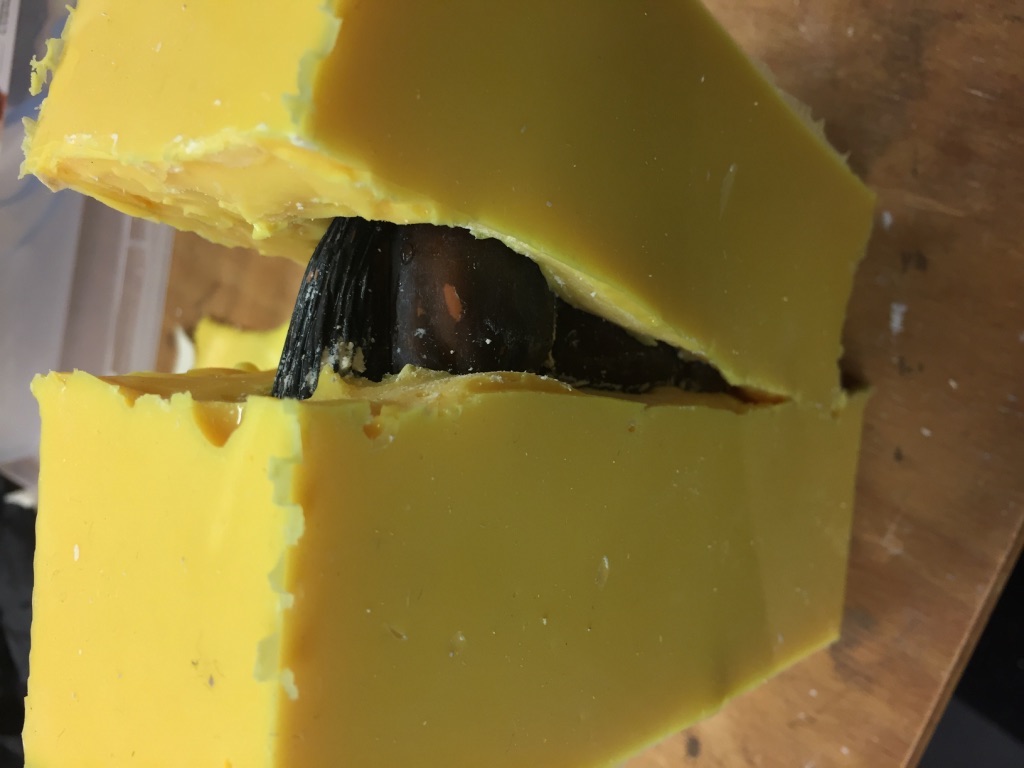
Mold with Silicon

![]()

![]()
![]()
![]()
![]()
![]()
![]()



Casting with Three Step Mold
I decided to use wax as casting material. An advantage of wax is that it is a material for really fast cast production. It only takes about 45 minutes to be dry and ready to take out of the mold. So perfect for testing if my mold works properly and forms the original again.
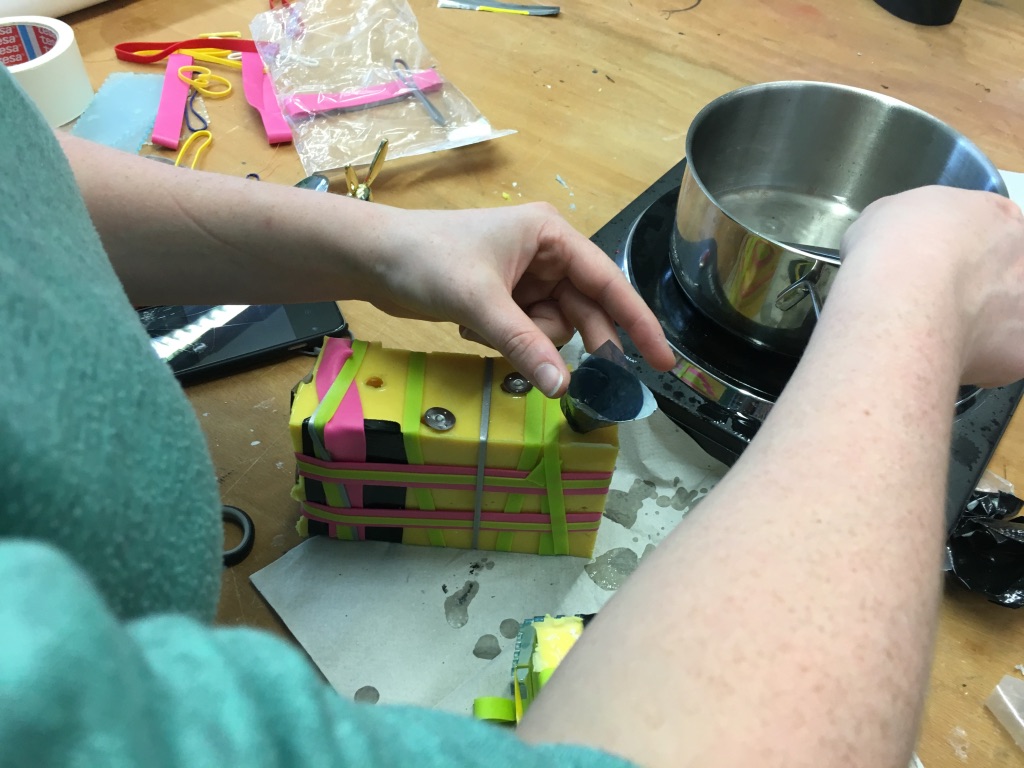
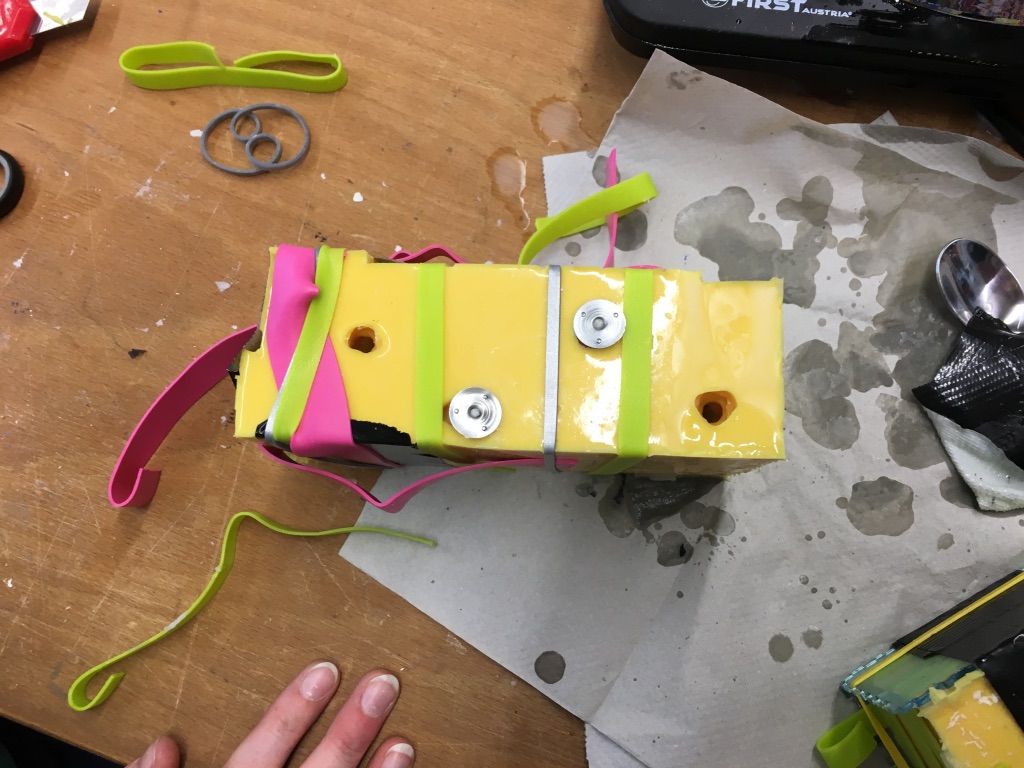

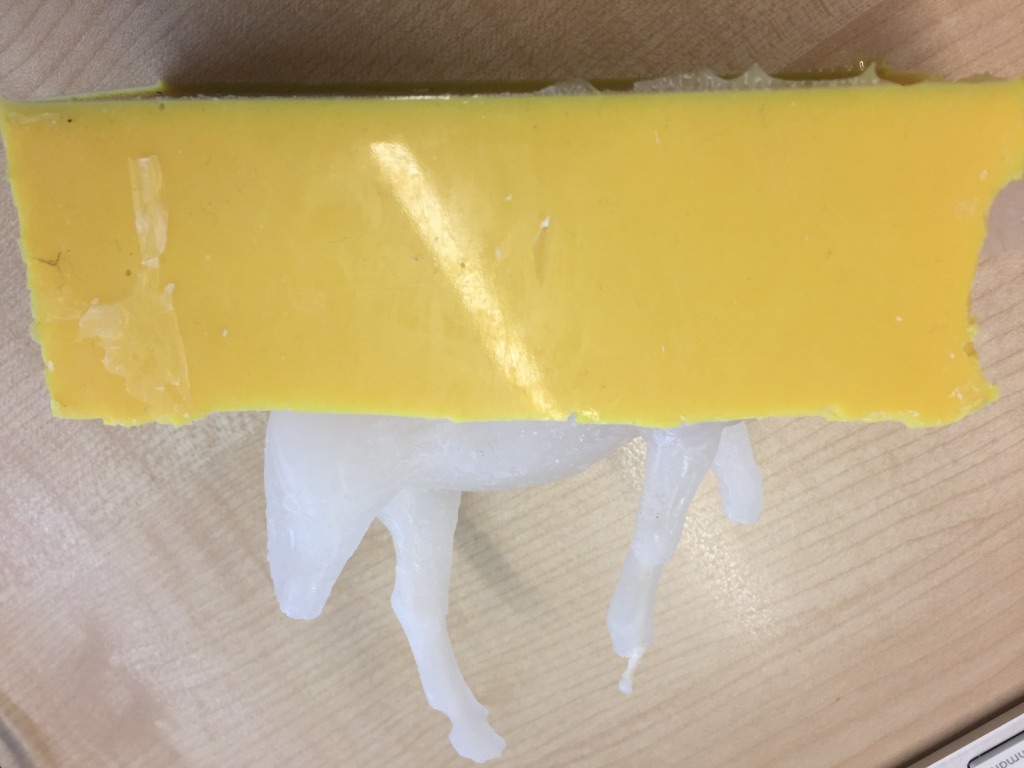
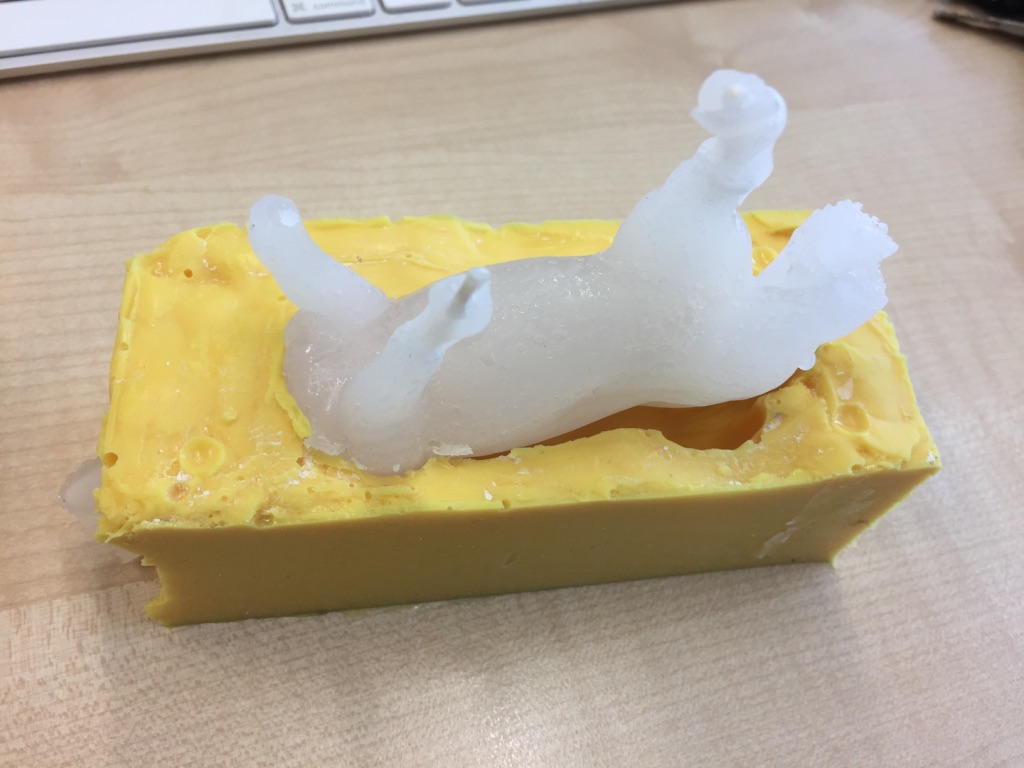
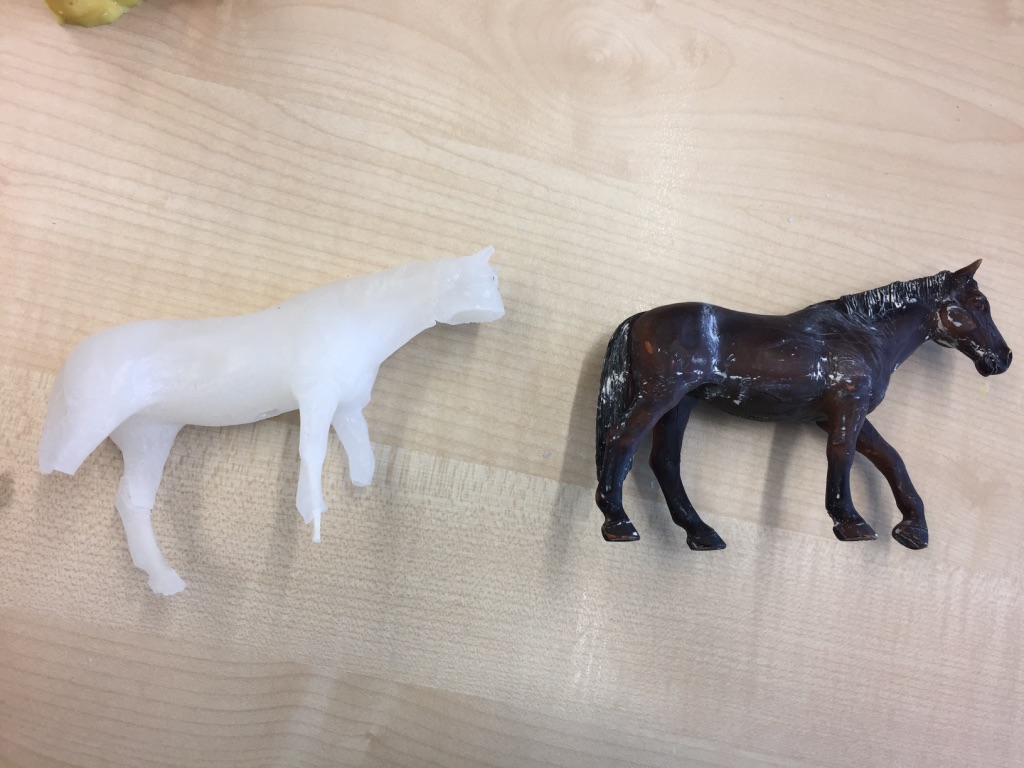
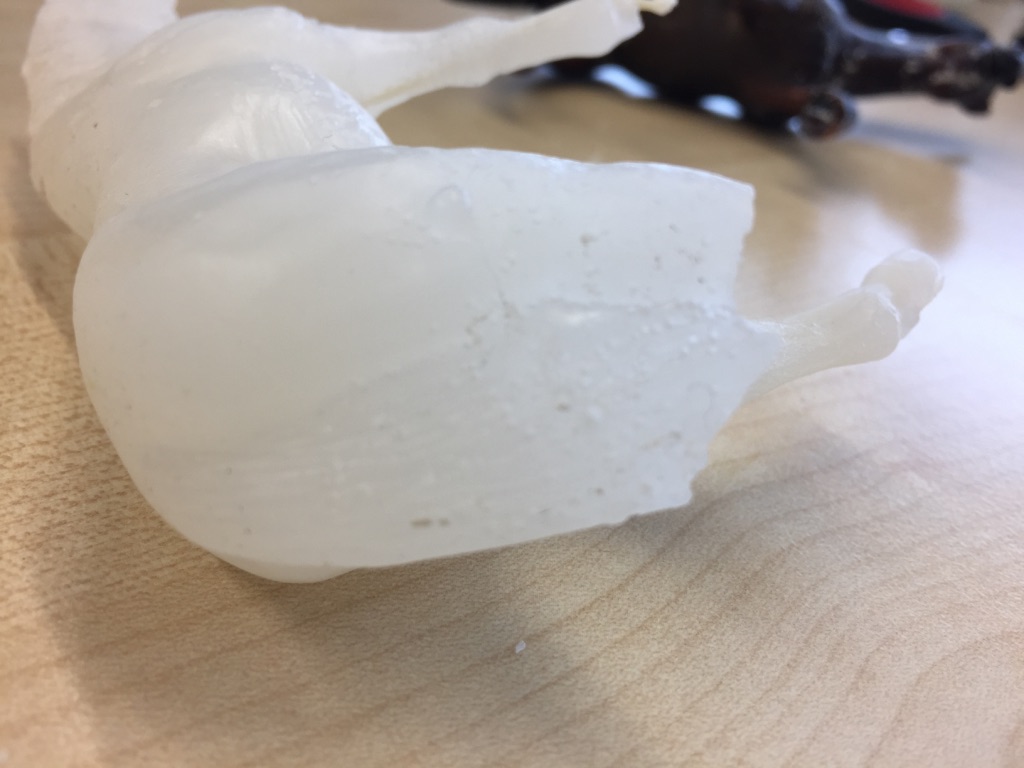
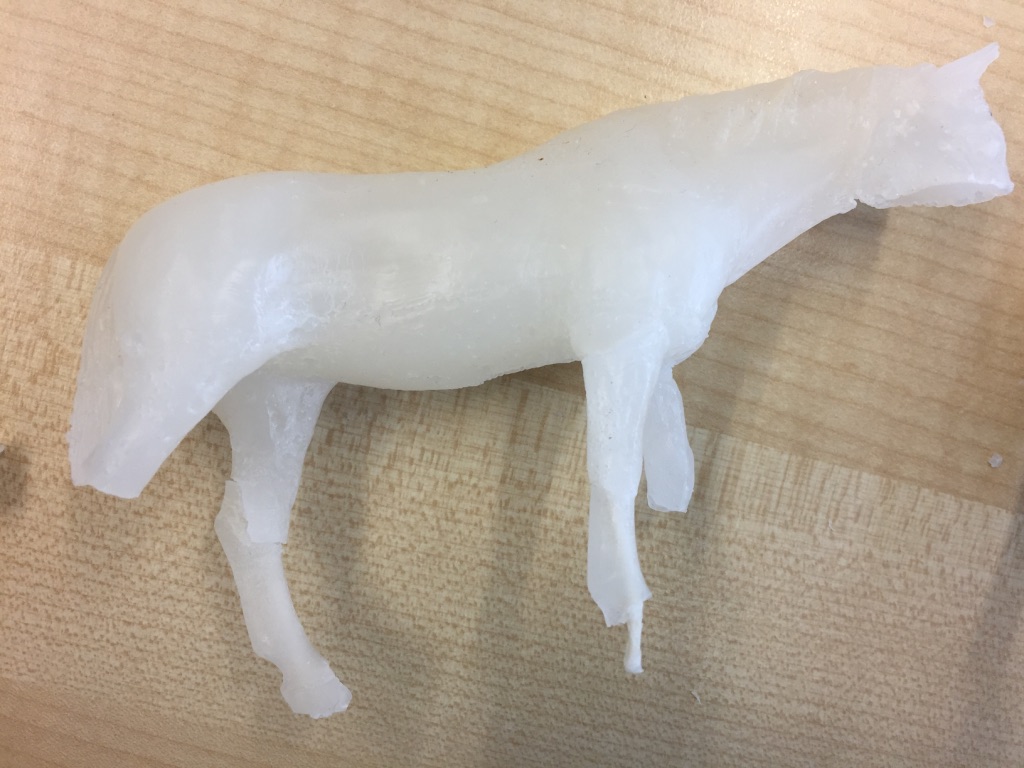
Additional tip: I had the feeling that 45 minutes were a little to less to wait as some parts of the wax cast were still a little warm when I got it out of the mold, especially the body part. That is the reason why I deformed the body a little when I got it out. Next time I will give the wax cast a little more time to assure the body will not be deformed and the result of the cast will be even better.
Mold of a Mold
Using Fusion360 I also designed model that is the mold of a mold. This way I can produce e.g. a silicone mold using this model and then using the fabricated mold to produce a cast of the inside of this model's box. I designed a spare part for a friend's bike as his original part was broken.
