Assignment 10
Input Devices
The last week we were asked to gain knowledge about input devices. Of course, an input device can be easy as a button but the assignment is more about getting to know devices like sensors, that are used as input devices.
I decided to use get to know a photoresistor, which is able to detect if there is light or not. I also want to use this sensor for my final project, so gaining knowledge about it in this weeks assignment is handy as well. For the output device I chose to use a LED, that will turn on/off according to how much light the photoresistor captures.
The input week's group assignment was: measure the analog levels and digital signals in an input device. For the output week we were asked to measure the power consumption of an output device. You can find the documentation for both on the Group project page.
Schematic and Board
I designed a very basic board using Eagle again. As I have described how to design a schematic, a board and milling the designed board in detail in Assignment 4 I will just present some photos from this process for my light sensor board.


Soldering
After milling I soldered all the components to my board. The following components were part of it:
1. 1 x Attiny 44
2 . 1 x Photeresistor
3. 1 x 10mikroF SMD Capacitor
4. 2 x 10kΩ SMD Resistor
5. 1 x 220Ω SMD Resistor
6. 1 x red SMD LED
7. 2 x 3 Pinheader
8. 1 x 4 Pinheader
9. 1 x 2 Pinheader

Programming
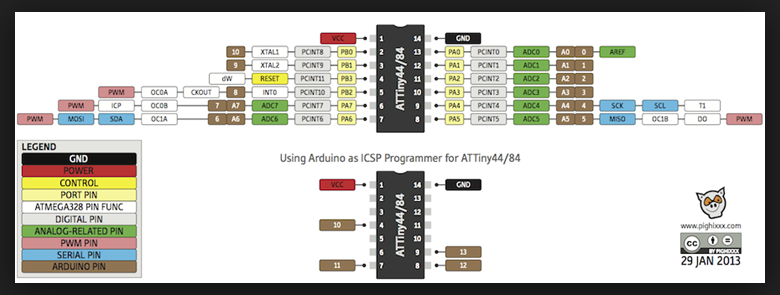
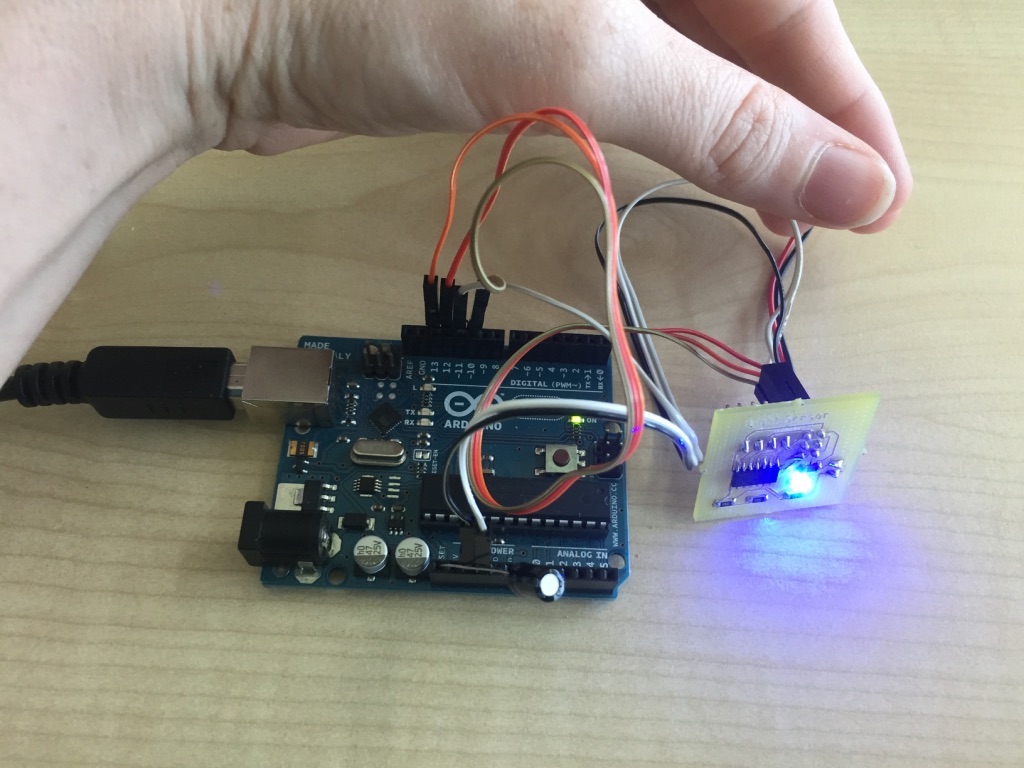
To program my self made
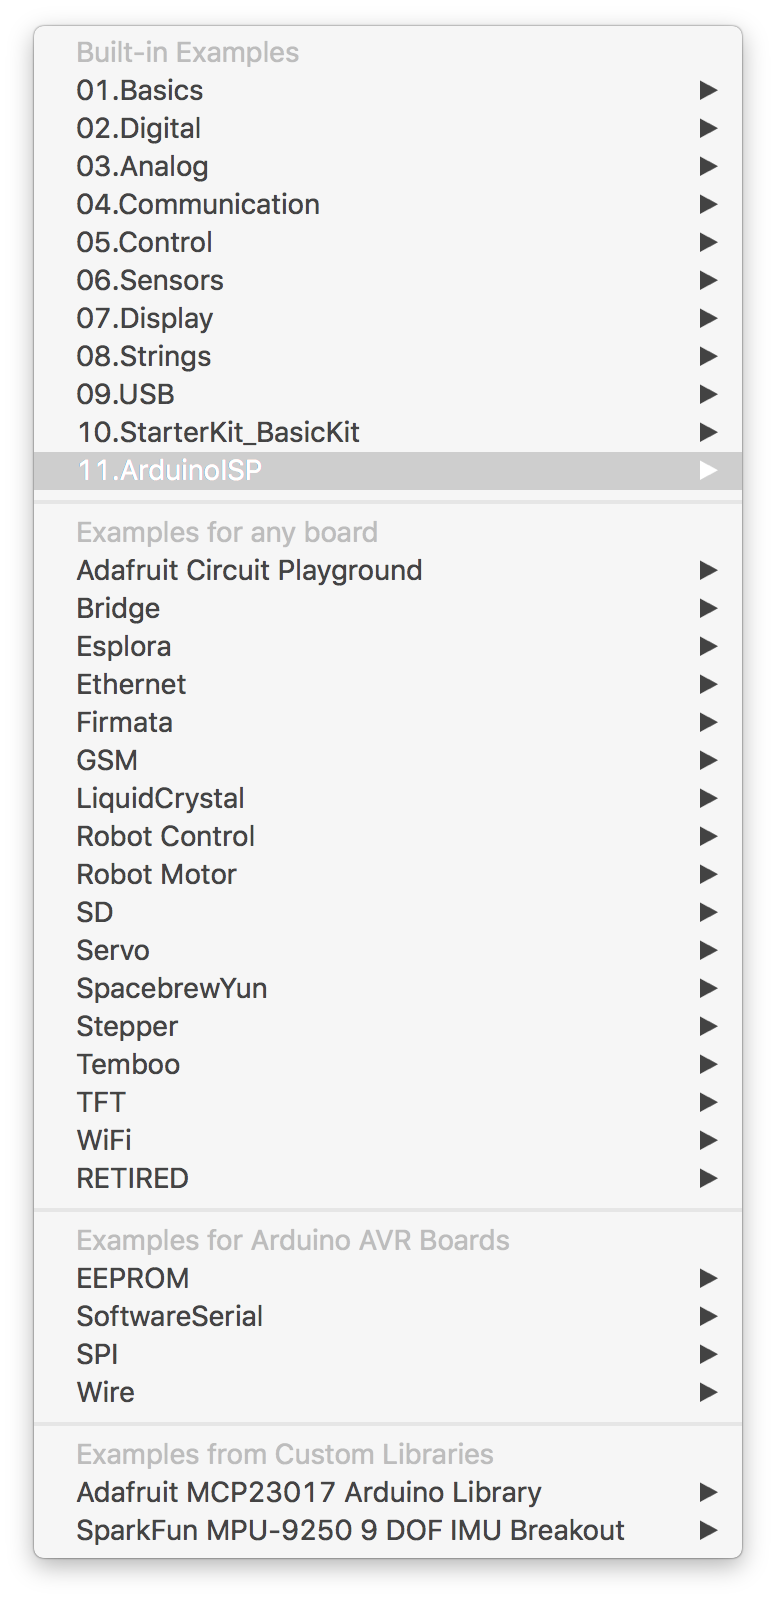
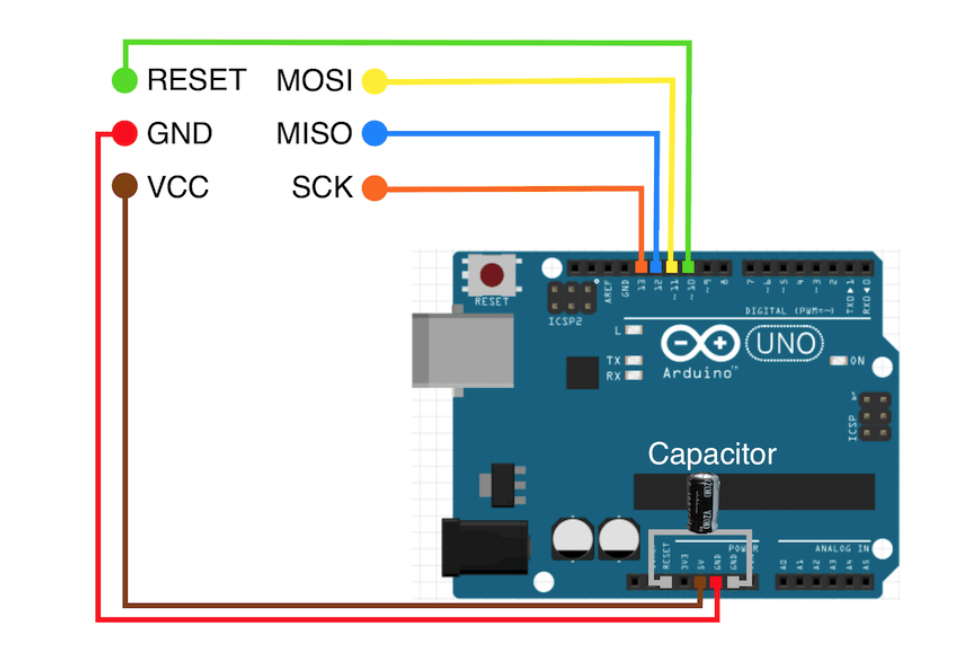
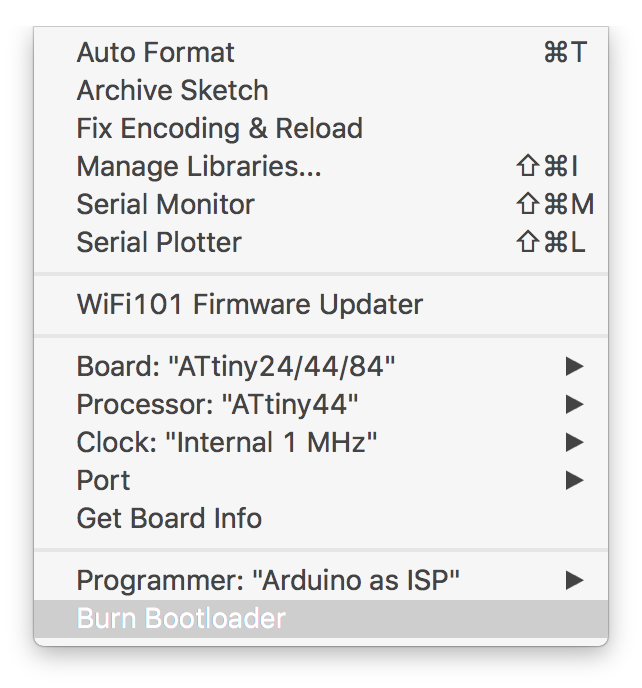
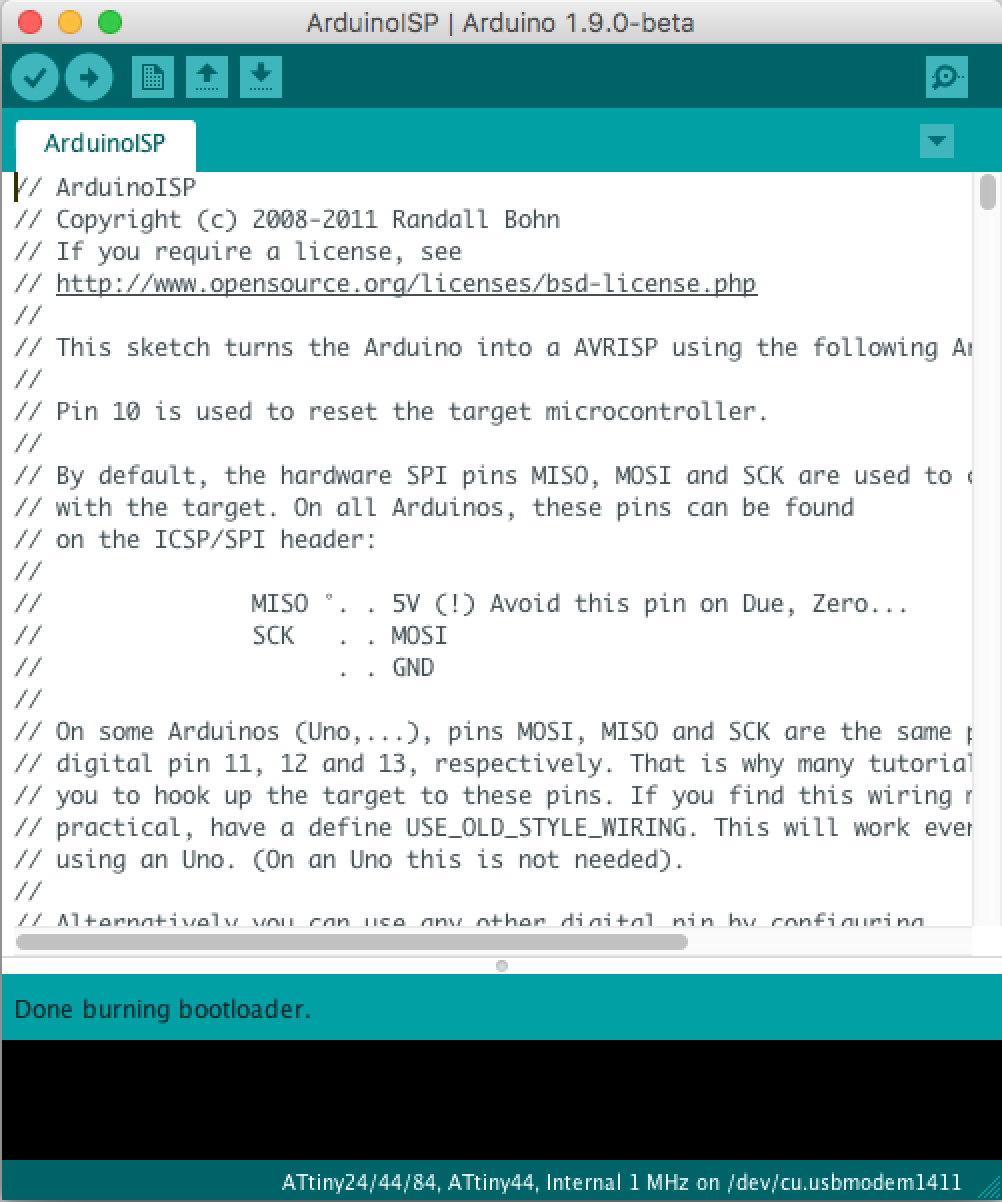
board I used the Arduino IDE. I.e. I used the Arduino as an ISP to program my input/output board.
Important steps:
Code
I connected my sensor with an output device and i.e. the code of my input device is combined with the code of my Output Device assignment. You can find the description of it in the section 'Photoresistor and LED' and the code is attached at the end of the page as well.How the Microcontroller Datasheets & Pinouts helped
