Wk16. Machine Design
Group assignment: Plan and make a machine. Document the group project and your individual contribution.
This week we were tasked with breathing some life into our MadMax machine. Again please refer to our group webpage here. From what we learned in the design and testing phase, we decided to discard our modular design in the interest of time and workability. Instead, we concentrated on a scalable size and making the machine work first.
Milling a frame
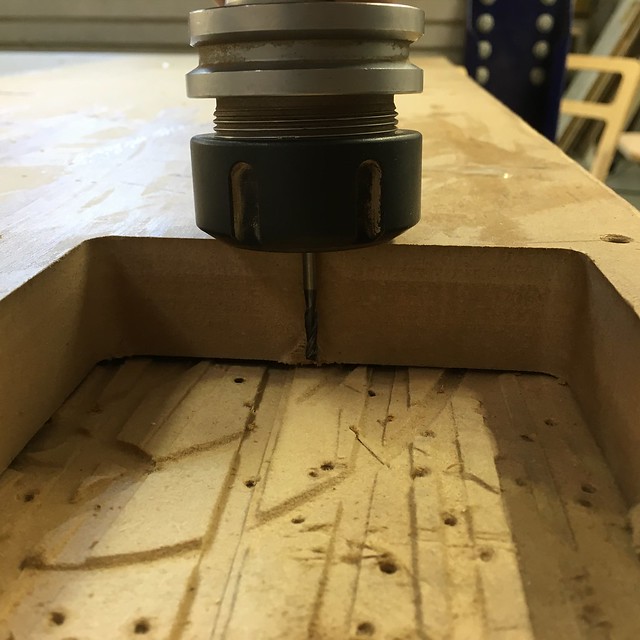
My contribution to this week was milling the MDF base frame using some discarded MDF offcuts. I used RhinoCam for the milling strategy that involved drilling screw holes to place the above rack and pinion parts and then the outer profile of the base. The MDF measured just over 30mm in thickness which meant readjusting the 3mm bit to drill screw holes all the way through the material.
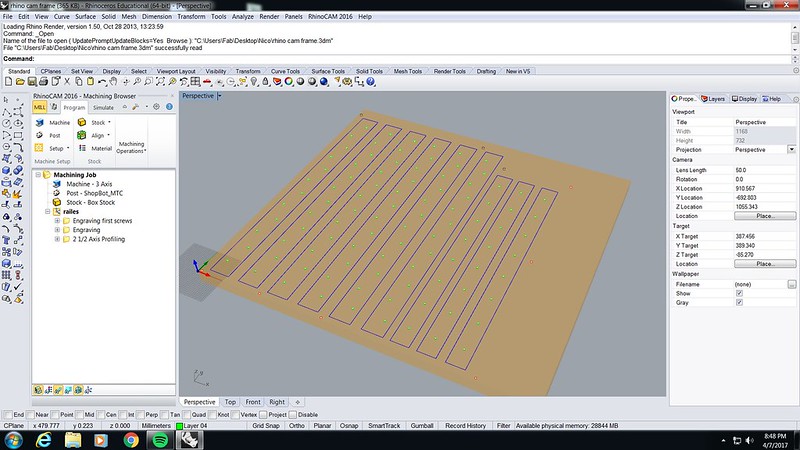
This done, it was smooth sailing until the outer profiling. Here I forgot to readjust the 6mm mill bit for the same cut depth and were forced to stop the machine on its third run as the mill head began chafing the top of the material! Whoops. Amends made, we got our base and frame milled without further hitches.
Milling HDPE Y and X rails
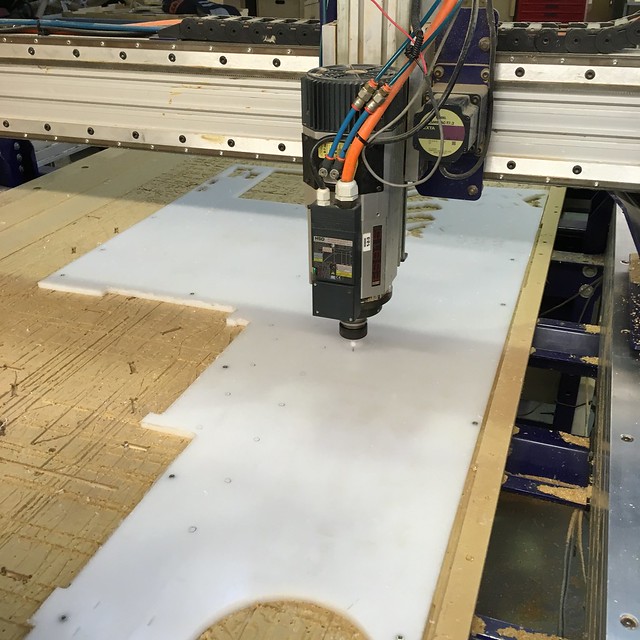
With a nice piece of discarded HDPE at our disposal I set about milling our machine X and Y rails, as well as the side blocks and miscellaneous other machine pieces. This required a complicated design nesting and milling strategy. For this we were using a riddled and unsymmetrical, hard plastic material for the first time, as well as 3 different tool bits (3mm, 6mm and a 60 degree chamfer bit). It didn’t help that it was Friday and everyone was on weekend mode already.
Thanks to Julia’s meticulous nesting and Rhino CAM skills we managed a good half way through the job, managing the more complex chamfer and 3mm rail part of the milling. The tricky part was getting the correct feed rate and spindle speed for each mill bit. For the 3mm and 60 deg chamfer it was important to stick to above 12,000 rpm or we would risk breaking the bit on the dense material.
Chamfer madness
For the chamfer, we set a 2mm plunge depth which meant that the bit went down 2mm at a time on 3 passes, going deeper each one to eventually create our desired 6mm deep angle. Ideally, with this sort of bit we learned it is best practice to create an incremental plunge depth as the deeper it goes the more resistance it creates. At least the bit didn’t come flying off and kill one of us as we were warned could happen so we live and learn.
Lessons learned
When it comes to milling harder materials with complex strategies it is good practice to come fresh with your design and CAM strategy in the morning. There are so many variables that need to be taken into account, so it’s best not to rush on the ShopBot after hours and hours of designing when you are tired and not concentrated. This is when things go wrong.
The old dictum measure twice and cut once came to mind when I forgot to re-adjust the 6mm bit to cut all the way through the MDF. Little mistakes like this happen all the time, but again this is why it is important to be fresh and attentive when milling.
In short, what you expect may only take the morning to mill may end up taking all day. So always plan for double the estimated time on milling especially if like me, you are just starting to get used to these complex and powerful machines.
Putting it all together
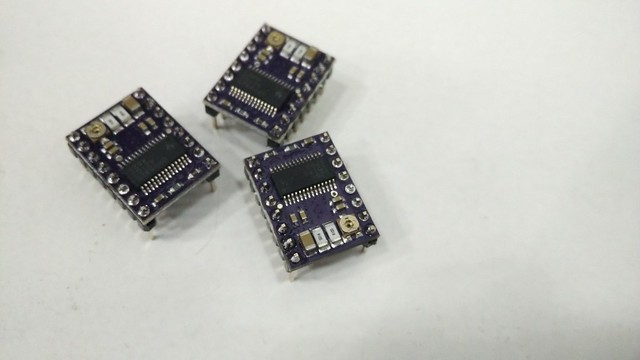
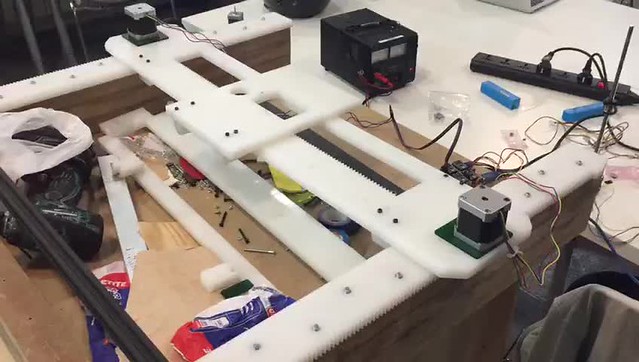
After all of this, we managed to assemble our 3 axis machine and thanks to Esteban’s electronic wizardry with the GRBL Arduino shield managed to get it moving. After many frantic hours, this was a huge relief.
And finally some action.
Finally, I was also in charge with documenting the whole project and making the video which I link here to avoid repetition.
Conclusions
Obviously as you can see we were unable to get the Z-axis on our machine. This will have to be in the second iteration. However, we were very happy with the final outcome automating the machine even if to draw with with a marker pen. With more time, it would be relatively simple to add the Z-stepper and then the mill motor as this is already included in our design. Our machine proved sturdy, worthwhile and efficient. I look forward to continuing this project after the FabAcademy.
You can download all my CAD files for week 16 from my Gitlab repository.