The openness of the brief through me on this exercise, I did not want to repeat the vinyl exercise and all the kit parts that I could think of made one item -
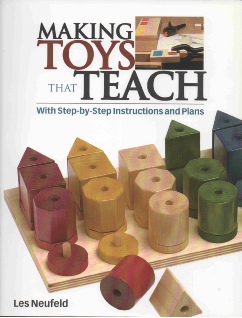
My design will allow me to assess how much different the machine cut is from hand work so I chose a toy that I have been considering making for some time but which has a lot of hand work associated, the design is from Making Toys that Teach by Les Neufeld. At the same time I am working on a larger design which will require fitted parts and changeable parts -
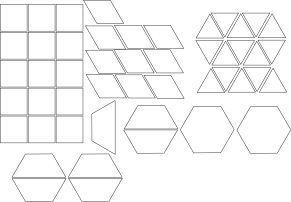
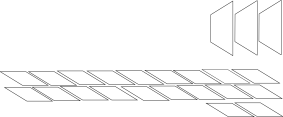
Having drawn the parts for the toy using my usual Drawplus from serif I then saved these as a dxf file and imported to the laser cutter software, which made a really fast easy job of cutting these out.

Whilst I was impressed at the speed I was also conscious of the size -
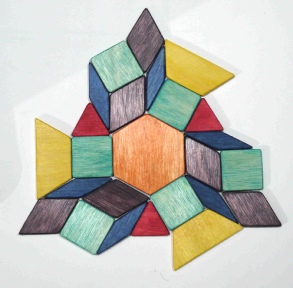
Once the shapes were cut I hand sanded each part, stained them and polished each with a traditional woodworkers wax. I could have cut the shapes from acrylic but I would need to have divided up the task over several sheets of different coloured acrylic. The acrylic would certainly have good faces but the corners would need to be redrawn to take the sharpness out and the edges finished in some way after all this is made to be handled by children.


