Week 16: Wildcard — Automatic Embroidery
Note: My English writing skills are limited. For this documentation, I have used AI assistance for parts of the translation.
Date: May 13 - 20, 2026
Overview
For Wildcard Week, I chose automatic embroidery using the Brother Skitch PP1 embroidery machine. This process was not covered in any previous assignment.
Why This Qualifies as Wildcard
Previous assignments covered laser cutting, 3D printing, CNC milling, and electronics — but not textile fabrication. Automatic embroidery includes all three required elements:
- Digital design — created in Inkscape with the Ink/Stitch plugin
- Digital file — exported to embroidery format (
.pes) and transferred to the machine - Digital fabrication — the machine reads the file and sews automatically
Tools and Materials
| Item | Details |
|---|---|
| Embroidery machine | Brother Skitch PP1 |
| Design software | Inkscape + Ink/Stitch plugin |
| Transfer app | Artspira (iOS) |
| Fabric | Japanese tenugui (thin cotton cloth) |
| Stabilizer | Fusible interfacing |
About Ink/Stitch
Ink/Stitch is an open-source Inkscape plugin for embroidery design.
It converts vector paths into stitch data.
Each path can be set to a different stitch type: running stitch, satin stitch, or fill stitch.
The final output is an embroidery file (.pes, .dst, etc.).
Workflow
- Prepare the design in Inkscape (clean up vector paths)
- Set stitch types in Ink/Stitch (fill for solid areas, satin for outlines)
- Export as
.pesformat - Transfer to PP1 via Artspira (iOS app, Bluetooth)
- Prepare fabric: iron fusible interfacing onto tenugui, then set in hoop
- Run the machine
STEP 1: Prepare the Fabric
Apply Fusible Interfacing
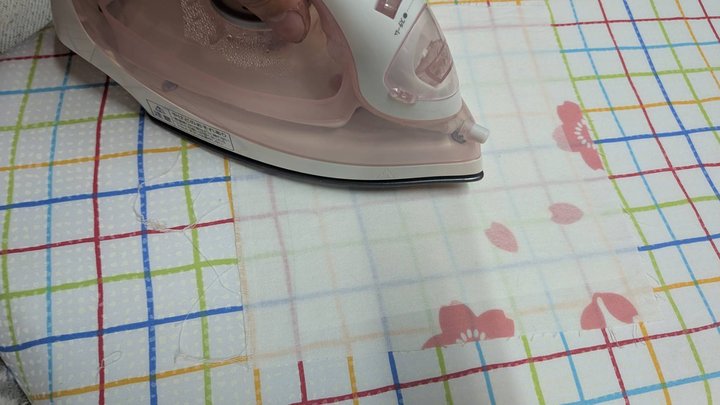
Tenugui is very thin and soft. Without support, the fabric puckers and shifts during embroidery. I ironed fusible interfacing onto the back of the fabric to make it firm enough for embroidery.
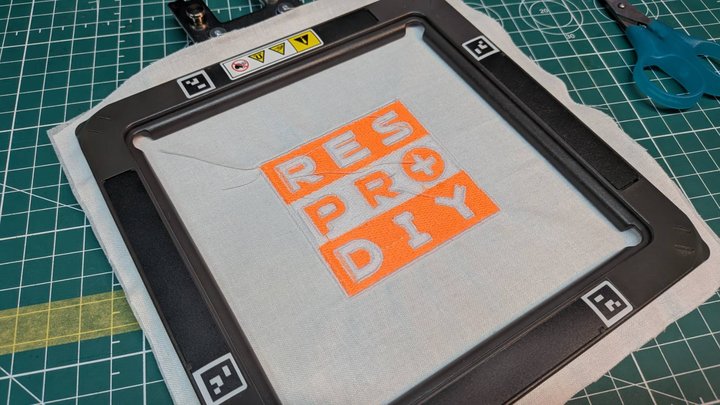
Set Fabric in Hoop
The hoop has two parts — top and bottom.
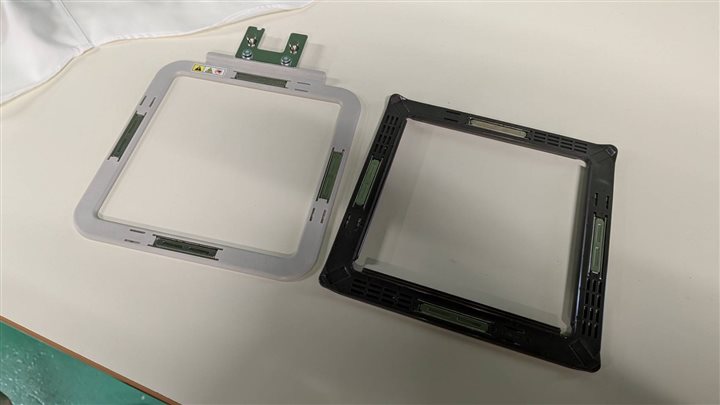
Before setting the fabric, I prepared the fusible interfacing.

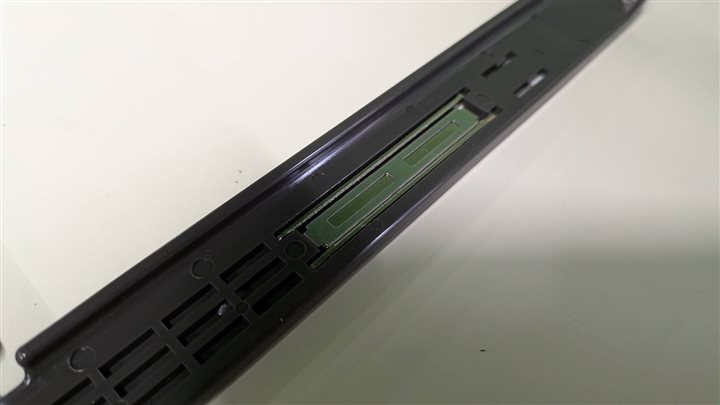
The inner frame has strong magnets. It holds the fabric firmly.
I sandwiched the fabric and interfacing between the two parts.
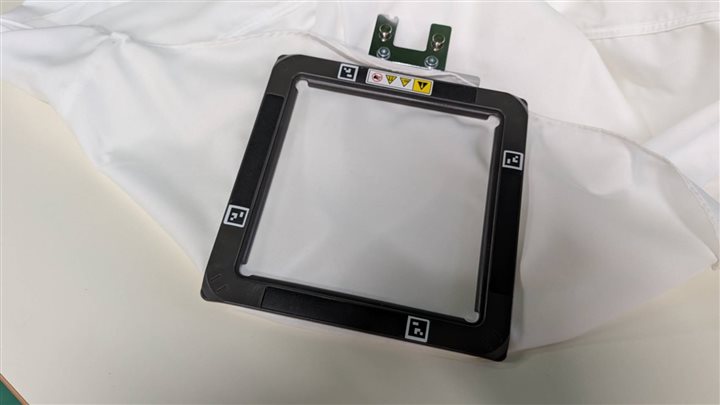
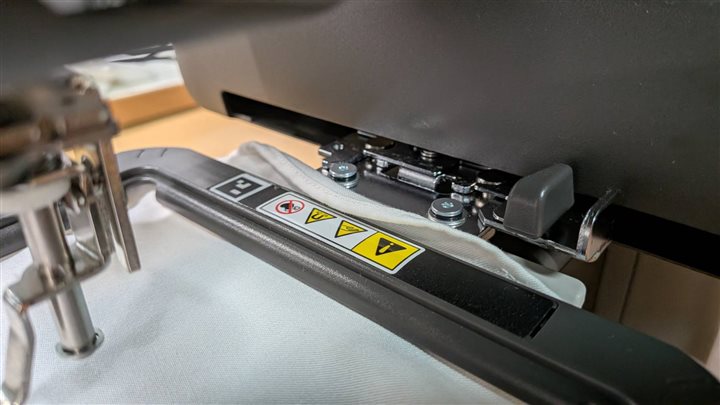
Attach the Hoop to the Machine
The hoop snaps onto the PP1 easily.
STEP 2: Study a Commercial Embroidery Patch
Before starting, I examined a ready-made embroidery patch (Japanese flag design) to understand stitch techniques.
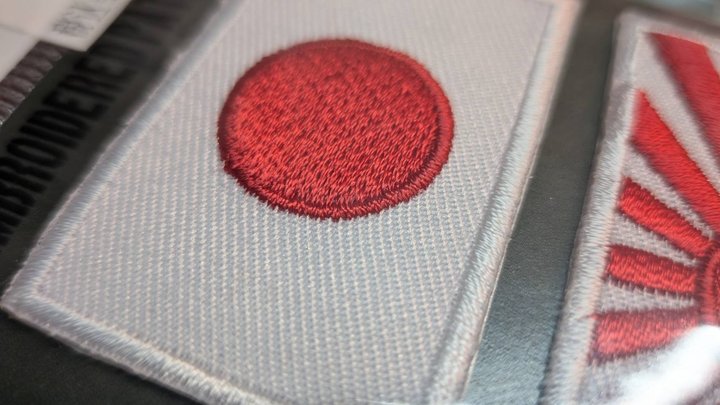
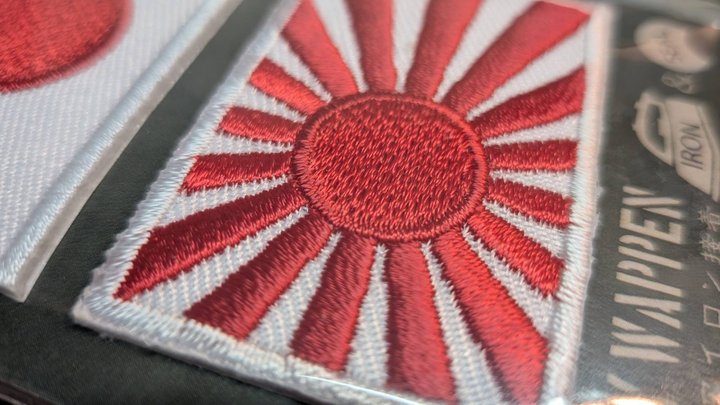
What I observed: - Solid fill areas (the red circle): satin stitch — dense parallel lines packed closely together - Outlines and thin lines (the sun rays): running stitch + satin stitch combined
This helped me understand that different stitch types are needed for different parts of a design.
How to Transfer the File
- Make the design in Inkscape with Ink/Stitch
- Export as
.pes - Open the file in Artspira (iOS app)

- Send to the PP1 via Bluetooth
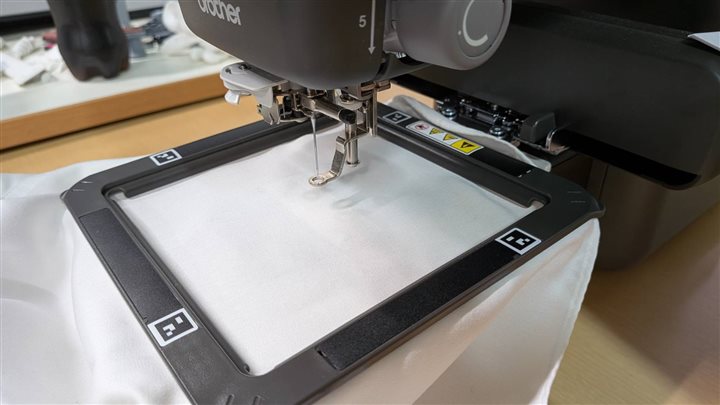
The machine has no screen. All control is done through the Artspira app. Threading the machine is the same as a normal sewing machine — follow the numbered guides. Thread tension is set with a dial.
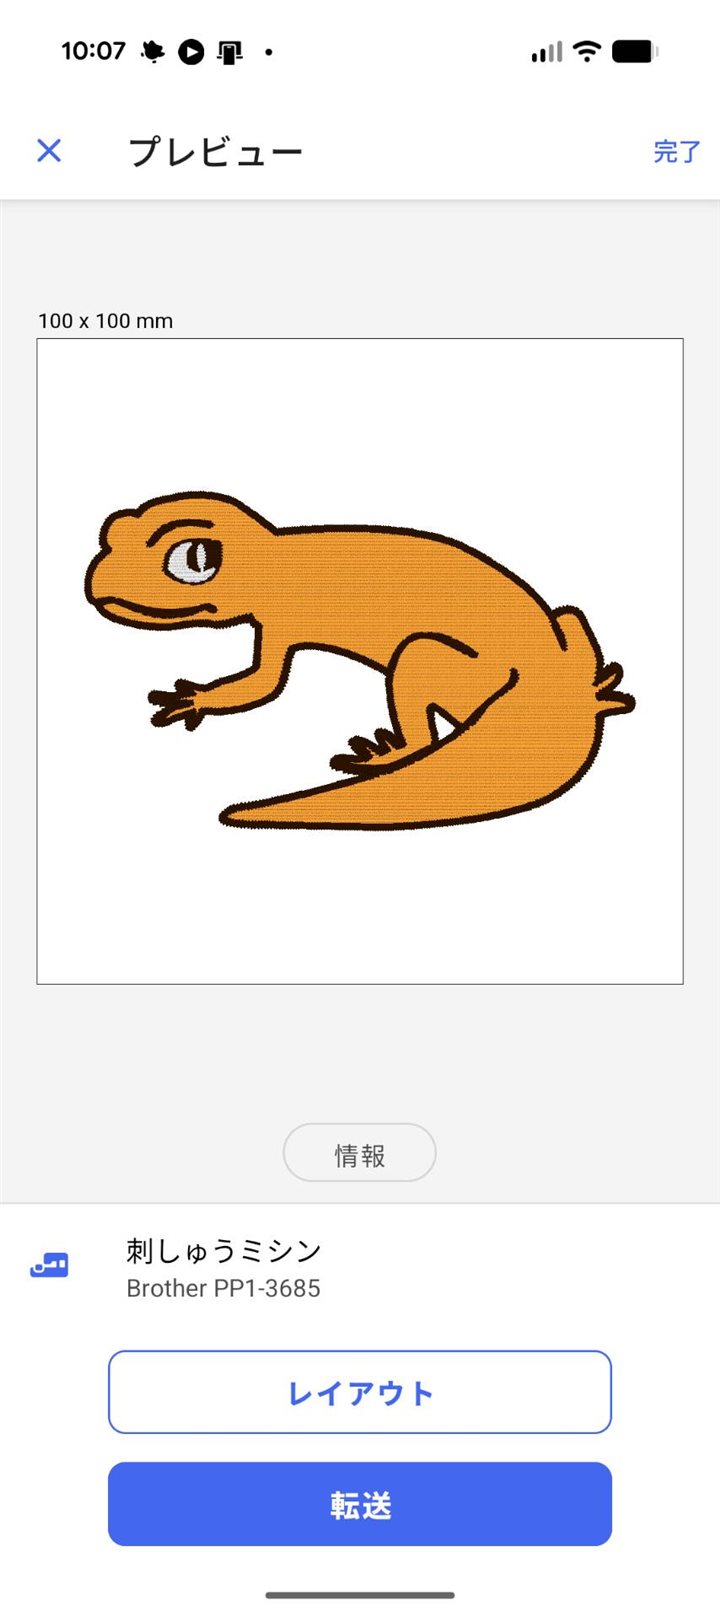
STEP 3: Test — Gecko Mascot Embroidery
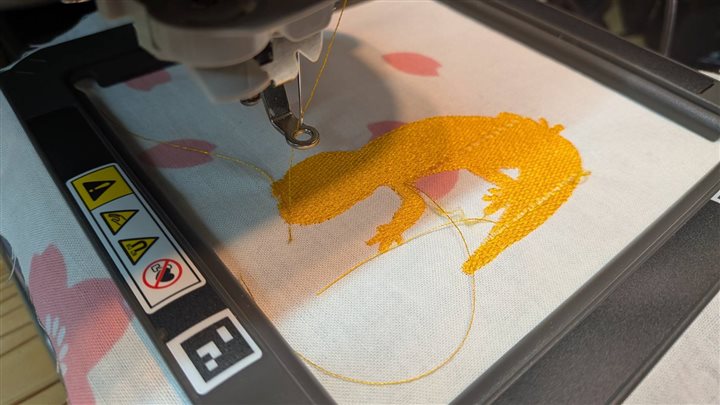
Embroidering

I used a Chinese-made #90 upper thread (thin weight). During embroidery, I had many problems:
- Thread broke frequently during stitching
- Thread frayed and tangled inside the machine, causing stops
- Finished quality was uneven — thread density varied across the design
I had to stop and fix the thread many times before the design was complete.
Thread Change
When one color is done, the machine stops by itself.
Artspira shows which color to use next. I changed the thread and continued. The machine cannot detect thread color. Any color works — the machine does not check.

Results
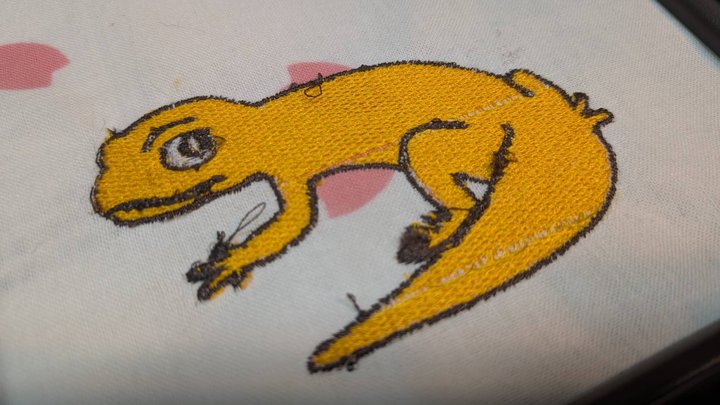
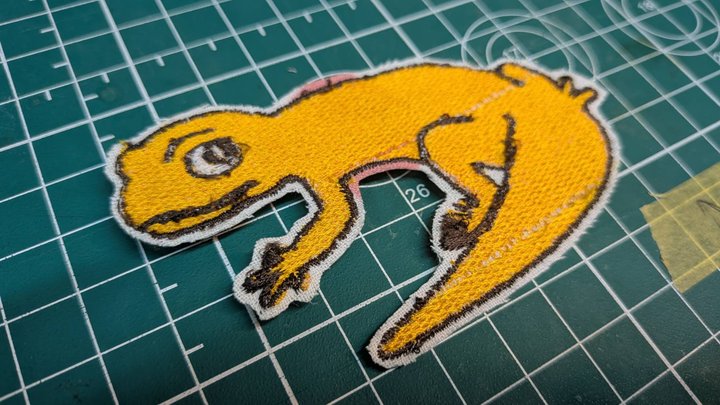
The Gecko design was completed, but quality was affected by the thread problems. The overall shape came out well, and I confirmed the basic workflow works end-to-end.
STEP 4: Problems and Solutions
Problem 1 — Thread Quality
| Test (failed) | Solution | |
|---|---|---|
| Upper thread | Chinese-made #90 (thin) | Switch to Japanese-made #60 (slightly thicker) |
| Issues | Breaking, fraying, tangling | Higher quality thread |
| Design | Gecko (complex curves, many details) | Simpler design (YouTube logo) |
Problem 2 — Artspira App (Android)
The Android version of Artspira repeatedly failed to connect to the PP1 via Bluetooth. I switched to the iOS version, which connected and transferred the file without any problems.
Note: If you use Artspira, the iOS app is strongly recommended over Android.
STEP 5: Ver2 — YouTube Logo Embroidery
After testing with the Gecko mascot, I moved on to the real attempt.
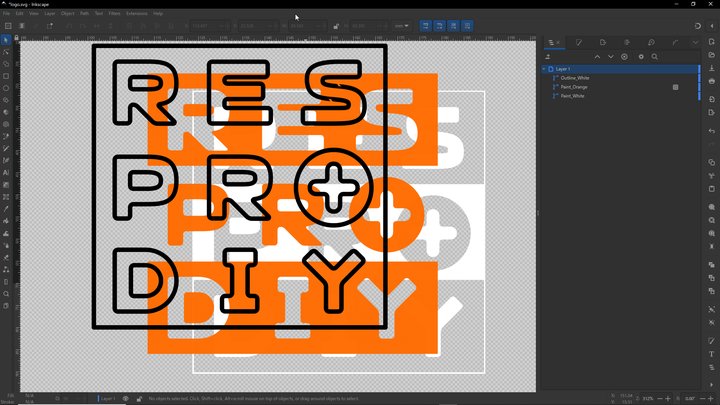
Creating the Design
I used Inkscape for design — the same tool I use for other work. I chose the YouTube logo as the design.
![]()
I used the Ink/Stitch plugin installed in Inkscape. A normal print-ready file cannot be used directly for embroidery. There are key rules for creating embroidery data with Ink/Stitch.
Key rules for embroidery data:
- Fill and Stroke must be on completely separate layers
- Solid fill areas → Fill layer
-
Outlines and borders → Stroke layer
-
Embroidery starts from the bottom layer. Plan the layer order with the final result in mind.
-
Set Ink/Stitch parameters for each layer. The preview shows how the finished embroidery will look — very helpful.
-
Fill layer: default settings work fine.
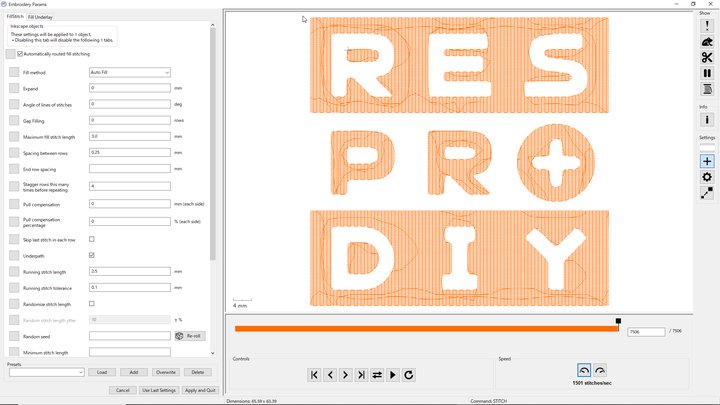
- Stroke layer: set "FillMethod" to ZigZag for a natural embroidery look.
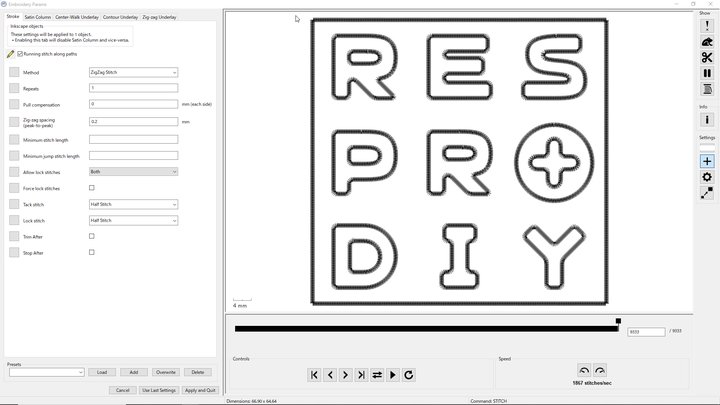
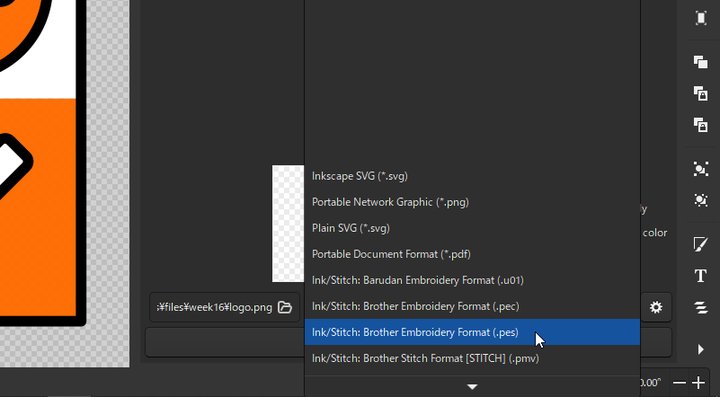
- When settings are done, export as
.pesformat from Inkscape's export menu.
- Transfer the file to the machine using Artspira. Design preparation is complete.
Improvements from the Gecko Test
I fixed the materials and setup based on what went wrong with the Gecko.
| Item | Gecko (test) | Ver2 |
|---|---|---|
| Upper thread | Chinese-made #90 (thin) | Japanese-made #60 (slightly thicker) |
| Fabric | Tenugui (thin) | Slightly thicker fabric |
| Stabilizer | Fusible interfacing | Same |
Japanese-made #60 thread
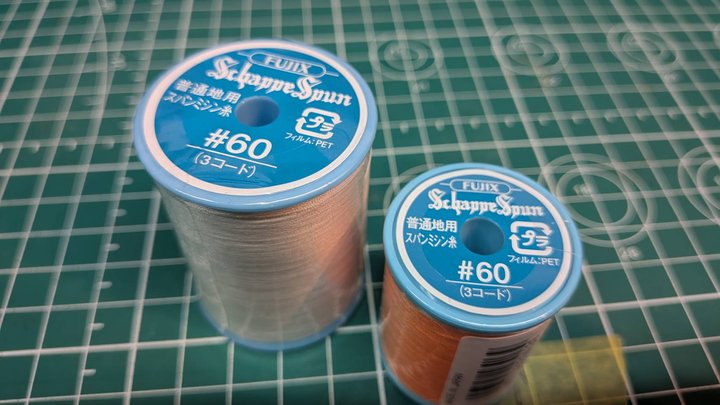
The #90 thread broke often. I switched to #60 for better strength.
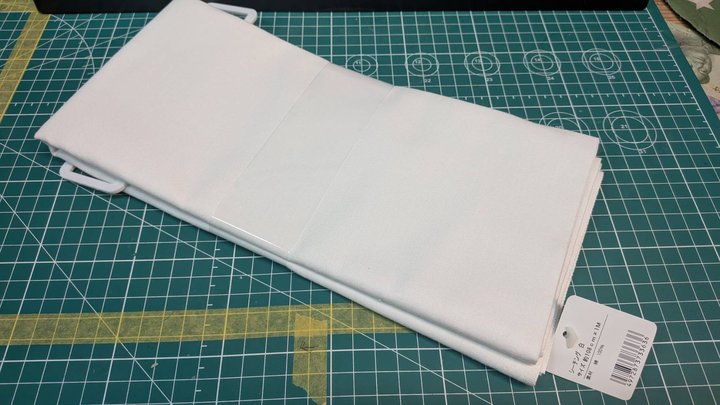
Thicker fabric
Apply fusible interfacing
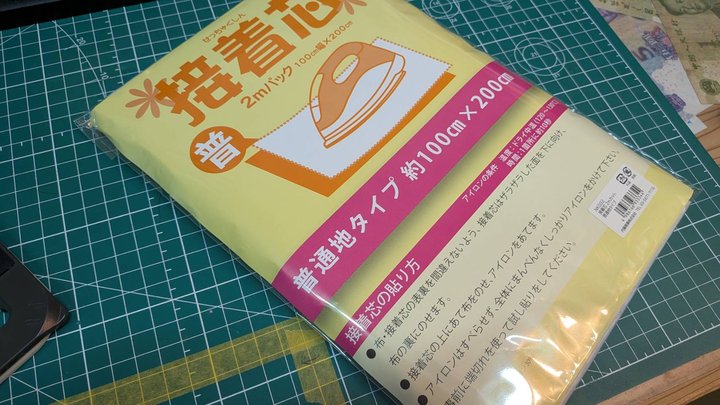
I ironed fusible interfacing onto the back of the fabric to make it firm.
Embroidering
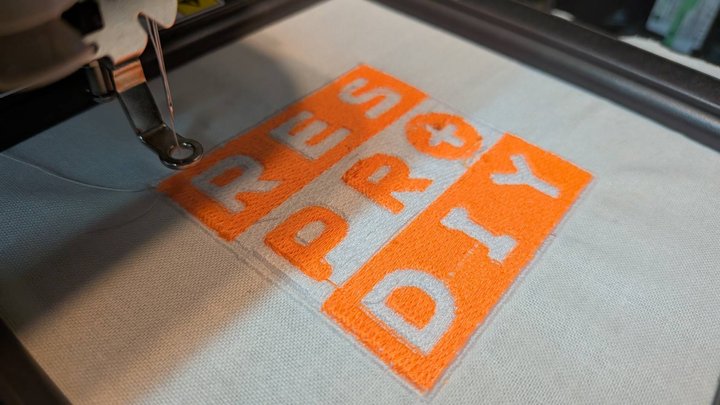
The process went much more smoothly than the Gecko test. Thread breaks were rare and the machine barely stopped.
Trim excess thread
After embroidery, I trimmed all loose threads carefully.
Finished
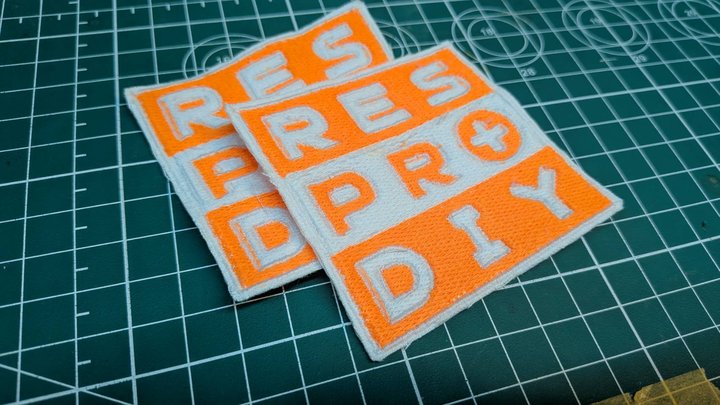
The result was far better than the Gecko. The design came out clean and even.
Reflection
I blamed the Gecko problems mostly on the thin thread — but I also made a mistake myself.
- I had threaded the machine incorrectly. Fixing the threading also improved the result.
- Thread quality matters, but correct setup is even more important.
- Always check the threading carefully before starting.
Design Files
- Gecko_Skitch.svg — Gecko mascot Inkscape source file
- layer1.pes — Gecko embroidery file (Ink/Stitch output)
- logo.svg — YouTube logo Inkscape source file
- logo.pes — YouTube logo embroidery file (Ink/Stitch output)
What I Learned
- Automatic embroidery is a form of digital fabrication: digital design → digital file → machine output.
- Thread quality matters as much as the design file. Low-quality thread causes frequent stops and poor results.
- Thin fabric needs fusible interfacing as a stabilizer — material preparation is as important as software settings.
- Always check app compatibility before starting. The Android version of Artspira had Bluetooth issues; iOS worked fine.
- Studying a commercial patch first helped me understand stitch types (fill vs. outline) and set up my design correctly.
- In Inkscape, Fill and Stroke must be on separate layers for embroidery. Layer order directly affects the final result.
- Setting the Stroke FillMethod to ZigZag gives a natural embroidery look for outlines.
- Thread breaks are not always caused by thread quality. Incorrect threading can cause the same problem. Always check the setup first.