Week 17: Wildcard week
Stitching a doll’s face with an embroidery sewing machine
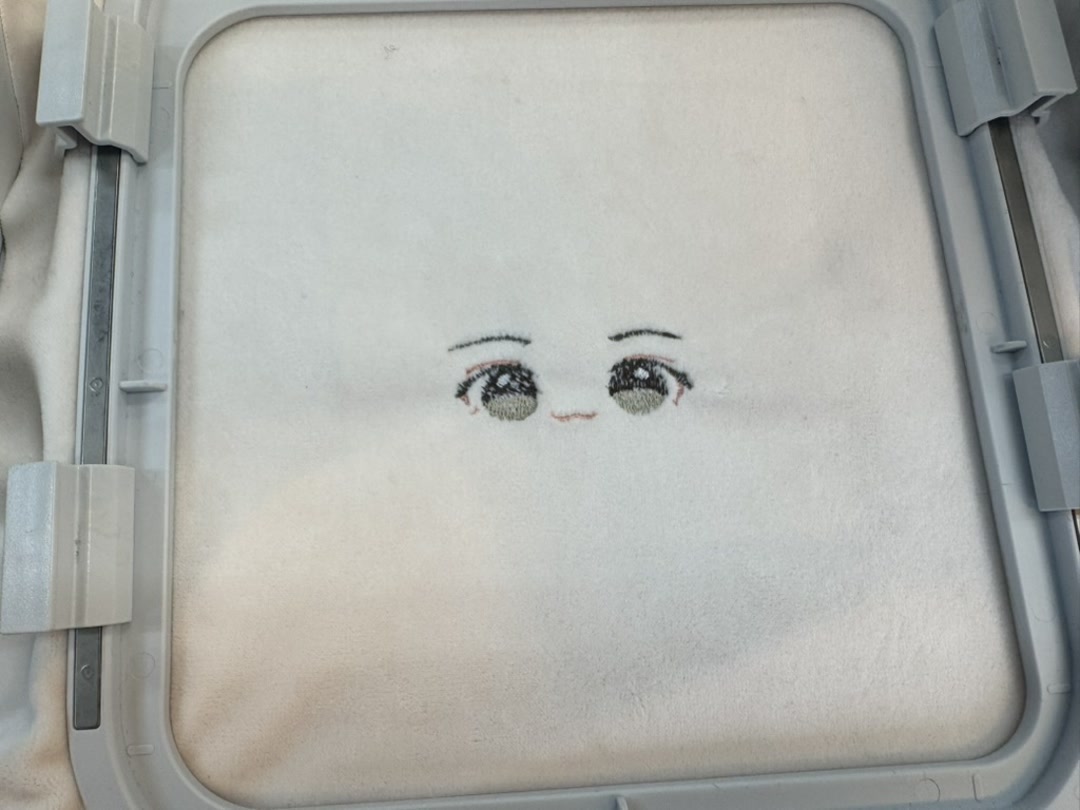
 Stitched doll’s face
This week, I created the embroidery data for a doll’s face and stitched it on fluffy cloth with an embroidery sewing machine. My plan is to make it into a doll with bones (= actuators) and a soul (= AI), maybe after the final project.
Assignment
Individual assignment:
- Design and produce something with a digital process (incorporating computer-aided design and manufacturing) not covered in another assignment, documenting the requirements that your assignment meets, and including everything necessary to reproduce it.
Process
1. Preparing the doll eye design
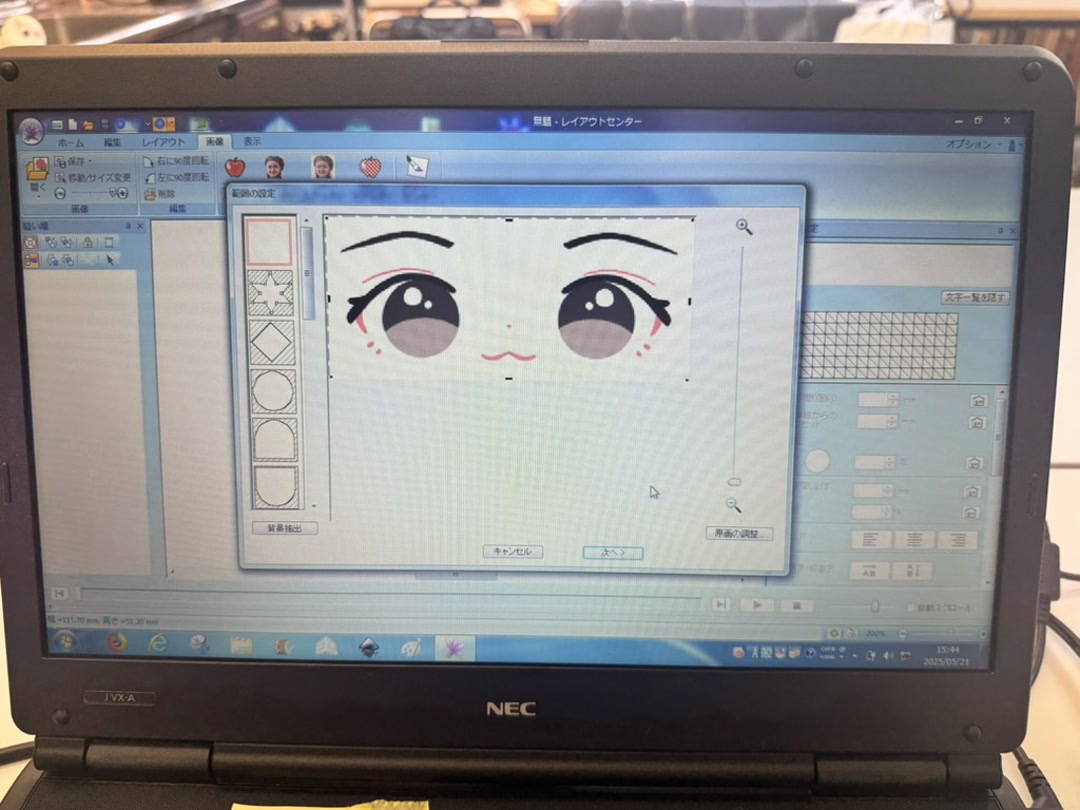
I purchased a doll sewing pattern from a local sewing supply shop, “Okadaya”. The eye was meant to be hand-stitched, but I clipped the eye design from the PDF manual and prepared the JPEG data. The image was first prepared as a PNG, but the software reads JPEG files, so I converted it to JPEG format.

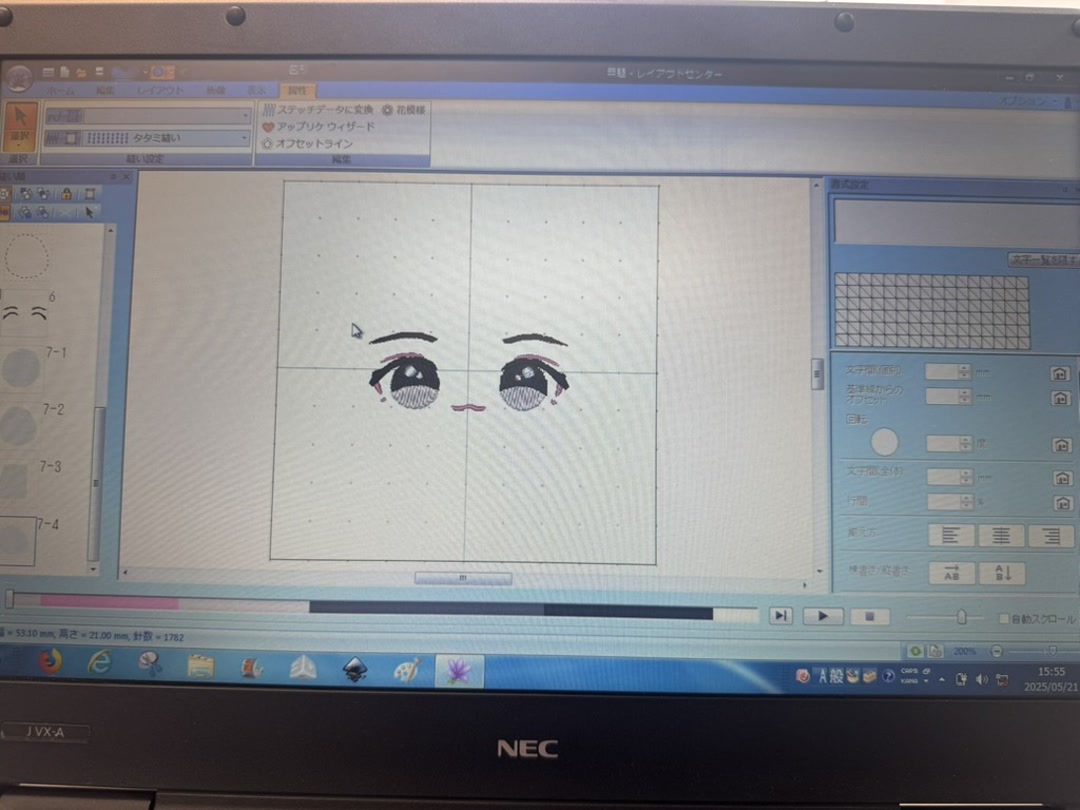
2. Create the stitch data in Shishu Pro Next (JPEG to JEF)
The Shishu Pro Next software only runs on an old Windows machine, so I started by bringing out and opening that machine.
First, I selected the Auto Punch Wizard. This reads the illustration’s shapes and colors and turns them into embroidery data automatically.
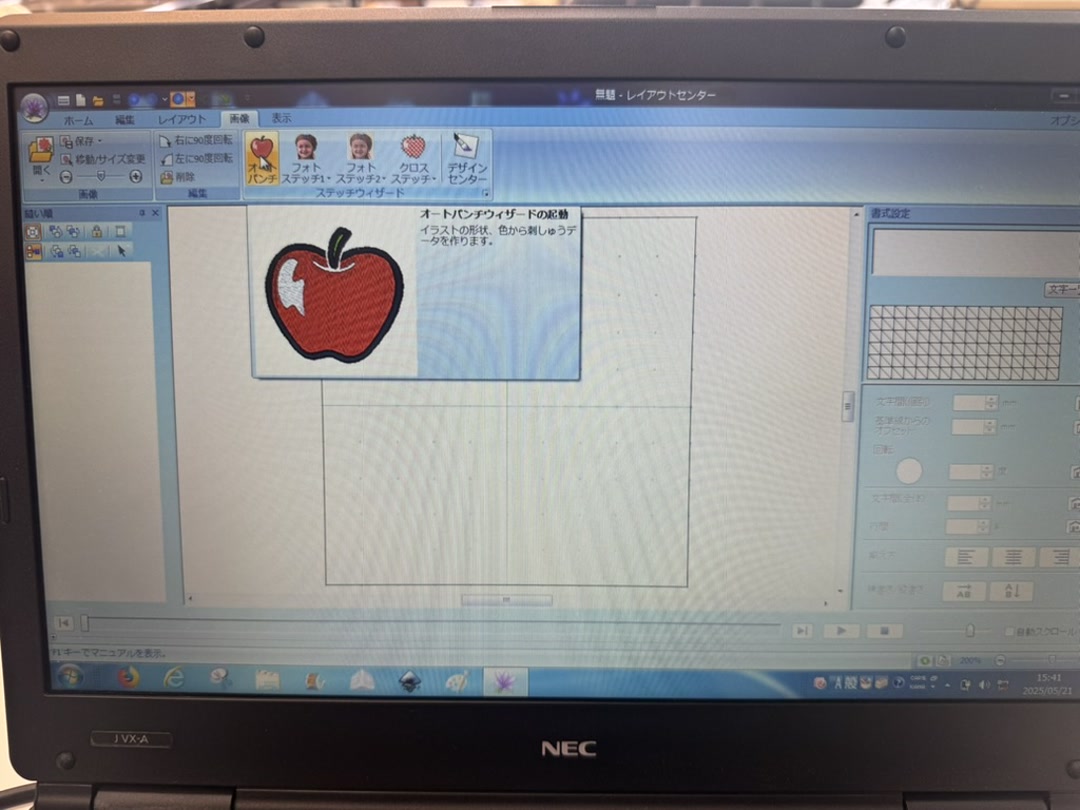
Then I imported the JPEG image file.
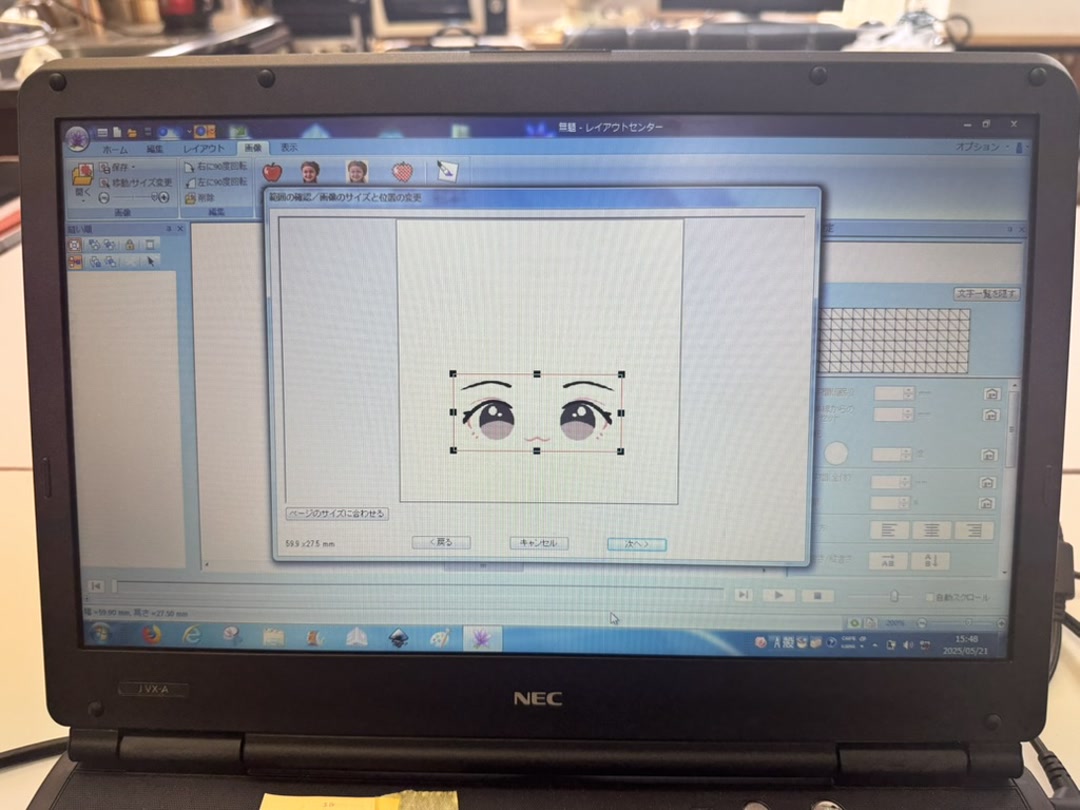
Then I set the size and position. In the “image size / position” dialog, I scaled and placed the image so it would fit inside the hoop’s sewing area.
Then the Auto Punch automatically converts the image to embroidery data.
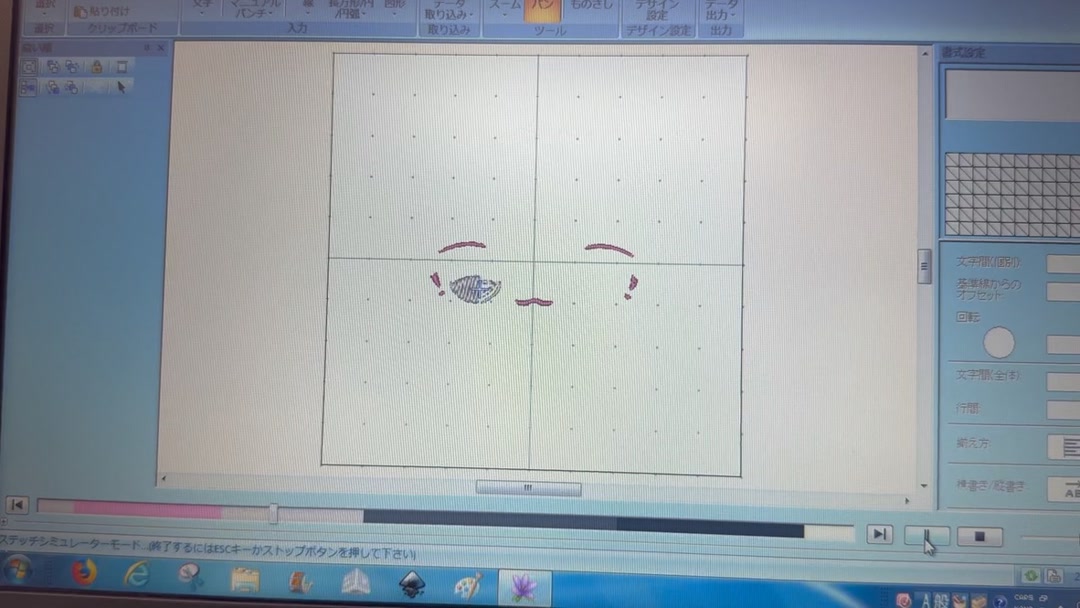
I used the Stitch Simulator to preview the sewing order and confirm that the result looked clean, and that the number of colors captured was just right.
The software also runs the stitching order simulation by color, so I could check the details of the individual stitches. It looked fine.
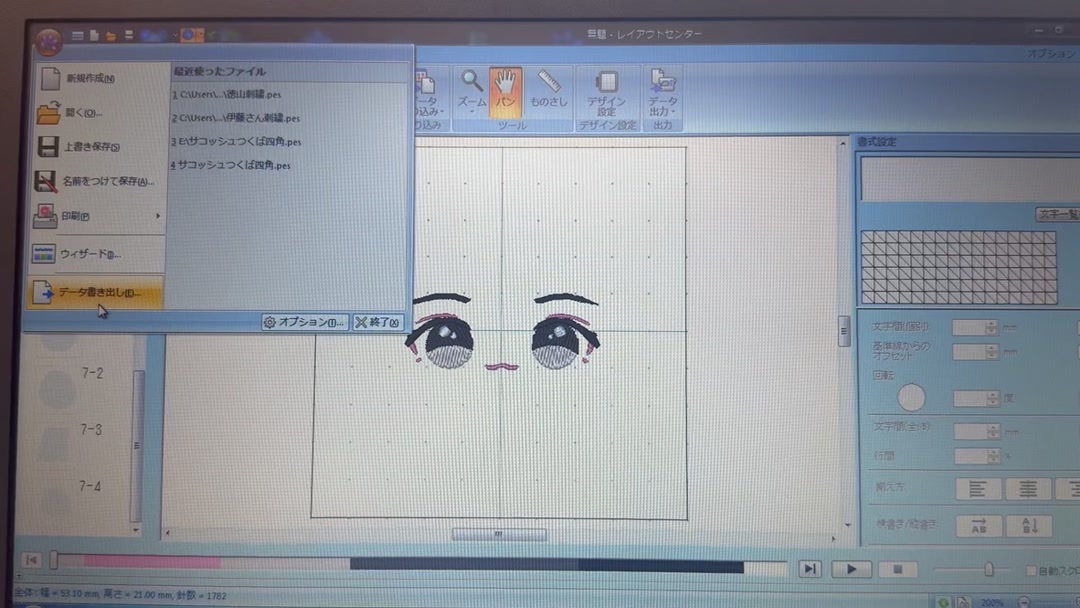
I exported the file in JEF format, which is the format our JANOME Hyper Craft 900 machine needs. I opened the application menu → Data Export, chose the .JEF format, and saved it to a USB stick.
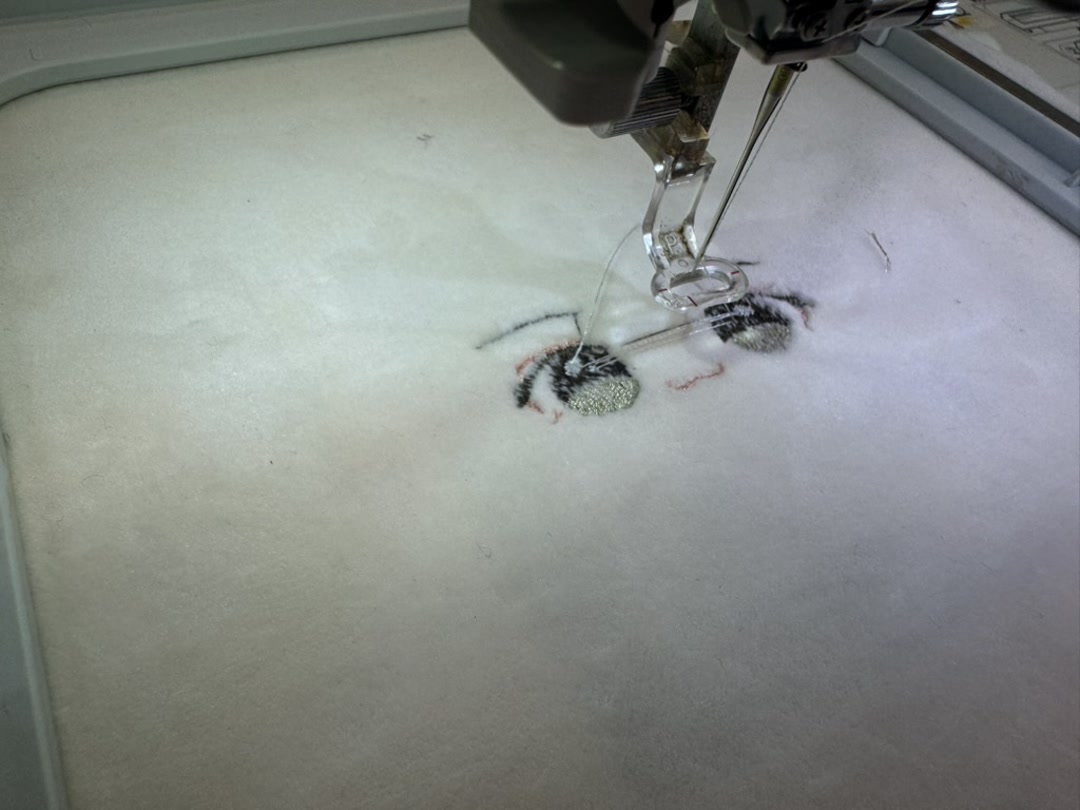
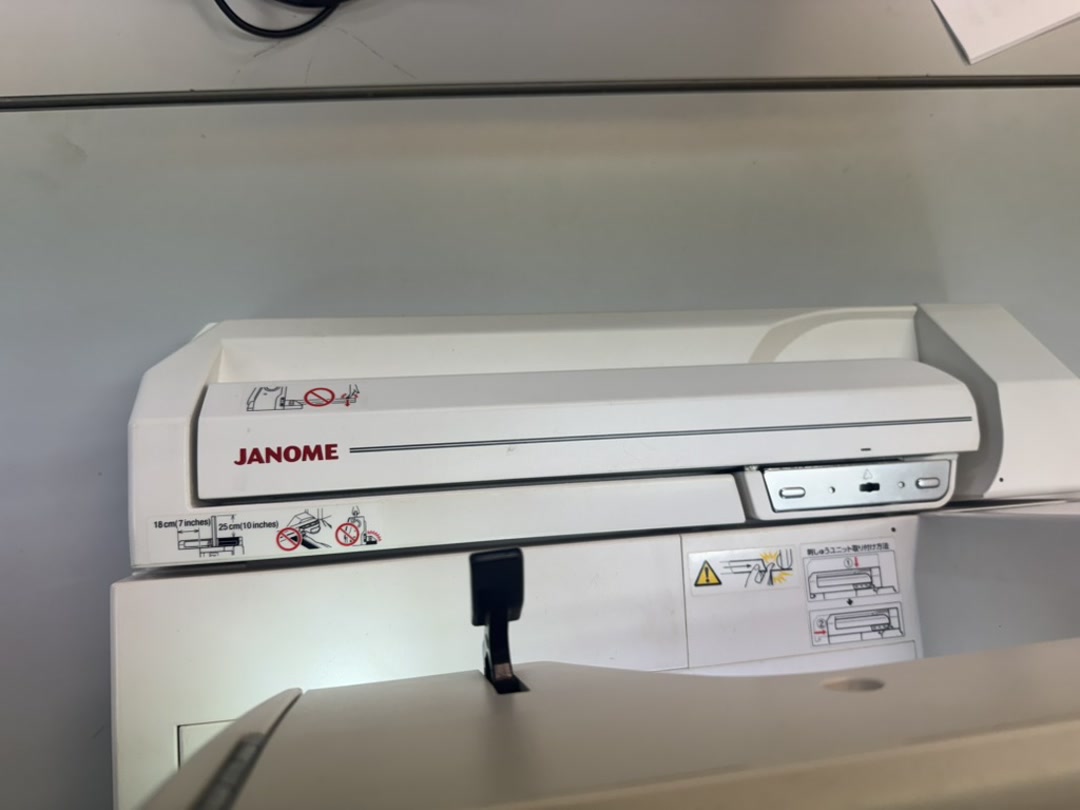
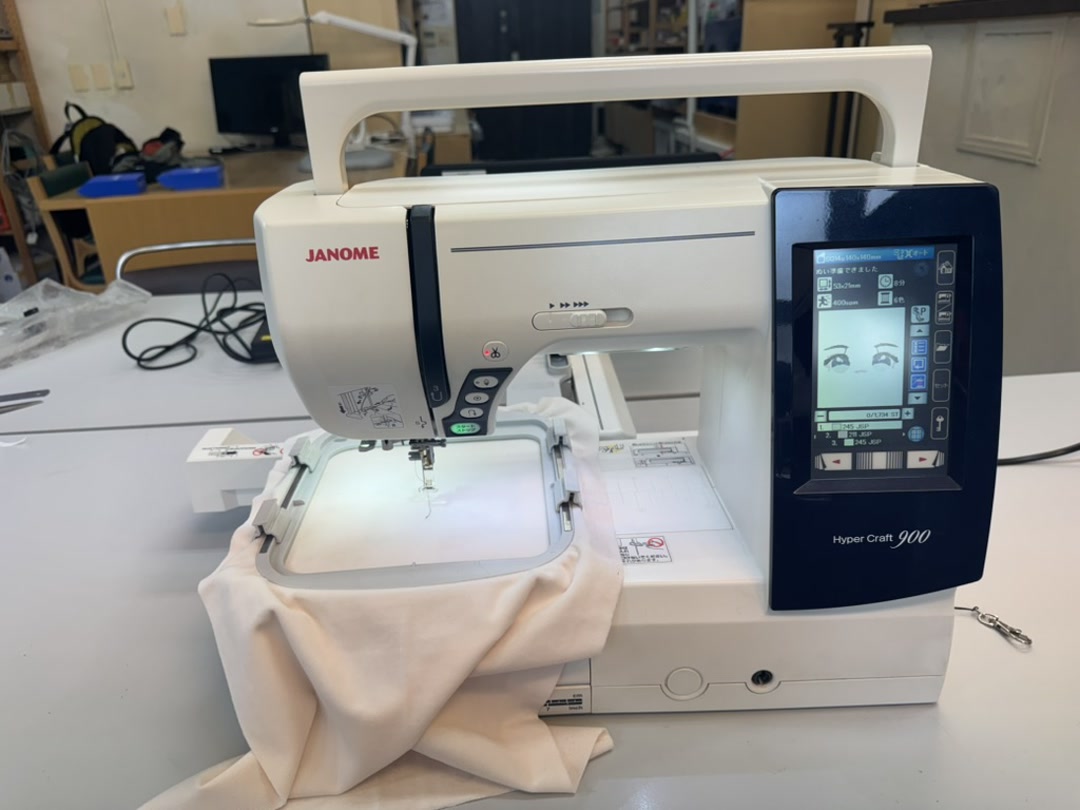
3. Operate the JANOME Hyper Craft 900
First, I attached the embroidery unit.
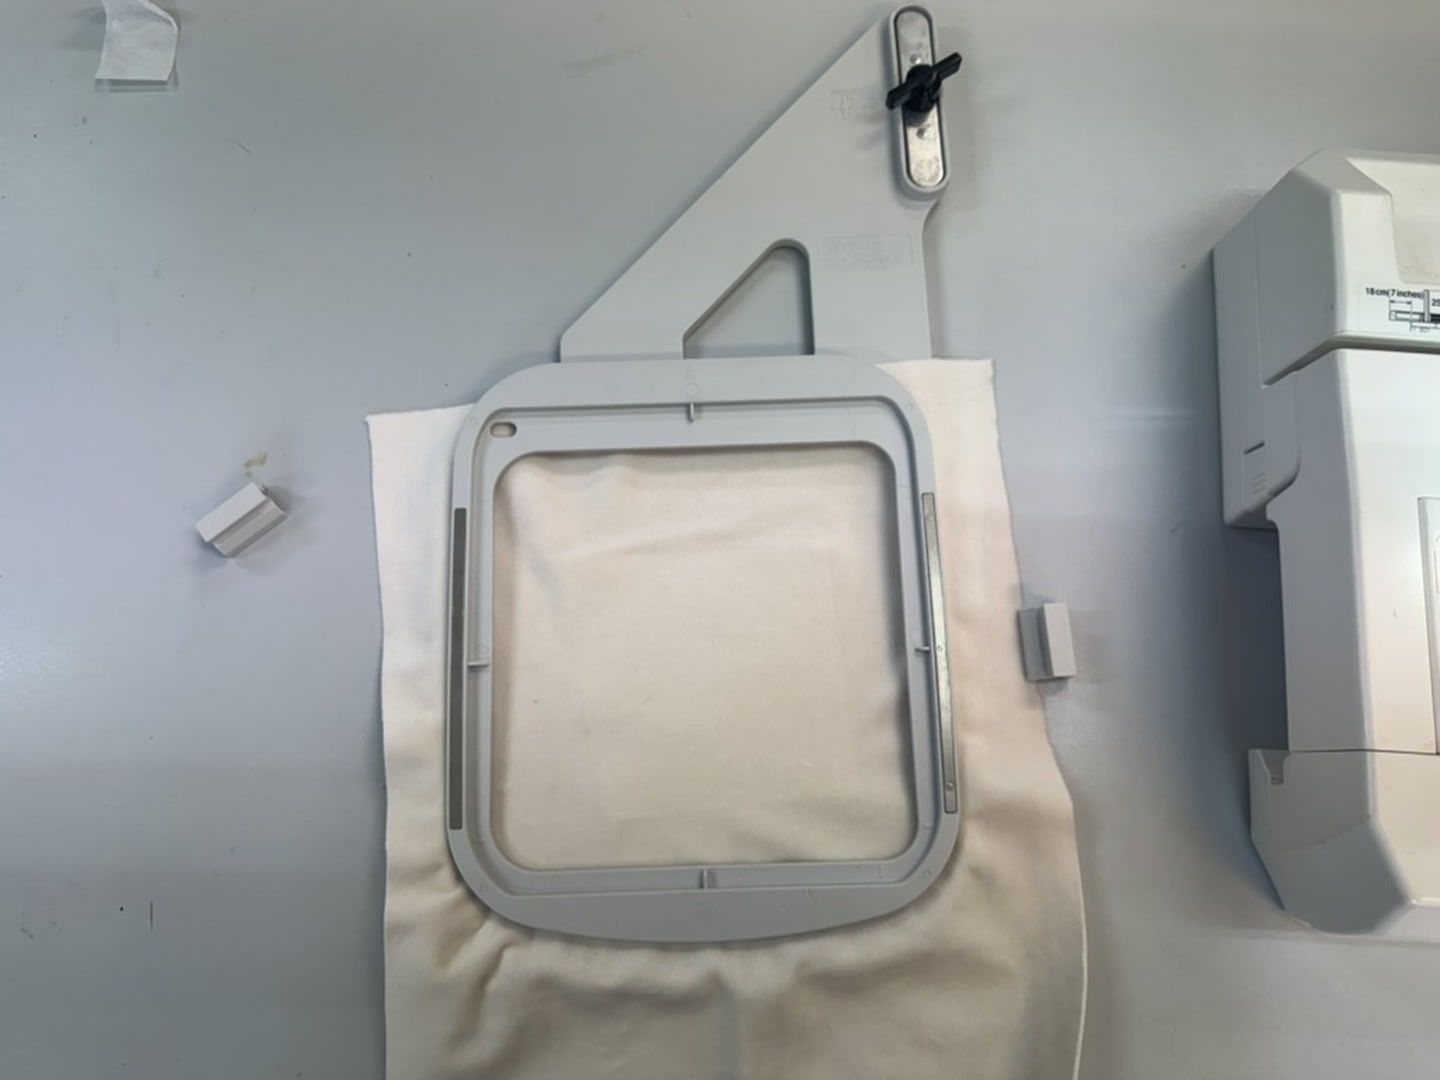
This time, I chose the smaller hoop and hooped the fabric with stabilizer mounted behind it.
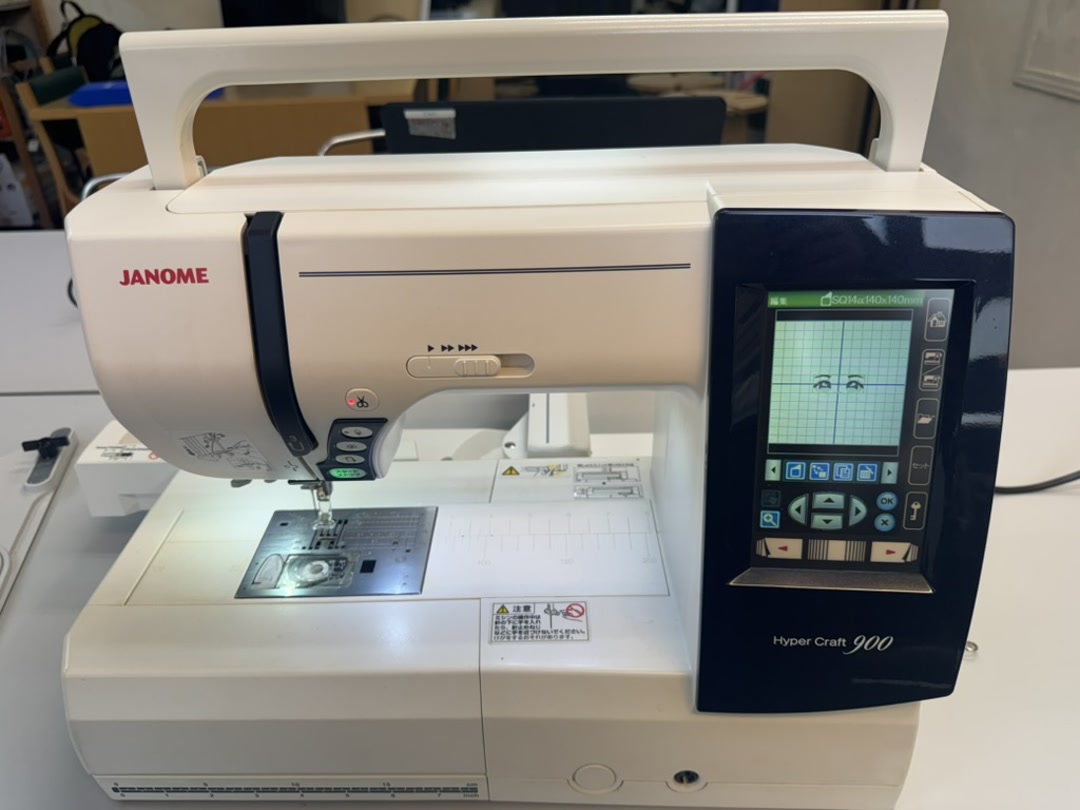
I loaded the JEF file from the USB stick. The machine read the designs from the folder and showed them on the touchscreen. I switched to embroidery mode and selected my design.
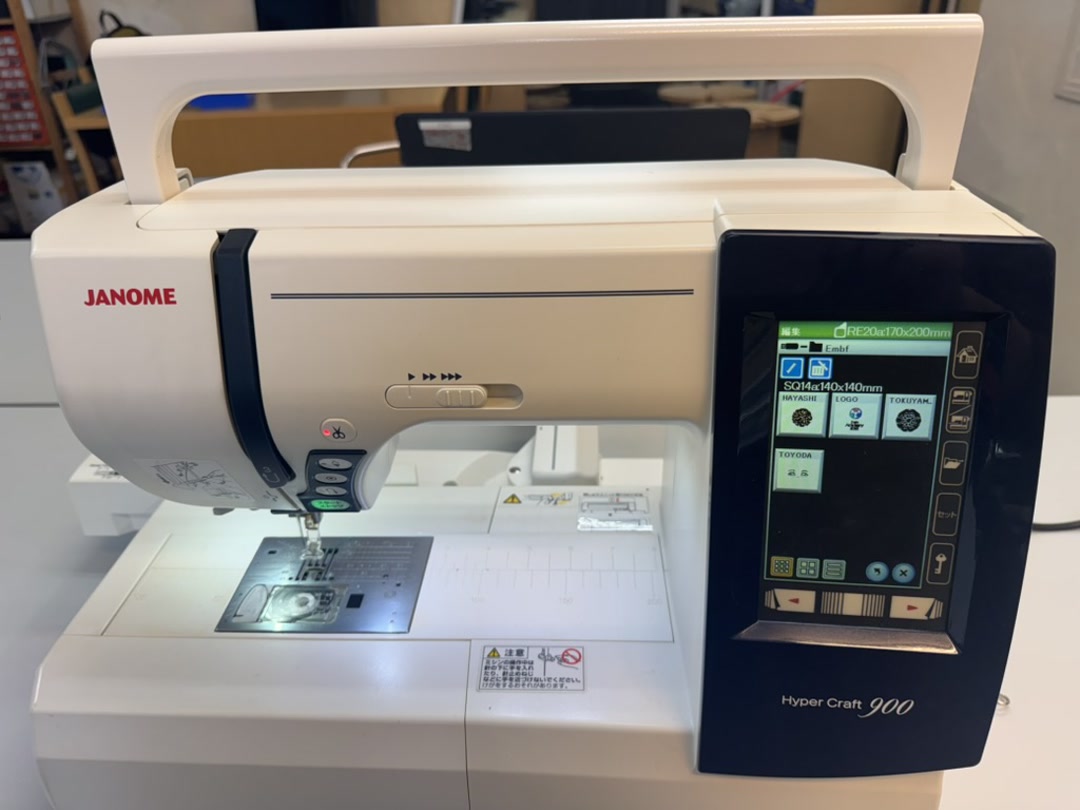
I clipped the hoop onto the carriage. The screen confirmed the hoop type and size, and showed “ready to sew” with the stitch count.
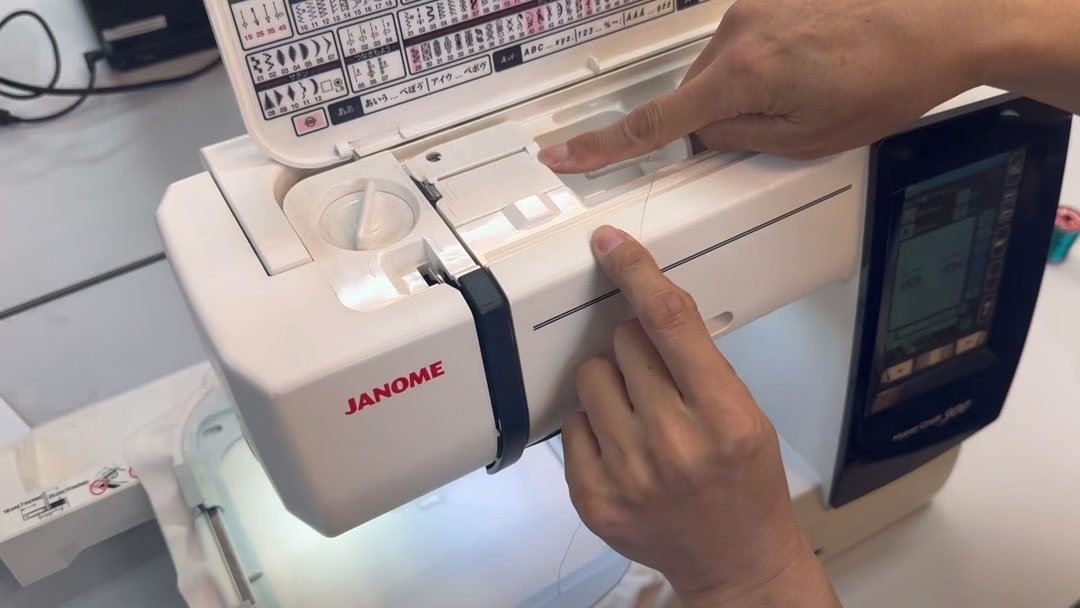
I threaded the upper thread and loaded the bobbin.
Then I pressed start. The machine sews each color block and pauses for thread-color changes; I rethreaded the prompted color and continued until it was done.
Design Files
Reflections
It was good to experience computer-controlled embroidery. I found that the mechanism has some similarities with CNC machines, 3D printers, and vinyl cutters, since all of them are kinds of drawing machines, aren’t they?
And I meant to create a doll, but I did not have time.
Checklist
- [X] Documented the workflow(s) and process(es) you used
- [X] Explained how your process is not covered in other assignments
- [X] Described problems encountered (if any) and how you fixed them
- [X] Included original design files and source code
- [X] Included ‘hero shot’ of the result
AI usage
I used Codex for grammar checking, and I reviewed the final report. I also used ChatGPT to research the manuals for the embroidery software and machine for parts I was unsure about.