Week 14: Molding and Casting
Tree of Life Pendant
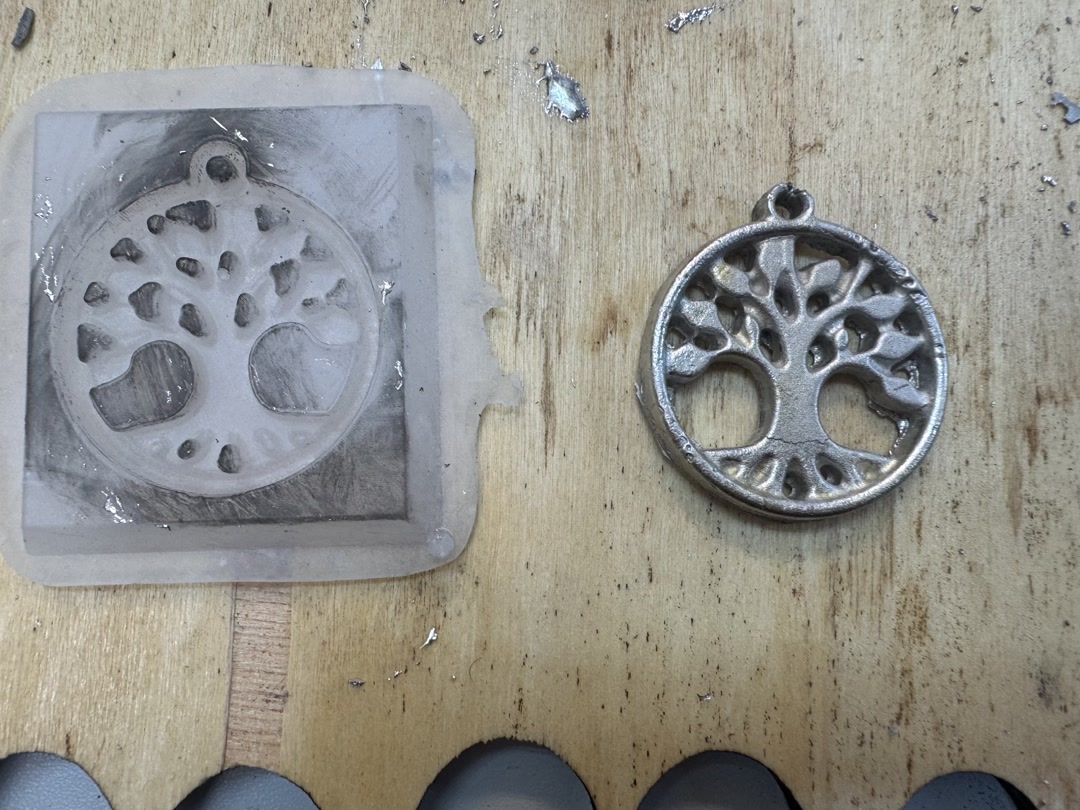
Metal casting a pendant top
I made a mold from machinable wax and silicone, then poured bismuth alloy into the mold to make this pendant top.
Assignments
group assignment:
- review the safety data sheets for each of your molding and casting materials, then make and compare test casts with each of them
- compare mold making processes
individual assignment:
- design a mold around the process you’ll be using, produce it with a smooth surface finish that does not show the production process toolpath, and use it to cast parts
- extra credit: use more than two mold parts
- extra credit: make your own materials
Group Assignment
For the group assignment, we reviewed the safety data sheets for the molding and casting materials and compared different molding/casting processes. We used Mold Star 31T silicone, Smooth-Cast 320 resin, and biomaterial ingredients, checking the necessary safety precautions for each. The group also tested casting workflows using CNC-machined wax molds, noting practical issues such as pot life, cure time, ventilation, protective equipment, and correct mixing ratios.
Individual Assignment
1. Design a mold with Fusion
I first made the original design with ChatGPT iteratively, referring to the traditional Tree of Life design and optimizing it for molding and casting. Here are my prompts and the results.
| Design | Prompt |
|---|---|
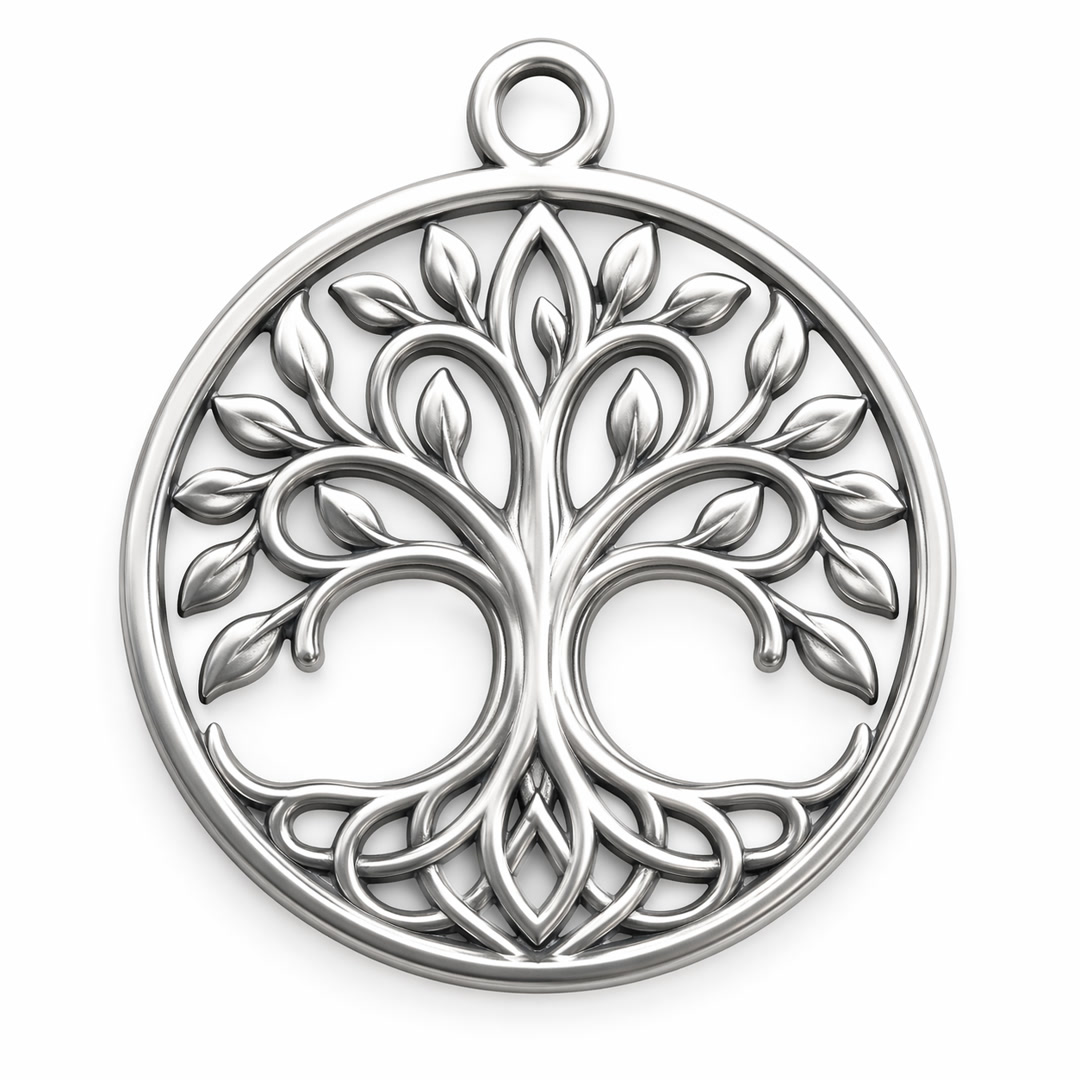 |
I want to make a Tree of Life pendant top using one-sided molding. The image I have in mind is a Tree of Life inside a circular frame. Could you generate an image for me? |
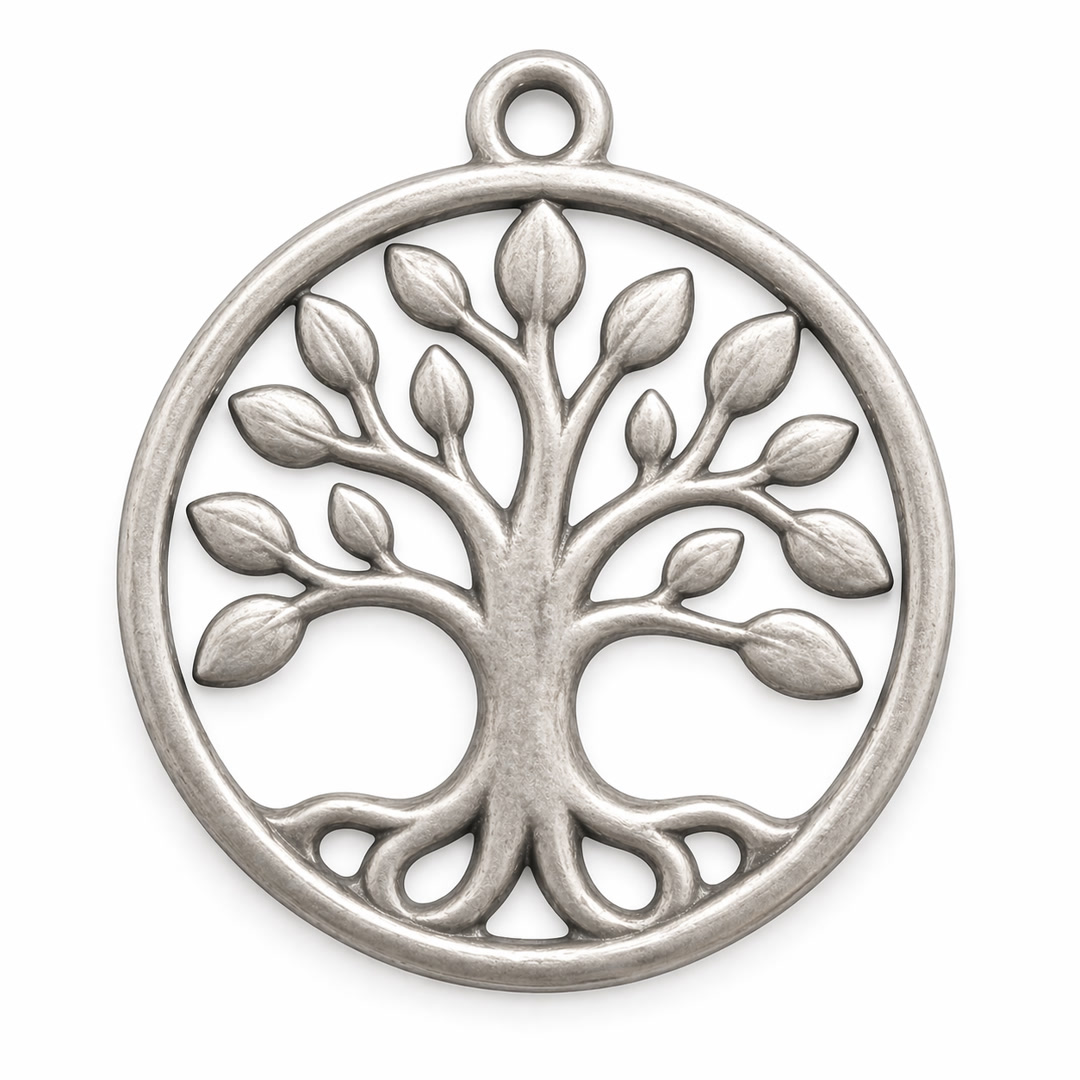 |
I would like the design to look a little more rustic and cute. |
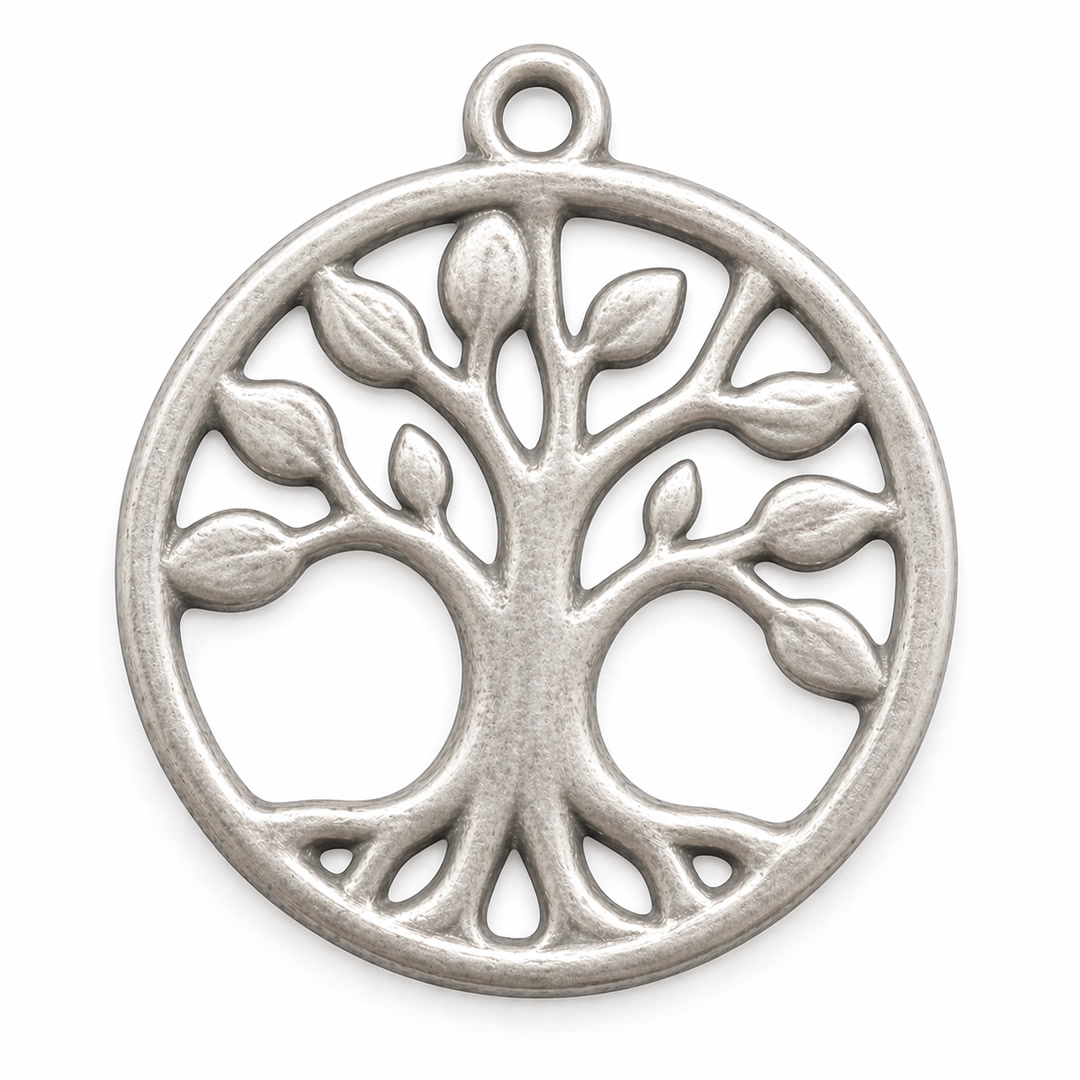 |
Since I will make this with molding and casting, could you make sure the inner parts are connected to the outer frame overall? |
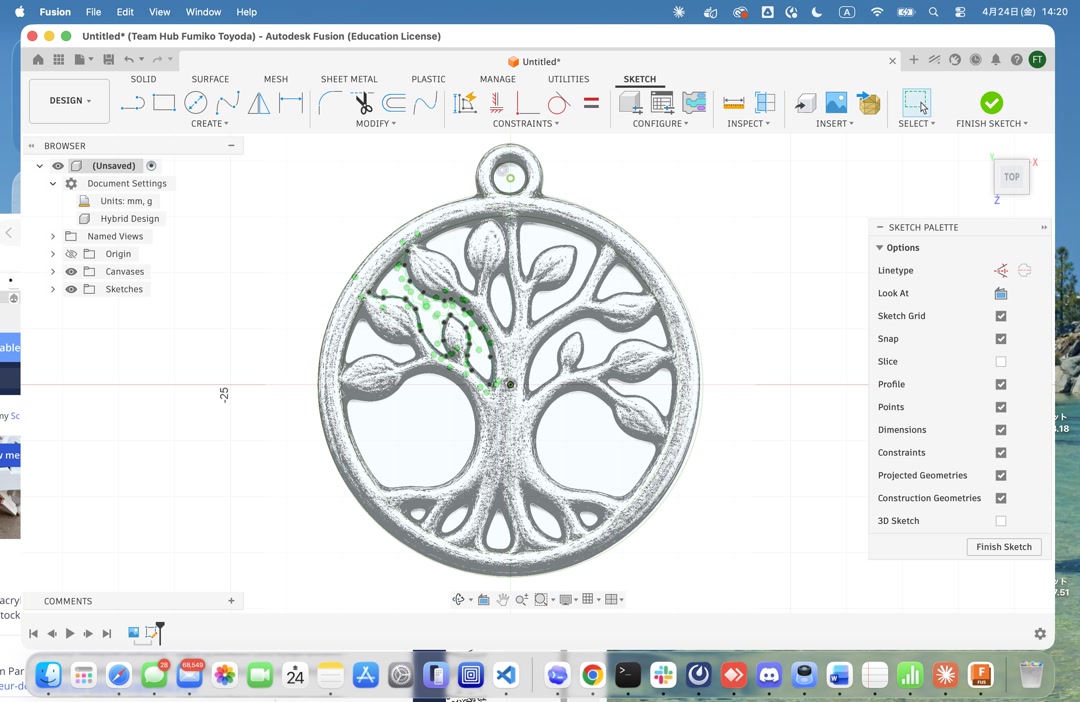
Then, I designed a 3D model in Fusion. First, I imported the generated 2D design as a canvas and traced it with curved lines.
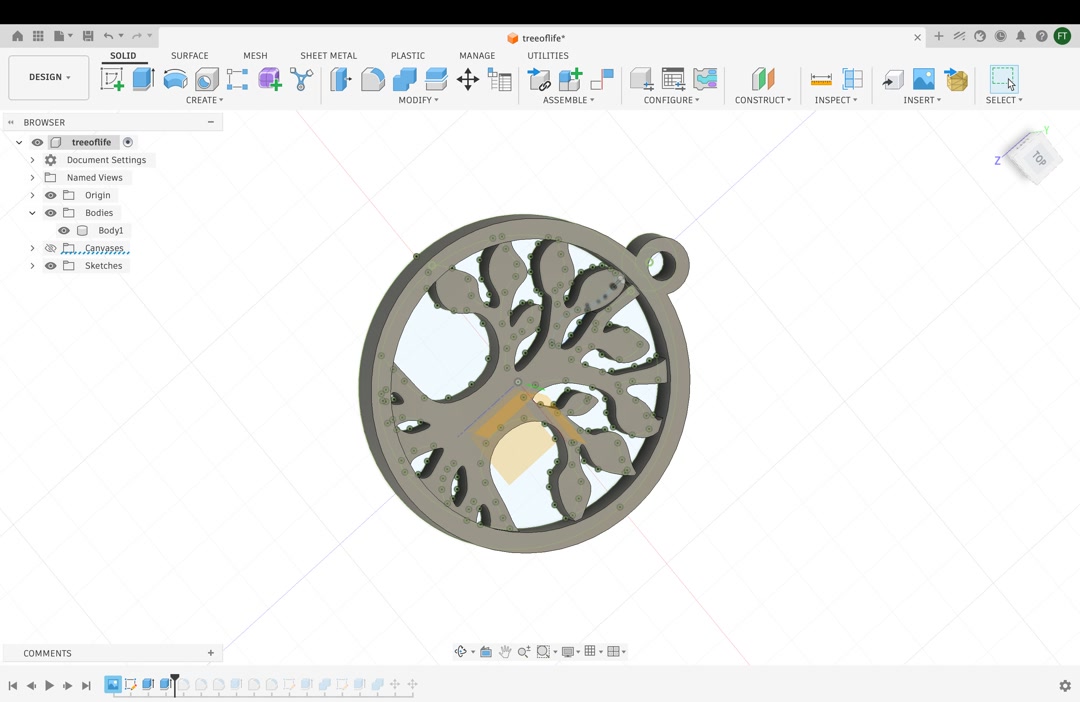
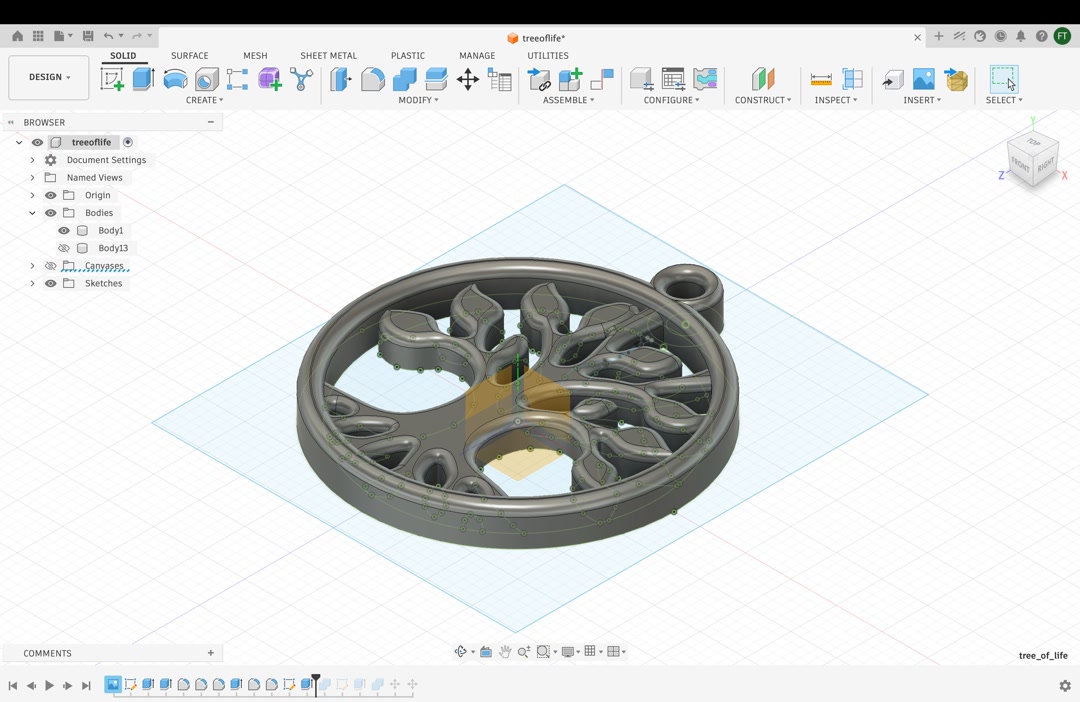
Then, I used multiple levels of extrusion and filleting to make the 3D design.
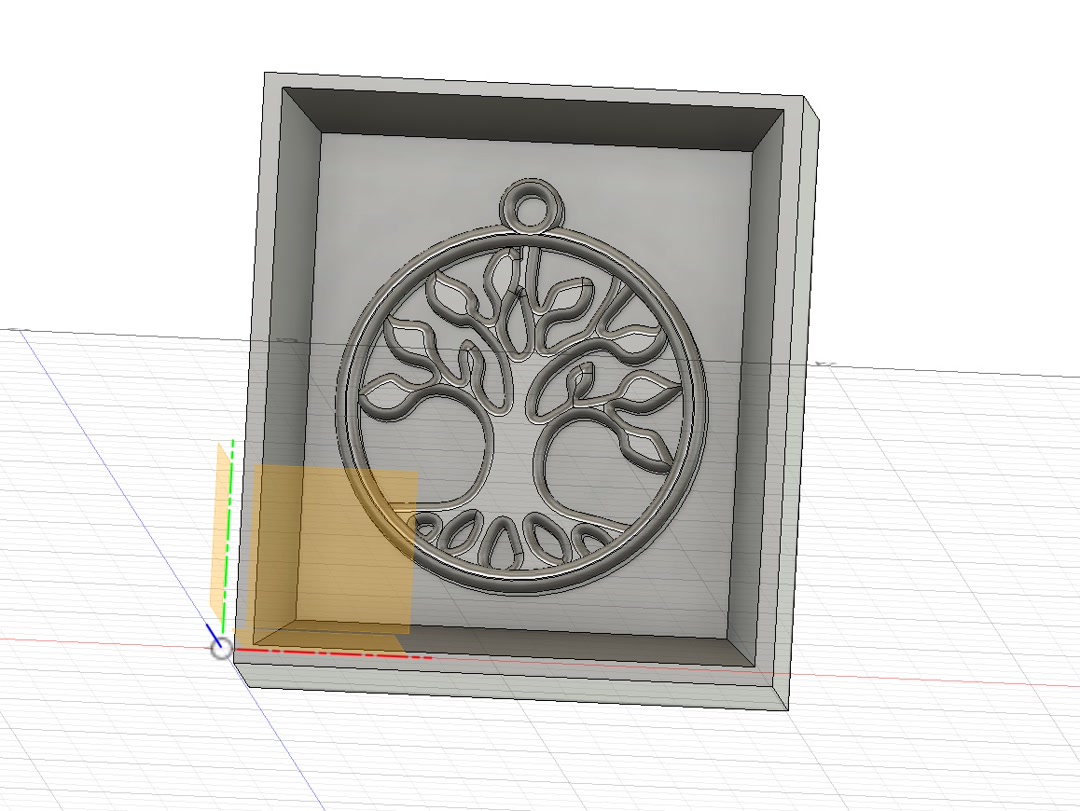
Lastly, I made the outer walls for molding. The walls have a taper to prevent hitting the endmill. Finally, I exported it as an STL file.
2. Using mods to generate 3D milling paths
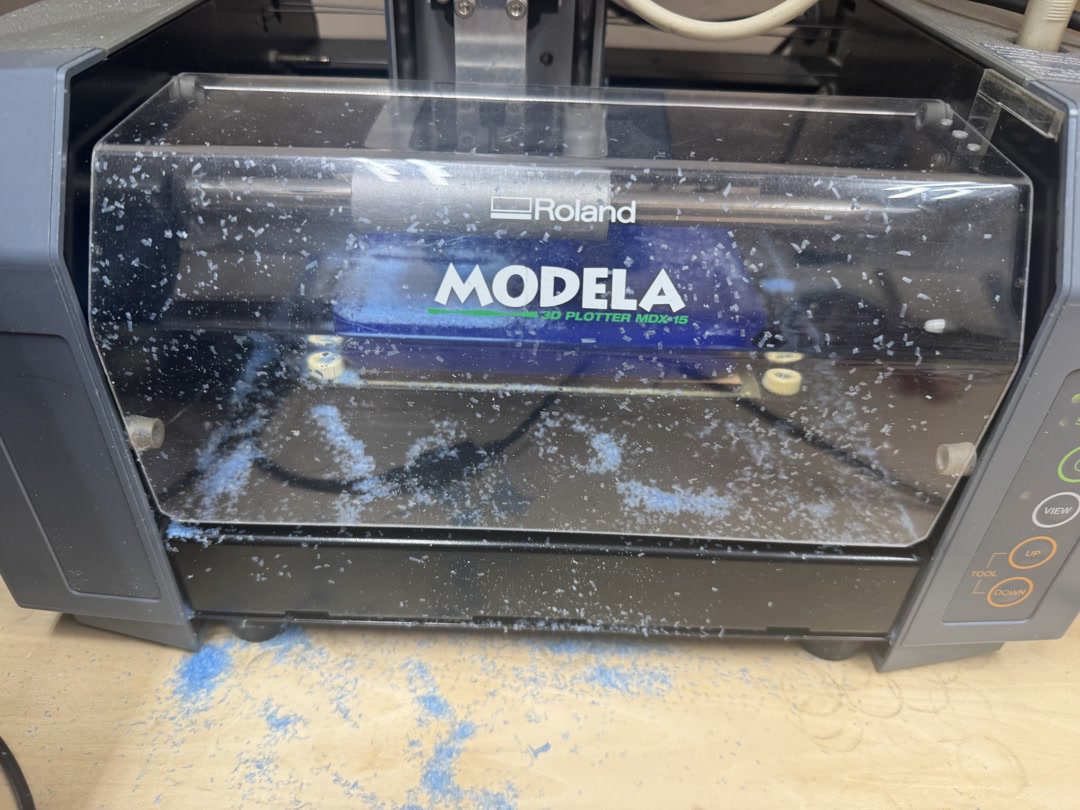
First, I tried to generate milling paths and use the Genmitsu Cubiko CNC, but it failed several times because of a bug. I switched to the Roland MODELA MDX-15, which can generate paths in MODELA Player 4.
3. Milling Machinable Wax
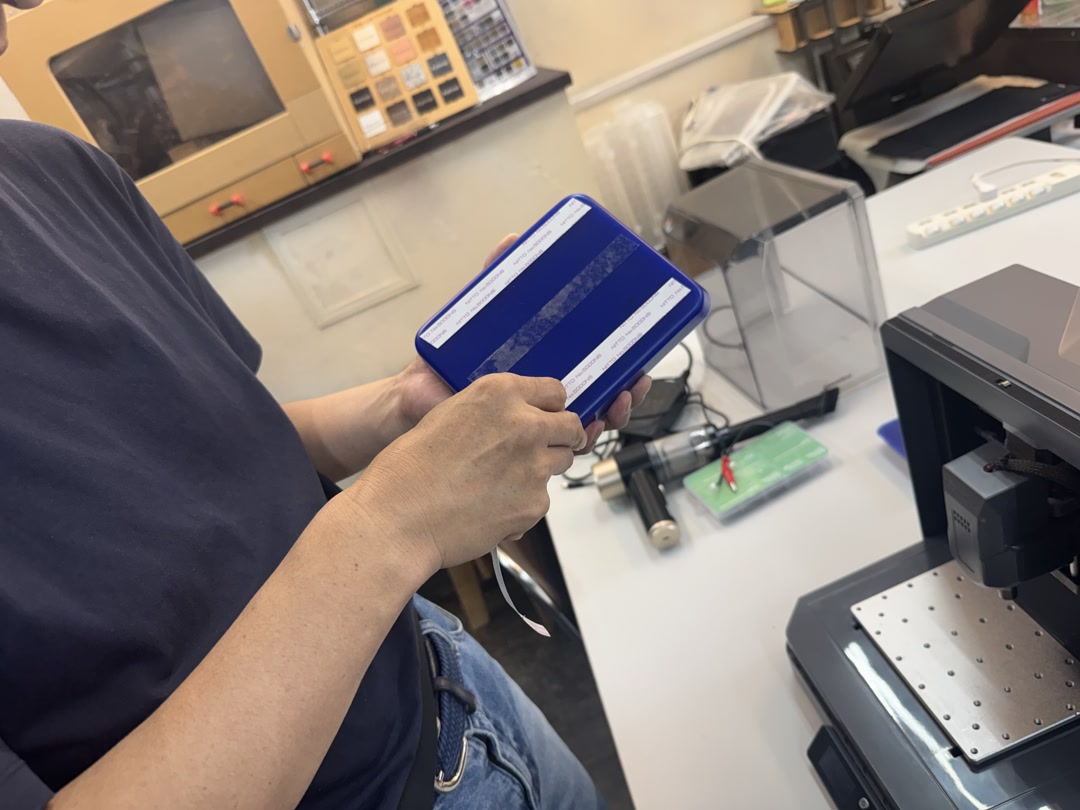
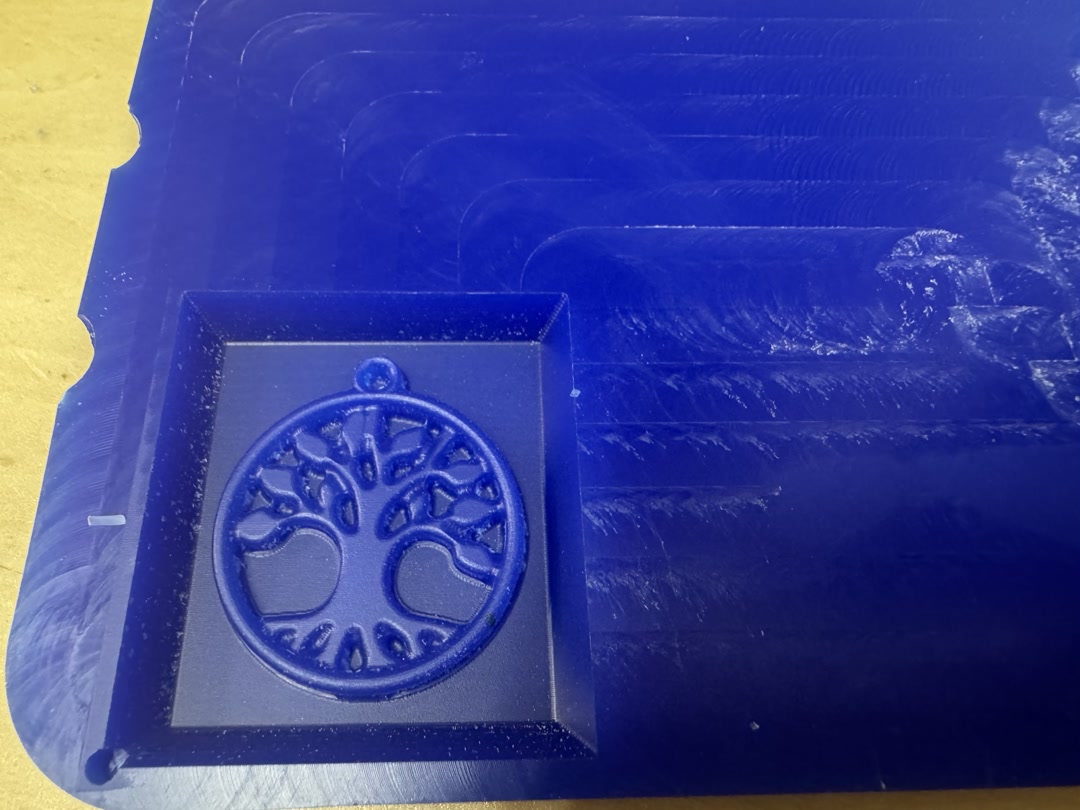
I used blue machinable wax for the mold positive. I fixed the wax to the Roland bed with double-sided tape.
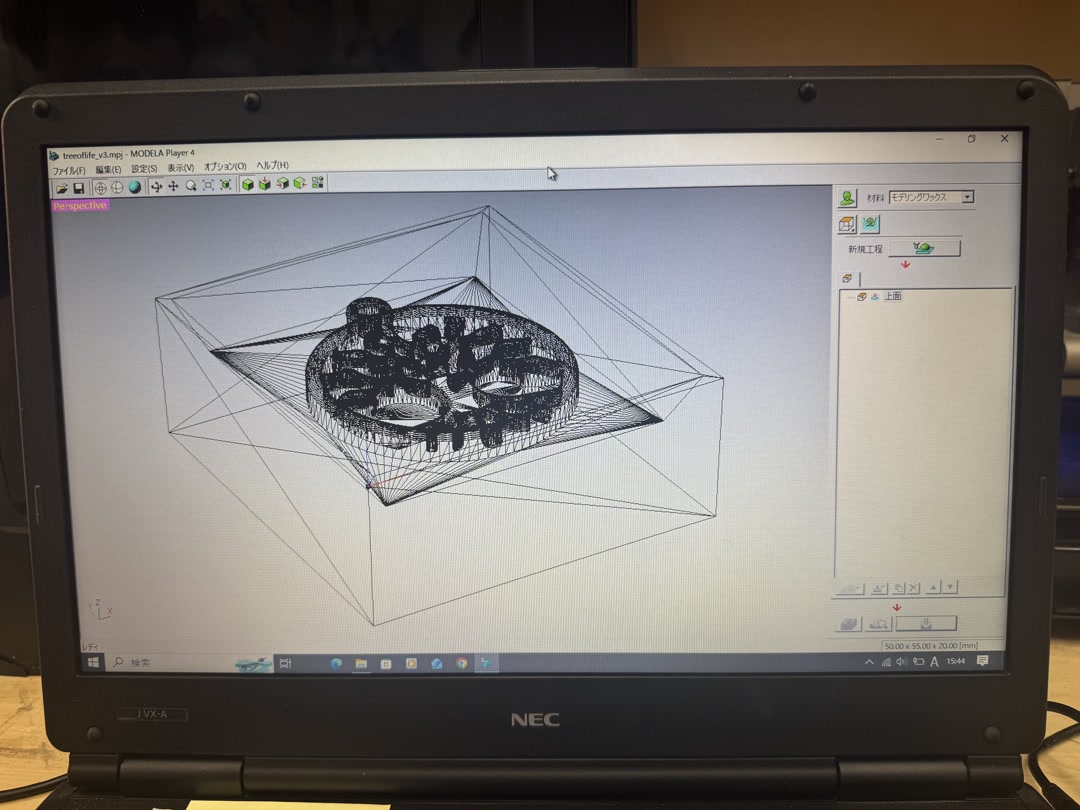
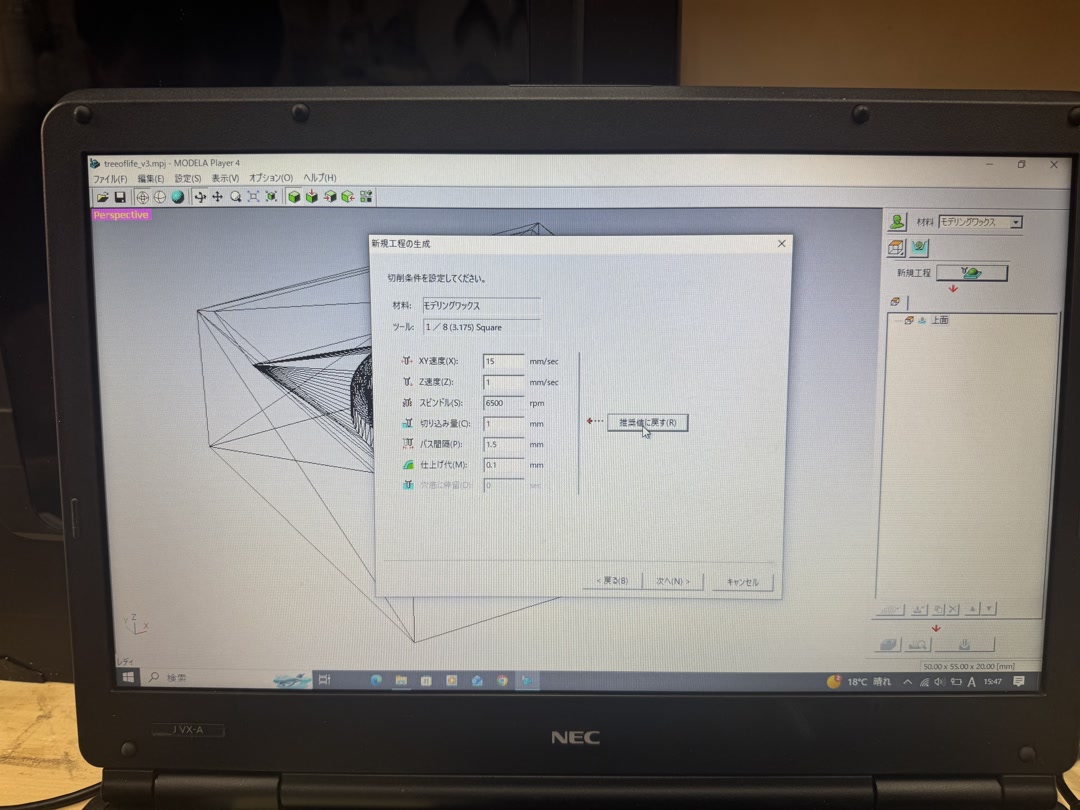
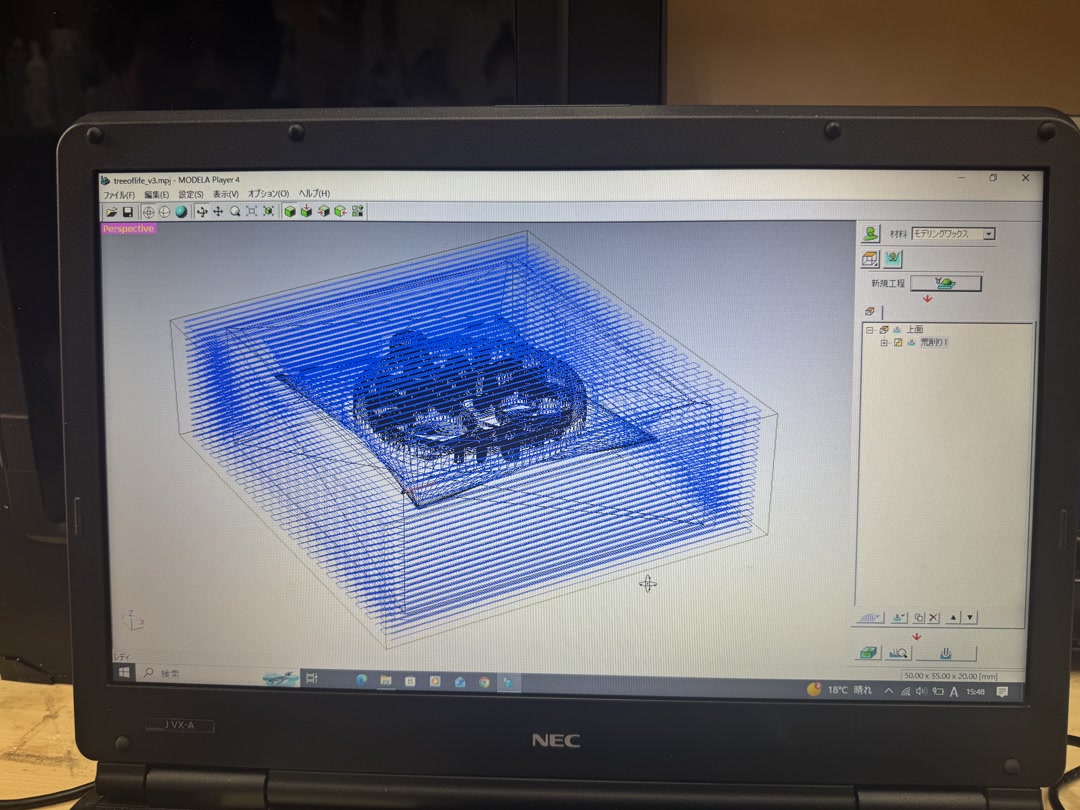
I used the Roland MODELA MDX-15 with MODELA Player 4. I imported the STL, selected Modeling Wax as the material, and made two toolpaths: rough cut and finish cut.
| Process | Endmill | Shape | Purpose | Main settings |
|---|---|---|---|---|
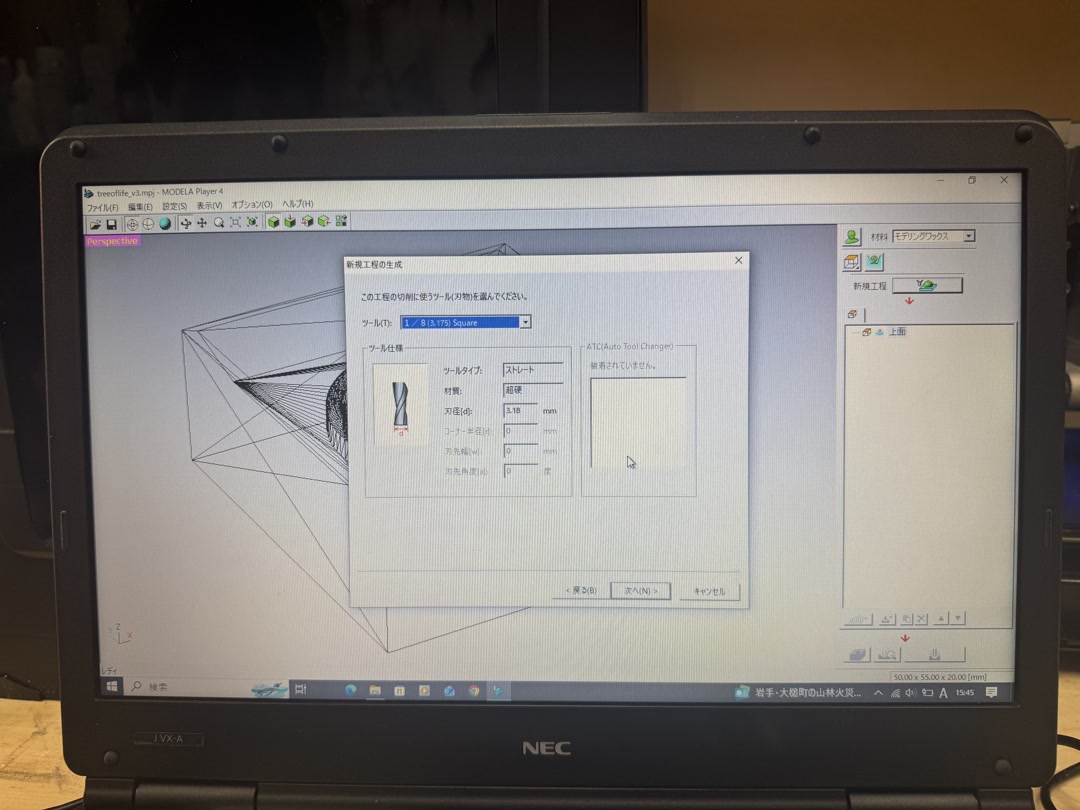
| Rough cut | 1/8 inch / 3.175 mm | Square / flat end | Remove most of the wax | XY speed 15 mm/sec, Z speed 1 mm/sec, spindle 6500 rpm, cut depth 1 mm, path interval 1.5 mm, finish allowance 0.1 mm |
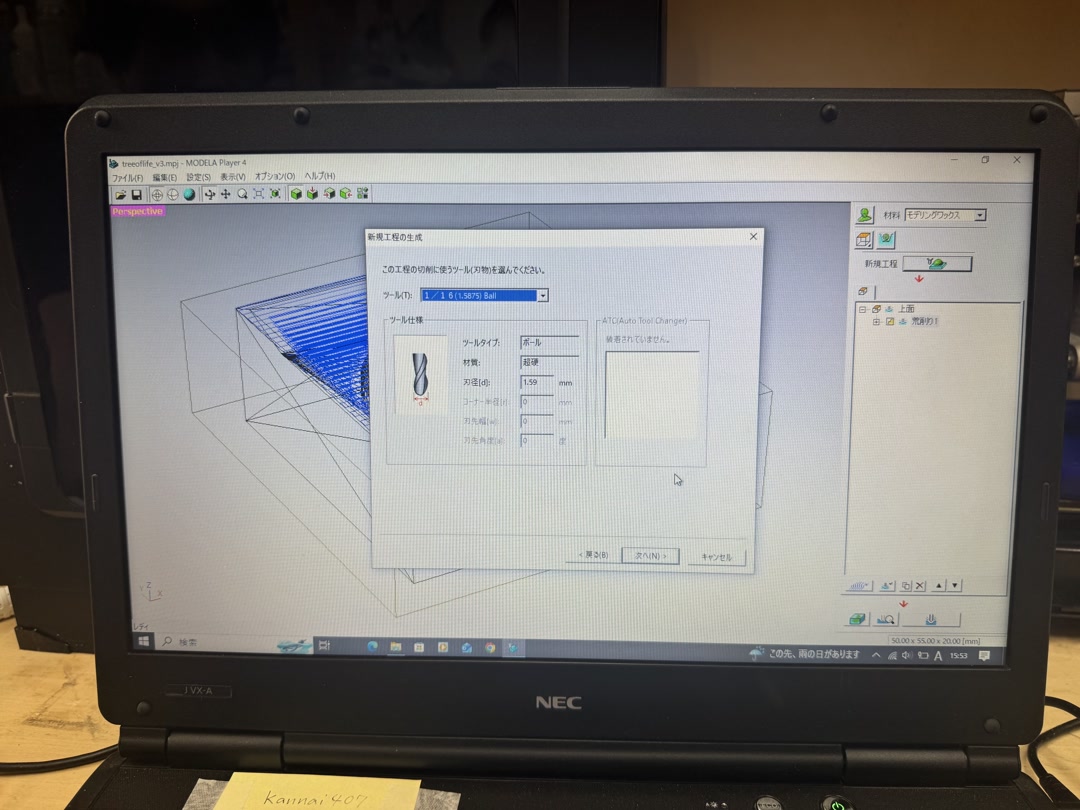
| Finish cut | 1/16 inch / 1.5875 mm | Ball end | Cut the final surface and details | XY speed 15 mm/sec, Z speed 5 mm/sec, spindle 6500 rpm, fine cutting amount 0.1 mm, path interval 0.1 mm |
MODELA Player 4 setup screens for the roughing process:
Then I set up the finishing process with the smaller ball endmill.

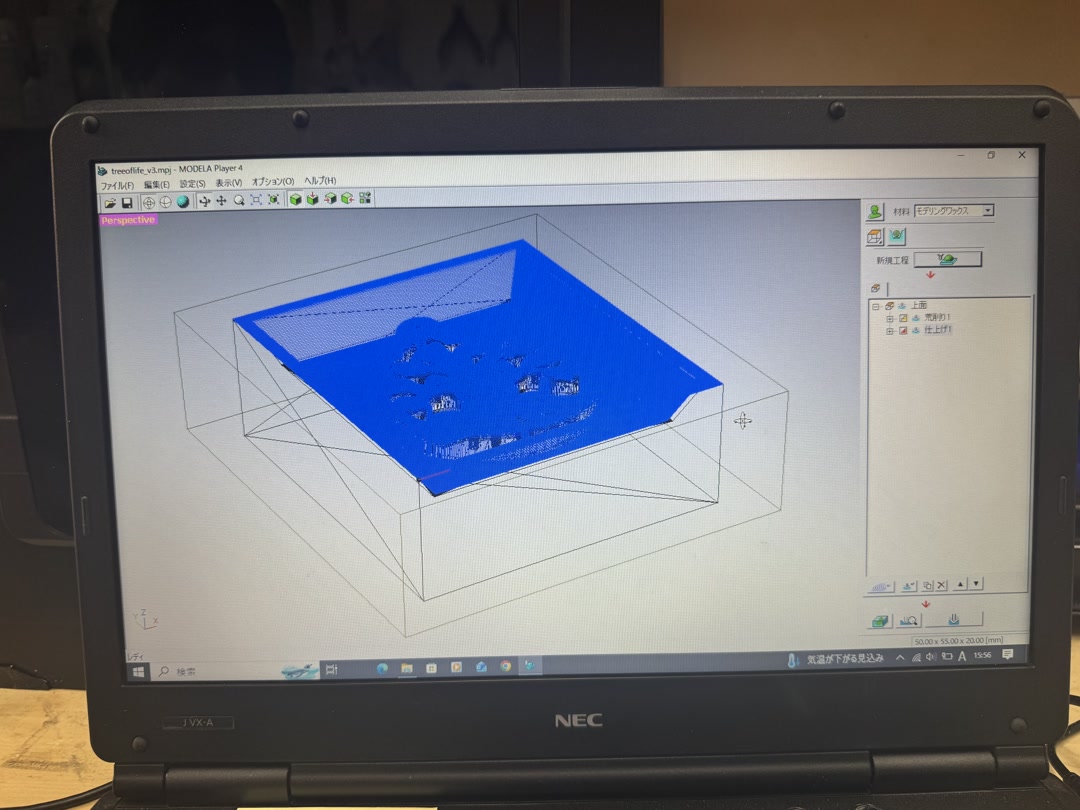
After milling, the wax mold was ready for silicone molding. Some tool marks were visible in the surrounding flat area. The pendant area was smoother because of the finishing pass with the ball endmill.
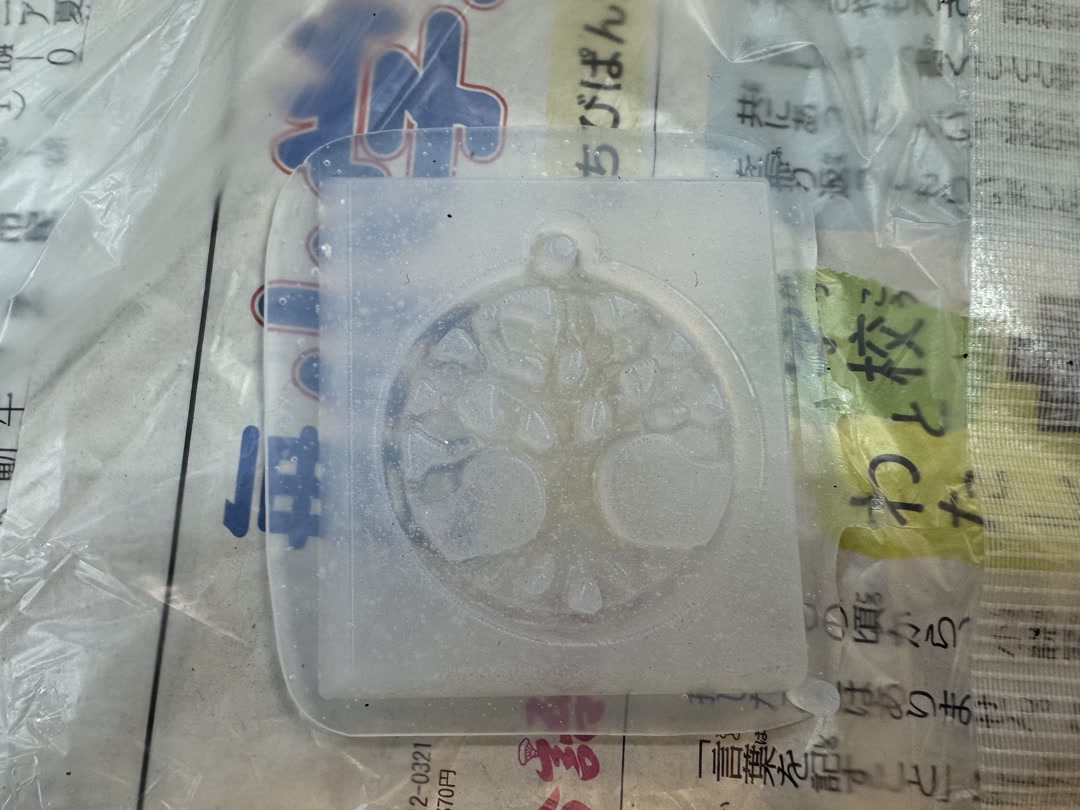
4. Silicone molding
For the silicone mold, I used Mold Star 31T, a translucent platinum-cure silicone. I referred to the official product page and SDS. The mix ratio is 1A:1B by volume or weight. The pot life is 5 minutes, and the cure time is 23 minutes at room temperature. I worked in a ventilated area and used safety glasses and vinyl gloves.
The first mold was not good because some bubbles were trapped in the Tree of Life details.
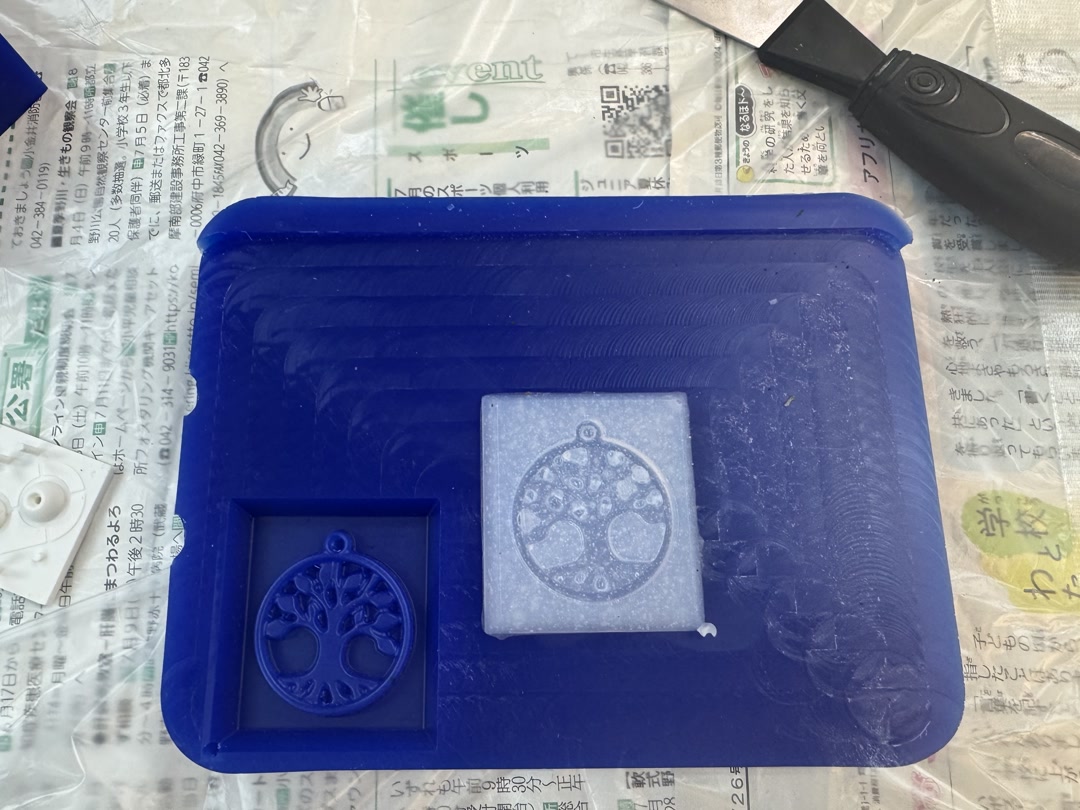
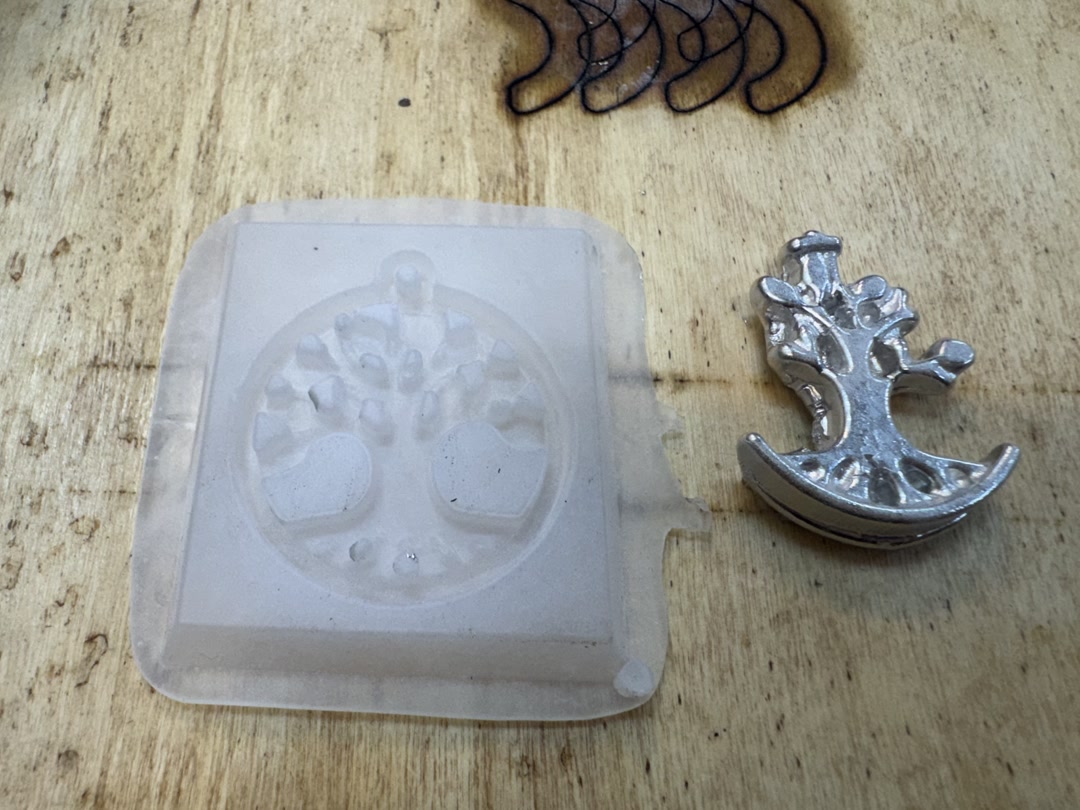
I redid the silicone molding and made a version without bubbles. I applied a thin layer of silicone with a brush first, especially around the small branches and leaves. After that, I poured the rest of the silicone slowly from one side.
5. Metal casting
This was my first experiment casting metal. I used a bismuth-based low-melting alloy, which melts at about 138°C. I did not use talc this time.
First, I heated the bismuth alloy in a small ladle.
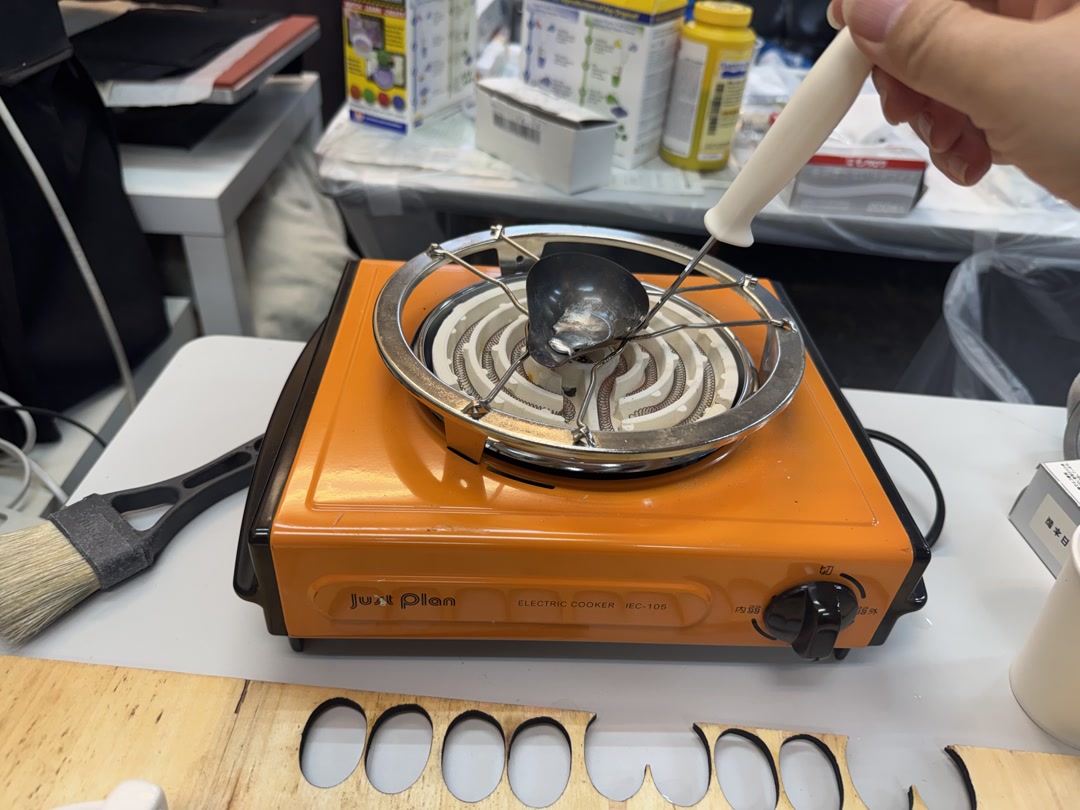
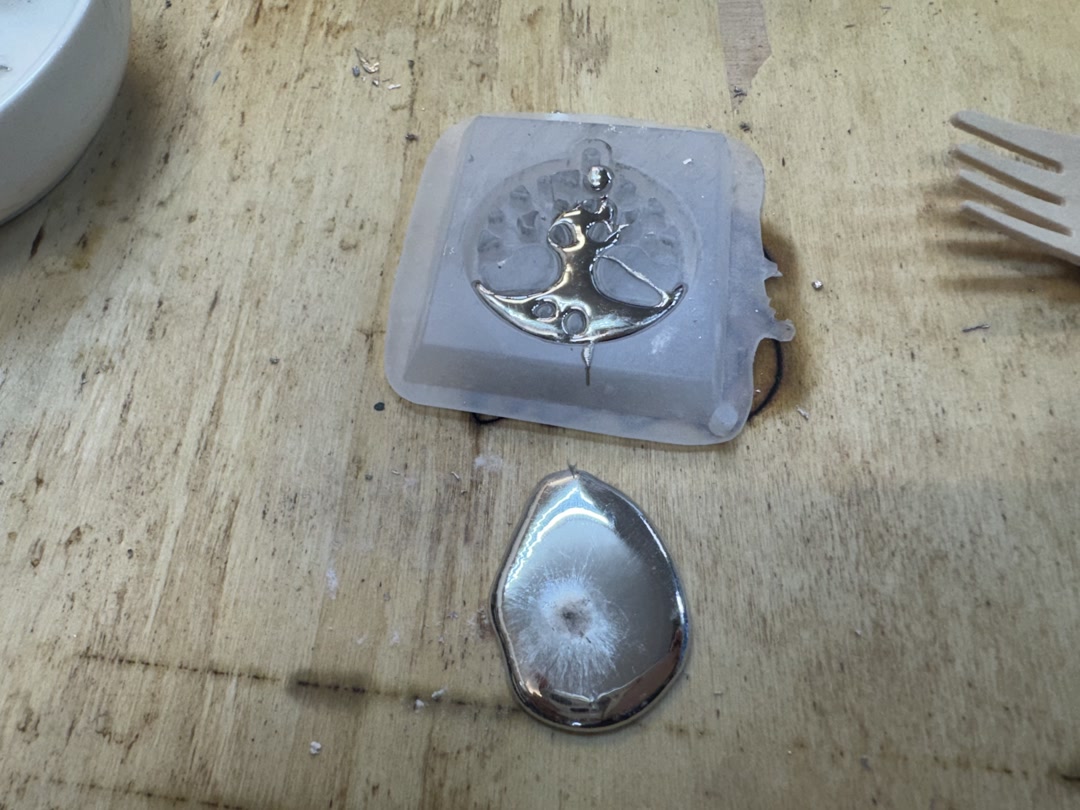
The metal was too cold at the first trial.
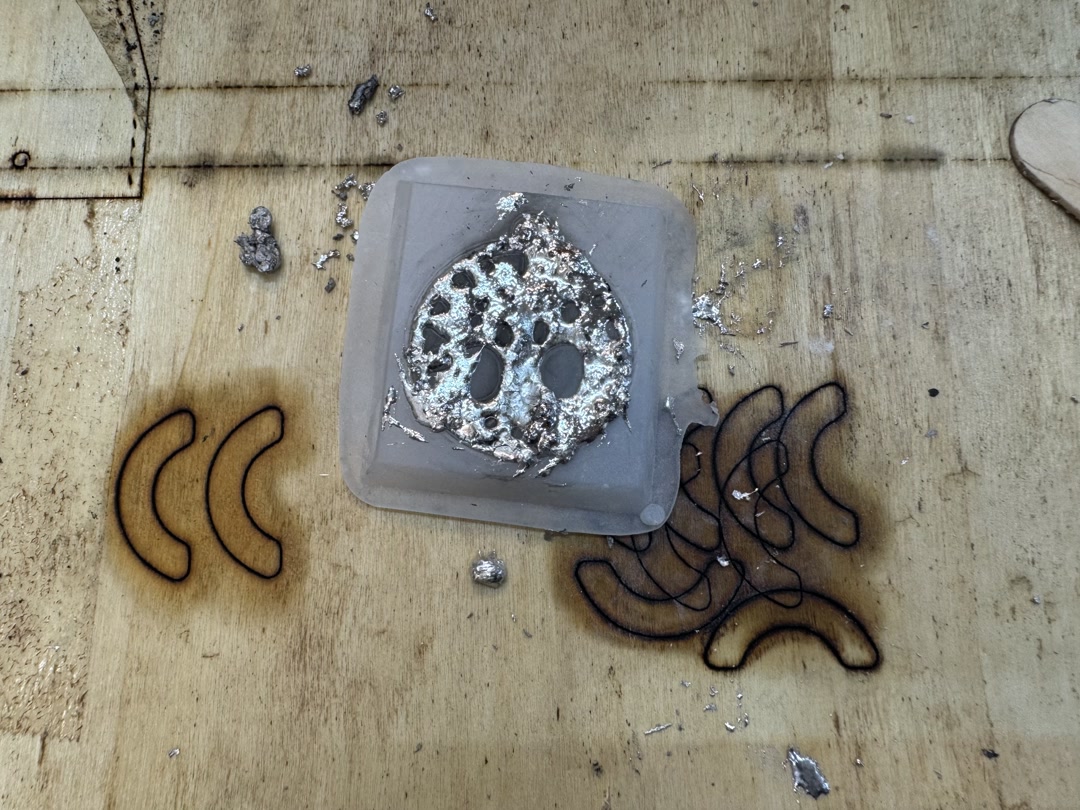
For the second trial, I tried to fill the mold with a spatula, but the metal cooled quickly, and the result was not smooth.
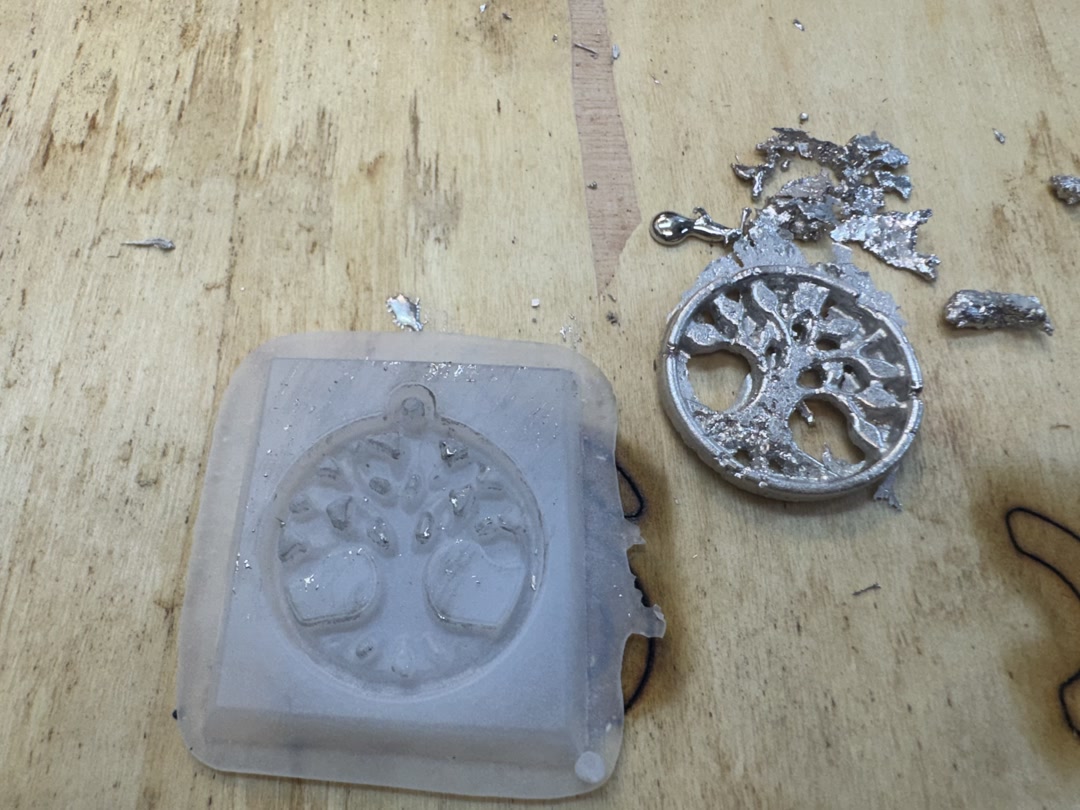
For the third trial, I heated the metal more. The metal became too liquid and flowed out of the mold.
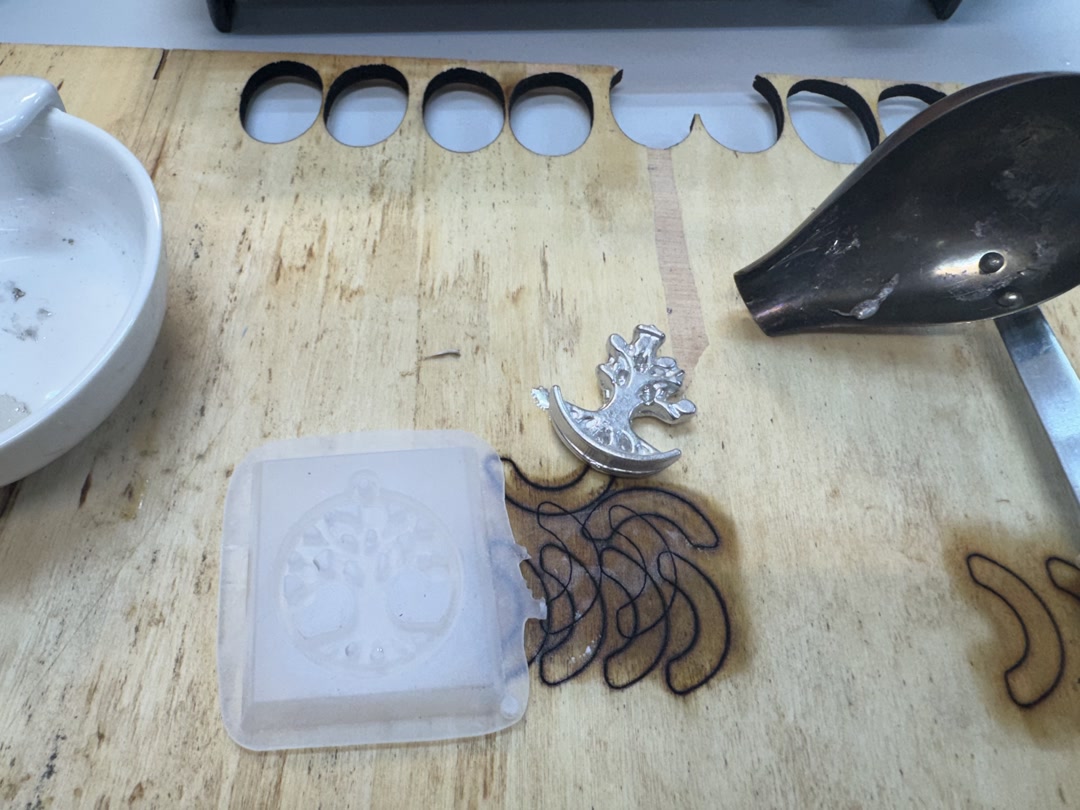
Finally, when the metal was not too liquid, I filled the mold with a spatula and heated it with a heat gun. The surface became smoother.
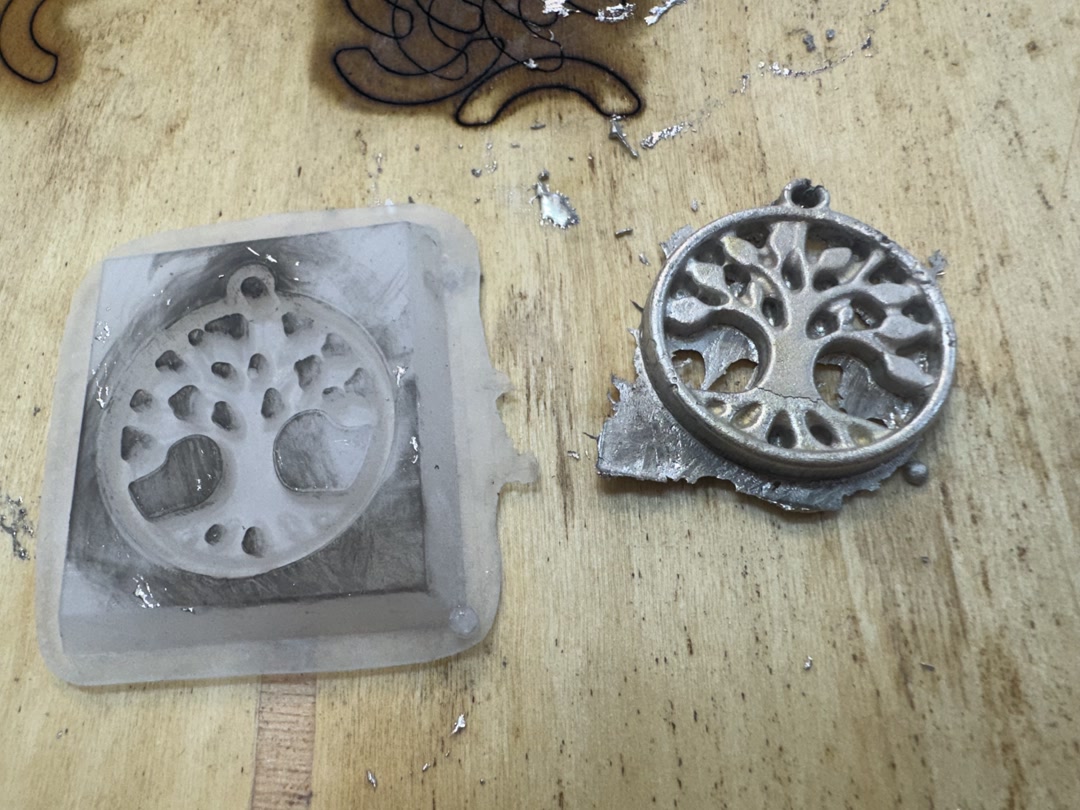
I removed some unnecessary parts, and here is my pendant top.
Design file
References
Checklist
- [X] Linked to the group assignment page and reflected on your individual page what you have learned
- [X] Reviewed the safety data sheets for each of your molding and casting materials, then made and compared test casts with each of them
- [X] Documented how you designed and created your 3D mold, including machine settings
- [X] Ensured your mold has a smooth surface finish that does not show the production process (by postprocessing if necessary)
- [X] Showed how you safely made your mold and cast the parts
- [X] Described problems and how you fixed them
- [X] Included your design files and ‘hero shot’ of the mold and the final object
AI usage
- I used ChatGPT for design generation, and Codex for a grammar check and refinement of the report.