Week 03 — Computer-Controlled Cutting
Assignment requirements (Fab Academy)
Group - Do lab safety training - Characterize laser cutter: focus, power, speed, rate, kerf, joint clearance & joint types
Individual - Cut something on the vinyl cutter - Design + laser-cut a parametric construction kit (account for kerf)
Tools & Machines
- CAD: (RDWorks / Fusion / Illustrator)
- Laser cutter: RW-1390 C02
- Vinyl cutter: Mimaki CG-FXII
Group assignment — Laser cutter characterization
1) Safety Training
Before operating the laser cutter, we follow strict safety rules in our lab to prevent fire hazards, toxic fumes, and equipment damage.
🔥 1. Never Leave the Laser Unattended
The laser cutter must never be left unattended while operating.
Even if the cutting job takes a long time, we stay in the same room and continuously monitor the process.
Laser cutting plywood or cardboard can ignite unexpectedly. Immediate reaction is critical to prevent fire.
🌲 2. Extra Care with Plywood and Cardboard
When cutting plywood or cardboard, we take additional precautions because:
- These materials are highly flammable
- Glue layers in plywood can ignite
- Cardboard can burn quickly if power/speed settings are incorrect
We carefully monitor flame formation and are ready to stop the machine immediately if necessary.
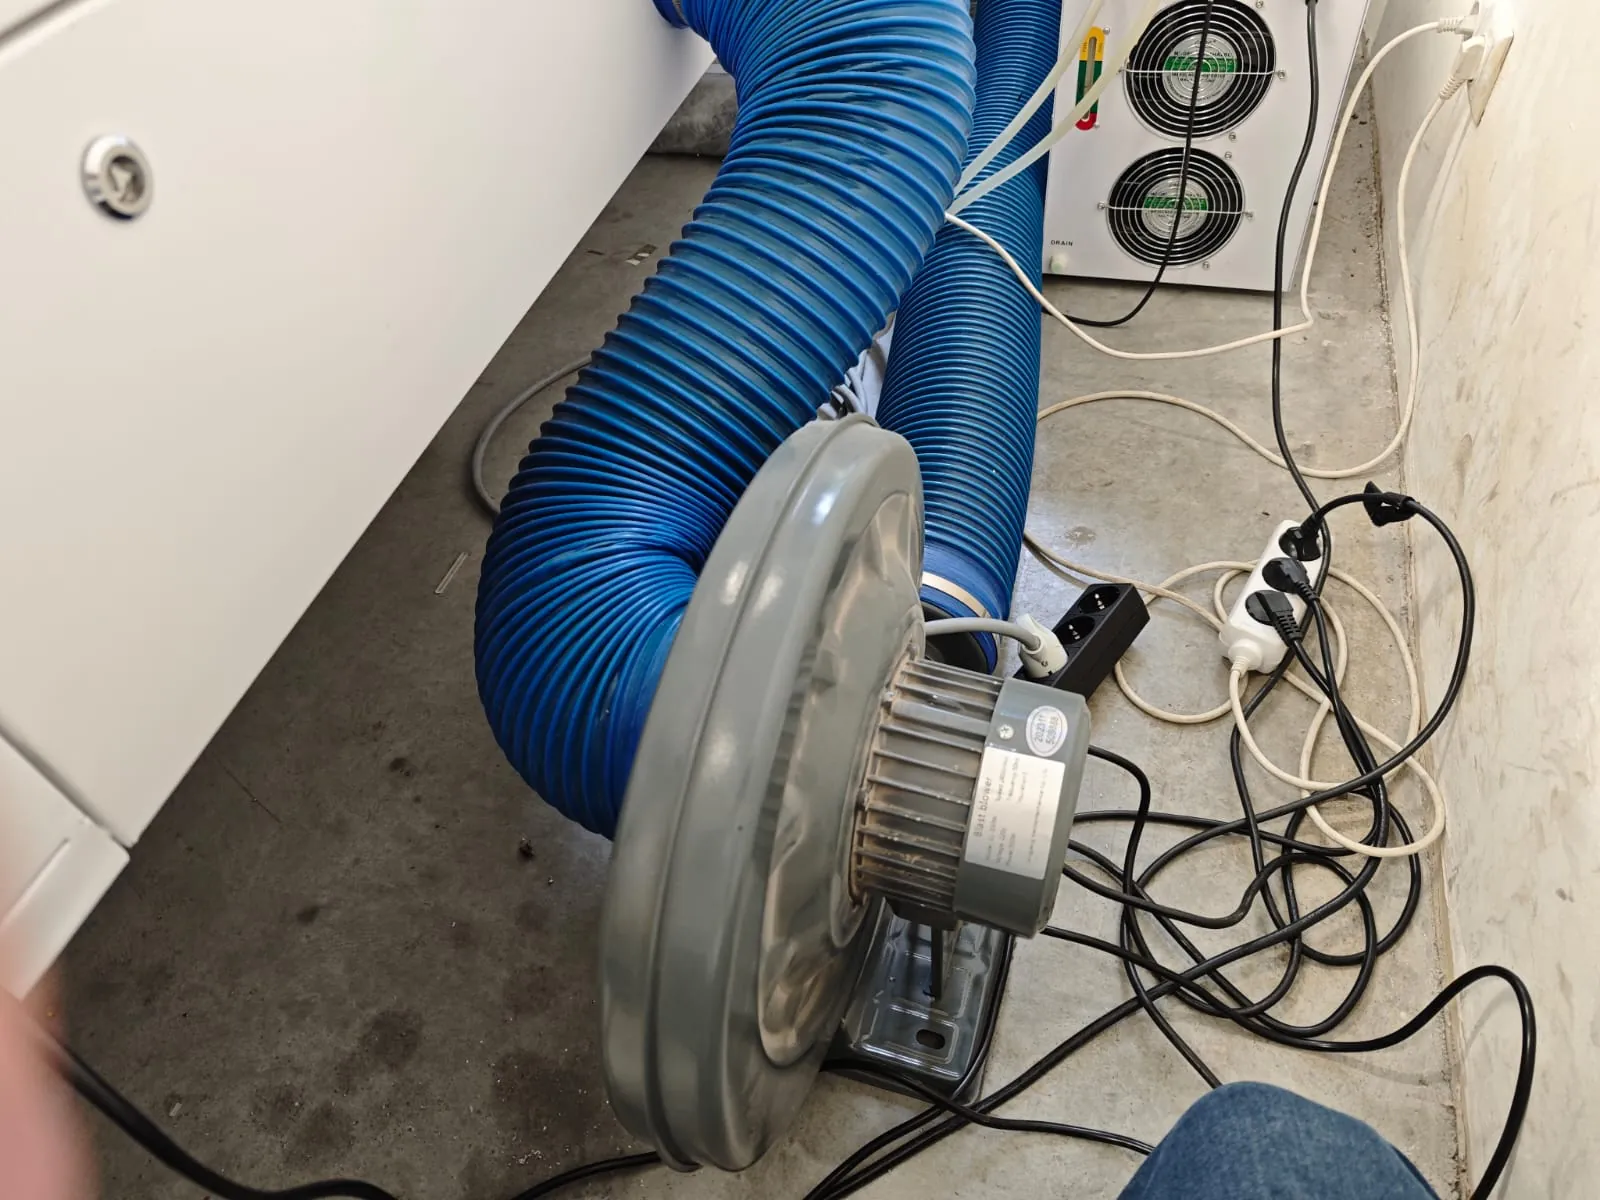
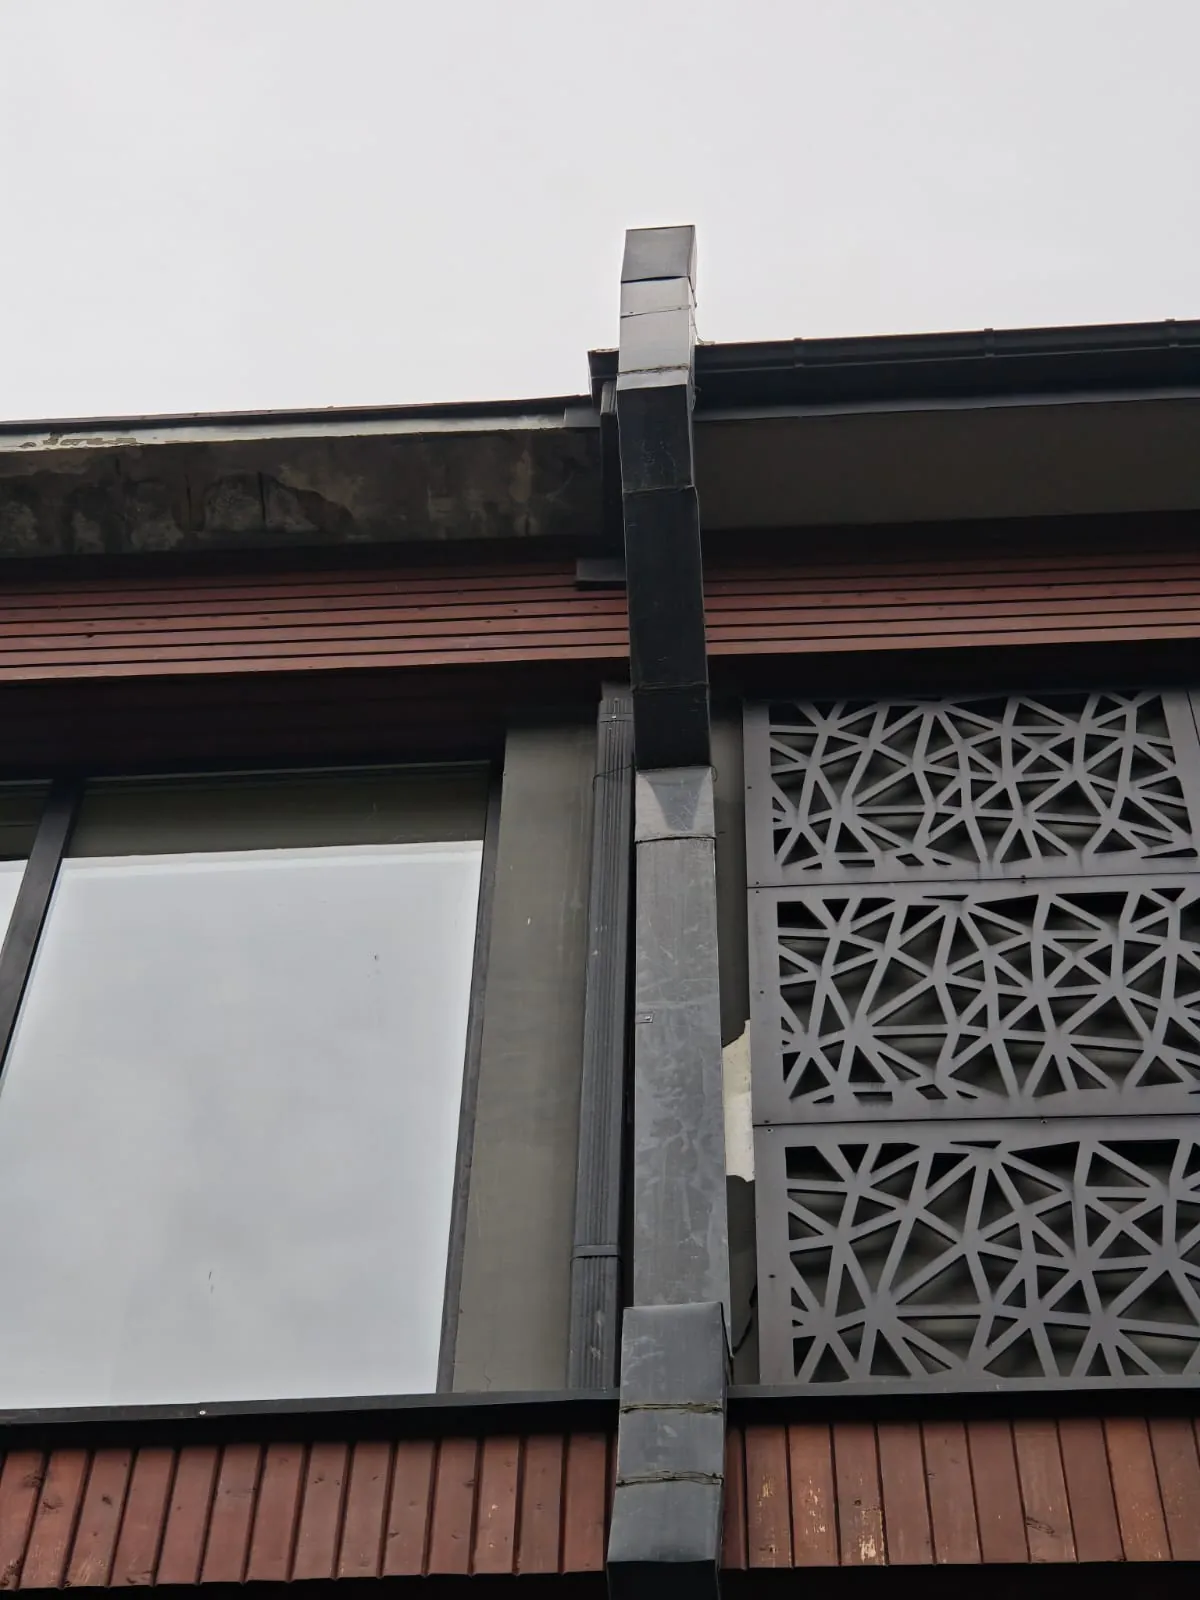
🌬 3. Industrial Ventilation System
Our lab uses an extra industrial ventilation module.
- The exhaust duct extends above the building roof
- This prevents smoke from spreading inside the building
- It protects other workers and nearby animals from harmful fumes
Proper ventilation is essential because laser cutting produces smoke and fine particles.
💧 4. Water Cooling / Chiller System Check
Before every cutting session, we:
- Check the water cooling (chiller) system
- Confirm water circulation is working
- Ensure the temperature is within a safe operating range
Laser tubes can overheat and be permanently damaged if cooling fails.
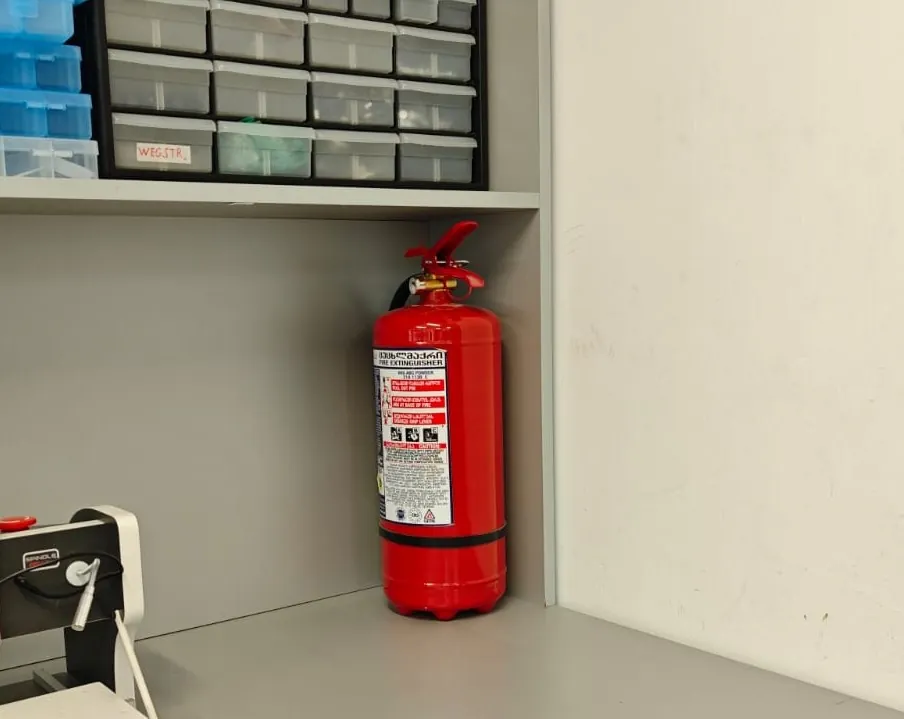
🛑 5. Additional Safety Measures
- Never cut PVC or unknown plastics (to avoid toxic chlorine gas)
- Keep a fire extinguisher accessible
- Clean the cutting bed before operation
- Turn on air assist during cutting
2) Focus Adjustment Test
To achieve accurate cutting results, correct laser focus is essential.
To adjust the focus height, I used a small focus test pattern.
I gradually adjusted the Z height until the cut line became the thinnest and cleanest.
Correct focus produces: - Minimal burn marks - Sharp cut edges - Smallest kerf width
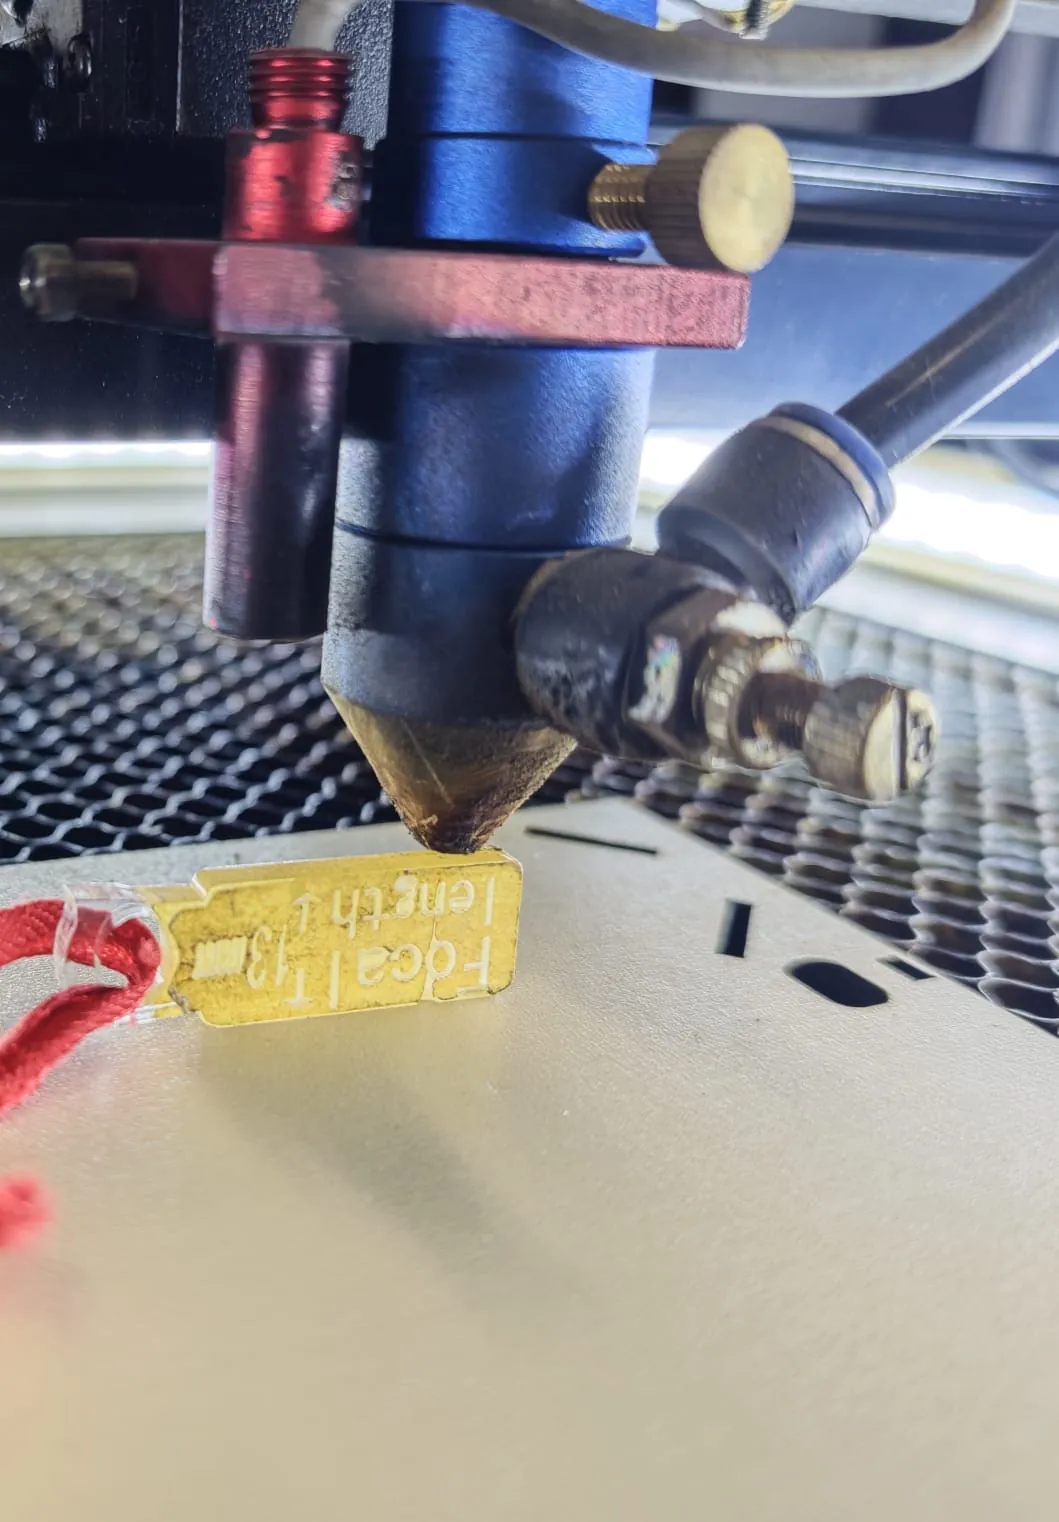
The best focus height was determined visually by comparing the cut quality.