Week 01 — Project Management
Focus this week
This week I set up my Fab Academy documentation website and organized the repository structure to make weekly updates easy and consistent.
Final Project Idea
For my final project, I am developing a Portable Ground Control Station (GCS) for UAV operations.
The goal is to create a compact field-deployable system that integrates a display, onboard computer, communication equipment, battery system, controller interface, and custom electronics into a single portable enclosure.
The station will allow mission planning, telemetry monitoring, video reception, and UAV control directly in the field.
The project combines mechanical design, electronics design, embedded programming, digital fabrication, and system integration skills developed throughout Fab Academy.
Initial Sketch
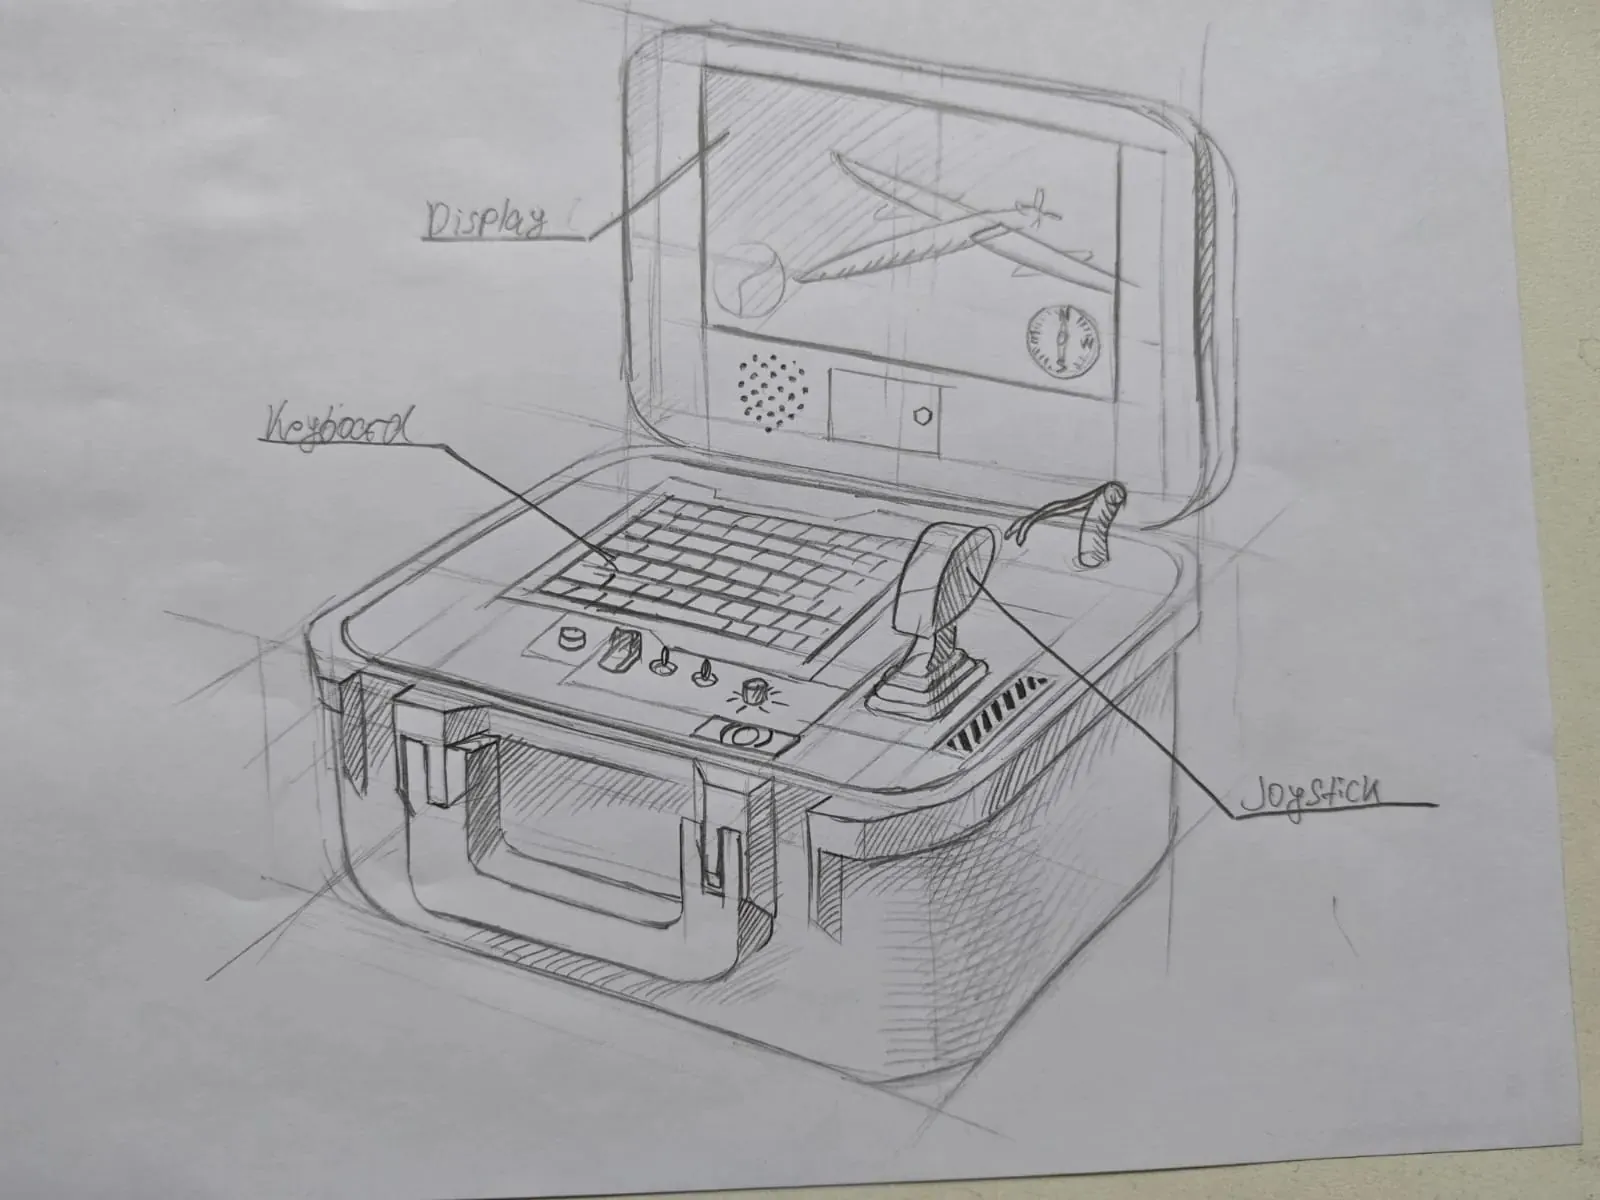
Main Features
- Portable field-ready design
- Integrated display and computing platform
- Custom Smart Power Management Board (PMB)
- Battery-powered operation
- Telemetry and communication support
- Expandable architecture for future UAV systems
Tool Links
The following tools were used during the setup and development of my Fab Academy website:
- Git – Version control system
- GitLab – Repository hosting and CI/CD
- Visual Studio Code – Code and documentation editor
- MkDocs – Static site generator
- Material for MkDocs – Website theme
Initial setup and workflow decision
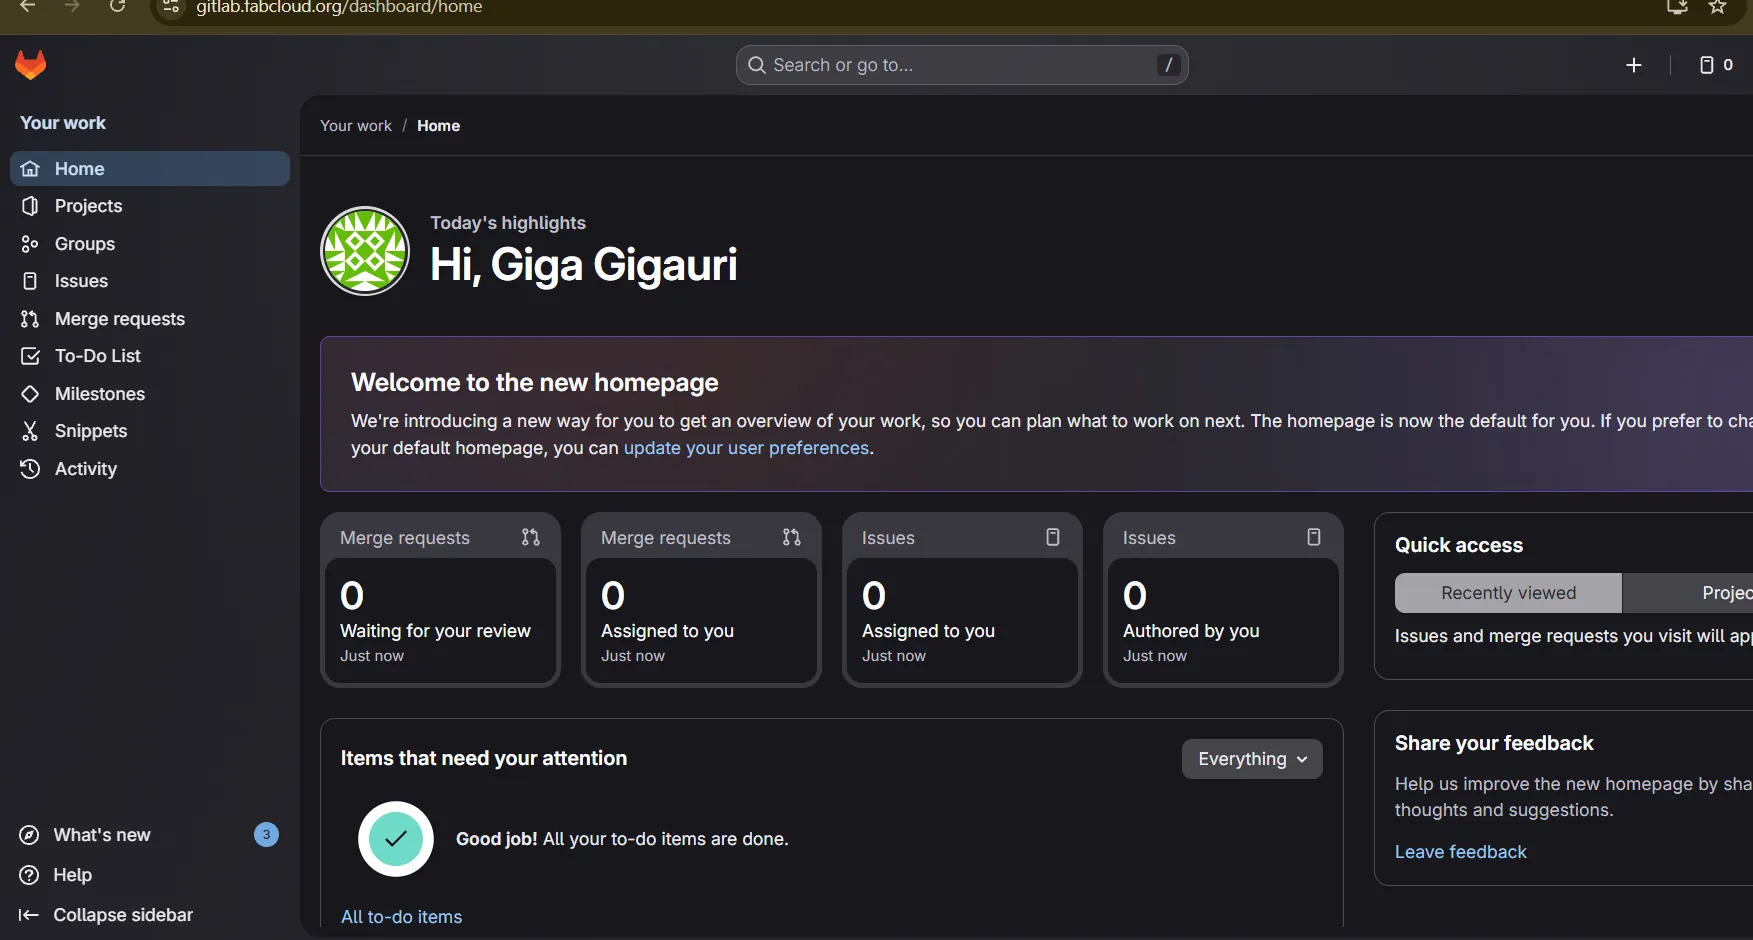
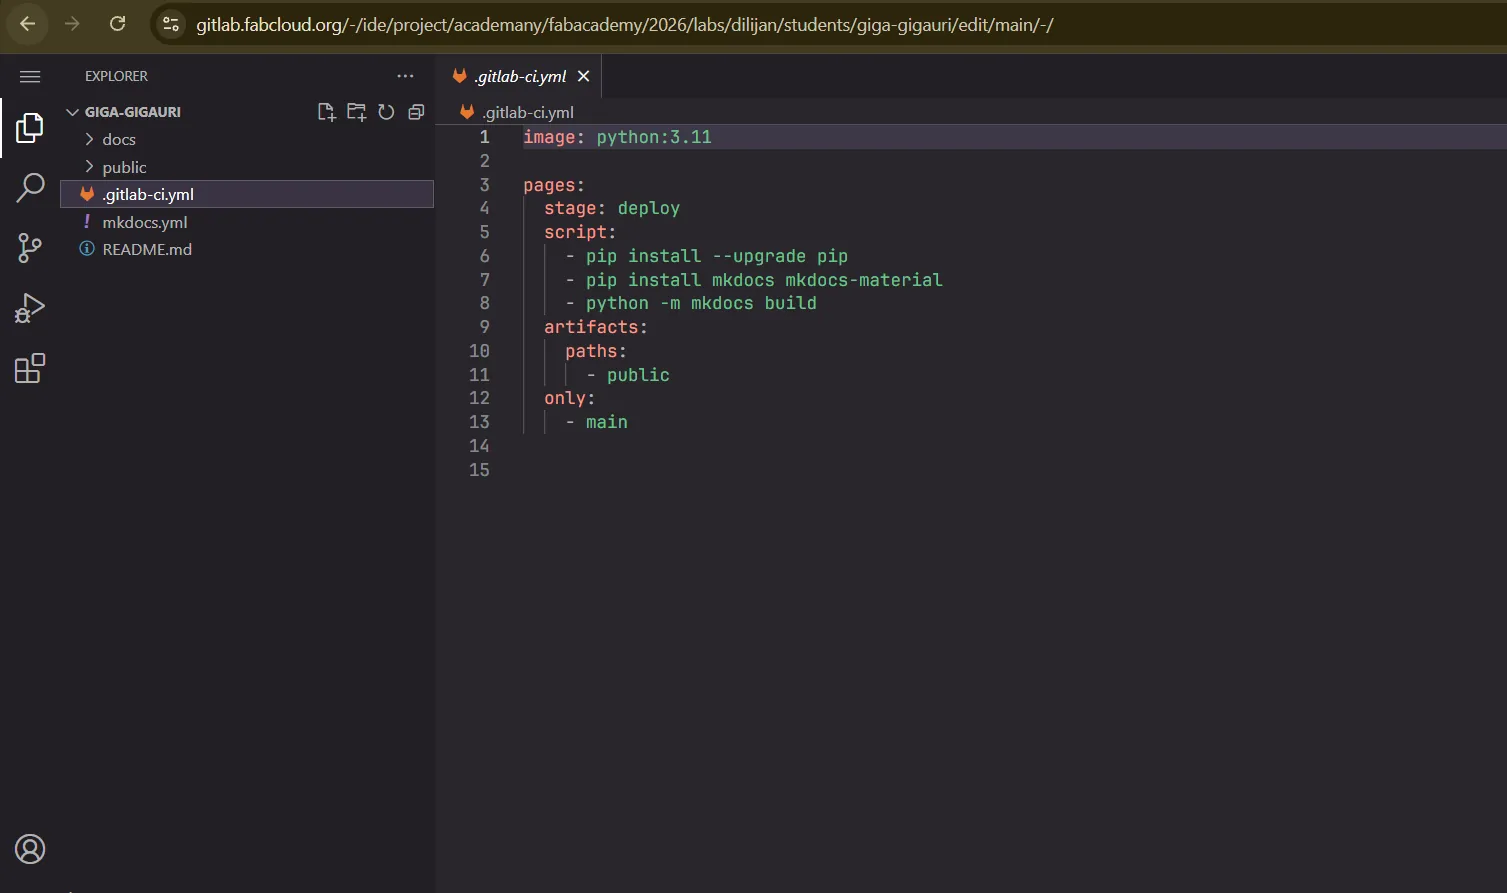
At First, I started by testing the GitLab Web IDE directly in the browser.
I wanted to understand how the repository works and how changes affect the live website before setting up a full local workflow.
Moving from Web IDE to Local Development
After testing the GitLab Web IDE and confirming that the pipeline works correctly, I decided to switch to a local workflow for better control and efficiency.
Editing directly in the browser is useful for quick tests, but for long-term development and structured documentation, working locally is much more practical.
Git Configuration
Step 1 — Installing Git and Creating Local Repository
Before connecting my local repository to GitLab, I configured Git with my personal information.
git config --global user.name "Giga Gigauri"
git config --global user.email "gigaurigiga05@gmail.com"
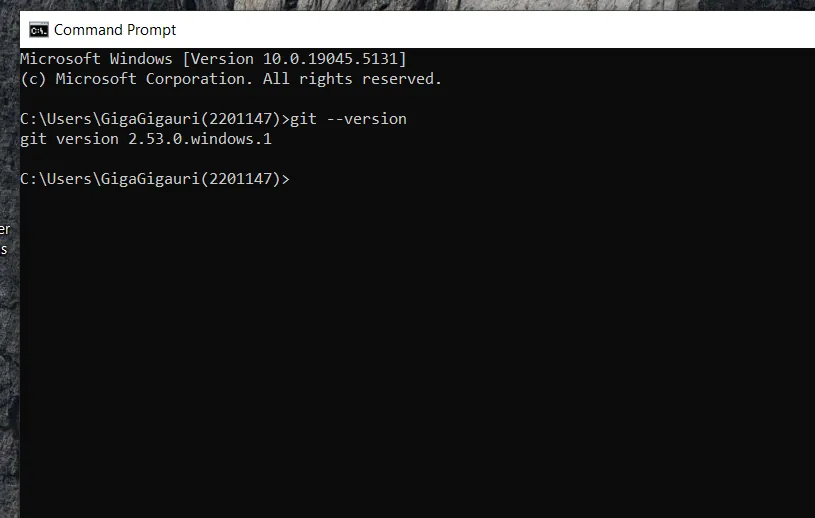
To verify the configuration:
git config --global --list
Before starting local development, I first prepared my system by installing Git and create local repository.
Step 2 — Generating SSH Key and Connecting to GitLab
After creating the local repository, I needed to establish a secure connection between my computer and GitLab.
For this purpose, I configured SSH authentication.
Using SSH allows secure communication with GitLab and avoids entering credentials each time I push changes.
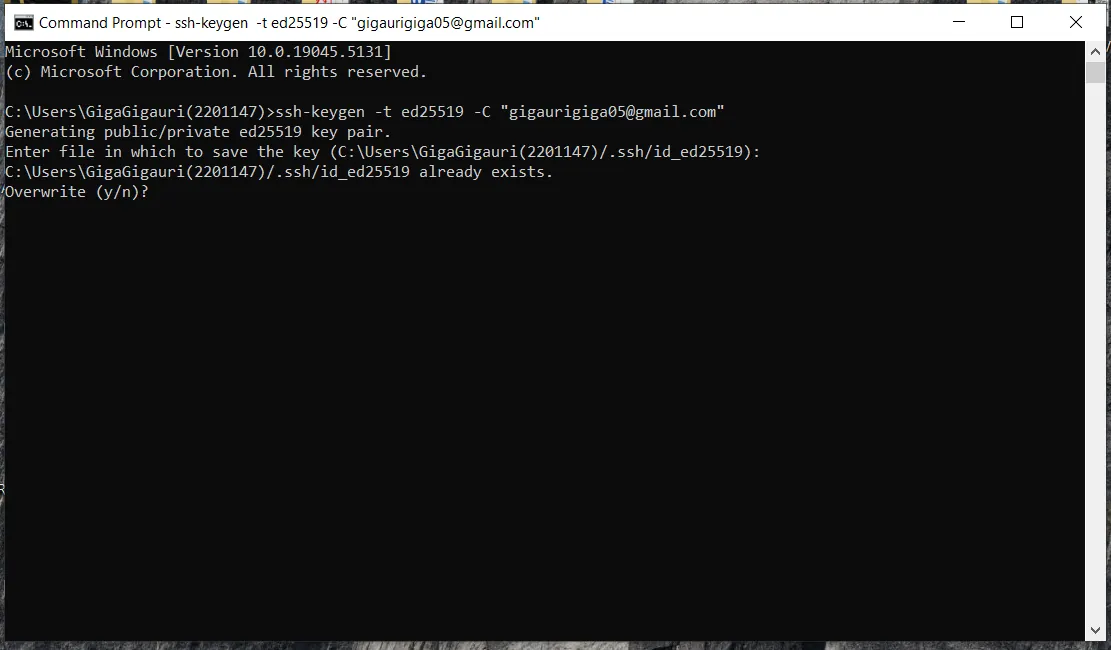
Generating SSH Key
I generated a new SSH key using the following command:
ssh-keygen -t ed25519 -C "gigaurigiga05@gmail.com"
This command created:
- A private key stored locally
- A public key used for authentication
The public key was saved in:
~/.ssh/id_ed25519.pub
Adding SSH Key to GitLab
After generating the key, I added it to my GitLab account:
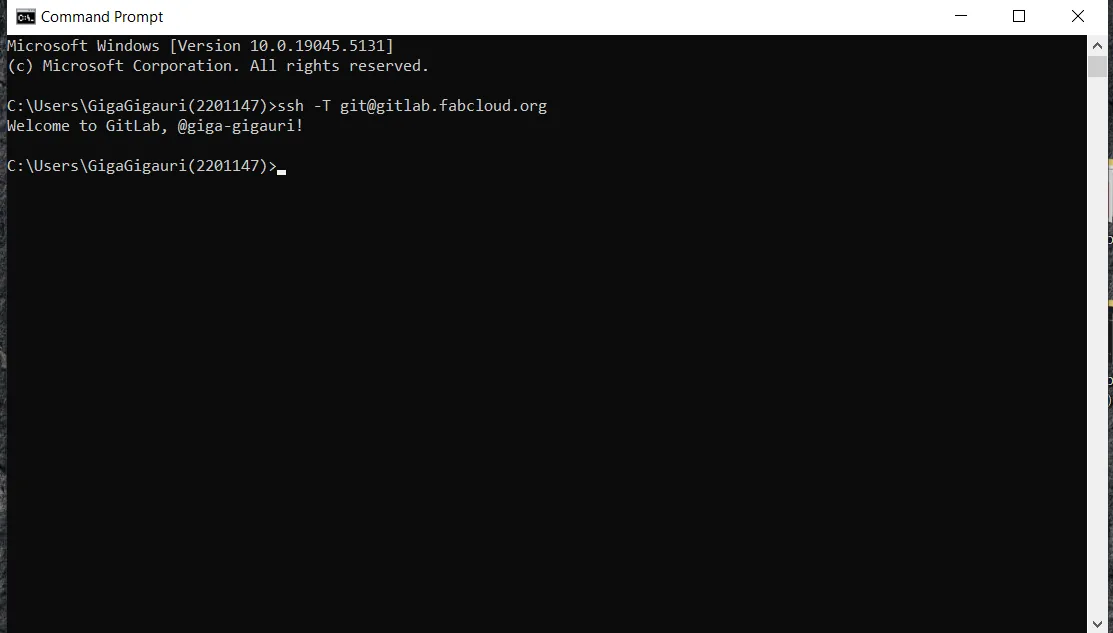
Testing SSH Connection
To confirm that everything was configured correctly, I tested the connection:
ssh -T git@gitlab.com
A successful authentication message confirmed that the SSH connection was working properly.
Step 3 — Cloning the Repository via SSH
After configuring SSH authentication, I cloned the repository from GitLab using the SSH URL.
git clone git@gitlab.com:username/repository.git
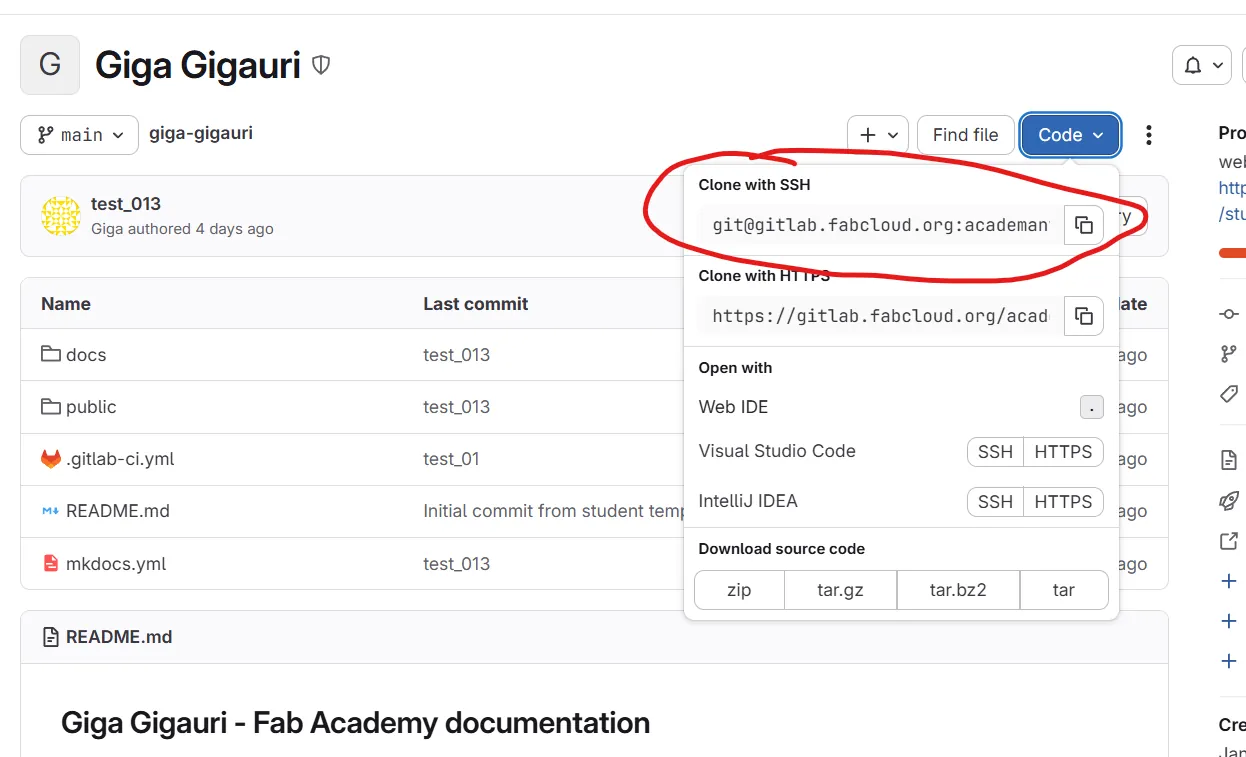
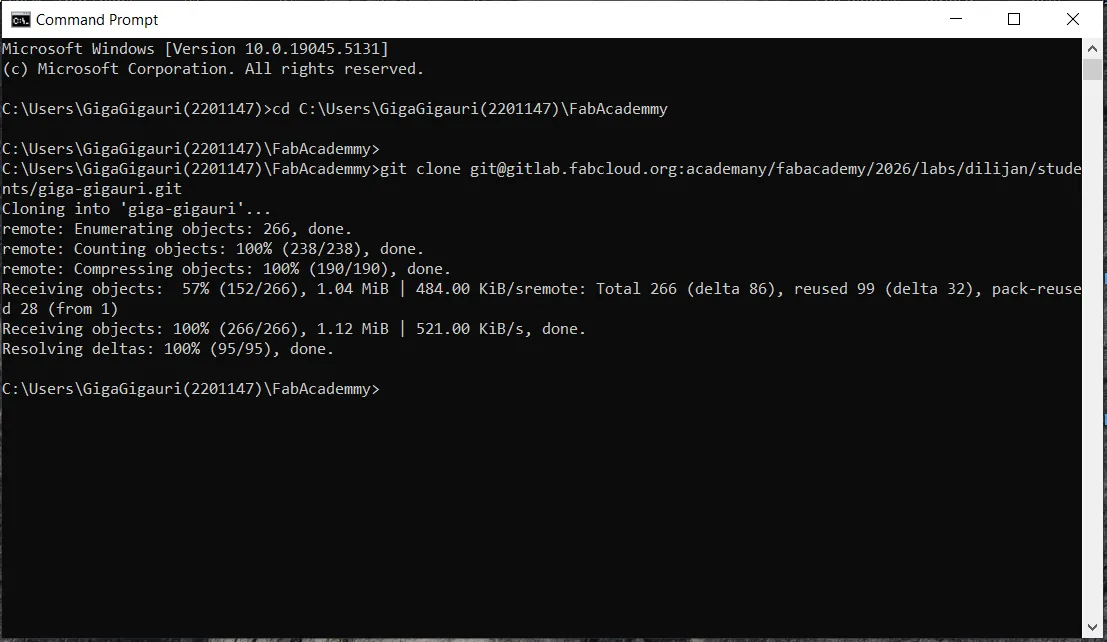
This downloaded the project locally and connected it to the remote repository.
Now I could:
- Edit files locally
- Track changes with Git
- Push updates securely to GitLab
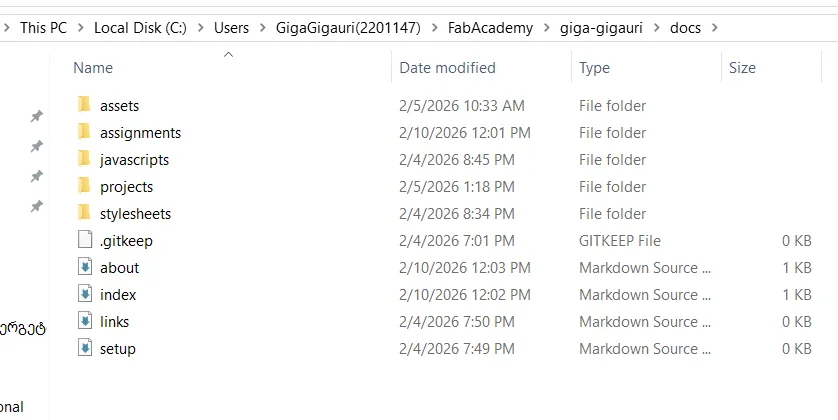
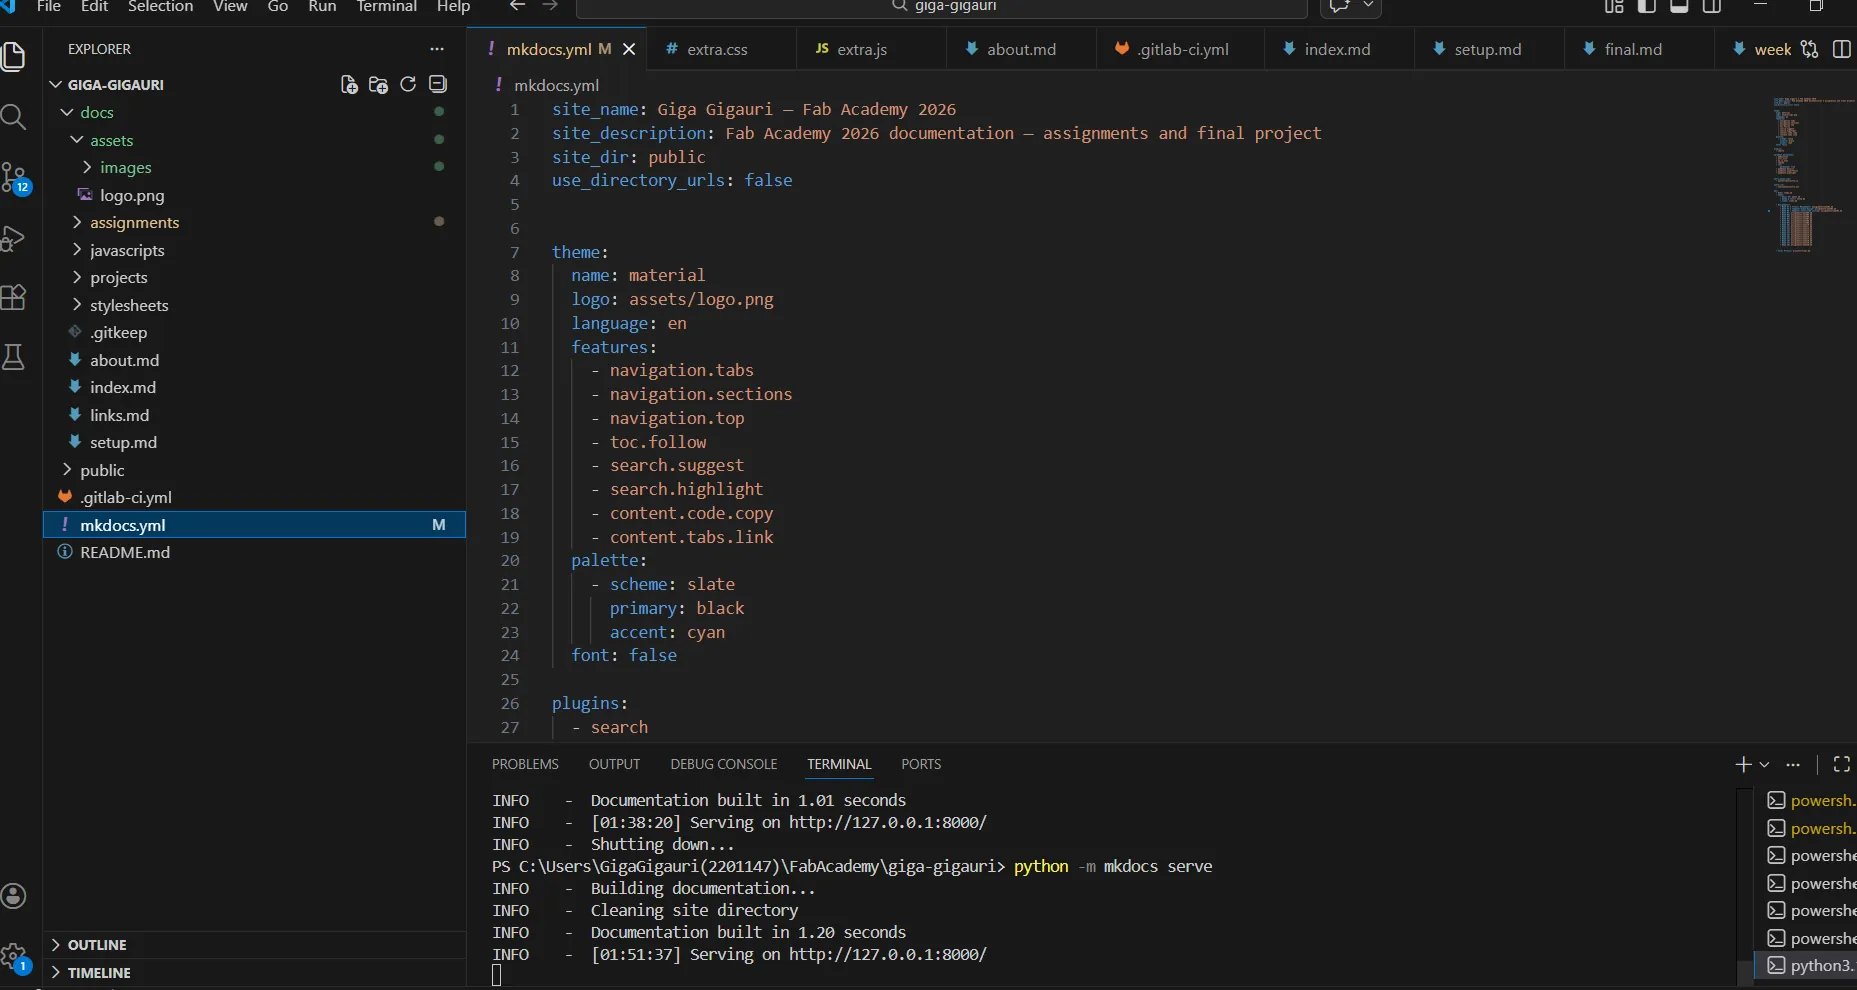
Step 4 — Working in VS Code, Testing and Pushing Changes
After cloning the repository, I opened the entire project folder in VS Code and continued working locally.
Using VS Code allowed me to:
- Edit Markdown files
- Modify
mkdocs.yml - Organize folders and images
- Use built-in Git tools
- Manage project structure efficiently
From this point forward, all changes were made locally and then pushed to GitLab.
Local Testing with MkDocs
Before pushing any changes, I tested the website locally using:
python -m mkdocs serve
This command starts a local server and allows previewing the website at:
http://127.0.0.1:8000/
During local testing I discovered several issues:
- Incorrect image paths
- Broken links between pages
- Navigation entries pointing to wrong files
- Markdown formatting inconsistencies
- Images that were too large and needed optimization
The most common issue was incorrect image paths after reorganizing the assets folder. I corrected the file references and verified them using the local MkDocs server before pushing the changes. Testing locally allowed me to fix these issues before pushing changes to GitLab and triggering the CI pipeline.
Committing and Pushing Changes
After verifying everything locally, I pushed the changes to GitLab using Git commands.
First, I added all modified files:
git add .
Then, I created a commit:
git commit -m "Week 01 updates"
Finally, I pushed the changes to the remote repository:
git push
After pushing:
- GitLab CI automatically started the pipeline
- The project was rebuilt
- The website was updated online
Website Customization
The default Fab Academy template was modified to better organize my documentation.
Changes included:
- Custom navigation structure in
mkdocs.yml - Separate pages for weekly assignments
- Dedicated Final Project page
- Customized About page
- Organized image folders inside the assets directory
- Improved page hierarchy and navigation
These modifications make the website easier to navigate and maintain throughout Fab Academy.
Reflection
This week helped me understand the complete documentation workflow used throughout Fab Academy.
I learned how to use Git, GitLab, SSH authentication, MkDocs, and local website testing. Moving from the GitLab Web IDE to a local workflow significantly improved efficiency and made documentation management easier.