Computer-Controlled Cutting — CAD
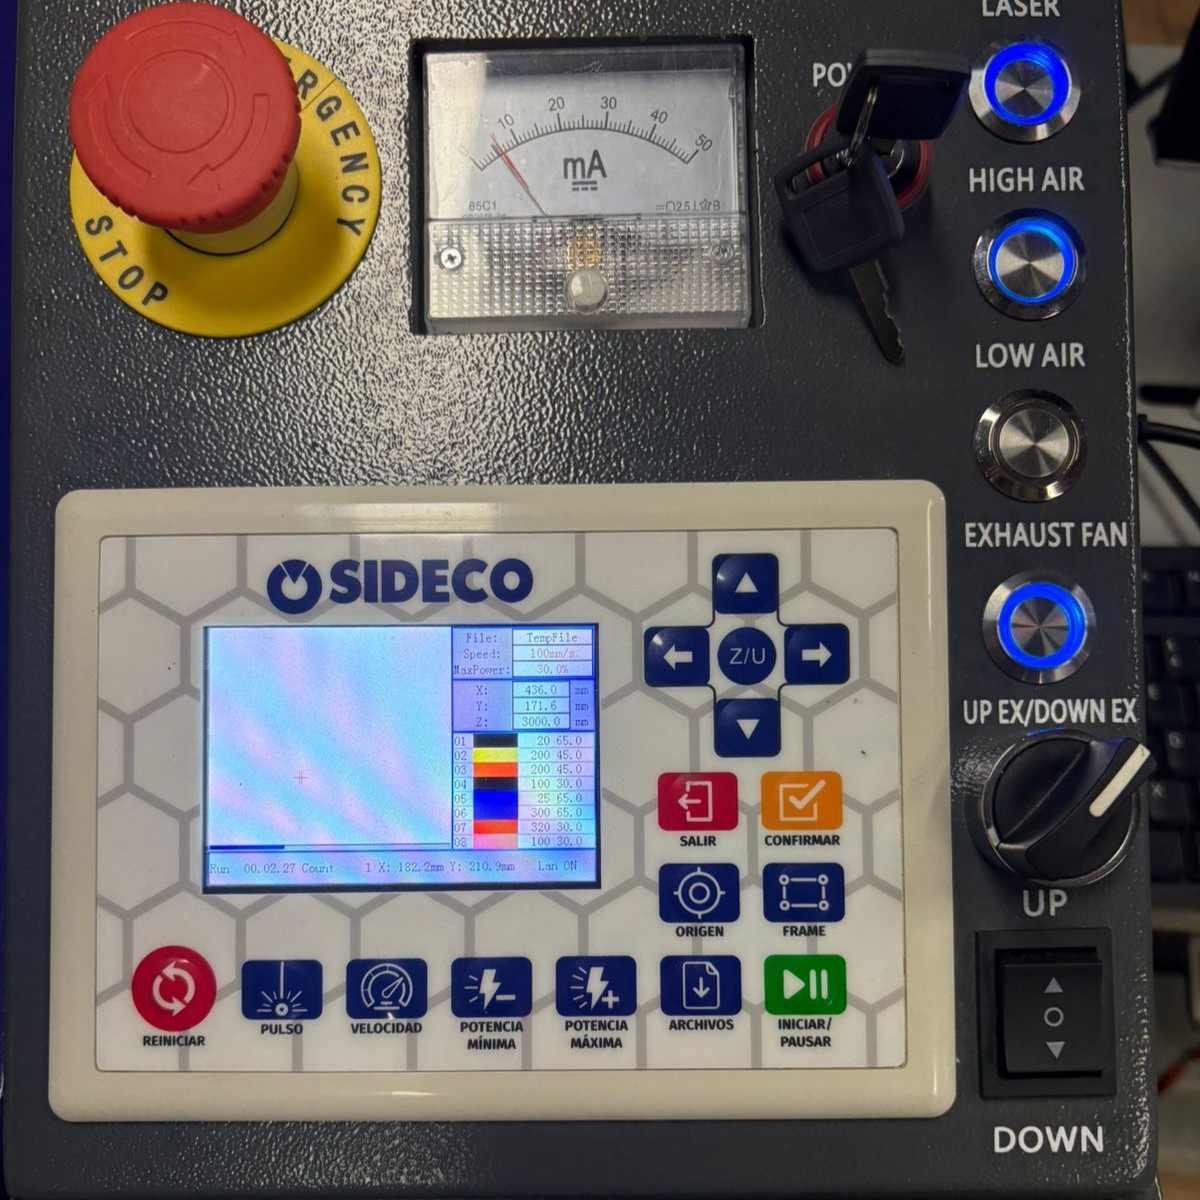
During the training session for the Mexico City node, we reviewed the basic guidelines for remote control, monitoring, and operation of the laboratory equipment.
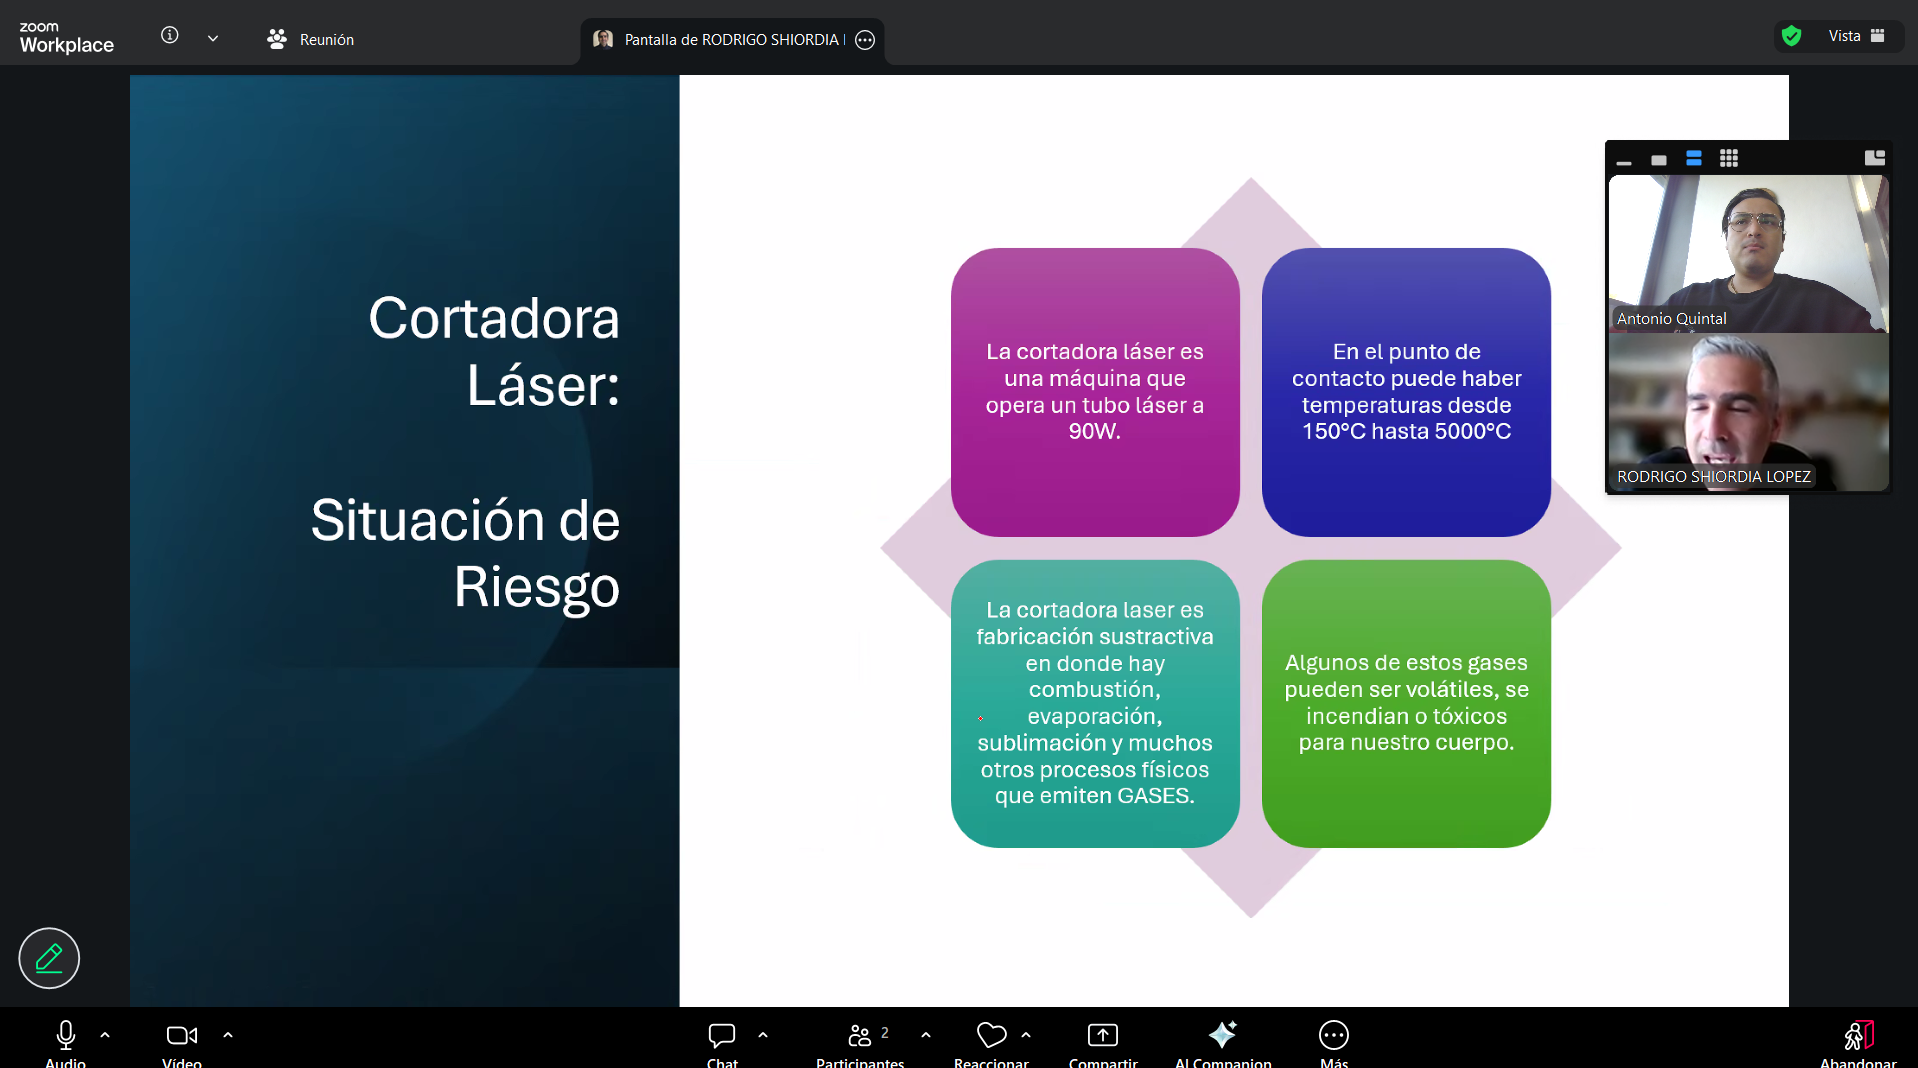
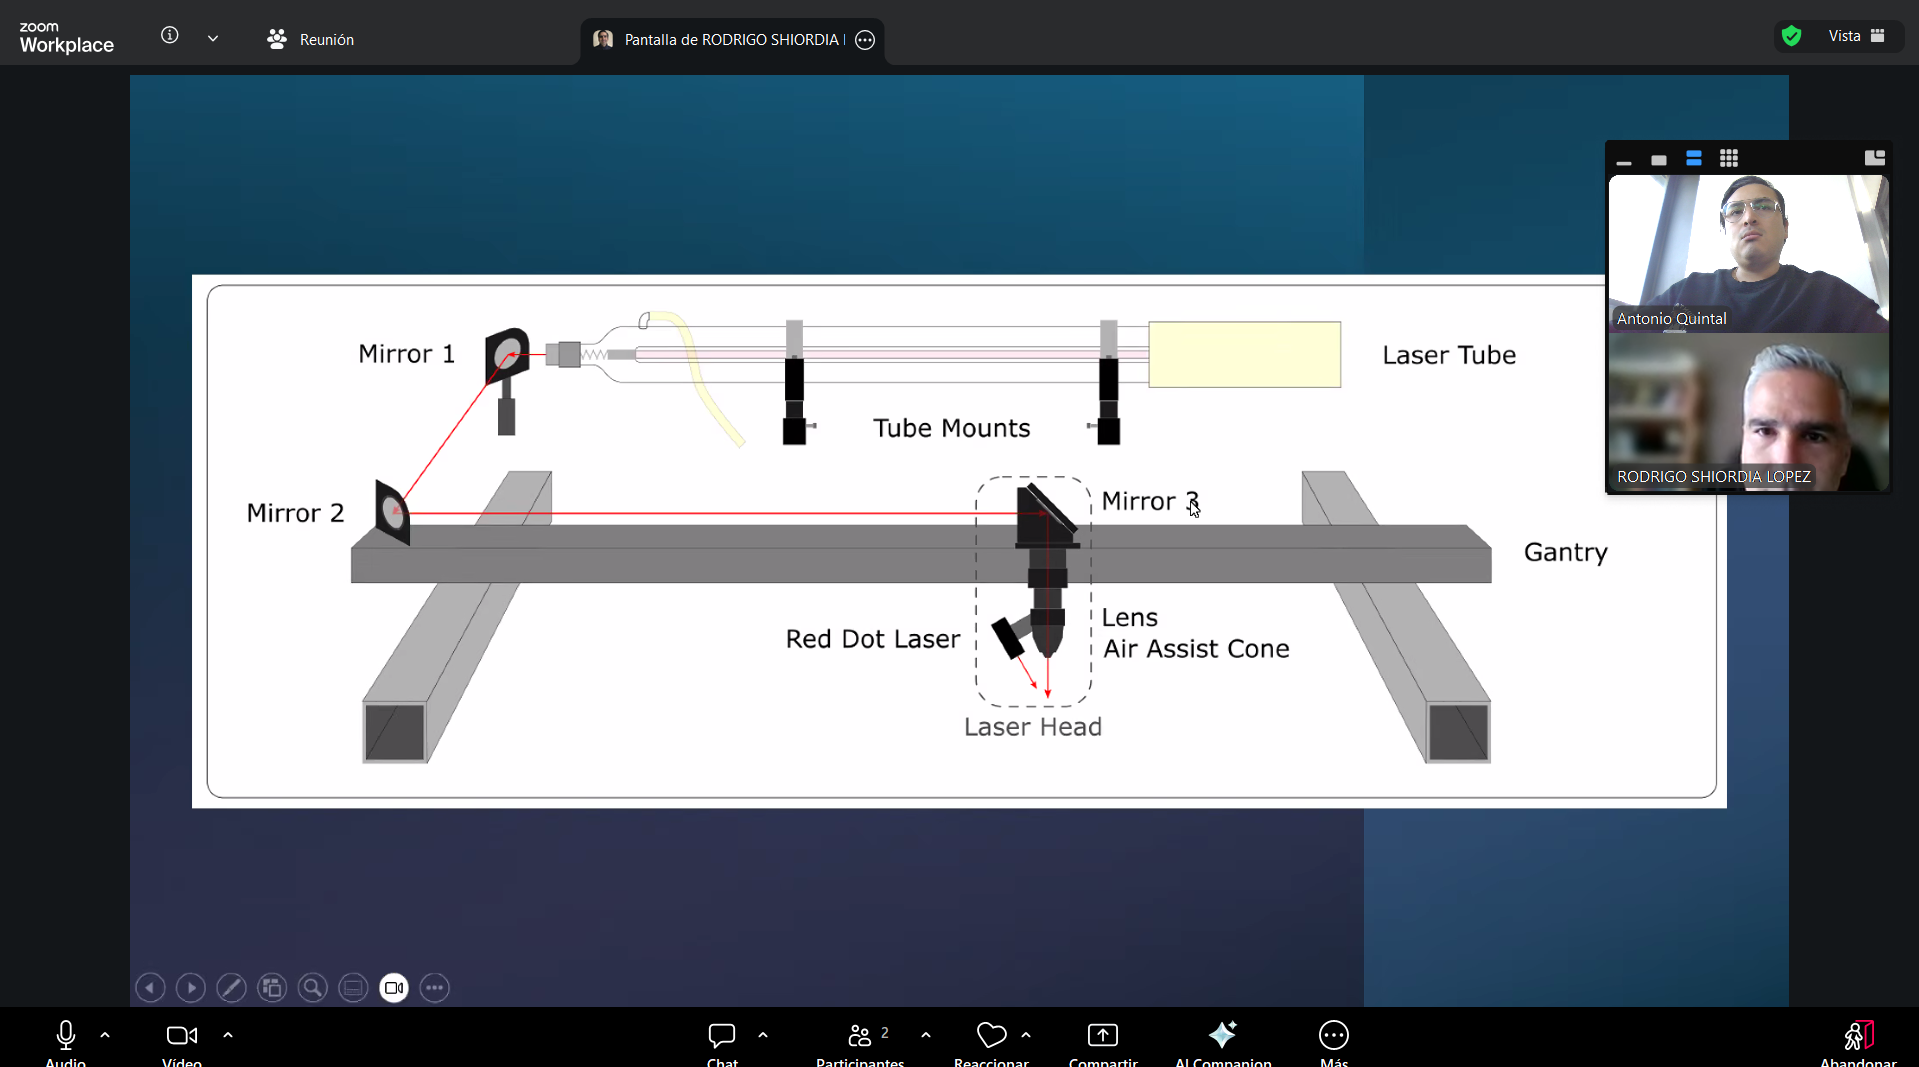
We went over the internal operation of the laser cutter, including the optical path, mirror alignment, and the use of the laser head. This helped us understand the technical principles needed to operate the equipment safely.
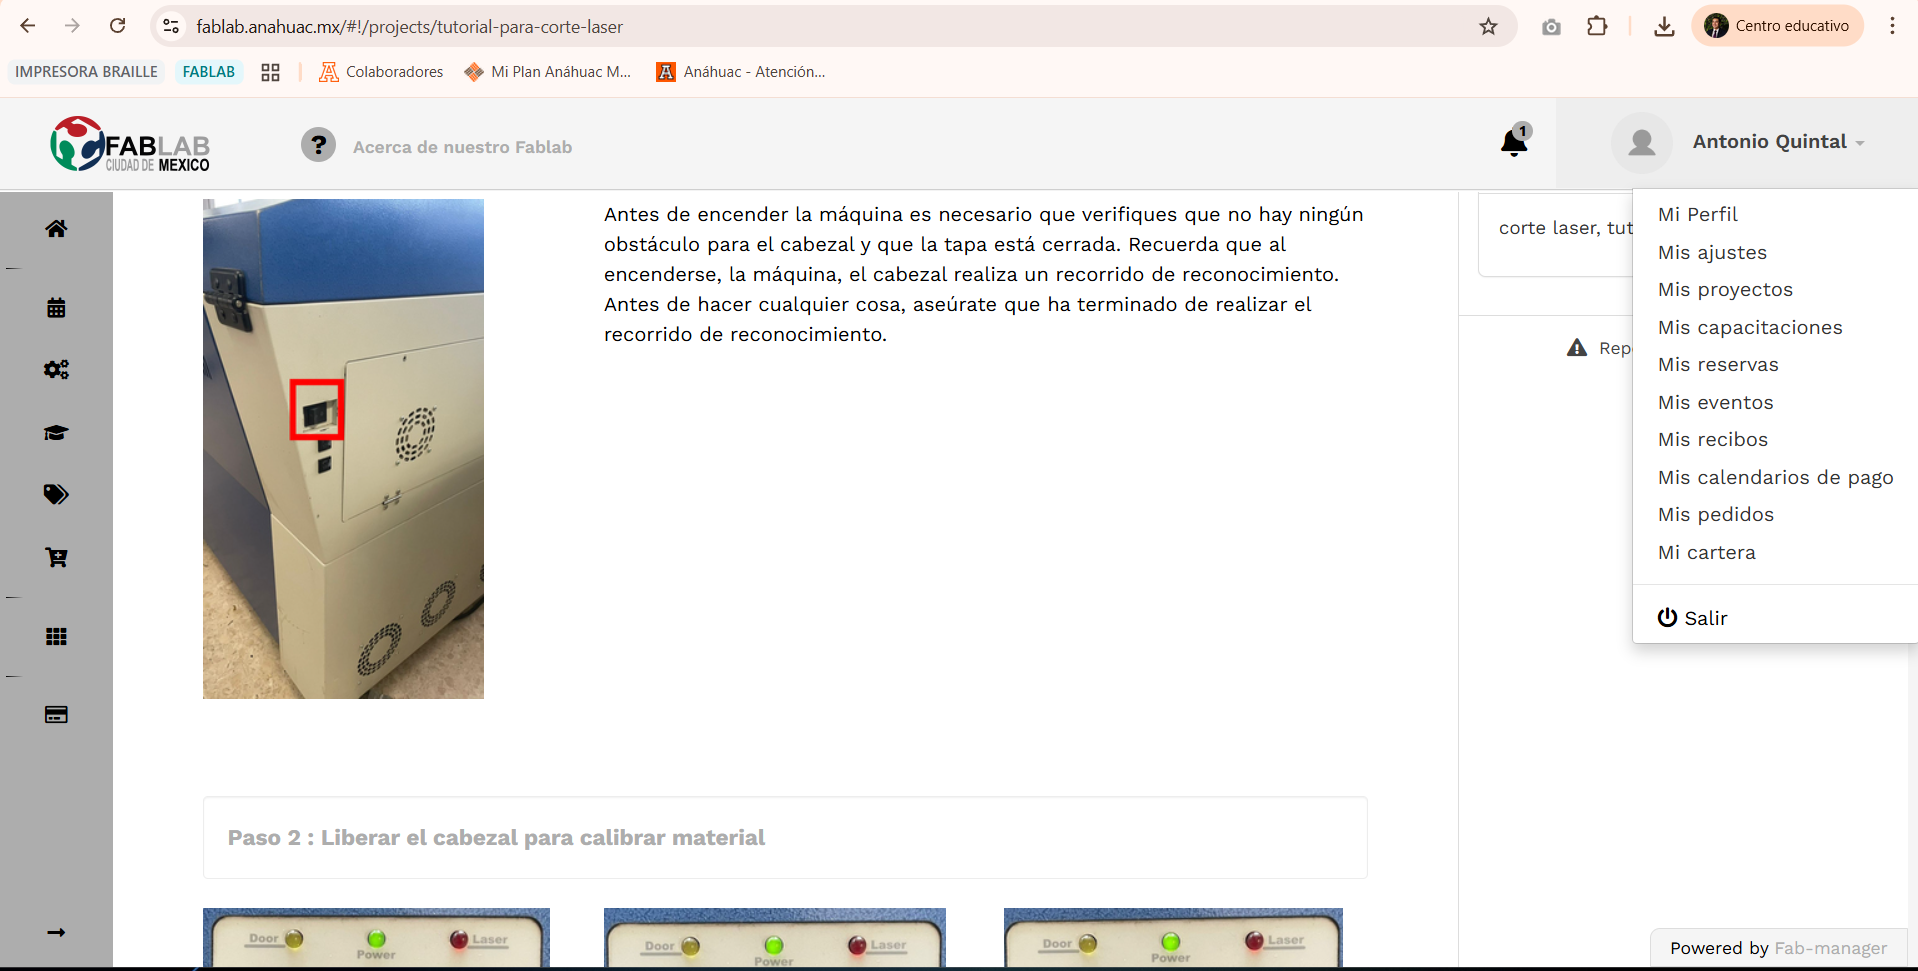
We also reviewed the tutorial available on the node platform, which explains the safety verification process and the machine recognition procedure.
After that, I completed and passed the required evaluation. This confirmed that I understood the safety guidelines before continuing with the practical work.

After the training, we carried out tests on the laser cutter to characterize parameters such as power, speed, and type of cut.
- Power: We changed the power values to see how they affected the depth and quality of the cut.
- Speed: We tested different movement speeds to understand how they affected the continuity of the cut and the finish of the edges.
- Cutting and engraving: We compared different cutting modes, including full cutting and engraving, using different combinations of power and speed.
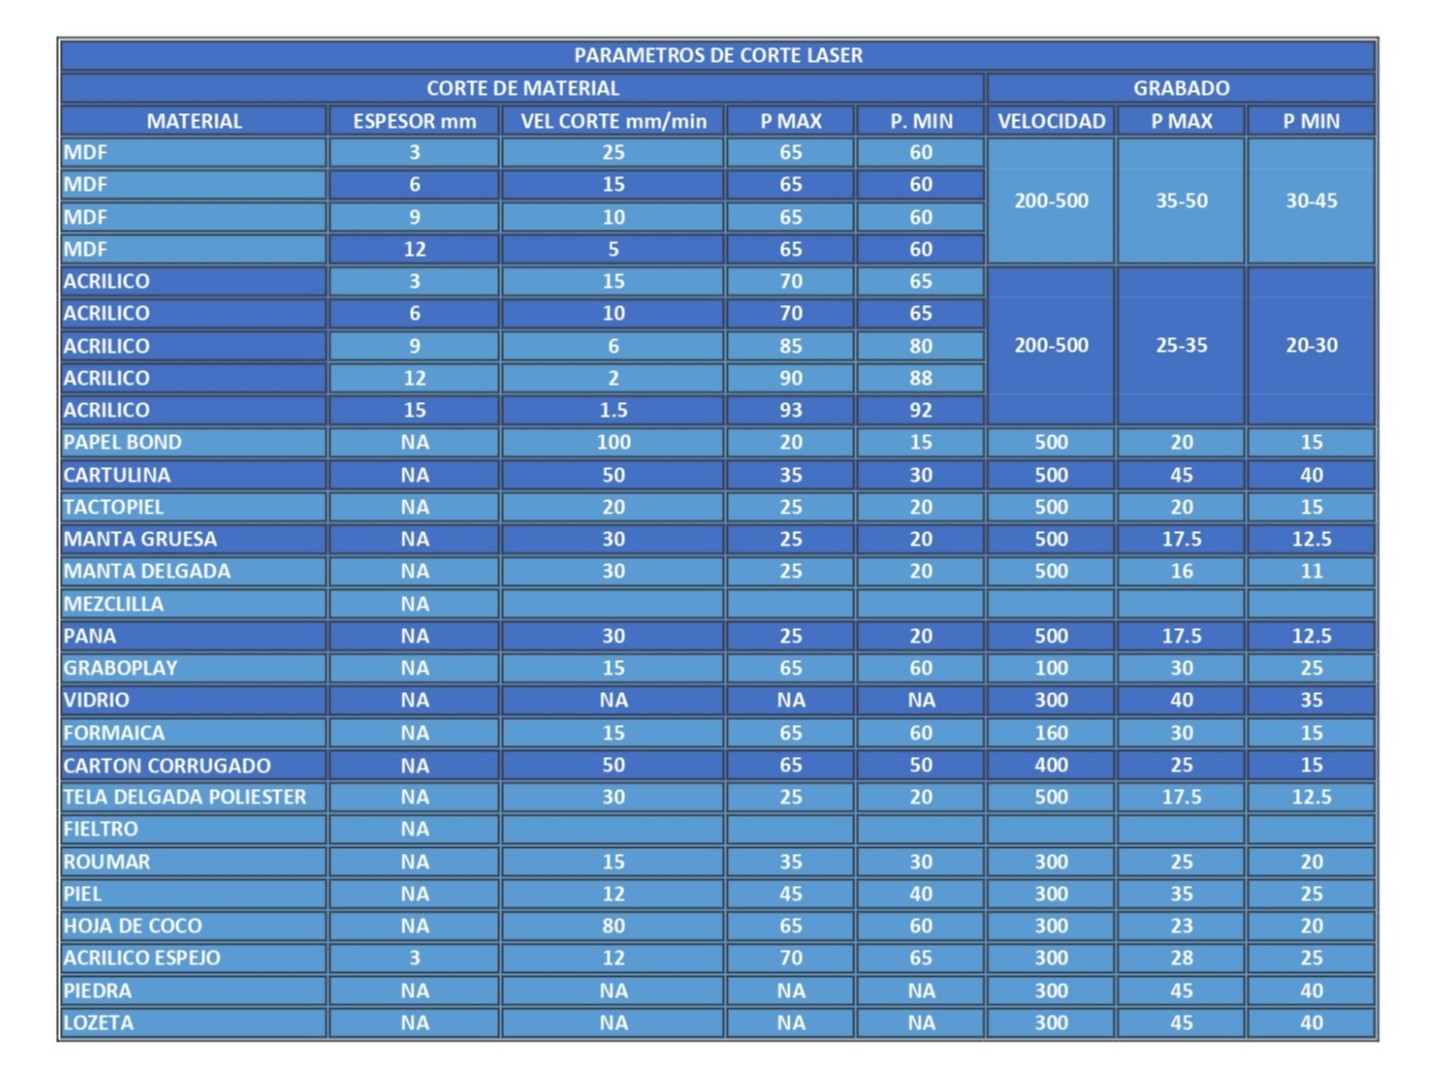
Before starting the cuts, we checked that the laser cutter was working properly. This was done to prevent failures during the cutting process and to keep the work area safe.
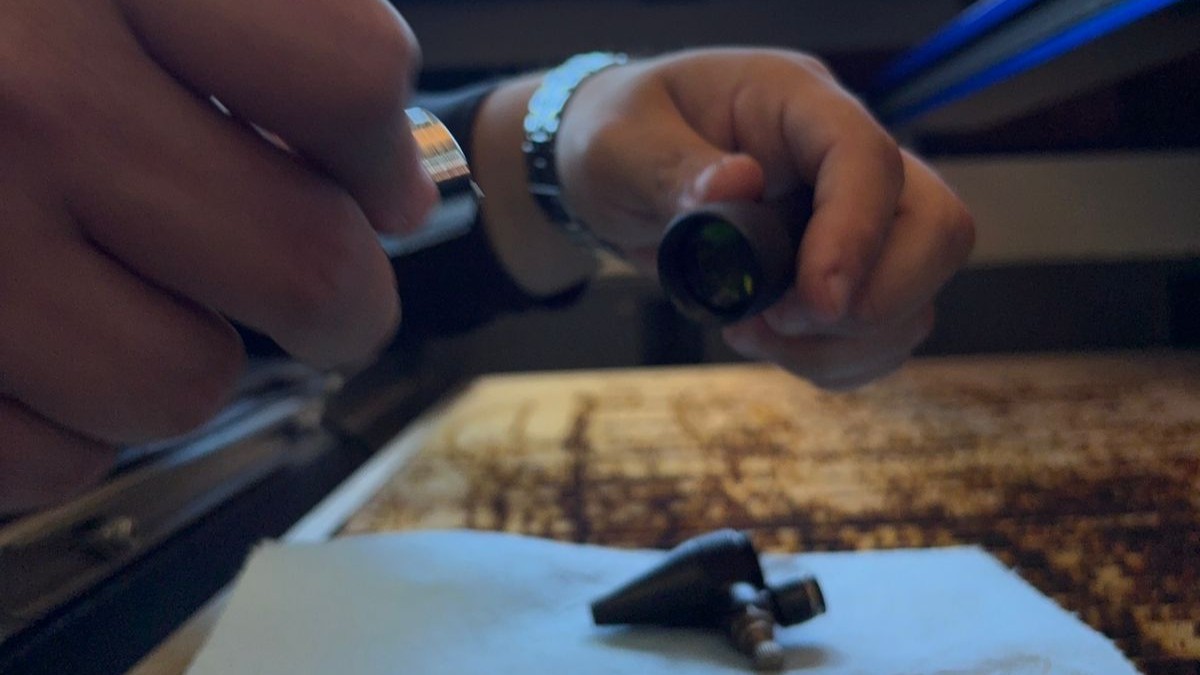
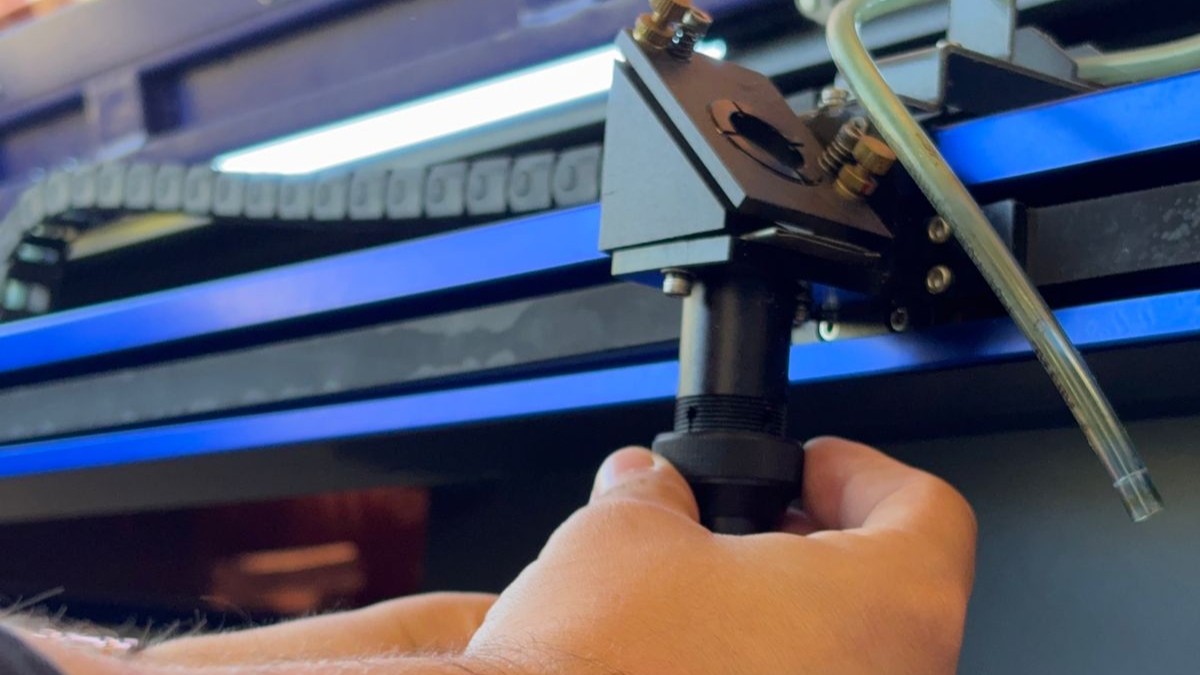
The process started with the disassembly and inspection of different parts of the laser system, including the red dot laser, the air assist cone, the laser head, and the laser tube.
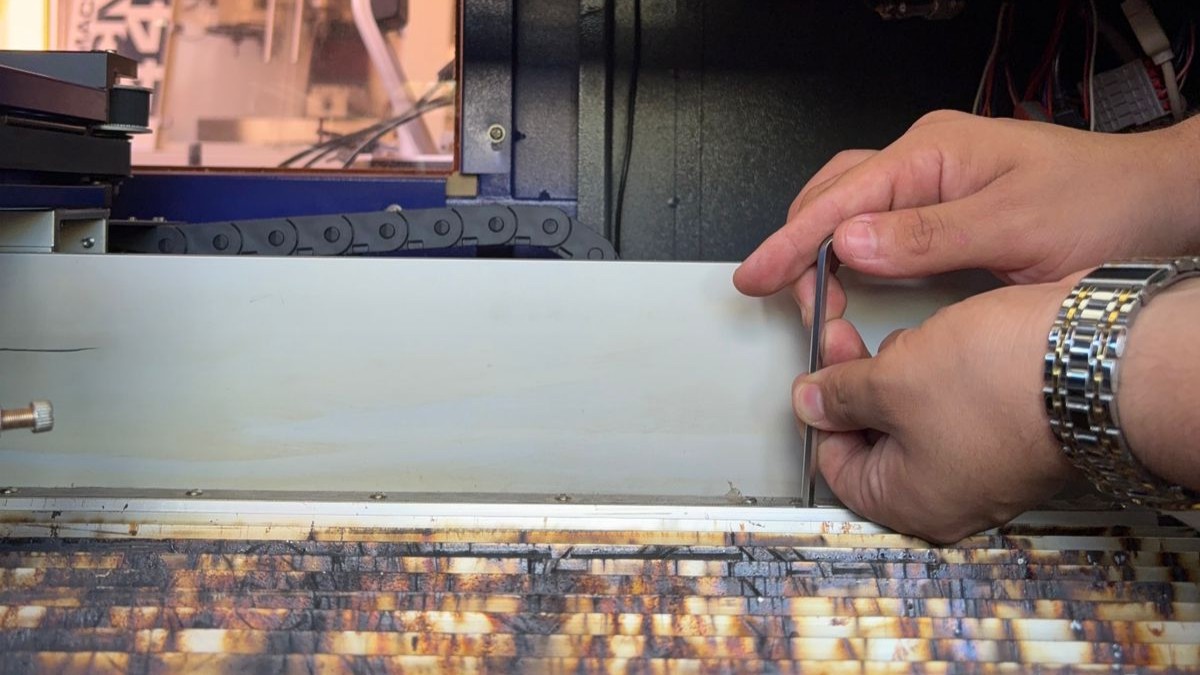
The laser cutting table was leveled to make sure the material had a flat and stable surface during the cut.
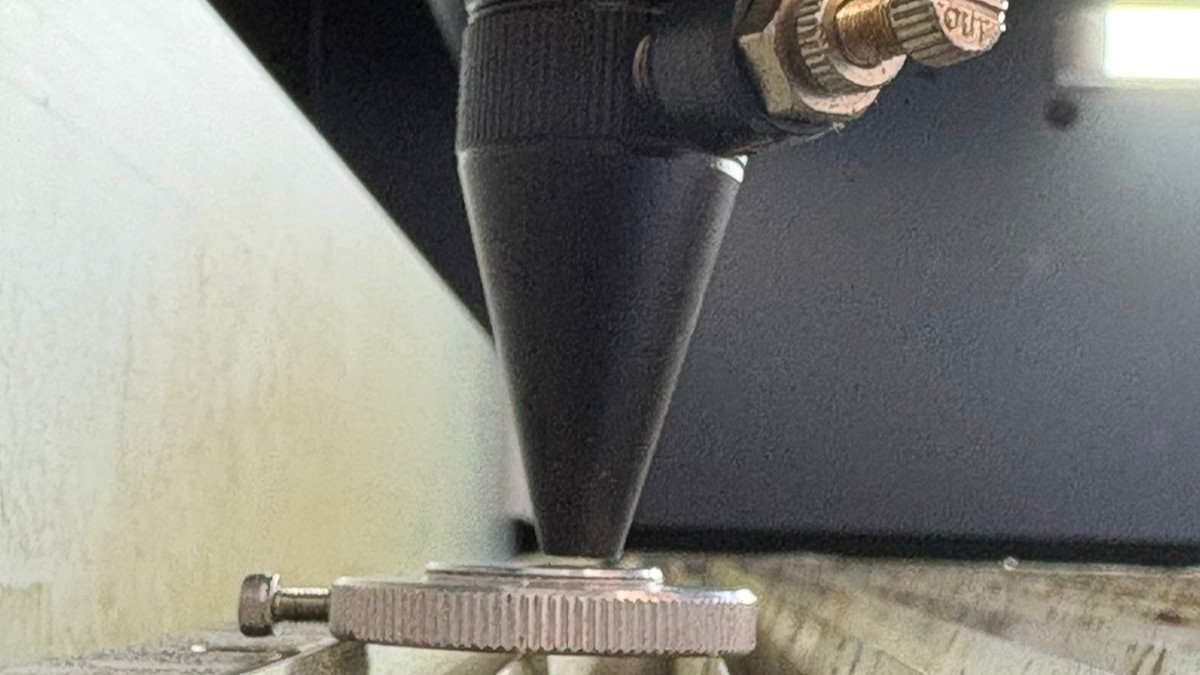
The mirrors were adjusted and aligned so the laser beam could follow the correct path inside the machine.
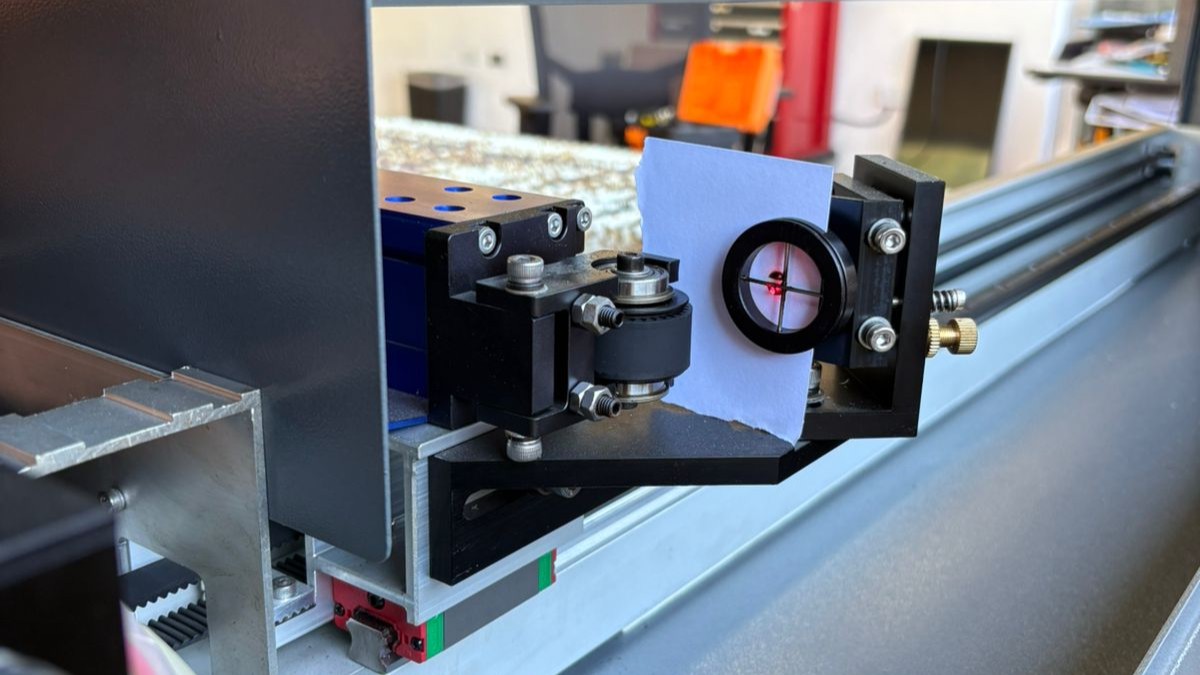
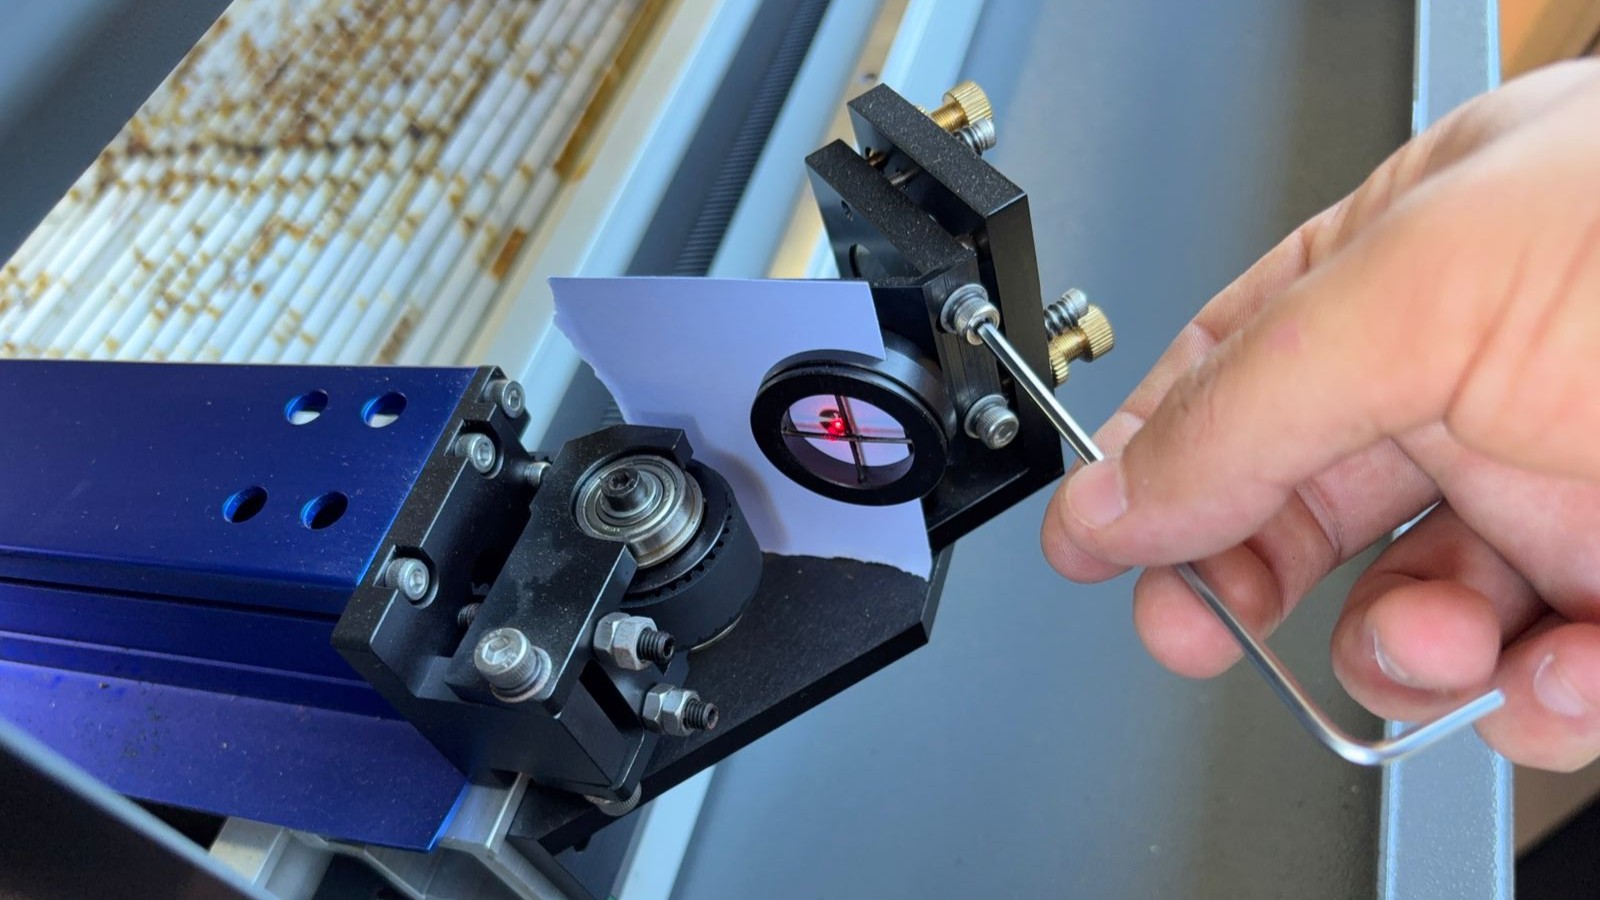
The electrical and cooling systems were also checked:
- Voltage regulator: The input and output voltage values were checked to make sure they were within the correct range and that the equipment was protected.
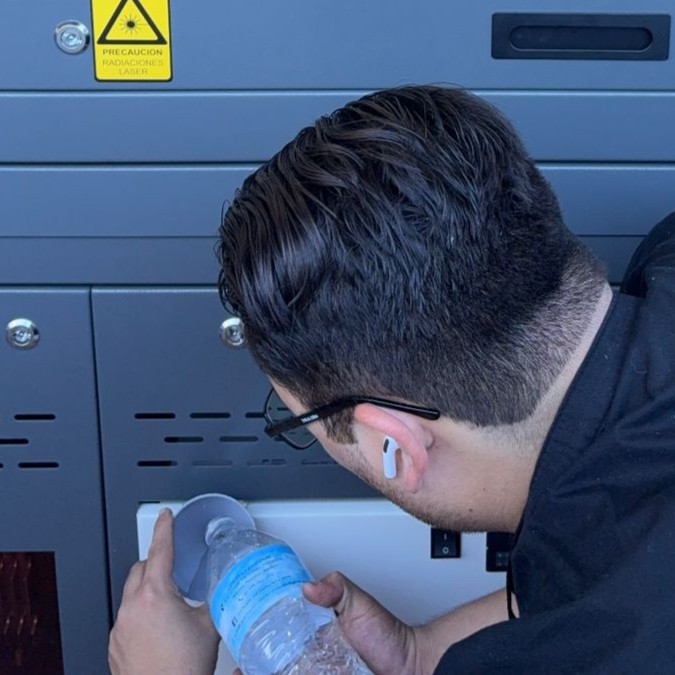
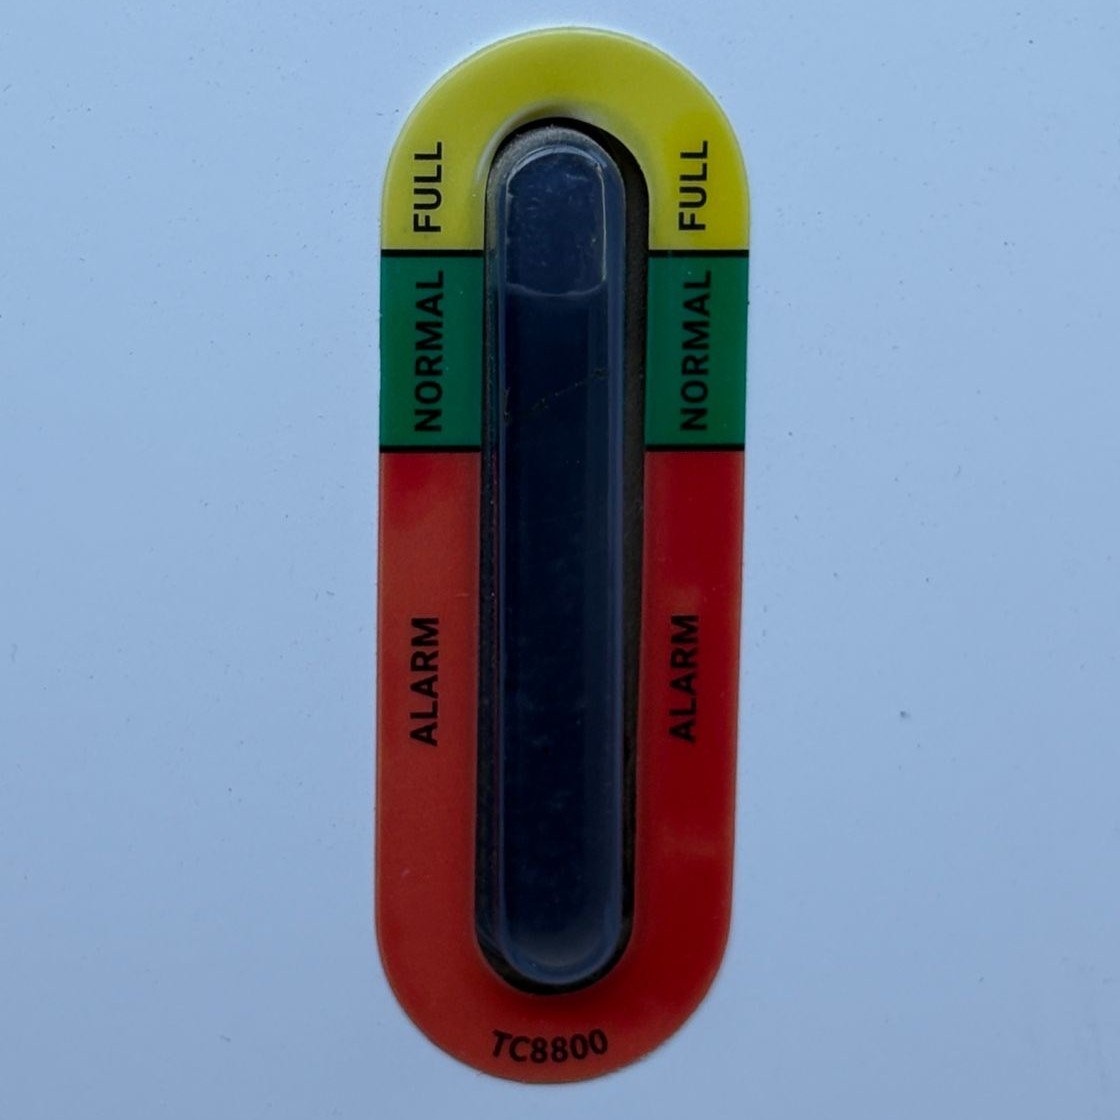
- Cooling chiller: The operating temperature of the CO₂ laser was checked. In this case, it was slightly below the recommended range, so distilled water was added and the cooling system was verified.

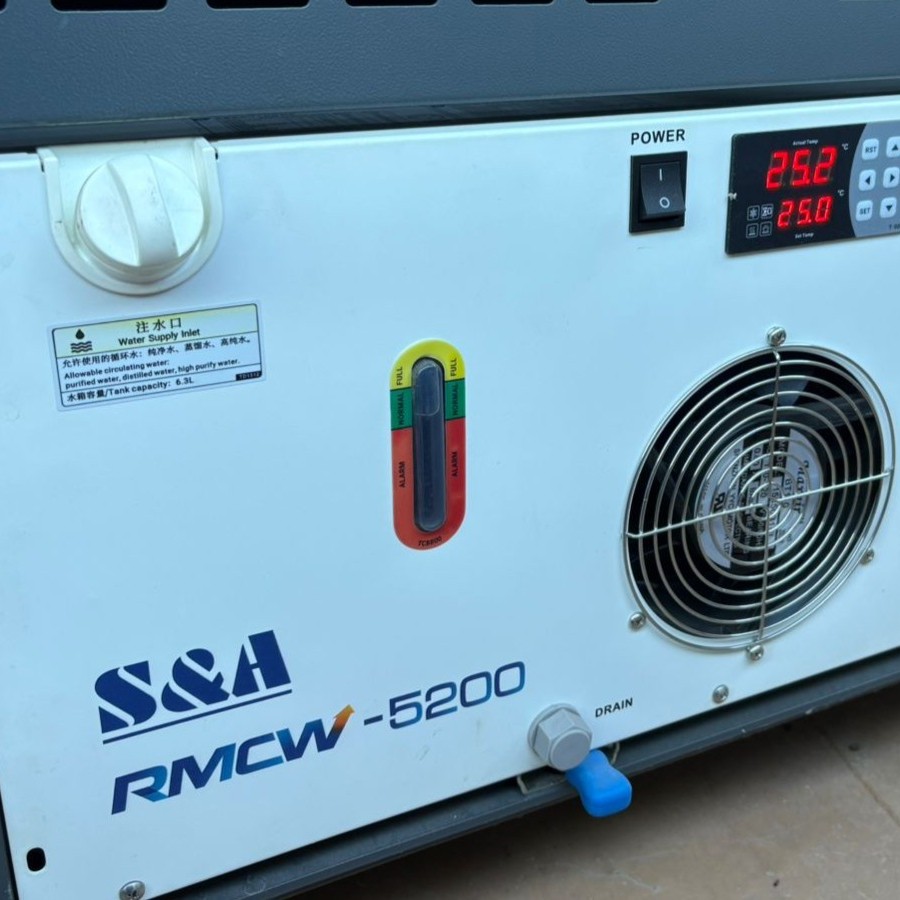
After checking the main systems, the laser cutter was ready to use.