molding and casting
Assignment
Group assignment:
- Review the safety data sheets for each of your molding and casting materials
- Make and compare test casts with each of them
- Compare printing vs milling molds
Individual assignment:
- Design a mold around the process you'll be using, produce it with a smooth surface finish that does not show the production process toolpath, and use it to cast parts.
Added Unexpected Bonus
I milled on my home CNC machine and learned a ton about how to do a 3D mill there. I would like to learn how to make the gcode with an open source program since Fusion 3D is very expensive.
Milling 3D on Genmitsu
The Group Work
Link to our group page here
I molded lots of things and learned tons about molding. I Molded with many different materials and cast with many different materials including chocolate and ceramics.
Milling was hard for me again. I had help from pretty much everyone in and around the lab. Dr. Taylor provided our group some resources from last year on teh bantam which got me started on the path. Mr. Dubick provided us a link to a milling video with Carvera and Fusion 360.
Garrett Nelson stayed late with us and worked on milling our code the first night.
Zack Budzichowski provided this wiki for setting up Fusion 360 to work with makera, along with these Fusion 360 profiles.
Barbara Morrow provided a word doc that she created in AI to use with her classes based on a past work flow that she had used.
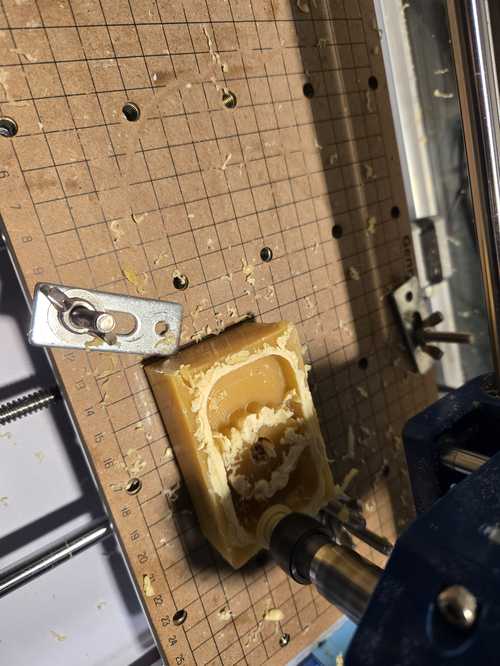
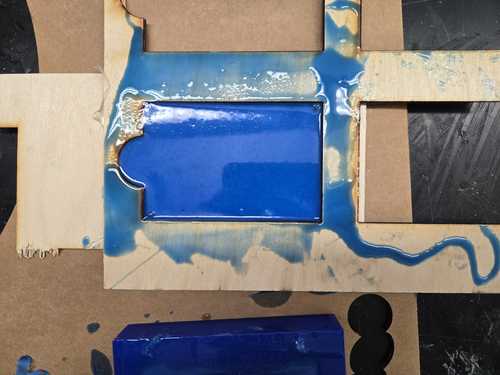
In the end, the Zack Budzichowski was able to help Angela run my code on the Makera at the lab in the blue wax. The carvera is not intuitive and the Fusion 360 software has many options. If you are not familiar with the vocabulary and set ups, it can be a difficult process.
I used UGS and you can see much more of my process in my previous mentioned Milling 3D on Genmitsu.
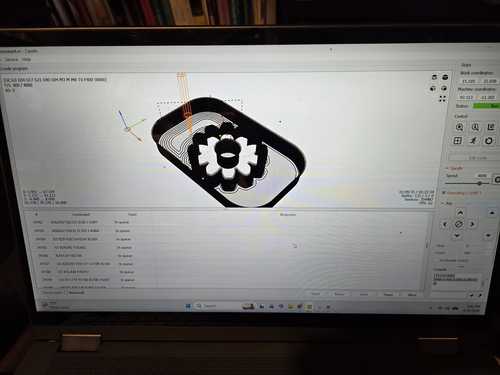
I was able to mill a gear at home on my genmitsu in the beeswax from Dorian.
Beeswax smells great.. but makes a bit of a mess. That said, it's a great thing to learn milling with becuase you don't break bits becuase it's soft.
The Individual Work
My asset files are here.
I referred alot to this page from Skylabworkshop > Fab Academy 2024 to learn some ideas.
This video on hiding layer lines on 3D prints was particularly useful. I will ask for some resin when i get into the lab today.
Drivers Hub - Casting Softparts
I have been waiting for this week becuase we use these very sensitive driver hubs in our robotics team and they need a protective case. Collin Kanofsky made the team one that works pretty well, but I would like to have cases on all of them with straps. Collin showed me where he got the initial idea from a guy who was going to print it in tpu. I don't have a TPU printer, so I am going to mold it.. similar to the way collin did, but I reworked the stl to be a two part mold (per side - so 4 parts total) so I should be able to re-use it. On collin's advice, I also added a tab to be able to clamp the two parts together.
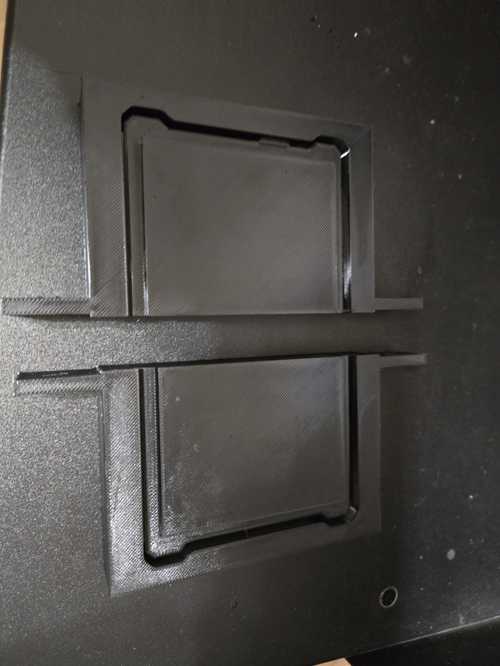
After printing the first two parts, I decided to add another little tab to help with the line up.
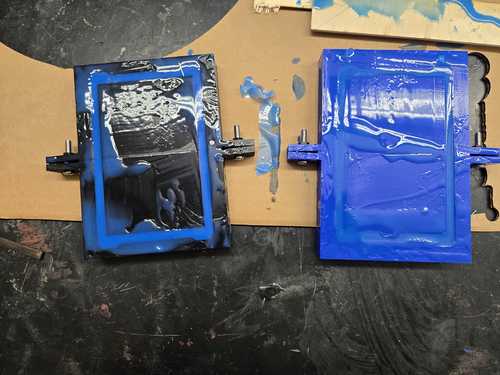
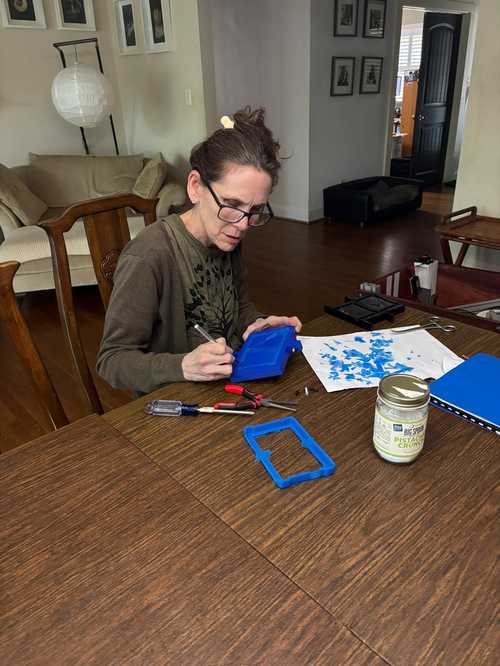
I bolted each set of two pieces together and then mixed up the material, Smooth-on Moldstar 30. Smooth-On Mold Star 30 is easy-to-use. It has a 1A:1B by volume mix ratio. It is a platinum-cure silicone with a 30A Shore hardness that requires no degassing. It is ideal for creating durable, tear-resistant, and high-detail molds for casting materials. It has a 6-hour cure time and 45-minute pot life.
I sprayed the molds with release agent, Ease Release 200 to make it easier to release later.
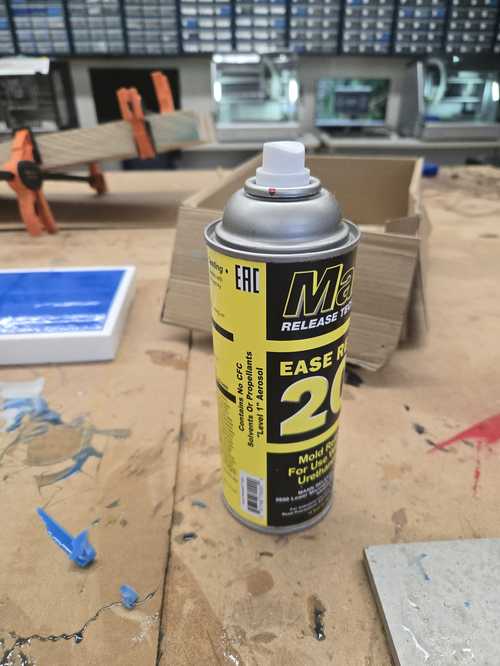
Hazard statements - H223 - Flammable aerosol - H229 - Pressurized container: May burst if heated - FG-7040 Revision date19-Mar-2026
Precautionary Statements - Prevention
- Do not breathe dust, fume, gas, mist, vapors and spray.
- Wash face, hands and any exposed skin thoroughly after handling.
- Do not eat, drink or smoke when using this product. - Keep away from heat, hot surfaces, sparks, open flames and other ignition sources.
- No smoking. Do not pierce or burn, even after use.
- Do not spray on an open flame or other ignition source.
Precautionary Statements - Storage - Protect from sunlight. Do not expose to temperatures exceeding 50 °C/122 °F.
Precautionary Statements Disposal - Dispose of contents and container in accordance with local, regional, national, and international regulations as applicable.
Other information - May be harmful in contact
After mixing the material, I poured into the assembled Molds, and left to cure in the lab overnight.
After curing overnight, I brought them home and dissassemebled them. Since, I didnt clean off the molds with a paper towel along the edges, I had lots of wings to take off with an exacto knife.
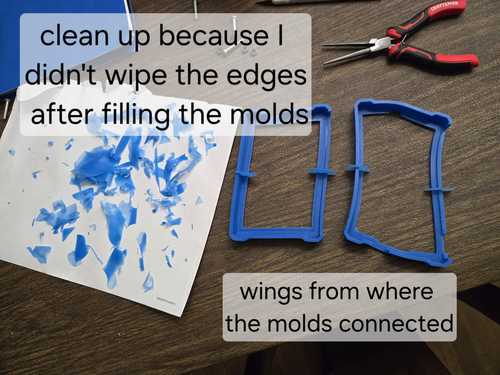
They came out pretty easily and without tearing. Then I cut of fthe wings with an exacto knife.
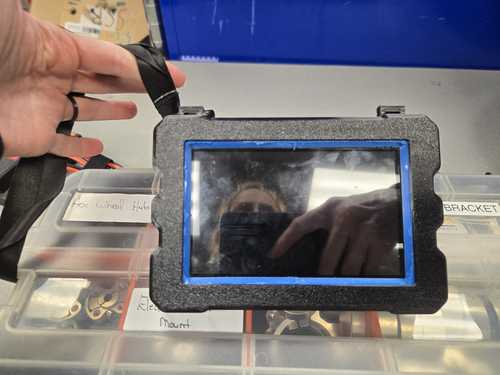
Next I printed new cases with handles for attaching a lanyard that these silicone pieces would slide into. To finish it off, I put the hub into the hard shells that clamped together with M3 screws, and attached the lanyard. This is so that the kids don't drop and break the driver hubs. They are sensitive and slippery.
Pill Catcher - Multipart Molding
Another piece I would like to make is a pill catcher for my final project. Some of the smaller pills come down the shoot pretty fast and then launch off the side of the pill bowl.
To pad the pill launcher, I used some of the extra molding material that I had and some scraps from the laser printing machine. I hotglued the two together and filled a shallow rectangle with molding material so that I could have a pad to use as a catchers mit. Just not sure if the mold I used is food safe, so I need to go back and check. I may have to do it again using the food safe matierial.
I worked with AI understand about Moldstar30 properties, and determined it was not really food safe. See conversations here
OK - I will make another using the food safe stuff. This will push me to make a mold and a design that are a good fit for my project instead of cutting out a piece that I might need to trim.
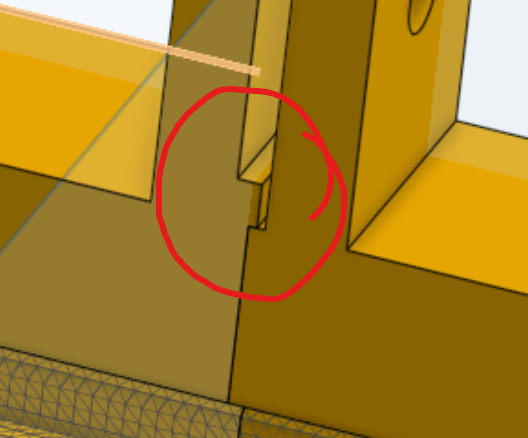
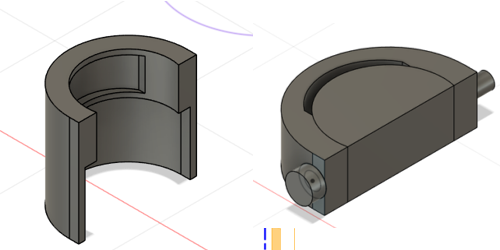
I used the "negative mold" concept (designing the cavity in Fusion 360). I made the actual pill catcher and then used the derive function to make a new model where I made a mold to make the pad for that part. Then I produced/3D printed that mold. After which, I cast the final piece in a silicone material. The 3 piece mold was made in a food safe material, PETG.

The CAD of the mold and the part are similar since the mold was derived from the part.
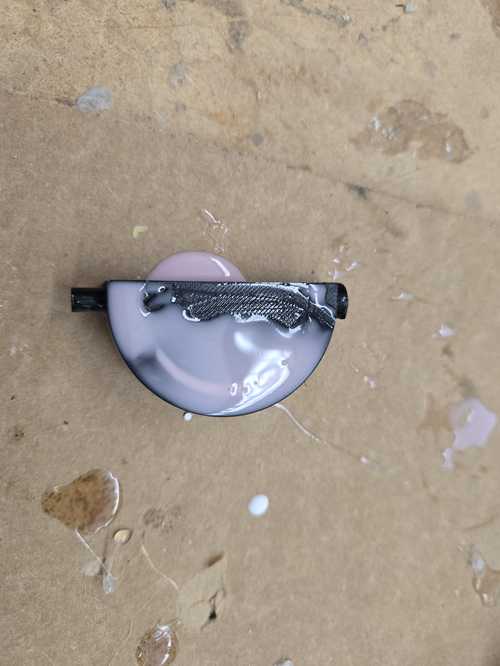
When I cast the piece, it was a very small amount of liquid material that could fit in the opening. I was concerned about air bubbles so I tilted it around a bit but that left it messy on the top with a bit
The mold came apart nicely and i used an exacto knife to clean the edges and it fit well into the part.

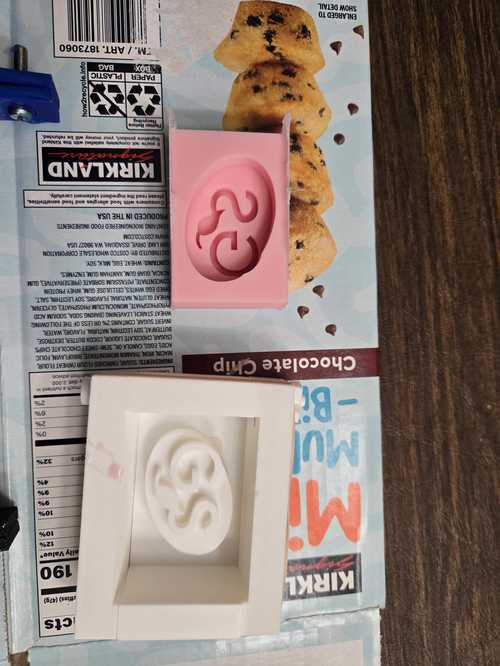
G + S Chocolate Mold
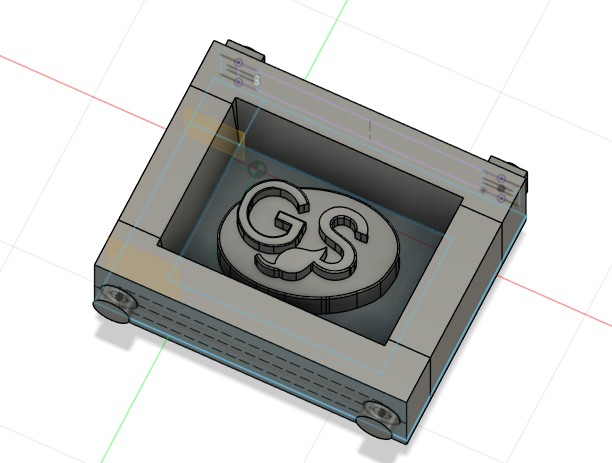
I also printed a food safe mold to use for making something tasty for my husbands company (G+S Heating, Air, Energy Services). I brought in a logo into inkscape and then changed it to an outline by tracing bitmap. After that I saved it as a DXF file so that I could bring it into Fusion 360 and extrude it and make the mold around the extruded logo to pour into the cavity to make a soft mold.
Then I made a mistake and did hard to hard in both my molds.I put ceramic resin into those molds. The G+S one would need to be busted to even have a chance to get it out. The 3 part mold, I took it apart and was able to salvage the 3 part mold to try to mold it again with a food safe silicone.
Remember what Angela Horstman taught us: HARD TO SOFT and SOFT TO HARD
I planned to mold with 941 or another food safe silicone later in the week, but instead, I redesigned a new 5 part Mold to make a soft mold out of food safe material. I used Fusion 360 and put two pins through three parts that would be easy to remove and get the mold out.
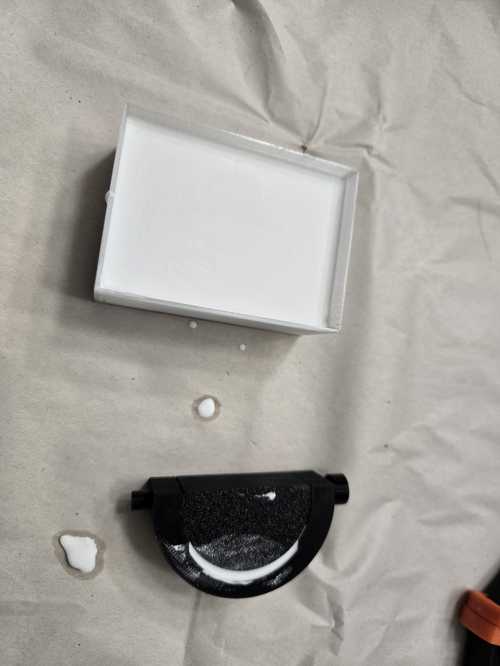
This soft mold could later be used to make chocolates or other foods. It would be easy to get the mold out by removing the hard ends and taking the soft mold out of the center. Then I can use the soft mold to cast foods that will harden inside. Since the mold itself will be soft, I would be able to get out the product. I needed the extra step to be able to cast a soft mold.

I cast the soft mold and then removed it> i sent it to the office so the office manager would use it to make a chocolate inside, but haven't gotten it back yet.
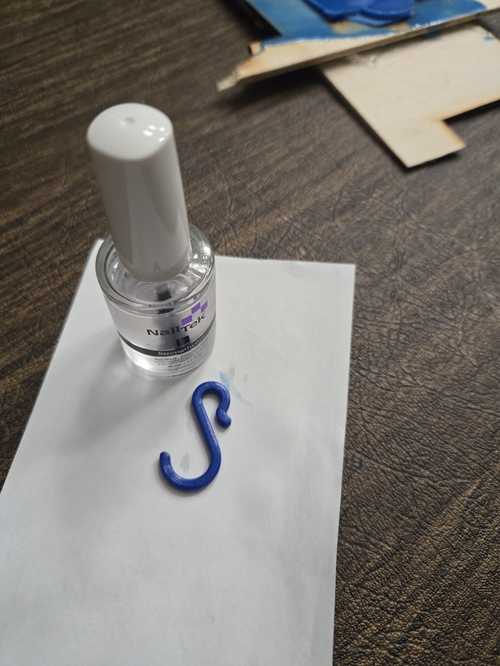
S Hook - Learning Finishing Techniques
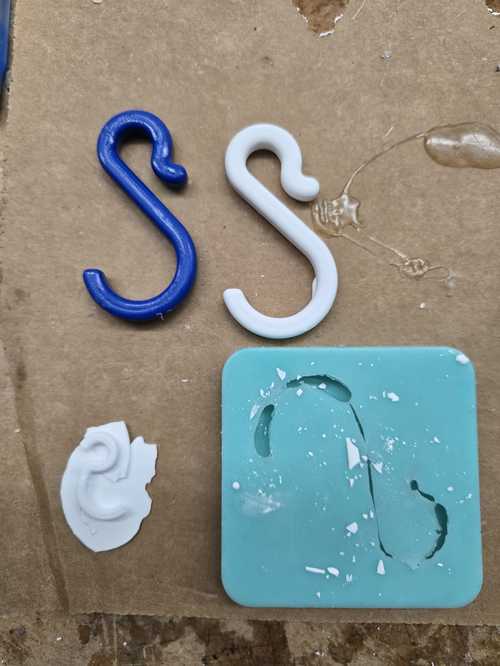
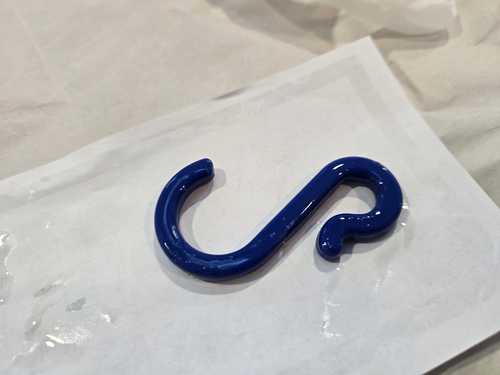
I needed to find a project that I could finish the edges on. So I printed some S hooks. I made a big one and small one. On the small one, I used nail polish to fill the cracks. It's hard to tell how smooth it got becuase the polish I chose is a clear hardener, but it feels good and smooth.
I also made a bigger S hook that I am going to try some materials that Mr. Dubick is sending me from the lab.
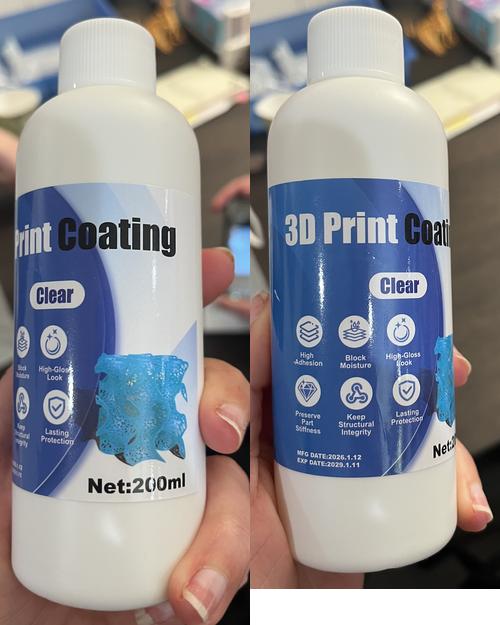
I made a larger S hook and then coated it multiple times with a 3D filling material that was provided by the lab.
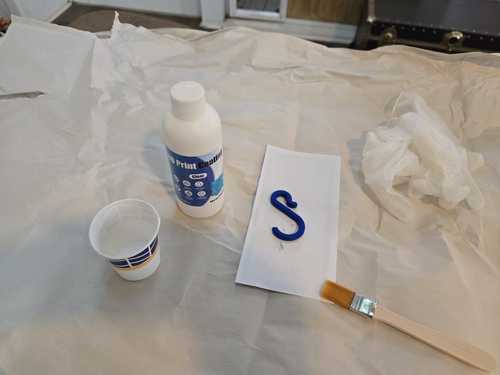
I googled and looked for safety sheets but couldnt find any, so i took the precautions that I have learned with the other products: good ventilation, protective clothing, and gloves.
After coating the 3D print, I sanded it with 600 sand paper to finish the surface and get it smooth.
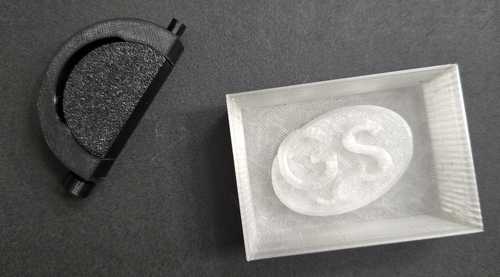
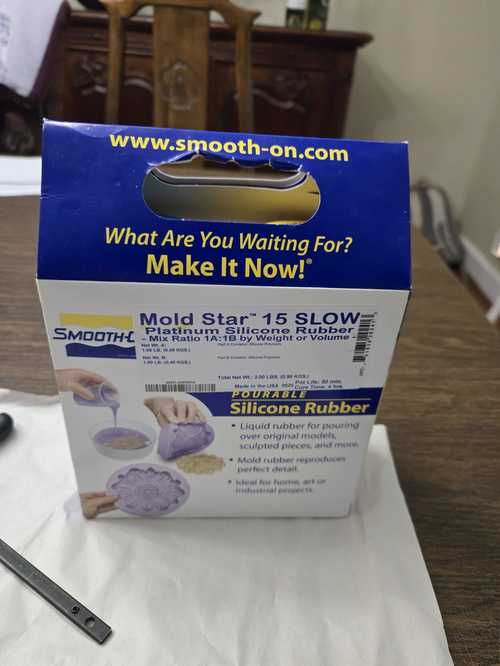
After it was good and smooth, I hot glue it to the bottom of a shallow platic box. I then used Moldstar15 that I had at home.
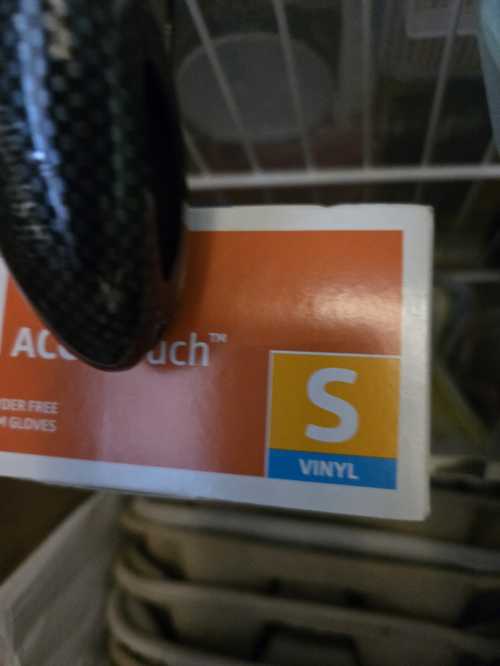
I referenced the safety sheet which recommended gloves and a well ventilated area. Many of the sheets recommended not using latex only vinyl gloves to prevent adverse reactions with the materials.
The website states: Mold Star™ rubbers are easy to use platinum silicones which are mixed 1A:1B by volume (no weighing scale necessary). Mold Star™ silicones feature relatively low viscosities and vacuum degassing is not required for most applications. The pot life of Mold Star™ 15 SLOW is 50 minutes and cure time is 4 hours at room temperature.
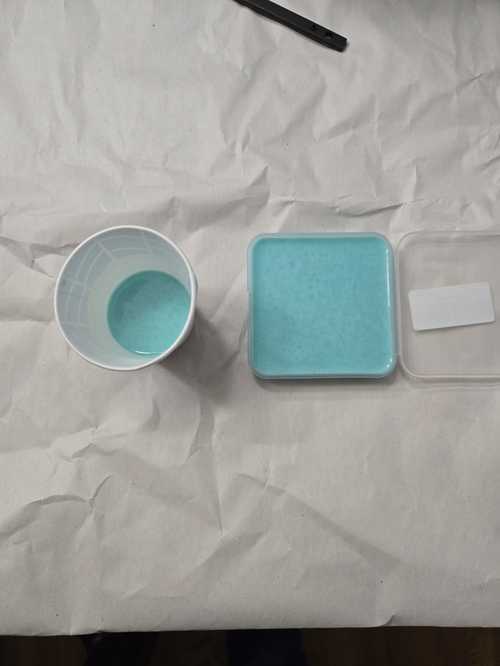
Following these instructions, I molded the small and large S hooks. Since it didn't specifically state that it was food safe, I will get a different material for my pill catcher. I used a plastic box and a paper cup becuase they were small enough to not need a 3 part mold. I knew I would be able to get the soft S hook mold out of the plastic box without much problem.
After they cured, I took them to the lab where I used a ceramic resin to cast s-hook shapes in them. The ceramic resin was called Mix and Mold.
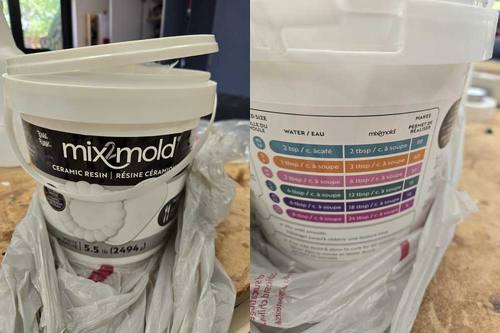
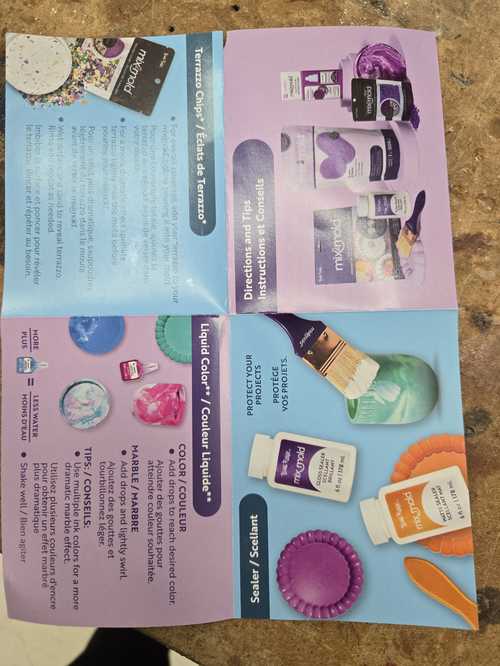
The instructions were on an insert in the bucket.
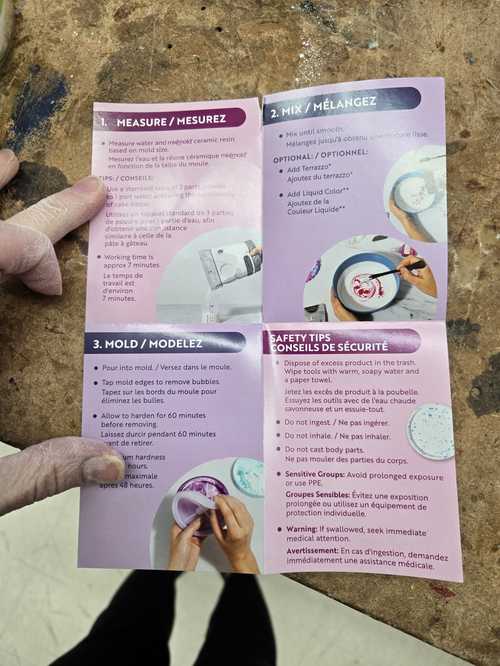
I followed the directions using the safety equipment recommended with the other materials, and filled the molds.
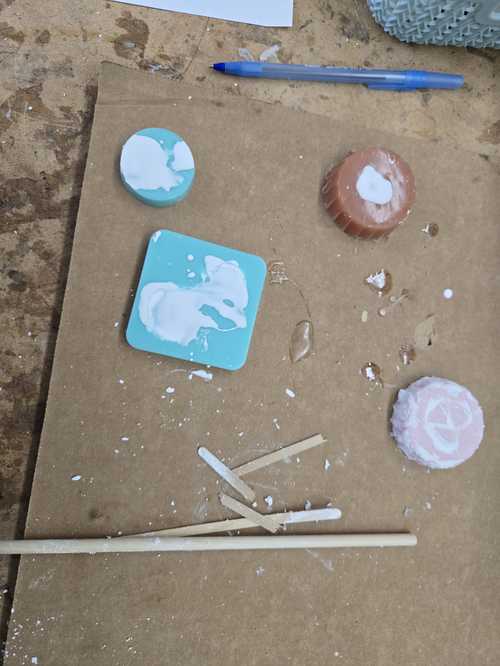
I wouldnt call them S hooks, as the resin turned out to be too brittle to be used like that. The hook that I did the extra finishing work on was a bit smoother than the one that had small lines from 3 D printing.