wildcard week - Embroidery
Assignment
- Design and produce something with a digital process (incorporating computer aided design and manufacturing) not covered in another assignment, documenting the requirements that your assignment meets, and including everything necessary to reproduce it. Possibilities include but are not limited to wildcard week examples.
Added Unexpected Bonus
Unassigned Group Work
Although we didn't technically have any group work this week, our group really rallied together to help each other. Dorian Fritze brought her mom to help, virtually, since she has the same machine. She also brought us a bunch of fabric and materials. Angela Horstman was super techy and showed us how to integrate an app on the phone with the machine. Those two ladies blazed the trail to make it easier for the rest of us in the group. I worked on finding videos and resources to help us out.
The Individual Work
My asset files are here.
Here is a list of the videos that I followed in order to do this week's project. I have not done anything like embroidery in other fab lab projects. This machine is new to me.
The two videos he got from Dr. Taylor:
Other Processes That I followed:
-
Video for understanding Which file to pick for digitizing SewArt
-
Embroidery 101 is a very detailed explaination of all things emrboidery by an expert expert.
-
Collin's wildcard week embroidery documents the steps for loading the file and starting the machine.
My Work Flow
I downloaded the software. Then I worked on logo a bit in inkscape to get it to the size I wanted. I put the logo inside the brain outline SVG from the case I had made for the PCB fab week.
I watched part of this youtube by Embroidery Legacy to understand the different stictches, but this video does not use SewArt
When I originally brought my image in I was following a tutorial from BurleySew. In this tutorial, they worked on a jpeg image that they brought in. I took a pain staking amount of time trying to work on a pixelated image. This issue being that it had lots of white spots.
Then I found the short clip from Which file to pick for digitizing SewArt from Julia Griffey which talked about how and why to use an SVG.
I loaded this into SewArt following the steps in Collin's wildcard week embroidery docuemntation.
This video goes from CleveDog start to finish.. would have been nice to watch first. LOL. However, it's long and slow.. and in the end I decided to use the autostitch but by choosing each color individually to get the design to stictch with the right colors in the order that I wanted. I didn't want to have to change thread color more than twice.
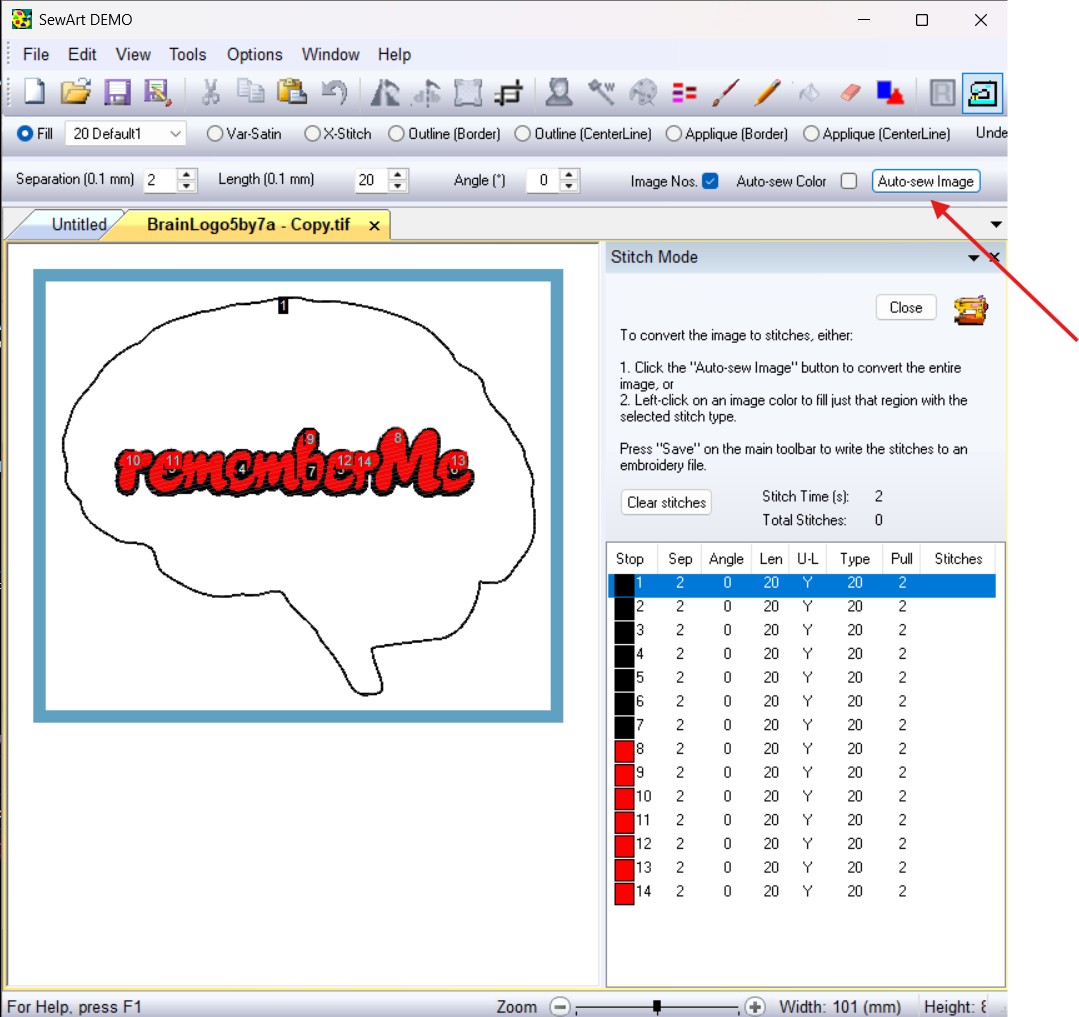
After I added my stitches to the design, I saved as PES files. I saved two files .. one with the white background, and another without. Not sure how long a white background would take. It pixelates your design when it goes into the stictch file.
![]()
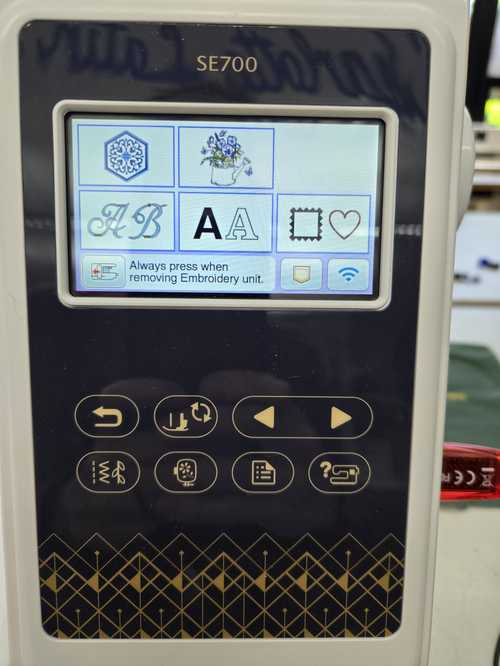
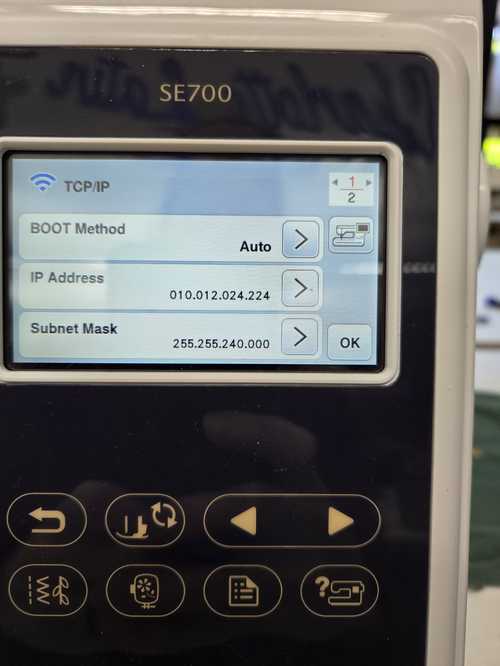
Once I got to the lab, I found that the machine didn't like my USB drive, so I spent an hour trying to get it to connect to my computer or USB drive. The USB would not show up on this main screen.
I reformated the usb, I scanned for IP addreses and tried to connect directly, I clauded for answers to no avail. I was able to navigate to the machine IP but not connect to it. It did not have that software broadcasting.
So I decided to do it the way my groupmate Angela Horstman had done using the Artspira app off the phone.
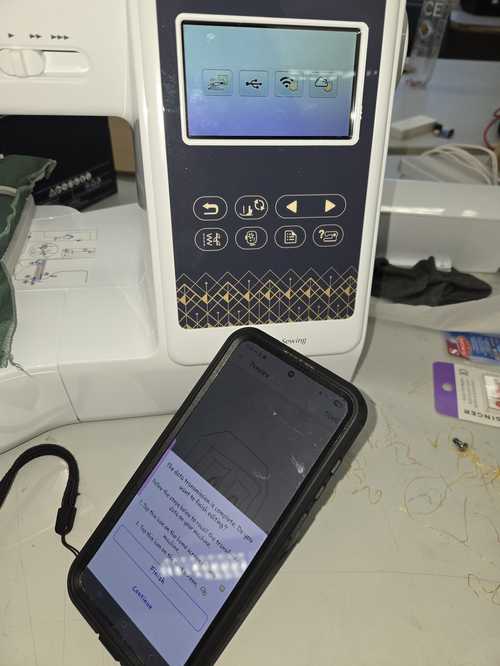
Once I had my phone connected, I emailed myself the PES file, downloaded it to my phone and then uploaded it into the app. In the app, I was able to see my PES file. I selected this file and it sent to the machine. When this file could be seen on the screen as shown below, it was telling me which part of the design it was going to run.

Becuase I was running out of time before the I had an appointment and would have to leave the lab, I decided to do a 2 color instead of the three color. I had already loaded the white and since I was embroidering on a dark background, I decided that white would make a nicer outline than the black in my image. I waspushed the green arrow on the machien and I was able to run the outline in the white thread I had loaded.
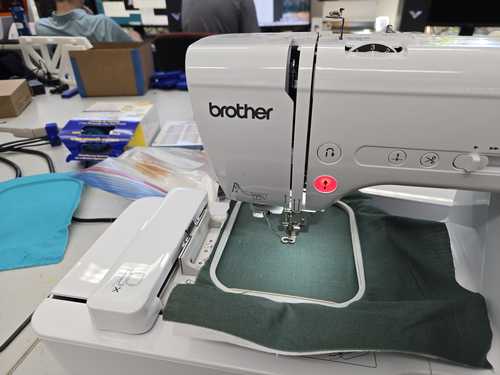
I ran the outline on the machine. Then I changed the thread to red and ran the next run which did a fill stitch into the design. The machine is crazy fast.
VIDEO HERE
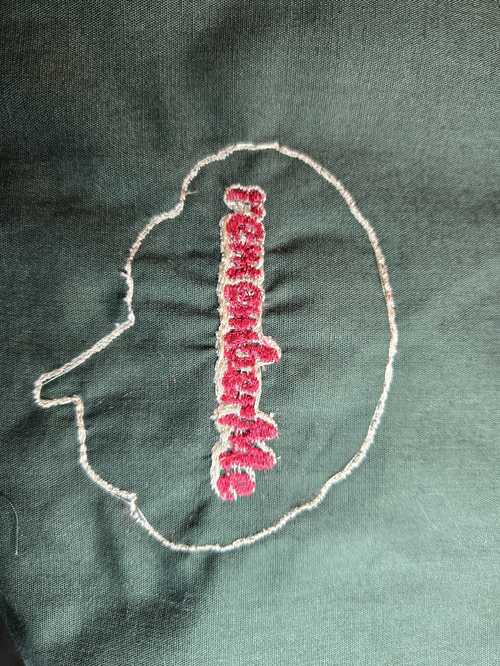
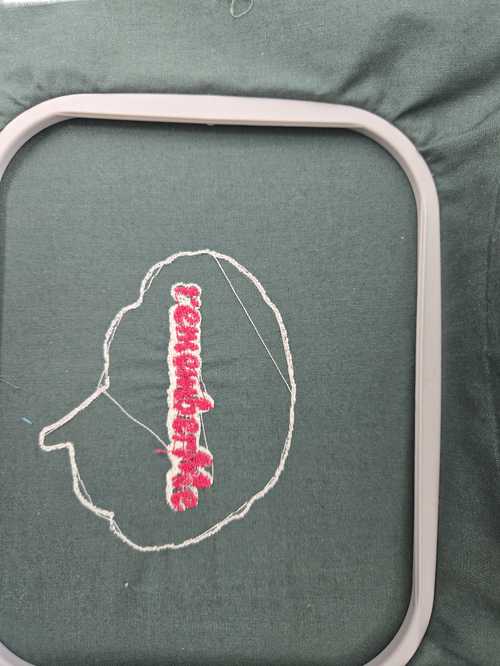
It had some threads that ran from different areas across the design that were on the loop.
Here are some clips of the machine in motion.. its load and very very fast.
After I cleaned up the thread with the seam ripper. I was able to take it off the loop. Now its ready to be used... I might make it into a little pillow after fab.