Week 5 - 3D Printing and Scanning
Week Assignments
Assignment
Group assignment:
- 1. Test the design rules for your 3D printer(s)
- 2. Document your work on the group work page and reflect on your individual page what you learned about characteristics of your printer(s)
Individual assignment:
- 1. Design and 3D print an object (small, few cm3, limited by printer time) that could not be easily made subtractively
- 2. 3D scan an object (and optionally print it)
Individual Assignment:
Designing a Model
1. My first step is to get some design or something to do a 3D model. And I too like anime so I thought why not try to find some anime toys or something that can be kept on my PC as a souvenir.
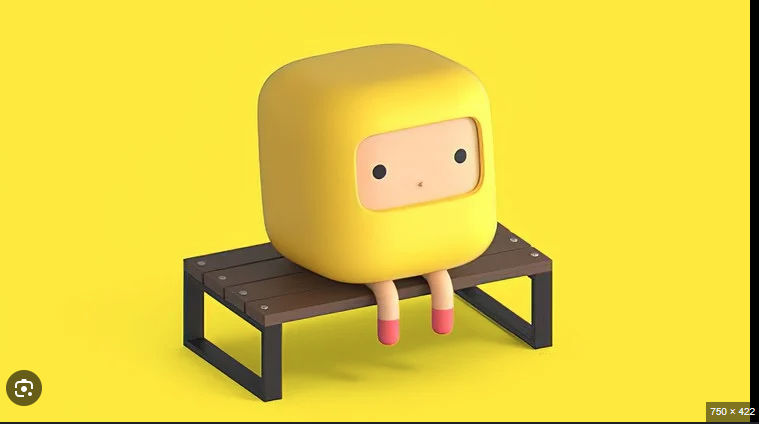
2. So I found this image that kinda looks good and I thought why not...
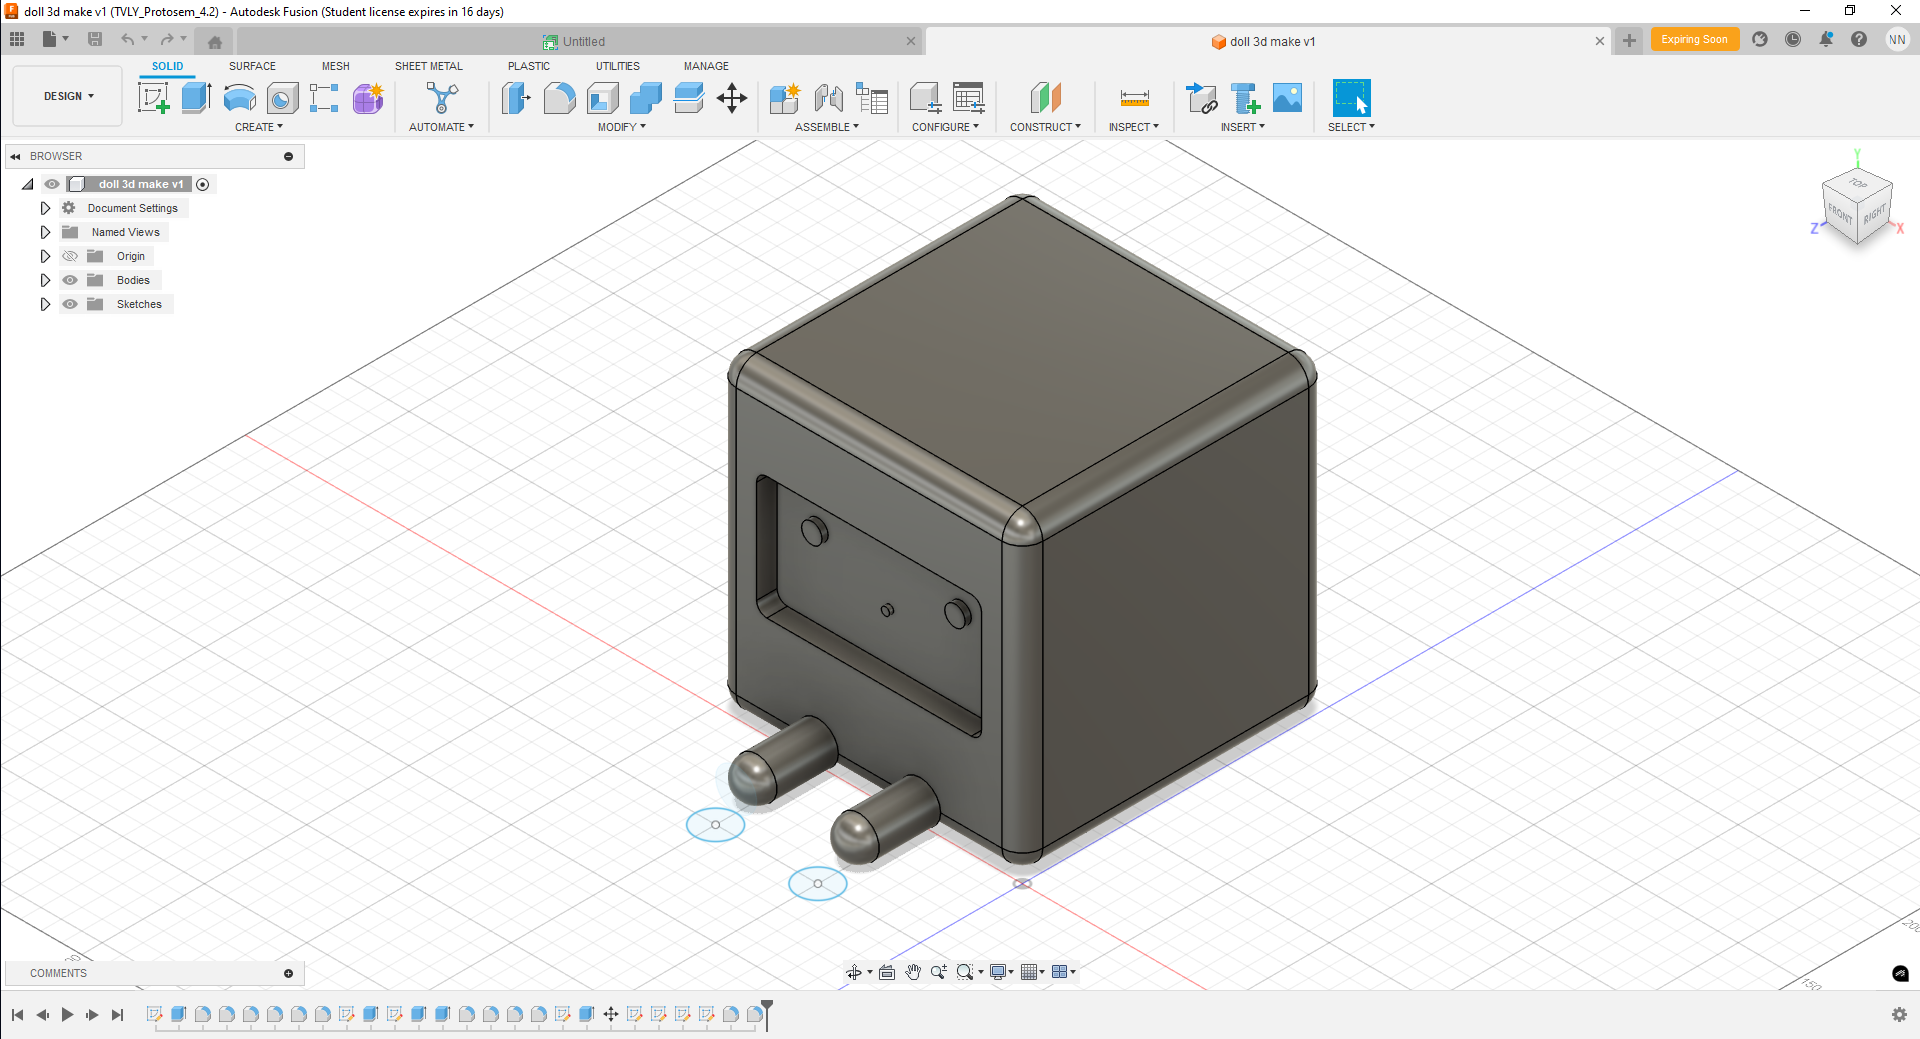
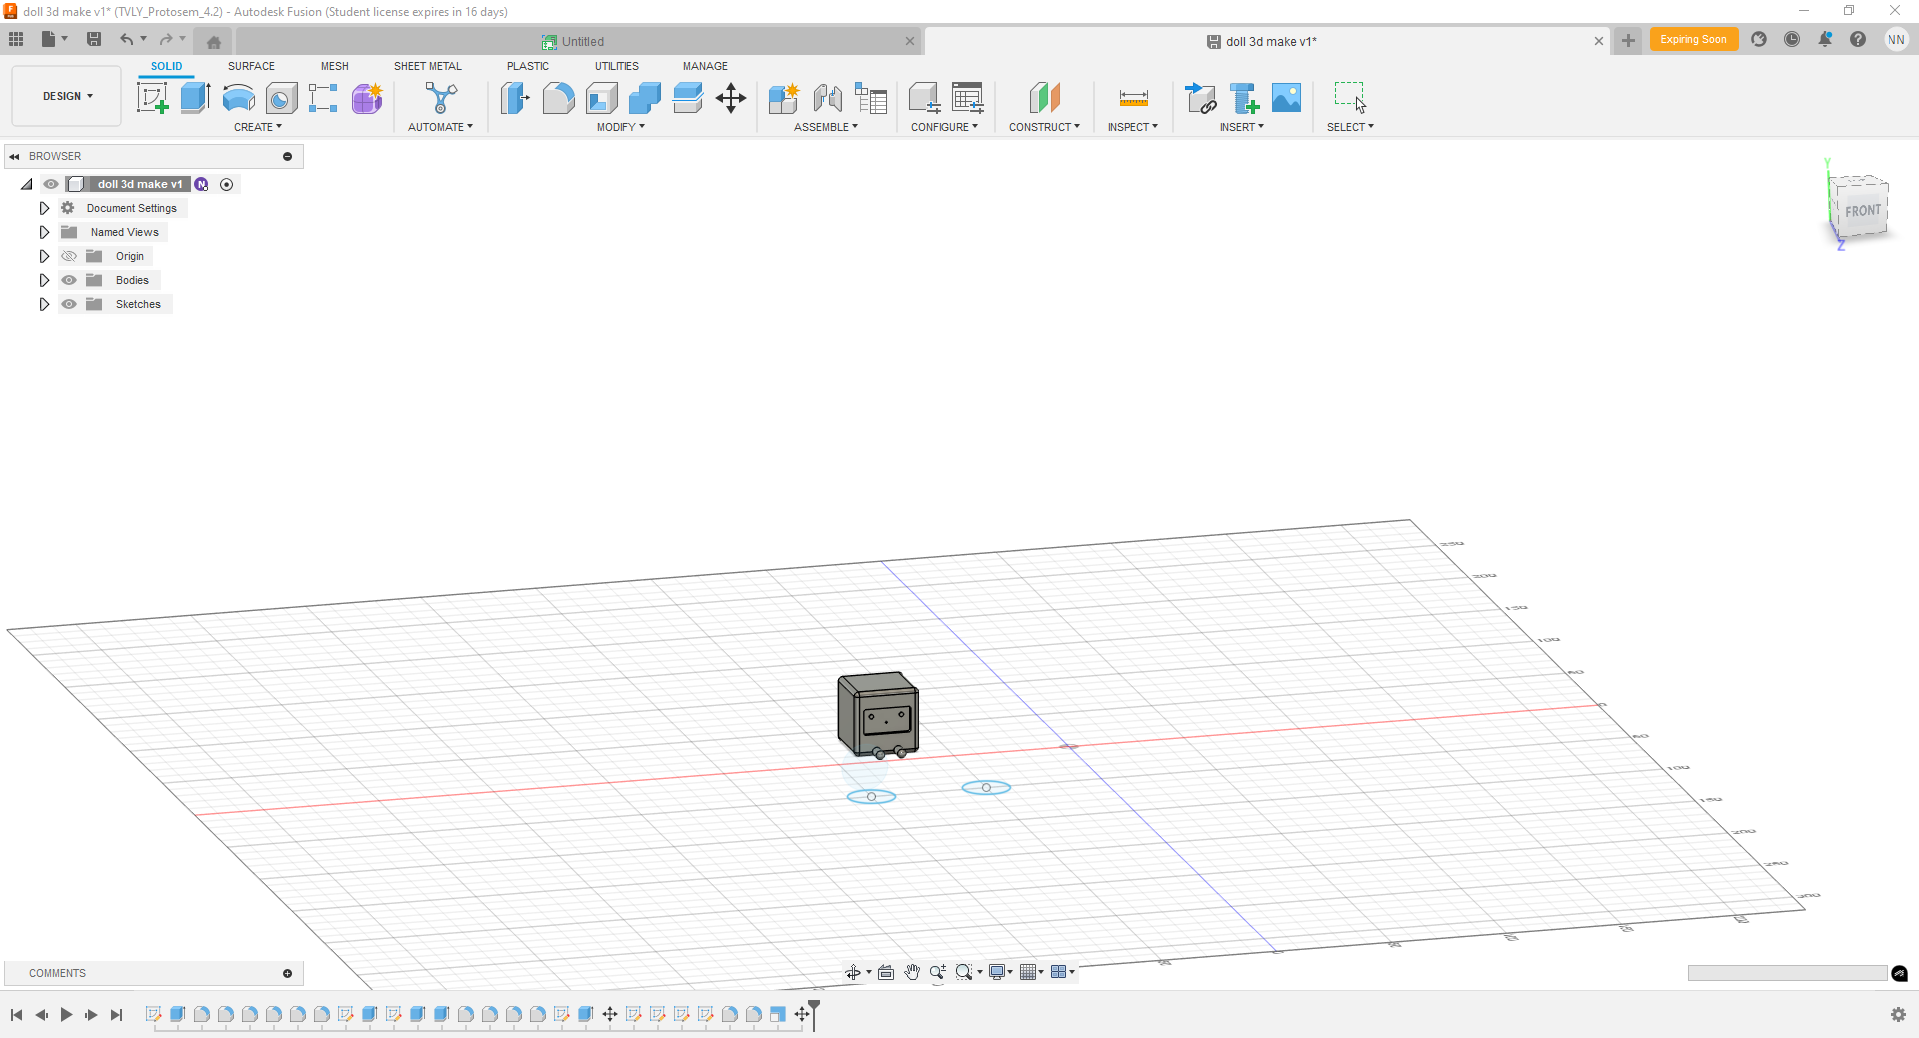
3. Now that I have an image to do, I want to replicate this. So I started doing these on my Fusion 360.
4. Opened Fusion 360.
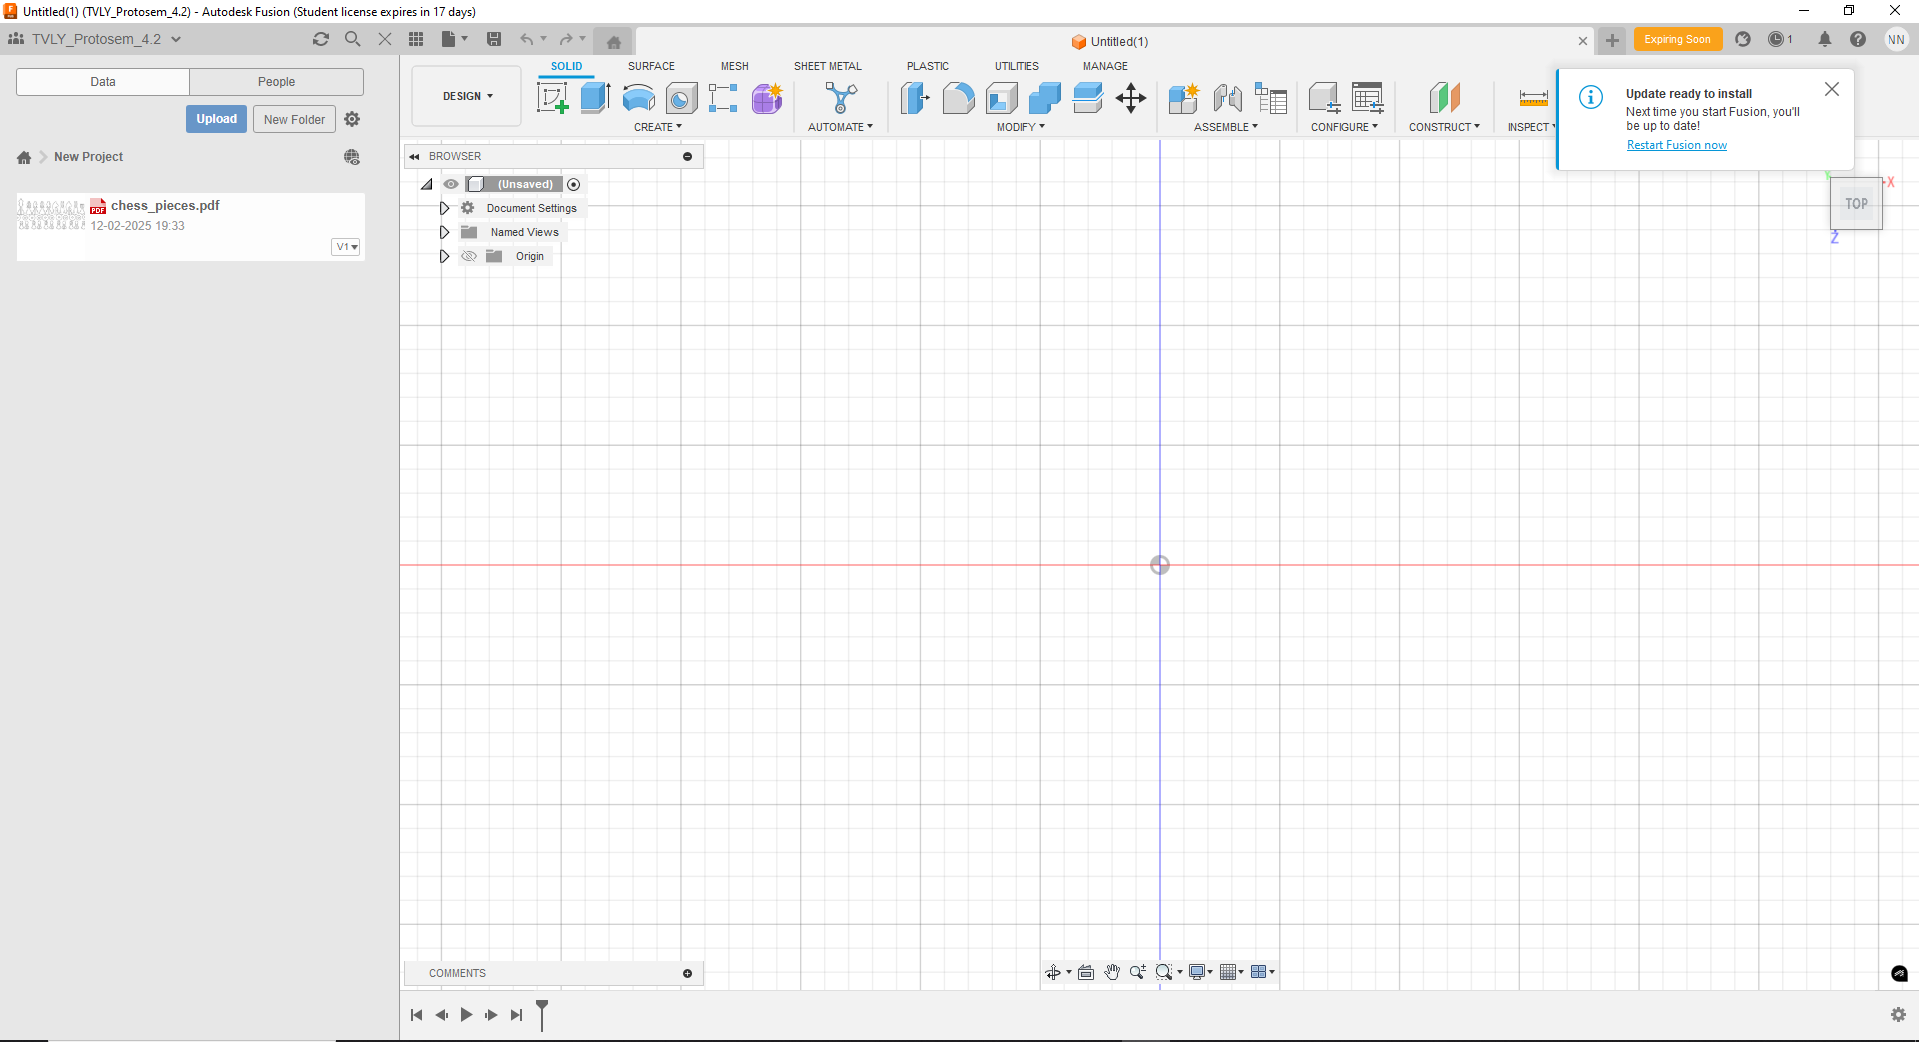
5. Started to do a replica of that image.
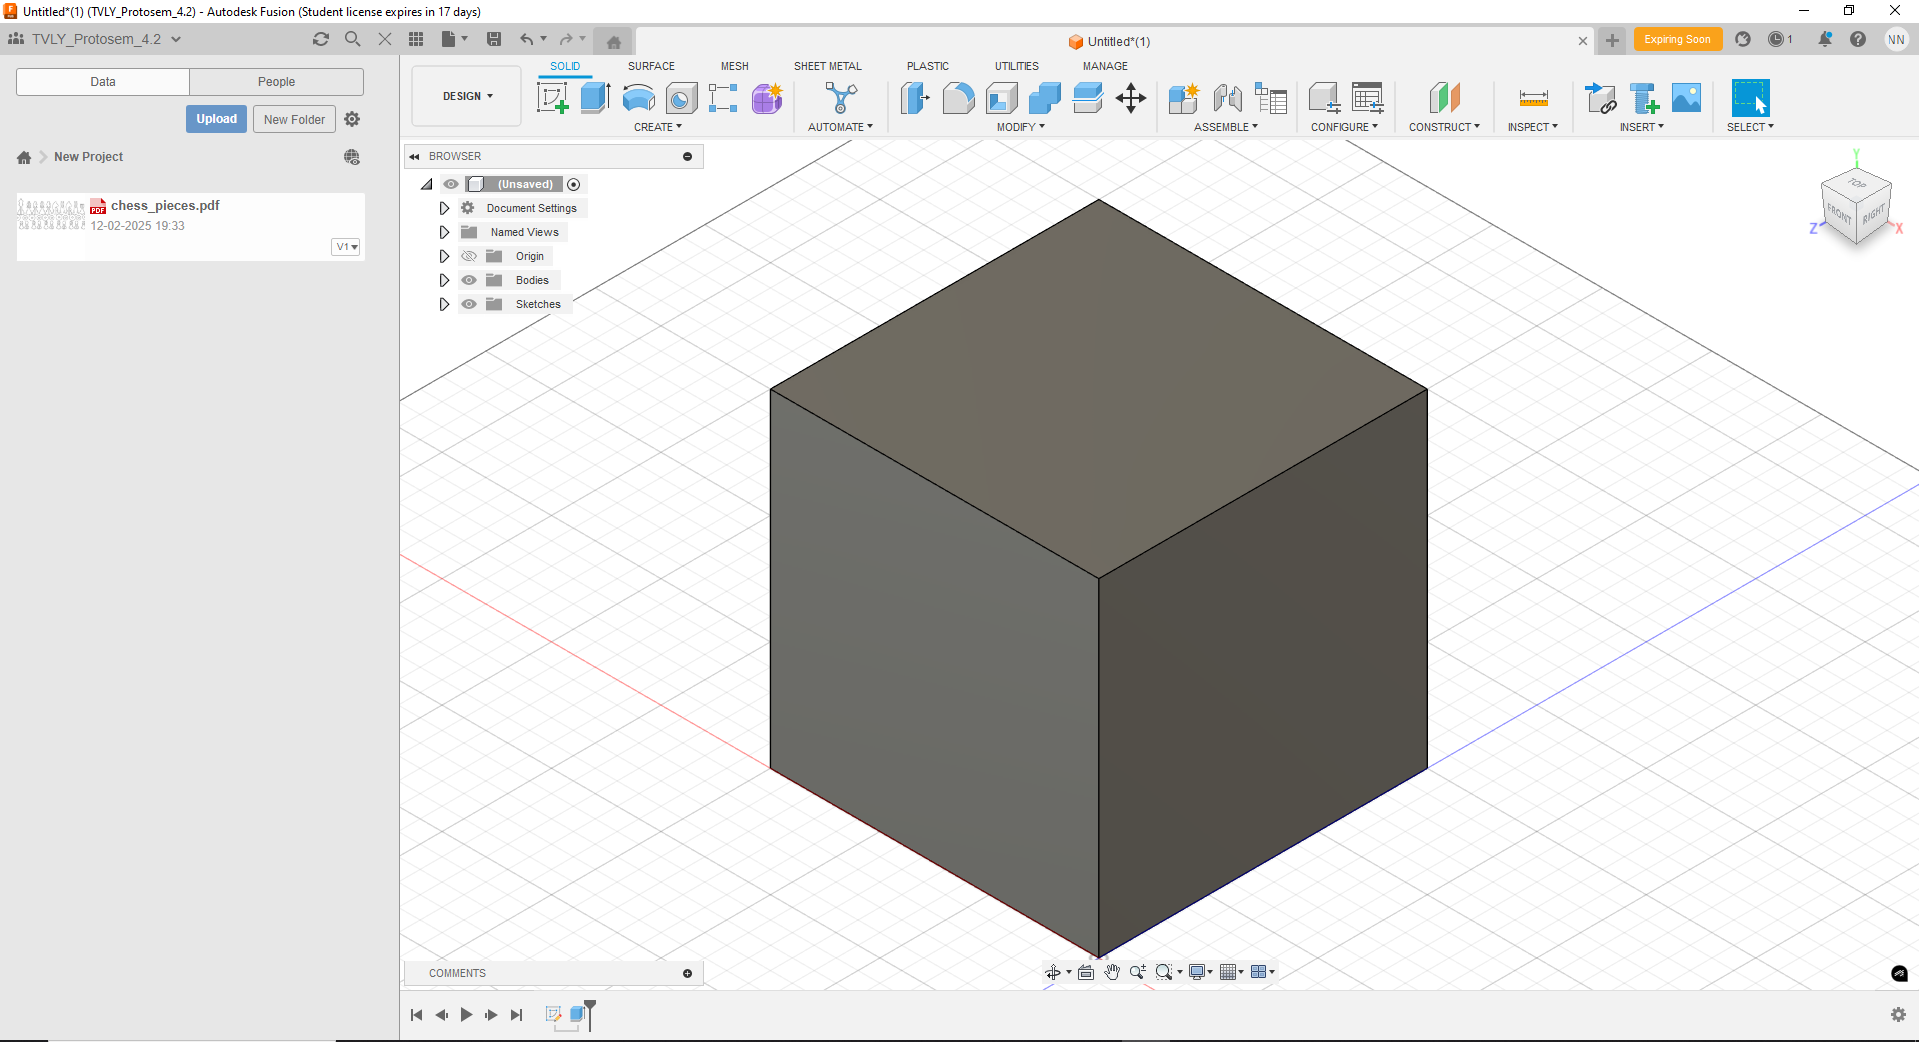

6. It may look like that but it didn't come as I expected… but okay. It's kind of new that I made it out.
7. I thought it was okay to do.
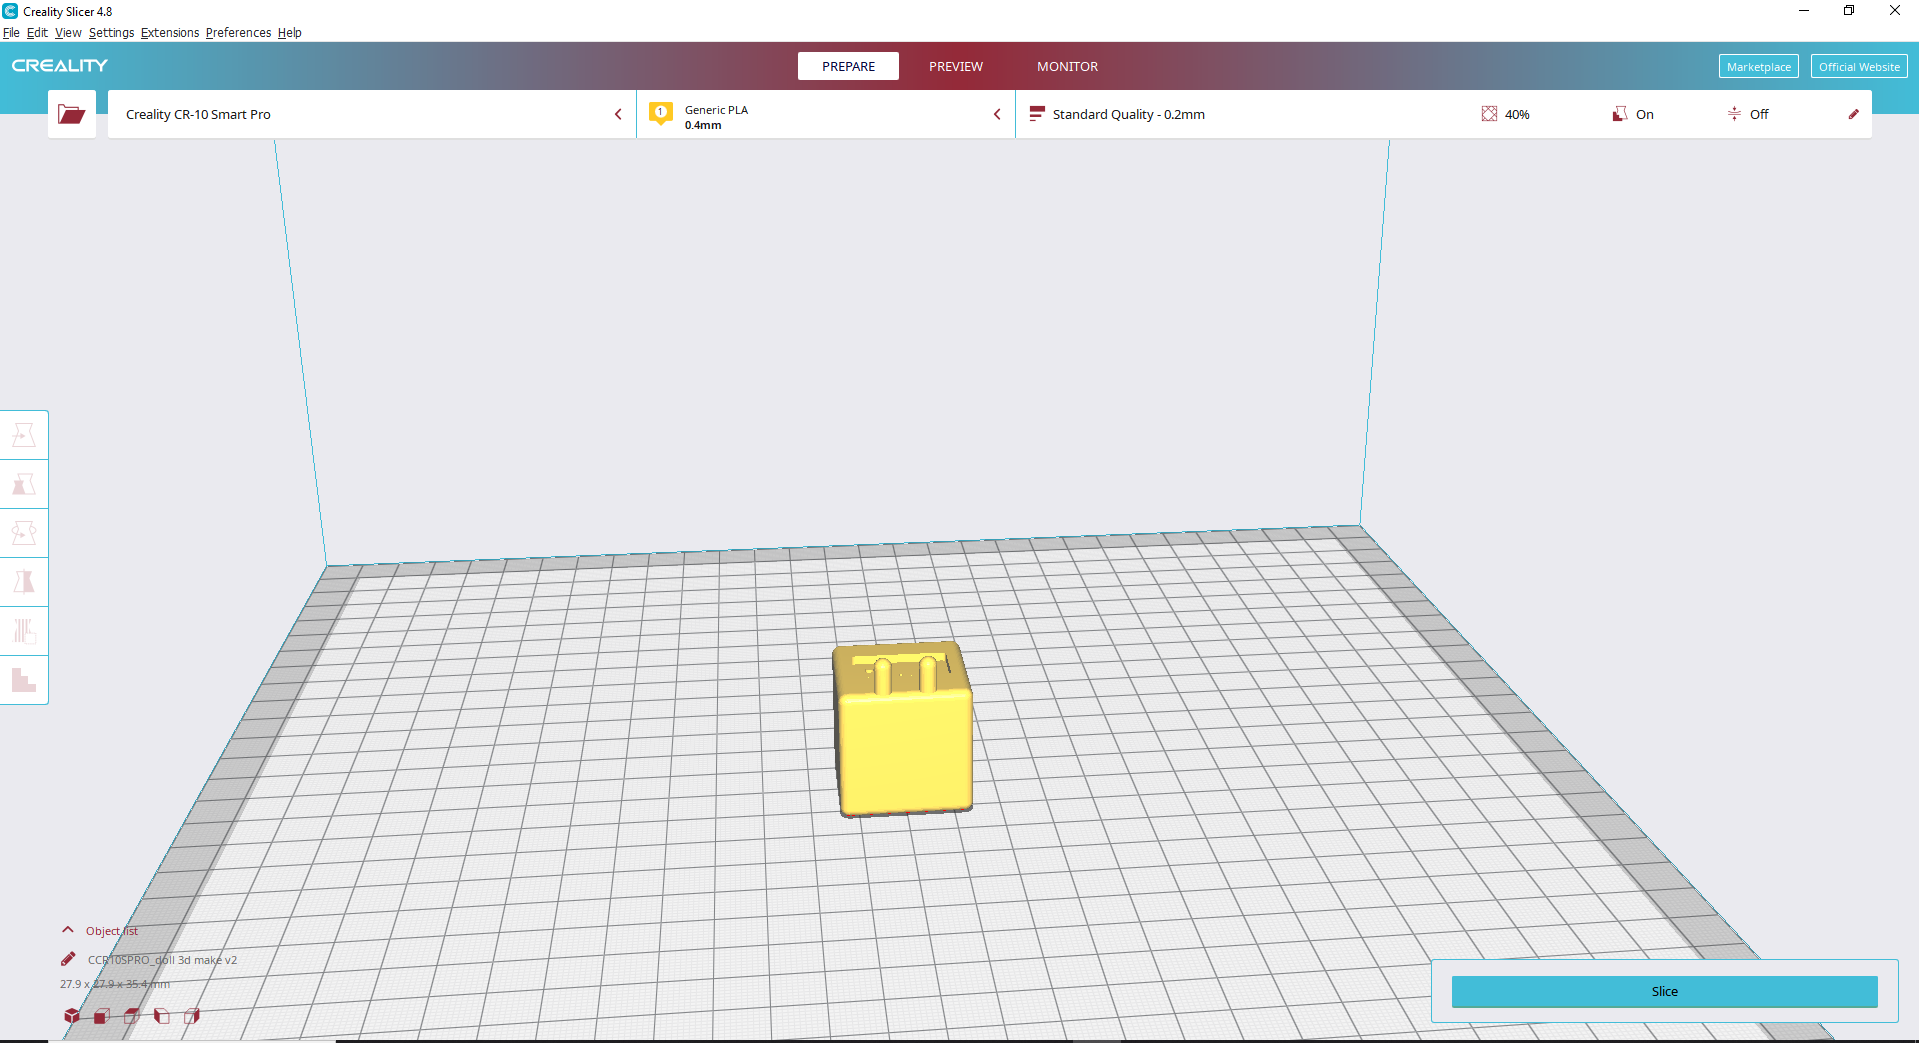
8. So I have done this design and opened Creality Print software that is used for slicing the model that can be used for 3D printing.
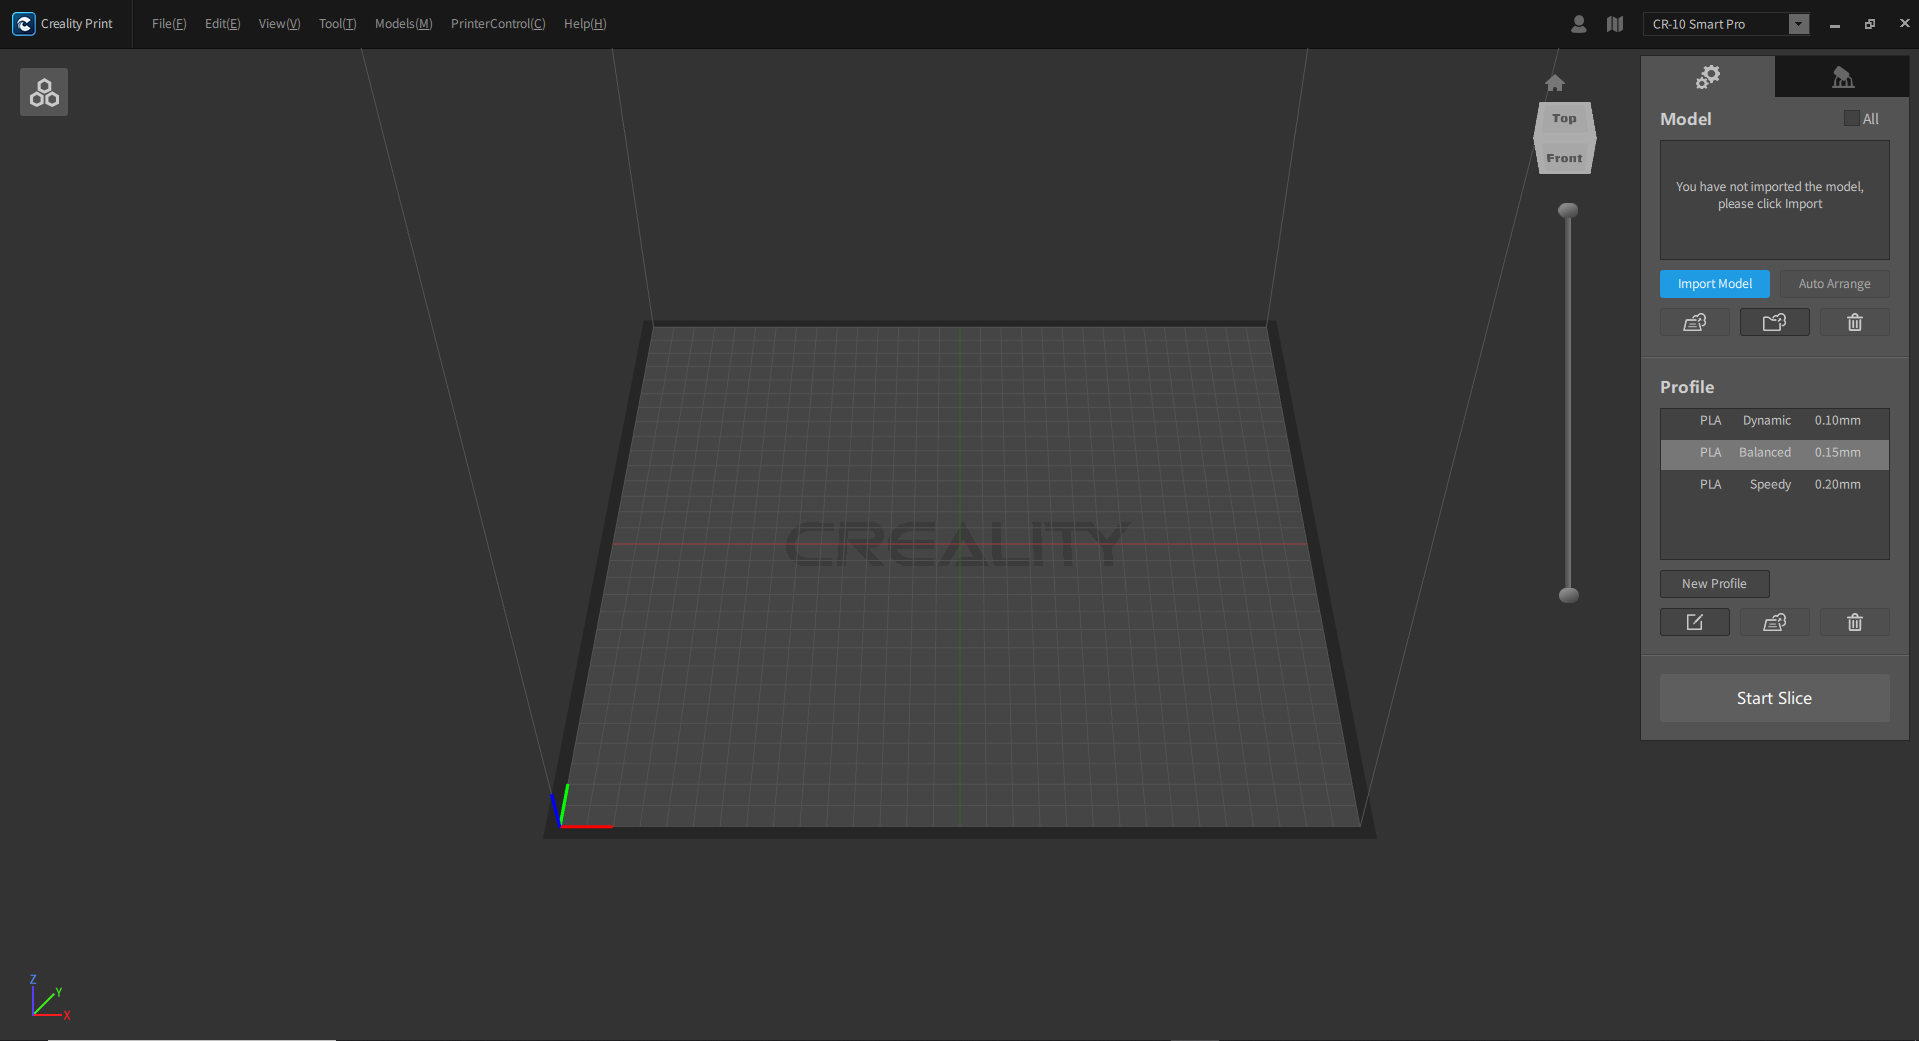
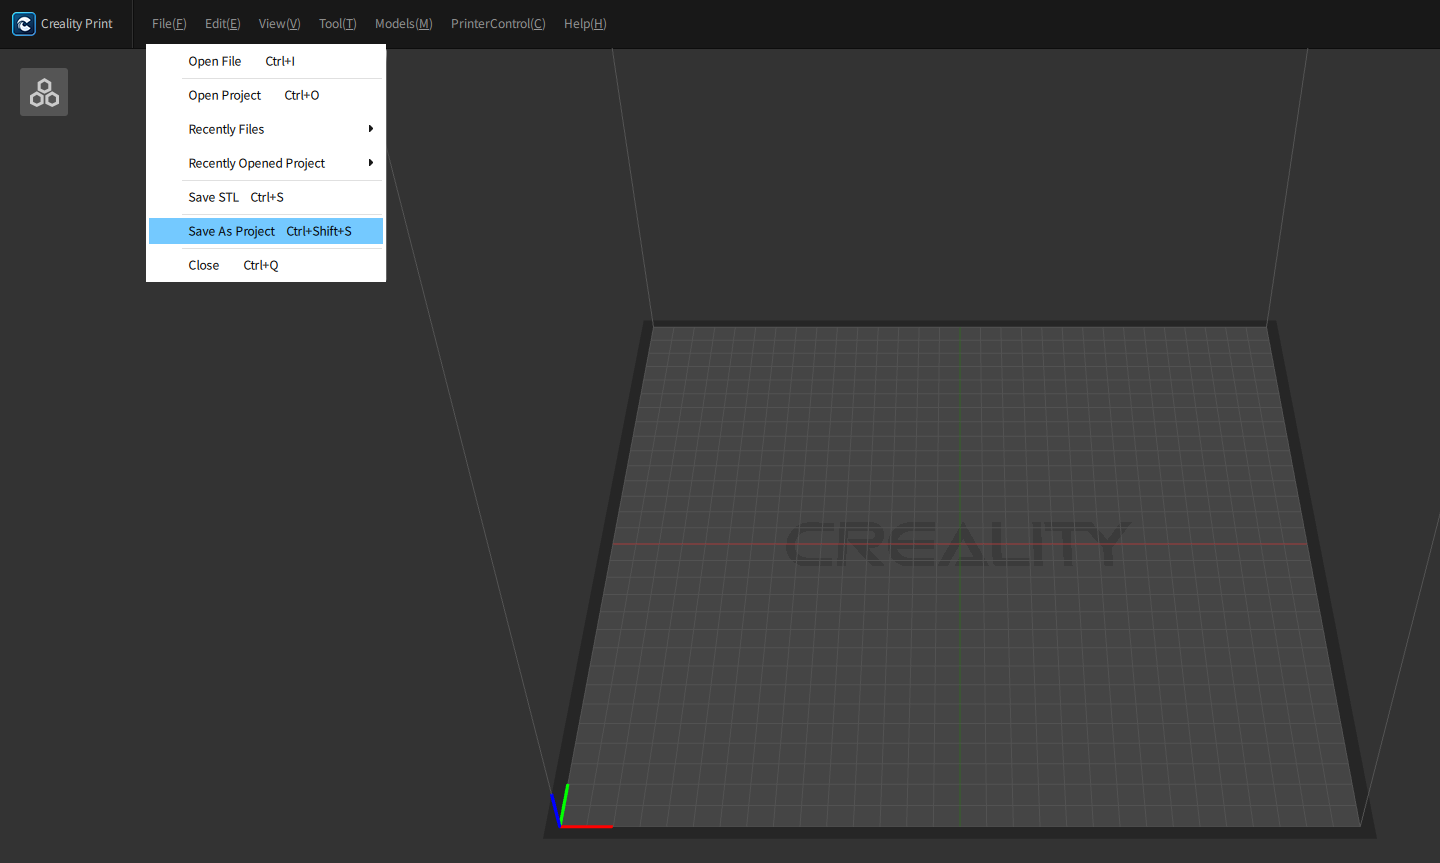
9. Uploaded the model in there by going to file > open Project > choose the model.
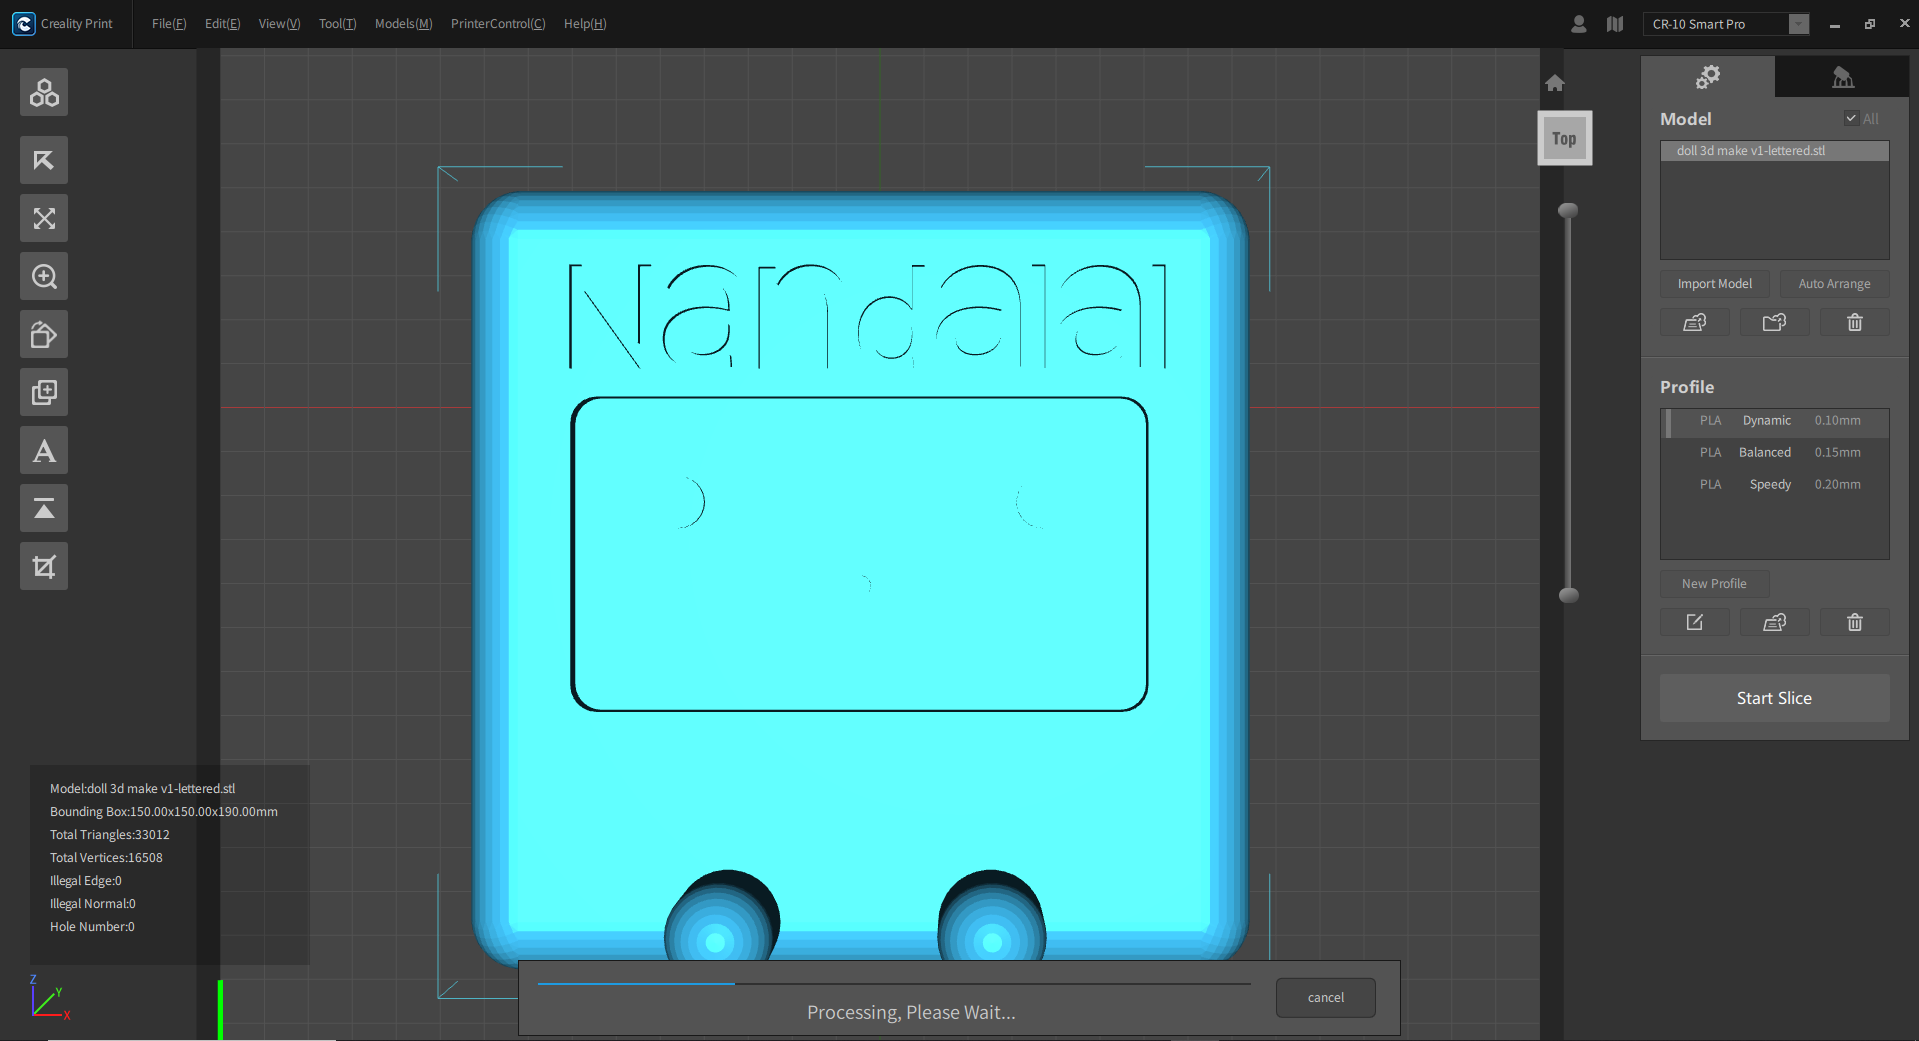
10. While uploading, I got to know that the model was too big and would take around 233 hours to print. So I scaled down the model to a smaller size that could be done in an hour.
11. Opened Fusion 360 again.
12. Resizing has been completed. Now I used another slicer called Creality Slicer 4.8.2.
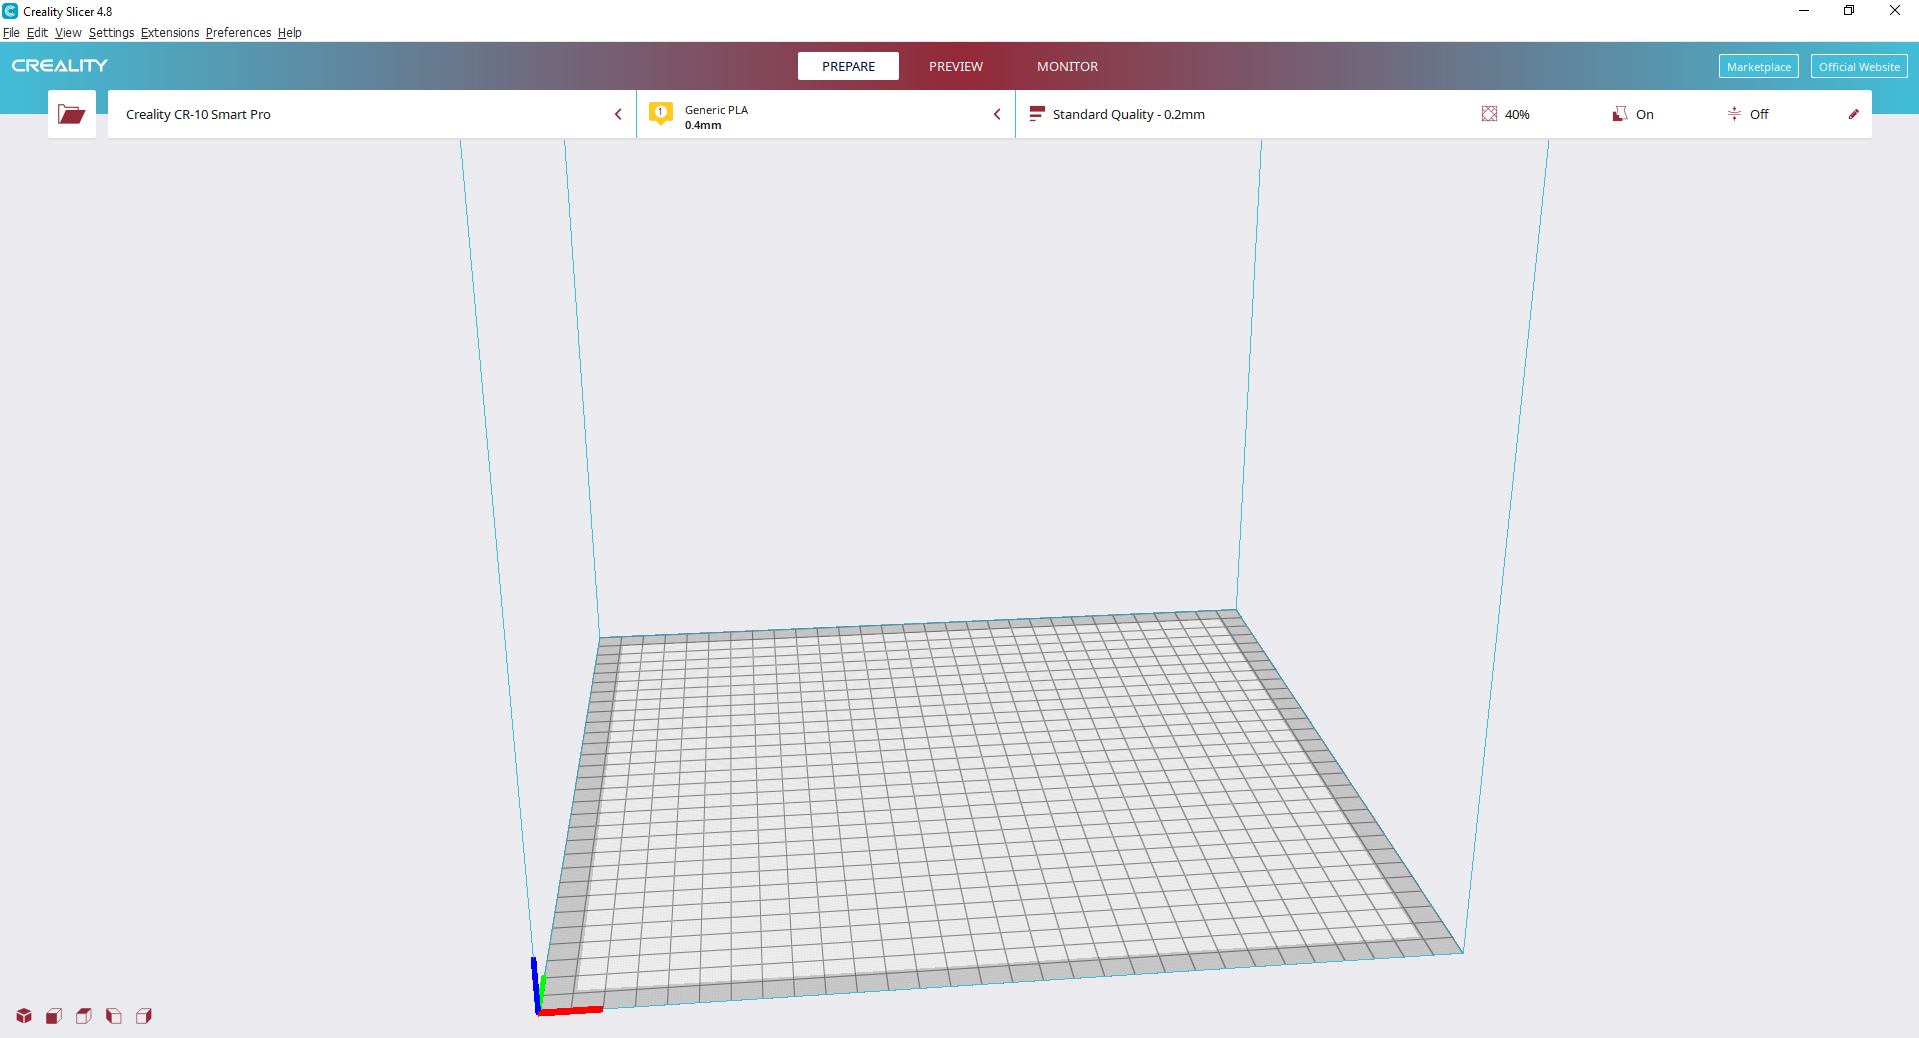
13. Uploaded the model there.
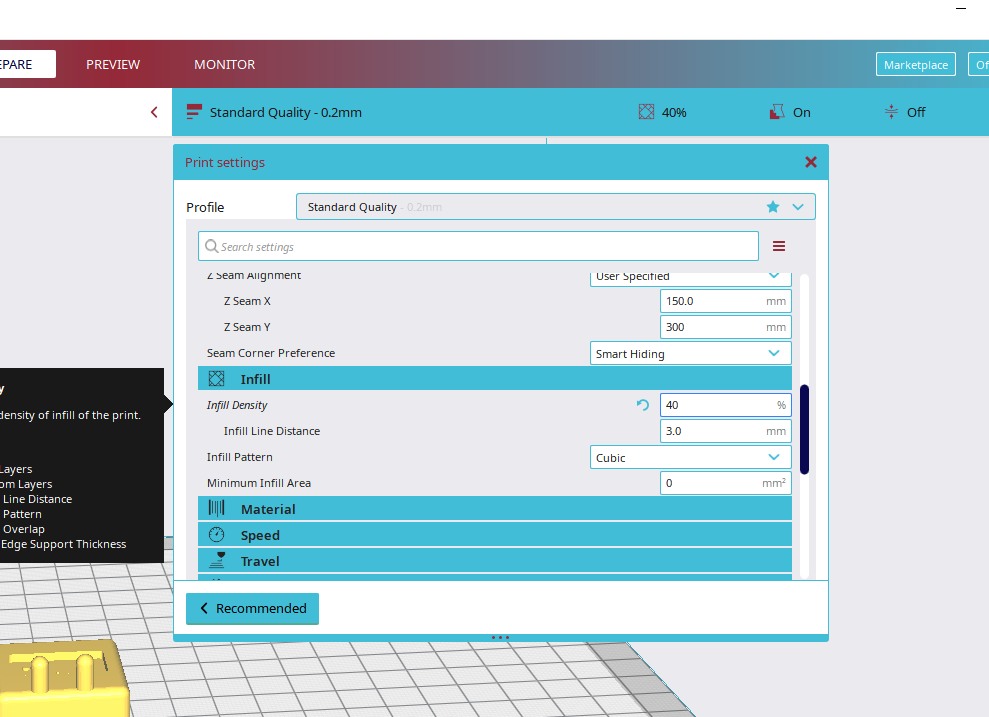
14. Before slicing, check the parameters:
- PLA size = 1.75mm
- Nozzle size
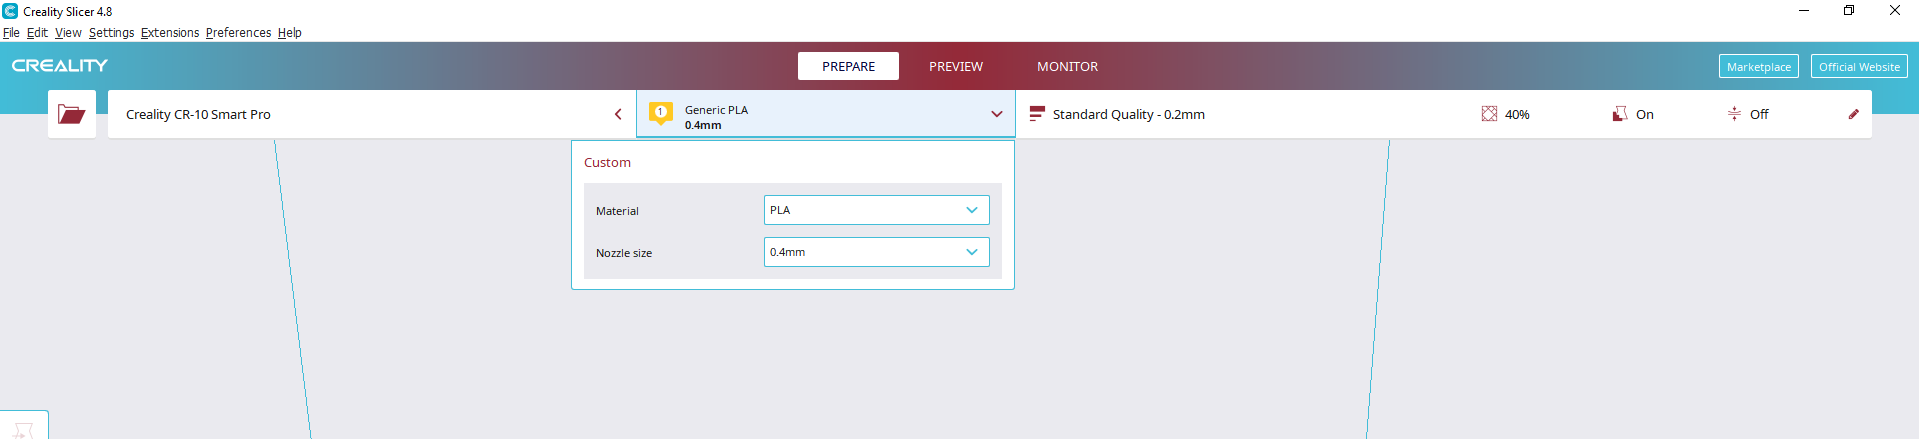
15. Then check the model filling size:
- Infill density = 15
If you want the model to be heavier, you should increase the value of infill.
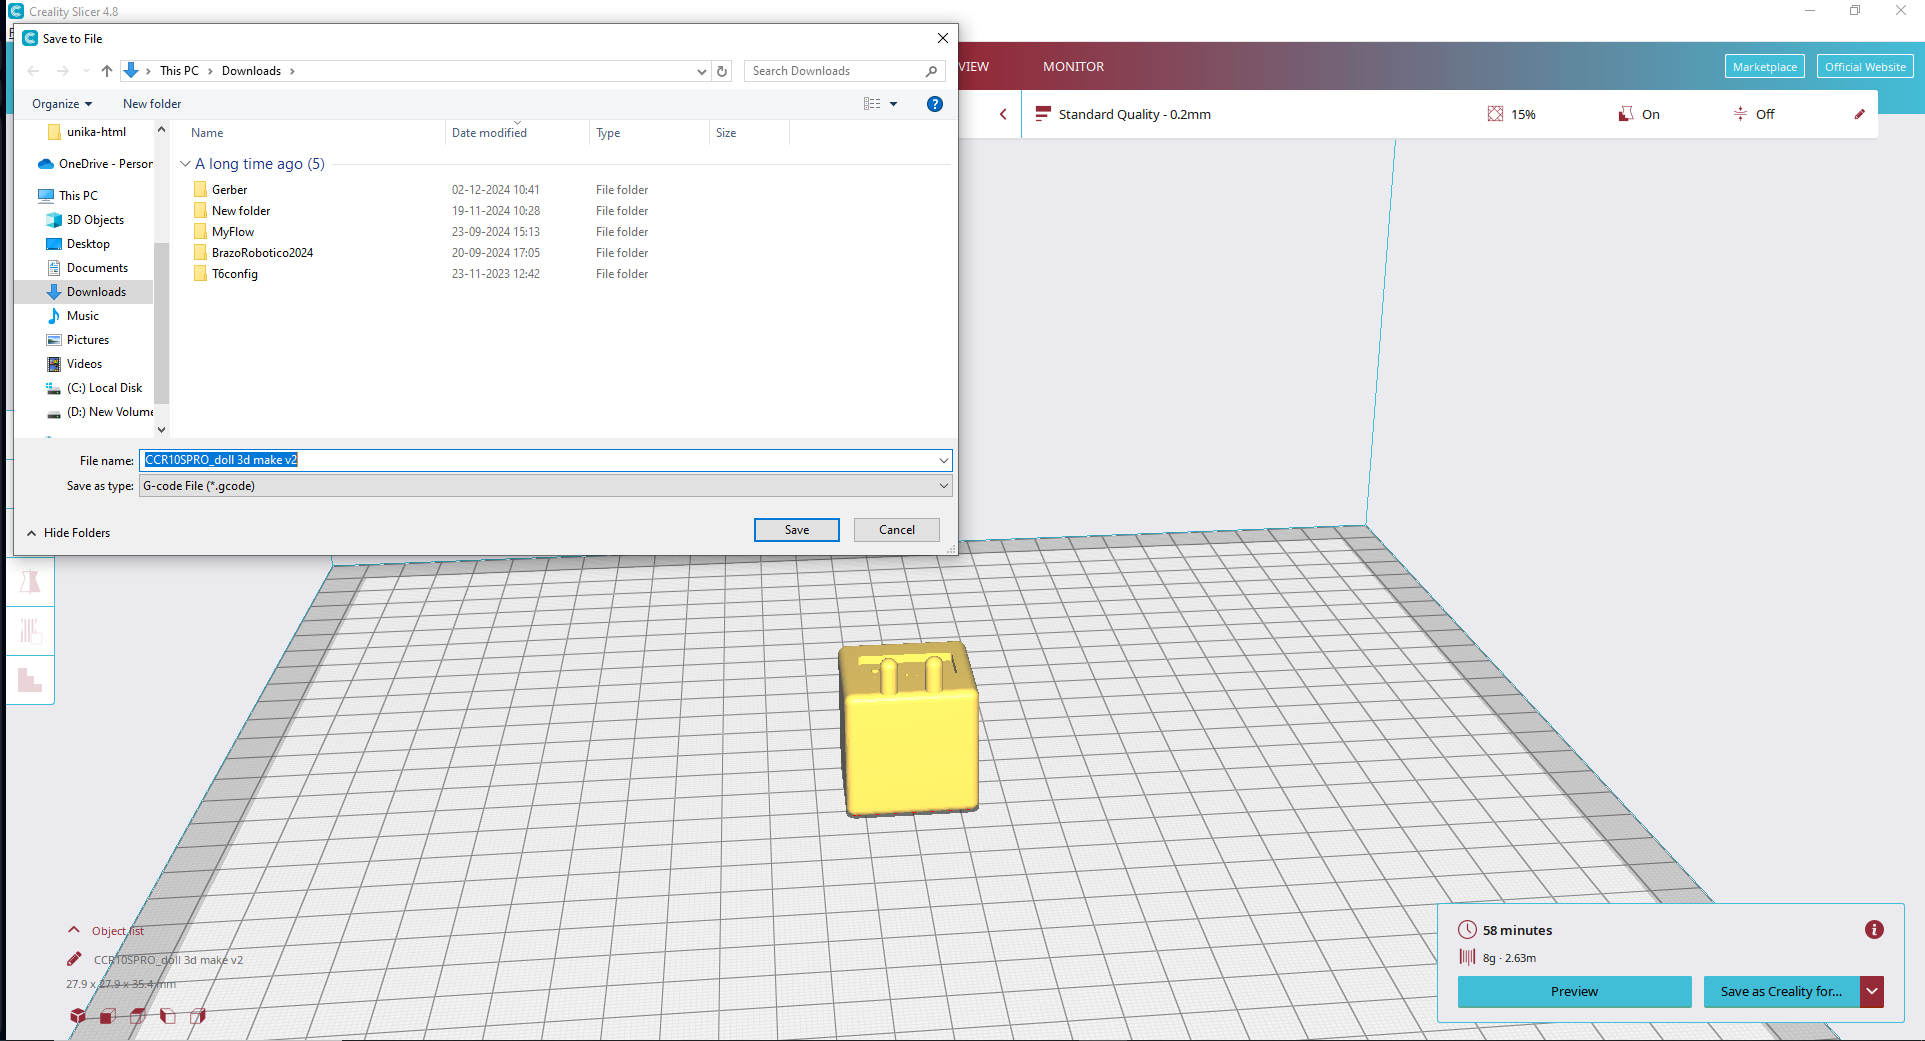
16. After completing the parameter check, export the gcode for the 3D printer you're going to use.
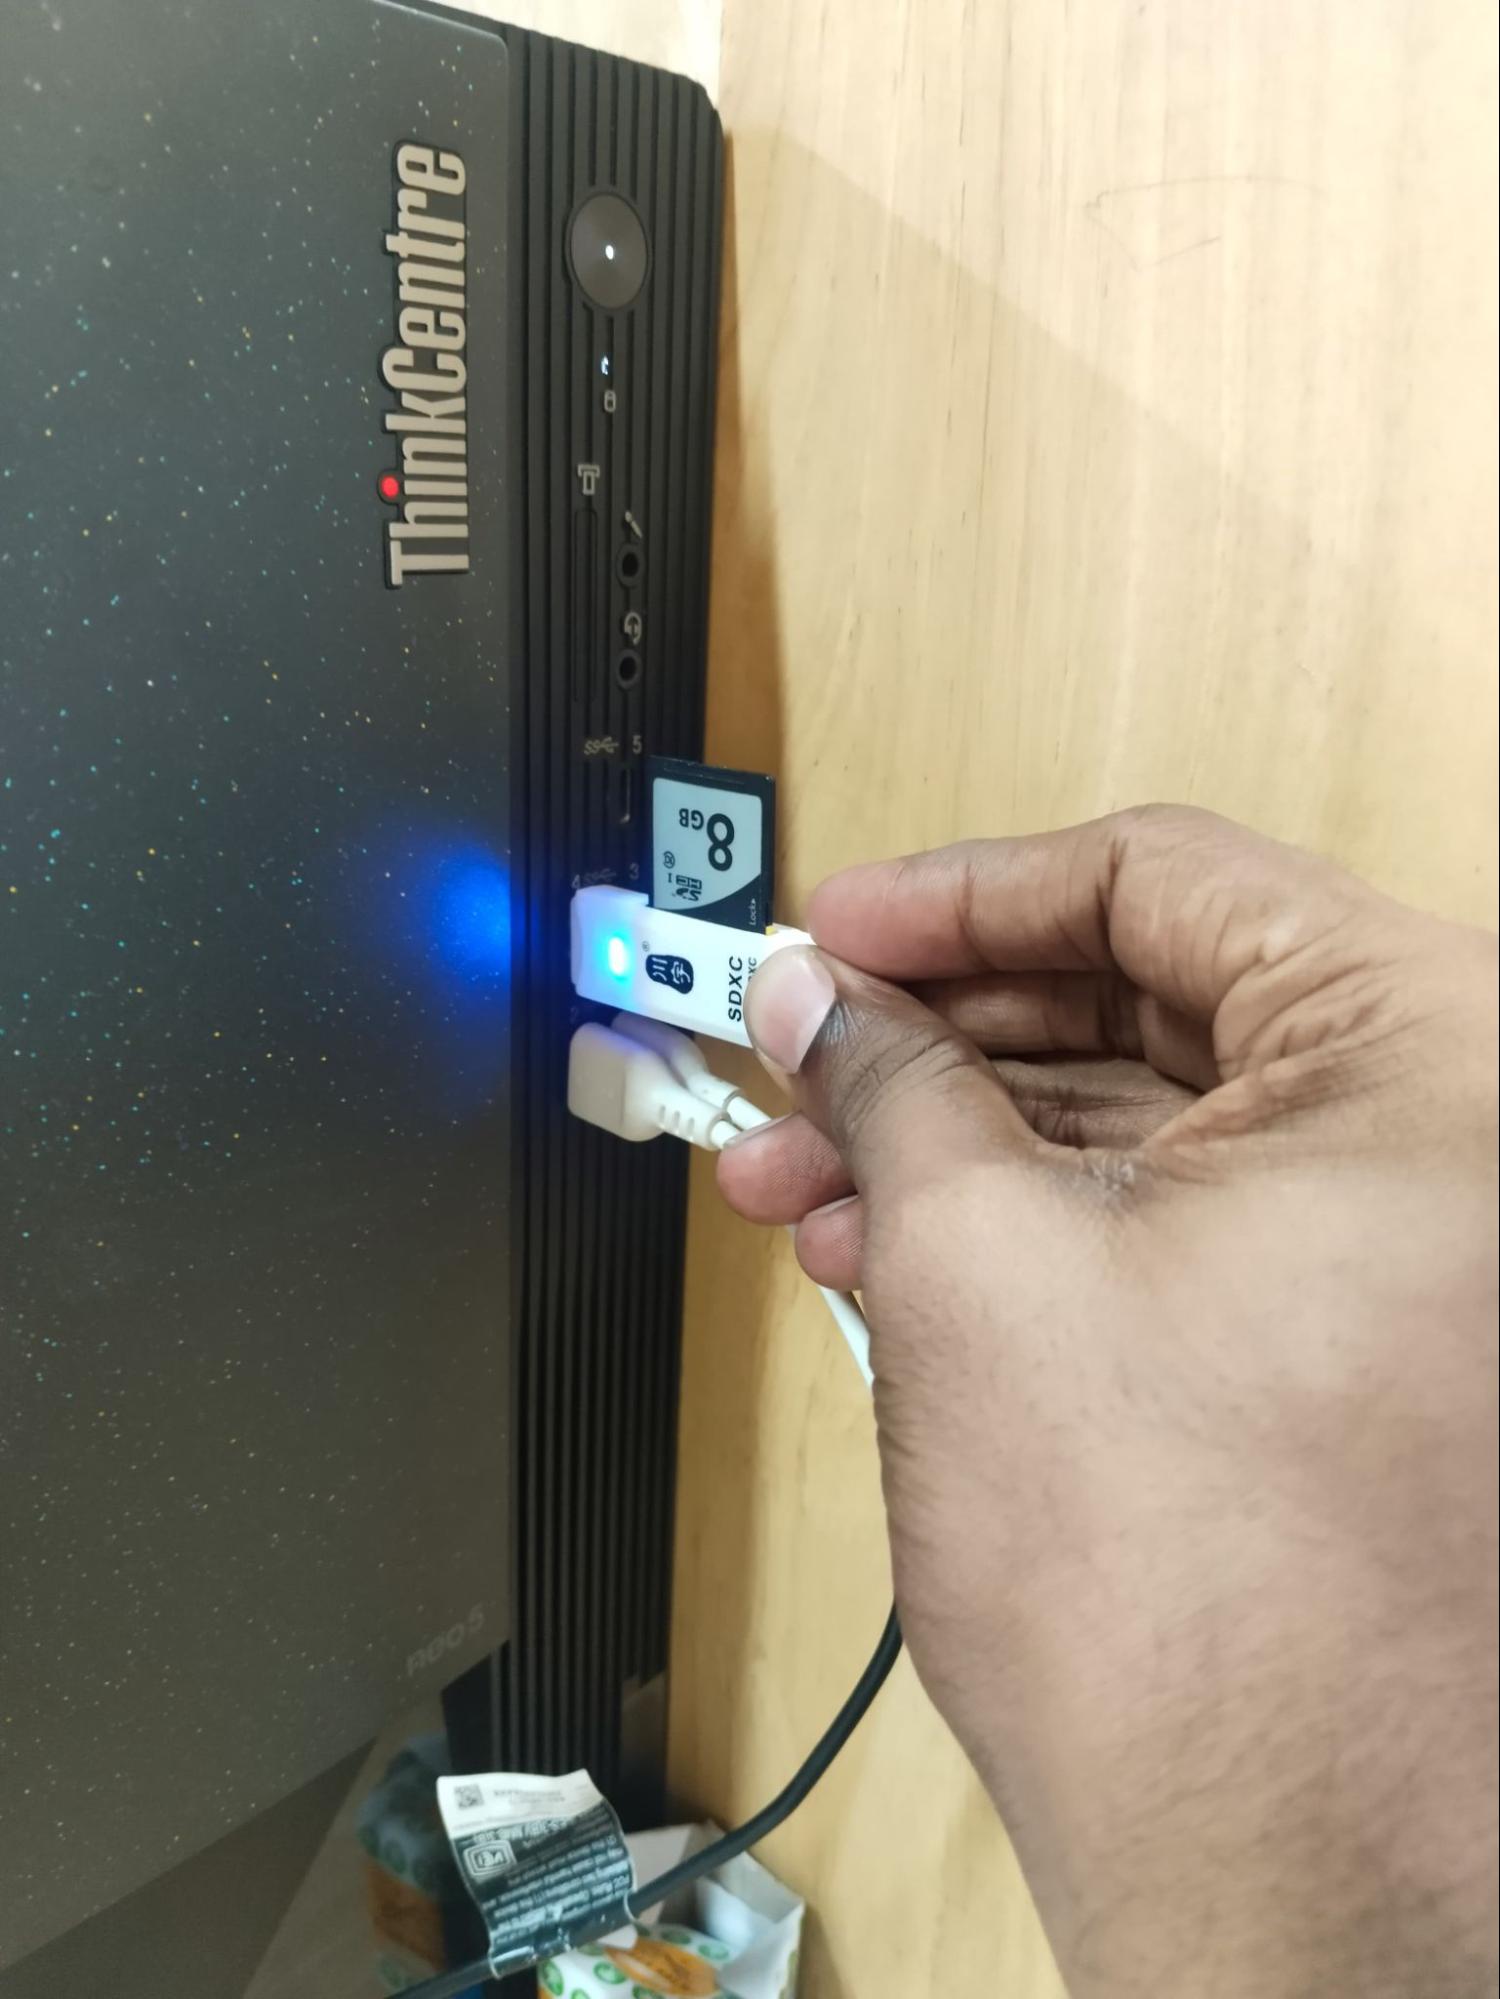
17. Upload the code to the card reader to start the 3D print.
3D Printer Setup
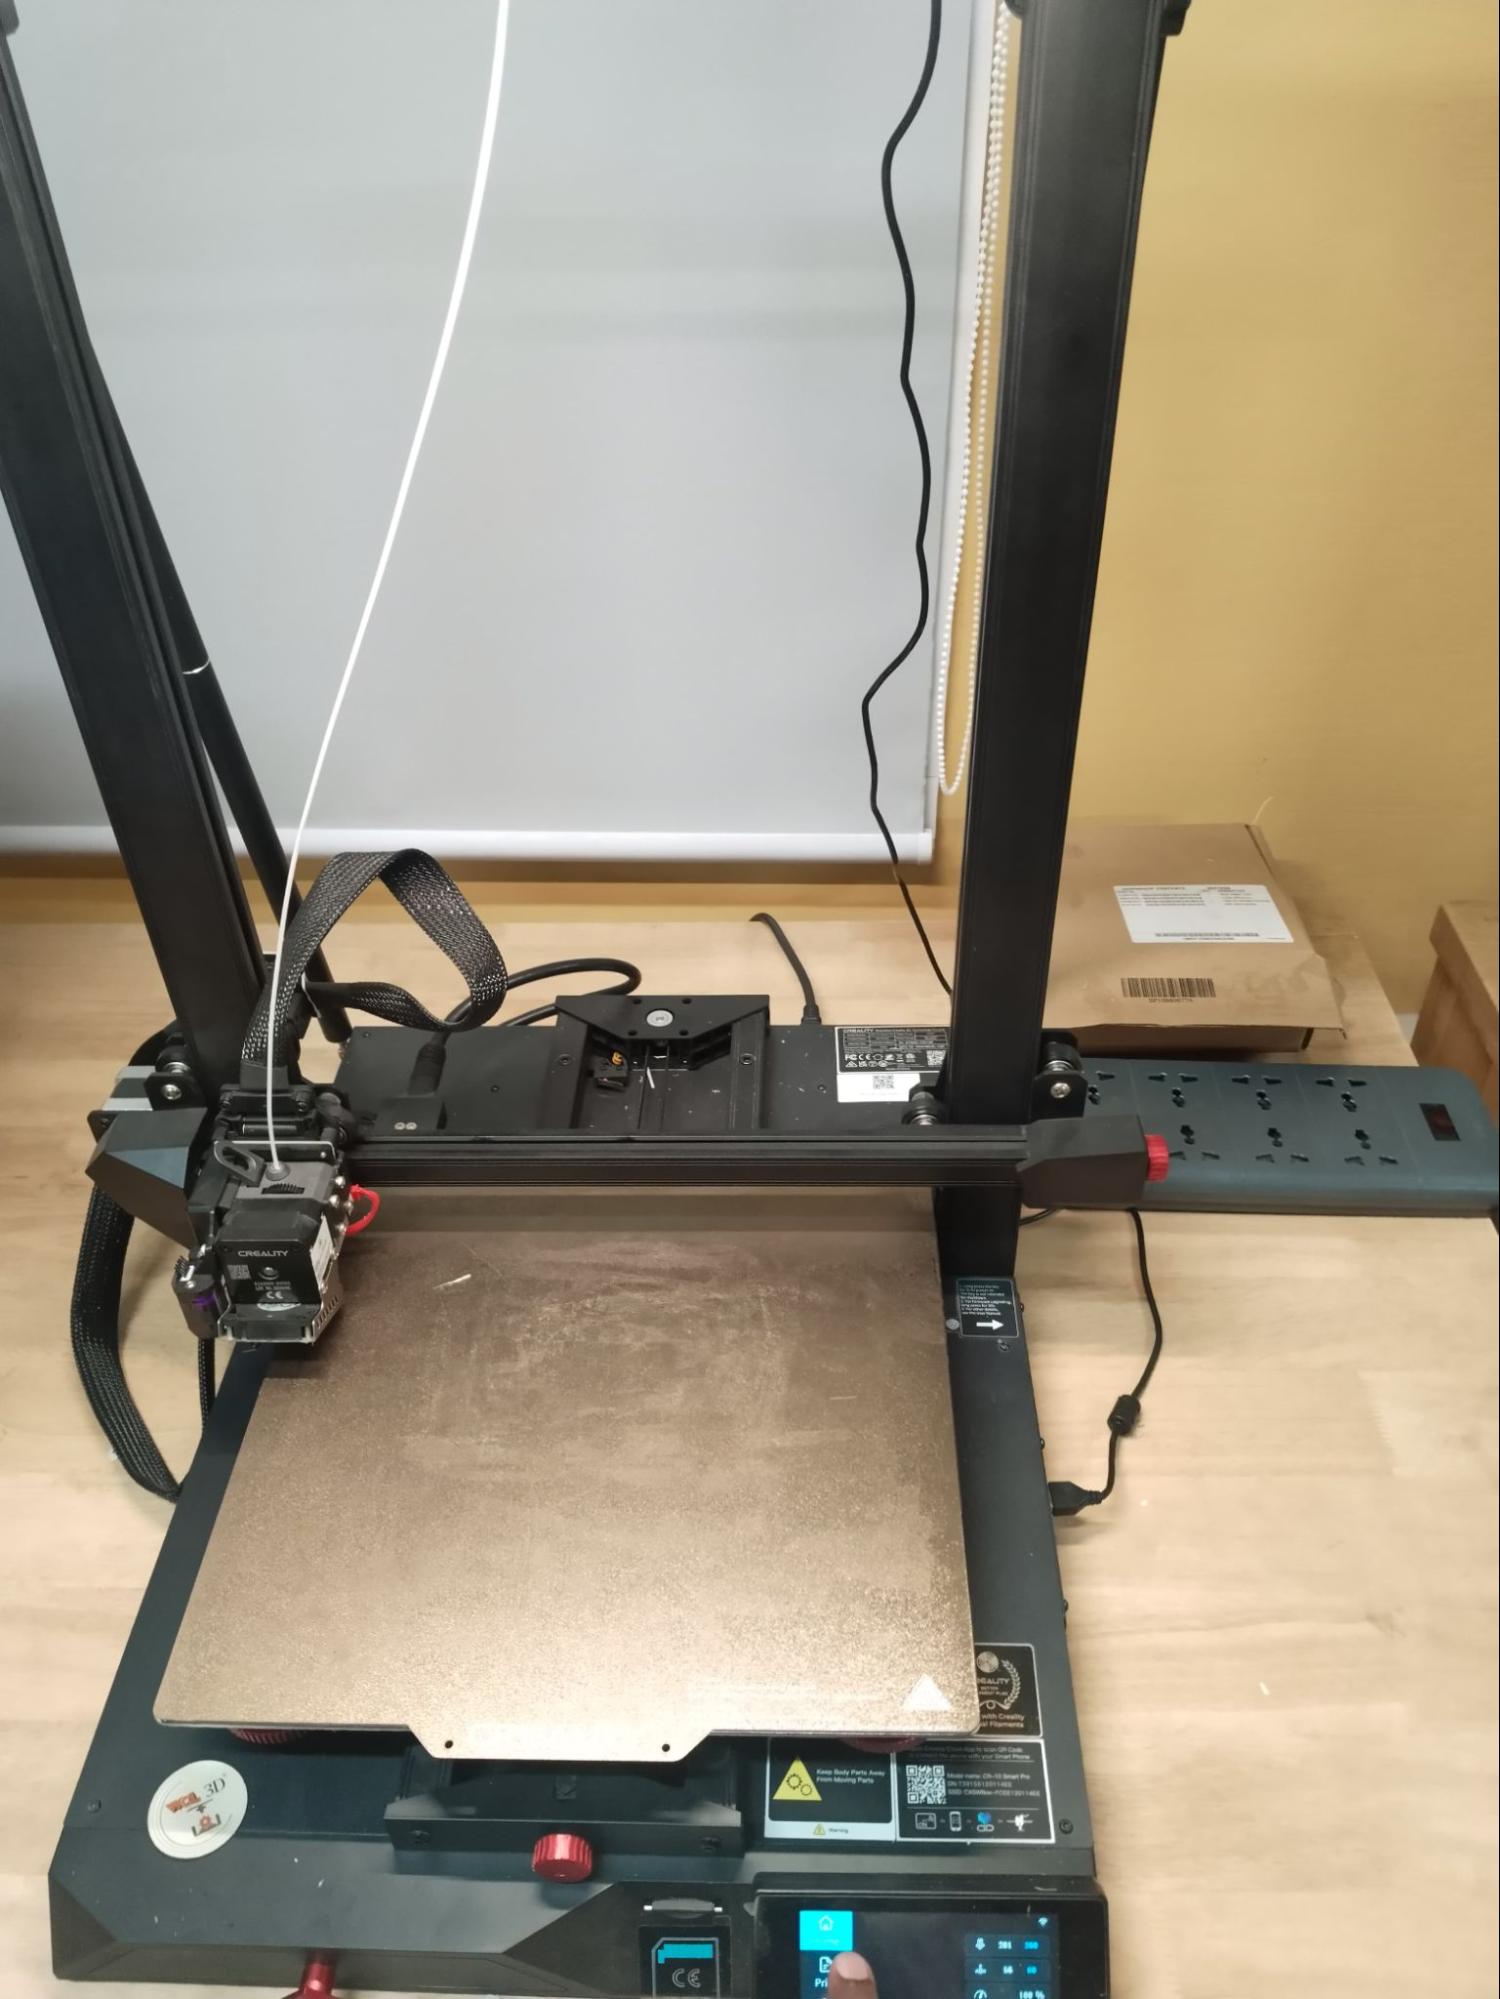
1. Switch ON the 3D printer and clean any dust.
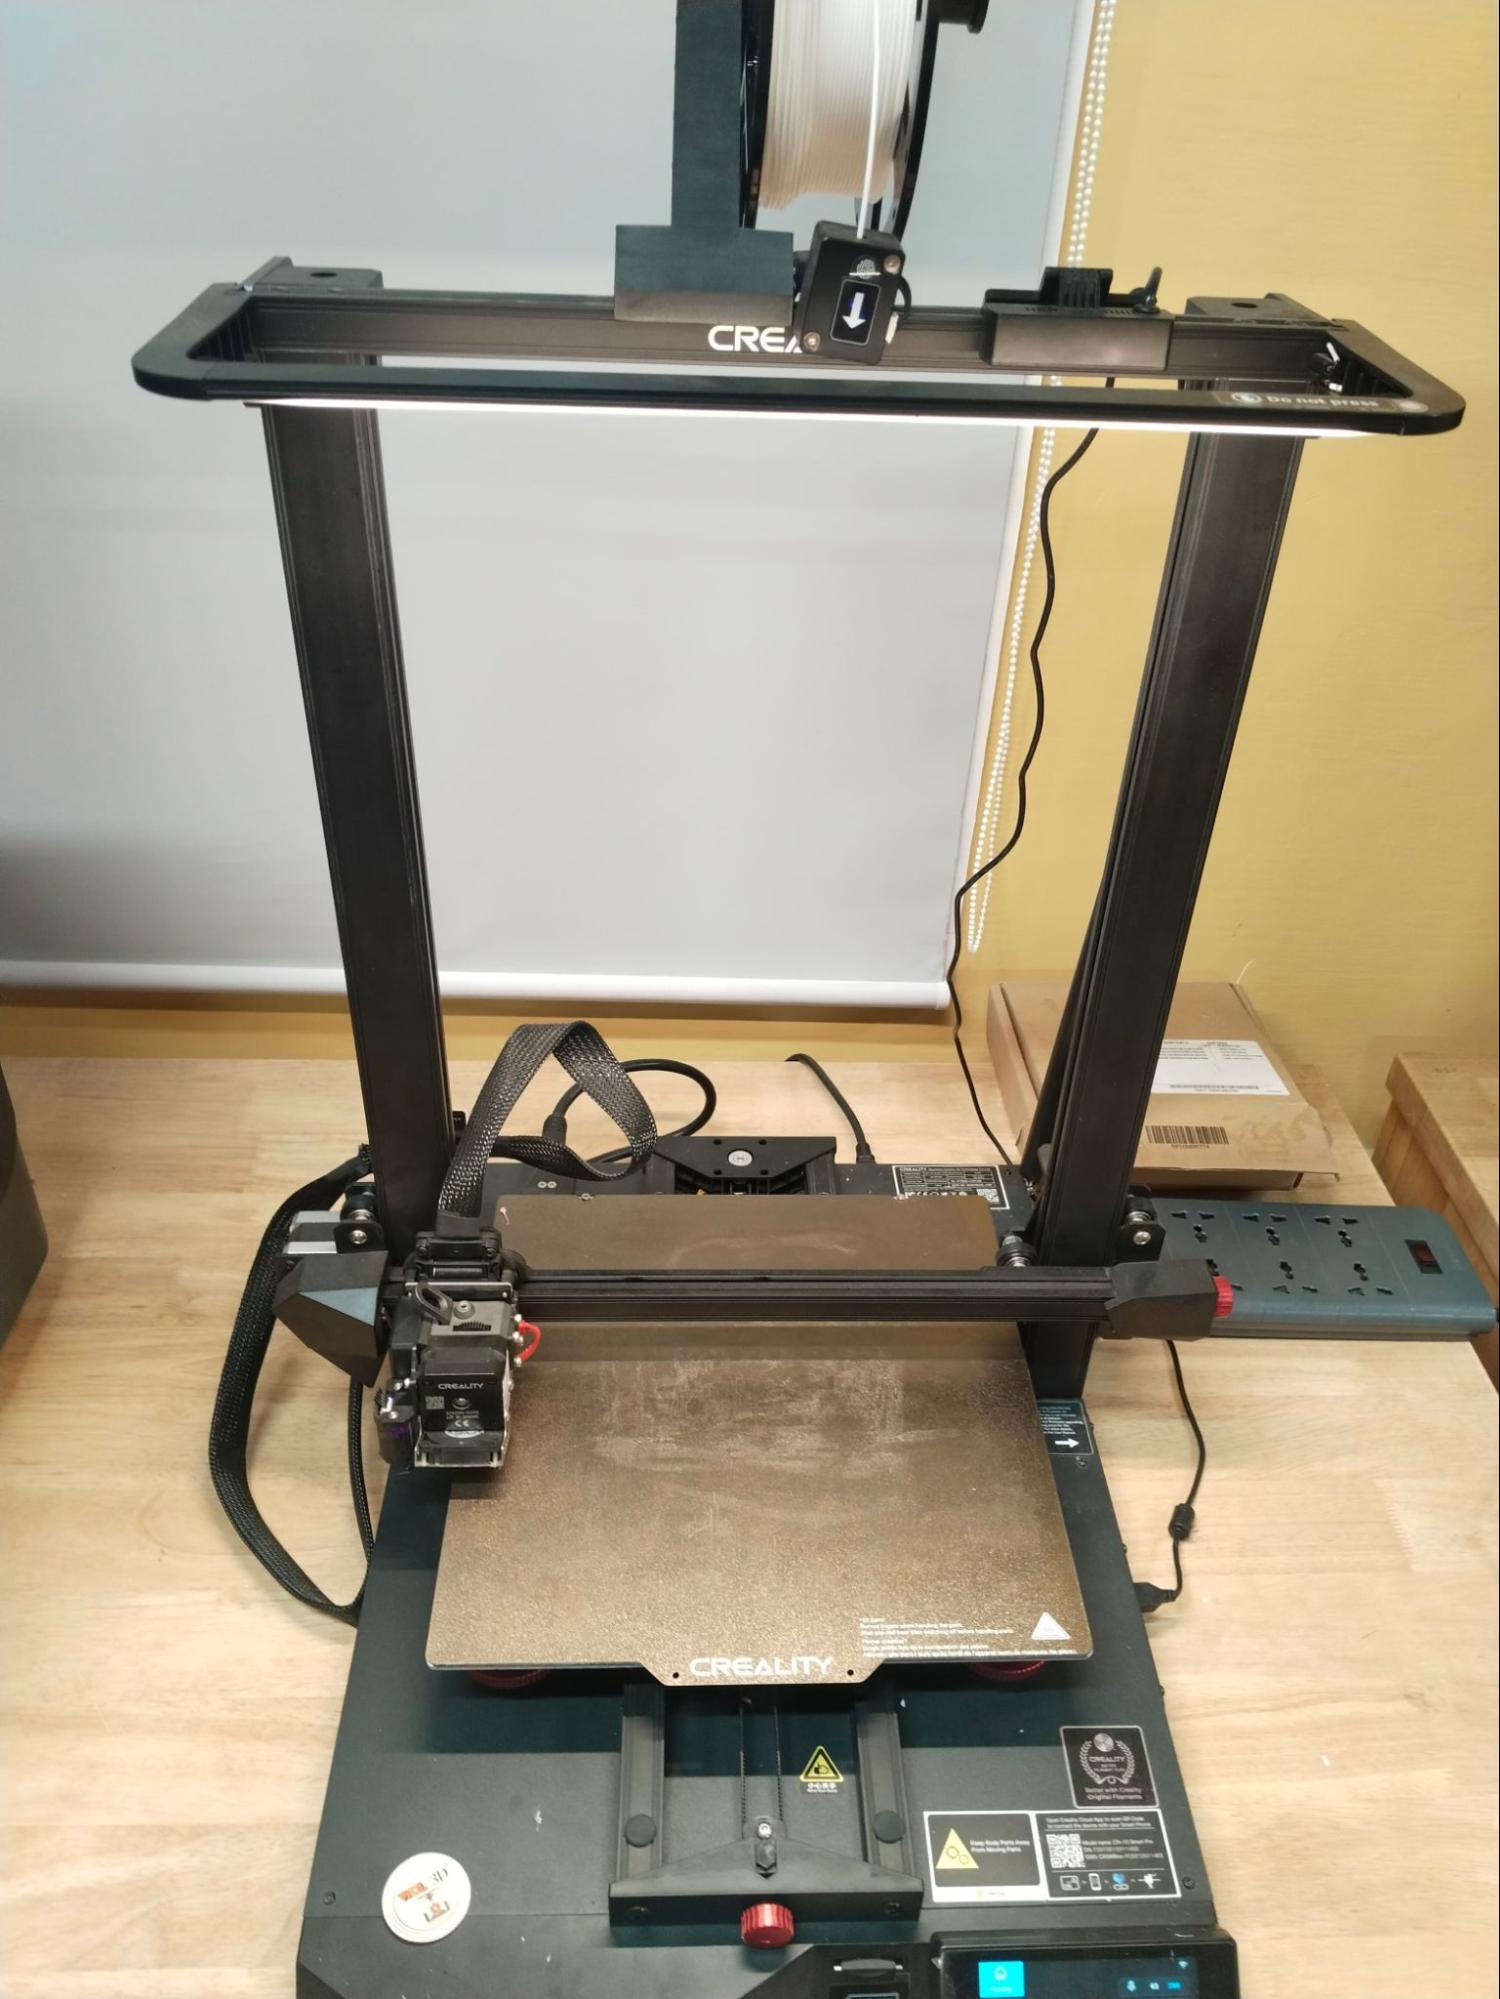
2. The filament hasn't been connected to the nozzle, so first connect the filament.
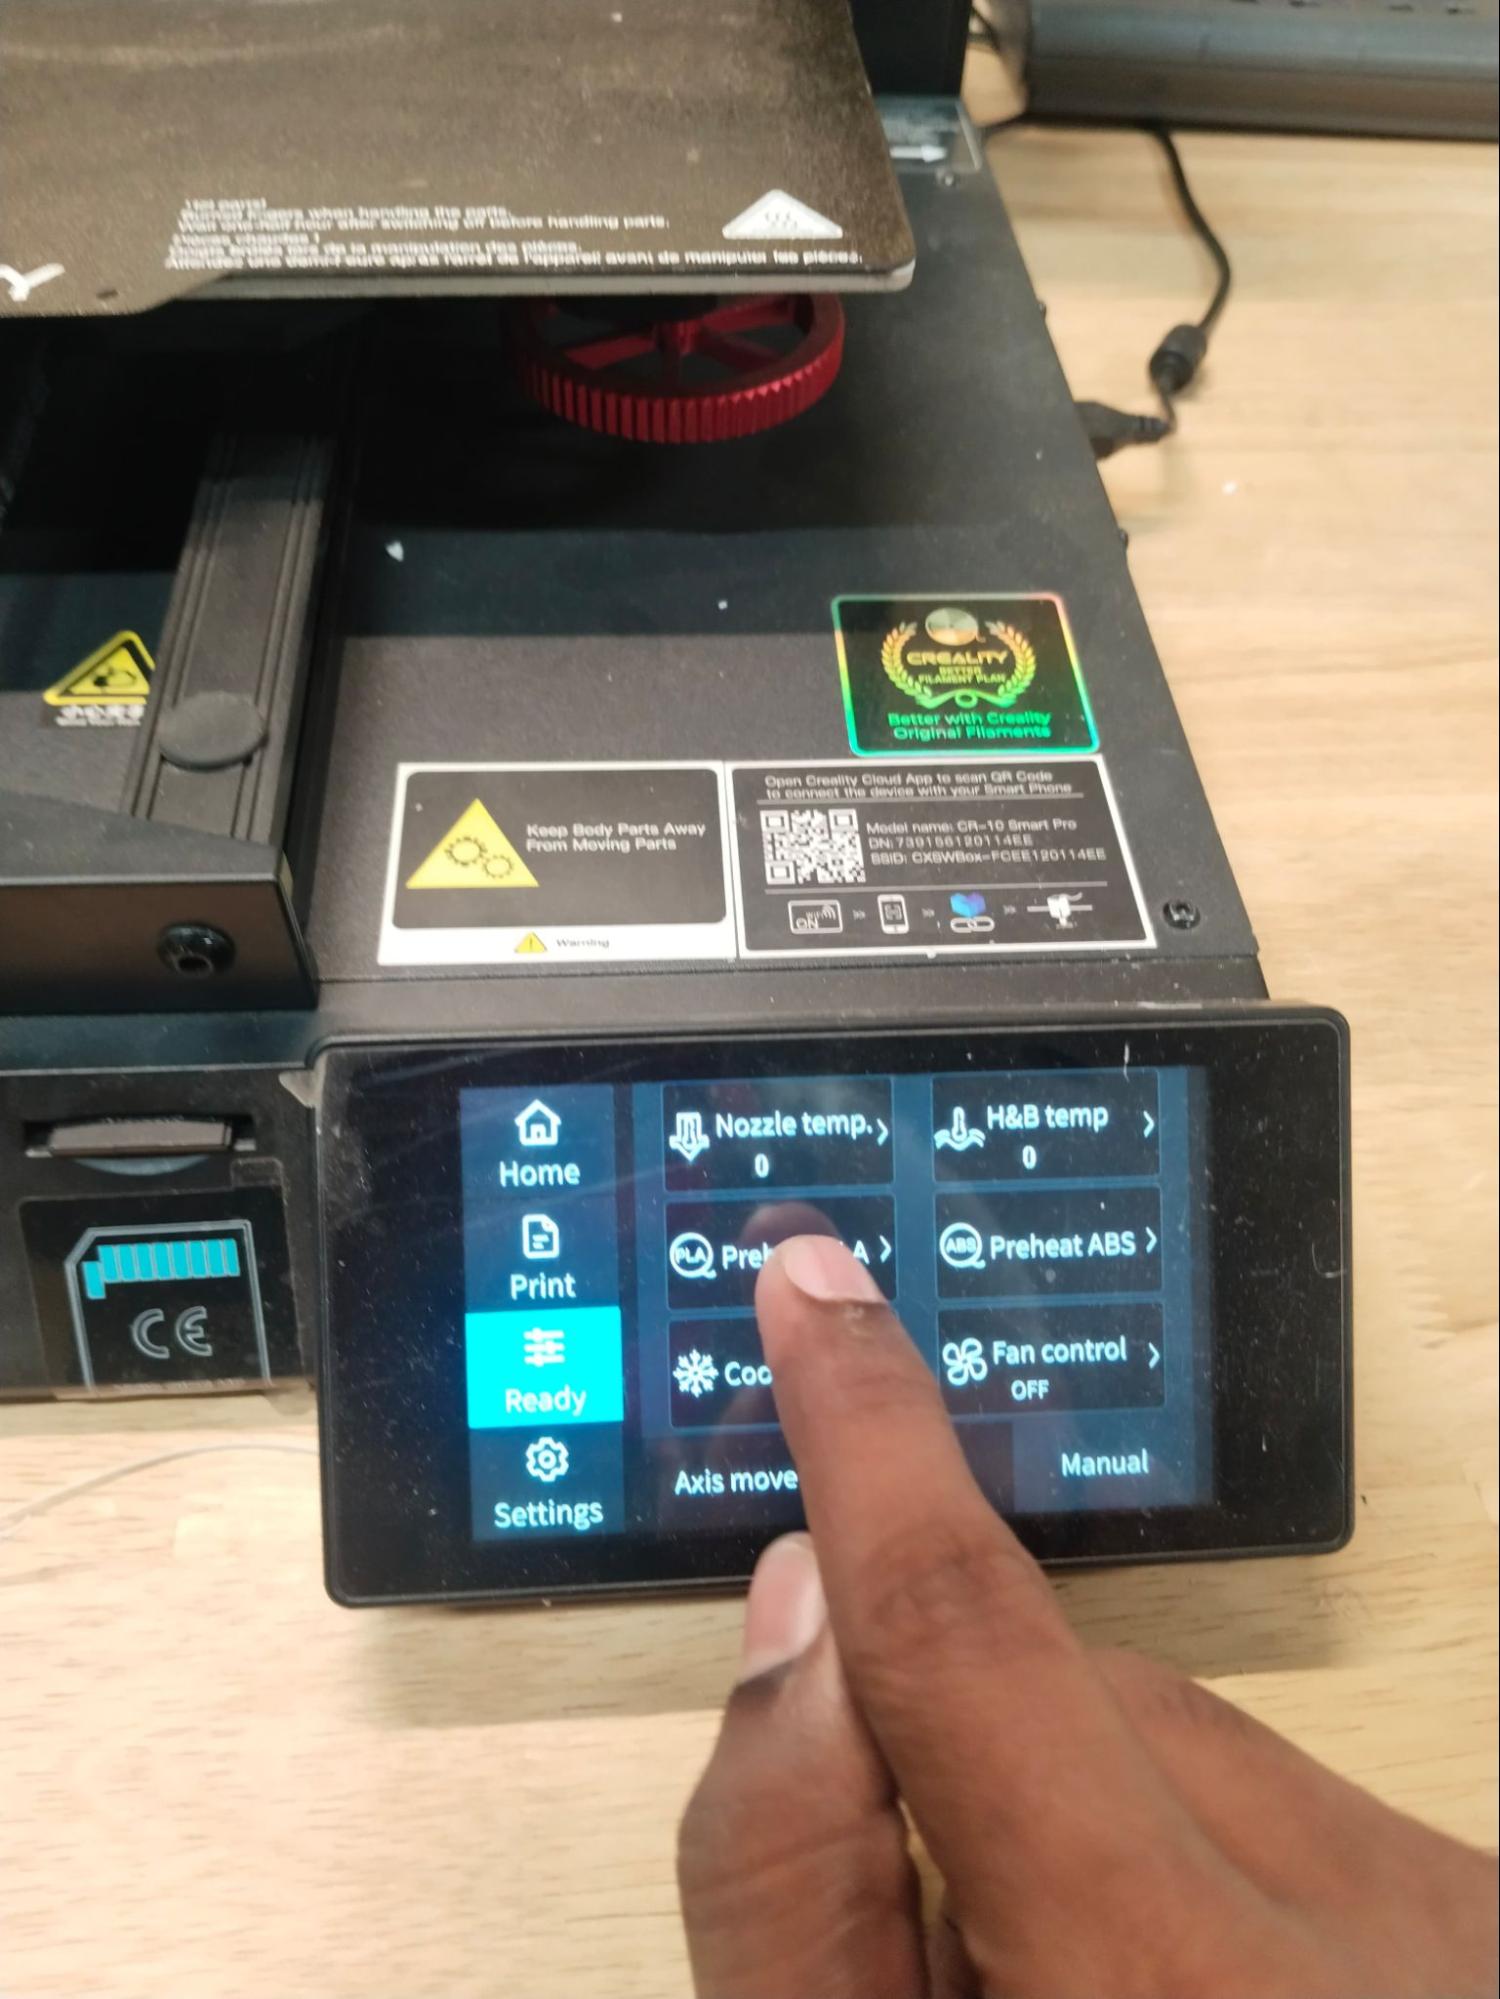
3. Preheat the printer so the nozzle reaches the temperature needed for a good 3D print grip.
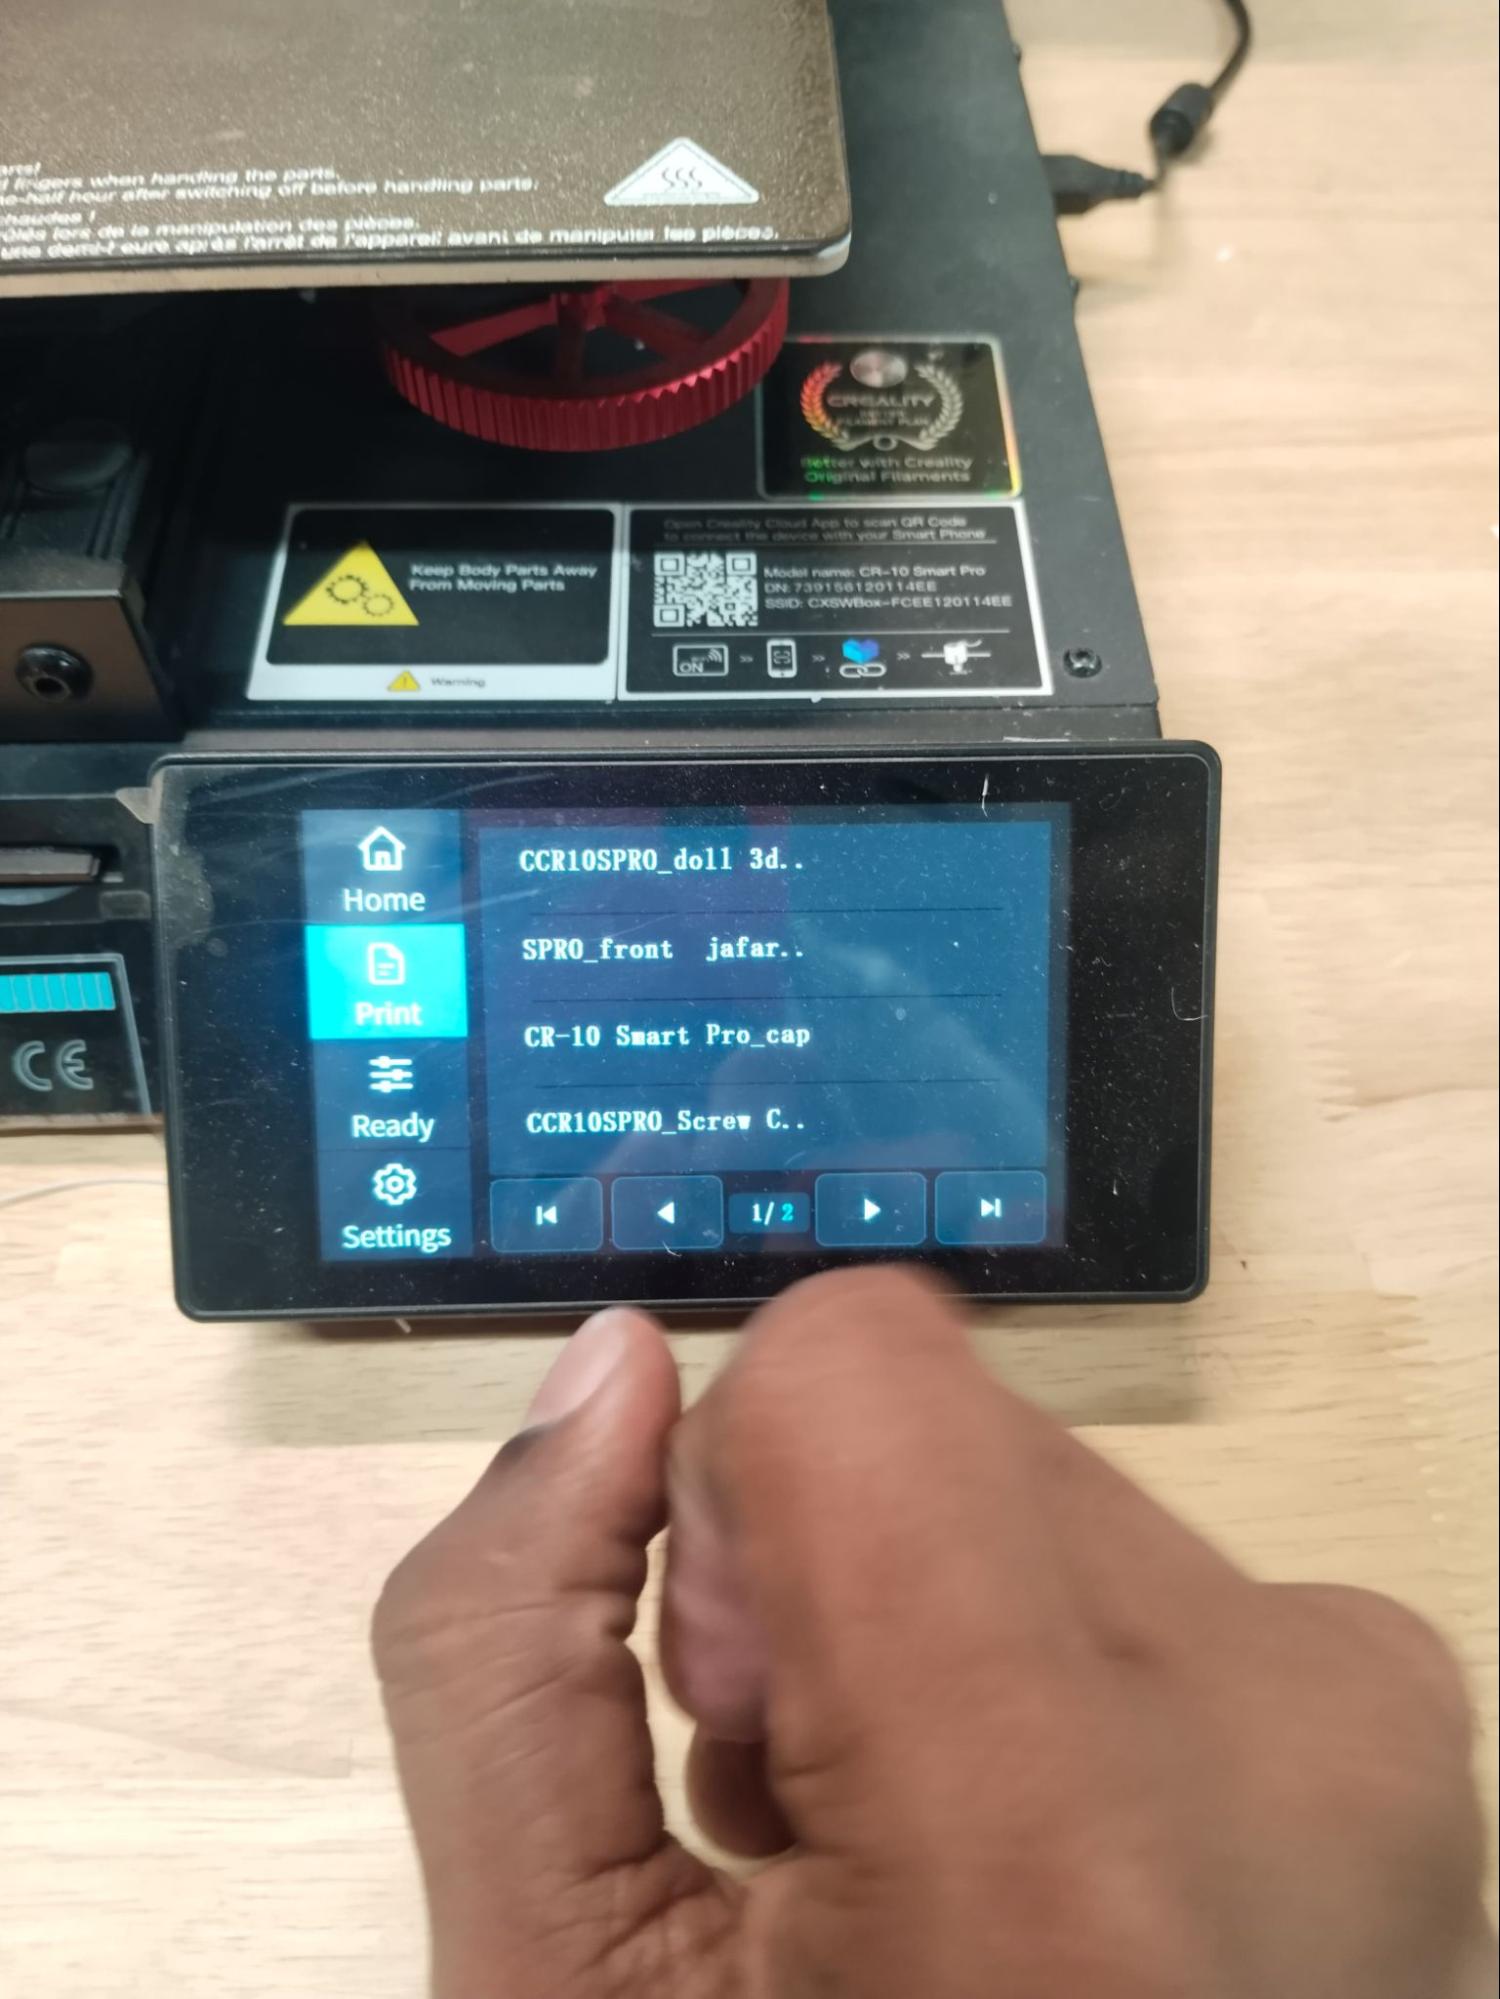
4. After the bed and nozzle have reached the right temperature, select the model you want to print and start the process.
5. It took around 58 minutes to print the model. After 58 minutes...
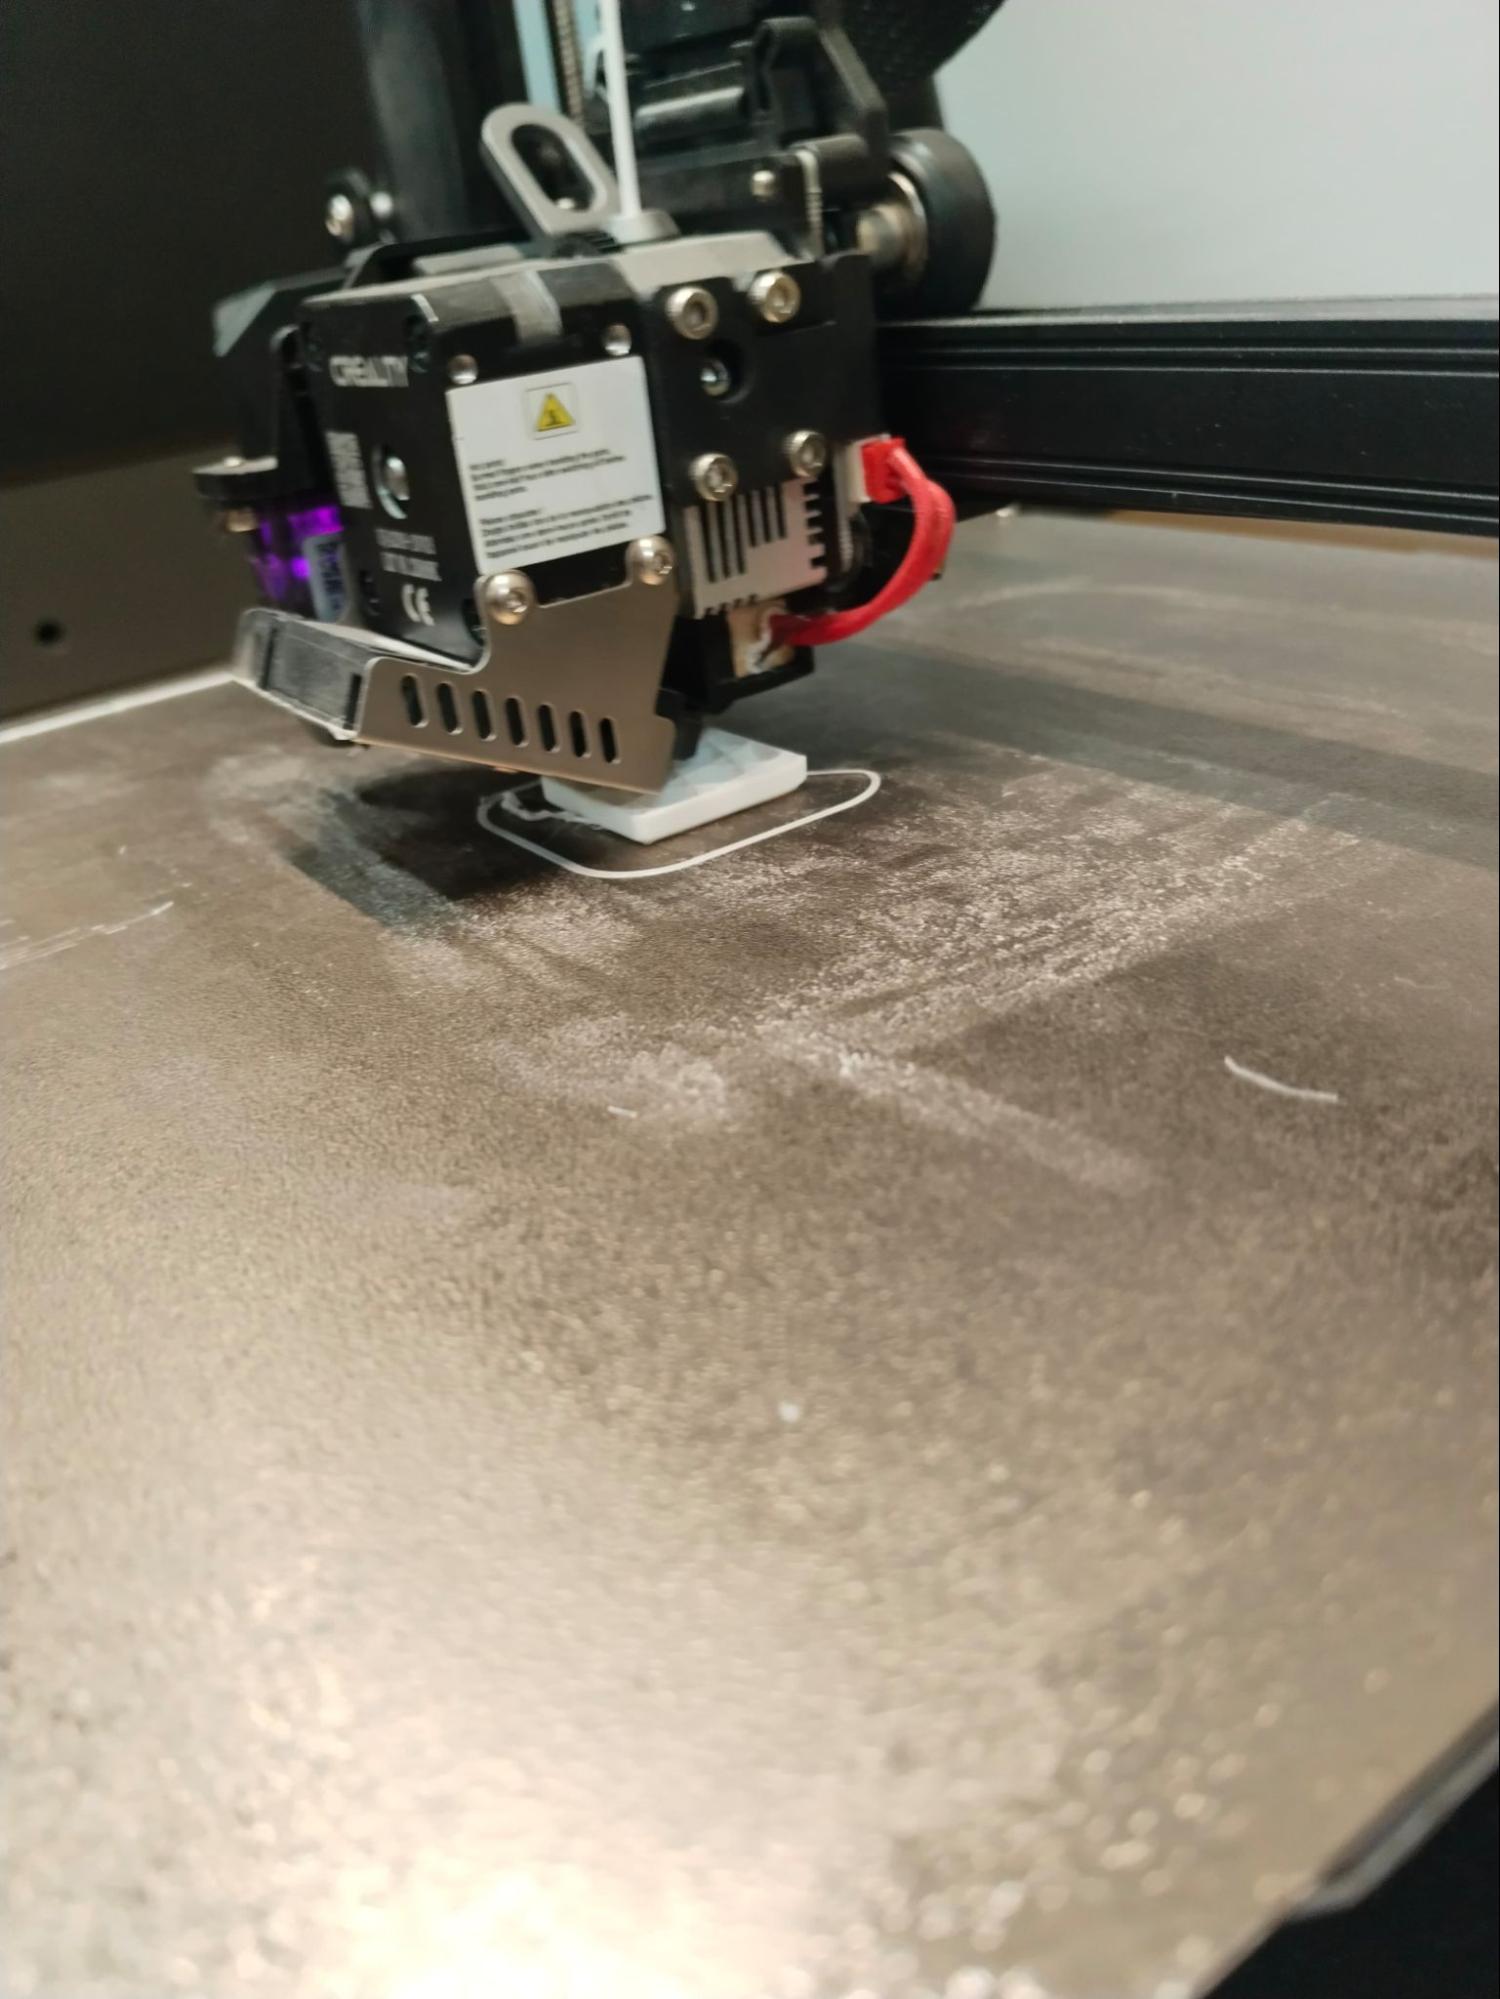
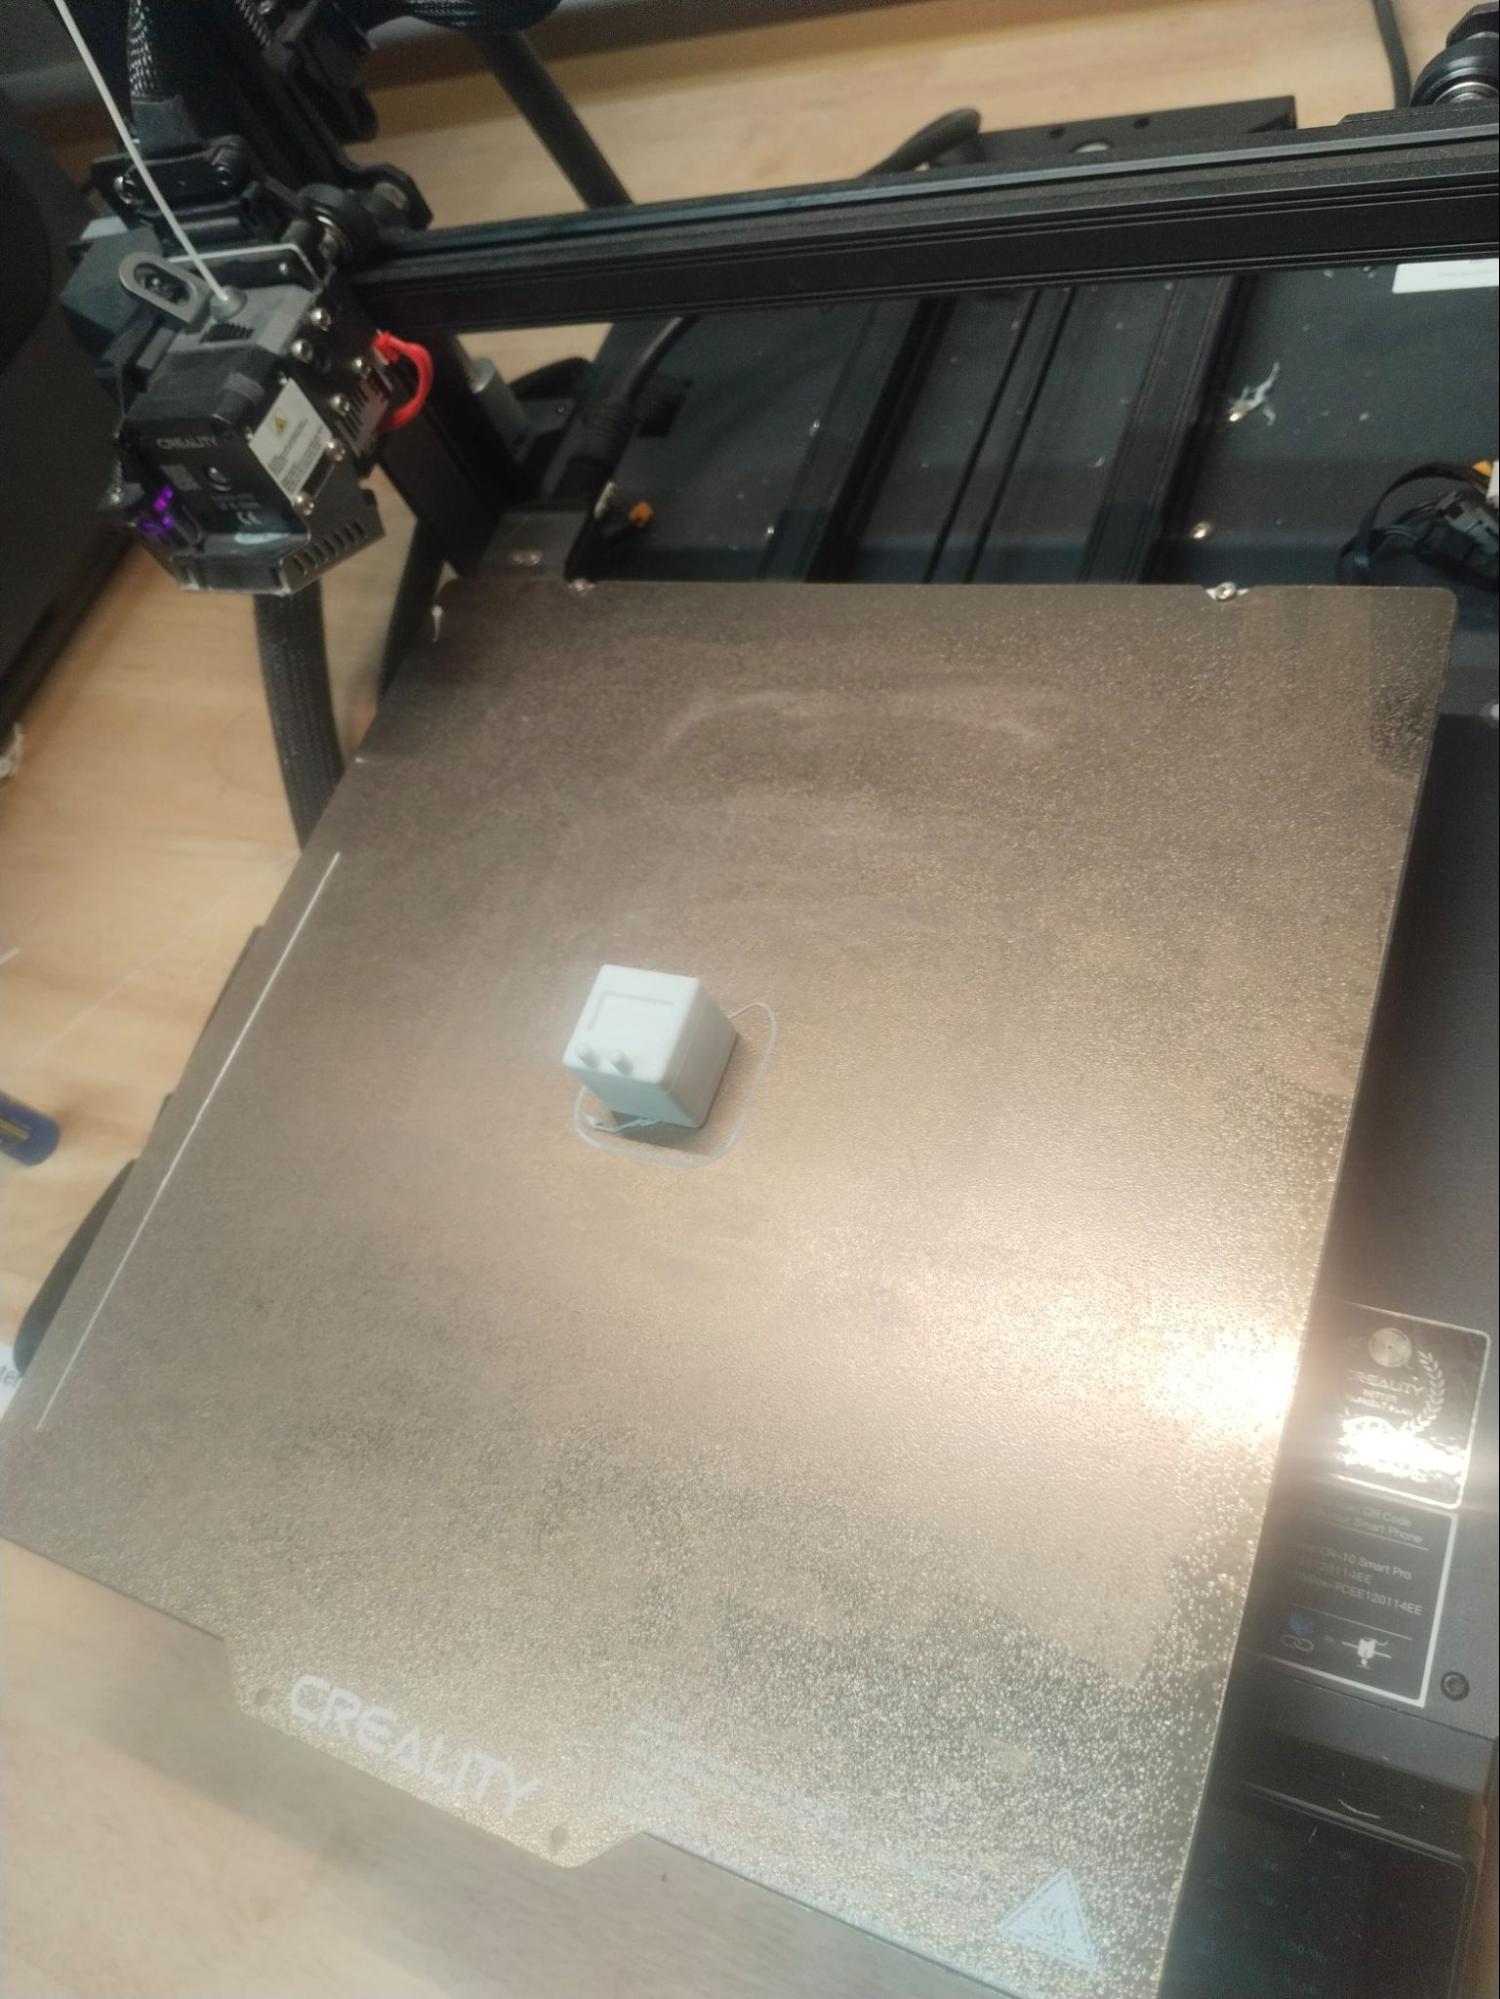
Here is the 3D printed model that I designed.
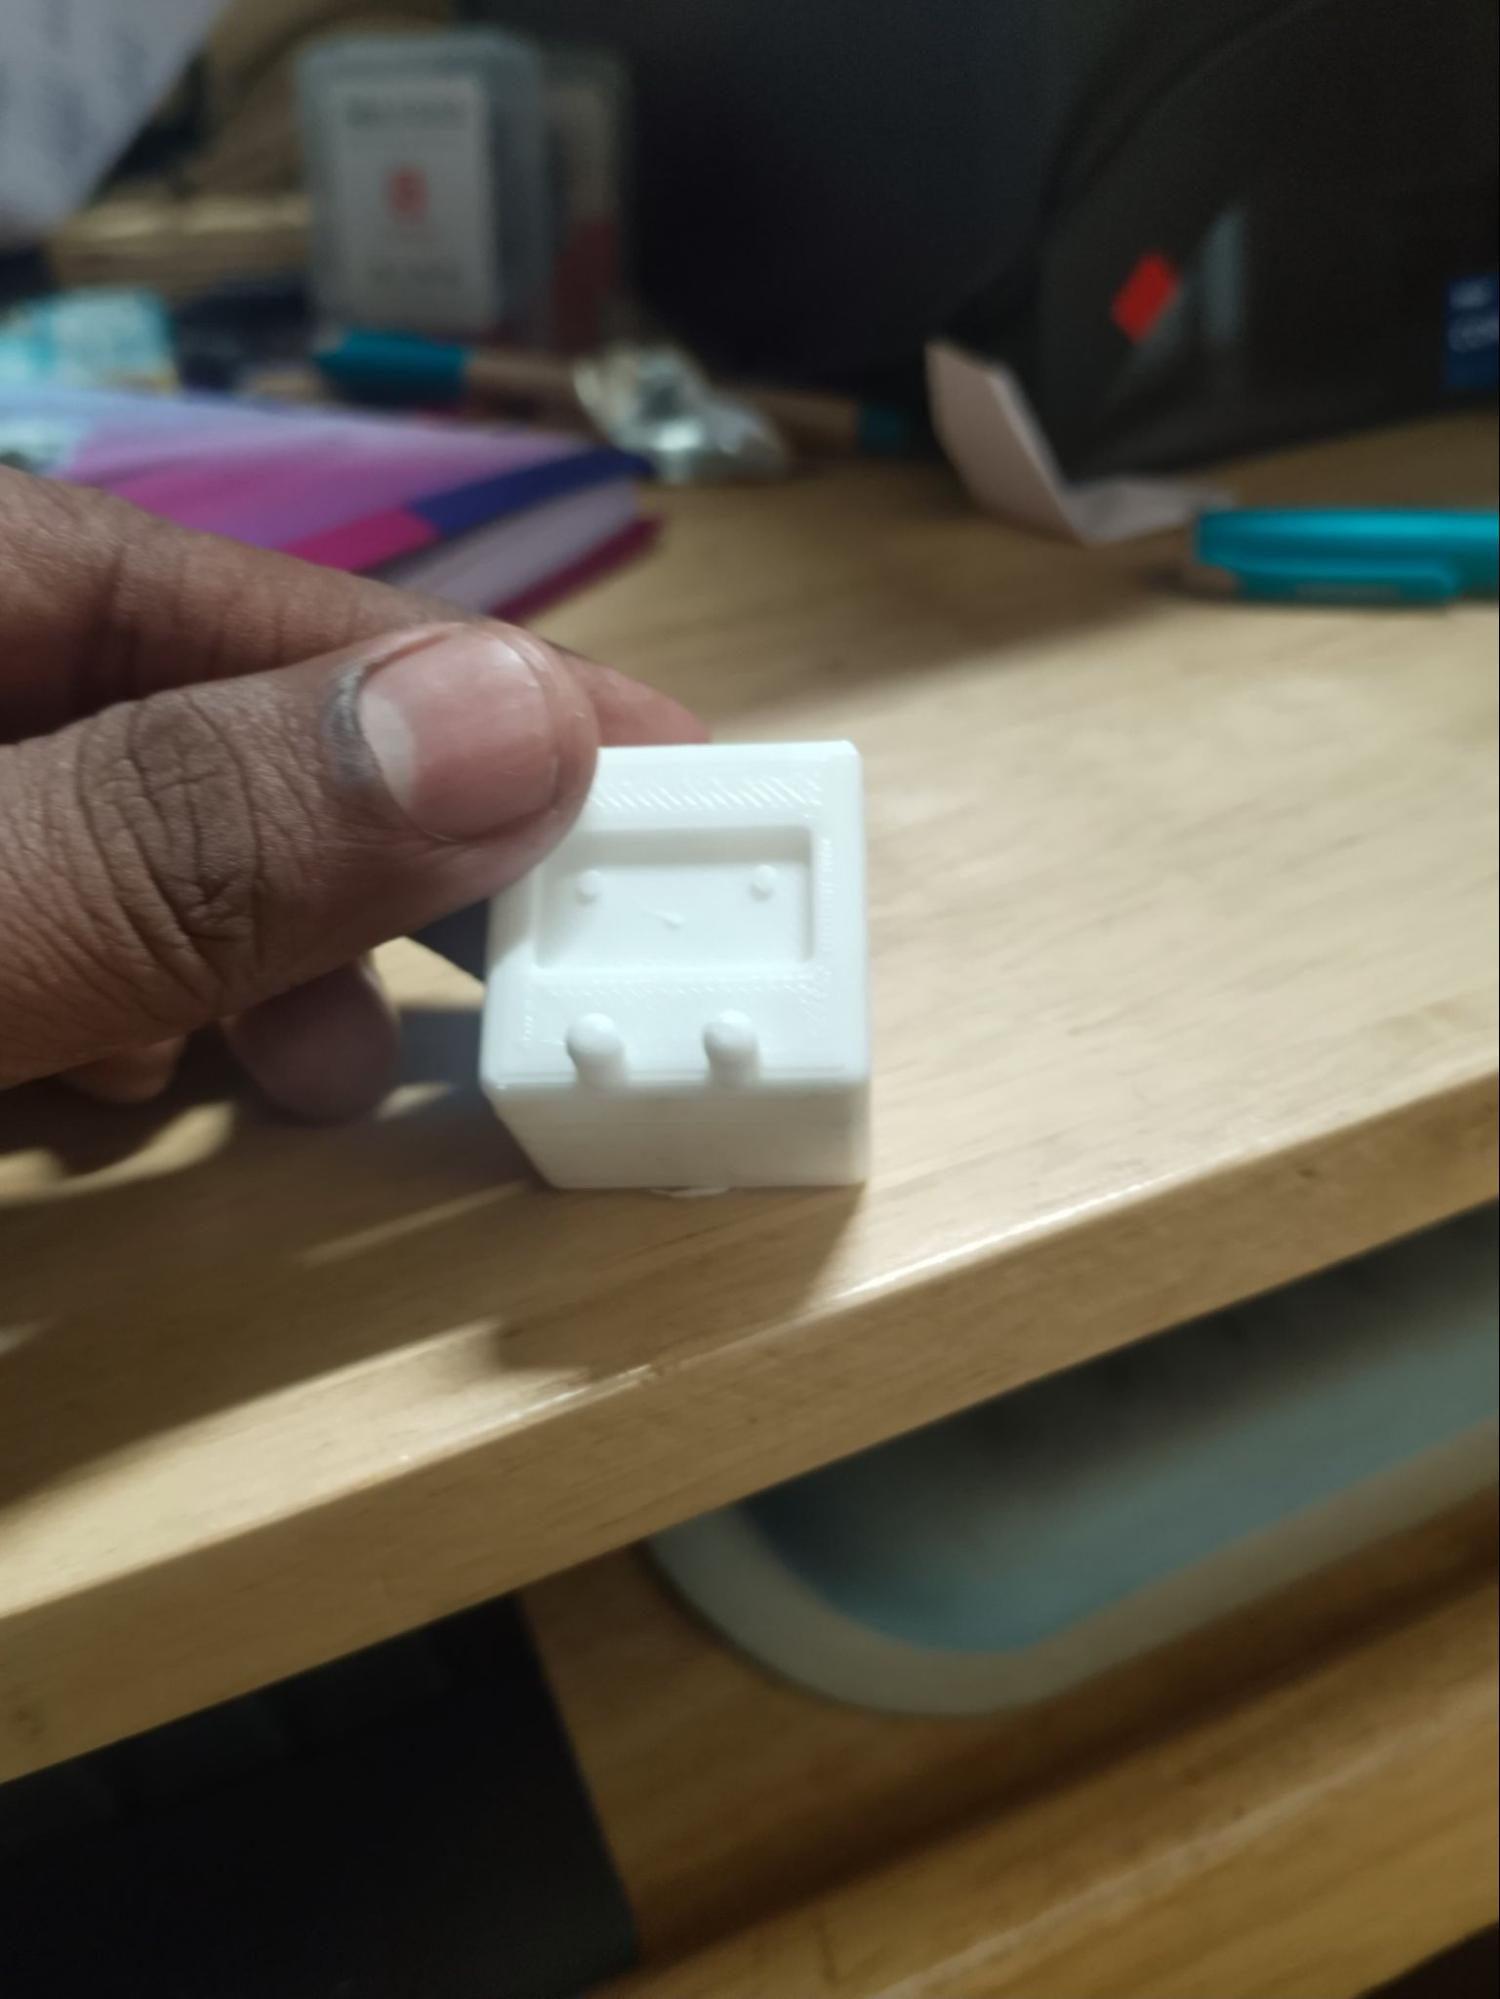
Table of Contents
- Assignments
- 1. Group Assignment
- a. List
- 2. Individual Assignment
- a. Designing a Model
- b. Slicing the Model
- c. 3D Printer Setup