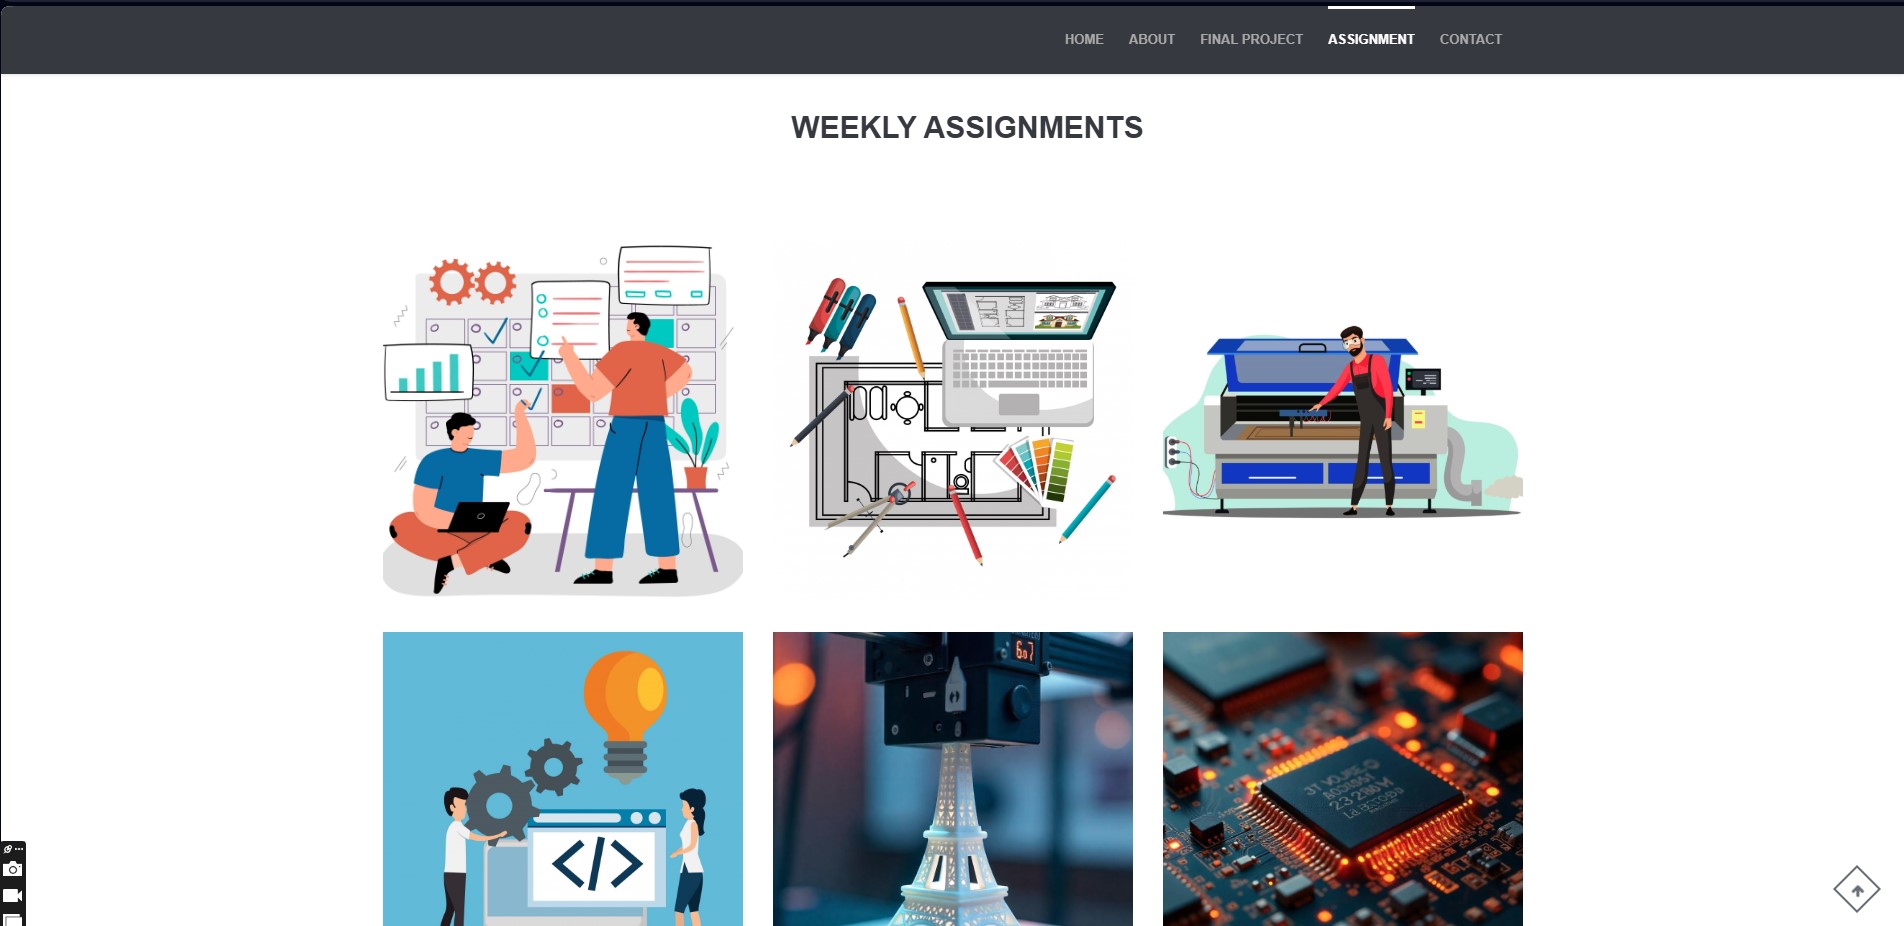
Assignment
Principles and Practices (part 1 of 2)
* Plan and sketch a potential final project
Project Management (part 2 of 2)
* Read, sign (add your name to) the student agreement and commit it to your repo
* Work through a git tutorial.
* Build a personal website in the class archive describing yourself and your final project. Refer to the lecture material for examples.
* Upload parts 1 and 2, to the class archive.
Introduction
This week, the FabLab program officially started, introducing international labs and study groups. In the opening sessions, an overview of the final project was shared, explaining what participants will work on during the program. The main focus of the project is on innovation, teamwork, and technical growth.
Student Agreement
One of the first tasks was to read and sign the student agreement, which outlines the rules and guidelines for the program. The agreement covers topics such as the use of lab equipment, safety protocols, and the importance of respecting others' work. It also emphasizes the need for open communication and collaboration among participants.
GIT
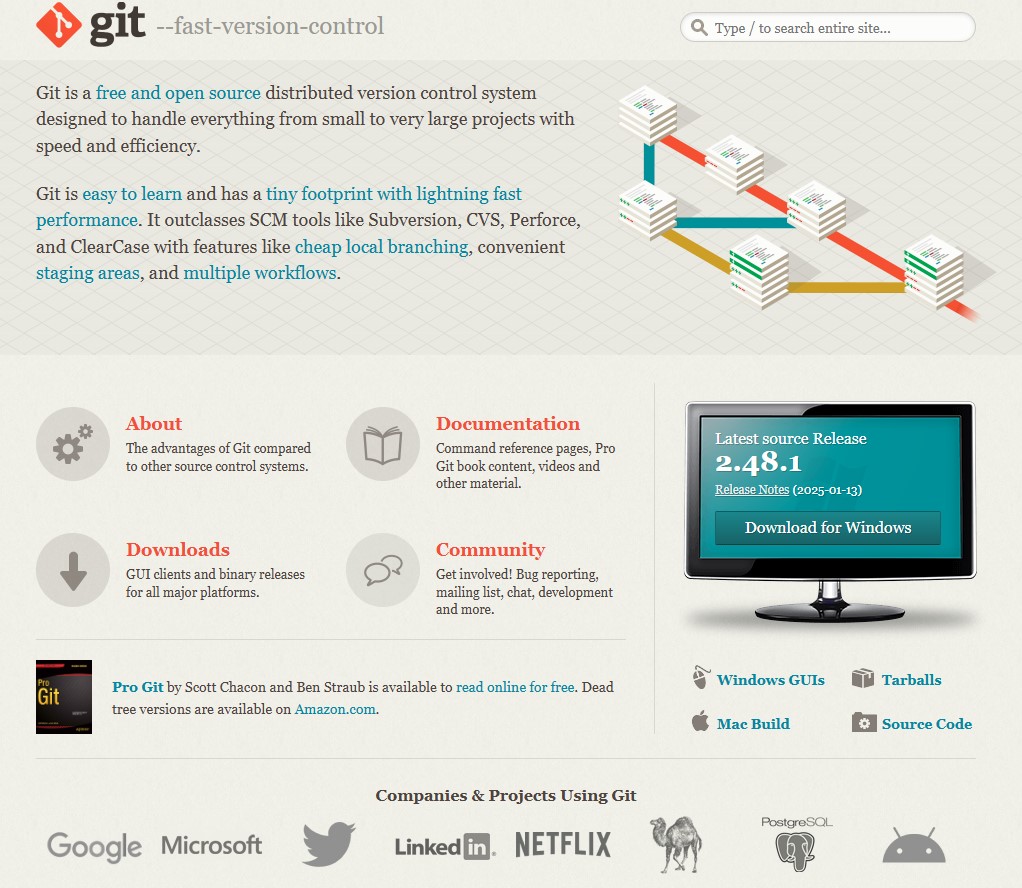
One of the first steps in the program is connecting our project to the cloud, or more specifically, setting up our personal portfolio so we can make future changes and updates easily. For this, we use Git, a tool that helps us track changes in our project and keep it synced with our computer. Git makes sure that every change we make is recorded, and we can go back to previous versions if needed.
We also learned about the structure of our portfolio in Git, especially the idea of "branches," which allows us to work on different parts of the project without changing the main version. We discussed how to sync our portfolio code when editing, how to upload images, and the limitations of file storage. It was stressed that writing clear and simple descriptions for each update is important for keeping things organized and professional.
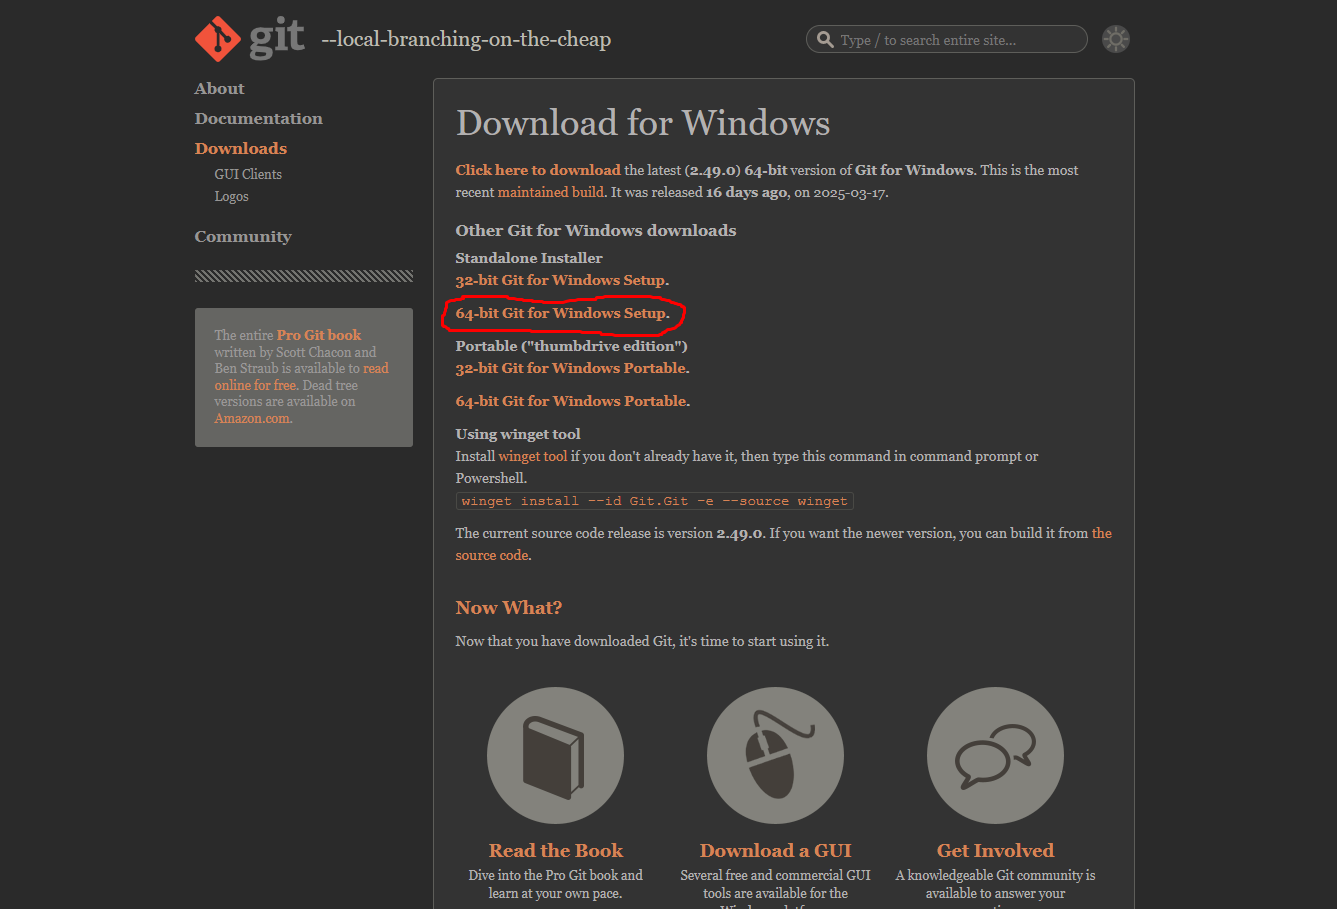
You can download Git from here
For me, I have downloaded the 64-bit Git for Windows Setup, but if you want, you can download other versions as well.
Here is the link button below:
Or you can download manually:
Click here to download Git (64-bit)
Modifying template using Gitlab
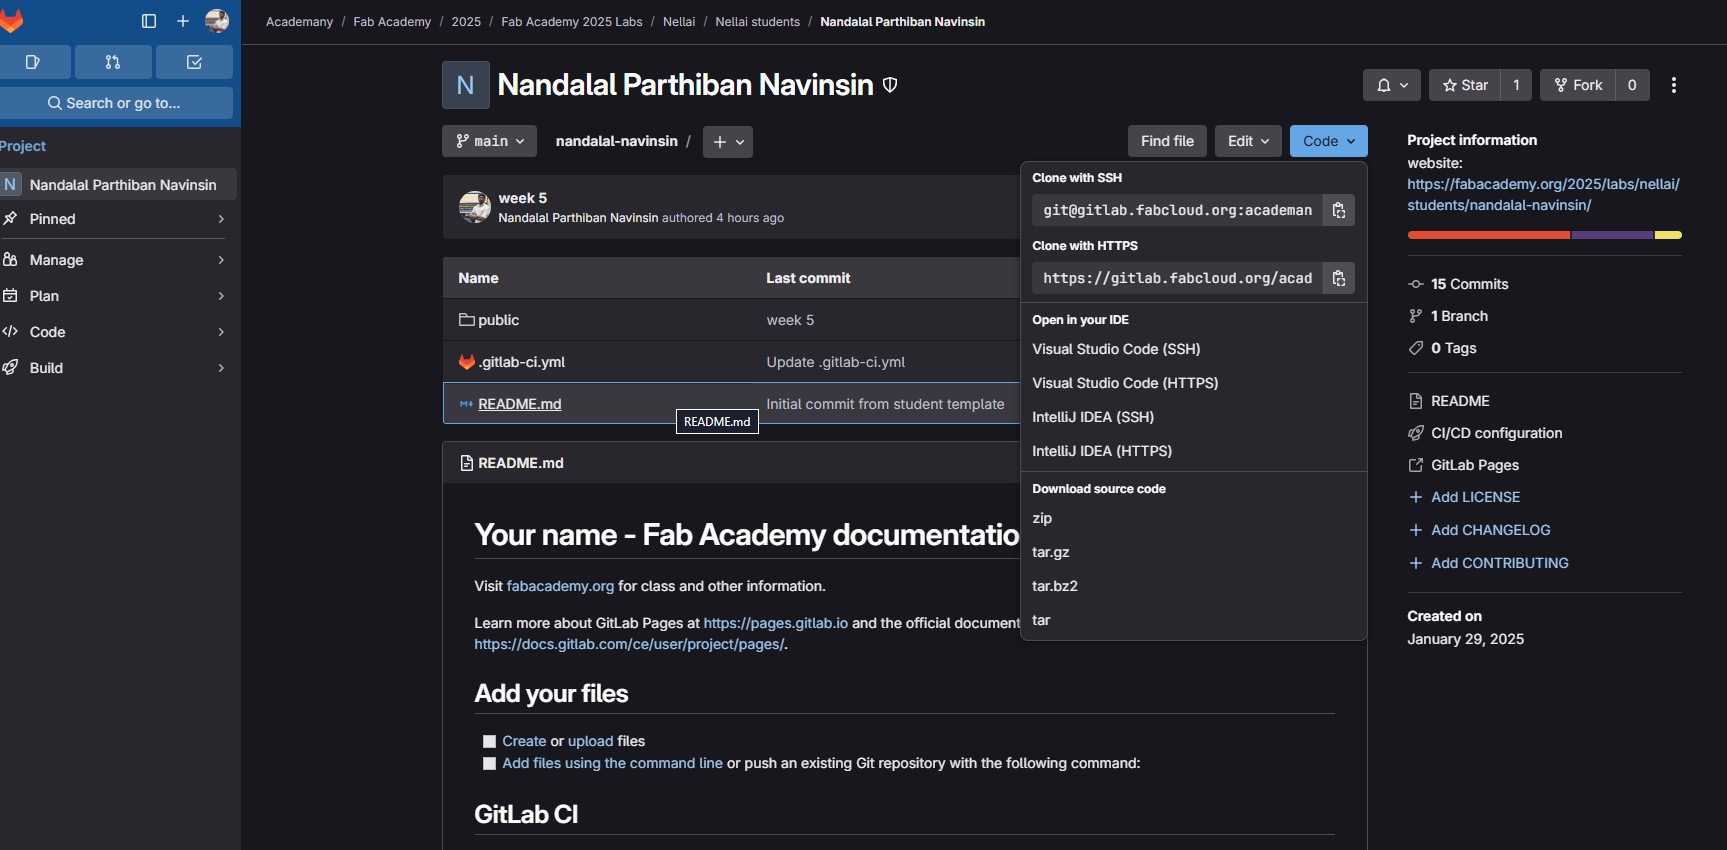
As we have been provided with a website template, and with the idea of applying the Spiral Development approach of making something you can test and then add features, I am going to access my GITlab and attempt to change something using the editor to check the website updates accordingly.
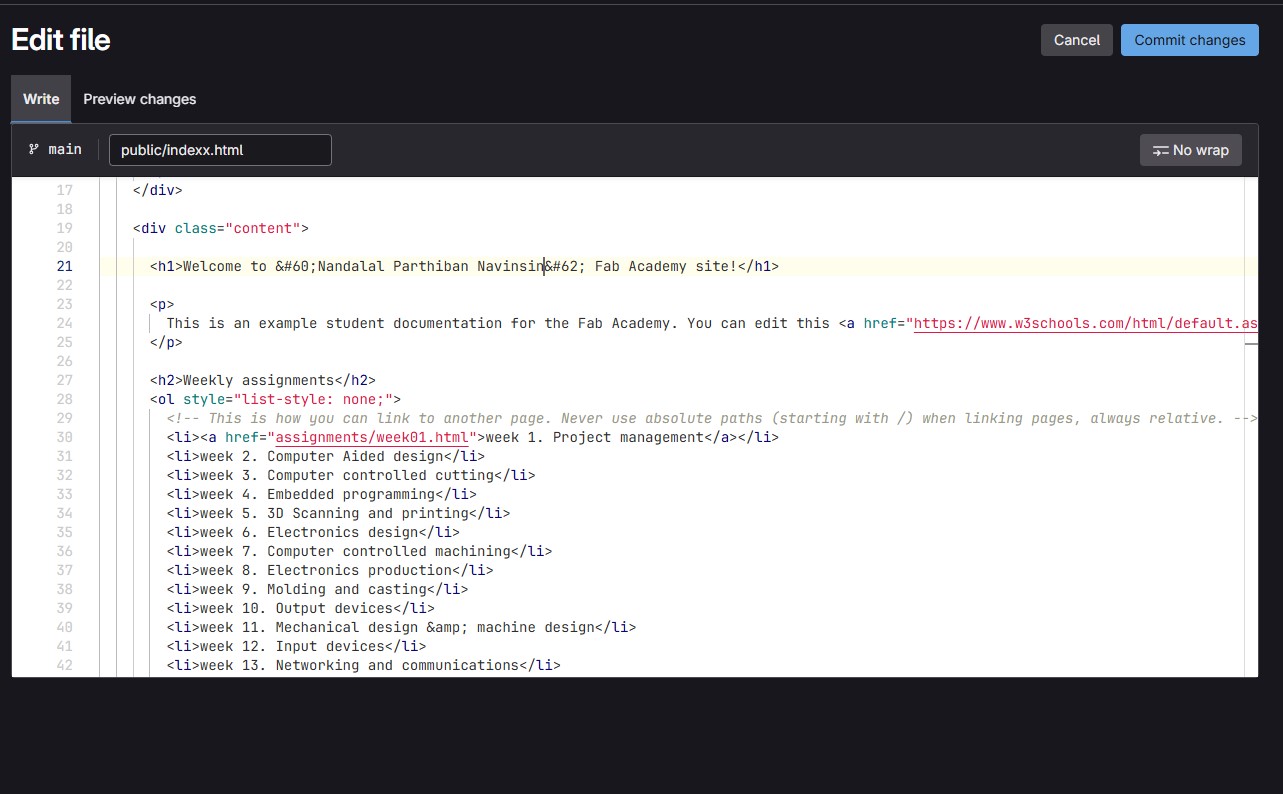
First, I open index.html and select “Edit”. In the editor window I introduce my name, add a Commit message and hit “Commit changes”

After a minute or so the webpage is updated. I realise the angle brackets are still there so I go back and remove them. I “Commit“ the changes again and it works! I pat myself on the back.
Integrating GIT with Gitlab
1. Open the GitLab account.
2. Go to edit profile and select SSH Keys.
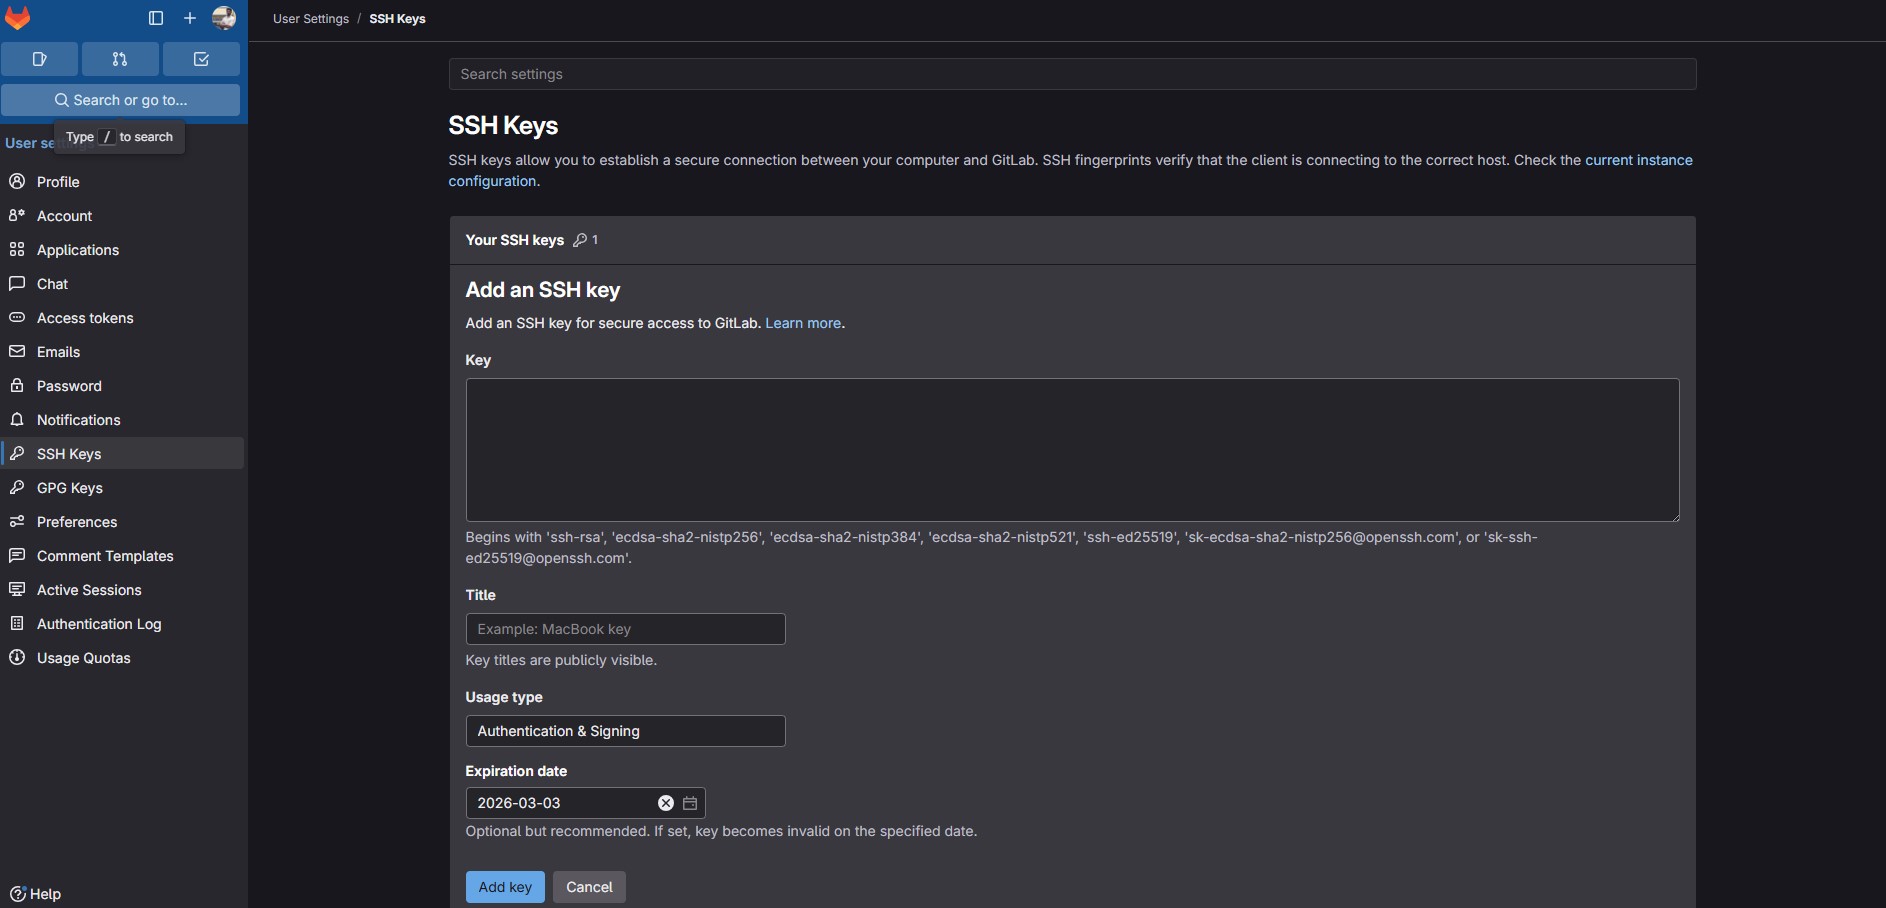
3. Now go to the Git bash on the computer that you have downloaded.
4. Create an SSH keygen for your GitLab account.
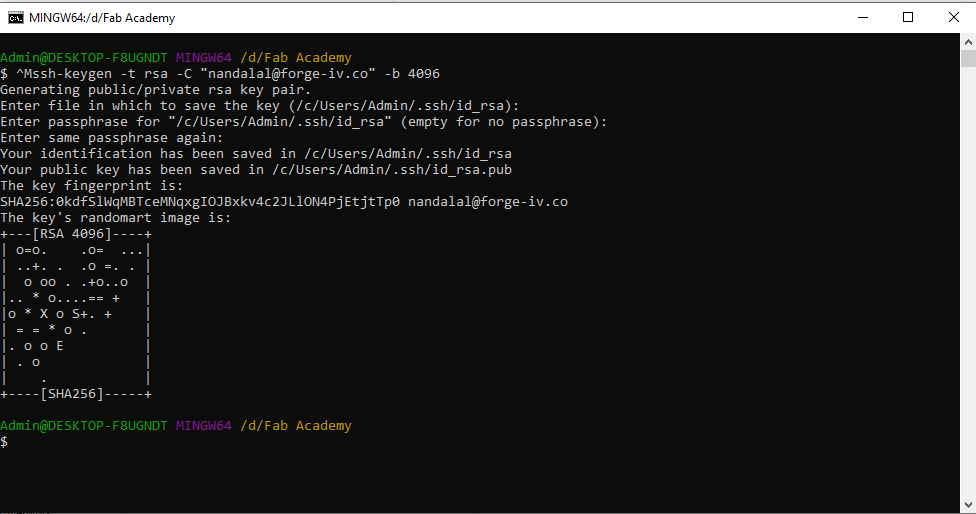
5. Copy the key and paste it on the SSH Key section of GitLab.
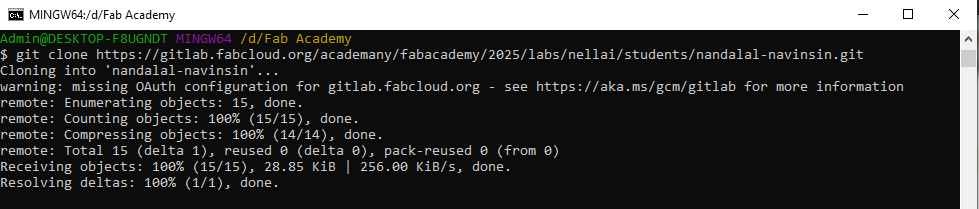
6. Use git bash to clone the repository.
7. Add username and email for git configuration.
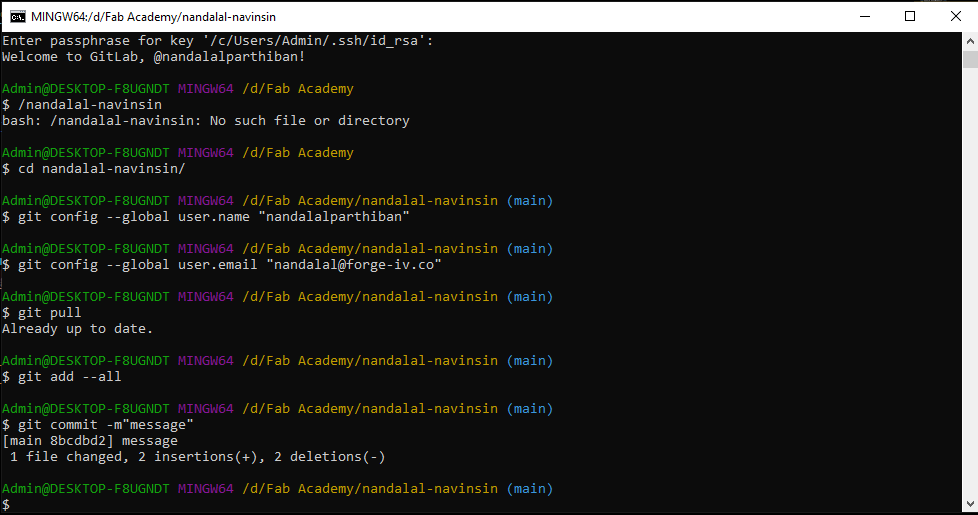
8. Use these four main commands regularly:
1. git pull
2. git add –all
3. git commit -m "Message"
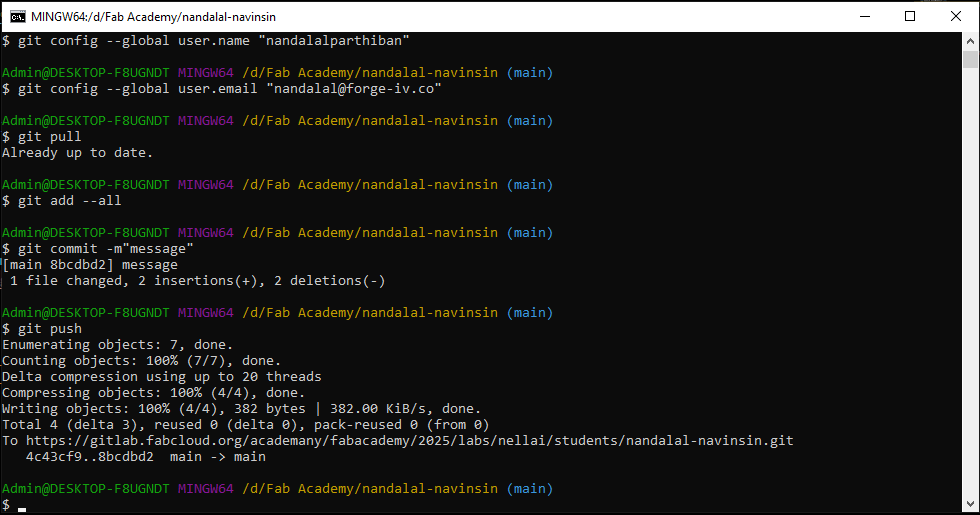
4. git push
HTML and CSS
I have prior Knowledge of HTML, CSS. I was able to create based on the Template and fully made it by myself. I modified the required files, keeping only the needed ones to effectively present my ideas.
I referred to some websites like W3School and BootStrap to enhance the structure and design of my HTML. These websites helped me optimize the responsiveness and aesthetics of my Portfolio.
For full documentation, visit:
- W3 HTML School
- BootStrap
Code Editor - Visual Studio Code
For front-end development, I prefer using Visual Studio Code (VS Code), a lightweight yet highly powerful source-code editor developed by Microsoft. One of its major advantages is its cross-platform compatibility—it runs smoothly on Windows, Linux, and macOS, making it accessible to developers regardless of their operating system
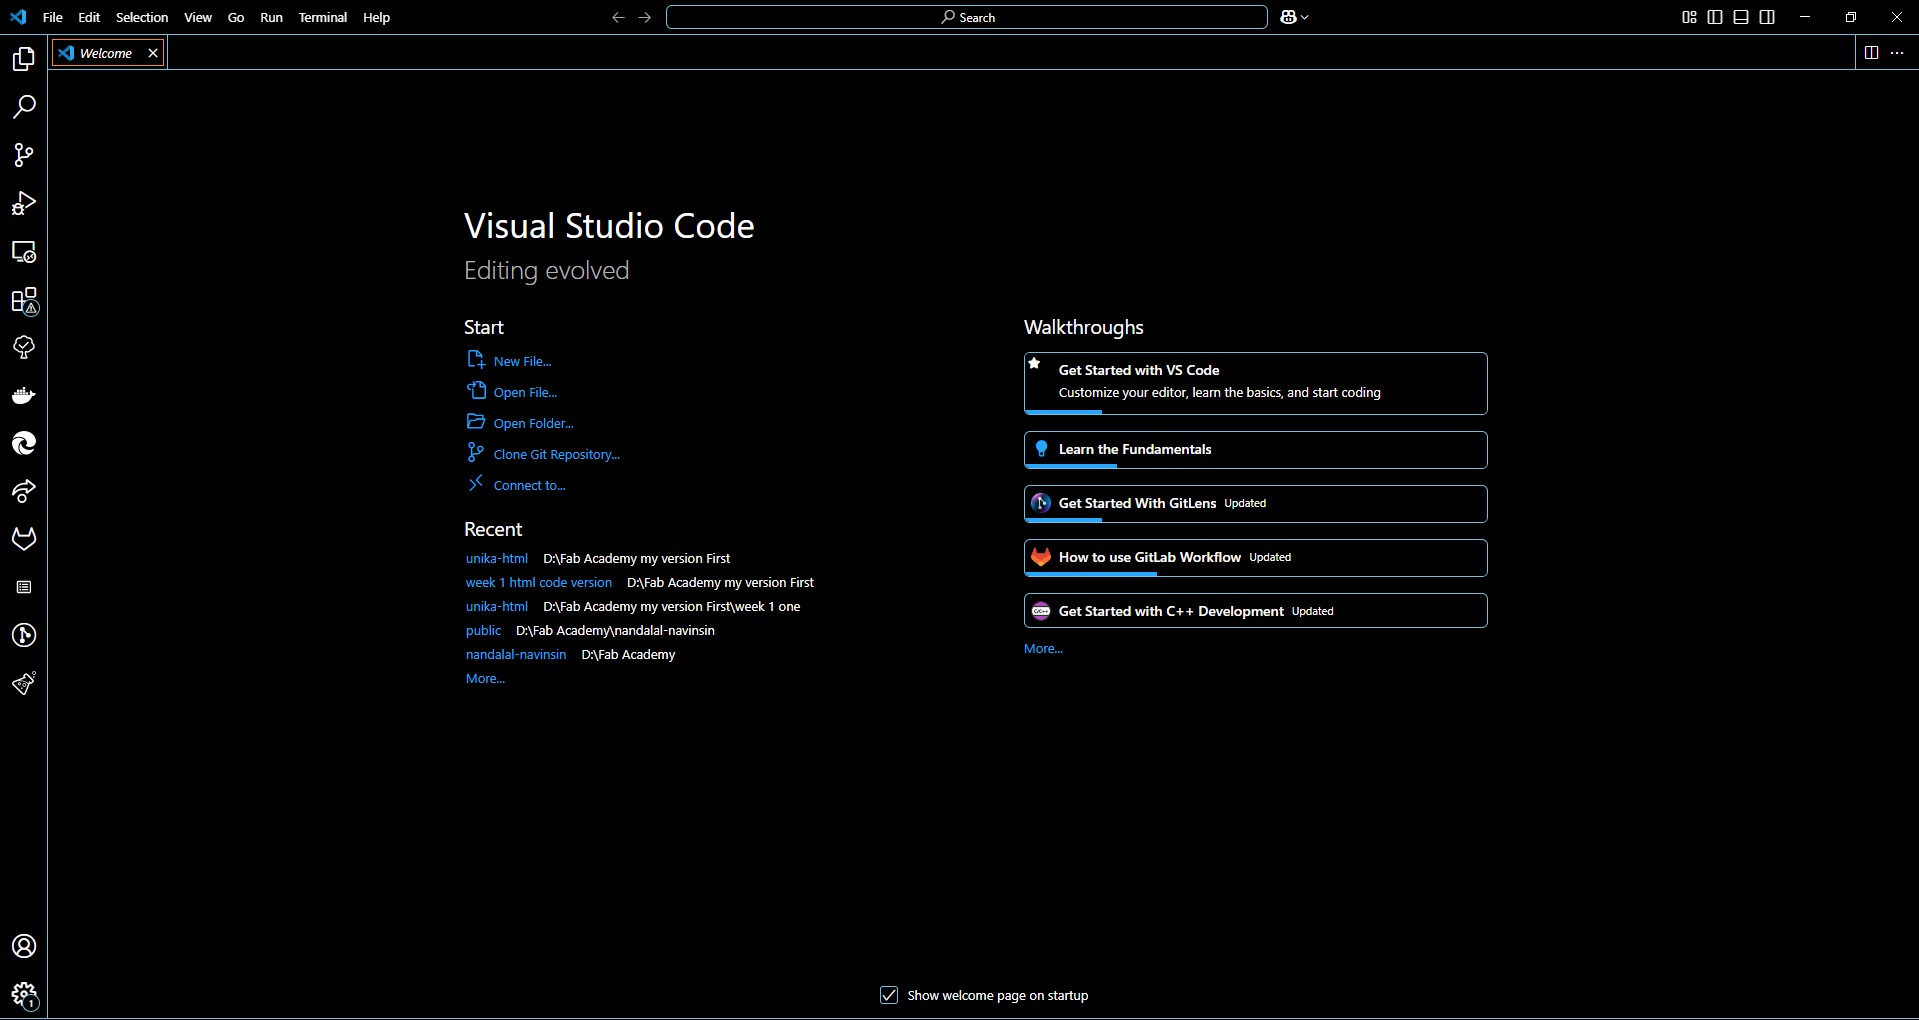
You can download Visual Studio Code from here
For me, I have downloaded the 64-bit VS Code for Windows Setup, but if you want, you can download other versions as well.
Here is the link button below:
VS Code is widely adopted by developers due to its clean user interface and rich functionality. It comes with a built-in debugger, which makes it easier to identify and fix issues directly within the editor. The extensive extension marketplace allows you to customize your development environment with tools for linting, theming, Git integration, language support, and more.
References and Modification Template
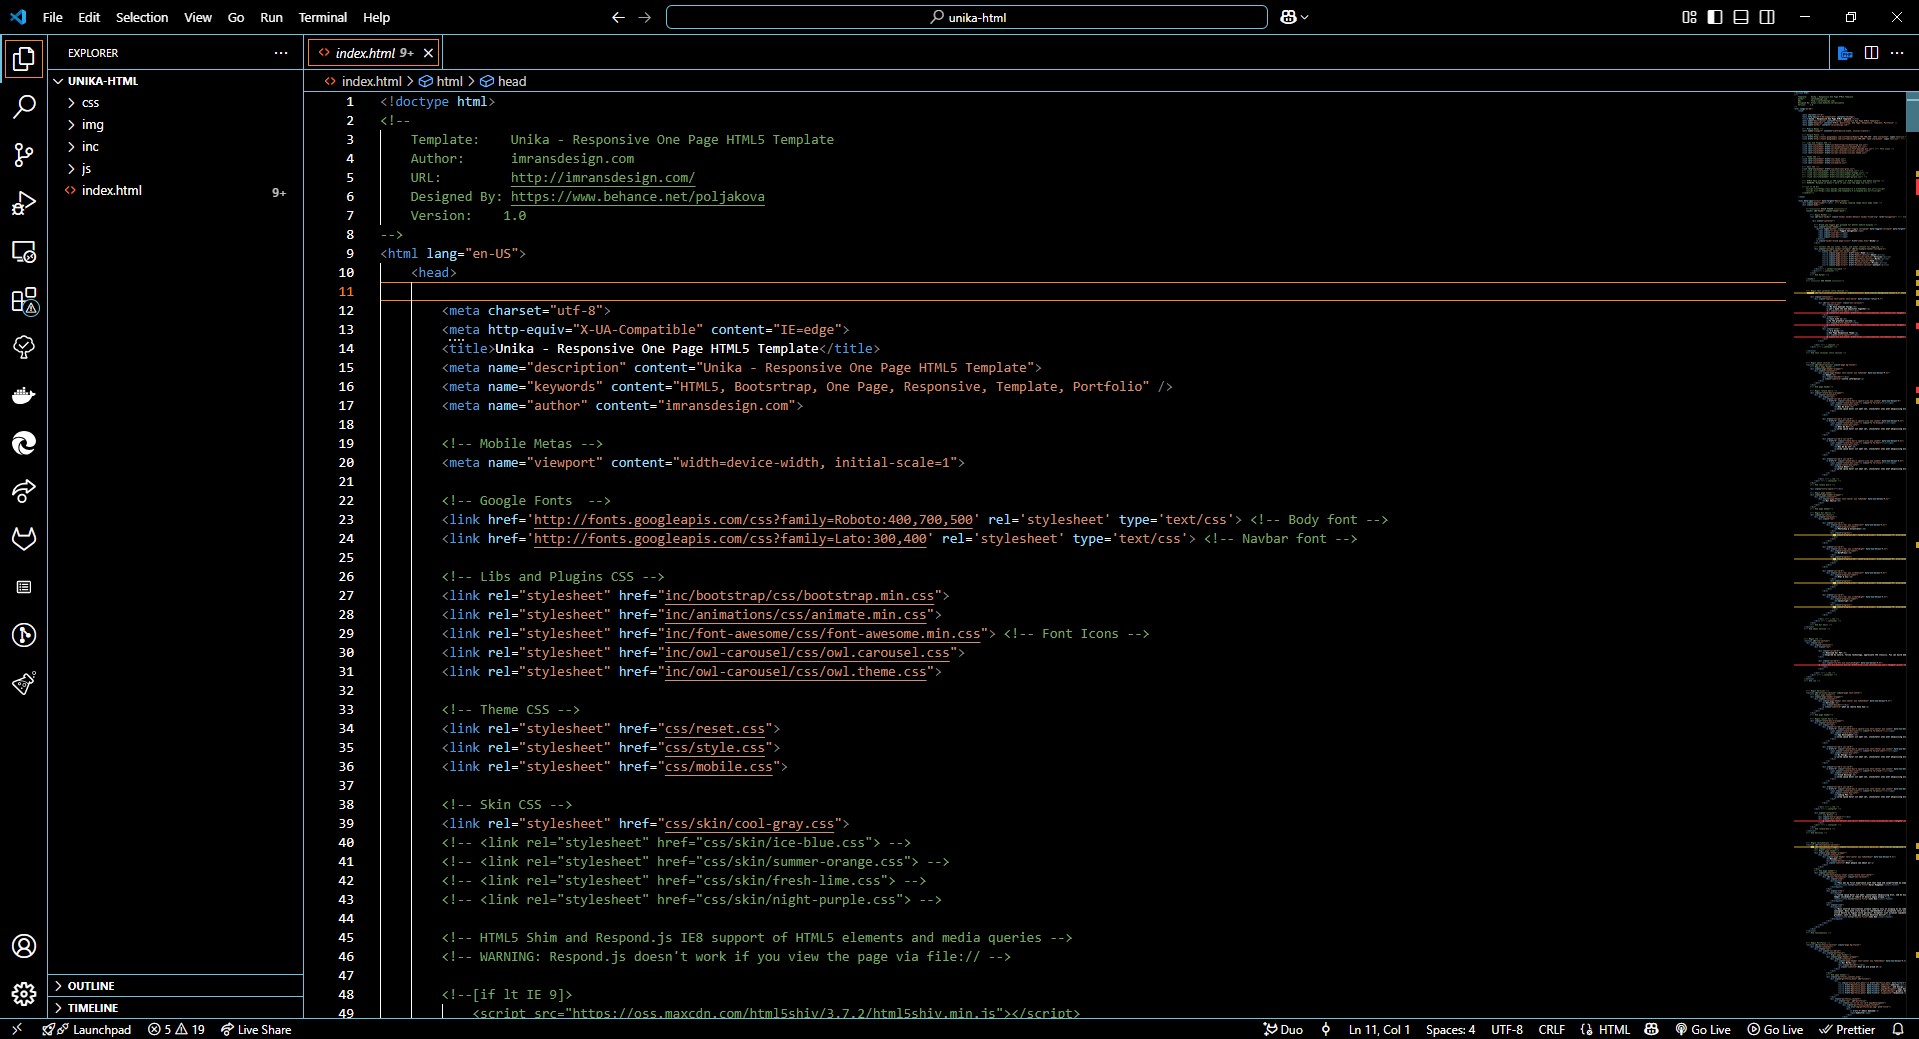
↓
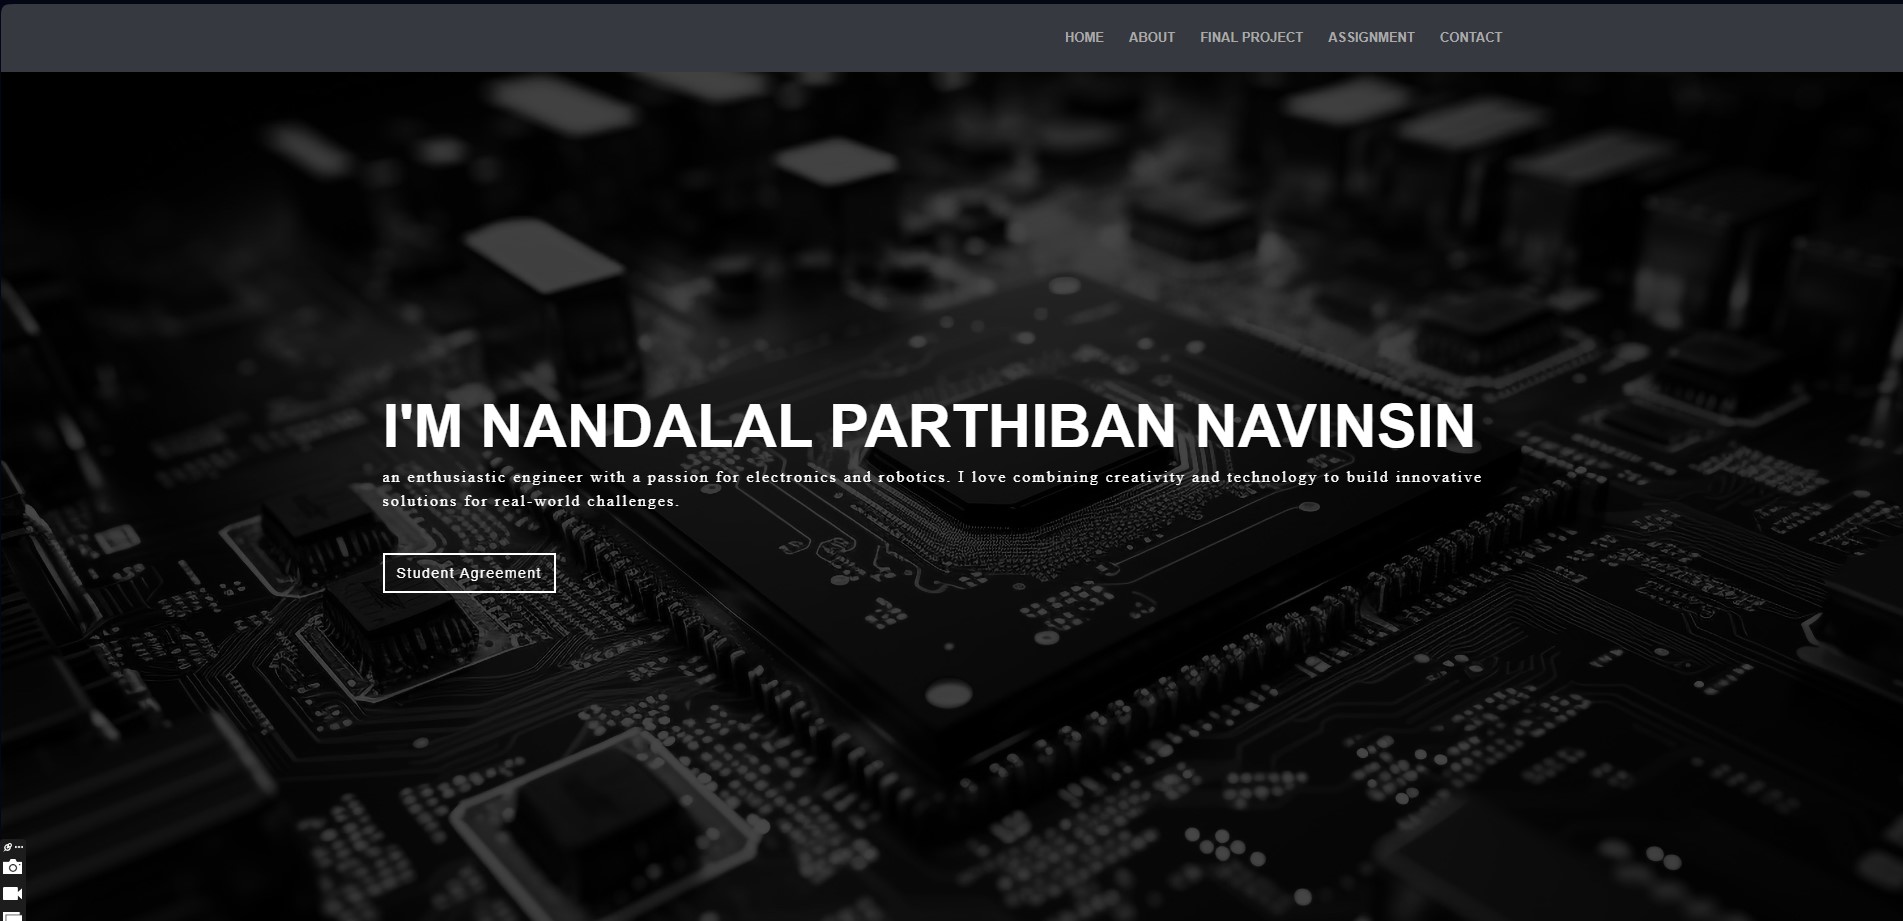
Modification
I have Modified and Rebuild the Website to my own Requirement.
↓
I have modified and created a Assignment page for my website
↓
Modified in the footer page and added my own Personal Contact details
↓
Sketch the Final Project
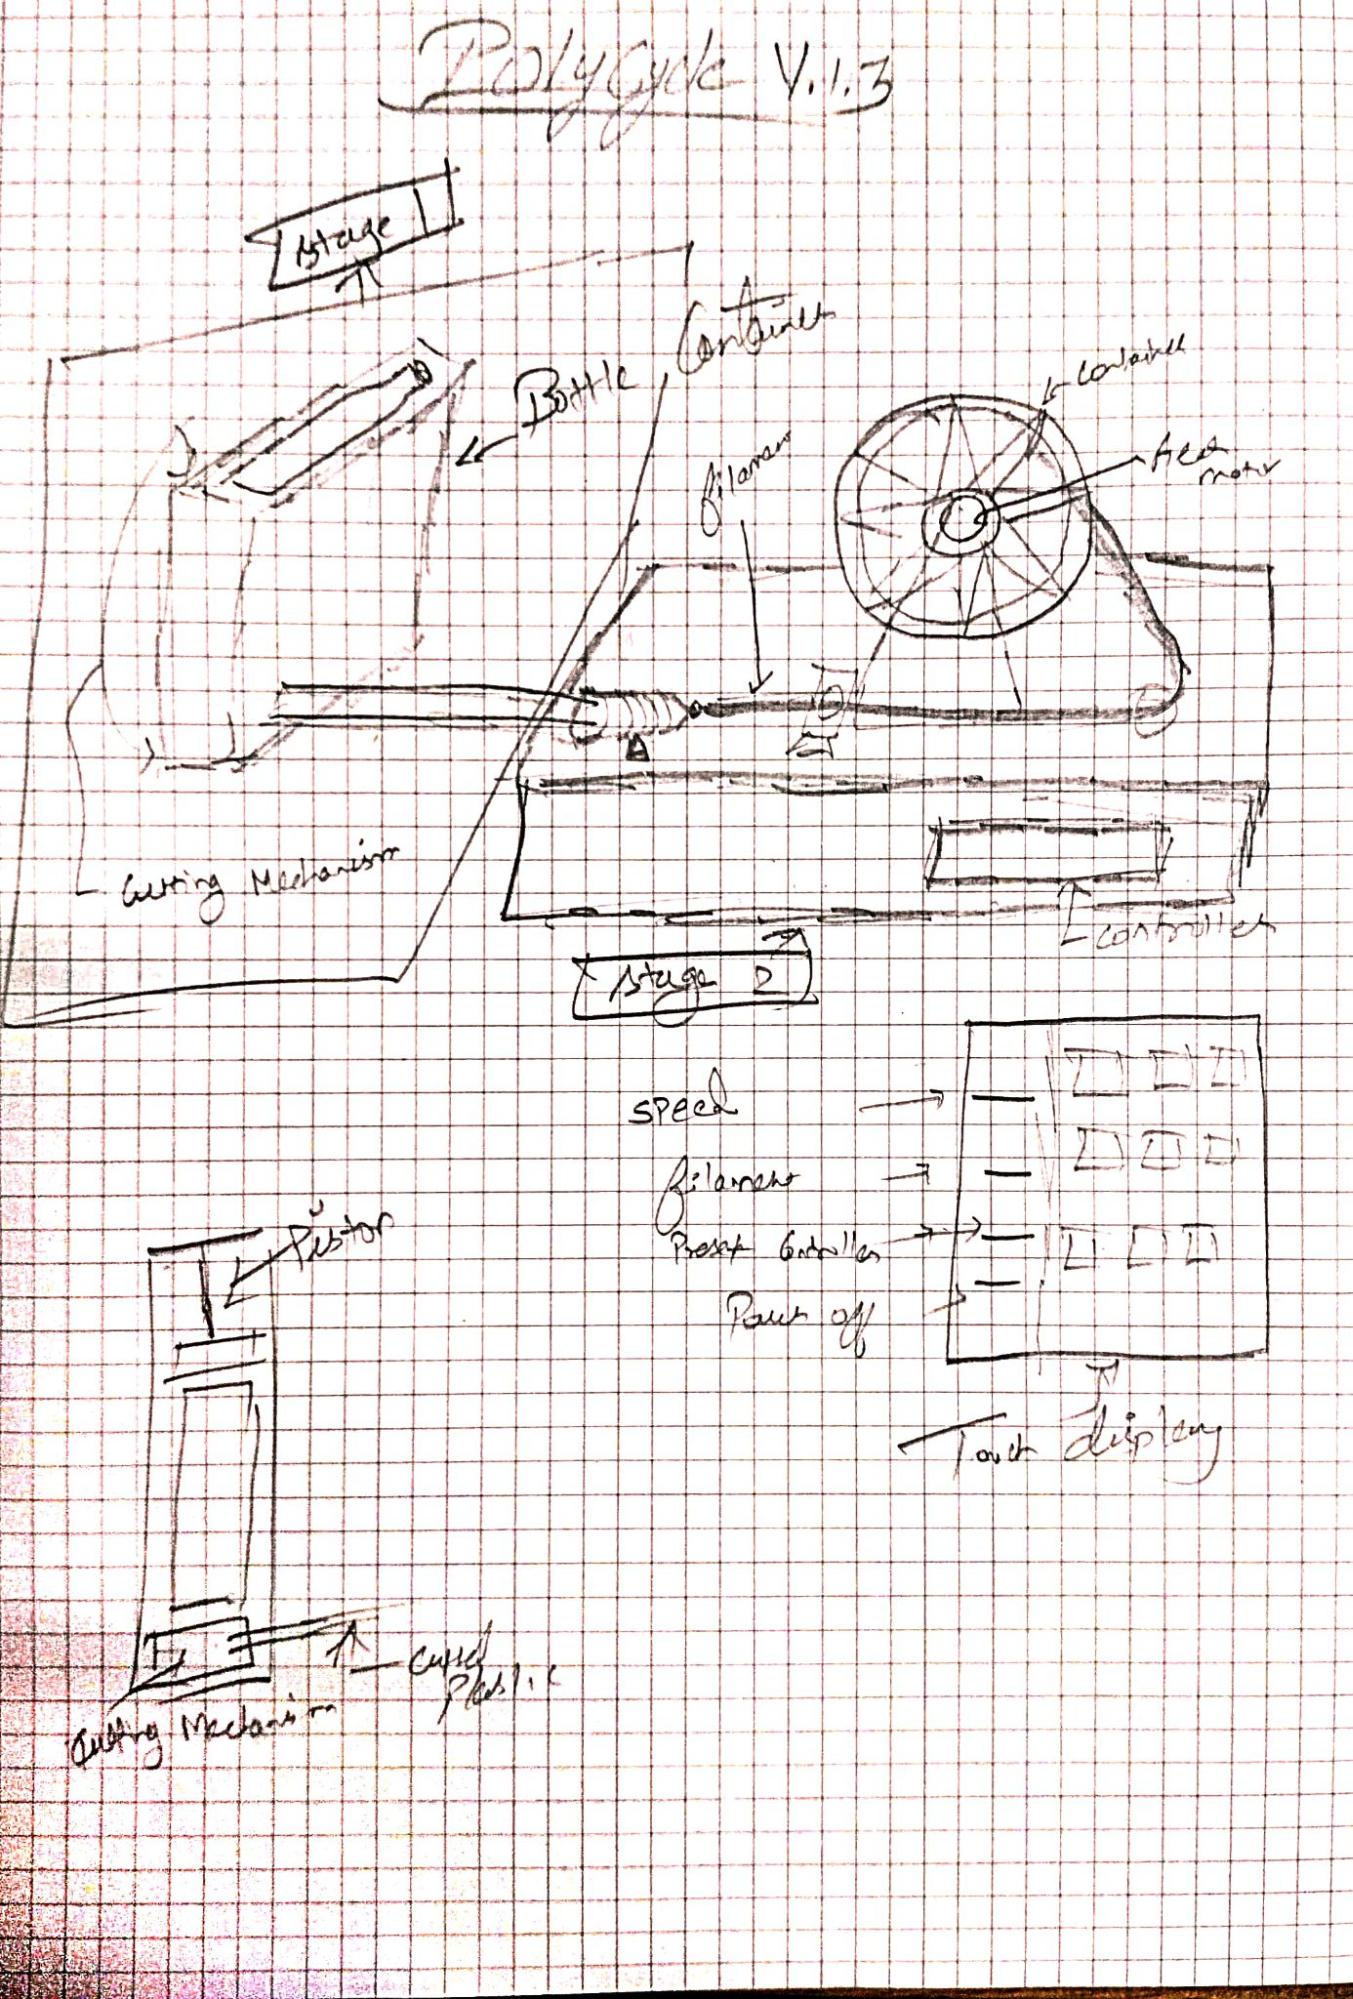
PolyCycle v1.3
It is a 3D filament maker from plastic bottles. Many DIY versions exist, but my project focuses on automation and control systems.
The DIY versions manually cut the bottle to the desired size. I plan to automate this process to handle multiple bottles without constant supervision.
I also plan to include a control system similar to Creality Smart Pro 10, with a touch display.