Assignment
Group assignment:
- Do your lab's safety training
- Characterize your laser cutter's focus, power, speed, rate, kerf, joint clearance, and types.
- Document your work on the group work page and reflect on your individual page what you learned.
Individual assignments:
- Design, laser cut, and document a parametric construction kit, accounting for the laser cutter kerf, which can be assembled in multiple ways.
- Cut something on the vinyl cutter.
Group Assigment
we did the lab safety training, and characterize the laser cutting focus, power and speed with the making kerf, joint clearance and other types
Click on this button to get it to our Group Assignment Page
Individual Assignment
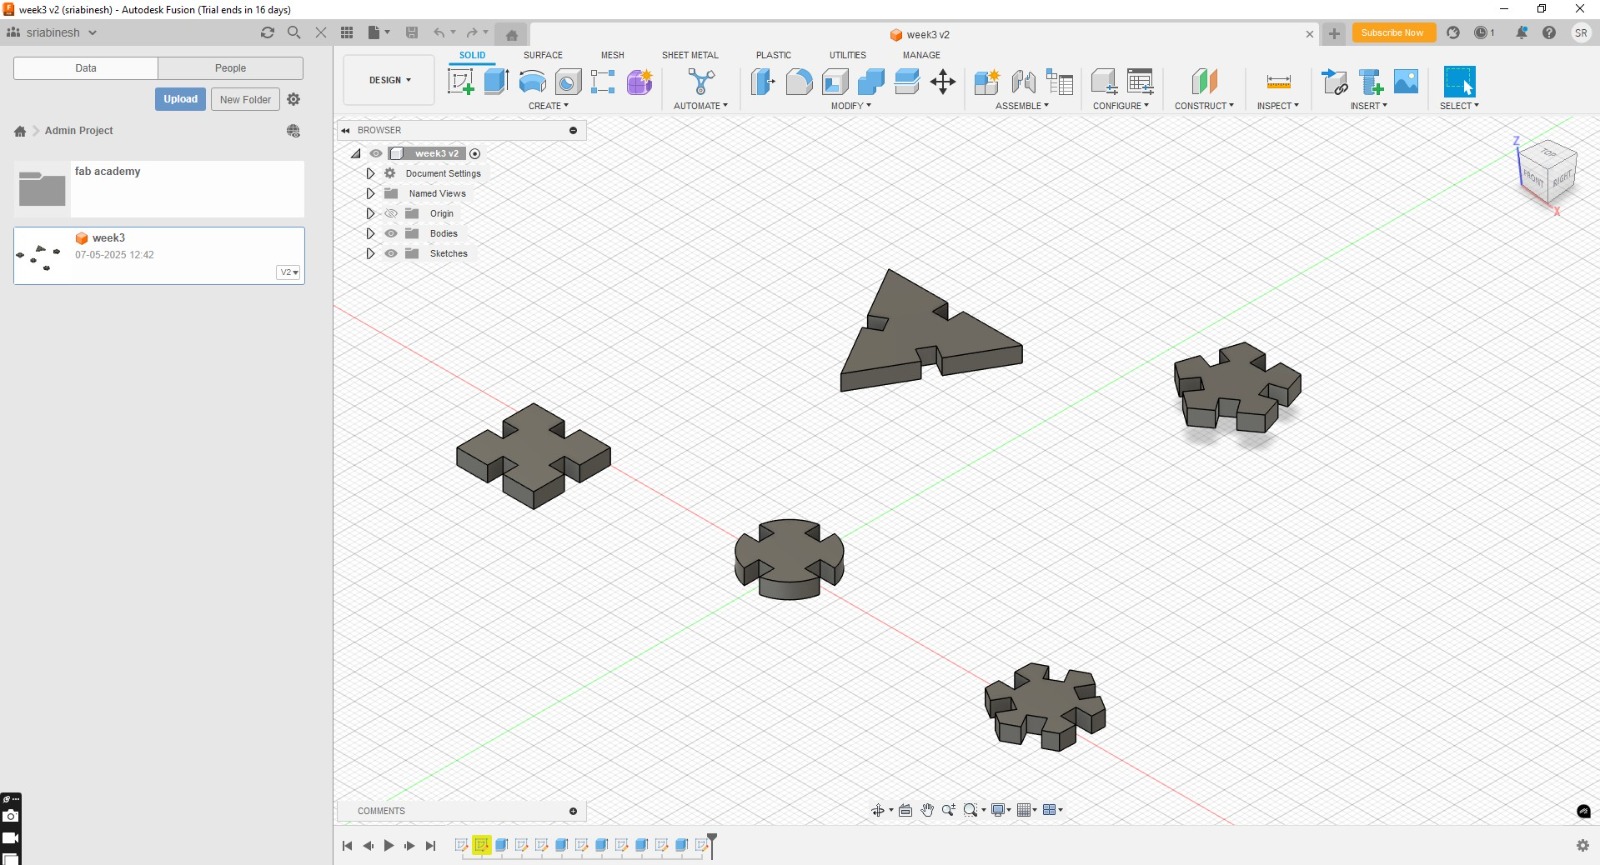
Design a parametric Model
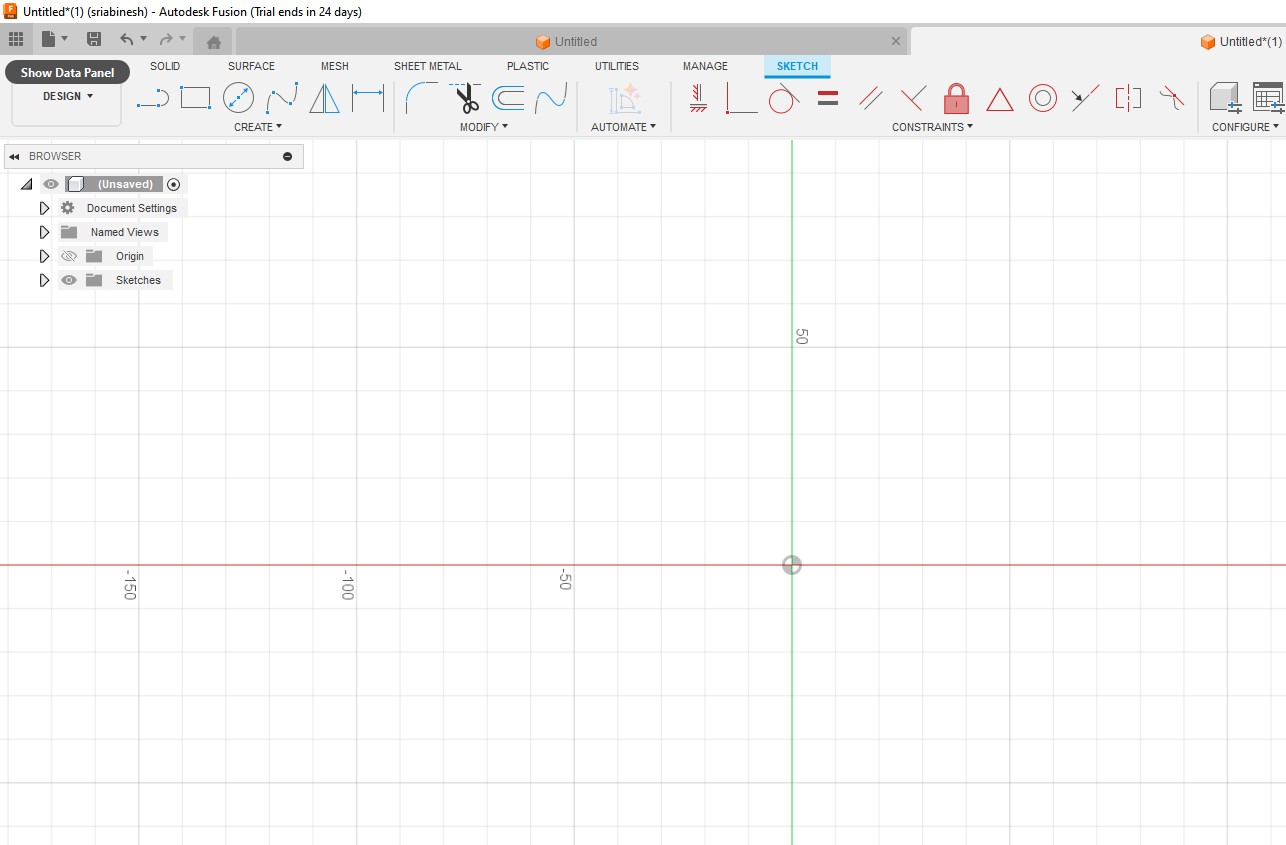
1. Open the Fusion 360 software and Create a Sketch on it.
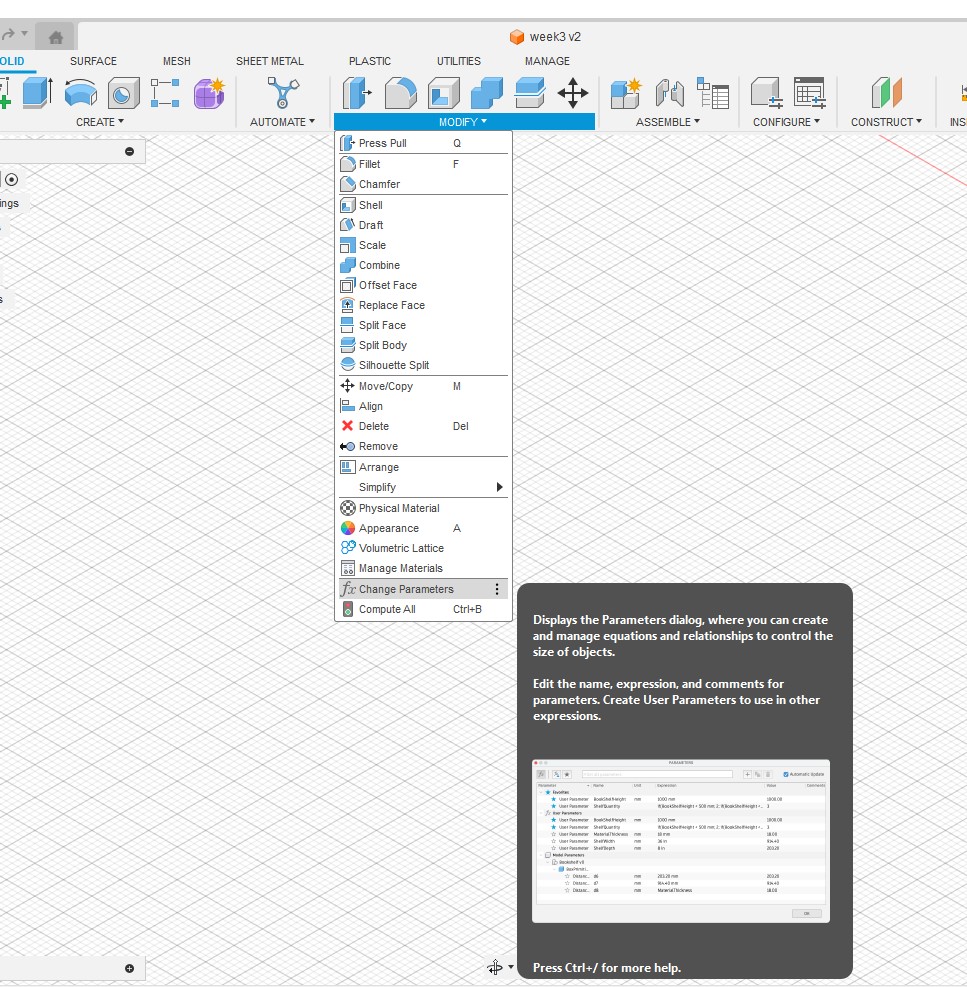
2. Go to modify -> Change Parameters -> Diallog box will be opened.

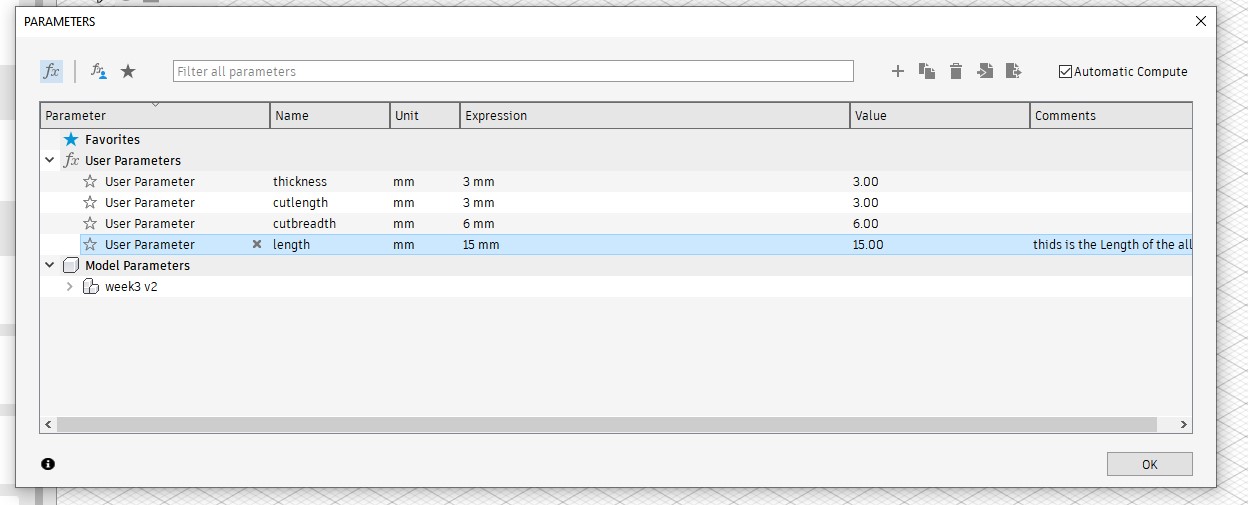
3. Click the add (+) button on it and make create a parameter for your design.

4. After completion of parameters on it, assign the parameters on the sketch
5. Extrude the sketch and make a design on it.
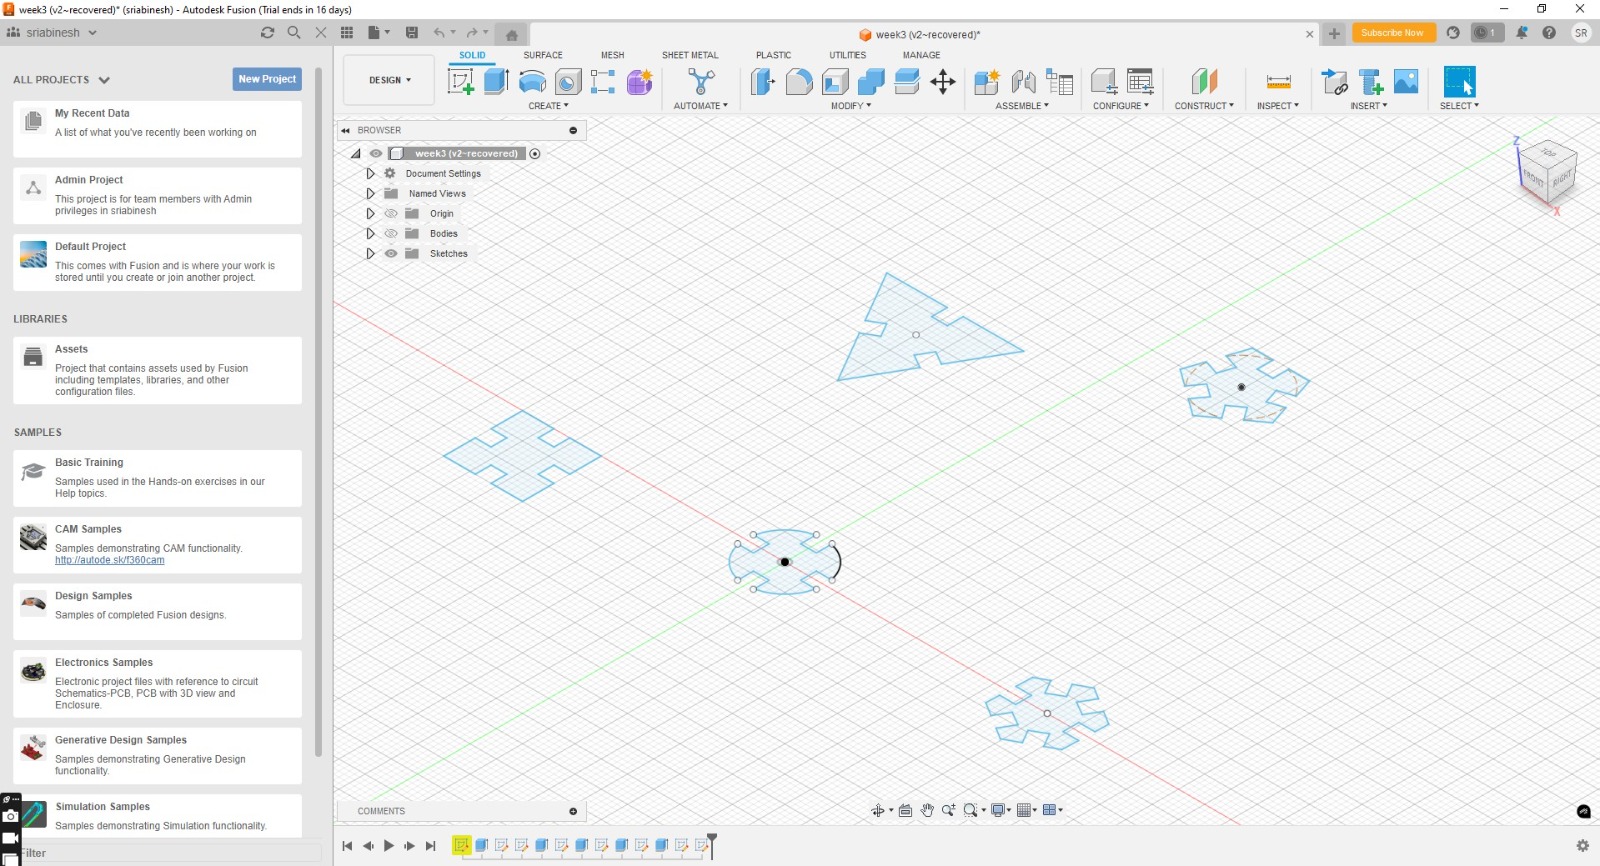
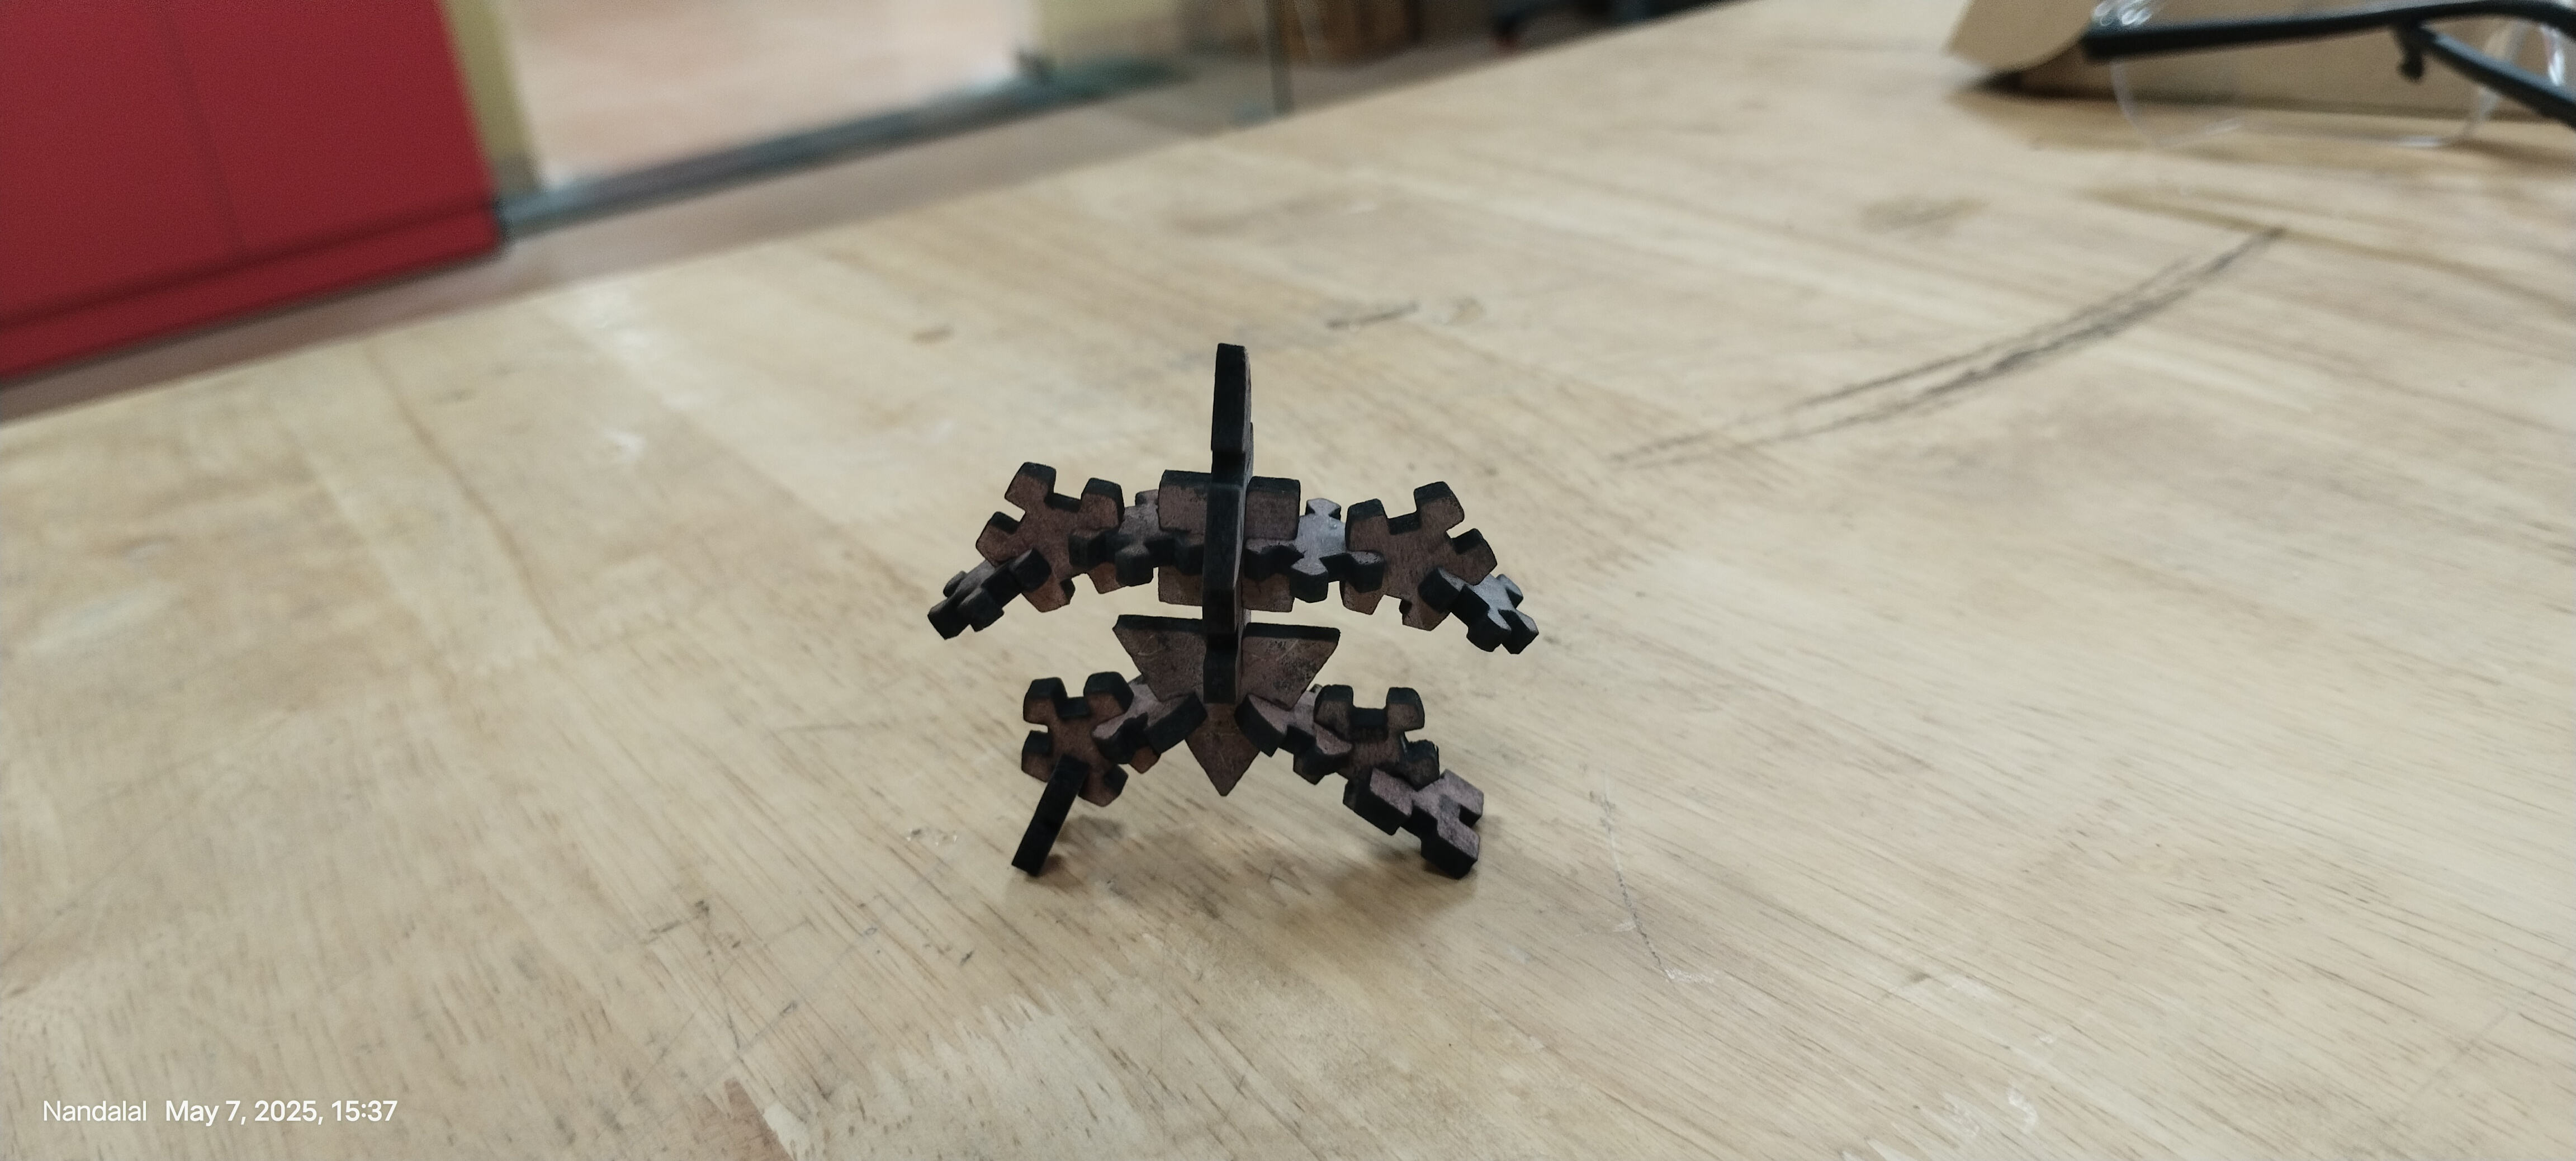
6. Final Design is similar to like this.
Laser Cutting software
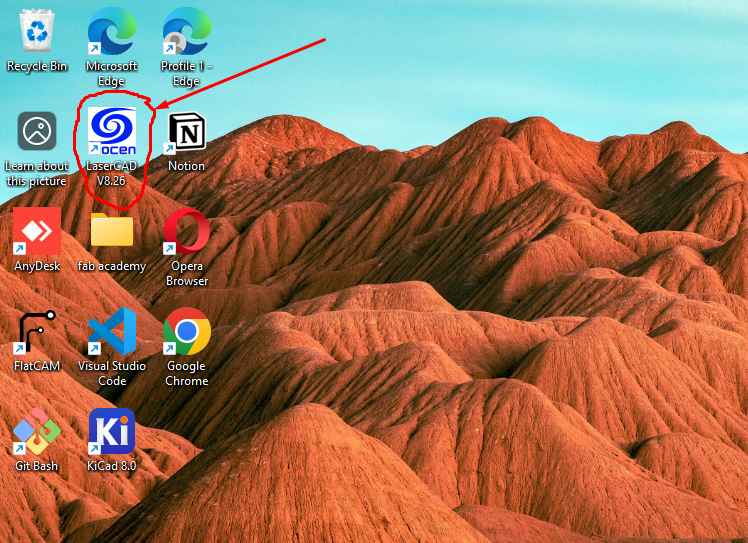
In our Lab, we are using Laser CAD Software.
You can Search it on Google "Laser CAD Software" and you may get this link -> Click on it
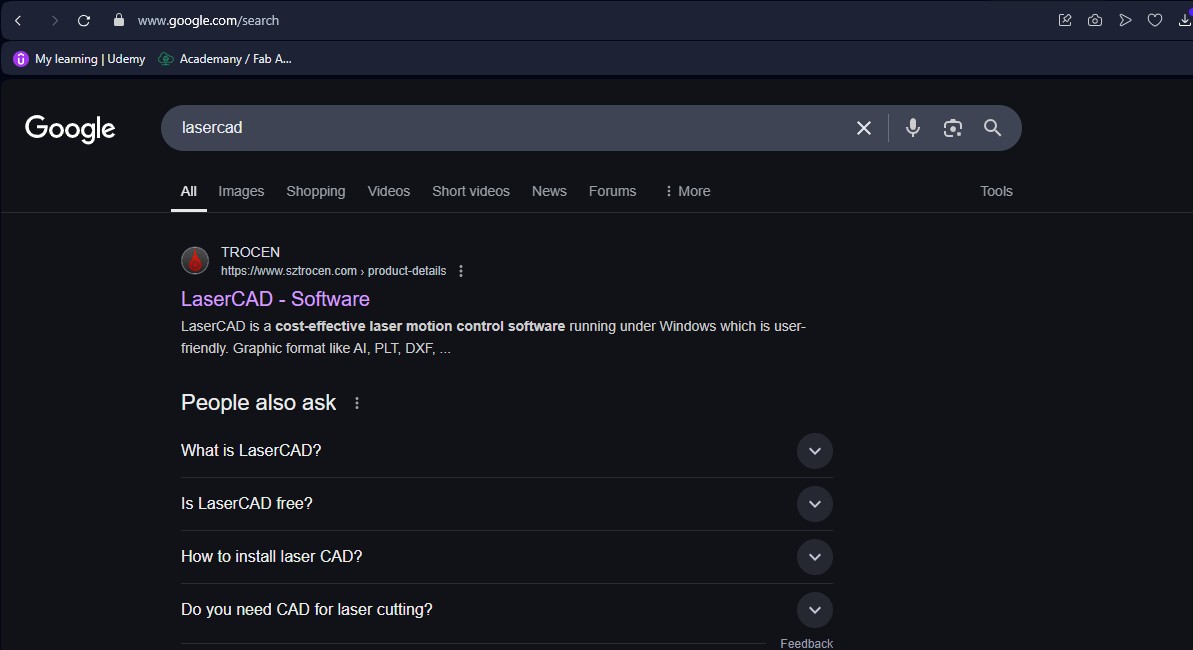
LaserCAD software is developed by TROCEN Technology for laser controlling Systems. it is basically used for the laser cutting and engraving machines it is commonly used in Co2 Laser Cutting Machines.
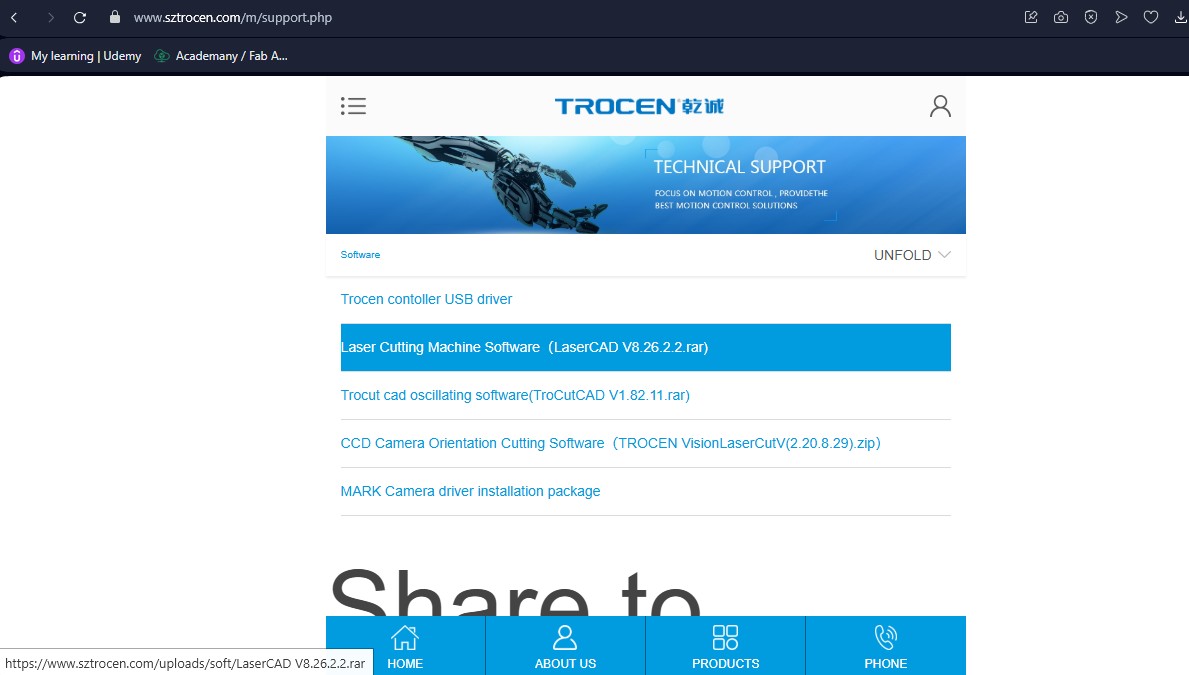
Here is the link button below:
Or you can download manually:
Click here to download LaserCAD
Importing to Laser CAD
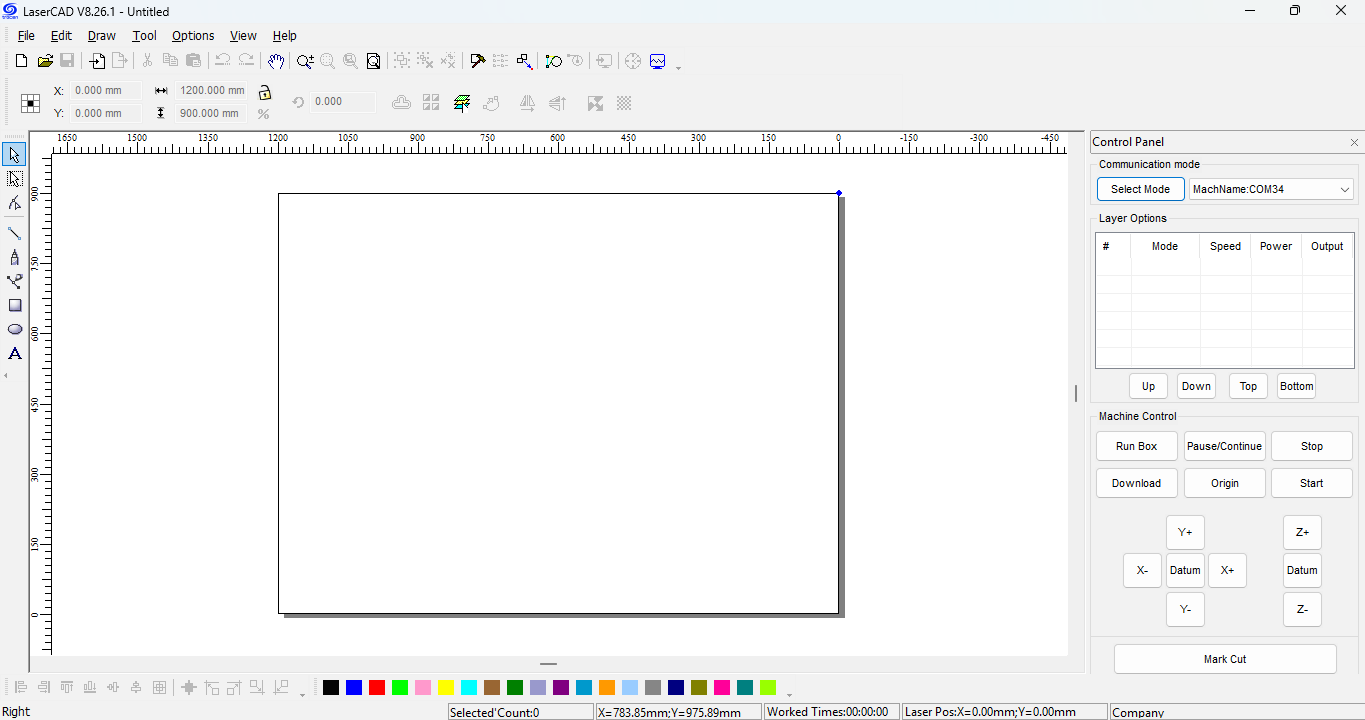
1. Open the Laser Cut software.
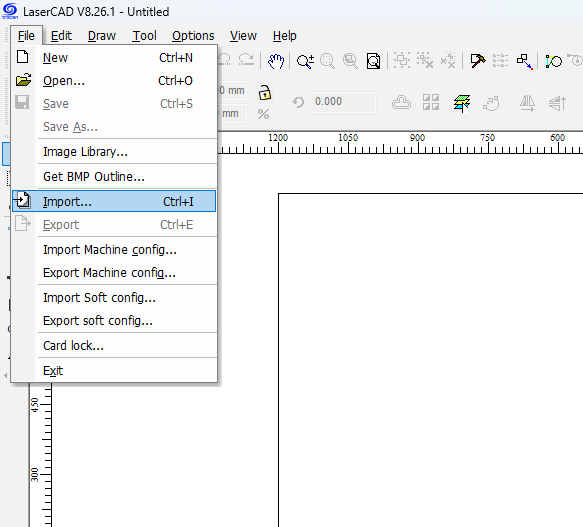
2. Import the parametric Geometric Design model.by opening the File -> Import

3. after opening the File, you may receive this typeof Pop up Window
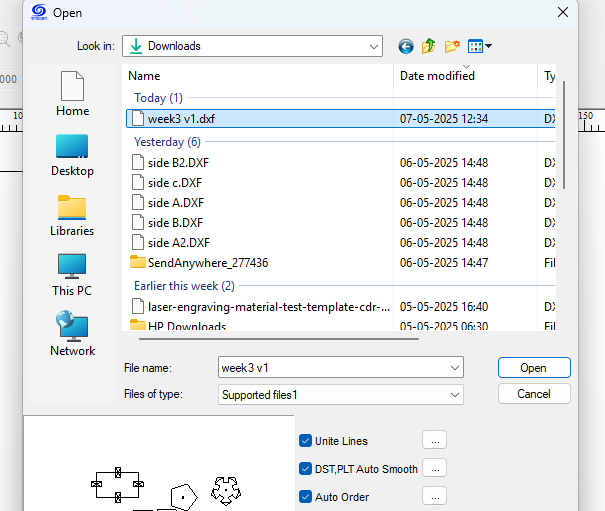
4. Navigate your file over there and selct your file to import on the Laser CUT software
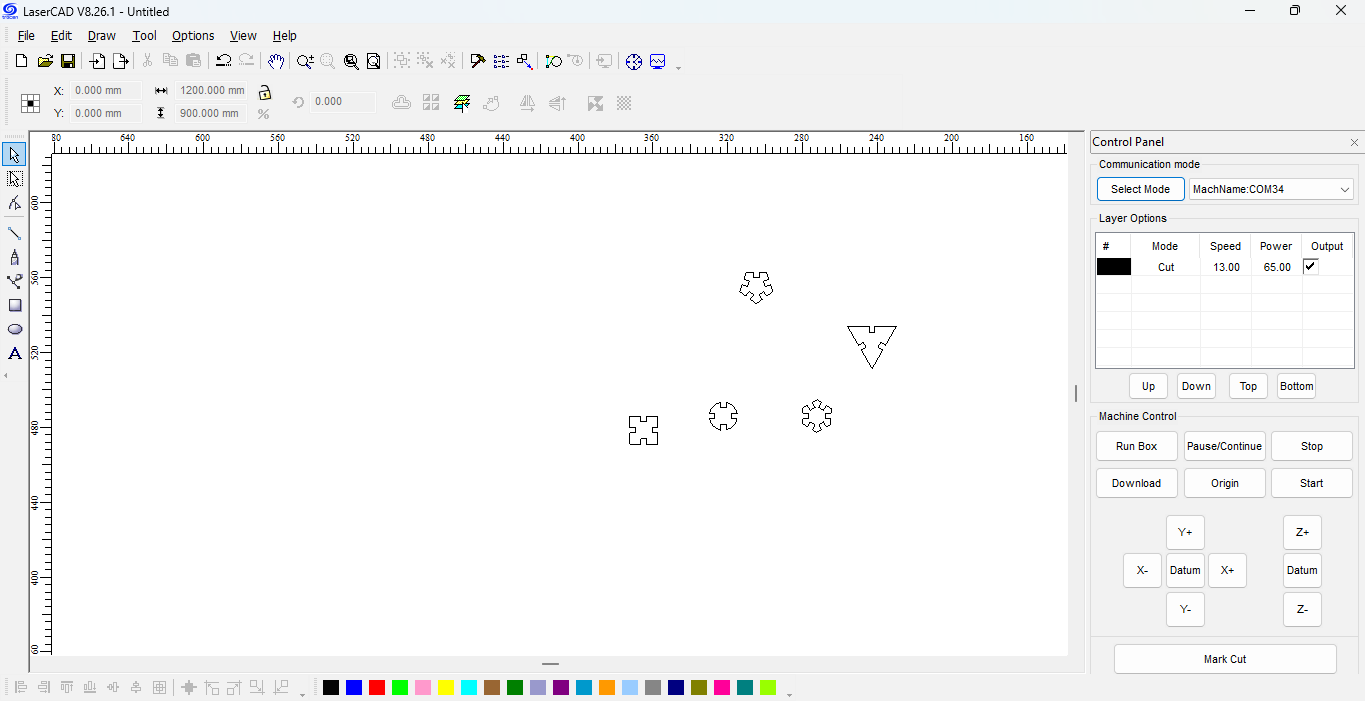
5. As you see the File has been imported
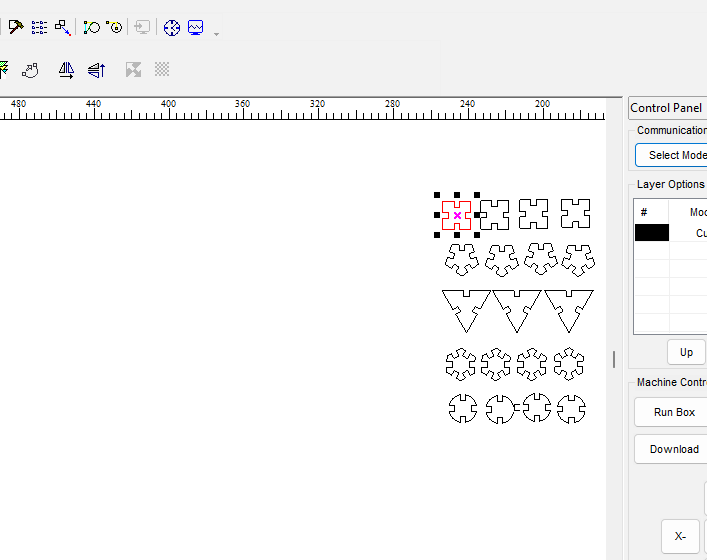
6. Arrange the duplicate the contents as per your needs.
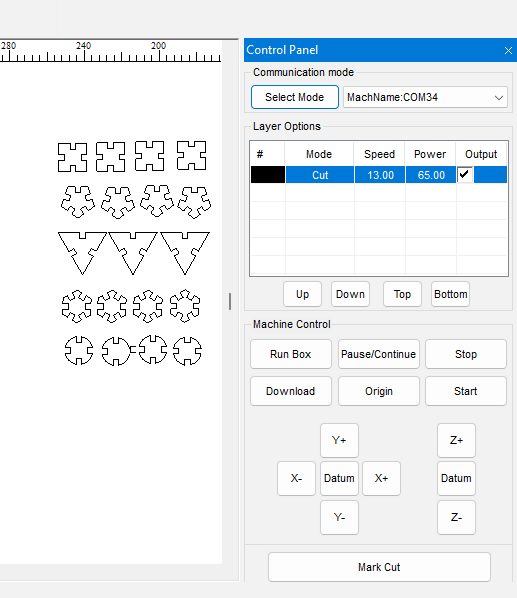
7. On the side of your widnow there will the control for power and speed parameters. over there click the available "cut" to change the pearametrers as per the needs.

8. After importing the file, set the settings for the laser cutting machine to cut the material.
for 3mm MDF sheet the Speed and the Power Settigns are
1. Speed : 13
2. Power : 60-65
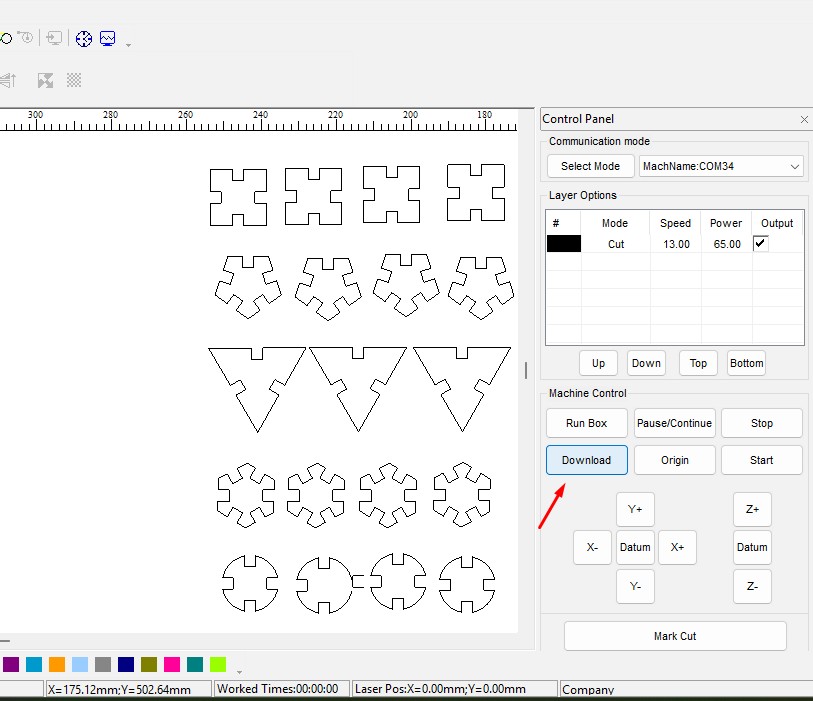
9. Once done, upload the file to the LaserCut Machine by clicking on the "Download" Button

10. a Window will be Pop Up and CLick on the "Download Document" Button to upload the file to the LaserCut Machine.
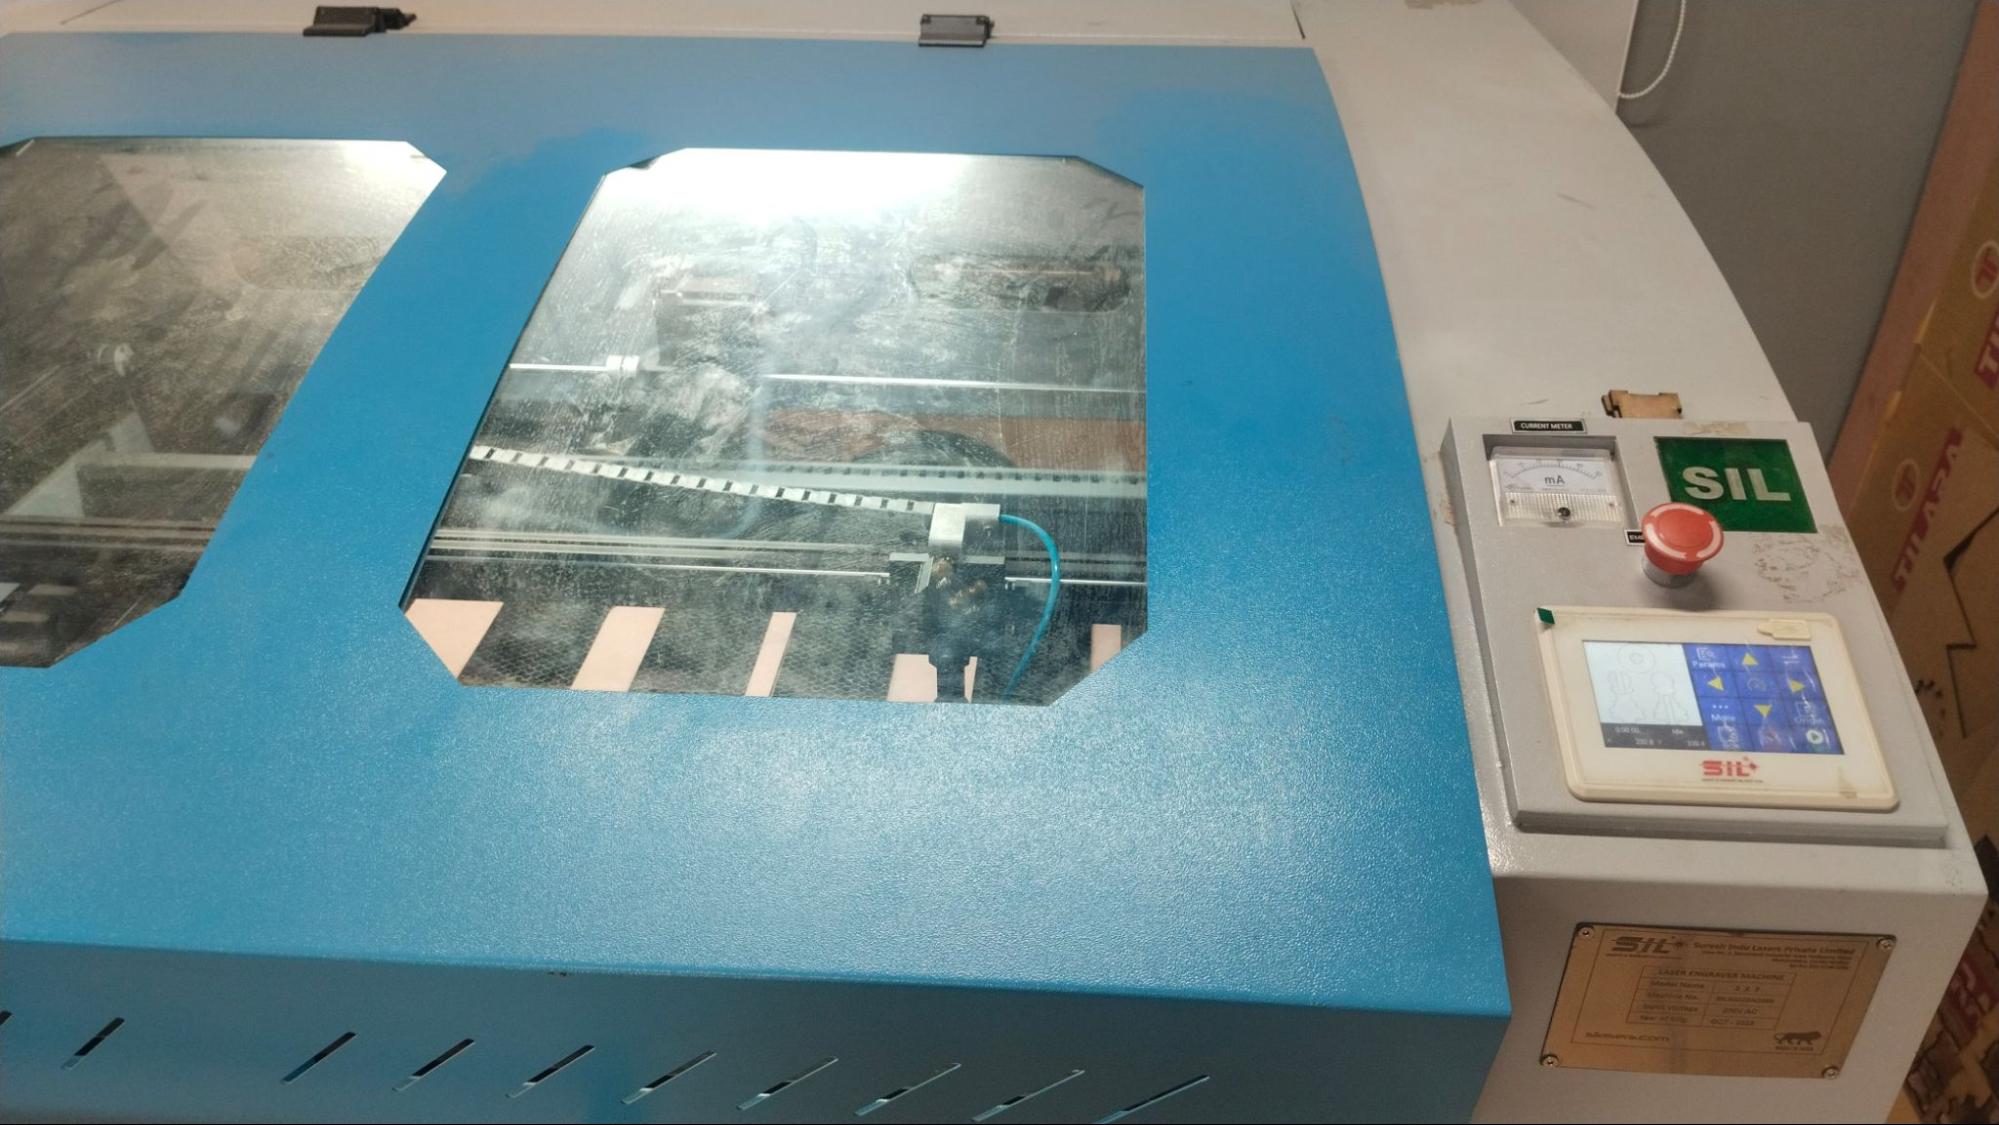
Setting the LaserCut Machine
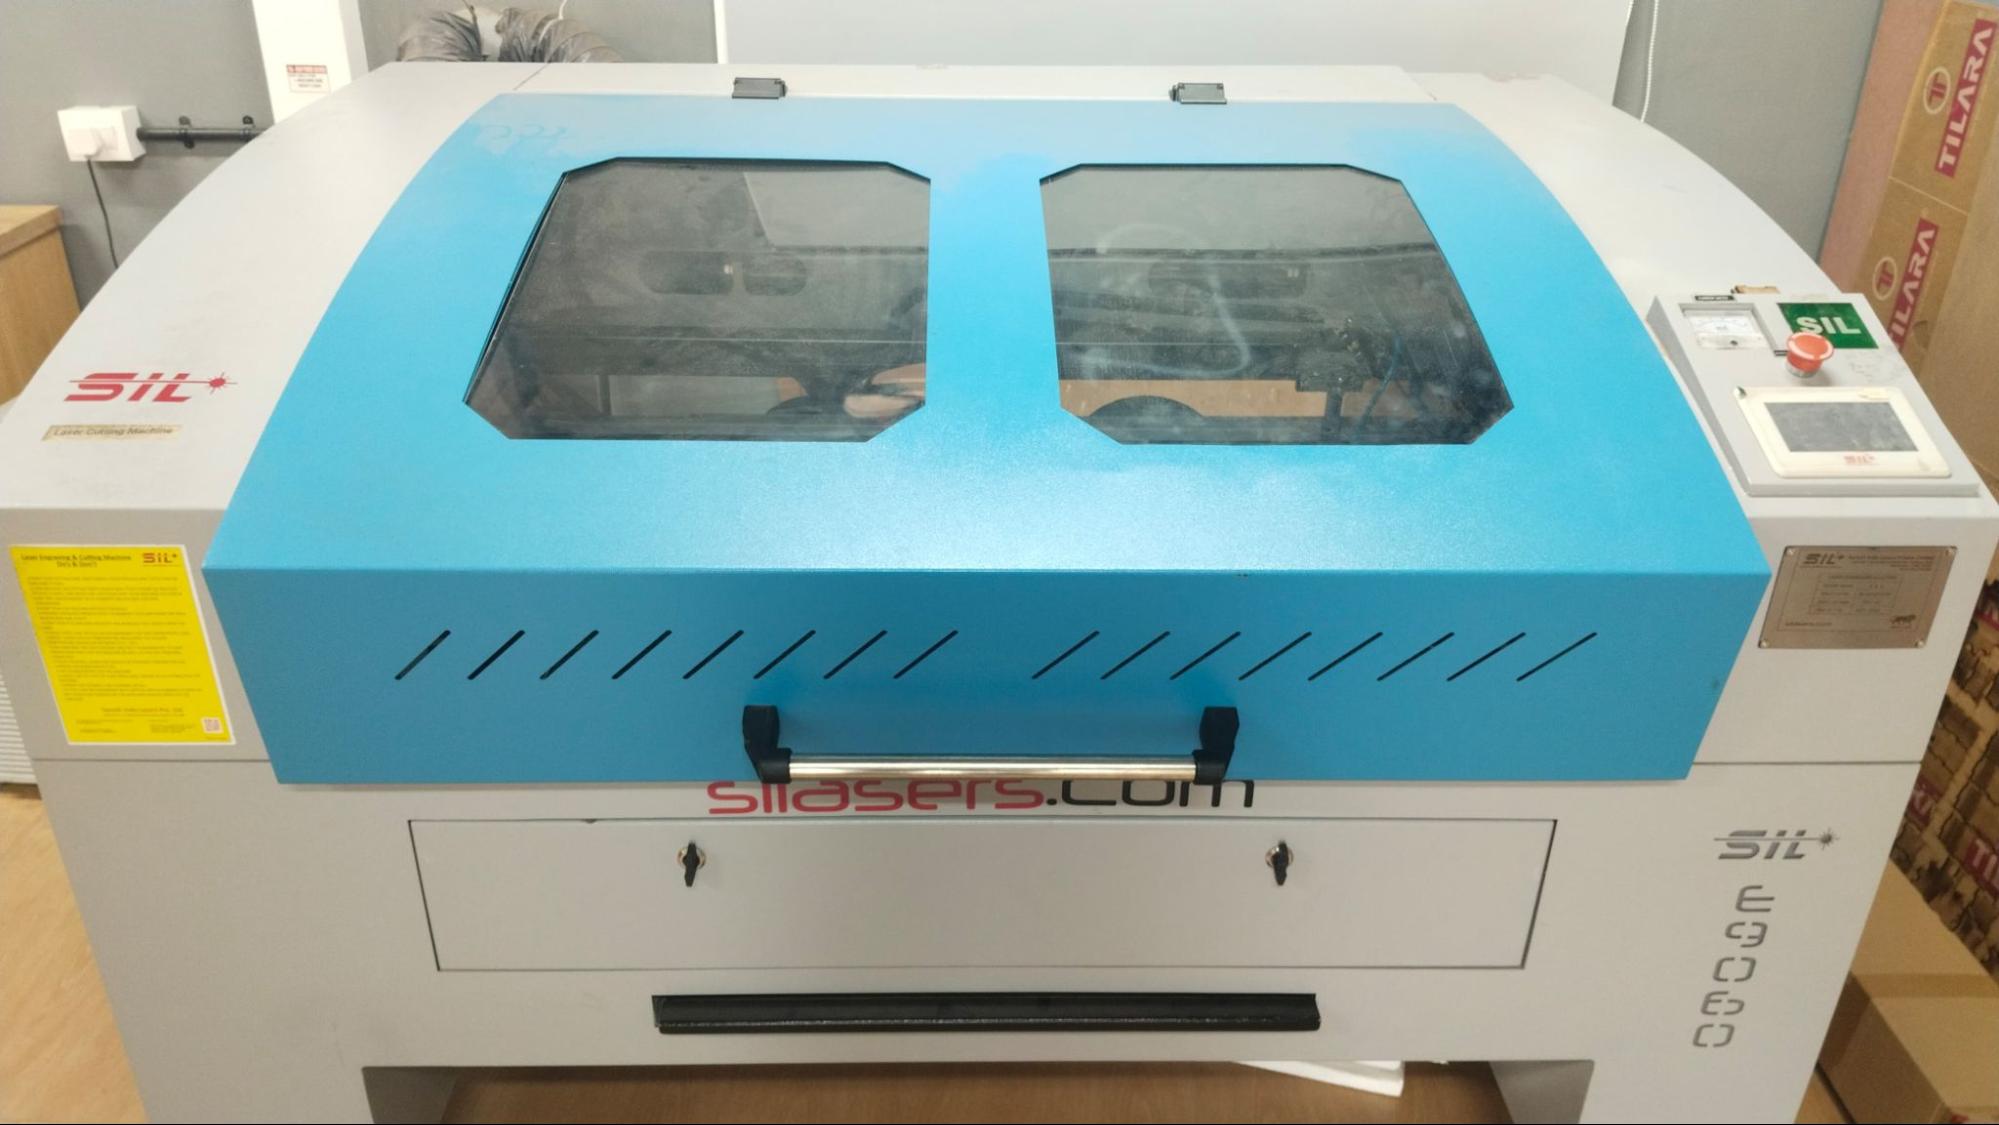
1. Before turning on the LaserCut Machine, ensure that the machine’s Chiller Box is ON and set to the right temperature.
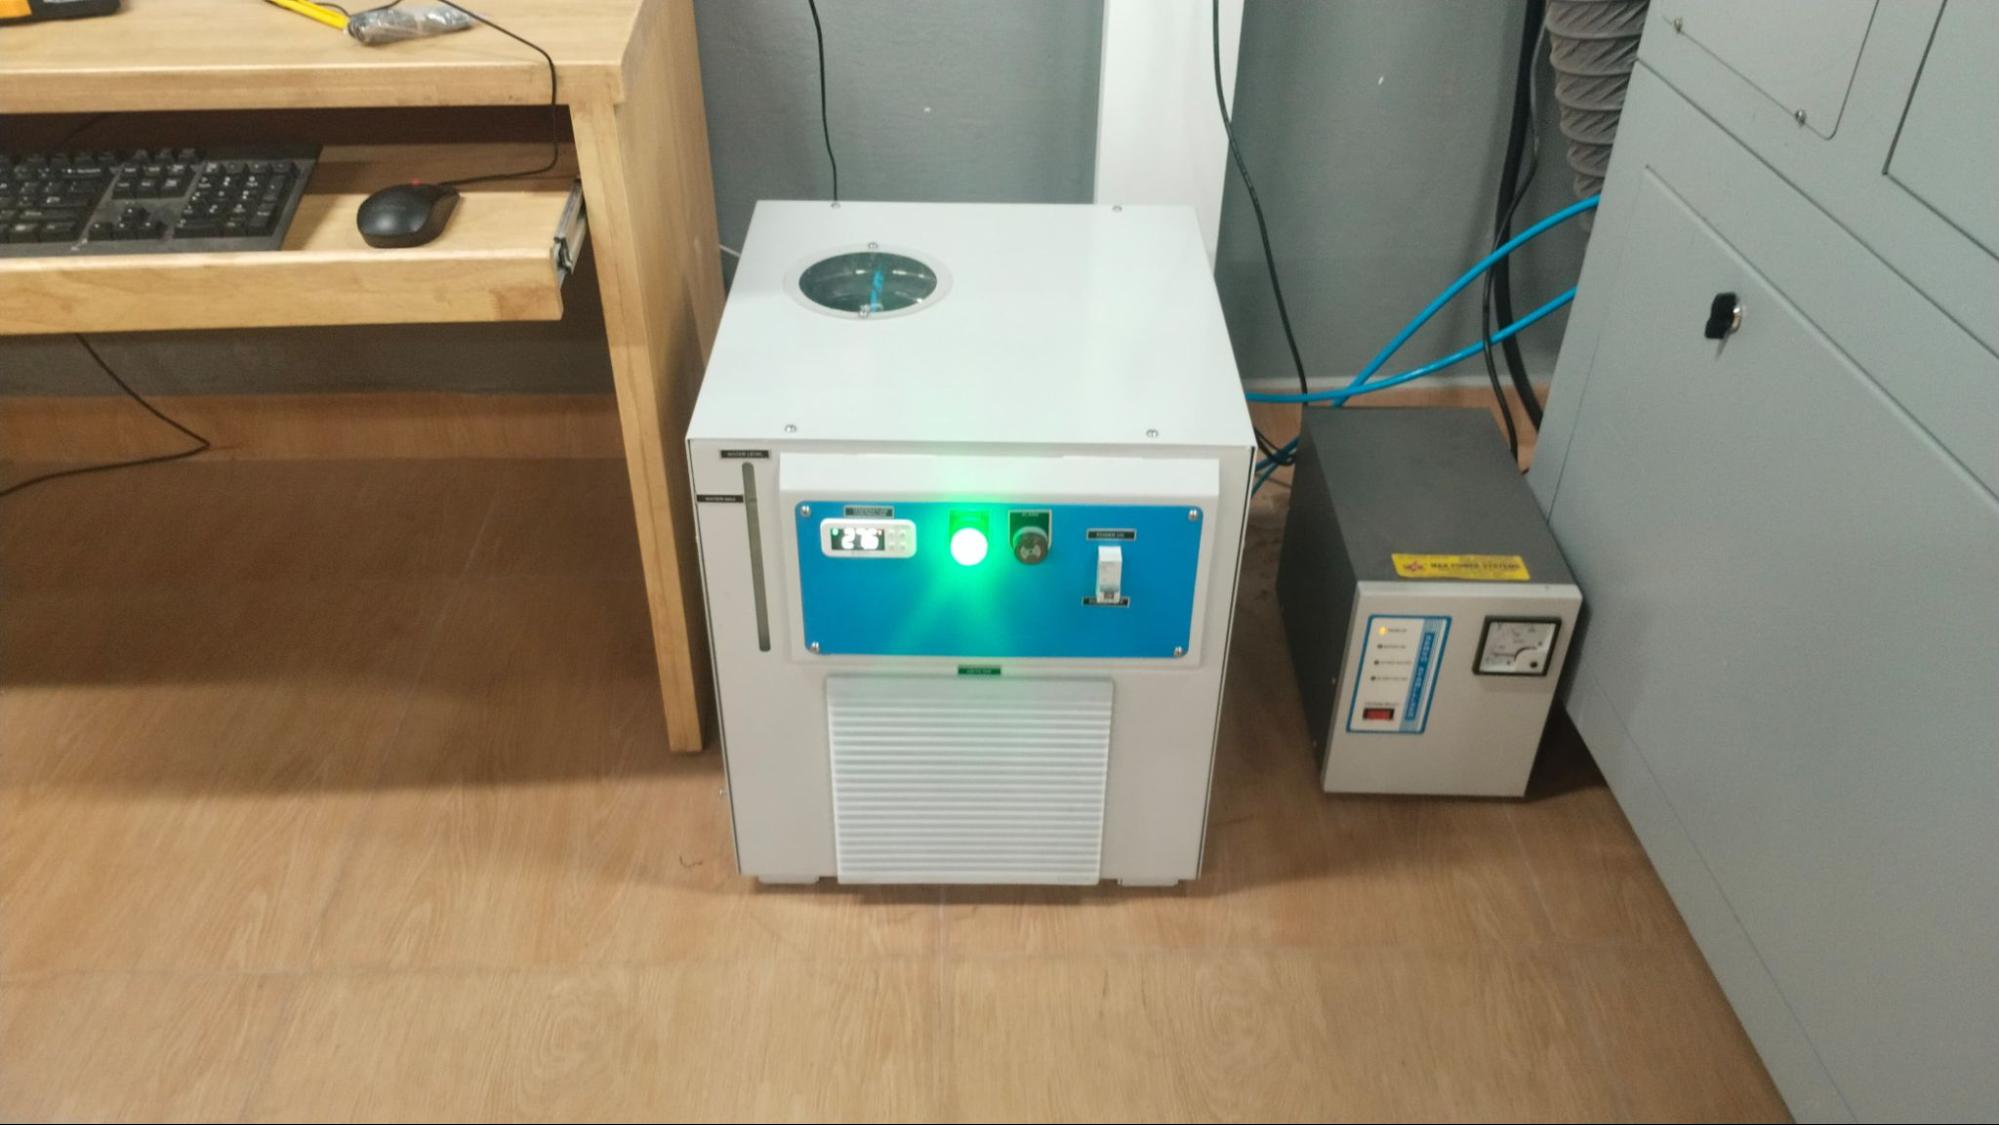
2. After the Chiller Unit has reached the right temperature for our Machine the temperature to use it efficiently is around 26 or 25.4 C , switch on the Laser Cutting Machine. place the MDF sheet on the bed and it should be in align to the bed
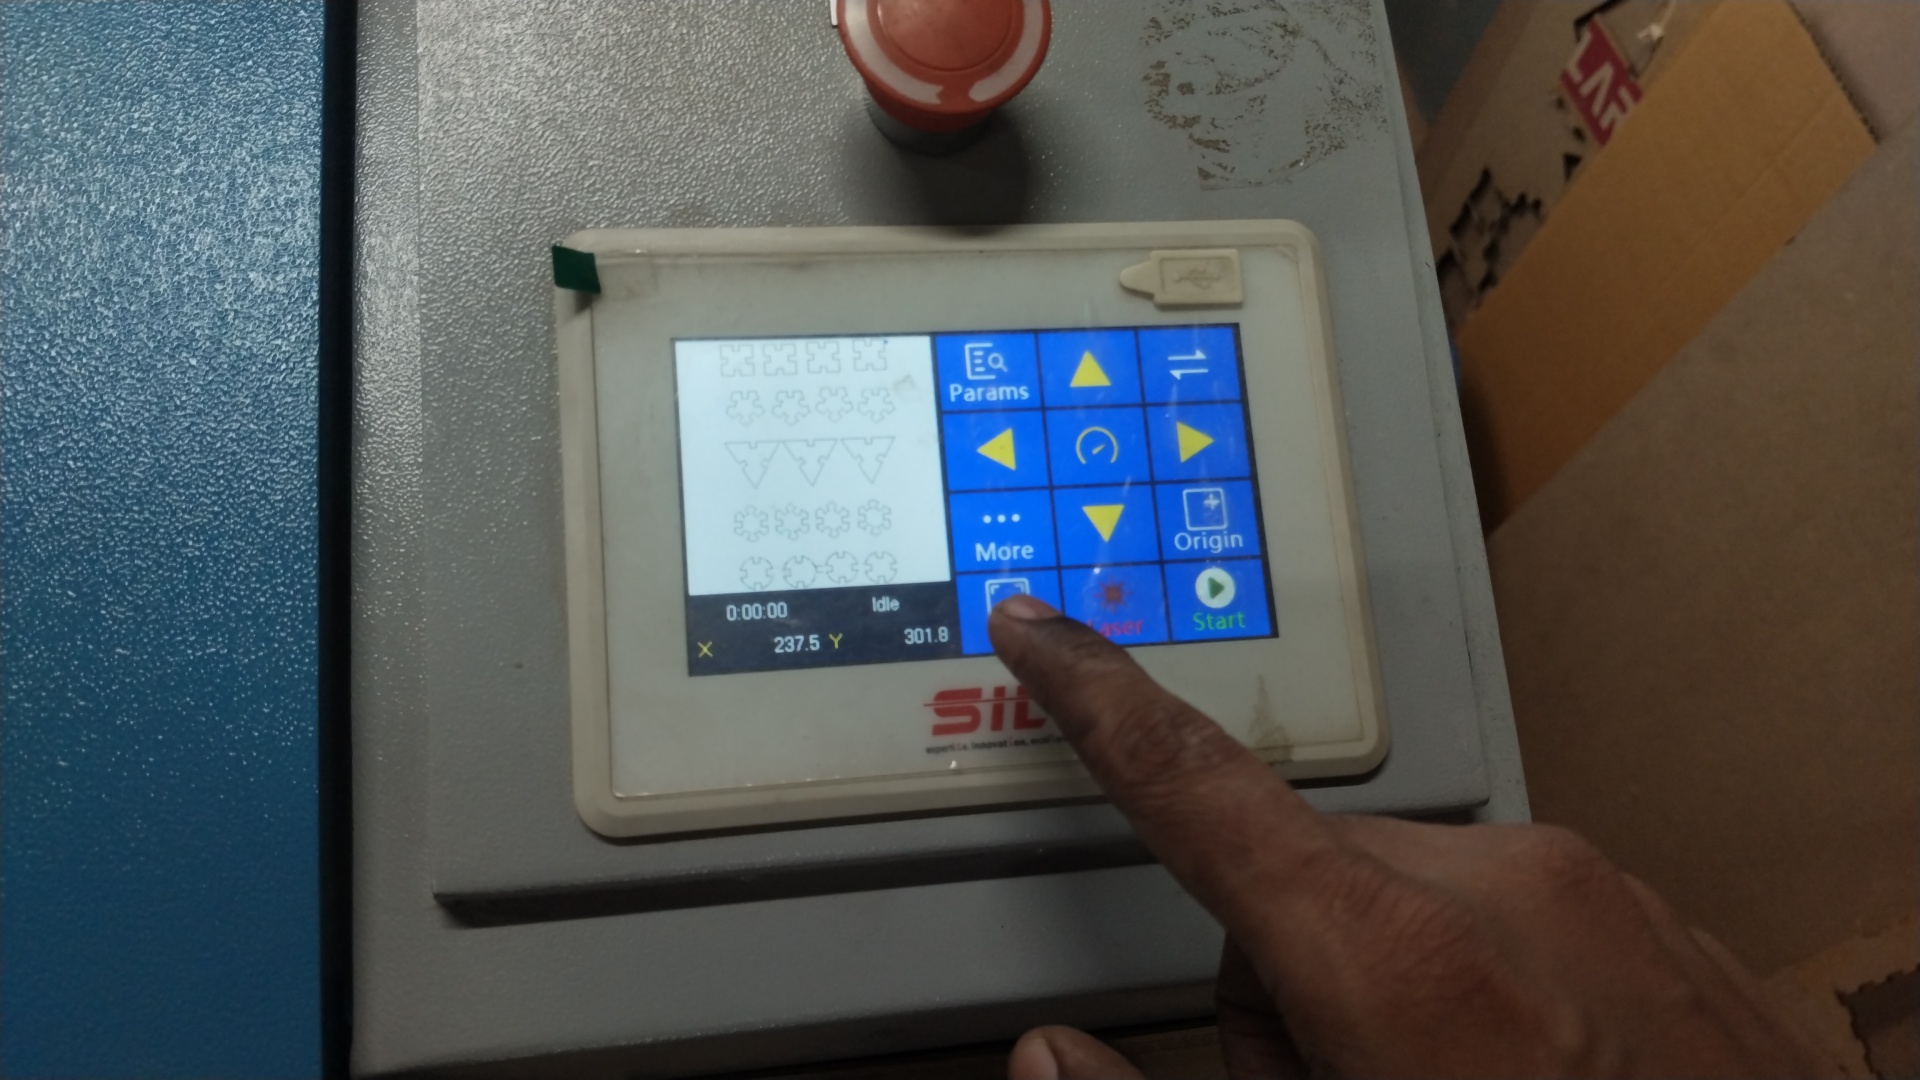
3. Check if the right design was uploaded from the computer, then set the origin and click the Box icon which was provided to start the show the entire arean that the design is gonna take it to start the process.
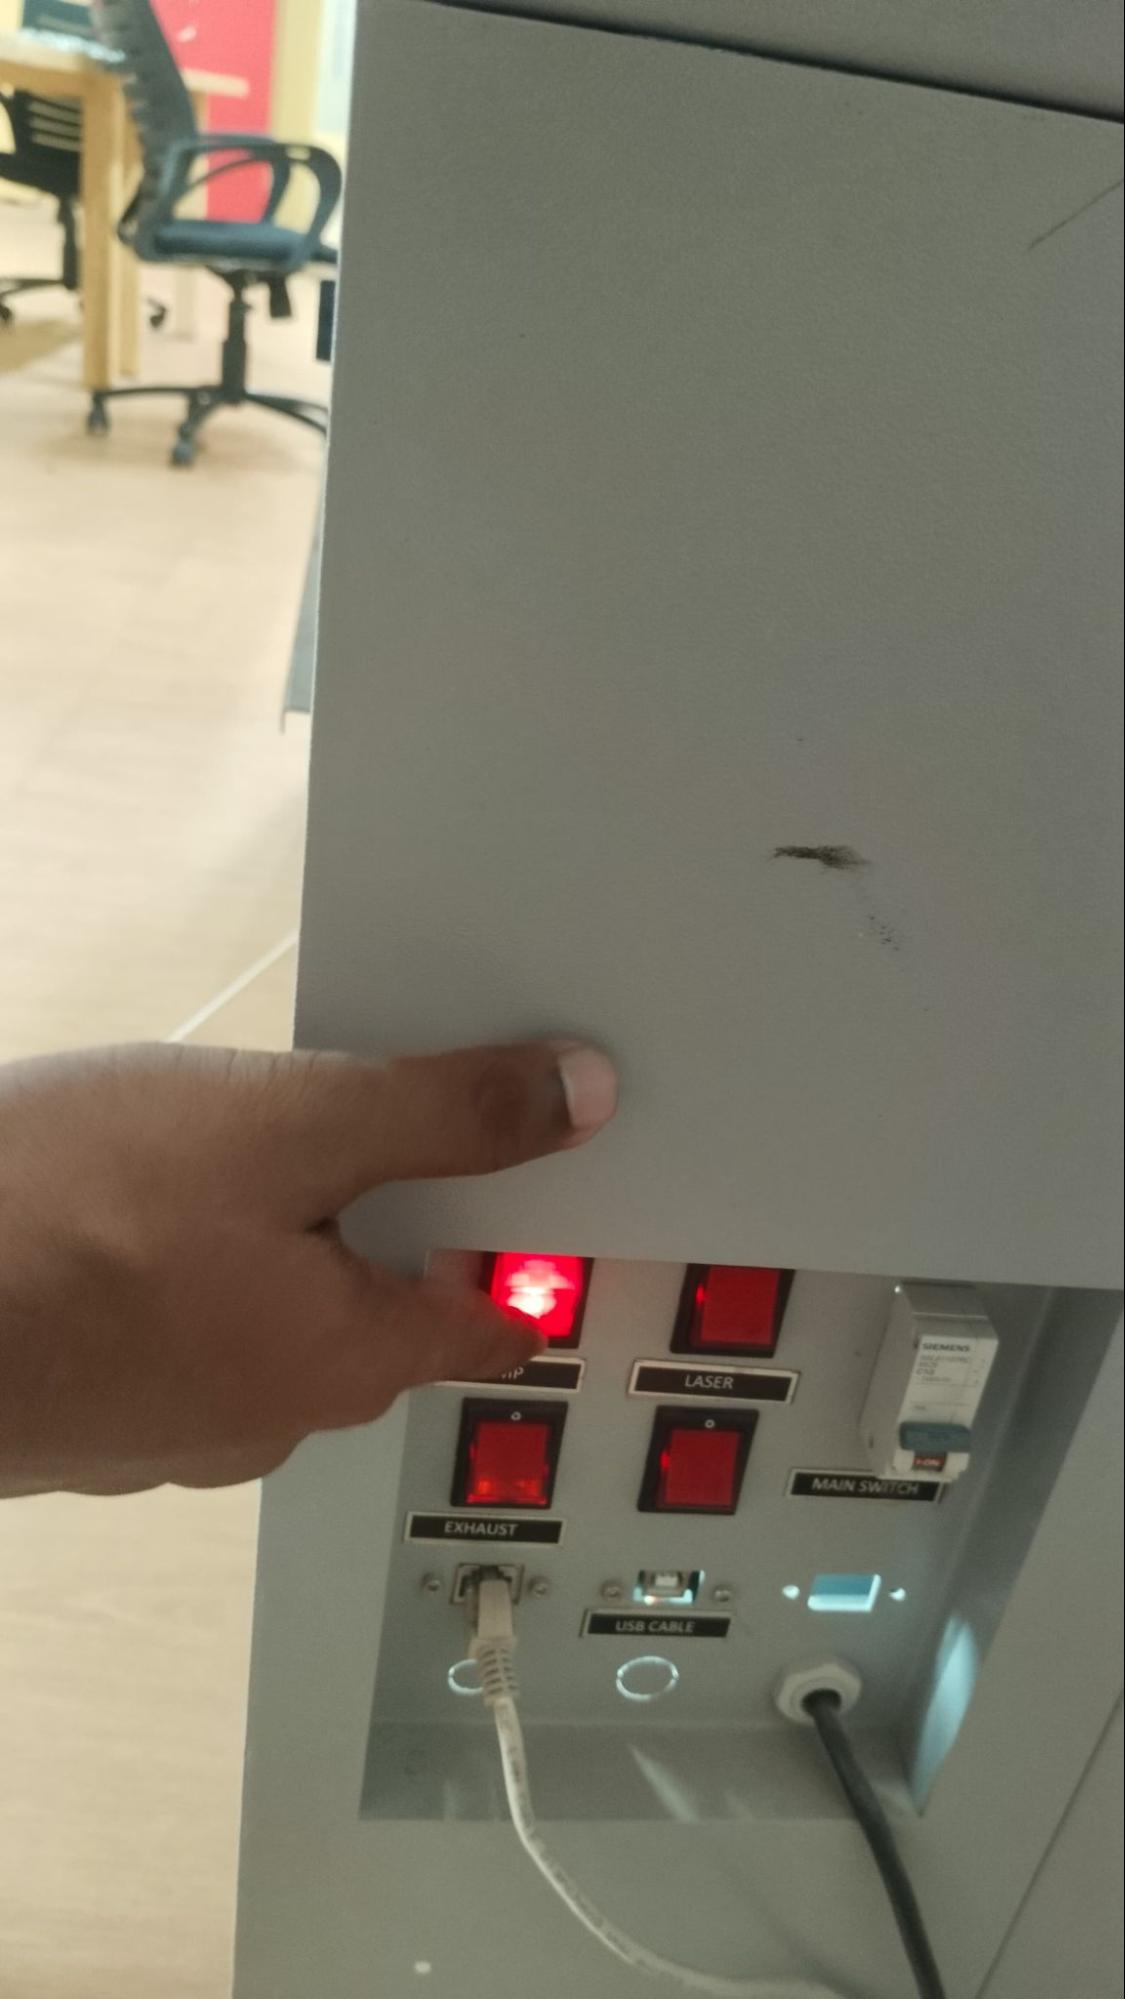
4. Switch ON the Laser, Exhaust, and Light Buttons to begin the process.
5. Close the Laser Cutting Machine and start the process.
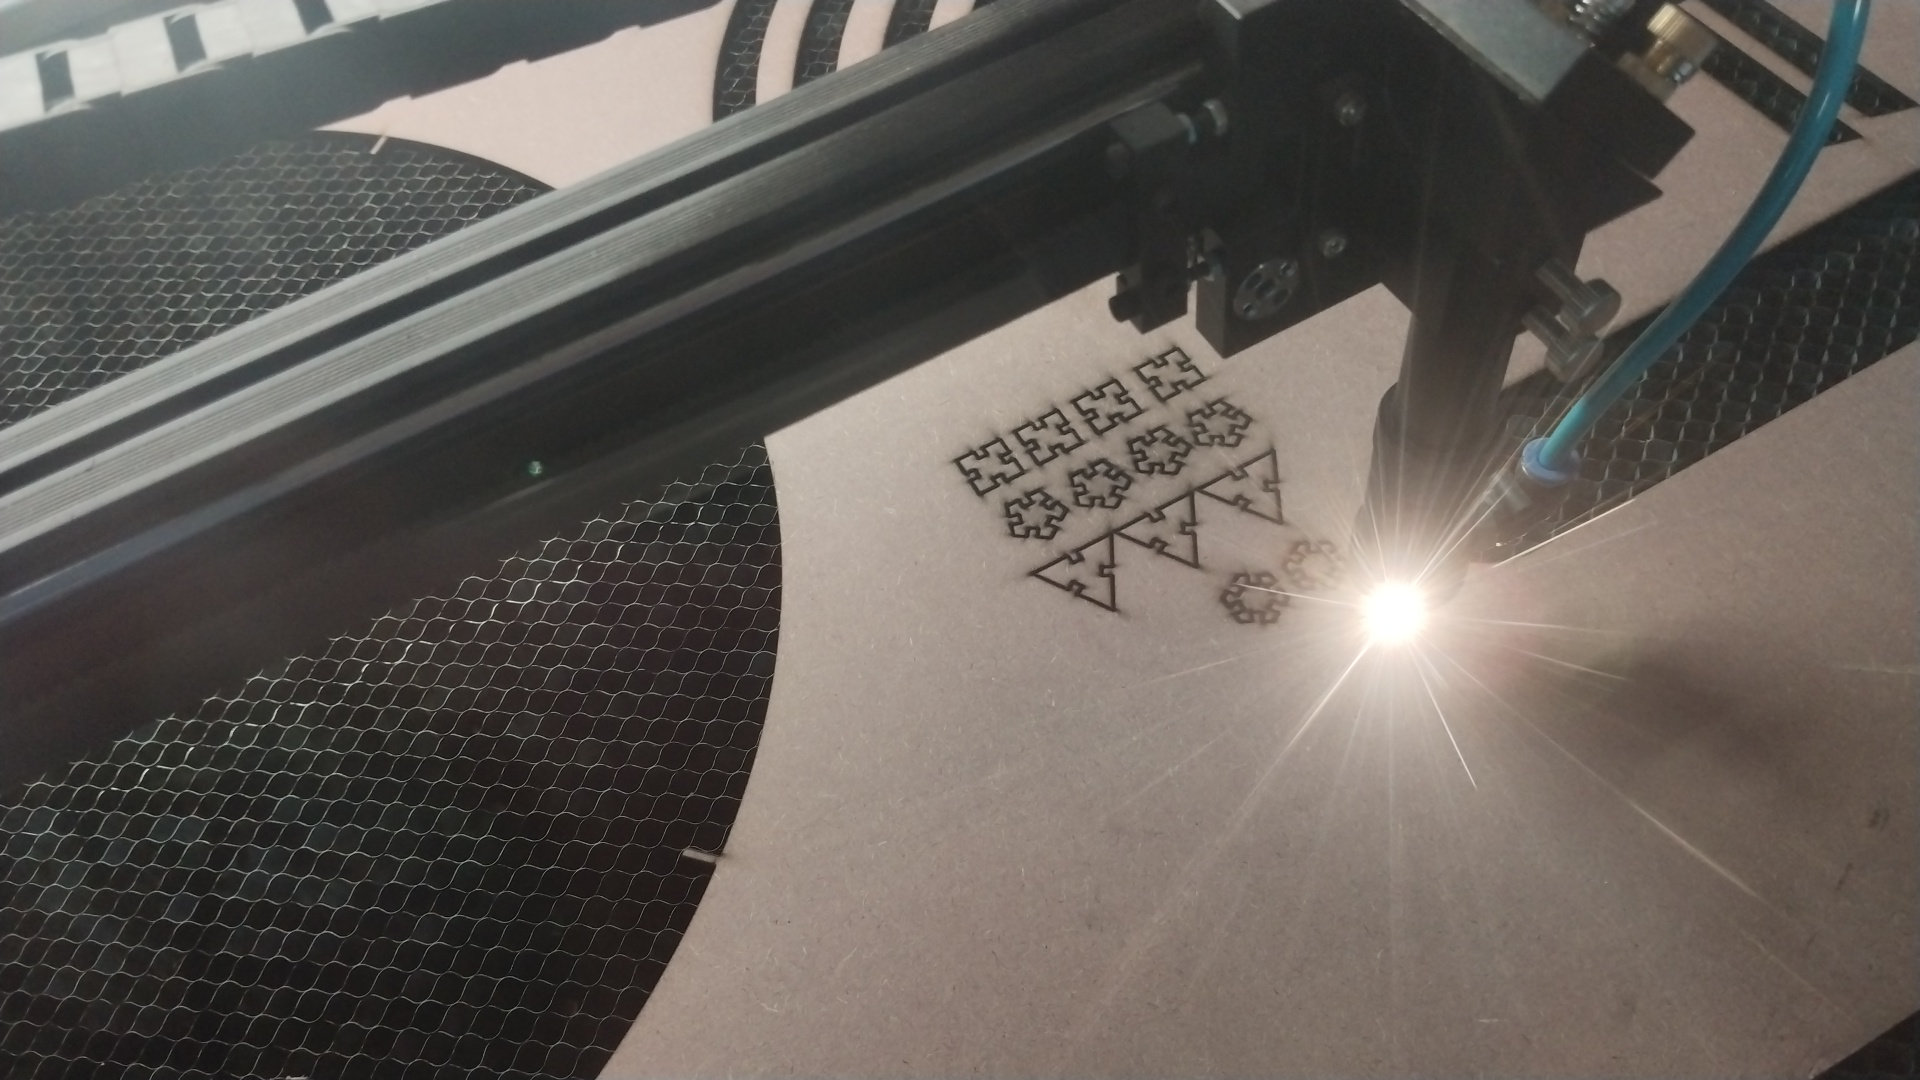
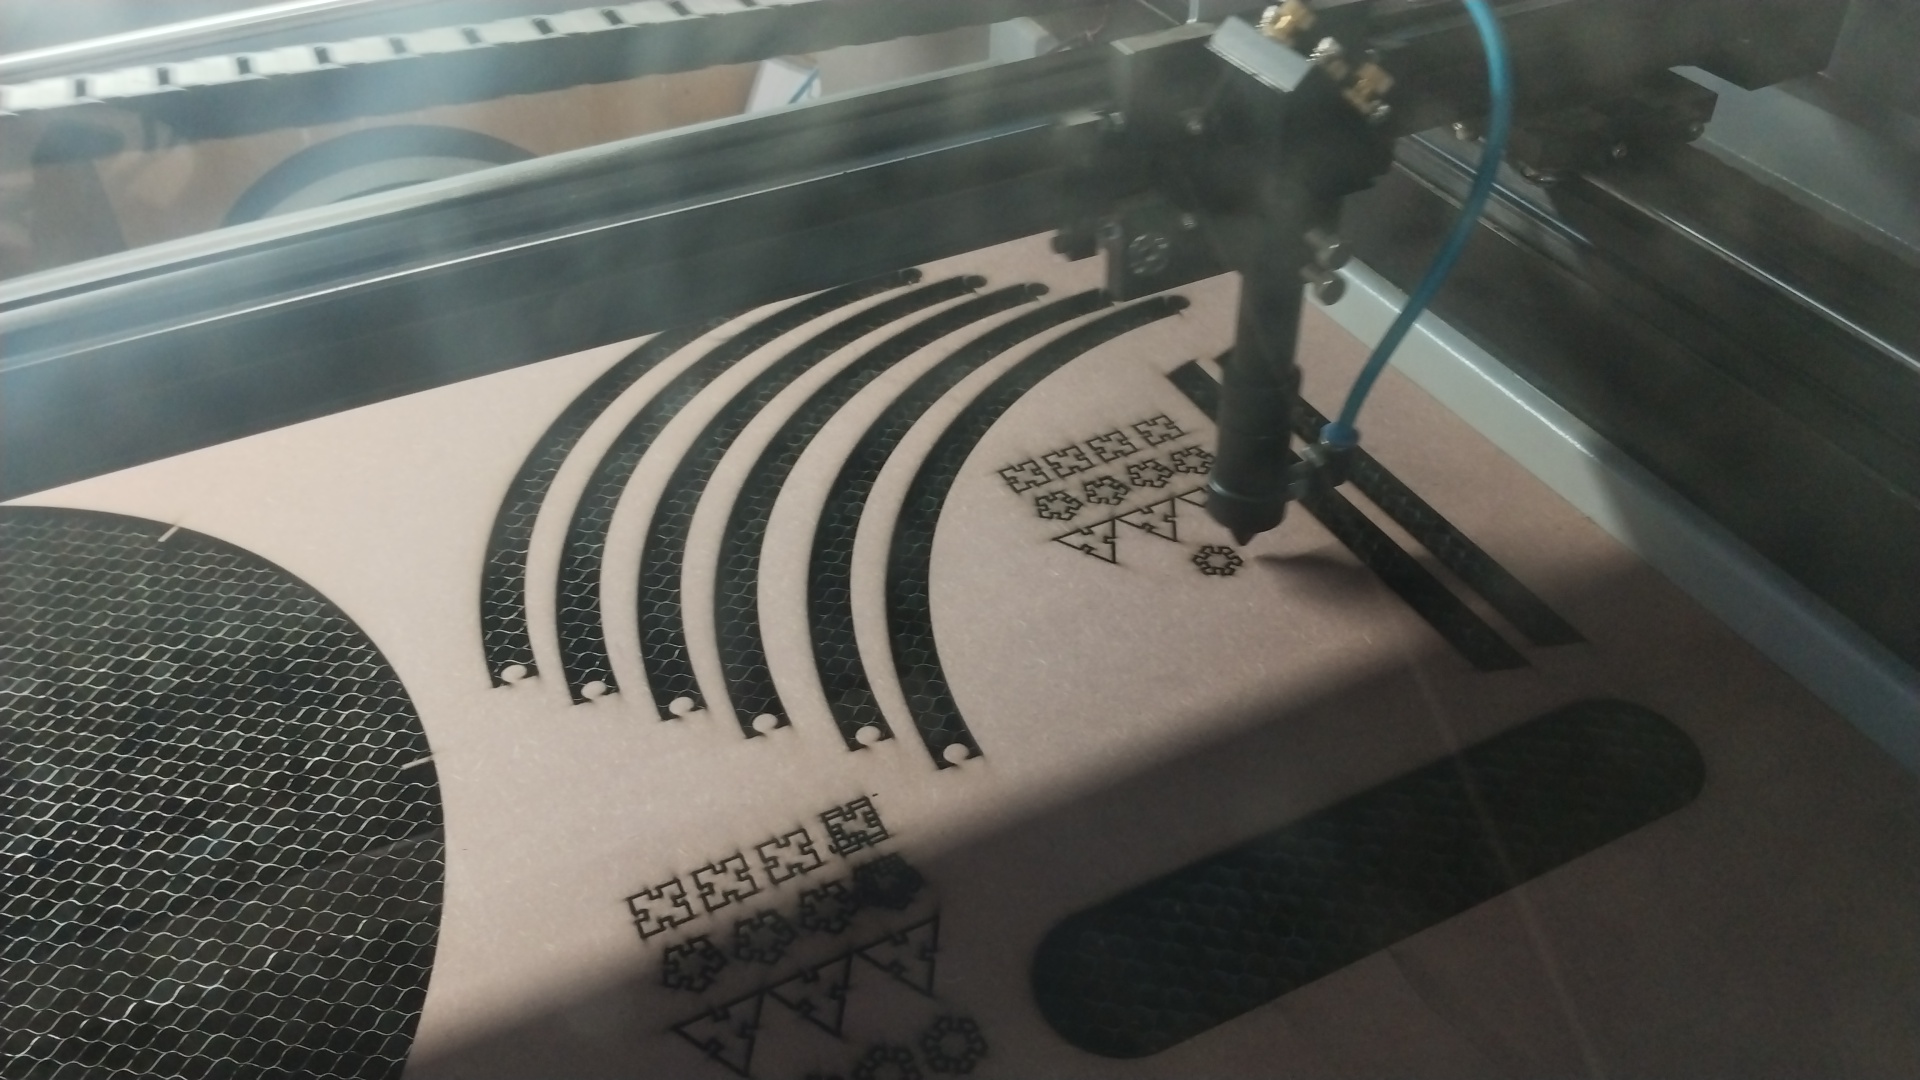
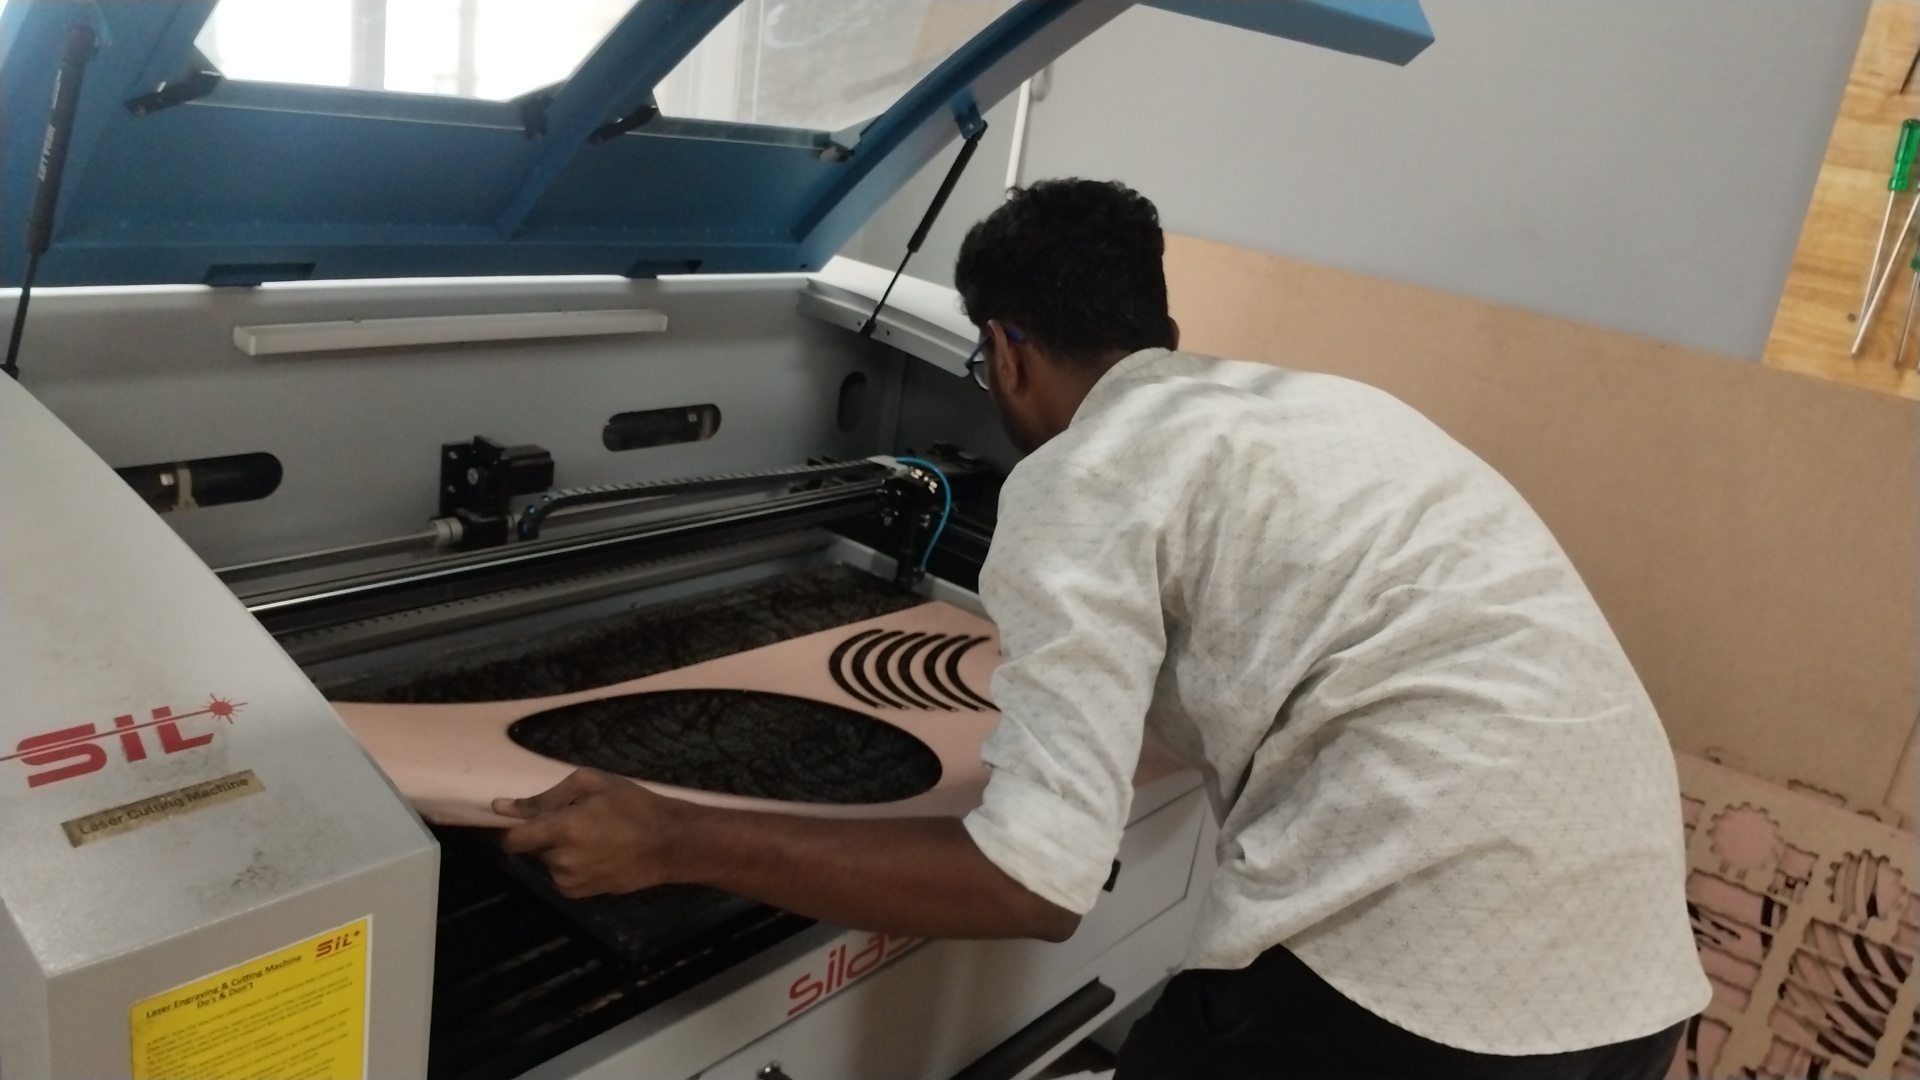
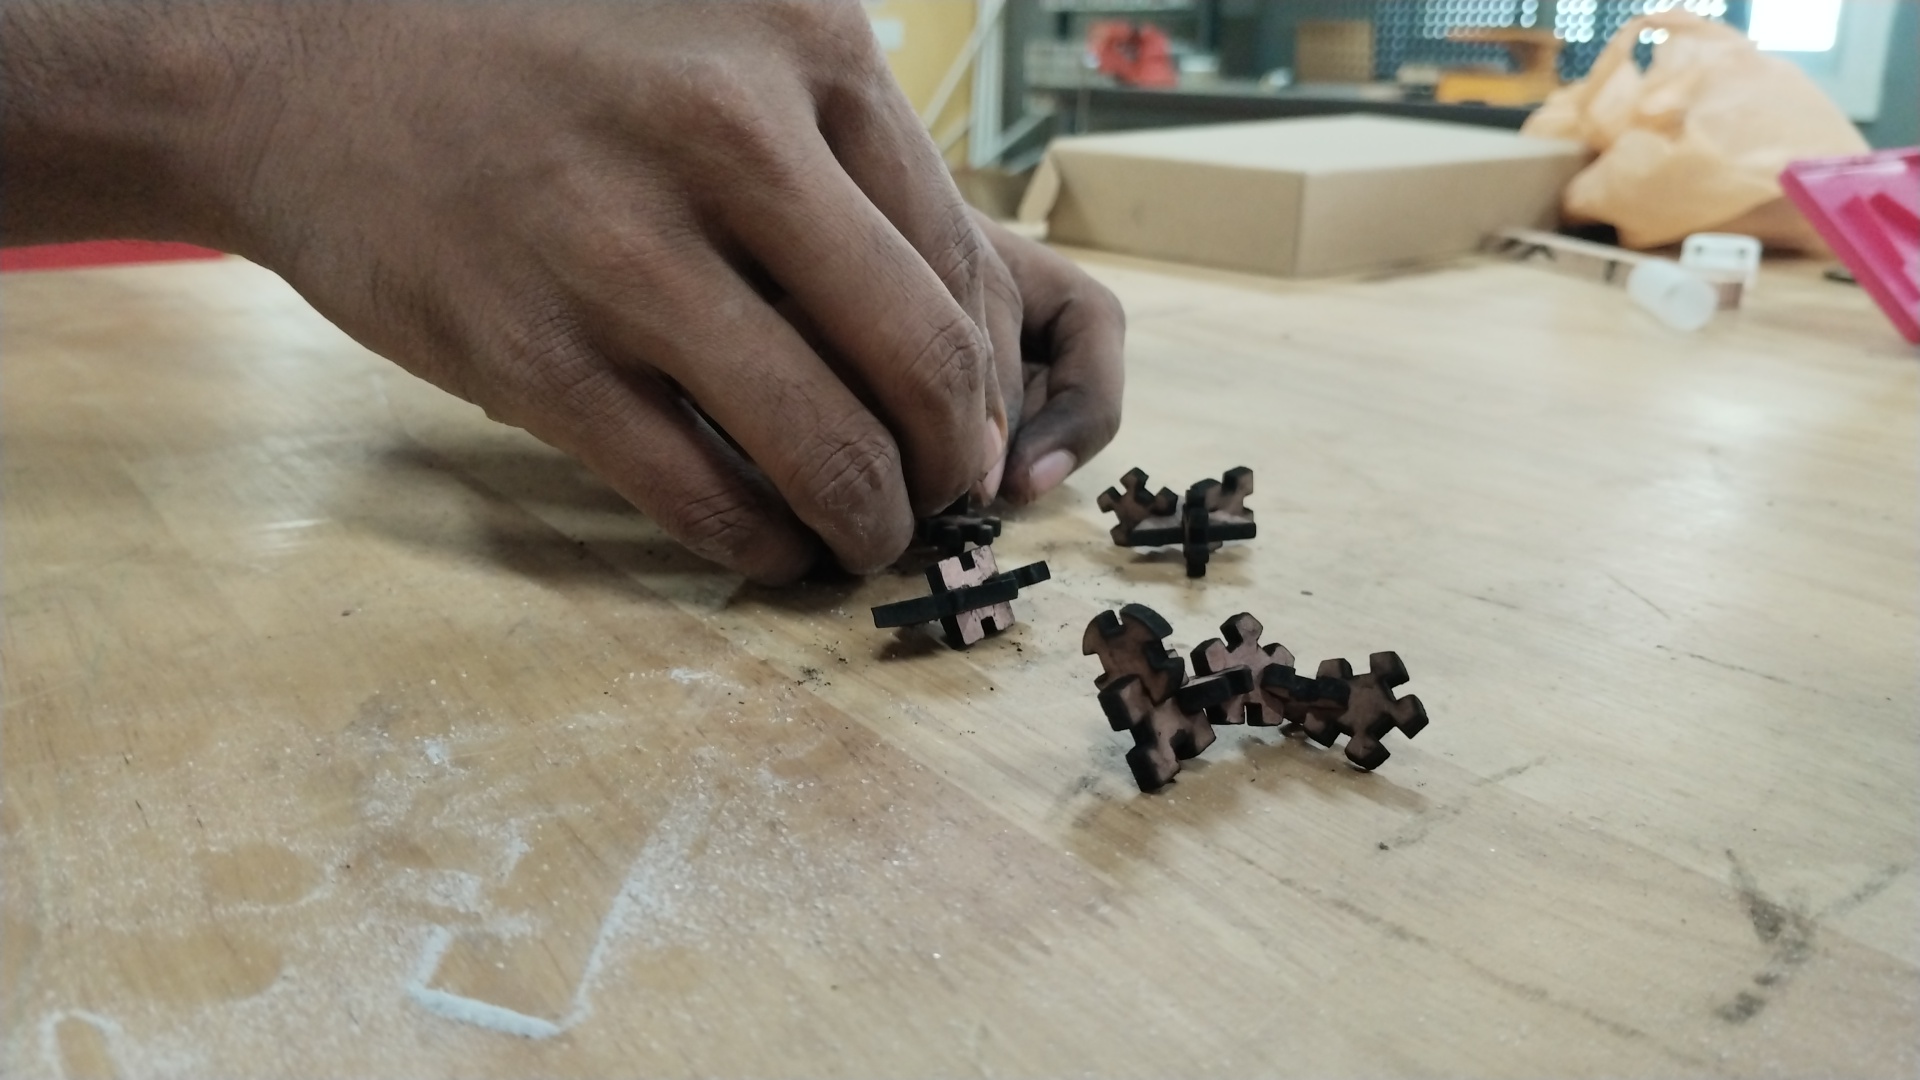
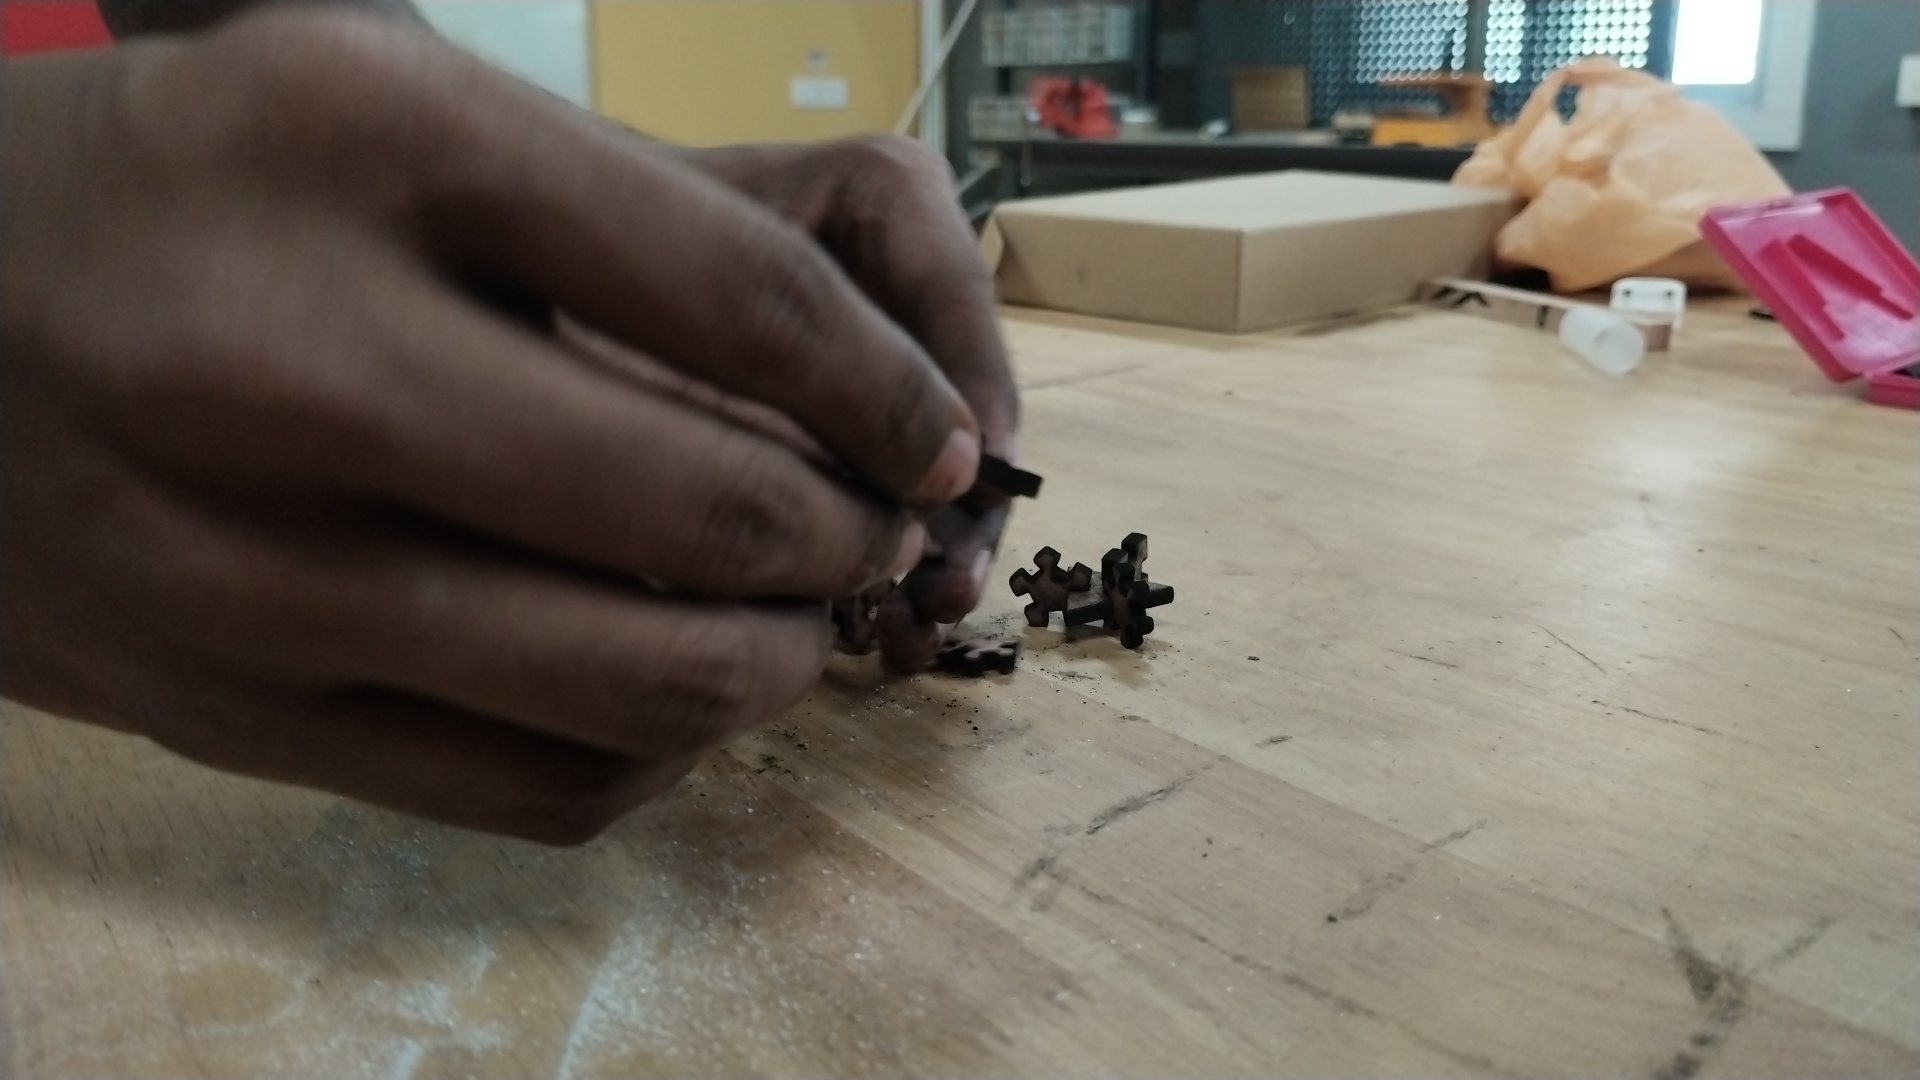
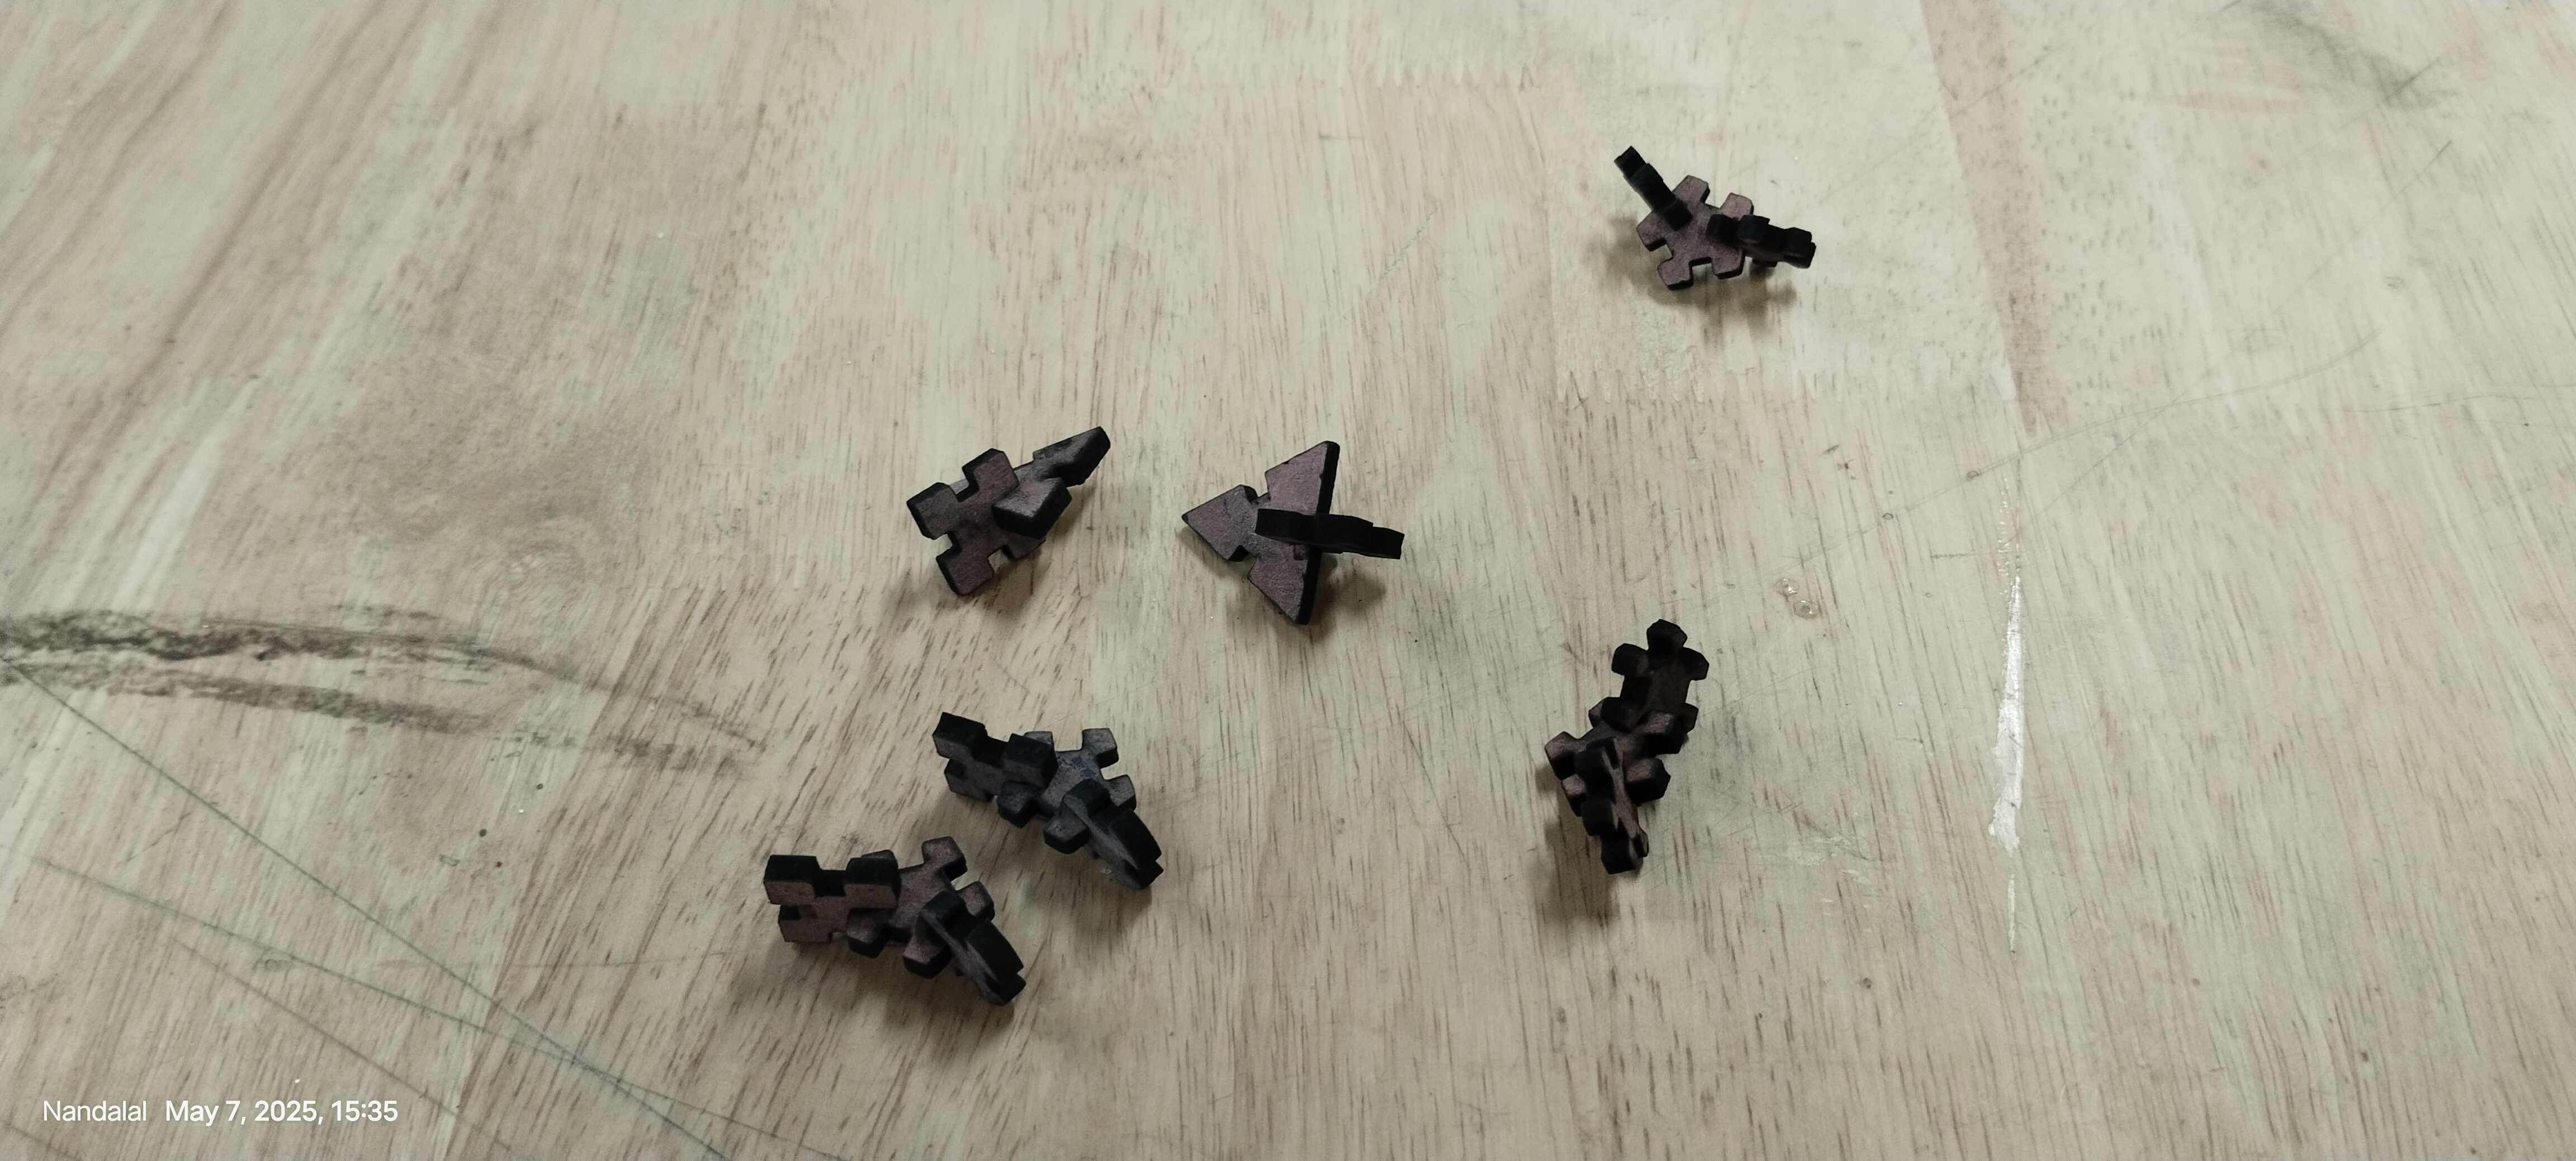
6. After completion, remove the parts from the machine.
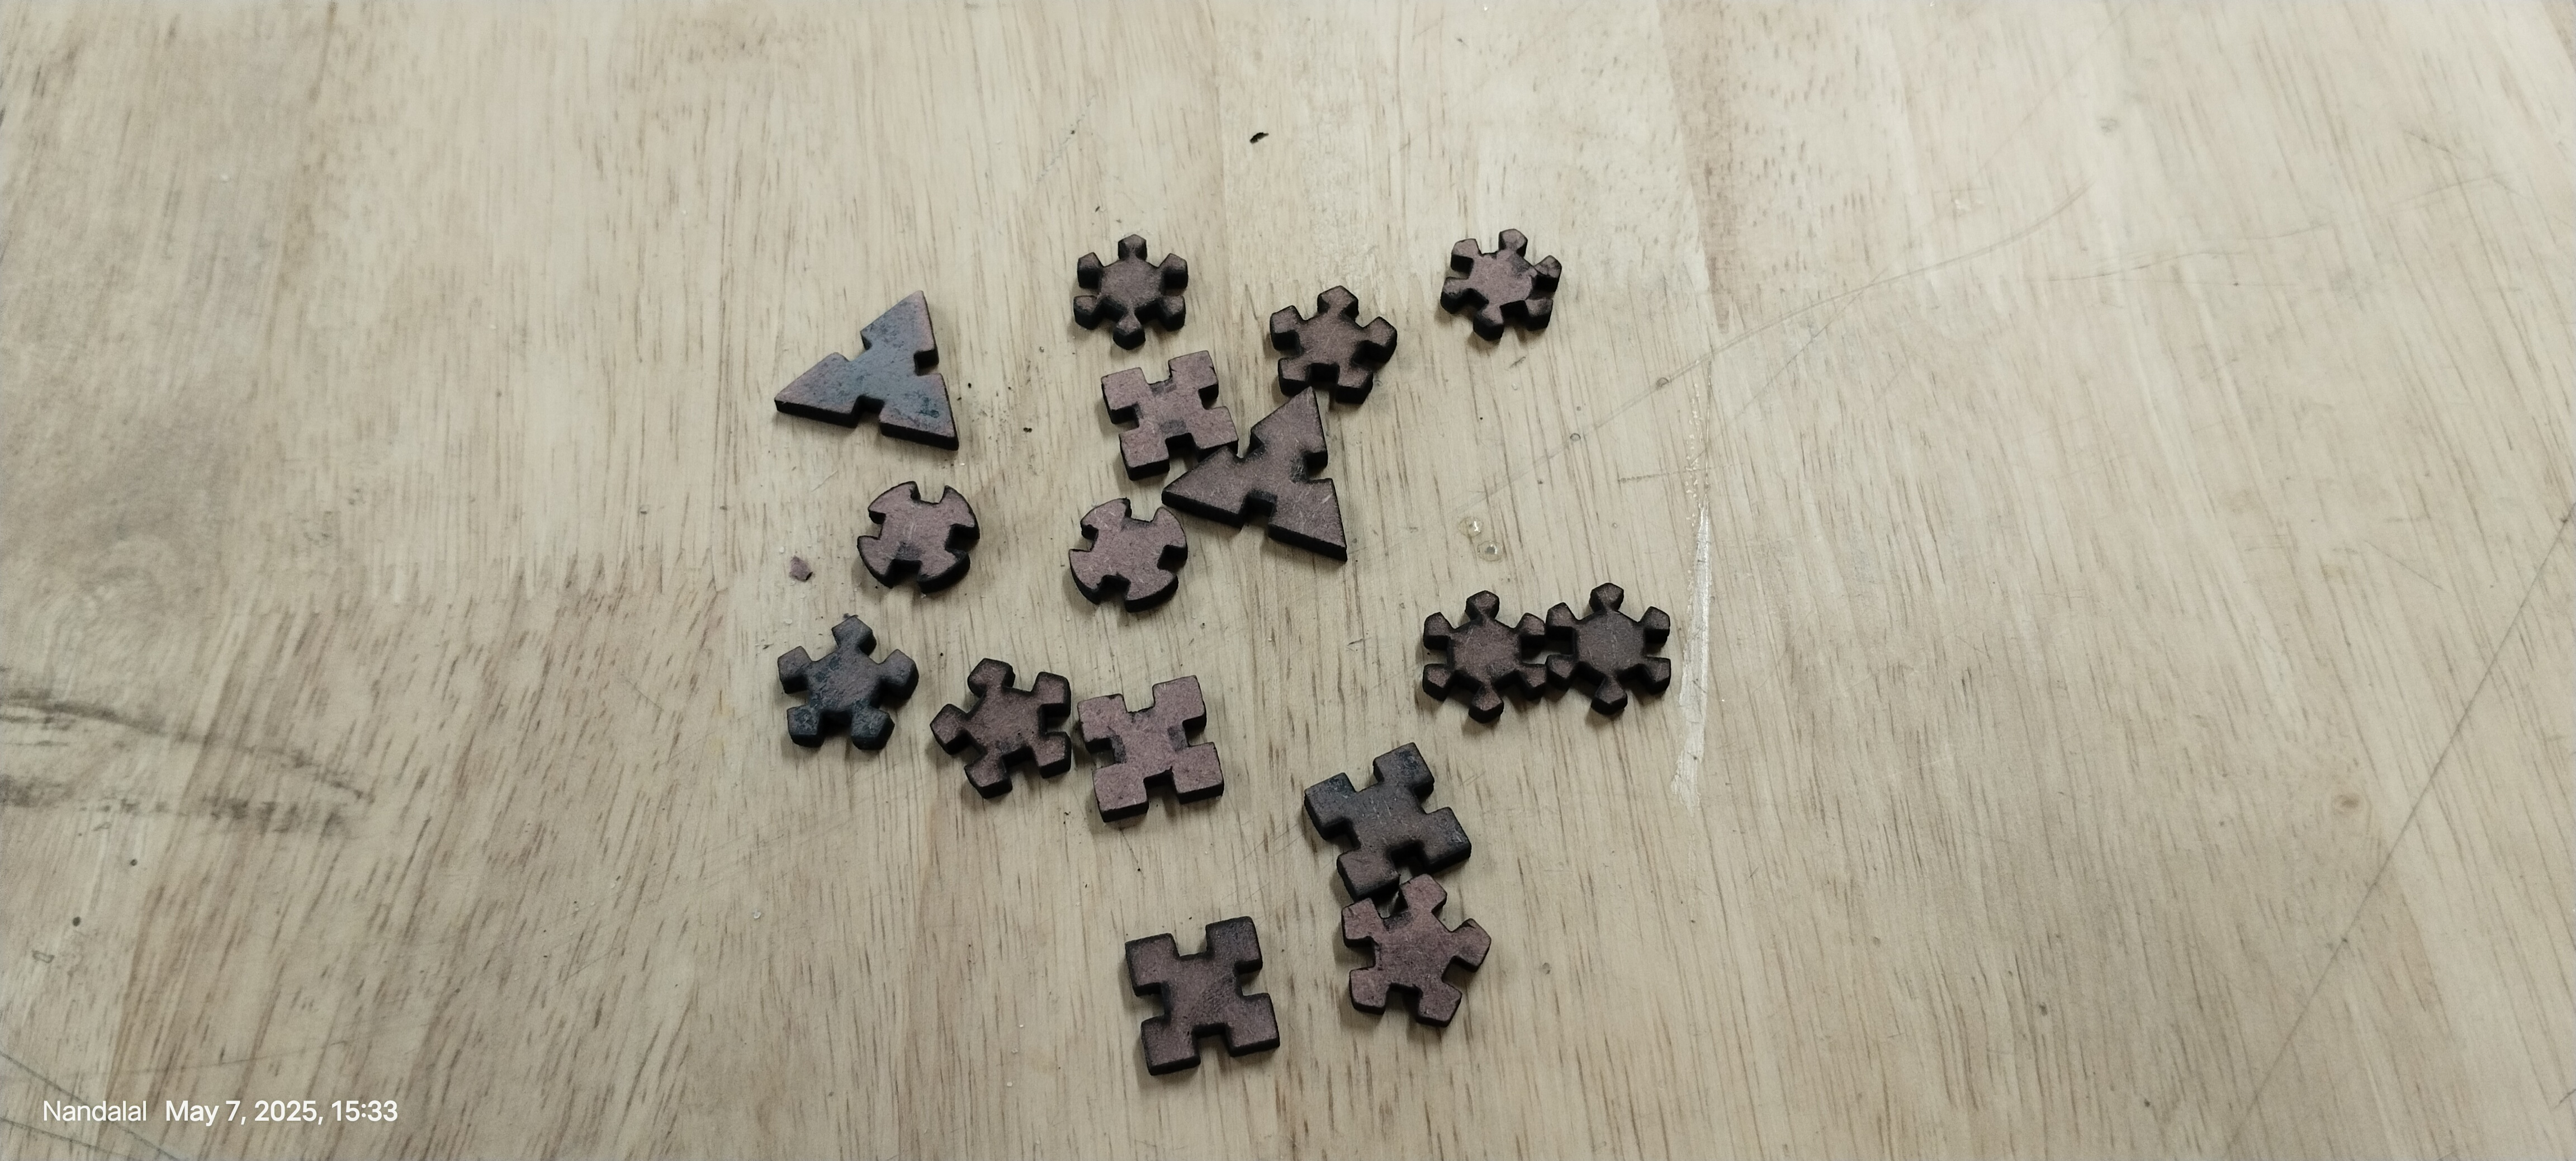
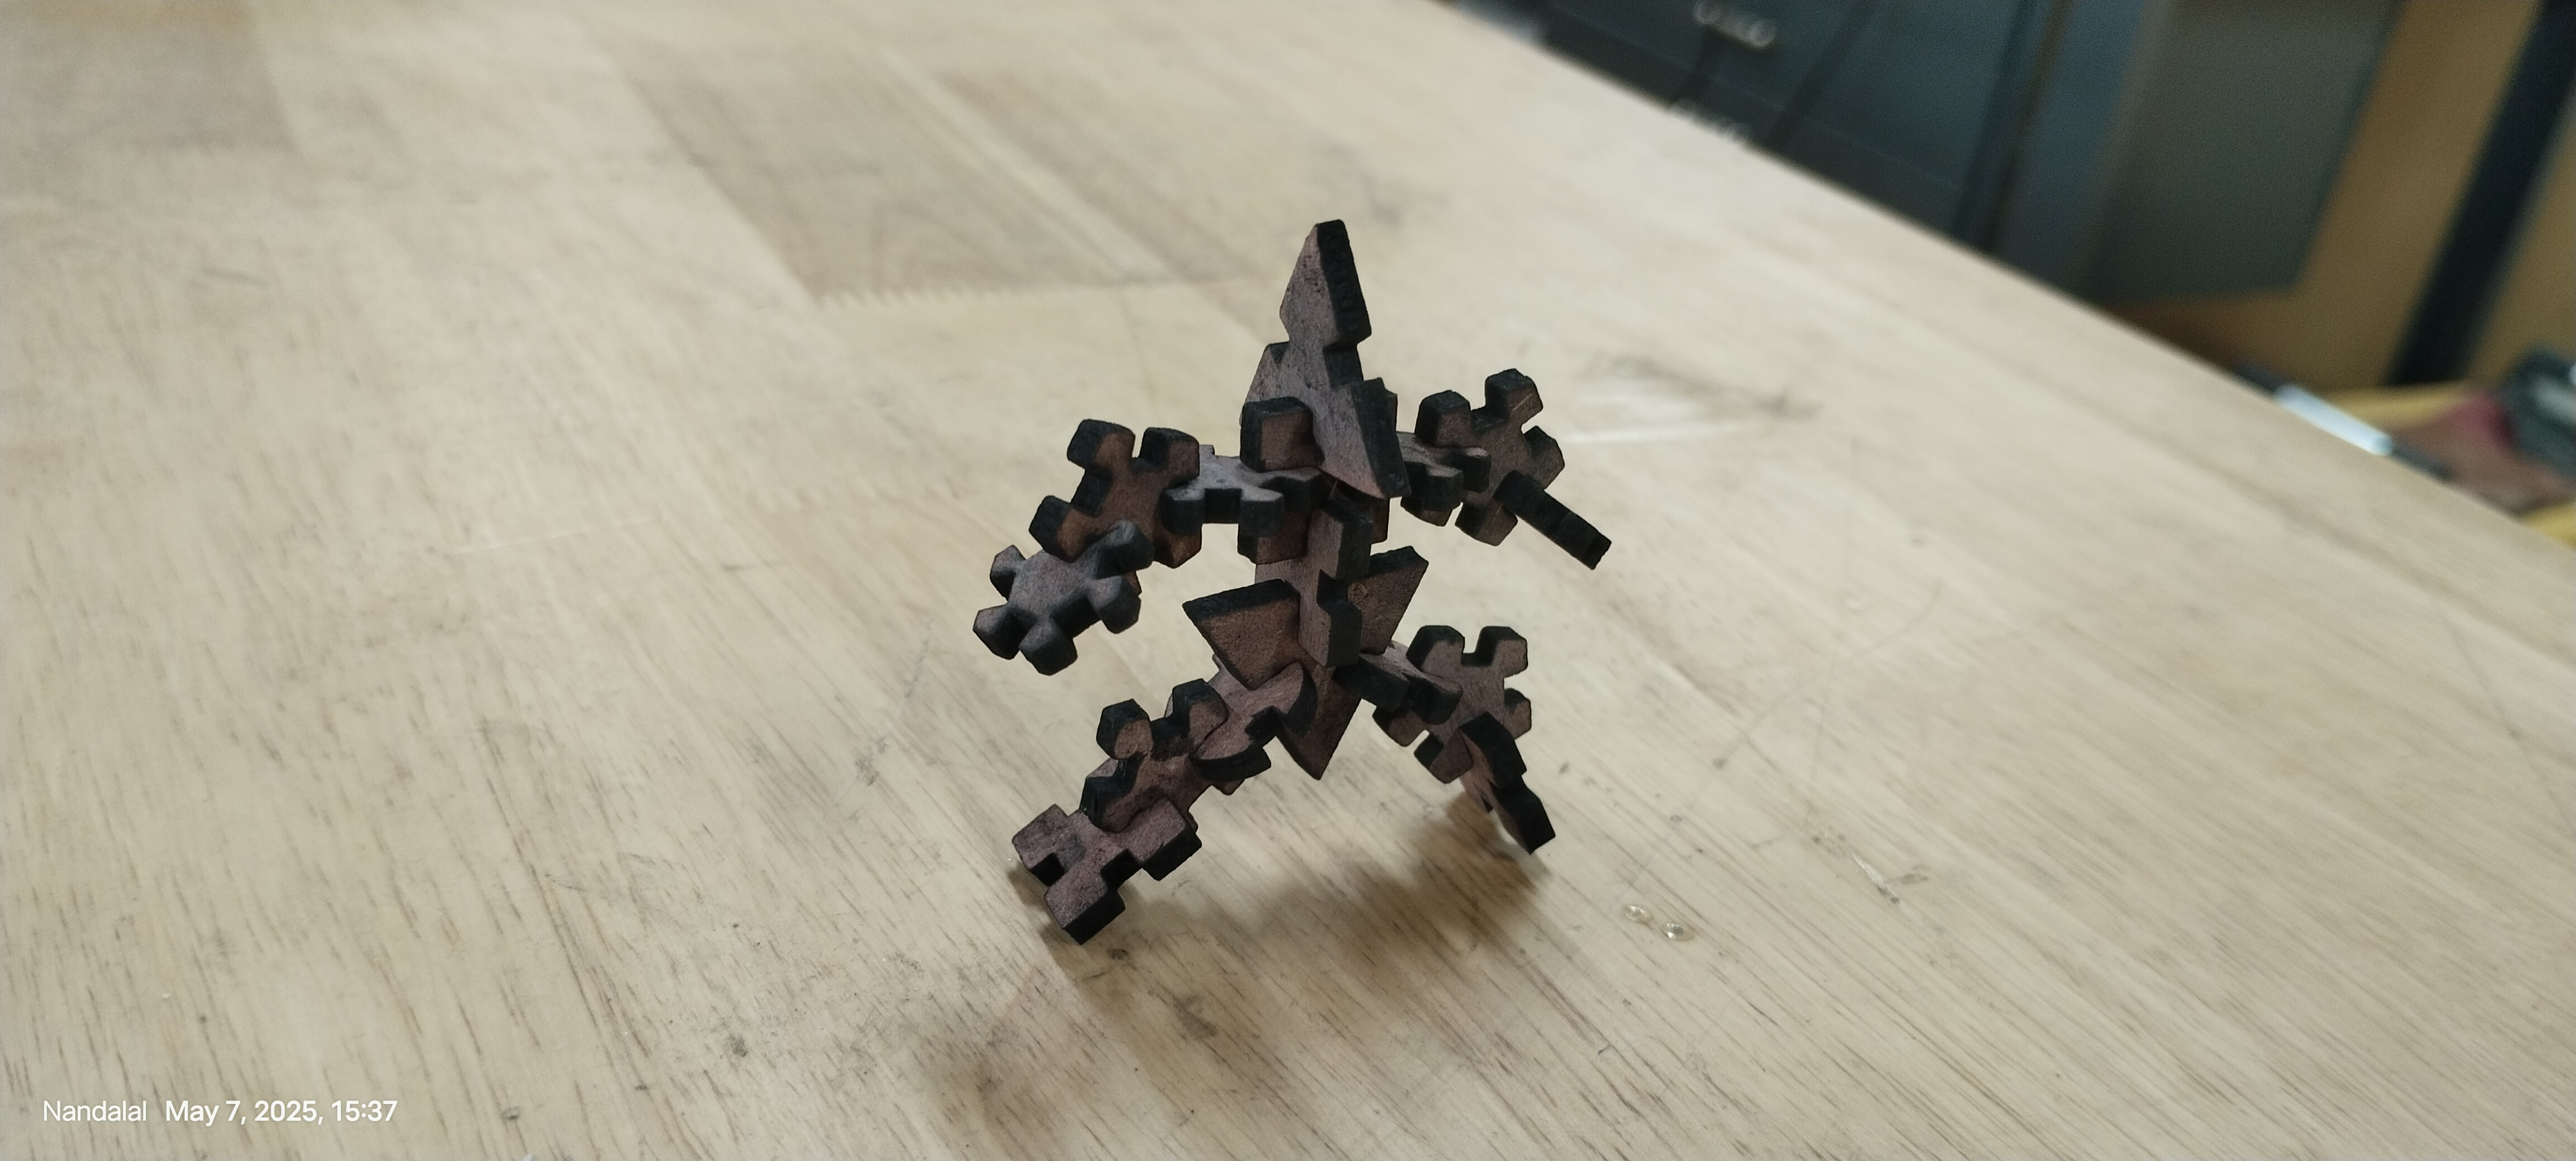
7. Assemble the parts, and that's it.
Vinuyl CUtter
Installing of SignMaster
1. This is the SignMaster software that has been shown in the image.
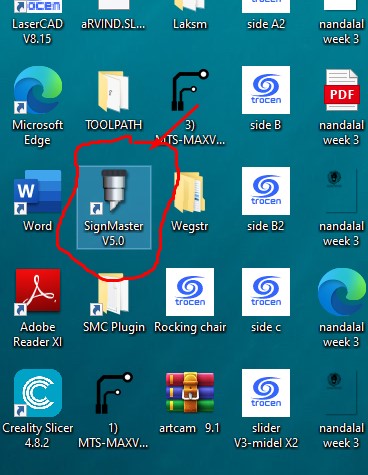
2. Go to google and Search for the term "Sign Master" to find it and click on the first website.

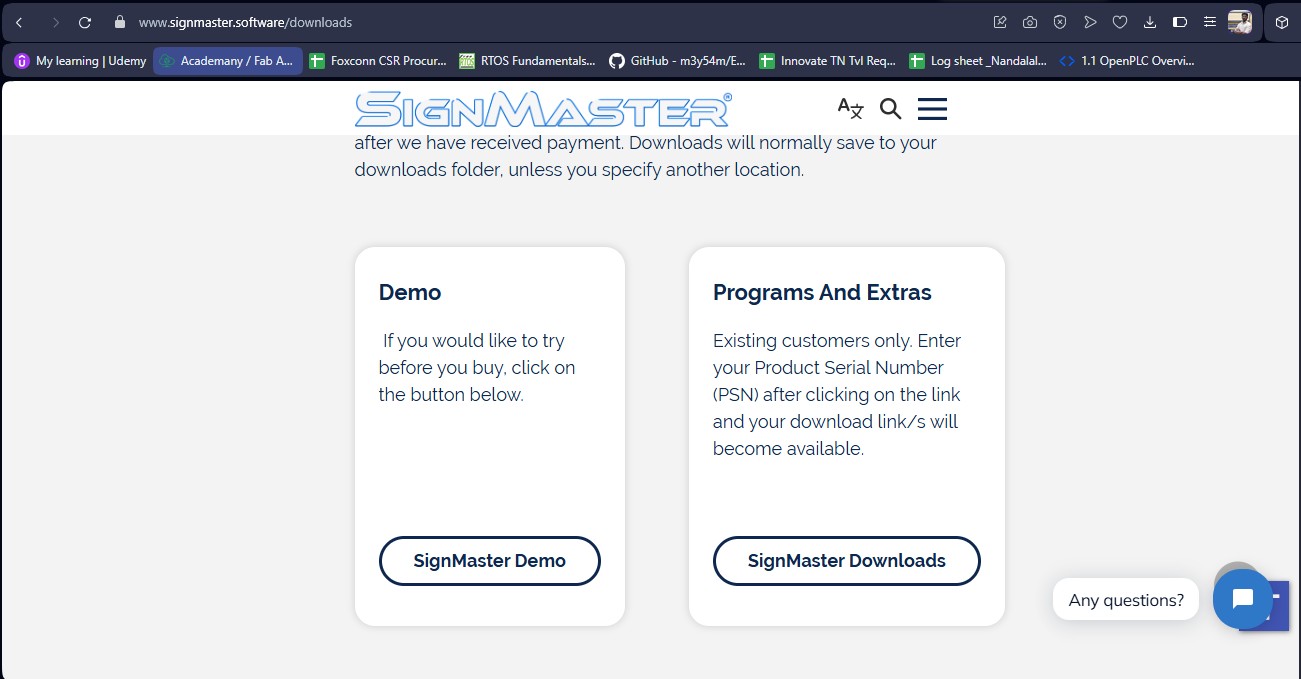
3. Go to that website and go to the downloading option to download it out.
SignMaster
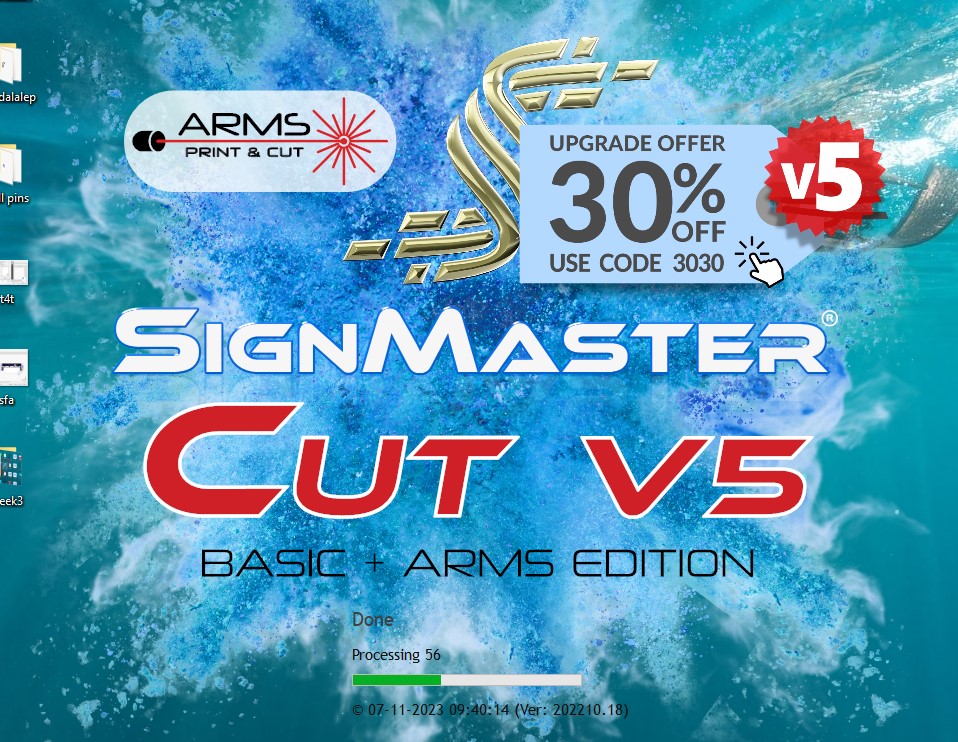
1. Open the Signmaster Software.
2. A window will openup and there will be available.

3. There will be two options that is "New Document" or "Open Document" to ensure that the click on new document.
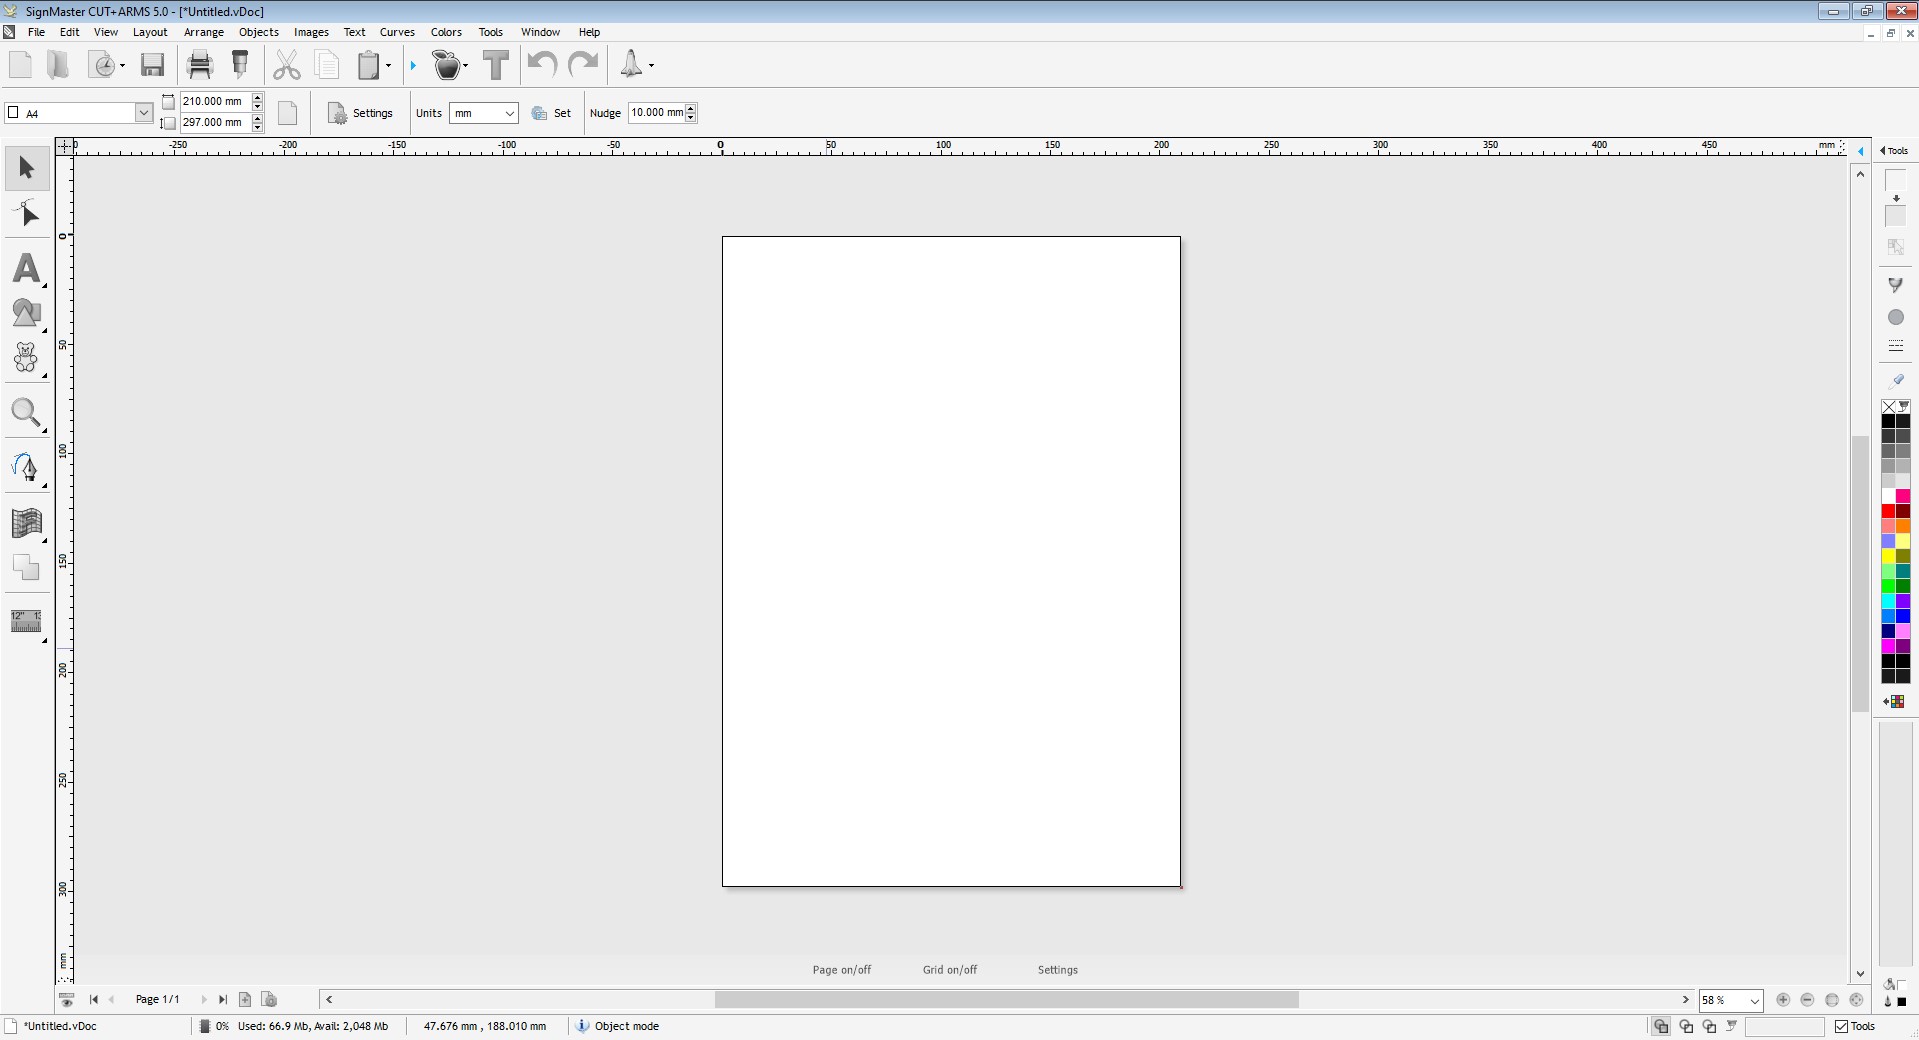
4. A window will pop up over there as you see over there.
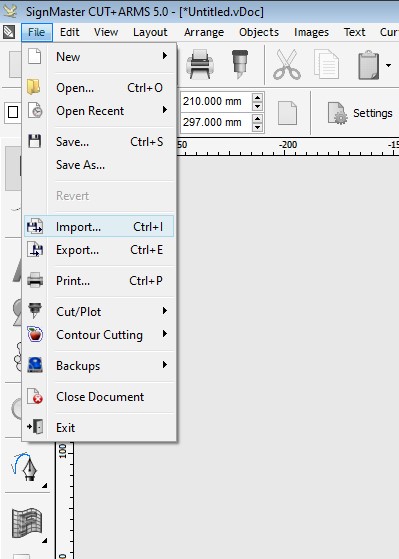
5. Click on File -> Import , to import the file to it.
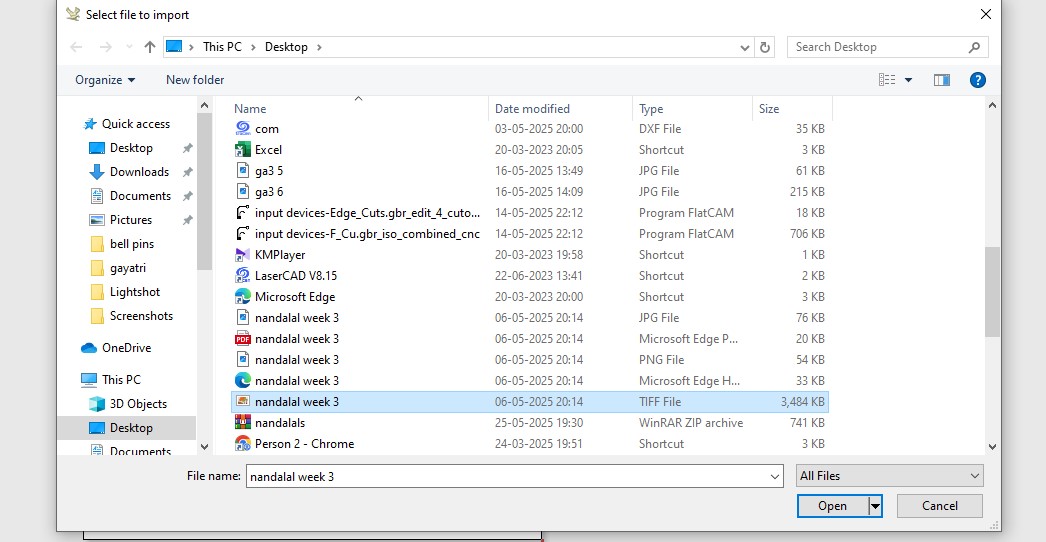
6. A new window will pop up and over there, navigate and ensure that it choose the correct file.
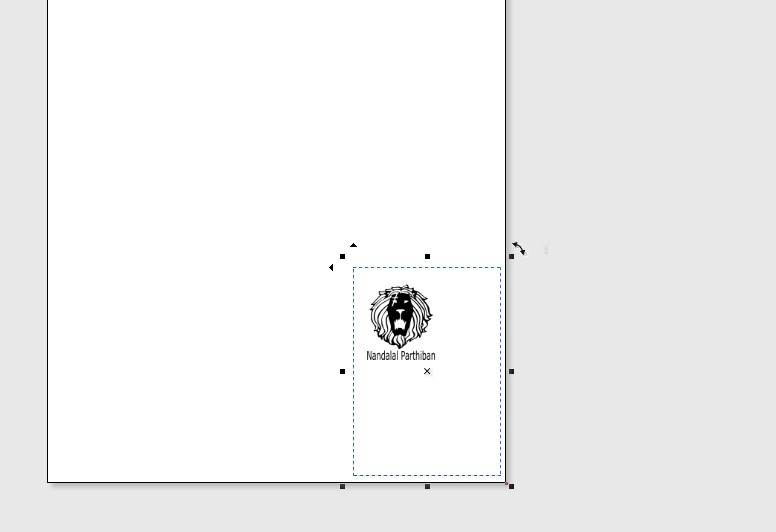
7. the file which i made is over here is been uploaded.
8. Replace the section on it and ensure it properly aligns it.
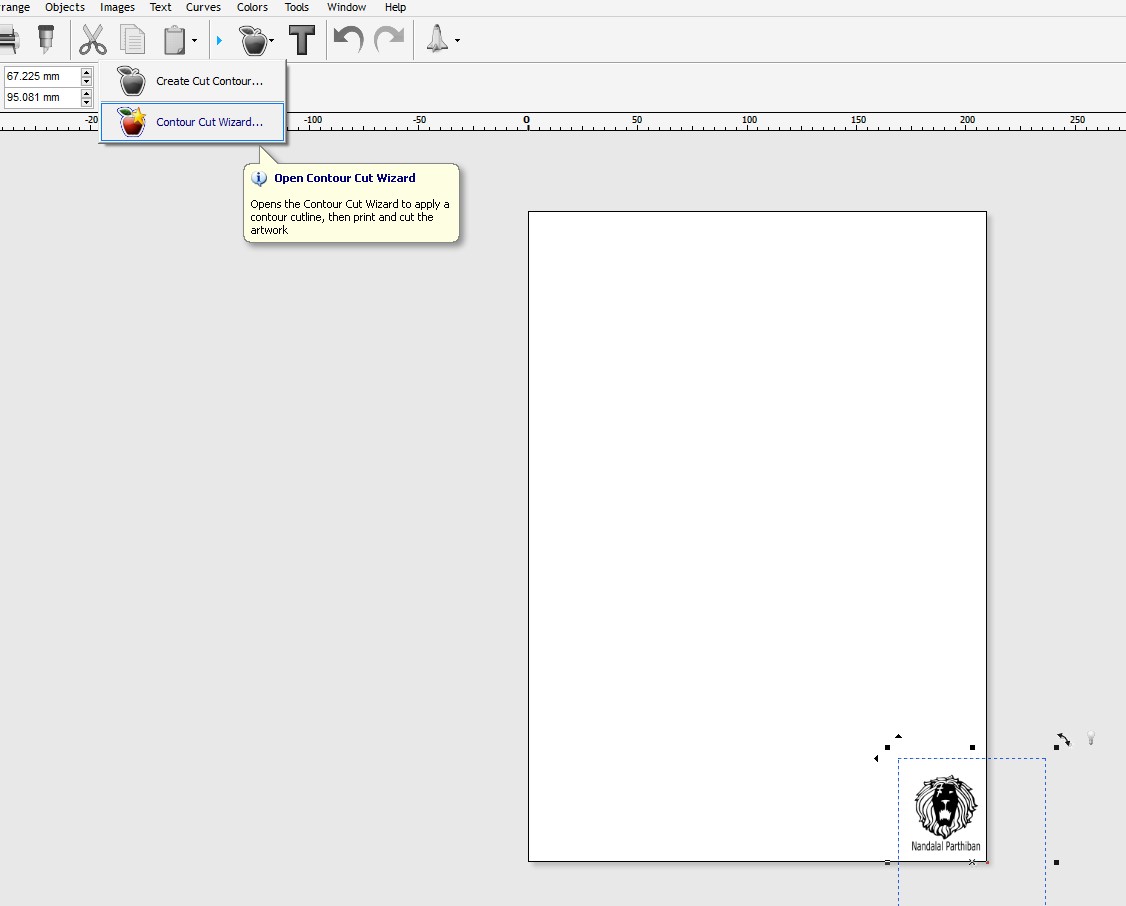
9. Click on Apple symbol that is to contour that is -> contour cut wizard and click it out.

10. A new window will pop up adn you may see many things.
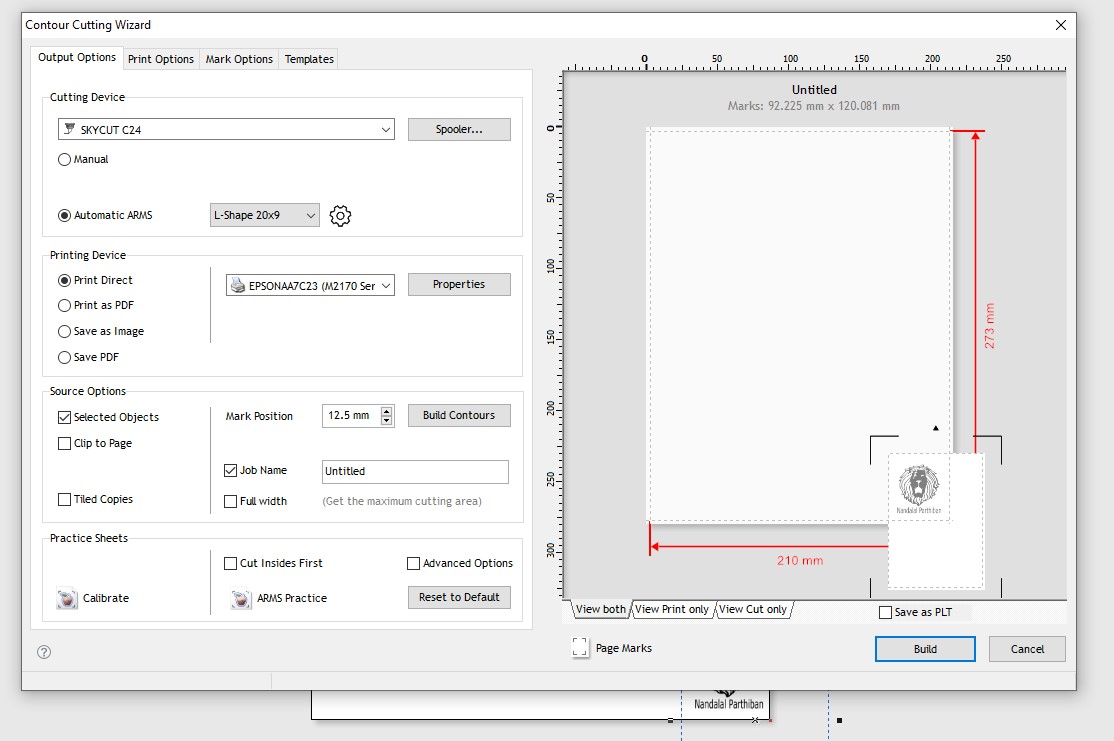
11. Realigns it and it puts it in proper area and do it.

12. Click "Build" option on it and it may connect it on cut-contour page.

13. There will be an option that is CLick it on Auto Traced and click it "yes" to auto traced.

14. In that option there is lot more on it that is "smoothing" and "min size" and also Opacity.
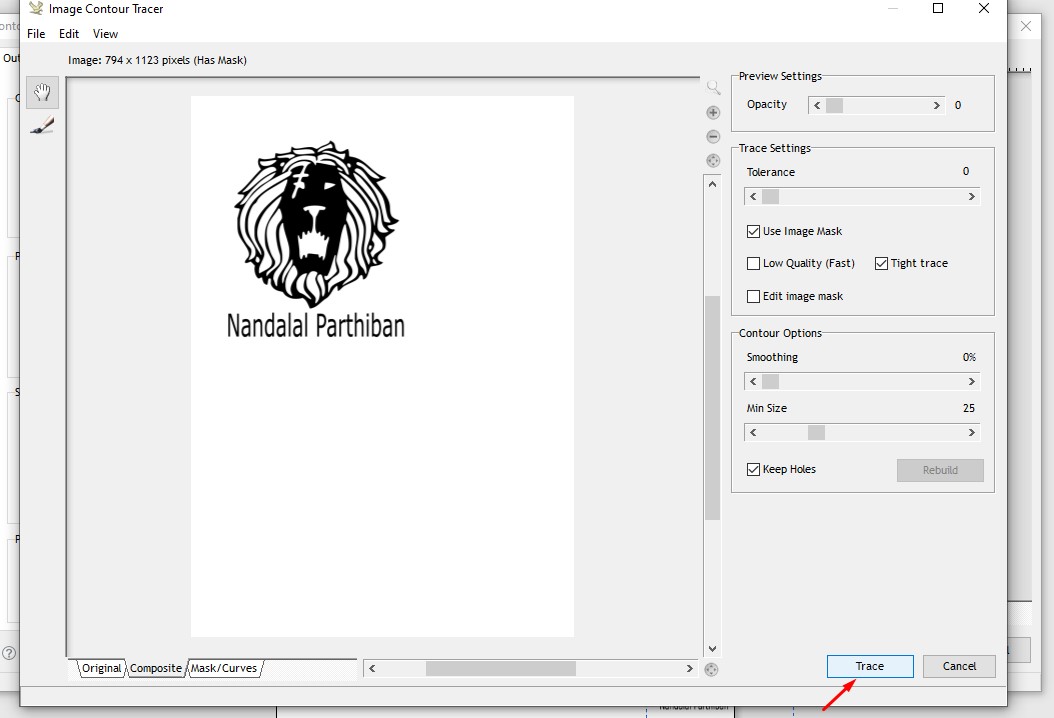
15. Rechange it to your Own wishes and click it on "Trace".
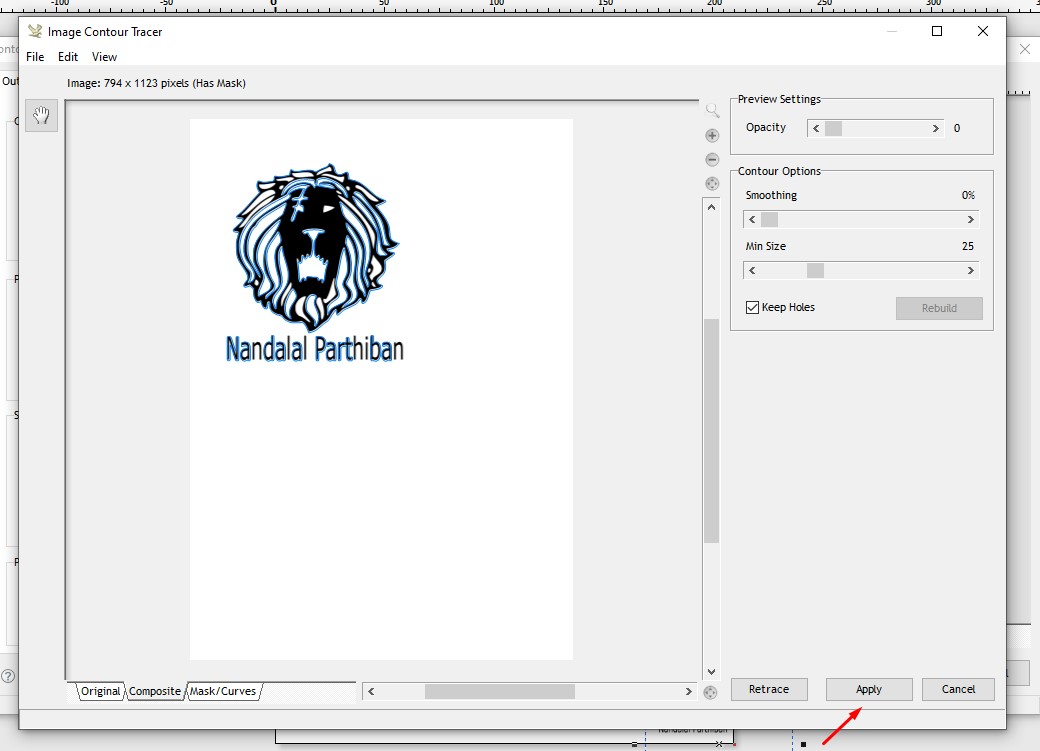
16. You can make it out and ensure that it traces it all and and click "Apply".
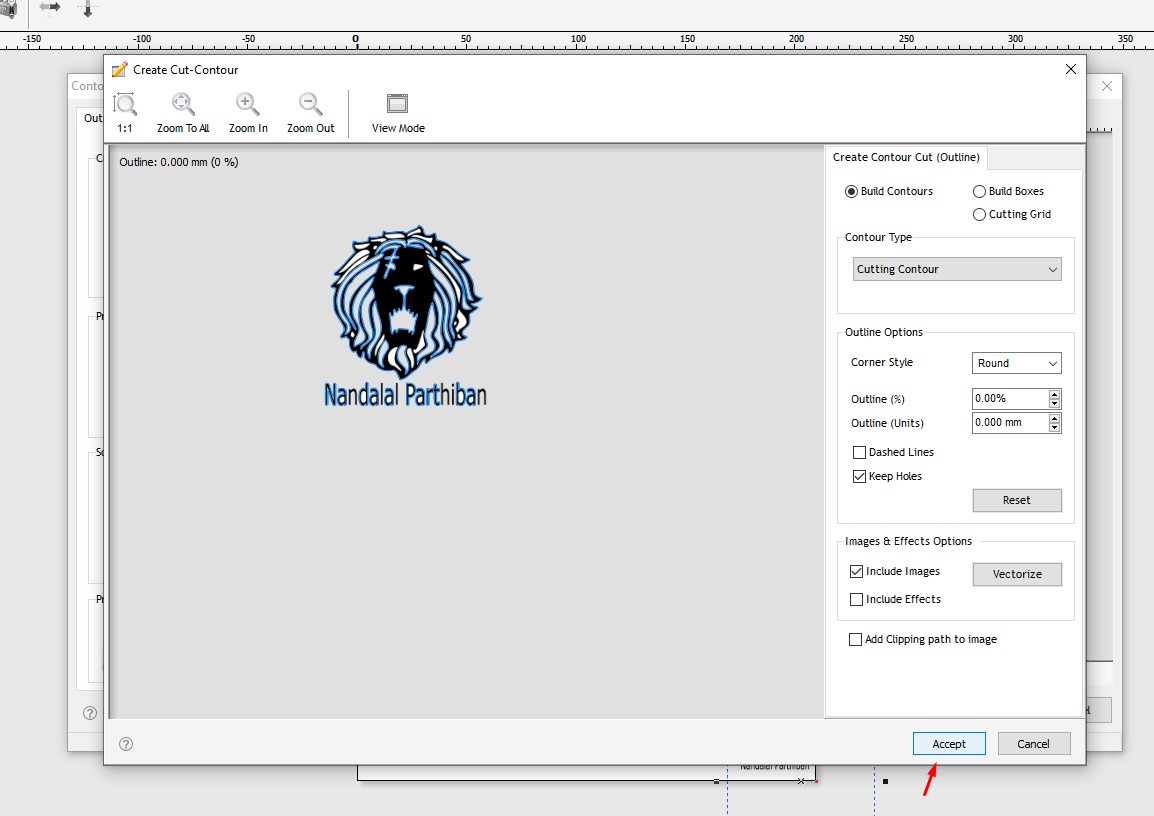
17. ensure that in this Create Cut-contour and set a proper way out and click"Accept".
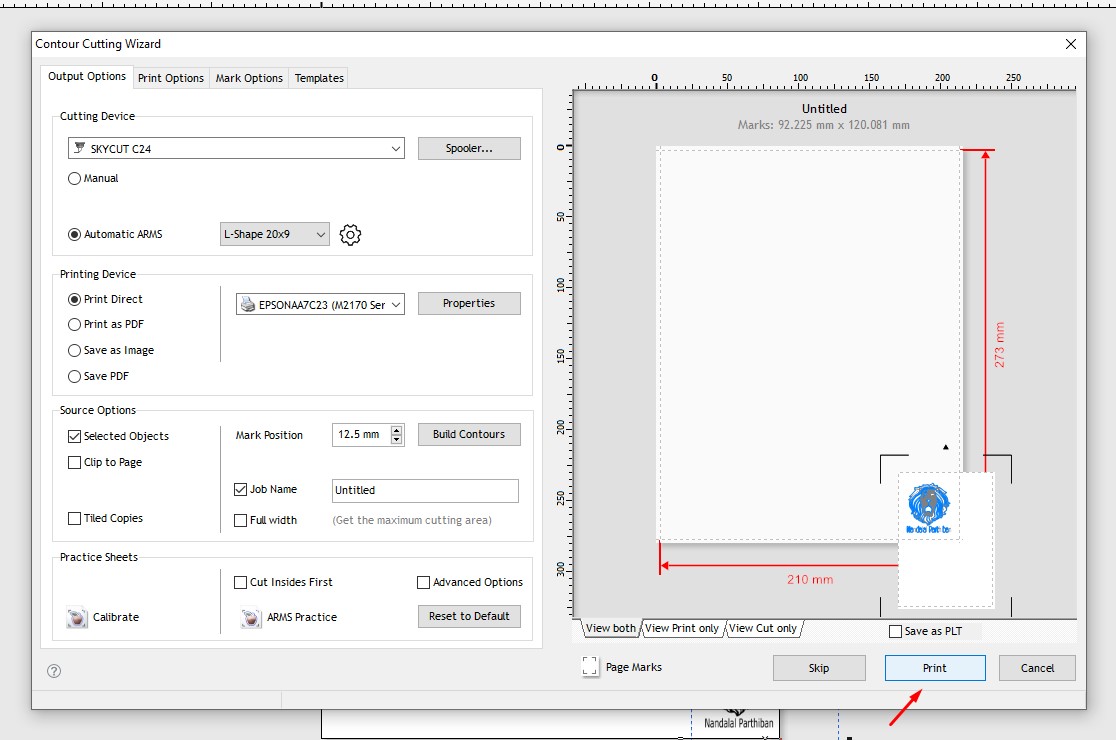
18. Go and click it on "Print" after everthing has been done.
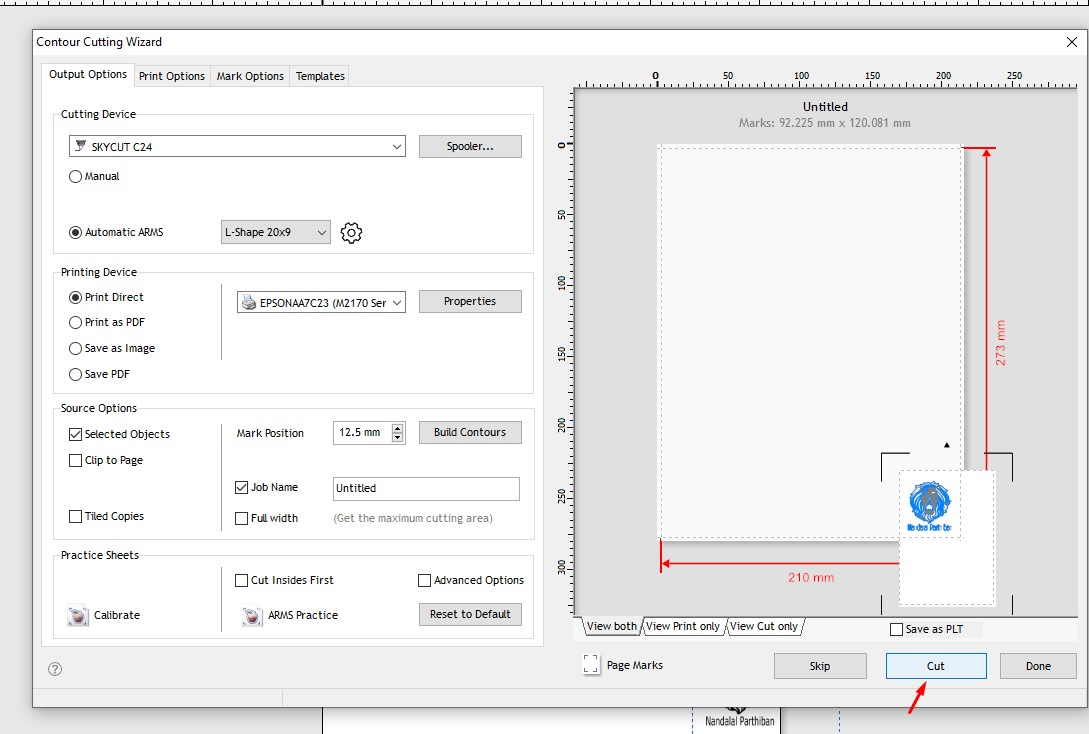
19. And after everything been done and click "Cut" to send it out.
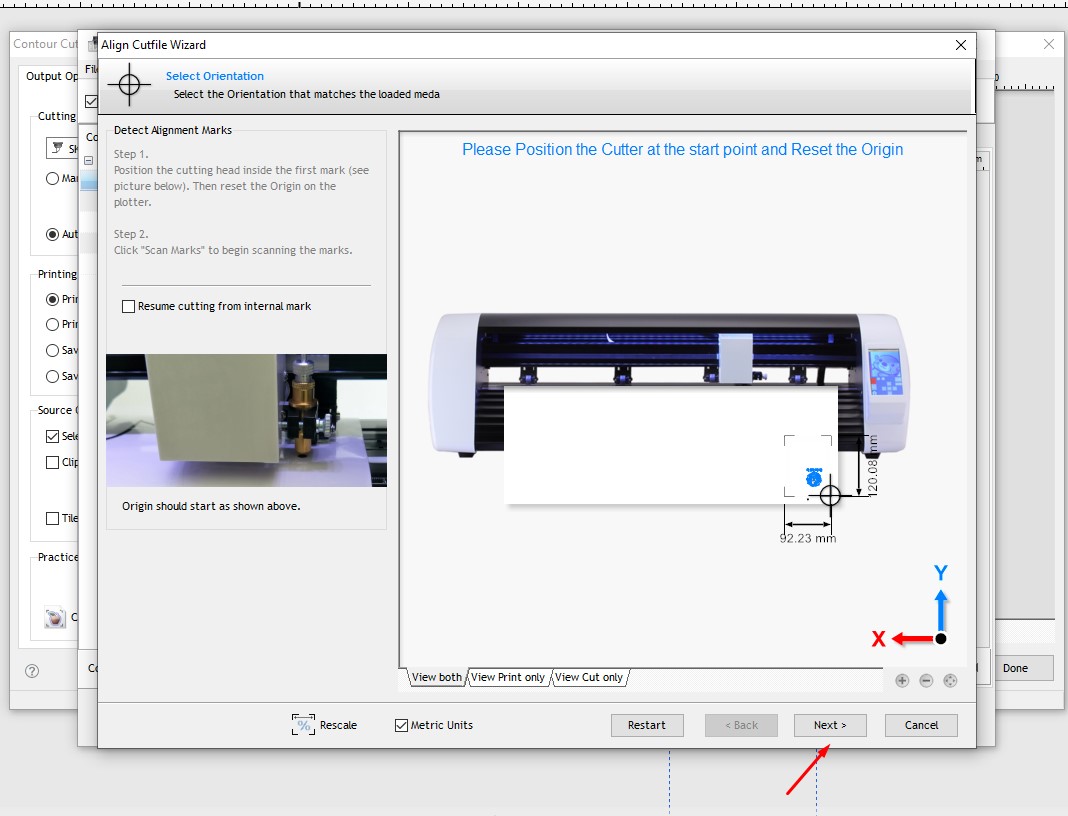
20. Then a New Pop up may appear that is to align the sheet in the printer and set the sheet in the printer.

21. The Printer will automatically starts to align it with the sheet and when it's been completed then click -> "Cut Now".
22. It may start to send the data to the printer to cut it out.
Working Video
23. .

24. .
