Assignment
- Model (raster, vector, 2D, 3D, render, animate, simulate, etc.) a possible final project, compress your images and videos, and post a description with your design files on your class page.
Individual Assignment
GIMP
1. GIMP is a free, open-source image editing software used for photo retouching, graphic design, and digital art.
It offers powerful tools similar to Photoshop for creating and enhancing images with full layer control.

Installation of GIMP
1. Go to google and search "GIMP" and there will be over and click first link there been provided
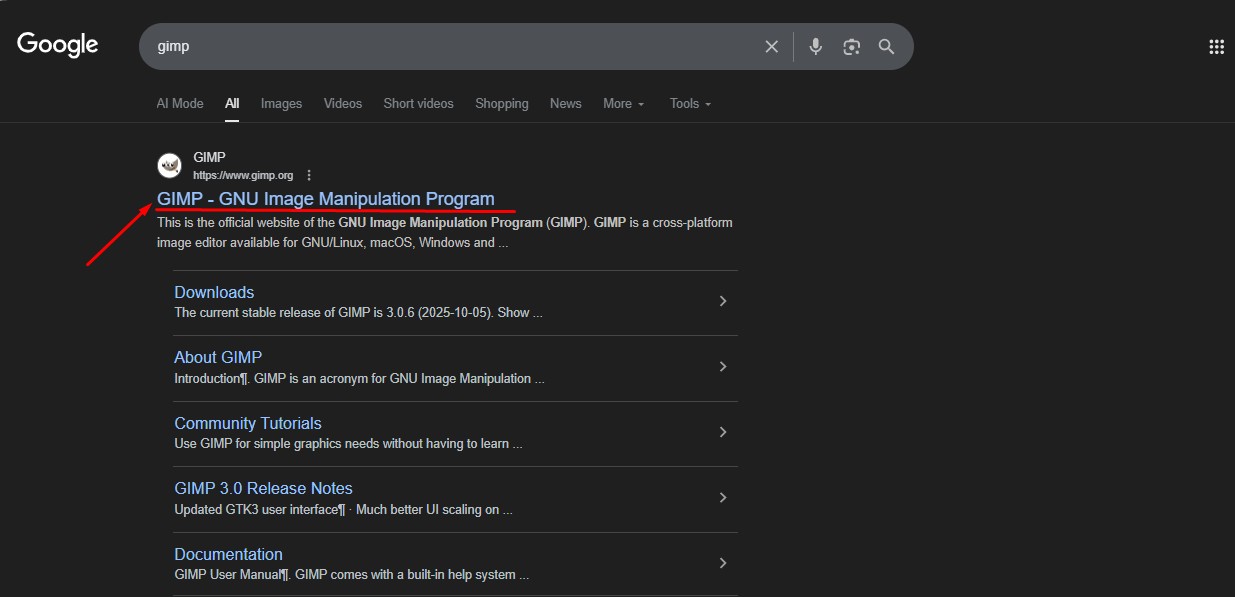
2.This is the website for the GIMP to be downloaded.
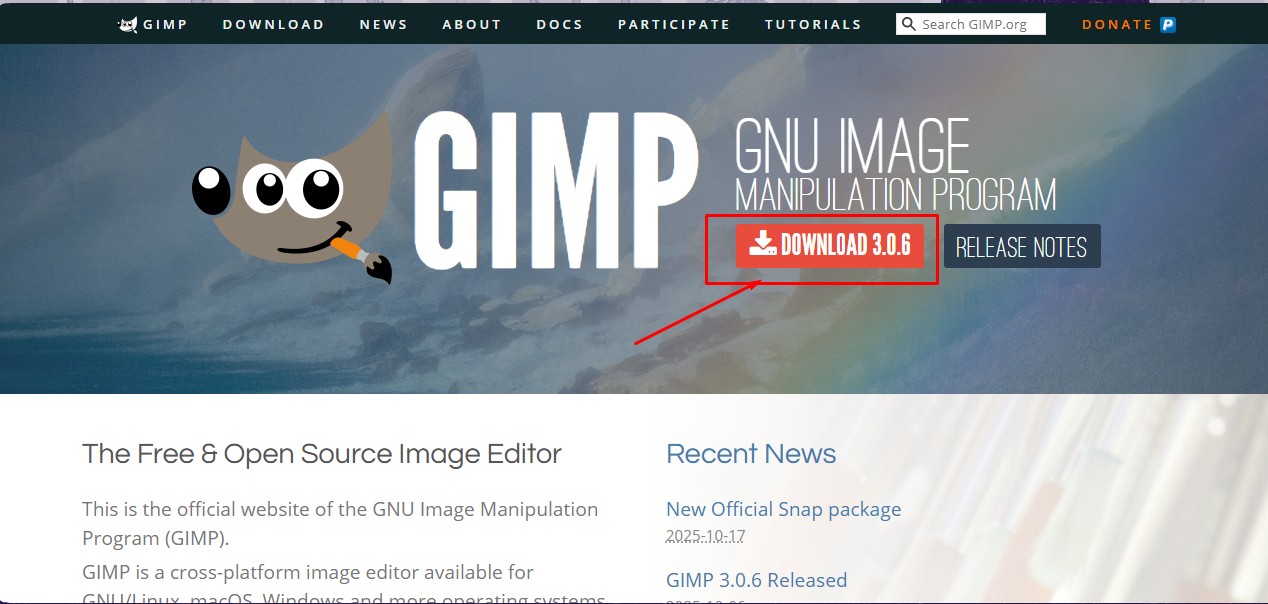
3.After clicking that link, there should be option for the downloading in terms in compatibility of the system .
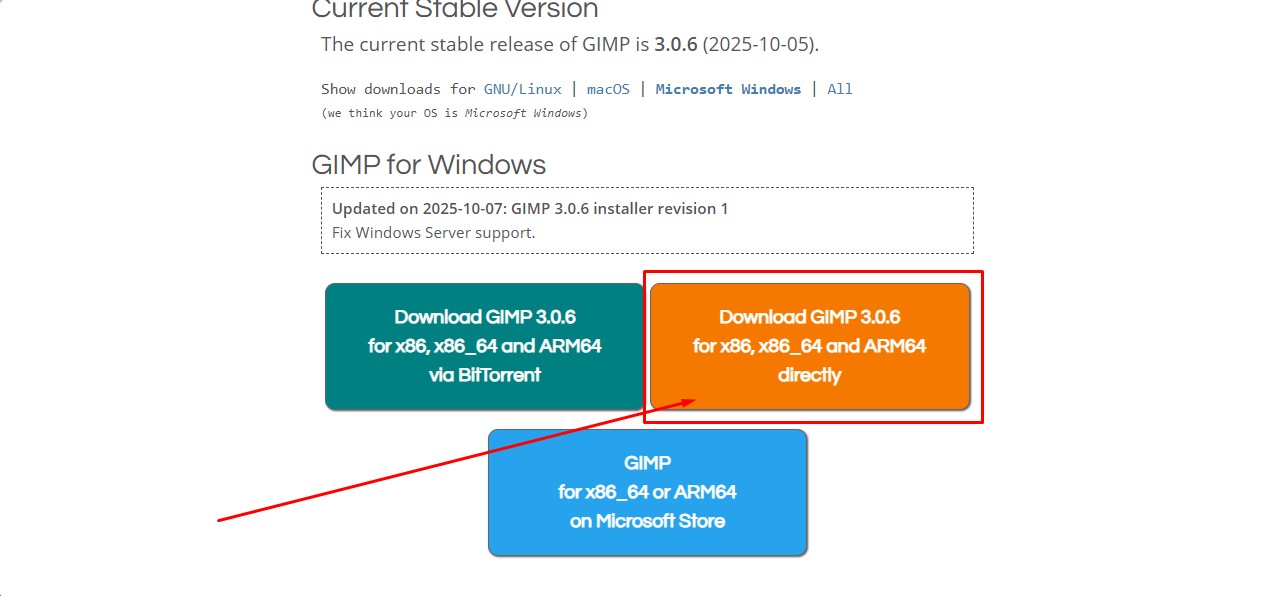
4. A popup will come that will show the downloading option for the software to be.

Here is the link button below:
Or you can download manually:
GIMP
Using GIMP
1.GIMP (GNU Image Manipulation Program)
GIMP is a powerful, free, and open-source image editing tool. It’s widely used for photo retouching, image composition, graphic design, and even digital painting.
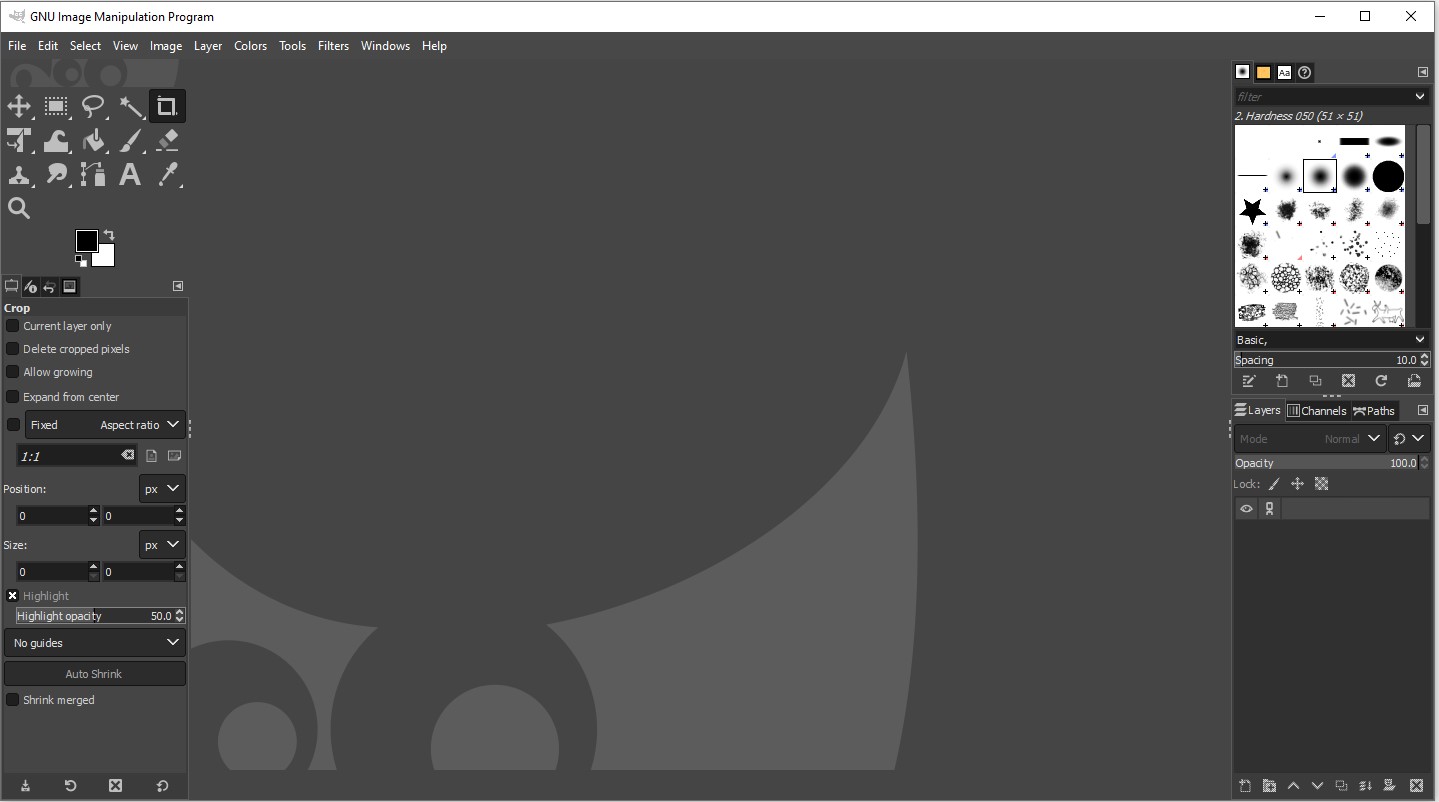
2. Opened the GIMP software
Launched the application to begin the design process.
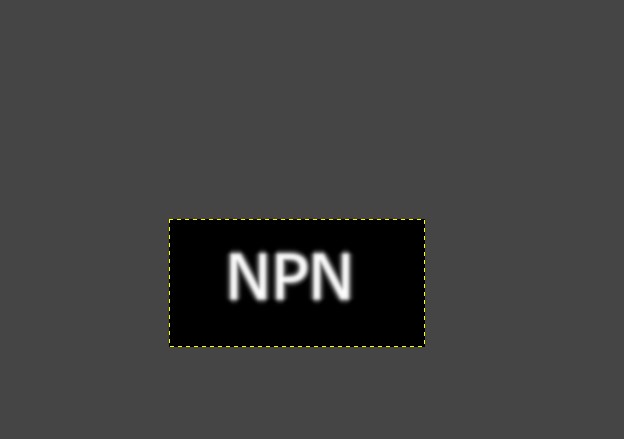
3. Created a simple floating logo with the name "NPN"
Designed a text logo using the Text Tool, giving it a floating appearance as the centerpiece of the design.

4. Applied Gaussian Blur filter for a blur effect
Used the Gaussian Blur filter to soften certain parts of the image, creating a smooth and glowing visual effect around the logo.
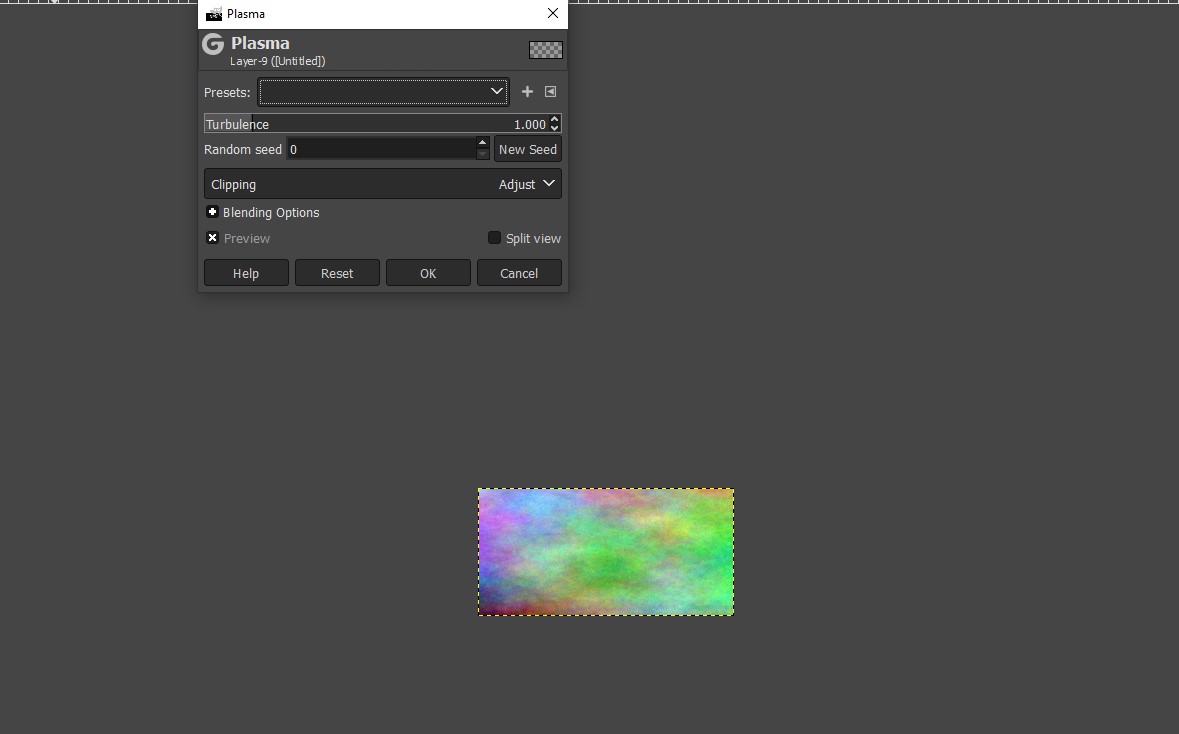
5. Created a new layer with a plasma effect for the background
Generated a colorful plasma effect in a separate layer to add a vibrant and dynamic background to the composition.
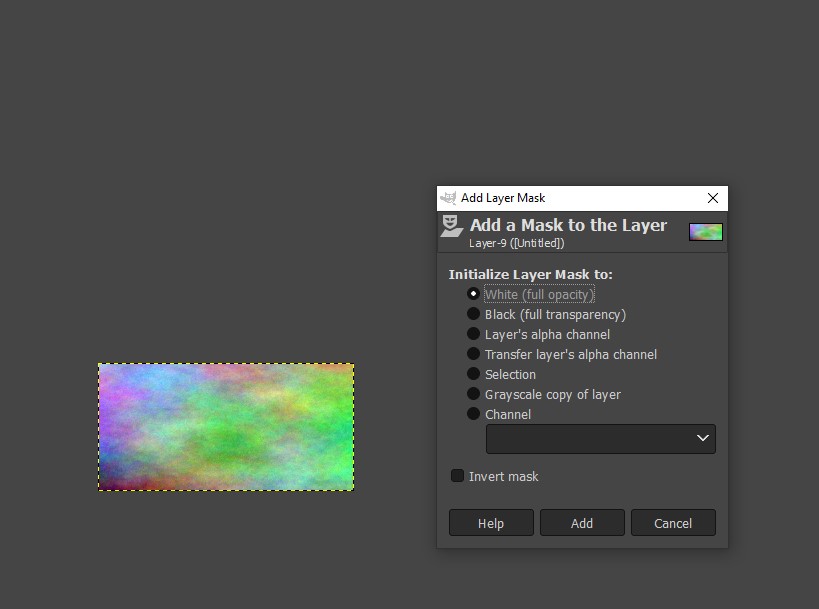
6. Added a mask layer to the plasma layer for blending
Used a layer mask to blend the plasma background smoothly with the rest of the image, allowing better control over which areas are visible.
7. Overlapped the layers to create a name effect with the background
Positioned and layered all elements (text, plasma, blur) strategically to integrate the floating "NPN" logo with the animated background, giving a cohesive final look.

Inkscape
Inkscape is an open-source vector graphics software used for creating and editing designs like logos, illustrations, and laser-cut patterns.
It allows precise control over shapes, paths, and text for high-quality scalable graphics.

Installation of InkScape
1. For Vector images editing i use the software called InkScape that is this one
2. Go to google and search "InkScape" and there will be over and click first link there been provided.
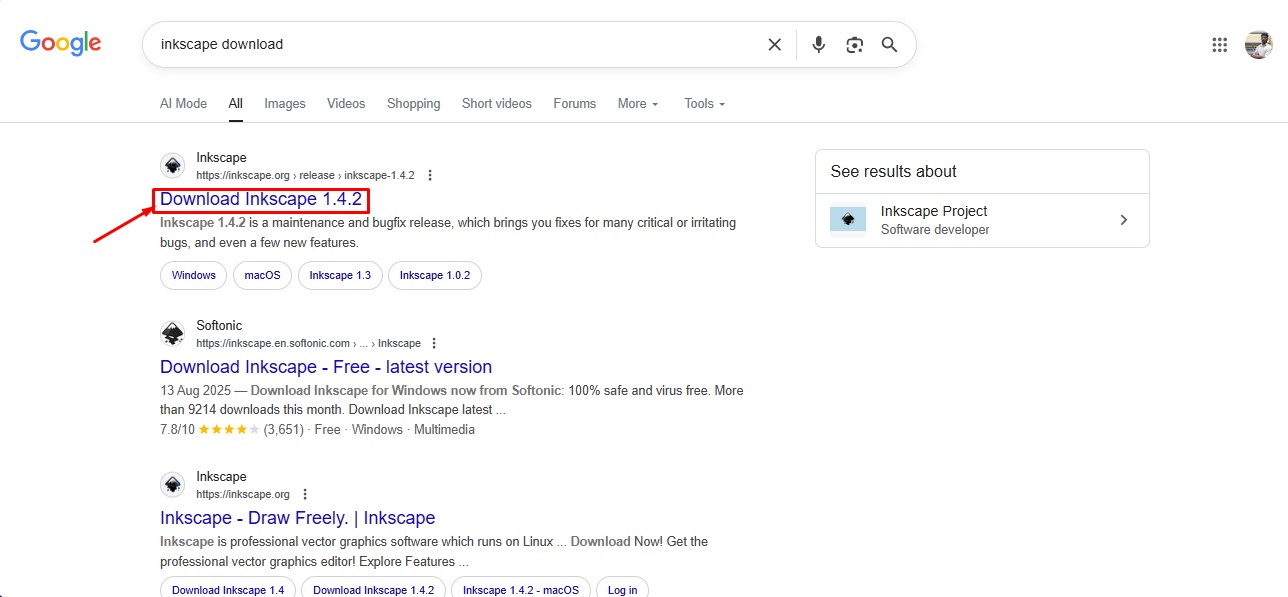
3. This is the website for the INKSCAPE to be downloaded.
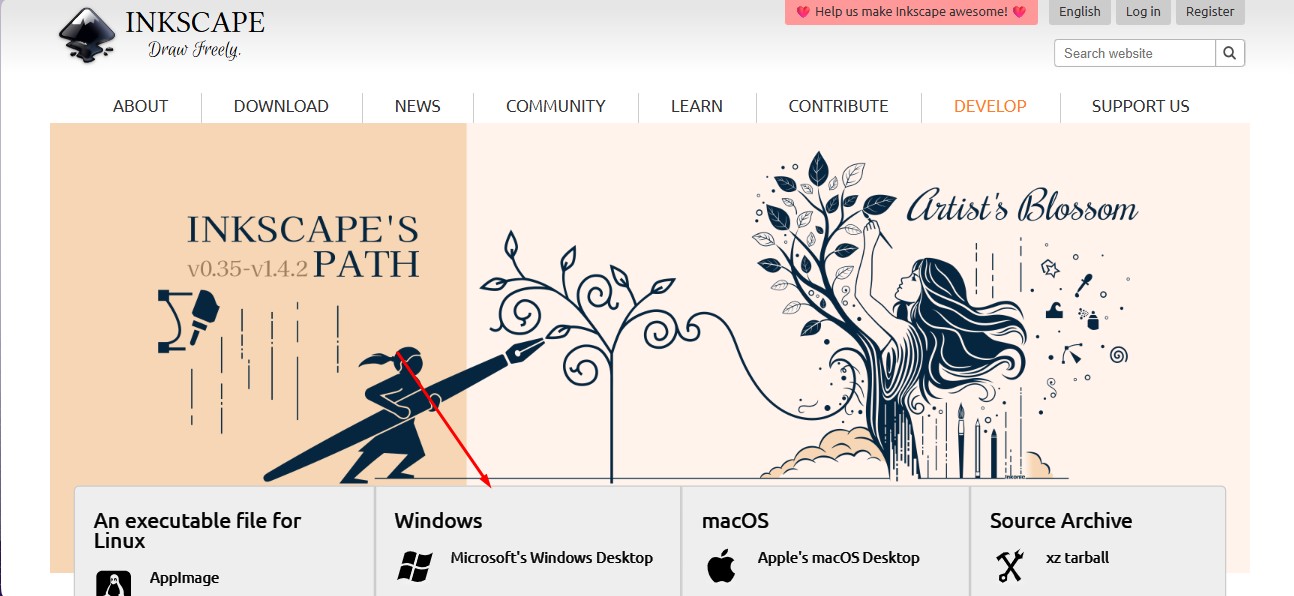
4. click on the architecture of your system you have to install a suitable one.
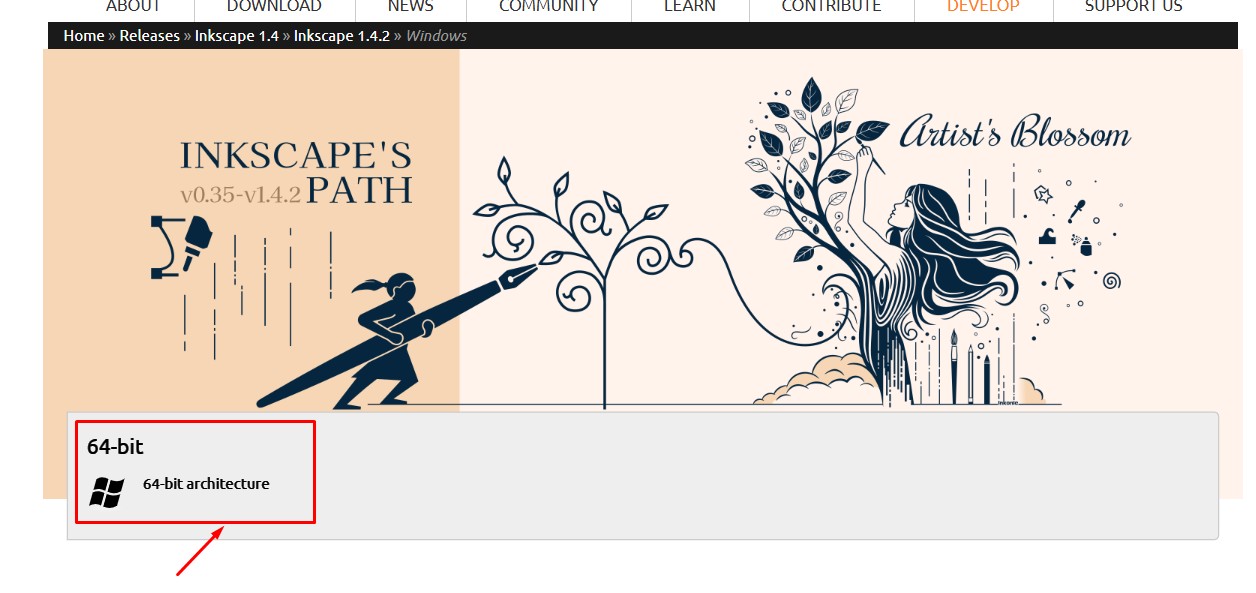
5.In which format of the downloading option to be downloaded, so i clicked the suitable one to do it.
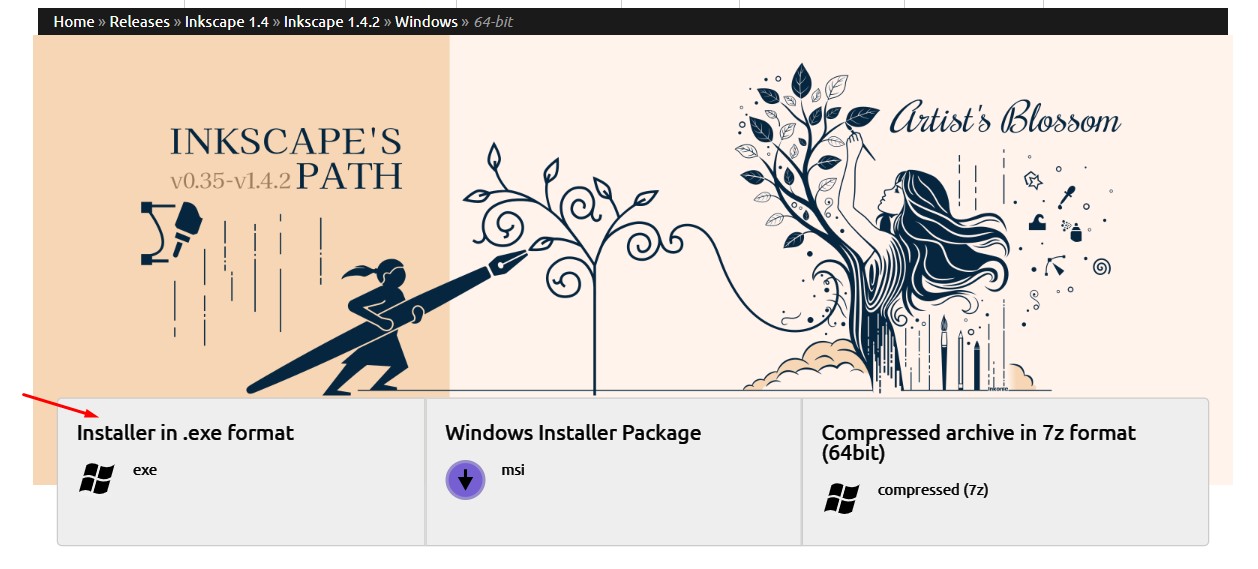
6. A popup will come that will show the downloading option for the software to be.
Here is the link button below:
Or you can download manually:
InkScape
Using InkScape
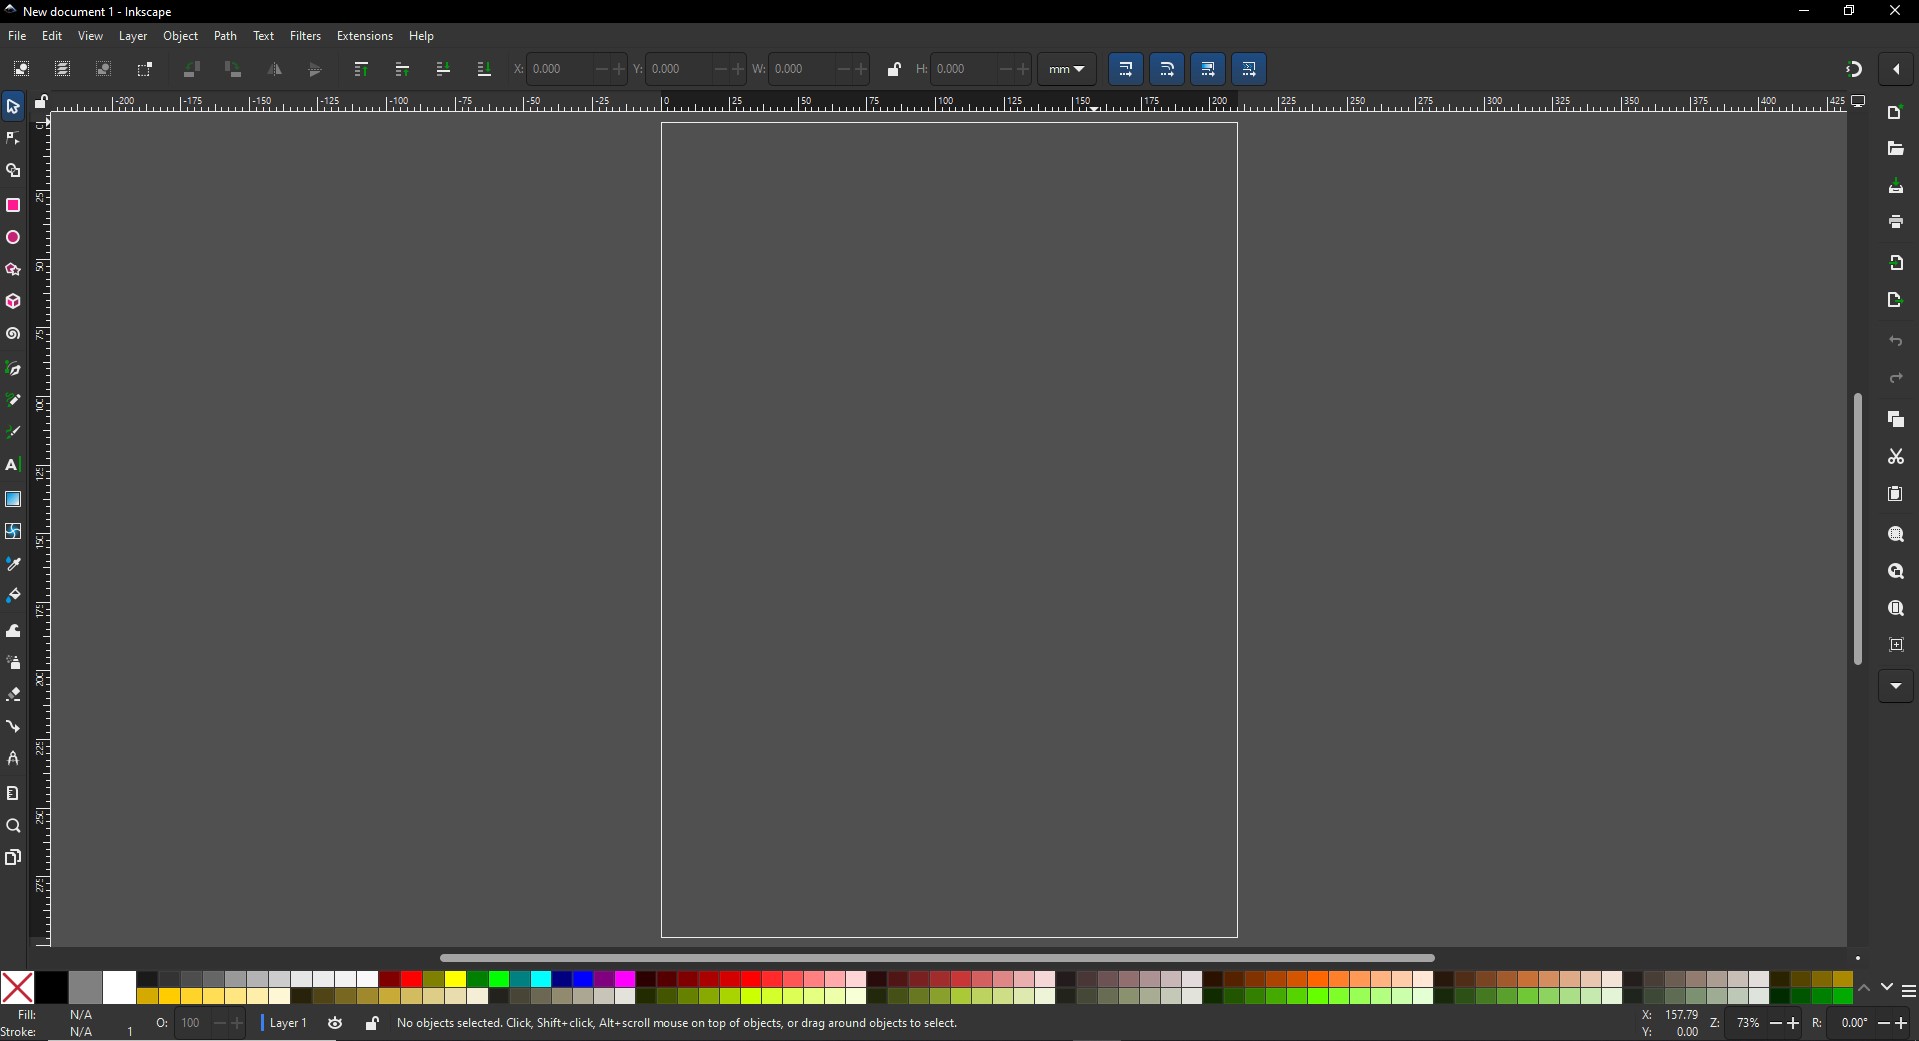
1. this is the inkspace software and click on it.
2. A Window will appear in which the editing can be done on it.
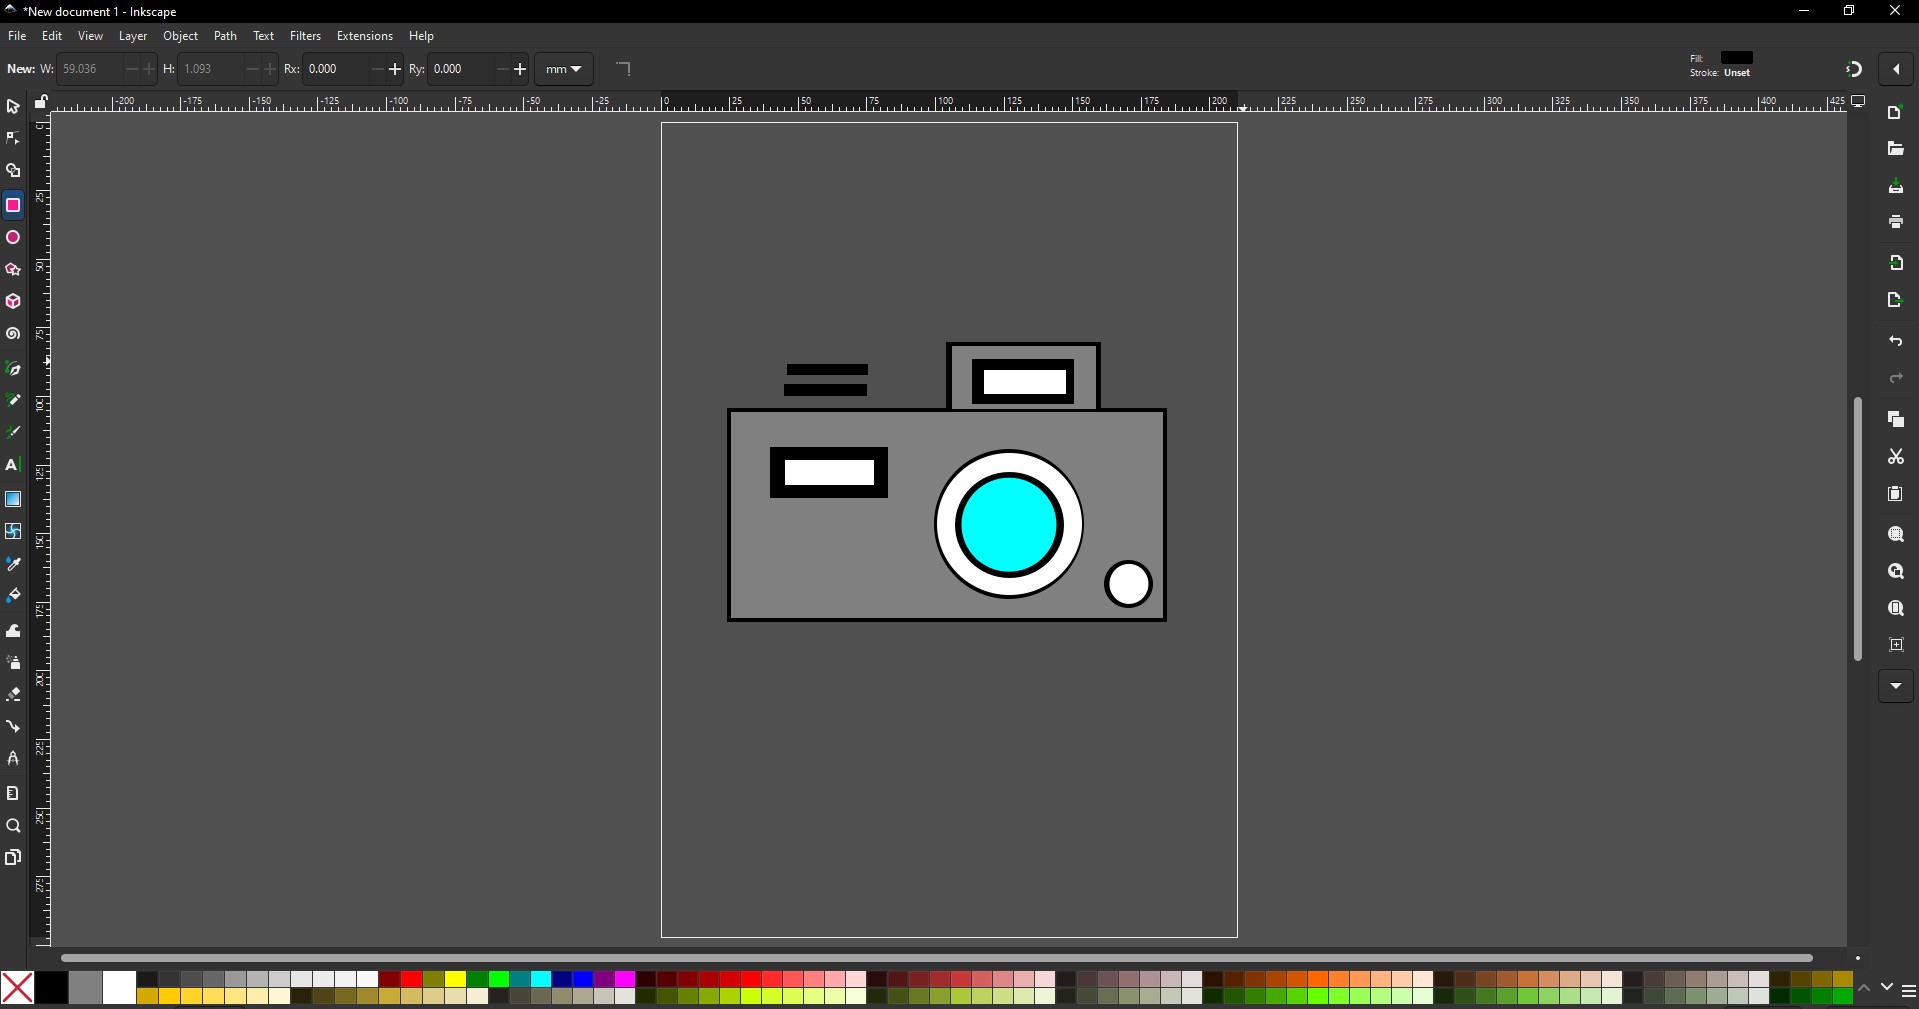
3. click on the shapes to give the desired shapes and i made a camera similar to this.
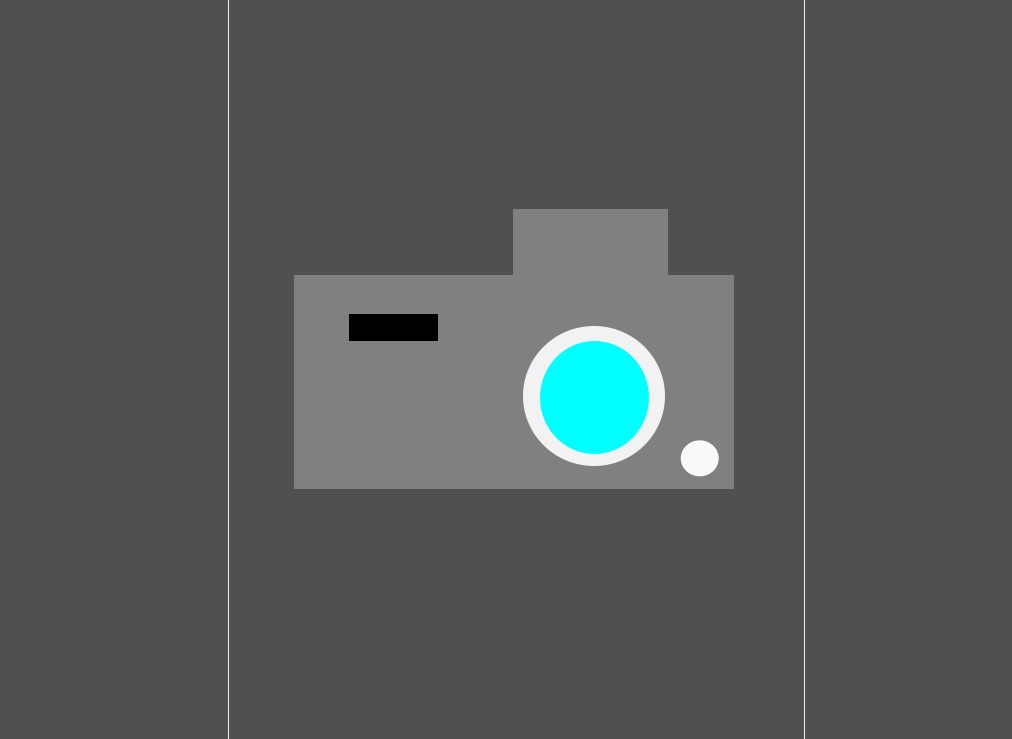
4. Afer adding tehe required shapes on it and coloring on it to give a proper one.
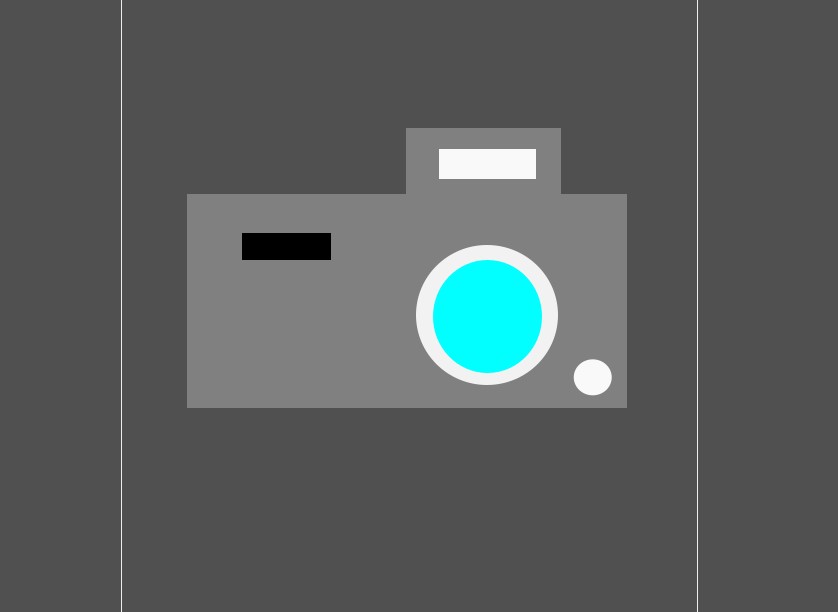
5. After adding the borders in it. The vector image of the camera is made and click Ctrl + S to save the file and name it out to save a vector image.
Blender
1.Blender is an open-source 3D creation suite used for modeling, sculpting, animation, and realistic rendering, widely favored in art, film, and game design.

Installation of Blender
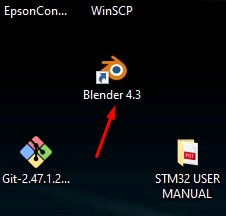
1. For Creating a better animation, and models similar to gaming. i use the software called blenderat is this one
2. Go to google and search "Blender" and there will be over and click first link there been provided.
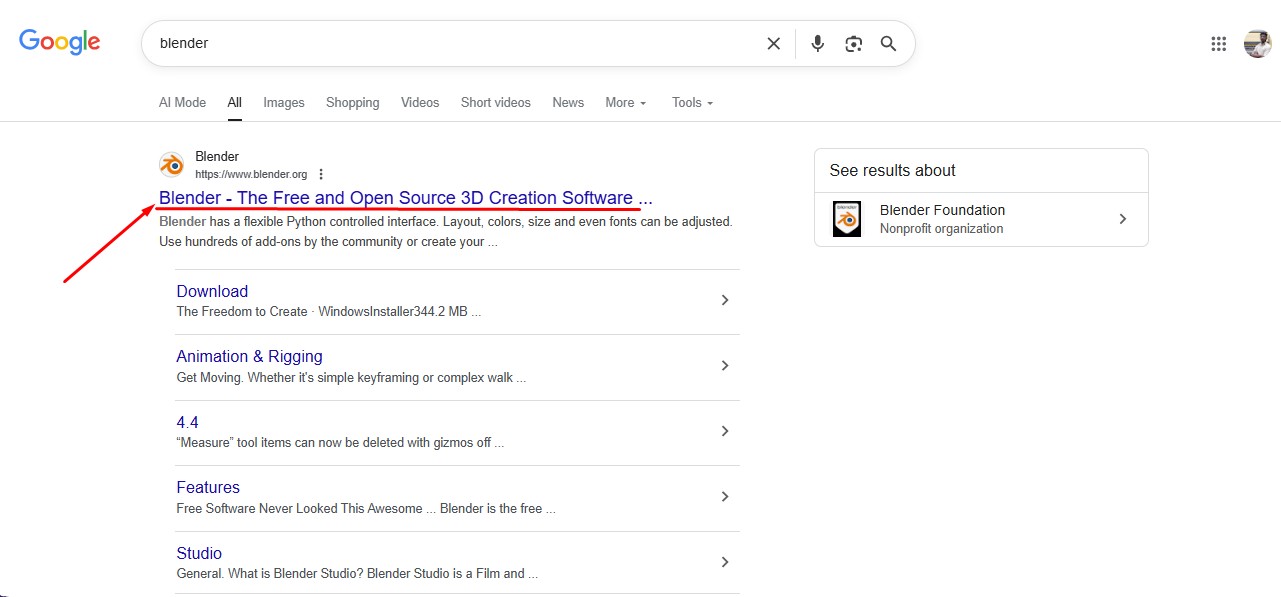
3. This is the website for the Blender to be downloaded.
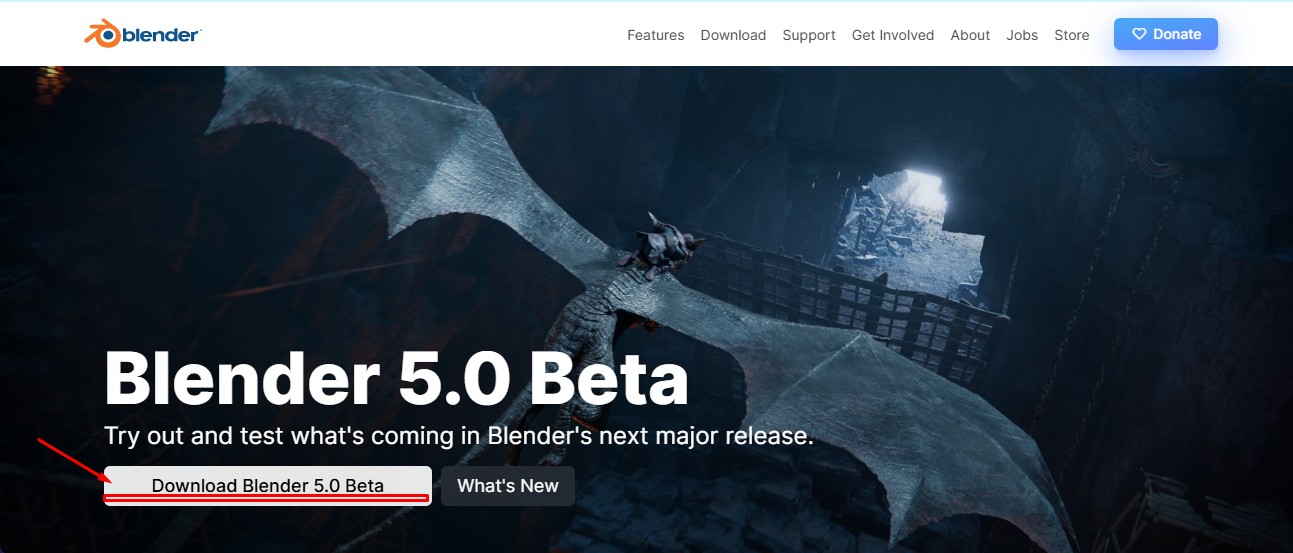
4. scroll down to get the option to download the installer or zip to download.
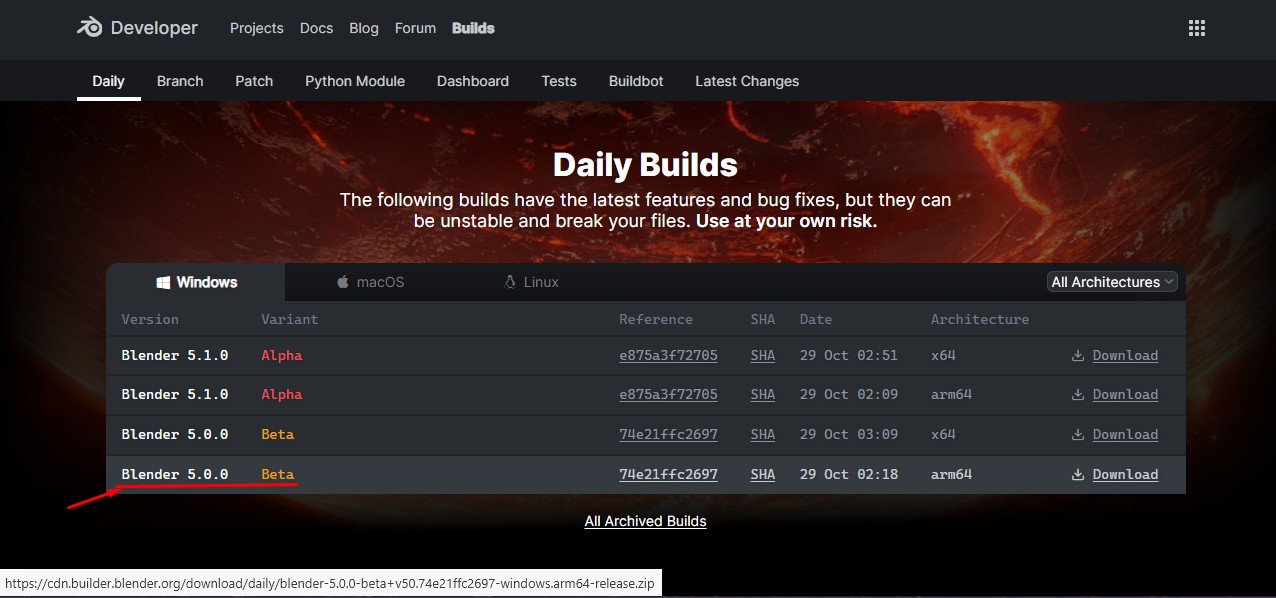
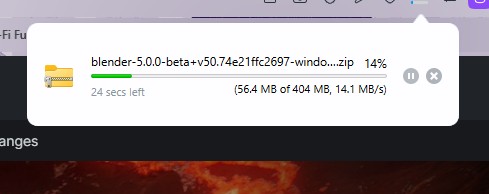
5. blender latest version started to be downloaded.
Here is the link button below:
Or you can download manually:
Blender
Using Blender
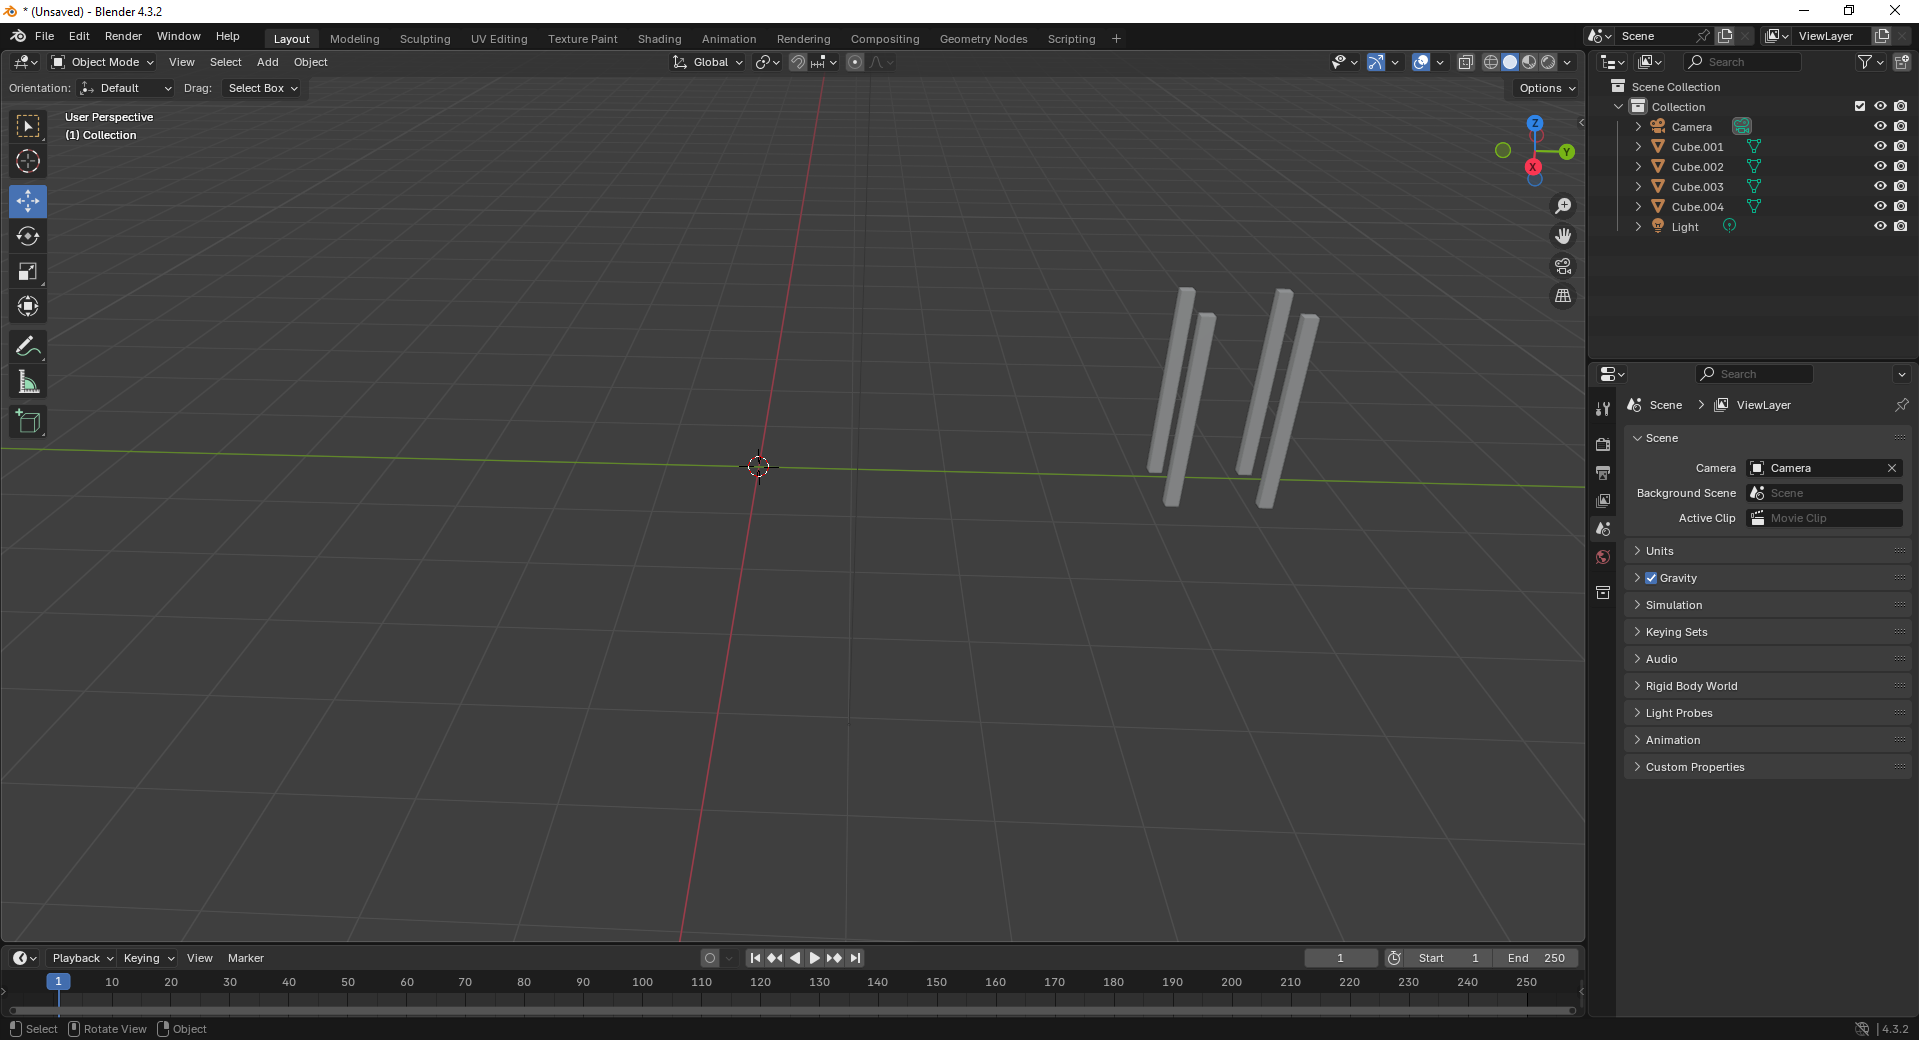
1. Click on it to open up the software.
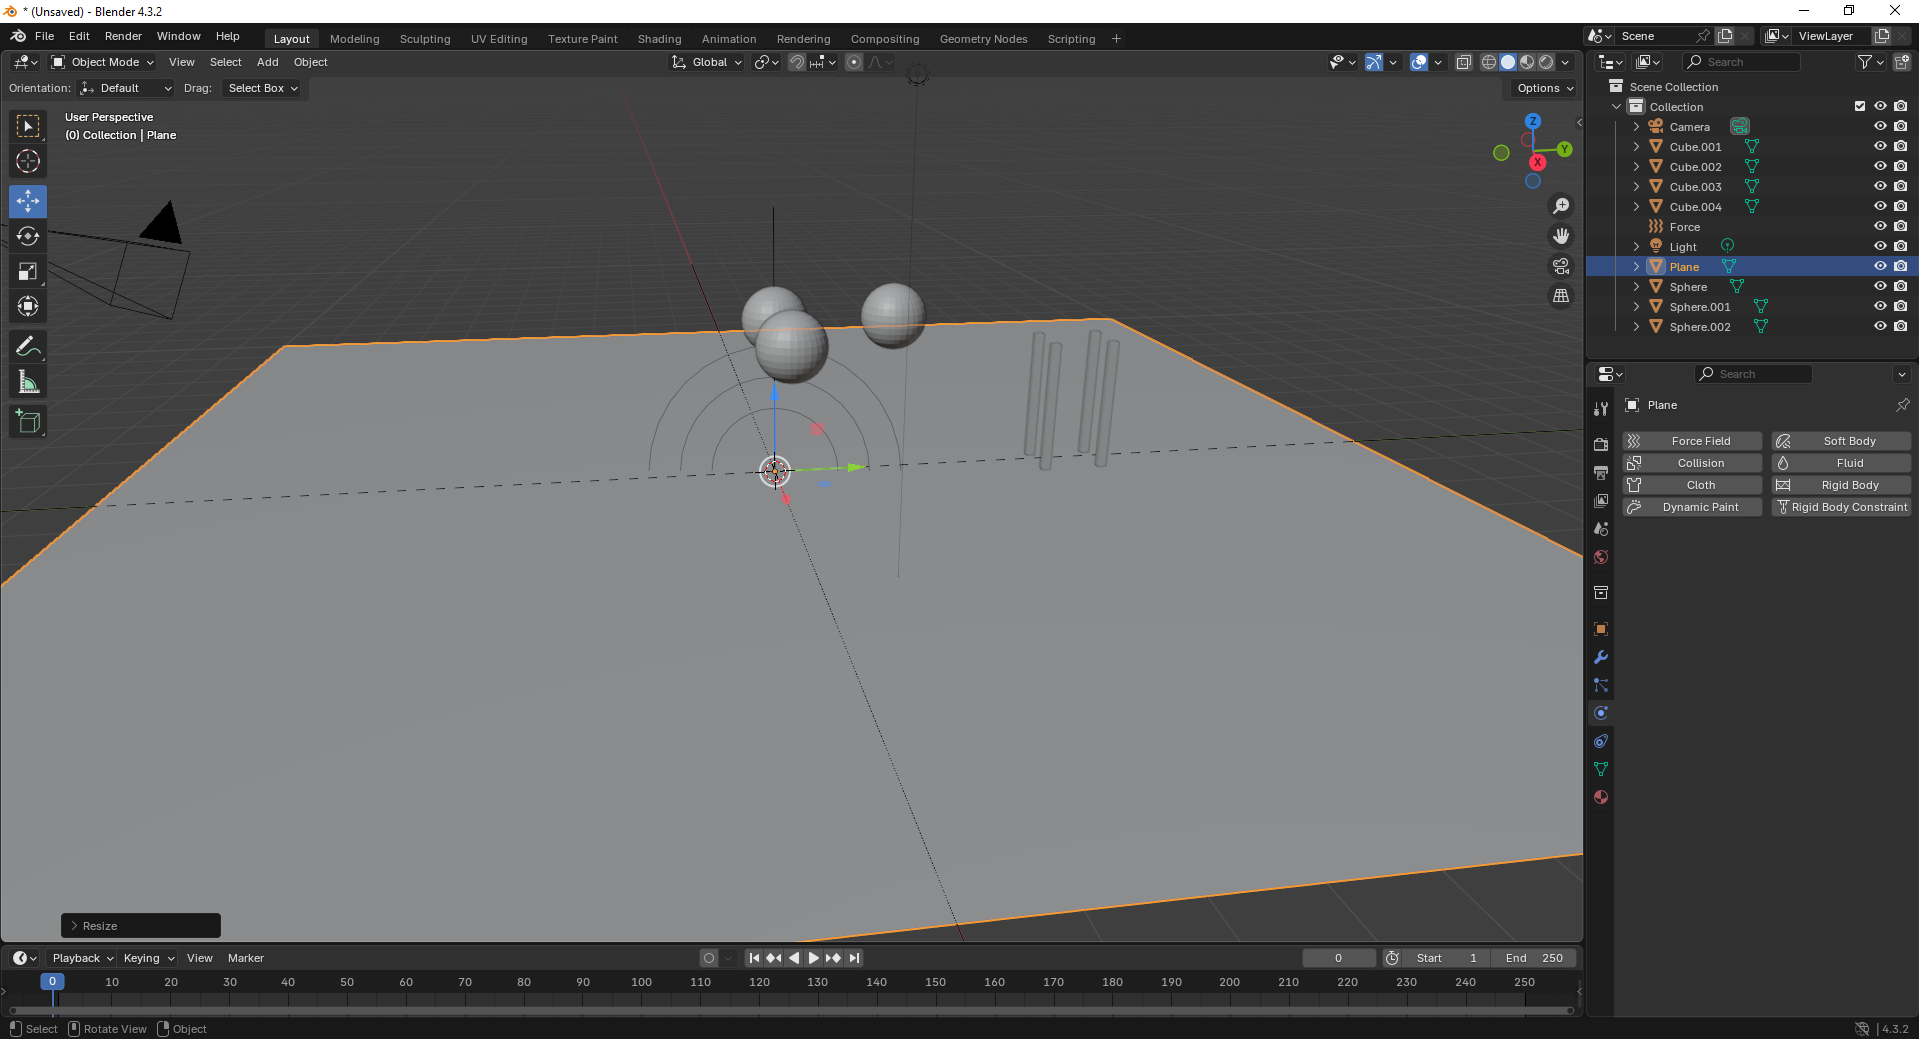
2. Start by opening Blender and loading the default scene. You’ll see a cube, light, and camera already placed on the grid.

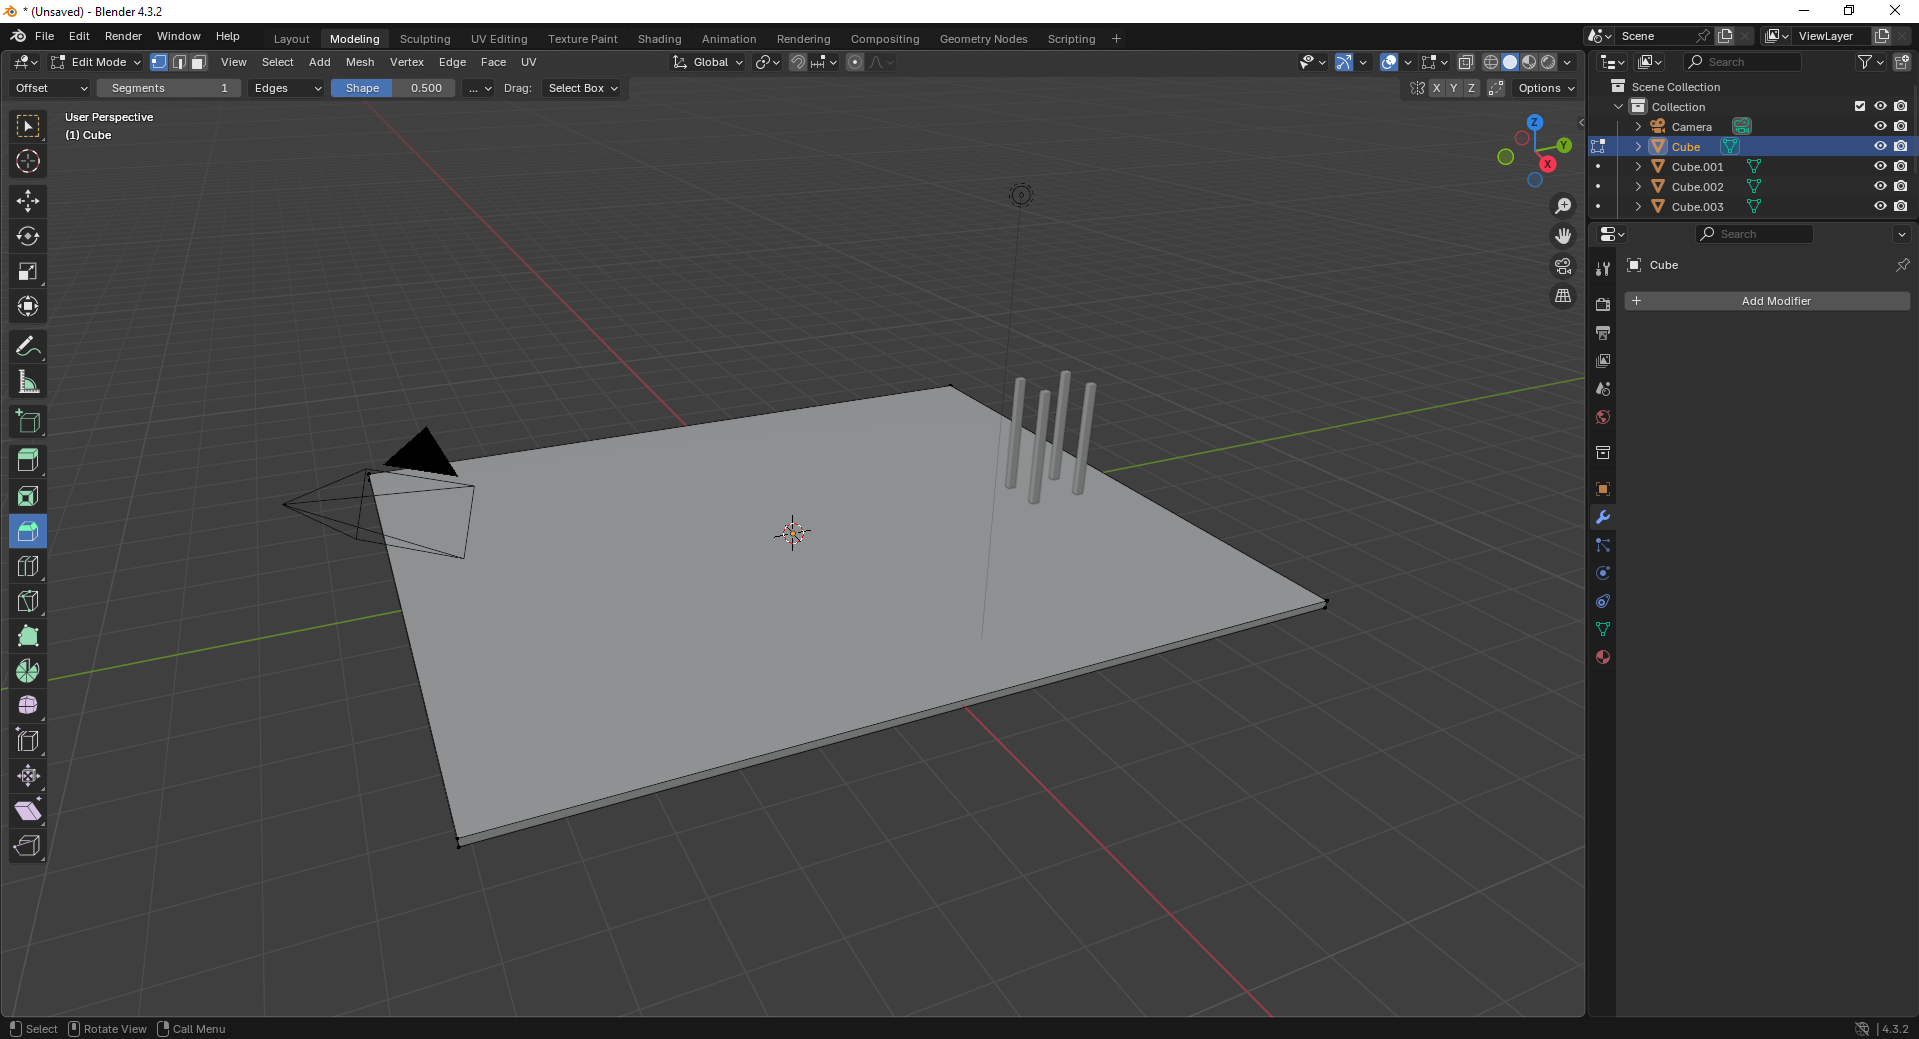
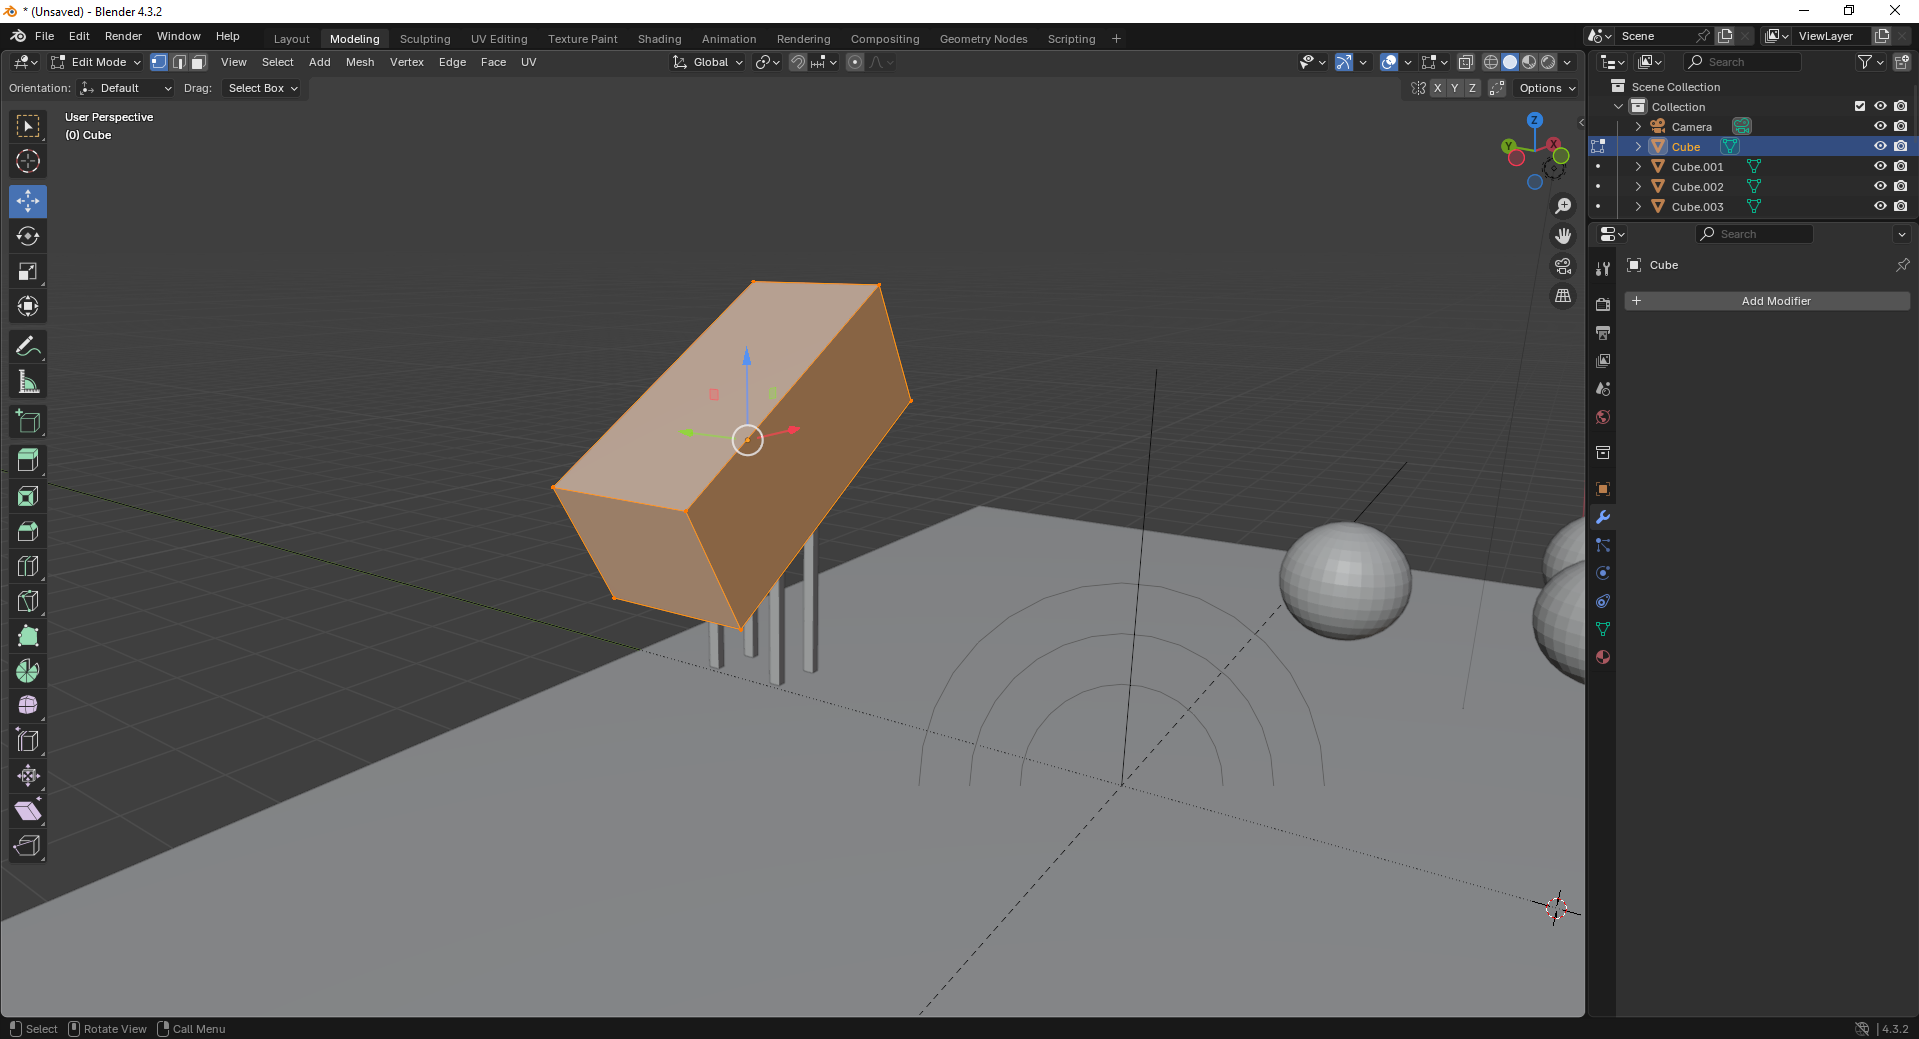
3. Switch to Edit Mode and begin modifying the cube’s shape using scaling and extrusion tools to adjust its dimensions..
4. Add a large plane to act as the ground and position the cube above it. This helps set up a base for the scene.
5. Move to the Shading Workspace and enable “Use Nodes.” You can now add materials or textures to the plane for realistic lighting..
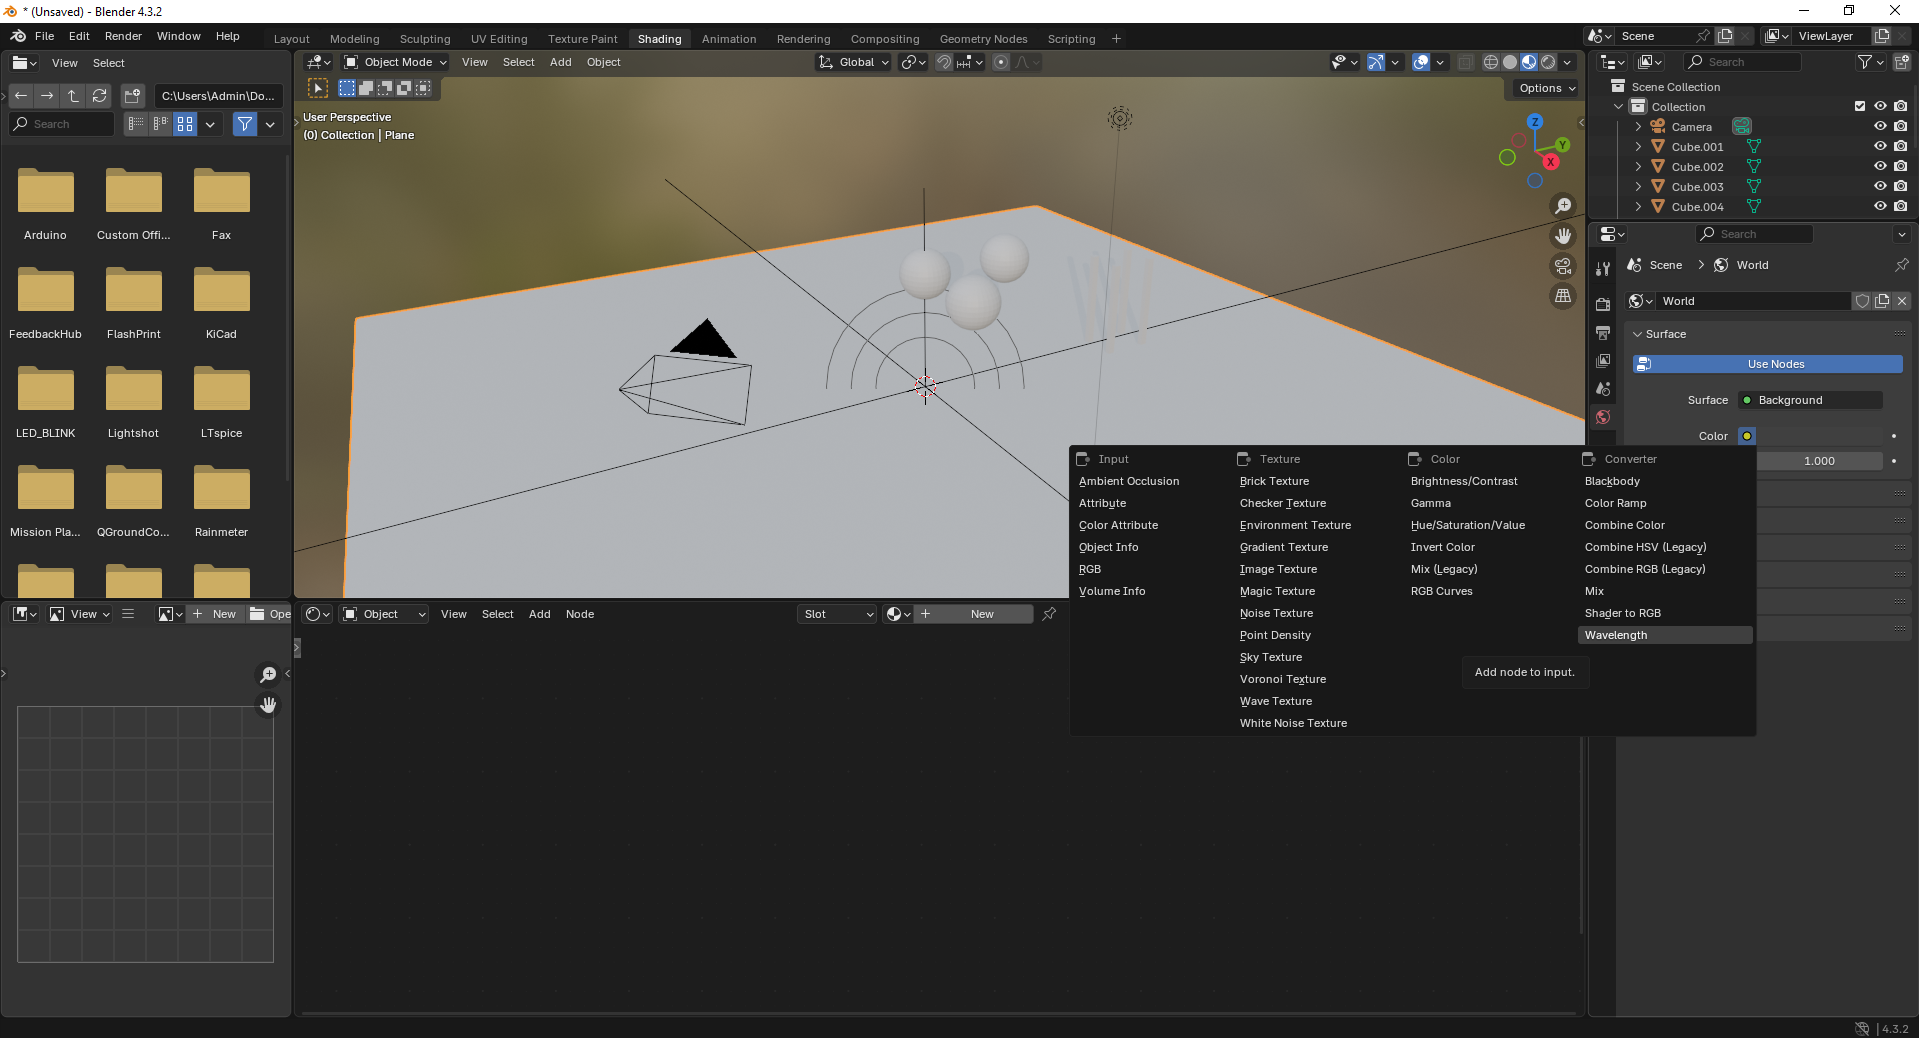
6. Insert additional objects like spheres to the scene. Use the “Add” menu and select Mesh → UV Sphere to create them.
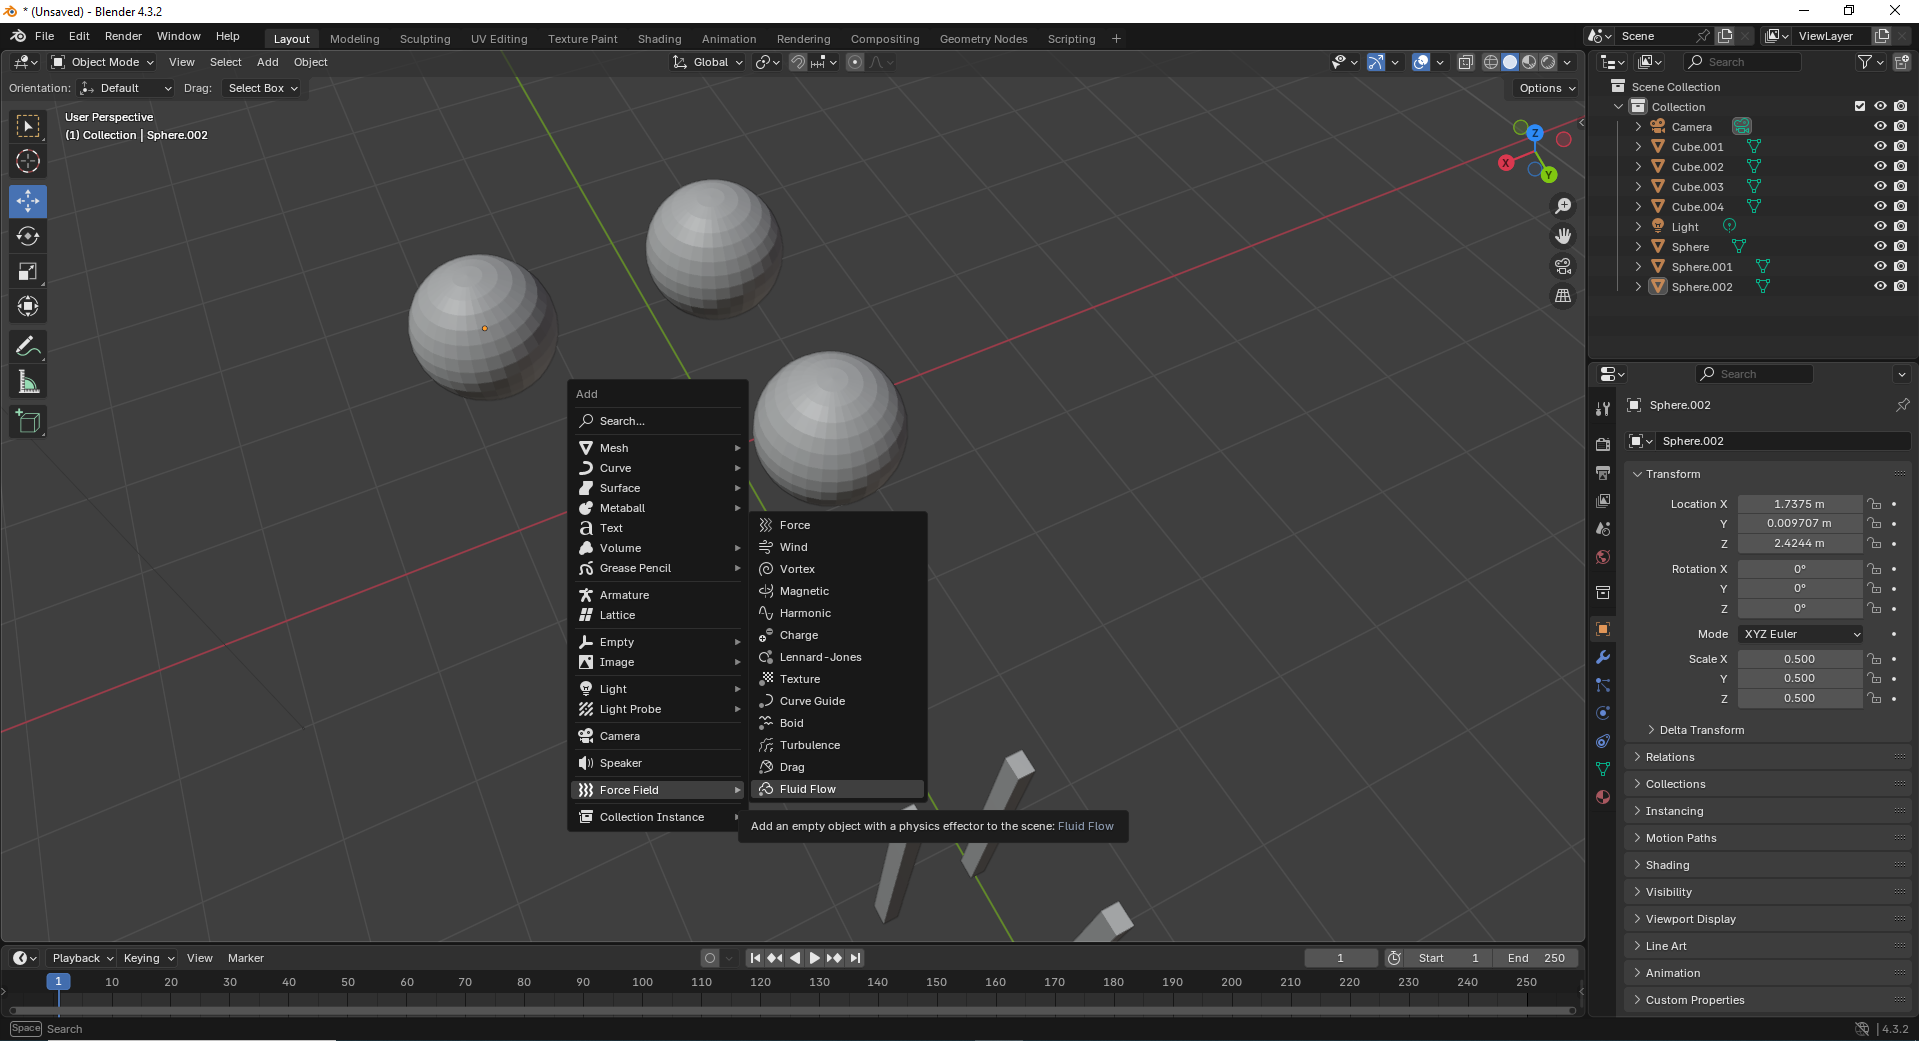
7. Add a force field by going to Add → Force Field → Force. This helps simulate physics effects like gravity or wind.
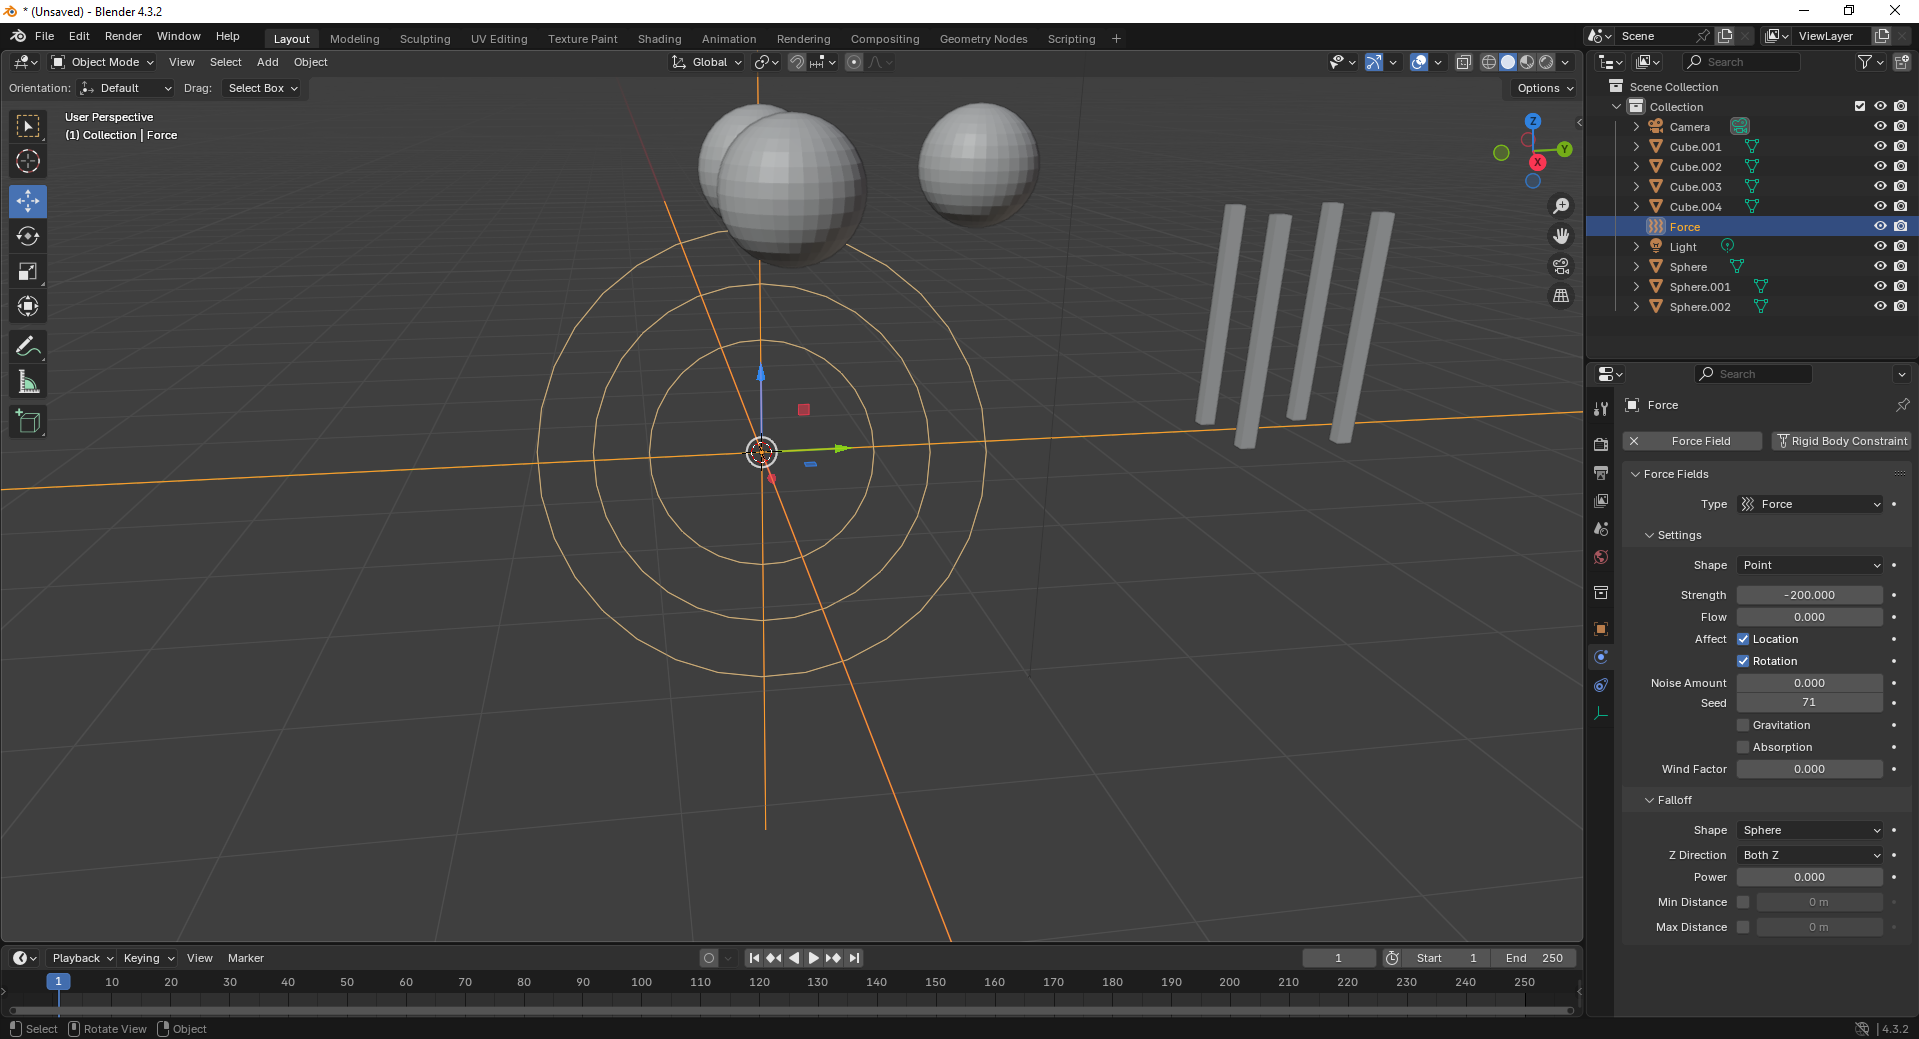
8. With the force field selected, tweak its properties under the Physics tab. Adjust strength and falloff to control the effect’s power.
9. Finally, open the Scene Properties tab and ensure gravity is enabled. This allows objects to interact naturally under simulation.
Fusion 360
Fusion 360 is a cloud-based CAD/CAM tool that combines design, simulation, and manufacturing features, ideal for engineering and product development.

Installation of Fusion 360
1. For Creating models , that manufactures like product design, i use the software called Fusion 360 that is this one
2. Go to google and search "Fusion 360 Download" and there will be over and click first link there been provided
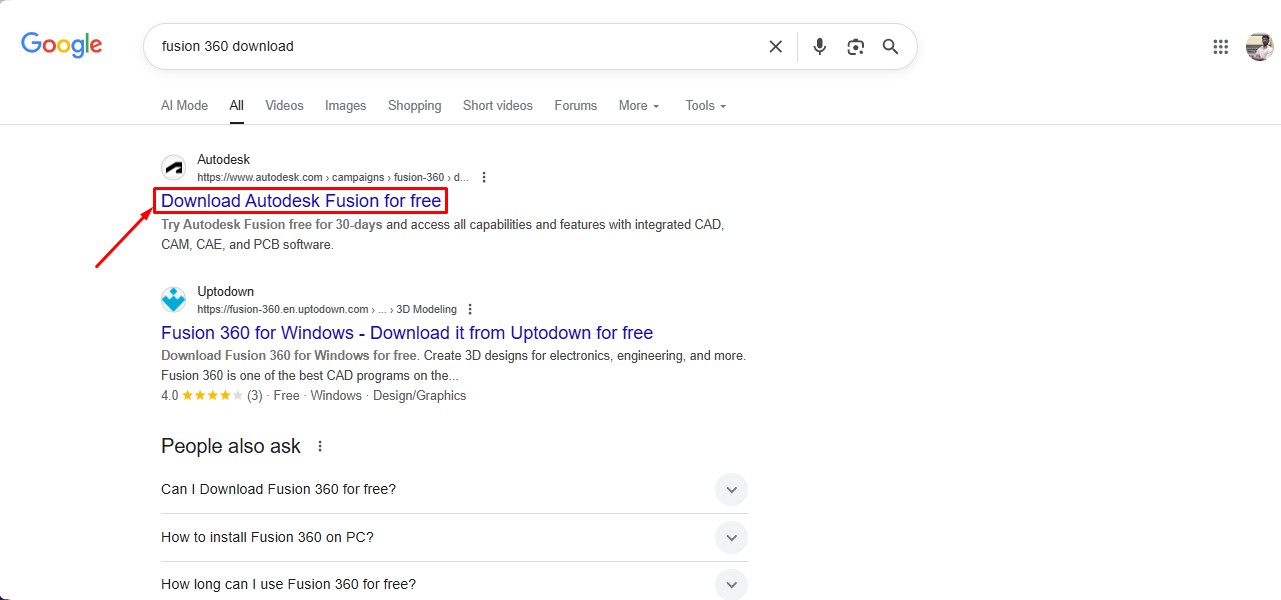
3. This is the website for the Fusion 360 to be downloaded. and click on the button.

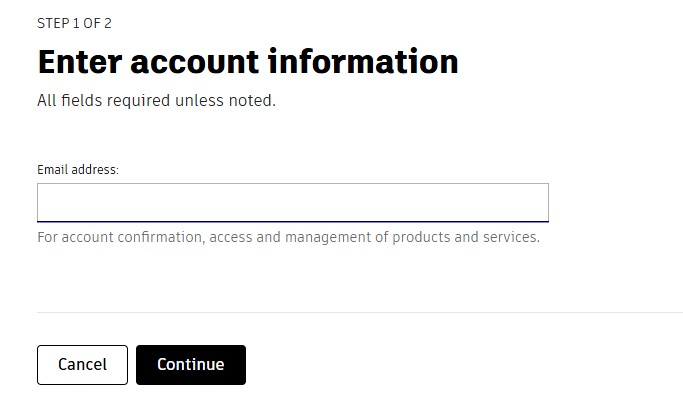
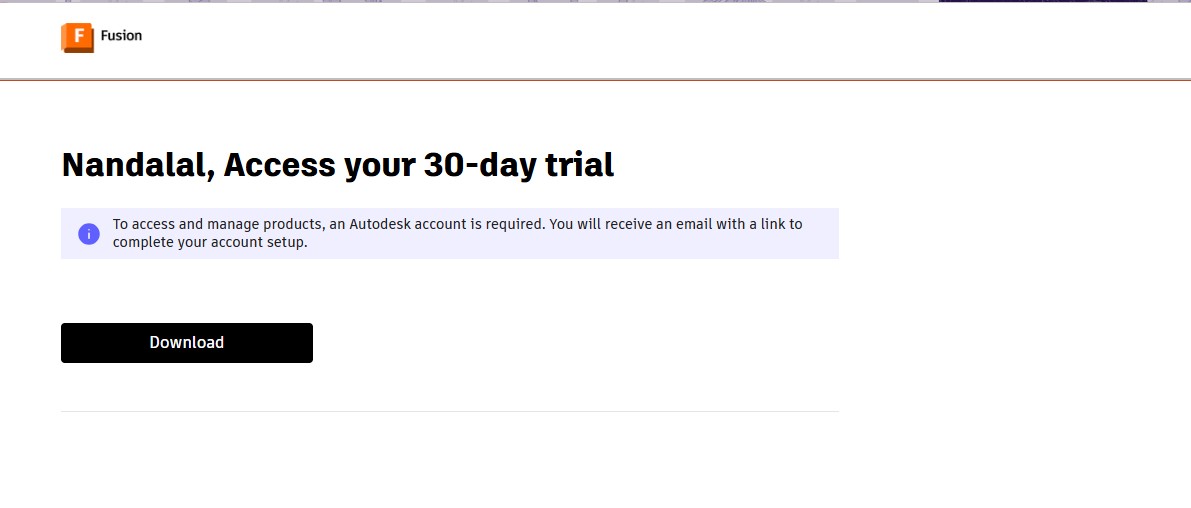
4. After clicking that, click on the "Free Trial" button to get full access for 30 days.

5. Then, as to download the fusion 360 software. you have to create a account over there and its a account information. give your G-Mail ID
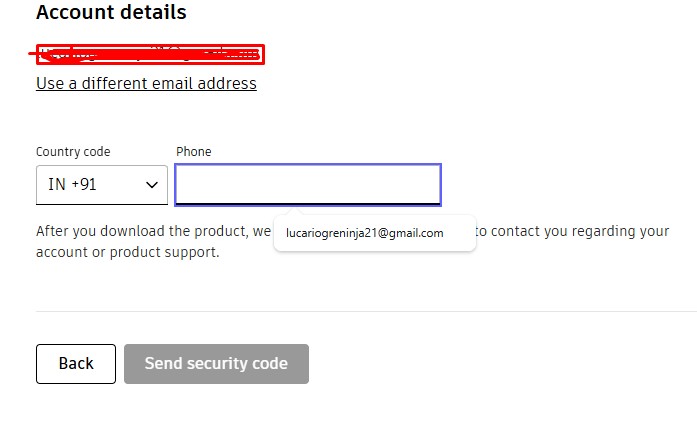
6. Then, enter the account details asked by the information and click okay or confirm button.

7. After completing this, you will be displayed with to enter oyur phone Number to put it on and it will send the security code.
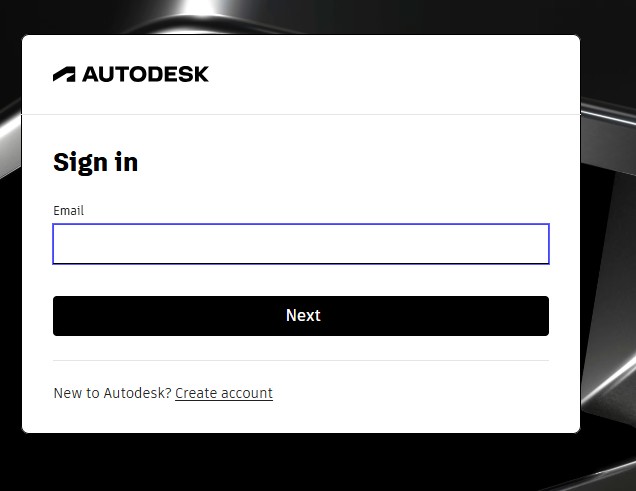
8. Then, the account has been registered in it.sing in with the G-Mail wiith the same that used previously with registering.
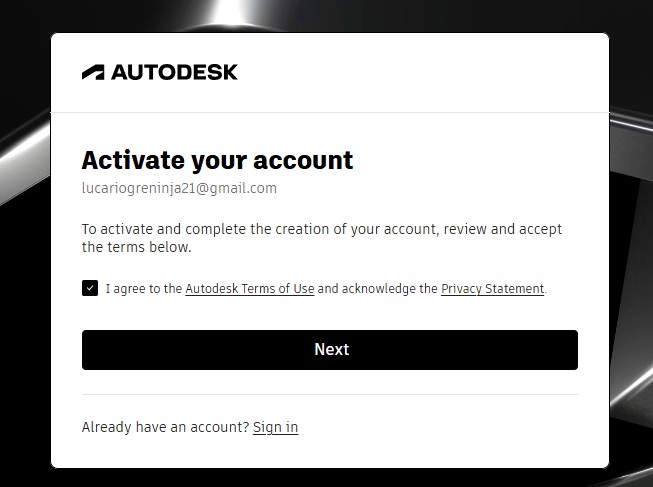
9. after signin in , it may ask you to activate the account by clicking "I agree" Tick Box and click "Next".
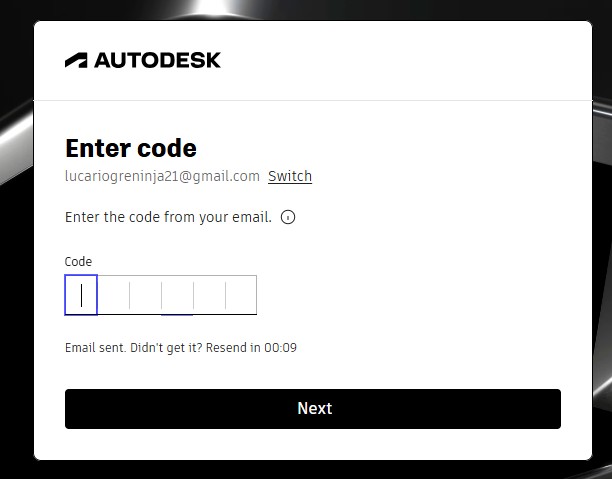
10. It will send the Activation code to your G-Mail account for activation it.
11. A window will pop up stating the account has been created.
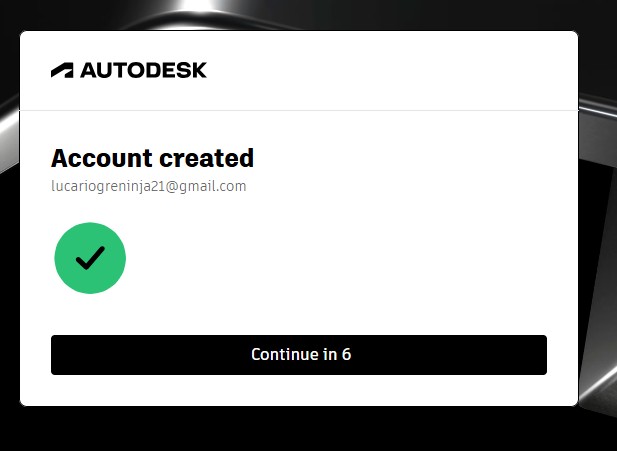
12. as you have seen, you may get tge account with teh access to use full for 30 days. and also to download the fusion360 download.
13. A pop up window will appear to download the fusion 360 client downloader.
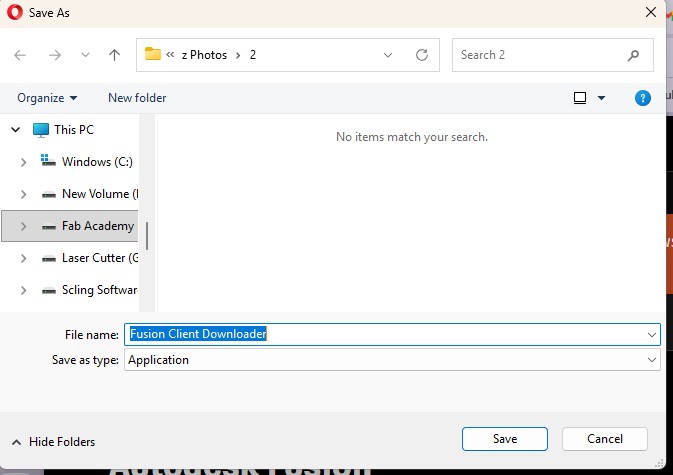
Here is the link button below:
Or you can download manually:
Fusion 360
Using Fusion 360
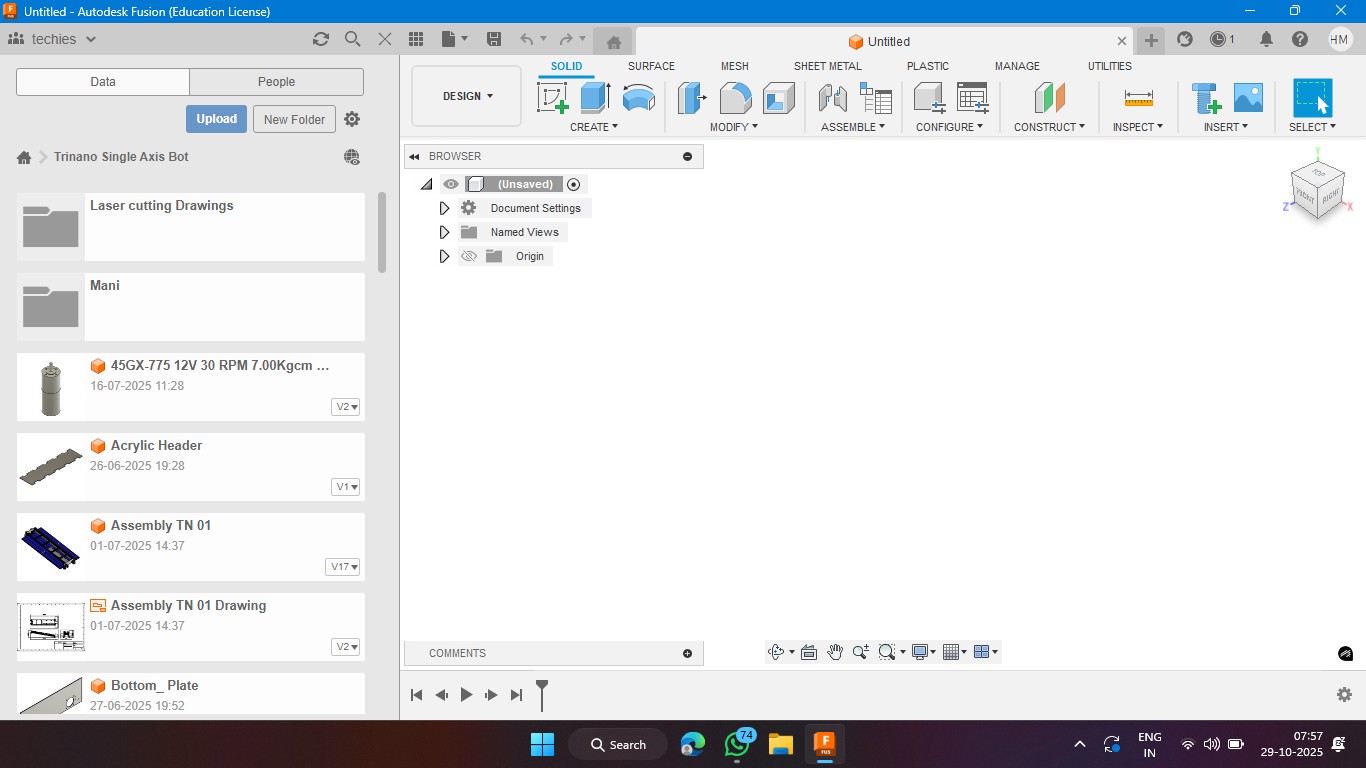
1. Click on it to open up the software.
2. A new window will pop up over there click it up on "Add Files" to add file or "Add Folder" to add all the content in the folder.
3. Click on the rectangle section to make a 2d rectangle with the dimension of 100mm x 100mm with the thickness of 10mm.
4. Extrude the rectangel in the way that to make it as a Cube. In which i have given the properties to make it look like a Wood.
5. Negative extrude the inner square to make it look it like a hollow cube in it.
6. Negative Extrude the other square to make it like a square border, which can be viewable from any side.
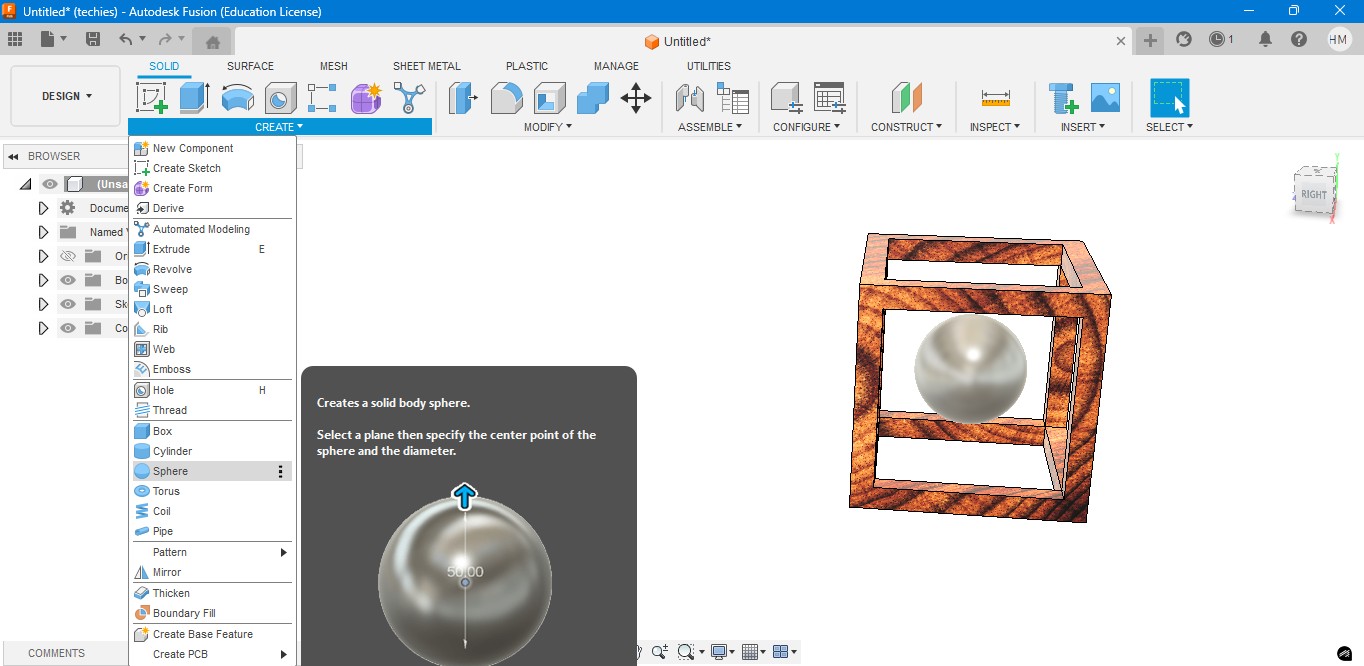
7. Now, I have created a sphere that is metallic sphere to fit inside of it.
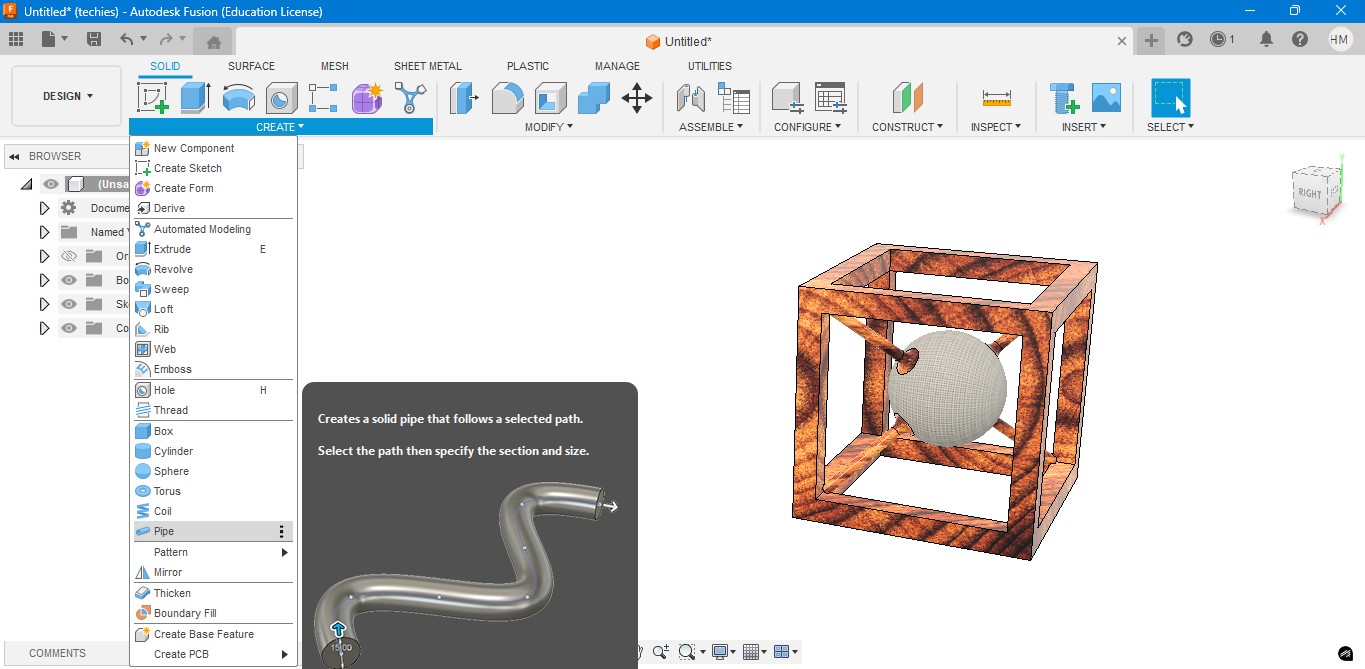
8. Now, I have used to create a Pipe to attached the sphere to the borders of the square..
9. Now, for the Rendering portion, the RENDER is to create a rendering image of it to show.
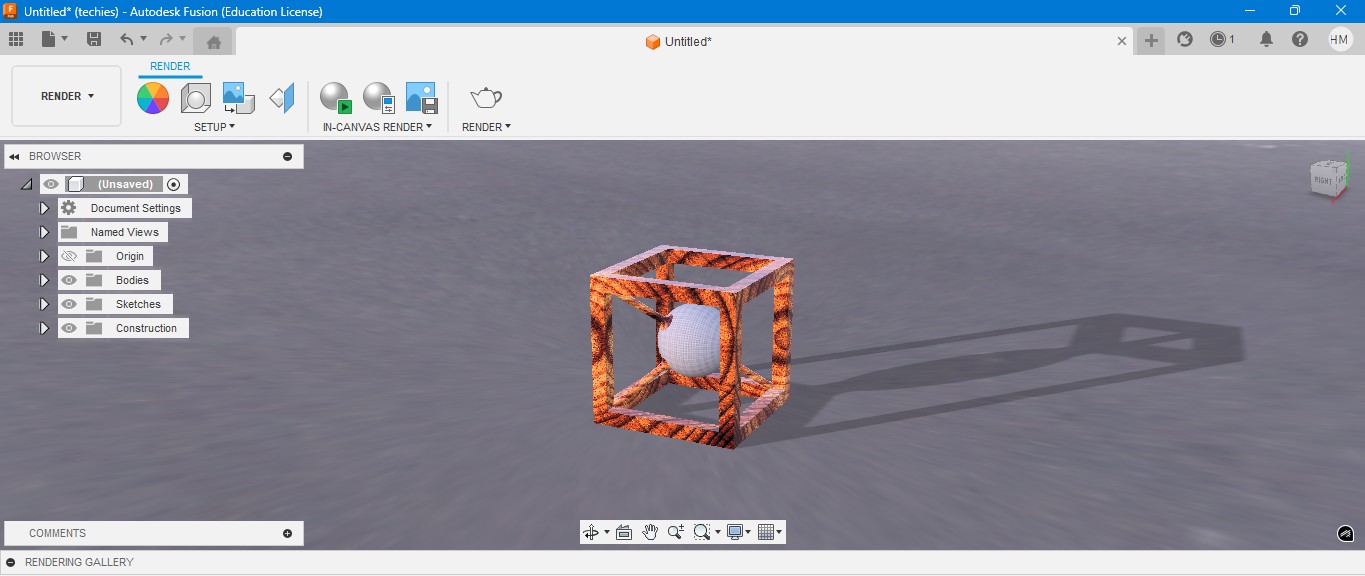
10. for the Environmental scenario, i have gone to scene settings in it which i have made changes. which the image is gonna generate.

RENDER
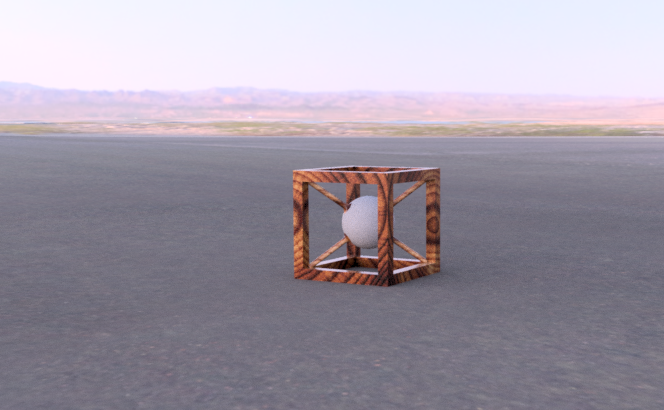
Rendering in Fusion 360 creates a realistic image of the 3D model by applying materials and lighting.
It helps visualize the final product’s appearance before fabrication or presentation.
ANIMATION
Animation in Fusion 360 shows how parts move or fit together in real time.
It helps visualize the assembly process and demonstrate the product’s functionality clearly.
Animation of sphere passing through the cube
Image Compression
1. For image Compression i use the software called XNconvert that is this one

2. Go to google and search "xnconvert" and there will be over and click first link there been provided.

3. This is the website for the XNConvert to be downloaded.

4. scroll down to get the option to download the installer or zip to download.

5. donwload the XnConvert.

6. Click File -> Import -> Graphics and click it to import Outline of the board.

Here is the link button below:
Or you can download manually:
XnConvert
Using XNConvert
1. Click on it to open up the software.
2. A new window will pop up over there click it up on "Add Files" to add file or "Add Folder" to add all the content in the folder.

3. so i clicked on folder and selected it and all the images are on it and click on "Convert" on it.

4. If you hav edone all the Images will be compressed in my case i have compressed from 67 Mb to 26 Mb.

Video Compression
1. For image Compression i use the software called HandBrake software that is this one

2. Go to google and search "HandBrake" and there will be over and click first link there been provided.

3. This is the website for the HandBrake to be downloaded.

4. Click on the download to install installer .

5. Installing the software.

Here is the link button below:
Or you can download manually:
HandBrake
Using HandBrake Software
1. Click on it to open up the software.
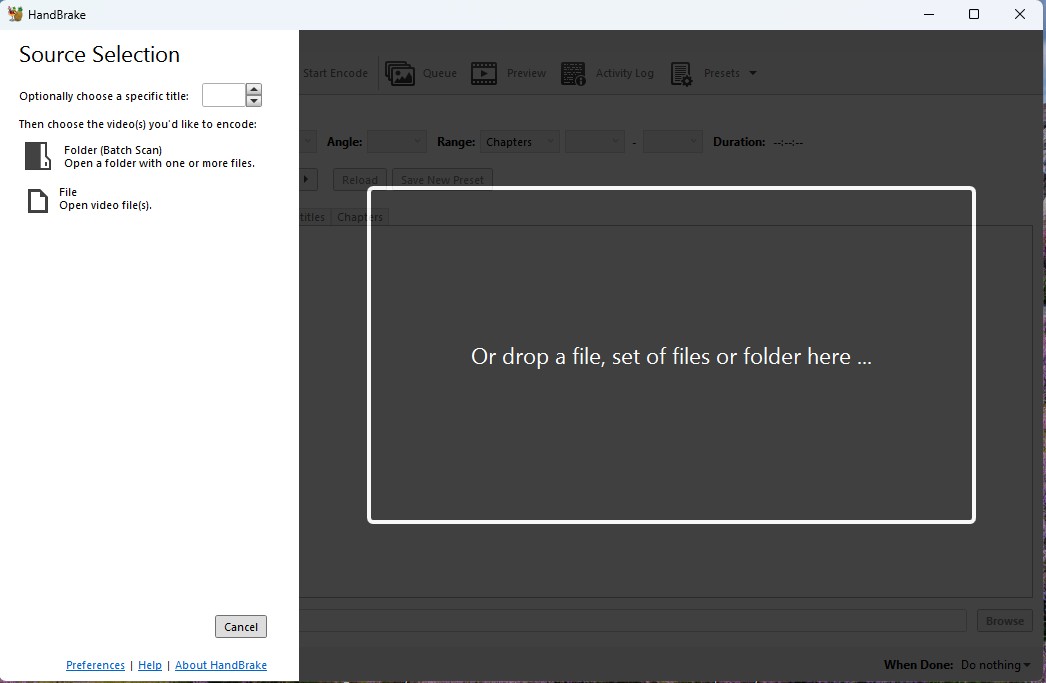
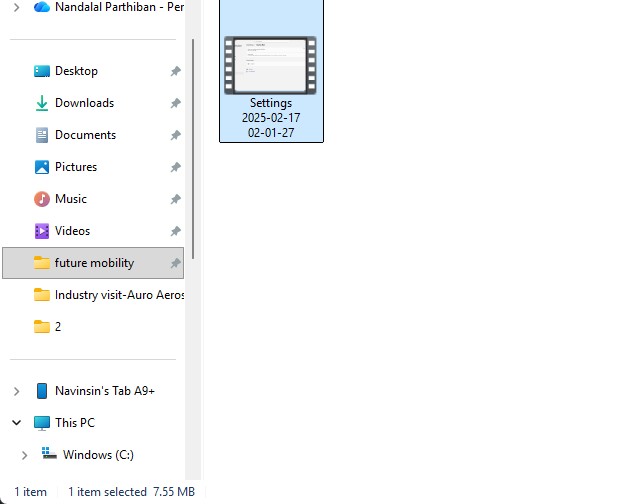
2. A new window will pop up over there click it up on "Add Files" to add file or "Add Folder" to add the content in the folder.
3. so i clicked on folder and selected the video which is 7.44 mb and uploaded in the window.
4. the datas may occur over there in it so view on it
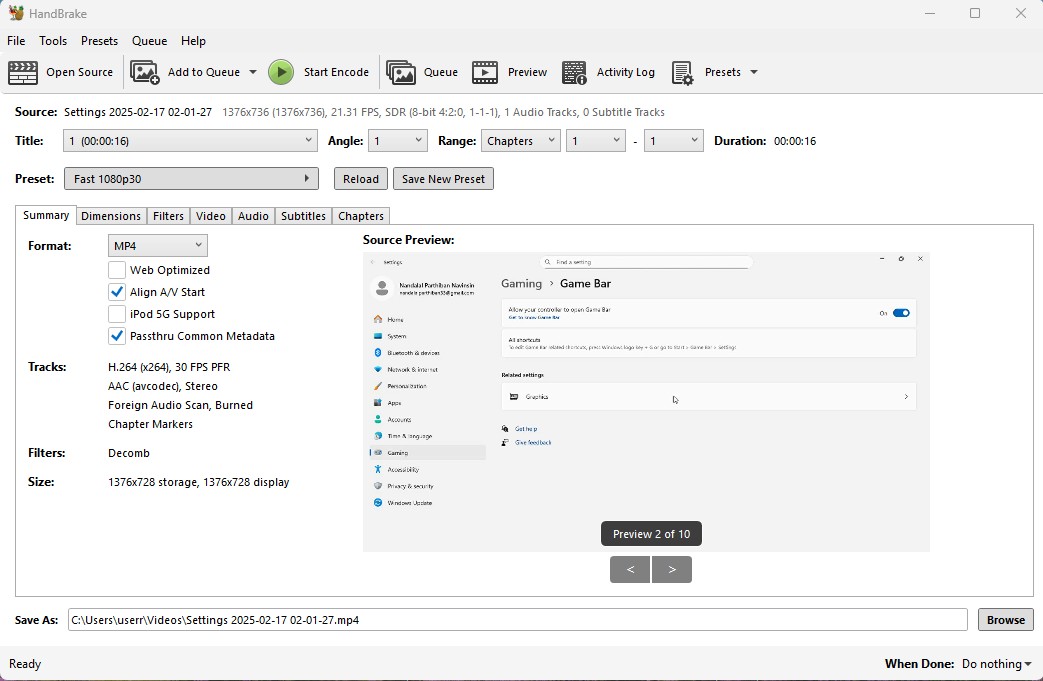
5. click on the "start Encode" to start the process of it.
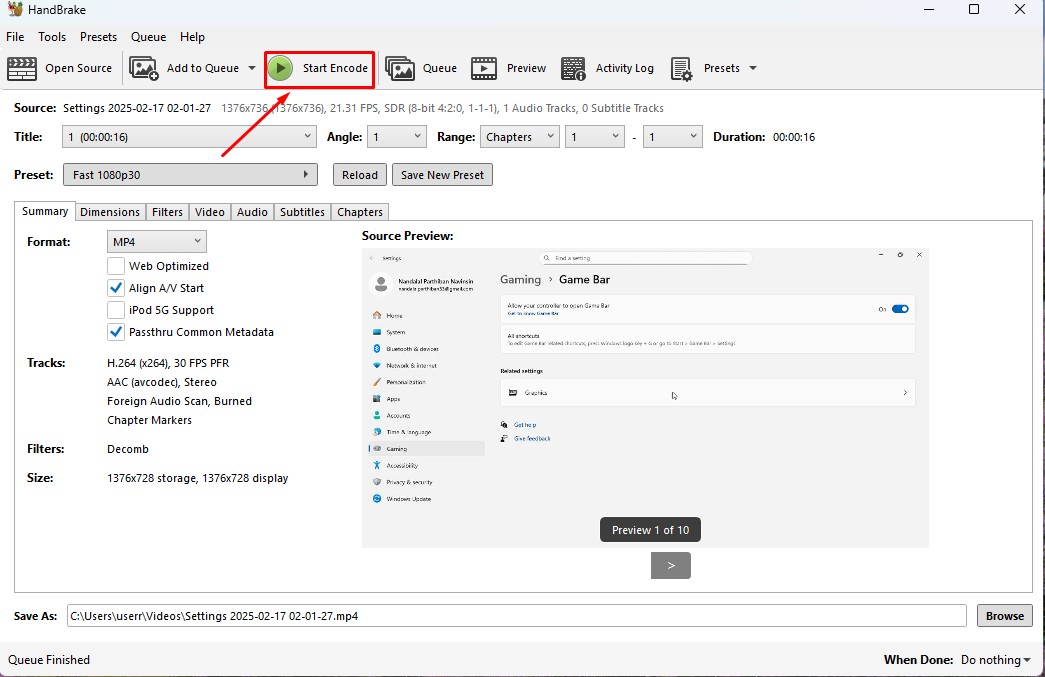
6. Wait for the queue to be finished as it required to be finished.

7. now the new video which was compressed is been only in 131.0kb storage it has.
Download Files
Here, you can download the files that i made over this assignment
2D Model
1. GIMP
2. InkScpae
3D Model
2. Blender
2. Fusion 360
Compression
2. XNConvert
2. HandBrake
4. Applied Gaussian Blur filter for a blur effect
Used the Gaussian Blur filter to soften certain parts of the image, creating a smooth and glowing visual effect around the logo.
5. Created a new layer with a plasma effect for the background
Generated a colorful plasma effect in a separate layer to add a vibrant and dynamic background to the composition.
6. Added a mask layer to the plasma layer for blending
Used a layer mask to blend the plasma background smoothly with the rest of the image, allowing better control over which areas are visible.
7. Overlapped the layers to create a name effect with the background
Positioned and layered all elements (text, plasma, blur) strategically to integrate the floating "NPN" logo with the animated background, giving a cohesive final look.
Inkscape
Inkscape is an open-source vector graphics software used for creating and editing designs like logos, illustrations, and laser-cut patterns.
It allows precise control over shapes, paths, and text for high-quality scalable graphics.
Installation of InkScape
1. For Vector images editing i use the software called InkScape that is this one
2. Go to google and search "InkScape" and there will be over and click first link there been provided.
3. This is the website for the INKSCAPE to be downloaded.
4. click on the architecture of your system you have to install a suitable one.
5.In which format of the downloading option to be downloaded, so i clicked the suitable one to do it.
6. A popup will come that will show the downloading option for the software to be.
Here is the link button below:
Or you can download manually:
InkScape
Using InkScape
1. this is the inkspace software and click on it.
2. A Window will appear in which the editing can be done on it.
3. click on the shapes to give the desired shapes and i made a camera similar to this.
4. Afer adding tehe required shapes on it and coloring on it to give a proper one.
5. After adding the borders in it. The vector image of the camera is made and click Ctrl + S to save the file and name it out to save a vector image.
Blender
1.Blender is an open-source 3D creation suite used for modeling, sculpting, animation, and realistic rendering, widely favored in art, film, and game design.
Installation of Blender
1. For Creating a better animation, and models similar to gaming. i use the software called blenderat is this one
2. Go to google and search "Blender" and there will be over and click first link there been provided.
3. This is the website for the Blender to be downloaded.
4. scroll down to get the option to download the installer or zip to download.
5. blender latest version started to be downloaded.
Here is the link button below:
Or you can download manually:
Blender
Using Blender
1. Click on it to open up the software.
2. Start by opening Blender and loading the default scene. You’ll see a cube, light, and camera already placed on the grid.
3. Switch to Edit Mode and begin modifying the cube’s shape using scaling and extrusion tools to adjust its dimensions..
4. Add a large plane to act as the ground and position the cube above it. This helps set up a base for the scene.
5. Move to the Shading Workspace and enable “Use Nodes.” You can now add materials or textures to the plane for realistic lighting..
6. Insert additional objects like spheres to the scene. Use the “Add” menu and select Mesh → UV Sphere to create them.
7. Add a force field by going to Add → Force Field → Force. This helps simulate physics effects like gravity or wind.
8. With the force field selected, tweak its properties under the Physics tab. Adjust strength and falloff to control the effect’s power.
9. Finally, open the Scene Properties tab and ensure gravity is enabled. This allows objects to interact naturally under simulation.
Fusion 360
Fusion 360 is a cloud-based CAD/CAM tool that combines design, simulation, and manufacturing features, ideal for engineering and product development.
Installation of Fusion 360
1. For Creating models , that manufactures like product design, i use the software called Fusion 360 that is this one
2. Go to google and search "Fusion 360 Download" and there will be over and click first link there been provided
3. This is the website for the Fusion 360 to be downloaded. and click on the button.
4. After clicking that, click on the "Free Trial" button to get full access for 30 days.
5. Then, as to download the fusion 360 software. you have to create a account over there and its a account information. give your G-Mail ID
6. Then, enter the account details asked by the information and click okay or confirm button.
7. After completing this, you will be displayed with to enter oyur phone Number to put it on and it will send the security code.
8. Then, the account has been registered in it.sing in with the G-Mail wiith the same that used previously with registering.
9. after signin in , it may ask you to activate the account by clicking "I agree" Tick Box and click "Next".
10. It will send the Activation code to your G-Mail account for activation it.
11. A window will pop up stating the account has been created.
12. as you have seen, you may get tge account with teh access to use full for 30 days. and also to download the fusion360 download.
13. A pop up window will appear to download the fusion 360 client downloader.
Here is the link button below:
Or you can download manually:
Fusion 360
Using Fusion 360
1. Click on it to open up the software.
2. A new window will pop up over there click it up on "Add Files" to add file or "Add Folder" to add all the content in the folder.
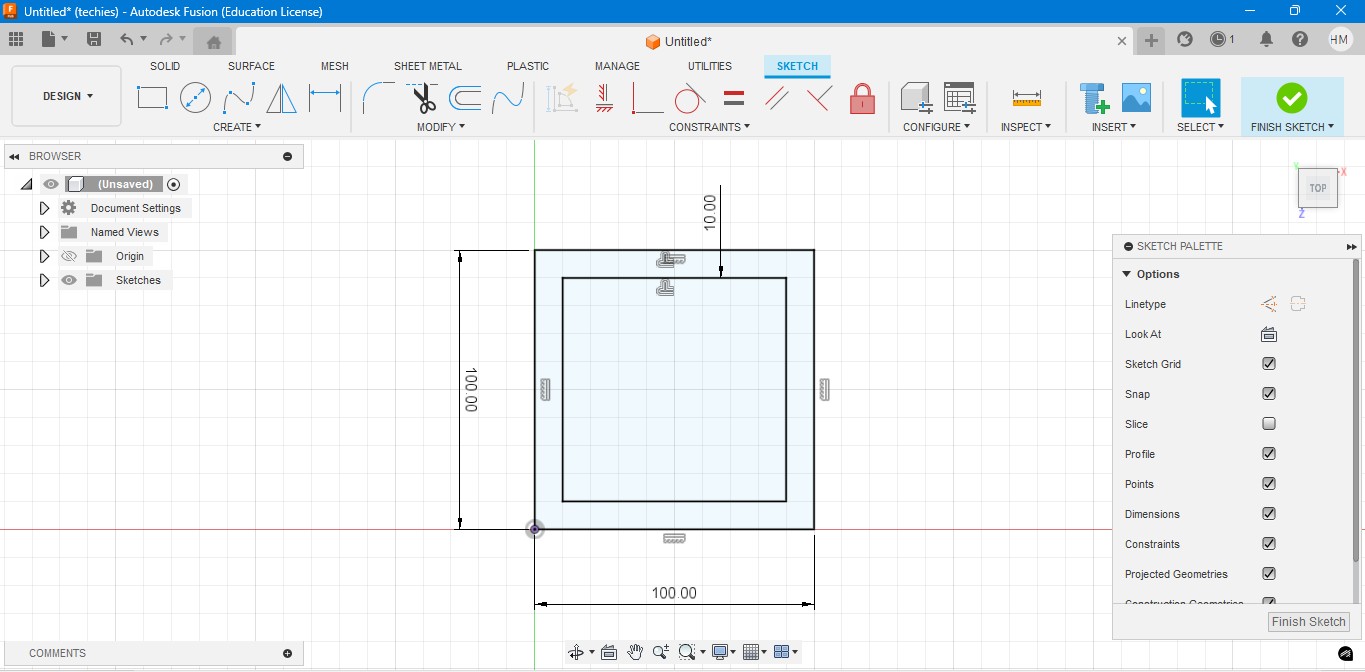
3. Click on the rectangle section to make a 2d rectangle with the dimension of 100mm x 100mm with the thickness of 10mm.
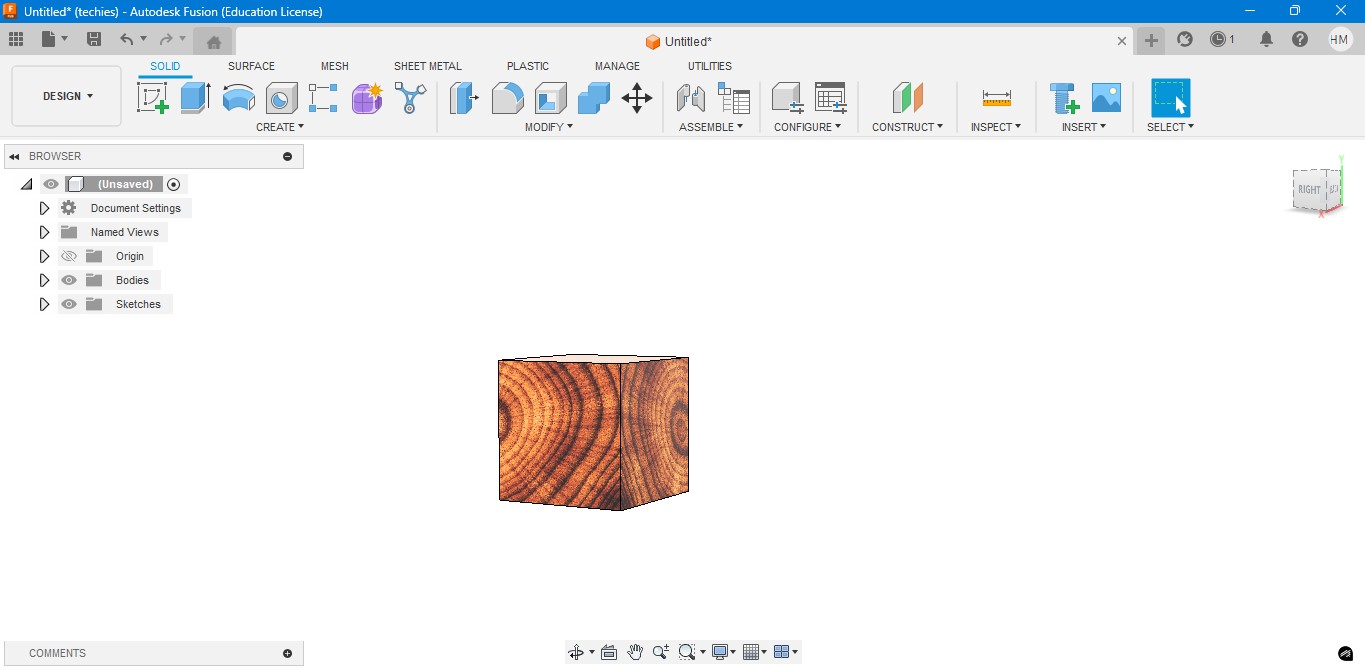
4. Extrude the rectangel in the way that to make it as a Cube. In which i have given the properties to make it look like a Wood.
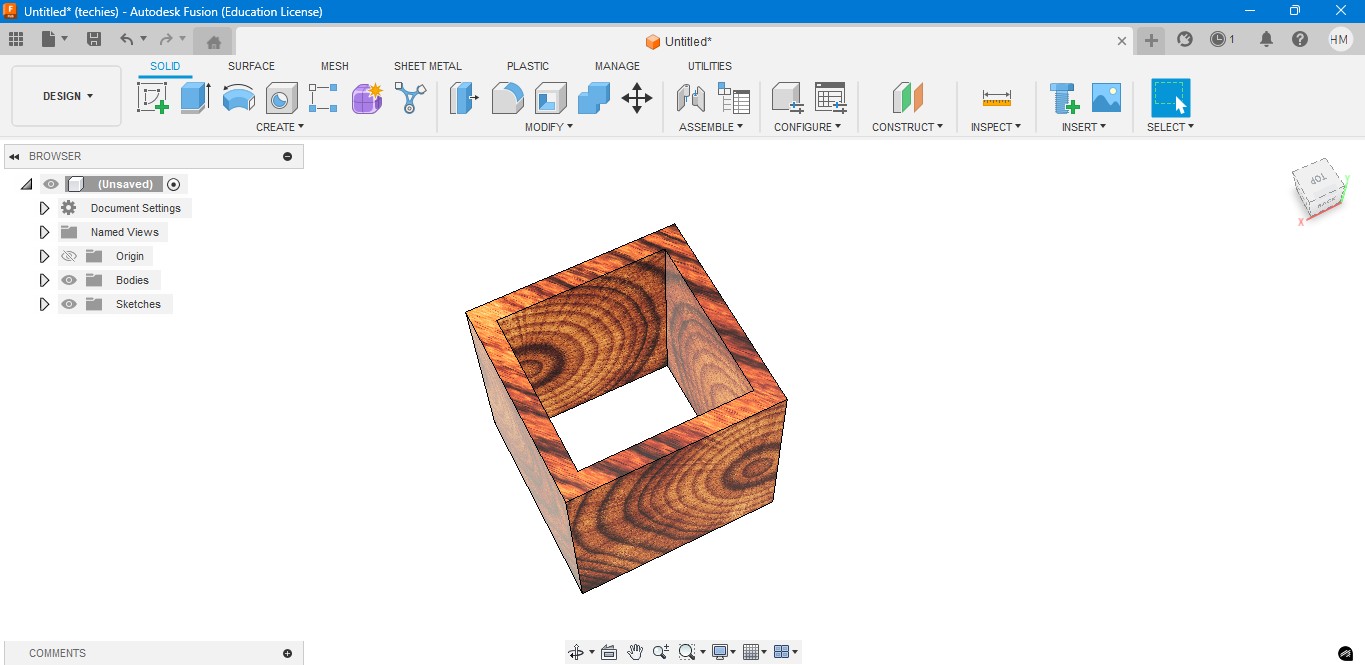
5. Negative extrude the inner square to make it look it like a hollow cube in it.
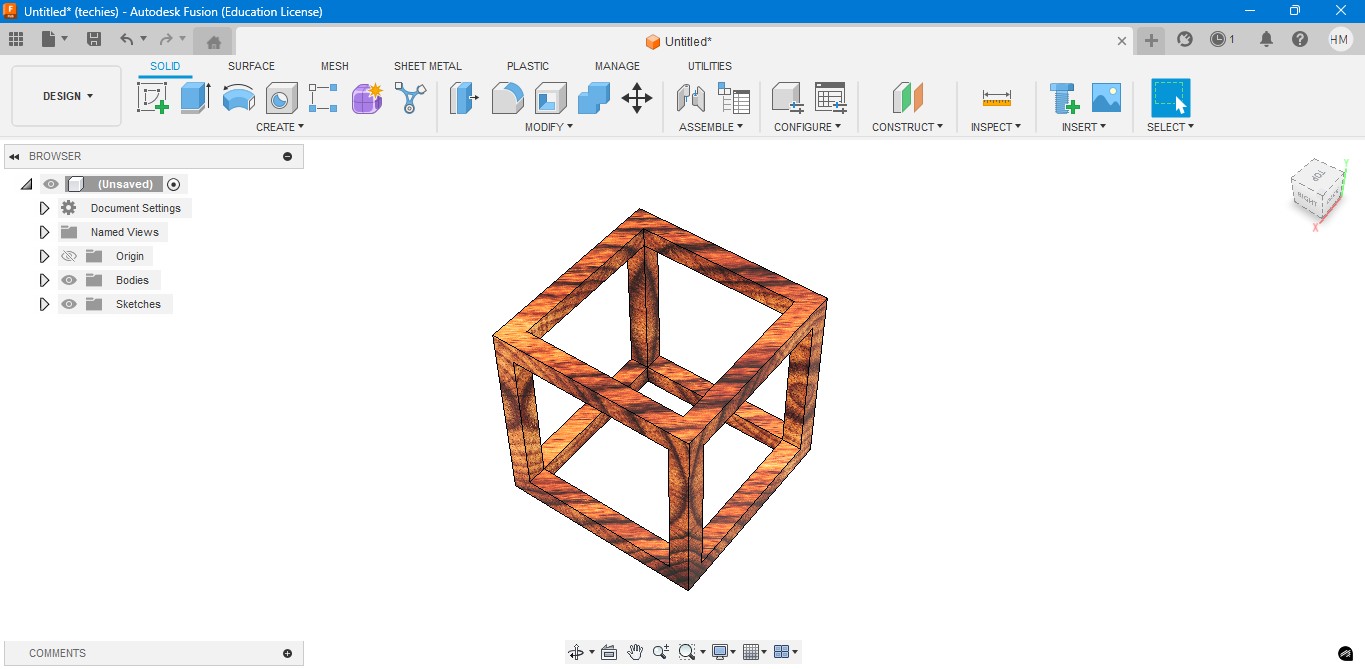
6. Negative Extrude the other square to make it like a square border, which can be viewable from any side.
7. Now, I have created a sphere that is metallic sphere to fit inside of it.
8. Now, I have used to create a Pipe to attached the sphere to the borders of the square..
9. Now, for the Rendering portion, the RENDER is to create a rendering image of it to show.
10. for the Environmental scenario, i have gone to scene settings in it which i have made changes. which the image is gonna generate.
RENDER
Rendering in Fusion 360 creates a realistic image of the 3D model by applying materials and lighting.
It helps visualize the final product’s appearance before fabrication or presentation.
ANIMATION
Animation in Fusion 360 shows how parts move or fit together in real time.
It helps visualize the assembly process and demonstrate the product’s functionality clearly.
Animation of sphere passing through the cube
Image Compression
1. For image Compression i use the software called XNconvert that is this one
2. Go to google and search "xnconvert" and there will be over and click first link there been provided.
3. This is the website for the XNConvert to be downloaded.
4. scroll down to get the option to download the installer or zip to download.
5. donwload the XnConvert.
6. Click File -> Import -> Graphics and click it to import Outline of the board.
Here is the link button below:
Or you can download manually:
XnConvert
Using XNConvert
1. Click on it to open up the software.
2. A new window will pop up over there click it up on "Add Files" to add file or "Add Folder" to add all the content in the folder.
3. so i clicked on folder and selected it and all the images are on it and click on "Convert" on it.
4. If you hav edone all the Images will be compressed in my case i have compressed from 67 Mb to 26 Mb.
Video Compression
1. For image Compression i use the software called HandBrake software that is this one
2. Go to google and search "HandBrake" and there will be over and click first link there been provided.
3. This is the website for the HandBrake to be downloaded.
4. Click on the download to install installer .
5. Installing the software.
Here is the link button below:
Or you can download manually:
HandBrake
Using HandBrake Software
1. Click on it to open up the software.
2. A new window will pop up over there click it up on "Add Files" to add file or "Add Folder" to add the content in the folder.
3. so i clicked on folder and selected the video which is 7.44 mb and uploaded in the window.
4. the datas may occur over there in it so view on it
5. click on the "start Encode" to start the process of it.
6. Wait for the queue to be finished as it required to be finished.
7. now the new video which was compressed is been only in 131.0kb storage it has.
Download Files
Here, you can download the files that i made over this assignment
2D Model
1. GIMP
2. InkScpae
3D Model
2. Blender
2. Fusion 360
Compression
2. XNConvert
2. HandBrake
6. Added a mask layer to the plasma layer for blending
Used a layer mask to blend the plasma background smoothly with the rest of the image, allowing better control over which areas are visible.
7. Overlapped the layers to create a name effect with the background
Positioned and layered all elements (text, plasma, blur) strategically to integrate the floating "NPN" logo with the animated background, giving a cohesive final look.
Inkscape
Inkscape is an open-source vector graphics software used for creating and editing designs like logos, illustrations, and laser-cut patterns.
It allows precise control over shapes, paths, and text for high-quality scalable graphics.
Installation of InkScape
1. For Vector images editing i use the software called InkScape that is this one
2. Go to google and search "InkScape" and there will be over and click first link there been provided.
3. This is the website for the INKSCAPE to be downloaded.
4. click on the architecture of your system you have to install a suitable one.
5.In which format of the downloading option to be downloaded, so i clicked the suitable one to do it.
6. A popup will come that will show the downloading option for the software to be.
Here is the link button below:
Or you can download manually:
InkScape
Using InkScape
1. this is the inkspace software and click on it.
2. A Window will appear in which the editing can be done on it.
3. click on the shapes to give the desired shapes and i made a camera similar to this.
4. Afer adding tehe required shapes on it and coloring on it to give a proper one.
5. After adding the borders in it. The vector image of the camera is made and click Ctrl + S to save the file and name it out to save a vector image.
Blender
1.Blender is an open-source 3D creation suite used for modeling, sculpting, animation, and realistic rendering, widely favored in art, film, and game design.
Installation of Blender
1. For Creating a better animation, and models similar to gaming. i use the software called blenderat is this one
2. Go to google and search "Blender" and there will be over and click first link there been provided.
3. This is the website for the Blender to be downloaded.
4. scroll down to get the option to download the installer or zip to download.
5. blender latest version started to be downloaded.
Here is the link button below:
Or you can download manually:
Blender
Using Blender
1. Click on it to open up the software.
2. Start by opening Blender and loading the default scene. You’ll see a cube, light, and camera already placed on the grid.
3. Switch to Edit Mode and begin modifying the cube’s shape using scaling and extrusion tools to adjust its dimensions..
4. Add a large plane to act as the ground and position the cube above it. This helps set up a base for the scene.
5. Move to the Shading Workspace and enable “Use Nodes.” You can now add materials or textures to the plane for realistic lighting..
6. Insert additional objects like spheres to the scene. Use the “Add” menu and select Mesh → UV Sphere to create them.
7. Add a force field by going to Add → Force Field → Force. This helps simulate physics effects like gravity or wind.
8. With the force field selected, tweak its properties under the Physics tab. Adjust strength and falloff to control the effect’s power.
9. Finally, open the Scene Properties tab and ensure gravity is enabled. This allows objects to interact naturally under simulation.
Fusion 360
Fusion 360 is a cloud-based CAD/CAM tool that combines design, simulation, and manufacturing features, ideal for engineering and product development.
Installation of Fusion 360
1. For Creating models , that manufactures like product design, i use the software called Fusion 360 that is this one
2. Go to google and search "Fusion 360 Download" and there will be over and click first link there been provided
3. This is the website for the Fusion 360 to be downloaded. and click on the button.
4. After clicking that, click on the "Free Trial" button to get full access for 30 days.
5. Then, as to download the fusion 360 software. you have to create a account over there and its a account information. give your G-Mail ID
6. Then, enter the account details asked by the information and click okay or confirm button.
7. After completing this, you will be displayed with to enter oyur phone Number to put it on and it will send the security code.
8. Then, the account has been registered in it.sing in with the G-Mail wiith the same that used previously with registering.
9. after signin in , it may ask you to activate the account by clicking "I agree" Tick Box and click "Next".
10. It will send the Activation code to your G-Mail account for activation it.
11. A window will pop up stating the account has been created.
12. as you have seen, you may get tge account with teh access to use full for 30 days. and also to download the fusion360 download.
13. A pop up window will appear to download the fusion 360 client downloader.
Here is the link button below:
Or you can download manually:
Fusion 360
Using Fusion 360
1. Click on it to open up the software.
2. A new window will pop up over there click it up on "Add Files" to add file or "Add Folder" to add all the content in the folder.
3. Click on the rectangle section to make a 2d rectangle with the dimension of 100mm x 100mm with the thickness of 10mm.
4. Extrude the rectangel in the way that to make it as a Cube. In which i have given the properties to make it look like a Wood.
5. Negative extrude the inner square to make it look it like a hollow cube in it.
6. Negative Extrude the other square to make it like a square border, which can be viewable from any side.
7. Now, I have created a sphere that is metallic sphere to fit inside of it.
8. Now, I have used to create a Pipe to attached the sphere to the borders of the square..
9. Now, for the Rendering portion, the RENDER is to create a rendering image of it to show.
10. for the Environmental scenario, i have gone to scene settings in it which i have made changes. which the image is gonna generate.
RENDER
Rendering in Fusion 360 creates a realistic image of the 3D model by applying materials and lighting.
It helps visualize the final product’s appearance before fabrication or presentation.
ANIMATION
Animation in Fusion 360 shows how parts move or fit together in real time.
It helps visualize the assembly process and demonstrate the product’s functionality clearly.
Animation of sphere passing through the cube
Image Compression
1. For image Compression i use the software called XNconvert that is this one
2. Go to google and search "xnconvert" and there will be over and click first link there been provided.
3. This is the website for the XNConvert to be downloaded.
4. scroll down to get the option to download the installer or zip to download.
5. donwload the XnConvert.
6. Click File -> Import -> Graphics and click it to import Outline of the board.
Here is the link button below:
Or you can download manually:
XnConvert
Using XNConvert
1. Click on it to open up the software.
2. A new window will pop up over there click it up on "Add Files" to add file or "Add Folder" to add all the content in the folder.
3. so i clicked on folder and selected it and all the images are on it and click on "Convert" on it.
4. If you hav edone all the Images will be compressed in my case i have compressed from 67 Mb to 26 Mb.
Video Compression
1. For image Compression i use the software called HandBrake software that is this one
2. Go to google and search "HandBrake" and there will be over and click first link there been provided.
3. This is the website for the HandBrake to be downloaded.
4. Click on the download to install installer .
5. Installing the software.
Here is the link button below:
Or you can download manually:
HandBrake
Using HandBrake Software
1. Click on it to open up the software.
2. A new window will pop up over there click it up on "Add Files" to add file or "Add Folder" to add the content in the folder.
3. so i clicked on folder and selected the video which is 7.44 mb and uploaded in the window.
4. the datas may occur over there in it so view on it
5. click on the "start Encode" to start the process of it.
6. Wait for the queue to be finished as it required to be finished.
7. now the new video which was compressed is been only in 131.0kb storage it has.
Download Files
Here, you can download the files that i made over this assignment
2D Model
1. GIMP
2. InkScpae
3D Model
2. Blender
2. Fusion 360
Compression
2. XNConvert
2. HandBrake
Blender
3. Switch to Edit Mode and begin modifying the cube’s shape using scaling and extrusion tools to adjust its dimensions..
4. Add a large plane to act as the ground and position the cube above it. This helps set up a base for the scene.
5. Move to the Shading Workspace and enable “Use Nodes.” You can now add materials or textures to the plane for realistic lighting..
6. Insert additional objects like spheres to the scene. Use the “Add” menu and select Mesh → UV Sphere to create them.
7. Add a force field by going to Add → Force Field → Force. This helps simulate physics effects like gravity or wind.
8. With the force field selected, tweak its properties under the Physics tab. Adjust strength and falloff to control the effect’s power.
9. Finally, open the Scene Properties tab and ensure gravity is enabled. This allows objects to interact naturally under simulation.
Fusion 360
Fusion 360 is a cloud-based CAD/CAM tool that combines design, simulation, and manufacturing features, ideal for engineering and product development.
Installation of Fusion 360
1. For Creating models , that manufactures like product design, i use the software called Fusion 360 that is this one
2. Go to google and search "Fusion 360 Download" and there will be over and click first link there been provided
3. This is the website for the Fusion 360 to be downloaded. and click on the button.
4. After clicking that, click on the "Free Trial" button to get full access for 30 days.
5. Then, as to download the fusion 360 software. you have to create a account over there and its a account information. give your G-Mail ID
6. Then, enter the account details asked by the information and click okay or confirm button.
7. After completing this, you will be displayed with to enter oyur phone Number to put it on and it will send the security code.
8. Then, the account has been registered in it.sing in with the G-Mail wiith the same that used previously with registering.
9. after signin in , it may ask you to activate the account by clicking "I agree" Tick Box and click "Next".
10. It will send the Activation code to your G-Mail account for activation it.
11. A window will pop up stating the account has been created.
12. as you have seen, you may get tge account with teh access to use full for 30 days. and also to download the fusion360 download.
13. A pop up window will appear to download the fusion 360 client downloader.
Here is the link button below:
Or you can download manually:
Fusion 360
Using Fusion 360
1. Click on it to open up the software.
2. A new window will pop up over there click it up on "Add Files" to add file or "Add Folder" to add all the content in the folder.
3. Click on the rectangle section to make a 2d rectangle with the dimension of 100mm x 100mm with the thickness of 10mm.
4. Extrude the rectangel in the way that to make it as a Cube. In which i have given the properties to make it look like a Wood.
5. Negative extrude the inner square to make it look it like a hollow cube in it.
6. Negative Extrude the other square to make it like a square border, which can be viewable from any side.
7. Now, I have created a sphere that is metallic sphere to fit inside of it.
8. Now, I have used to create a Pipe to attached the sphere to the borders of the square..
9. Now, for the Rendering portion, the RENDER is to create a rendering image of it to show.
10. for the Environmental scenario, i have gone to scene settings in it which i have made changes. which the image is gonna generate.
RENDER
Rendering in Fusion 360 creates a realistic image of the 3D model by applying materials and lighting.
It helps visualize the final product’s appearance before fabrication or presentation.
ANIMATION
Animation in Fusion 360 shows how parts move or fit together in real time.
It helps visualize the assembly process and demonstrate the product’s functionality clearly.
Animation of sphere passing through the cube
Image Compression
1. For image Compression i use the software called XNconvert that is this one
2. Go to google and search "xnconvert" and there will be over and click first link there been provided.
3. This is the website for the XNConvert to be downloaded.
4. scroll down to get the option to download the installer or zip to download.
5. donwload the XnConvert.
6. Click File -> Import -> Graphics and click it to import Outline of the board.
Here is the link button below:
Or you can download manually:
XnConvert
Using XNConvert
1. Click on it to open up the software.
2. A new window will pop up over there click it up on "Add Files" to add file or "Add Folder" to add all the content in the folder.
3. so i clicked on folder and selected it and all the images are on it and click on "Convert" on it.
4. If you hav edone all the Images will be compressed in my case i have compressed from 67 Mb to 26 Mb.
Video Compression
1. For image Compression i use the software called HandBrake software that is this one
2. Go to google and search "HandBrake" and there will be over and click first link there been provided.
3. This is the website for the HandBrake to be downloaded.
4. Click on the download to install installer .
5. Installing the software.
Here is the link button below:
Or you can download manually:
HandBrake
Using HandBrake Software
1. Click on it to open up the software.
2. A new window will pop up over there click it up on "Add Files" to add file or "Add Folder" to add the content in the folder.
3. so i clicked on folder and selected the video which is 7.44 mb and uploaded in the window.
4. the datas may occur over there in it so view on it
5. click on the "start Encode" to start the process of it.
6. Wait for the queue to be finished as it required to be finished.
7. now the new video which was compressed is been only in 131.0kb storage it has.
Download Files
Here, you can download the files that i made over this assignment
2D Model
1. GIMP
2. InkScpae
3D Model
2. Blender
2. Fusion 360
Compression
2. XNConvert
2. HandBrake
Fusion 360
Fusion 360 is a cloud-based CAD/CAM tool that combines design, simulation, and manufacturing features, ideal for engineering and product development.
Installation of Fusion 360
1. For Creating models , that manufactures like product design, i use the software called Fusion 360 that is this one
2. Go to google and search "Fusion 360 Download" and there will be over and click first link there been provided
3. This is the website for the Fusion 360 to be downloaded. and click on the button.
4. After clicking that, click on the "Free Trial" button to get full access for 30 days.
5. Then, as to download the fusion 360 software. you have to create a account over there and its a account information. give your G-Mail ID
6. Then, enter the account details asked by the information and click okay or confirm button.
7. After completing this, you will be displayed with to enter oyur phone Number to put it on and it will send the security code.
8. Then, the account has been registered in it.sing in with the G-Mail wiith the same that used previously with registering.
9. after signin in , it may ask you to activate the account by clicking "I agree" Tick Box and click "Next".
10. It will send the Activation code to your G-Mail account for activation it.
11. A window will pop up stating the account has been created.
12. as you have seen, you may get tge account with teh access to use full for 30 days. and also to download the fusion360 download.
13. A pop up window will appear to download the fusion 360 client downloader.
Here is the link button below:
Or you can download manually:
Fusion 360
Using Fusion 360
1. Click on it to open up the software.
2. A new window will pop up over there click it up on "Add Files" to add file or "Add Folder" to add all the content in the folder.
3. Click on the rectangle section to make a 2d rectangle with the dimension of 100mm x 100mm with the thickness of 10mm.
4. Extrude the rectangel in the way that to make it as a Cube. In which i have given the properties to make it look like a Wood.
5. Negative extrude the inner square to make it look it like a hollow cube in it.
6. Negative Extrude the other square to make it like a square border, which can be viewable from any side.
7. Now, I have created a sphere that is metallic sphere to fit inside of it.
8. Now, I have used to create a Pipe to attached the sphere to the borders of the square..
9. Now, for the Rendering portion, the RENDER is to create a rendering image of it to show.
10. for the Environmental scenario, i have gone to scene settings in it which i have made changes. which the image is gonna generate.
RENDER
Rendering in Fusion 360 creates a realistic image of the 3D model by applying materials and lighting.
It helps visualize the final product’s appearance before fabrication or presentation.
ANIMATION
Animation in Fusion 360 shows how parts move or fit together in real time.
It helps visualize the assembly process and demonstrate the product’s functionality clearly.
Animation of sphere passing through the cube
Image Compression
1. For image Compression i use the software called XNconvert that is this one
2. Go to google and search "xnconvert" and there will be over and click first link there been provided.
3. This is the website for the XNConvert to be downloaded.
4. scroll down to get the option to download the installer or zip to download.
5. donwload the XnConvert.
6. Click File -> Import -> Graphics and click it to import Outline of the board.
Here is the link button below:
Or you can download manually:
XnConvert
Using XNConvert
1. Click on it to open up the software.
2. A new window will pop up over there click it up on "Add Files" to add file or "Add Folder" to add all the content in the folder.
3. so i clicked on folder and selected it and all the images are on it and click on "Convert" on it.
4. If you hav edone all the Images will be compressed in my case i have compressed from 67 Mb to 26 Mb.
Video Compression
1. For image Compression i use the software called HandBrake software that is this one
2. Go to google and search "HandBrake" and there will be over and click first link there been provided.
3. This is the website for the HandBrake to be downloaded.
4. Click on the download to install installer .
5. Installing the software.
Here is the link button below:
Or you can download manually:
HandBrake
Using HandBrake Software
1. Click on it to open up the software.
2. A new window will pop up over there click it up on "Add Files" to add file or "Add Folder" to add the content in the folder.
3. so i clicked on folder and selected the video which is 7.44 mb and uploaded in the window.
4. the datas may occur over there in it so view on it
5. click on the "start Encode" to start the process of it.
6. Wait for the queue to be finished as it required to be finished.
7. now the new video which was compressed is been only in 131.0kb storage it has.
Download Files
Here, you can download the files that i made over this assignment
2D Model
1. GIMP
2. InkScpae
3D Model
2. Blender
2. Fusion 360
Compression
2. XNConvert
2. HandBrake
XnConvert
3. so i clicked on folder and selected it and all the images are on it and click on "Convert" on it.
4. If you hav edone all the Images will be compressed in my case i have compressed from 67 Mb to 26 Mb.
Video Compression
1. For image Compression i use the software called HandBrake software that is this one
2. Go to google and search "HandBrake" and there will be over and click first link there been provided.
3. This is the website for the HandBrake to be downloaded.
4. Click on the download to install installer .
5. Installing the software.
Here is the link button below:
Or you can download manually:
HandBrake
Using HandBrake Software
1. Click on it to open up the software.
2. A new window will pop up over there click it up on "Add Files" to add file or "Add Folder" to add the content in the folder.
3. so i clicked on folder and selected the video which is 7.44 mb and uploaded in the window.
4. the datas may occur over there in it so view on it
5. click on the "start Encode" to start the process of it.
6. Wait for the queue to be finished as it required to be finished.
7. now the new video which was compressed is been only in 131.0kb storage it has.
Download Files
Here, you can download the files that i made over this assignment
2D Model
1. GIMP
2. InkScpae
3D Model
2. Blender
2. Fusion 360
Compression
2. XNConvert
2. HandBrake