Task 3: 3D Scan an Object
3D scanning is a method used to examine an object in the real world. It involves gathering detailed information about its shape and appearance so that we can create a digital replica of it.
For Task 3 I use Polycam application that utilises Photogrammetry technology to scan an object. Photogrammetry is the art, science, and technology of obtaining reliable information about physical objects and the environment through processes of recording, measuring, and interpreting photographic images and patterns of recorded radiant electromagnetic energy and other phenomena (Wolf and Dewitt, 2000; McGlone, 2004).
Advantages of Polycam
- It’s downloadable in the app store (iOs & Android) for free.... but has the paid PRO version.
- Has a web-based editor
- Amazing UI and easy to use
Disadvantages
- Doesn’t function at all as intended in Elaine’s phone so she ended up borrowing Tafia’s phone to finish this task
Here are my adventures with Polycam
Object to be Scanned
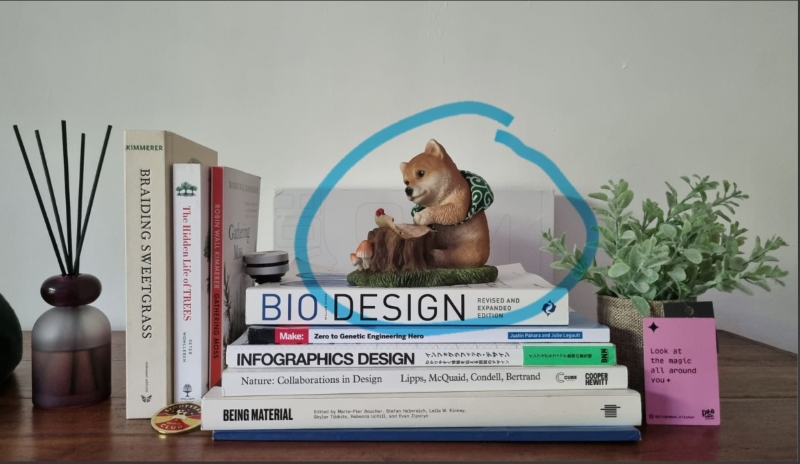
I have decided to scan this Shiba Inu figure I use as a home decoration
Using Polycam
Here’s a general tip. Good even lighting and taking alot of pictures at different angles are the cheat keys to getting super detailed scan. I would recommend when the lighting is diffused and avoid any possibility of harsh shadows from direct lighting. Here is a an explanation of lighting in case you are new to the concept.
Polycam’s UI is very easy and intuitive to follow and it’s processing is pretty robust too. Give it a try!
Scanning
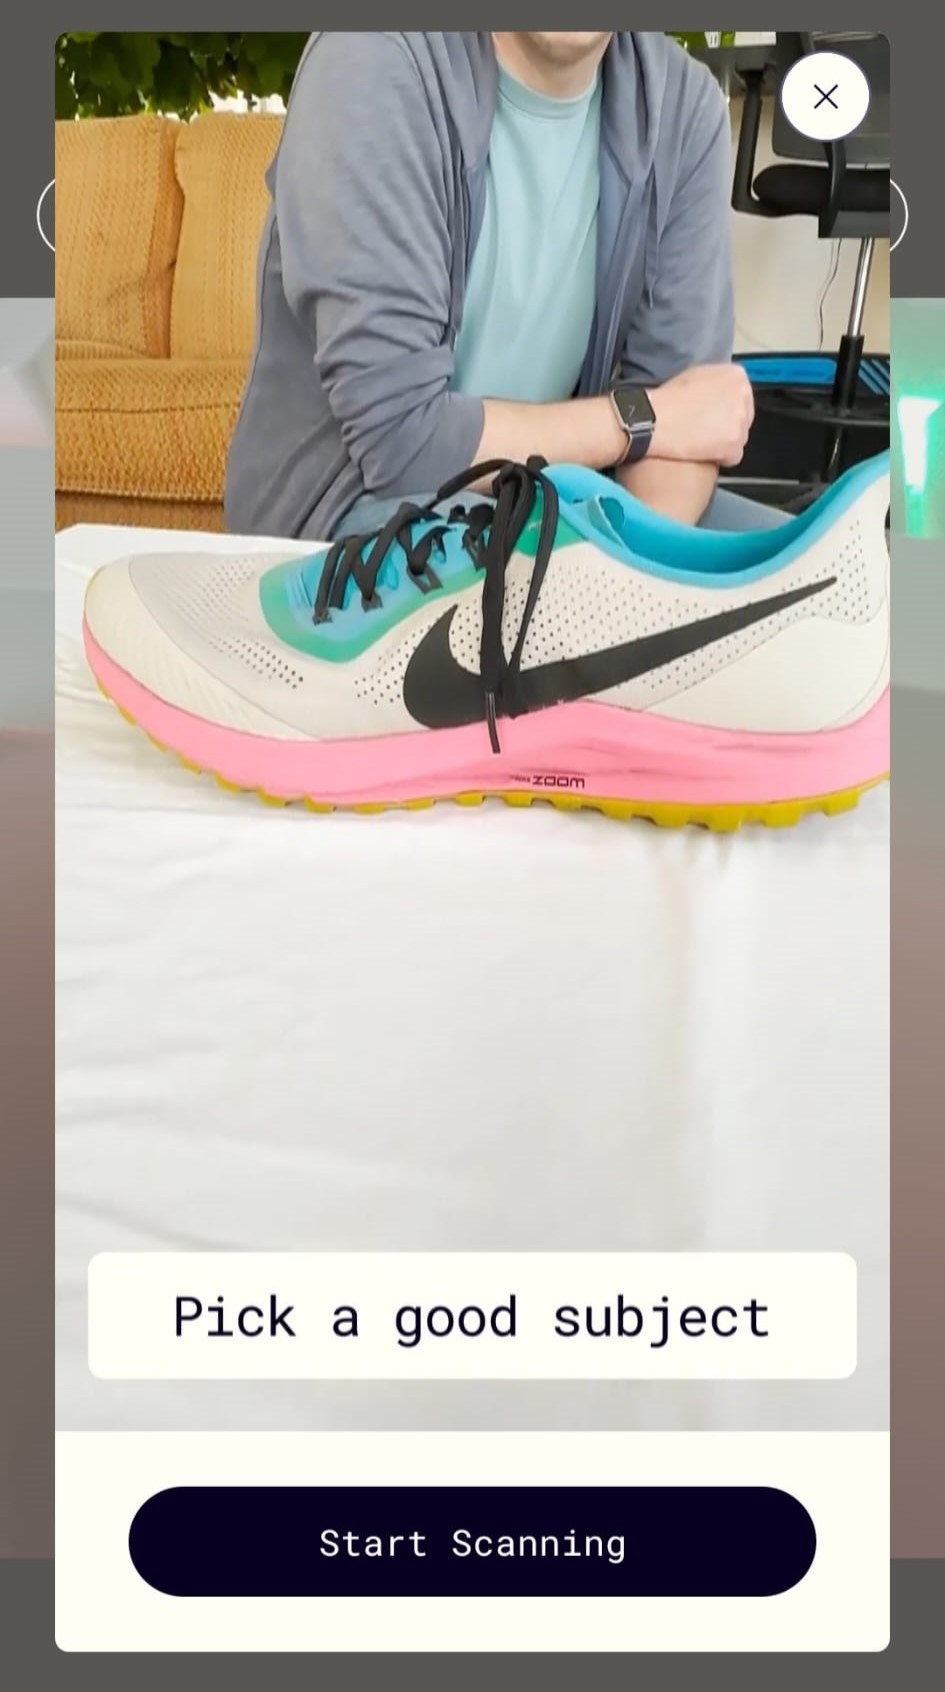
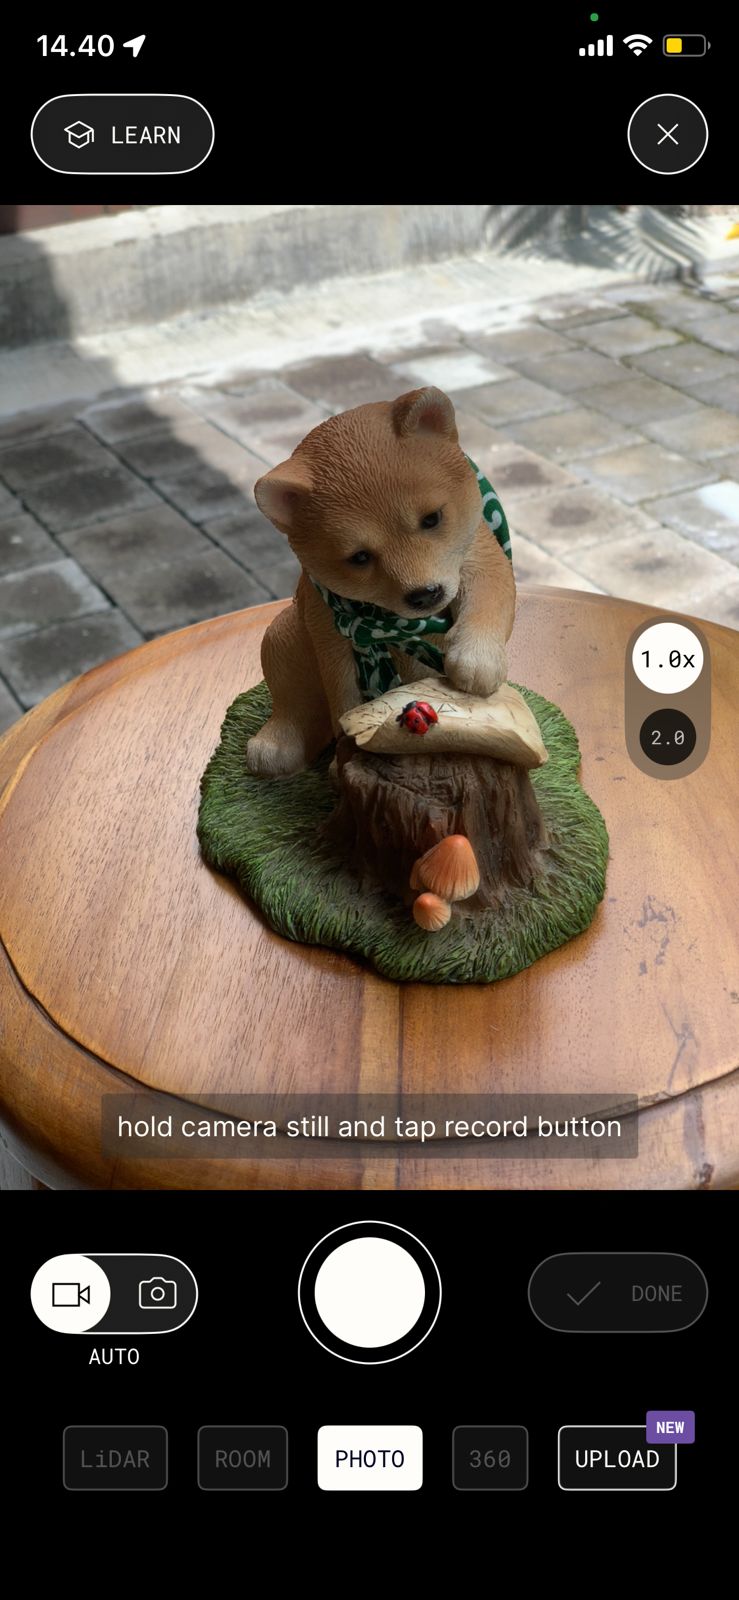
When you are scanning for the first time, the app will give you the following tutorial.
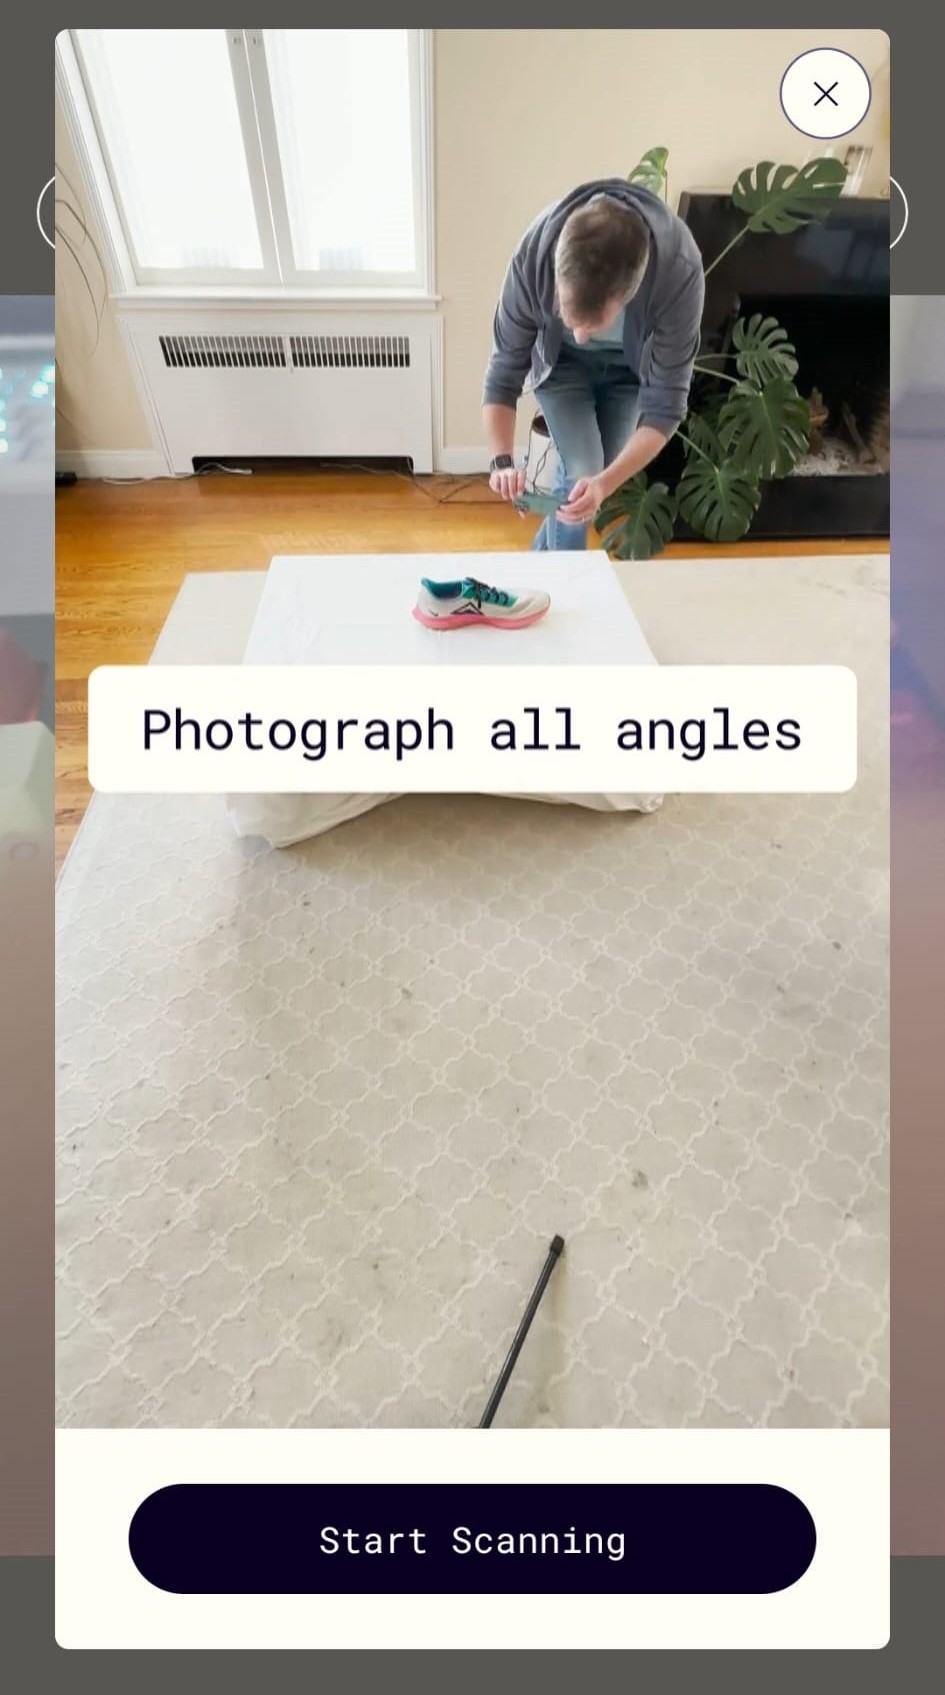
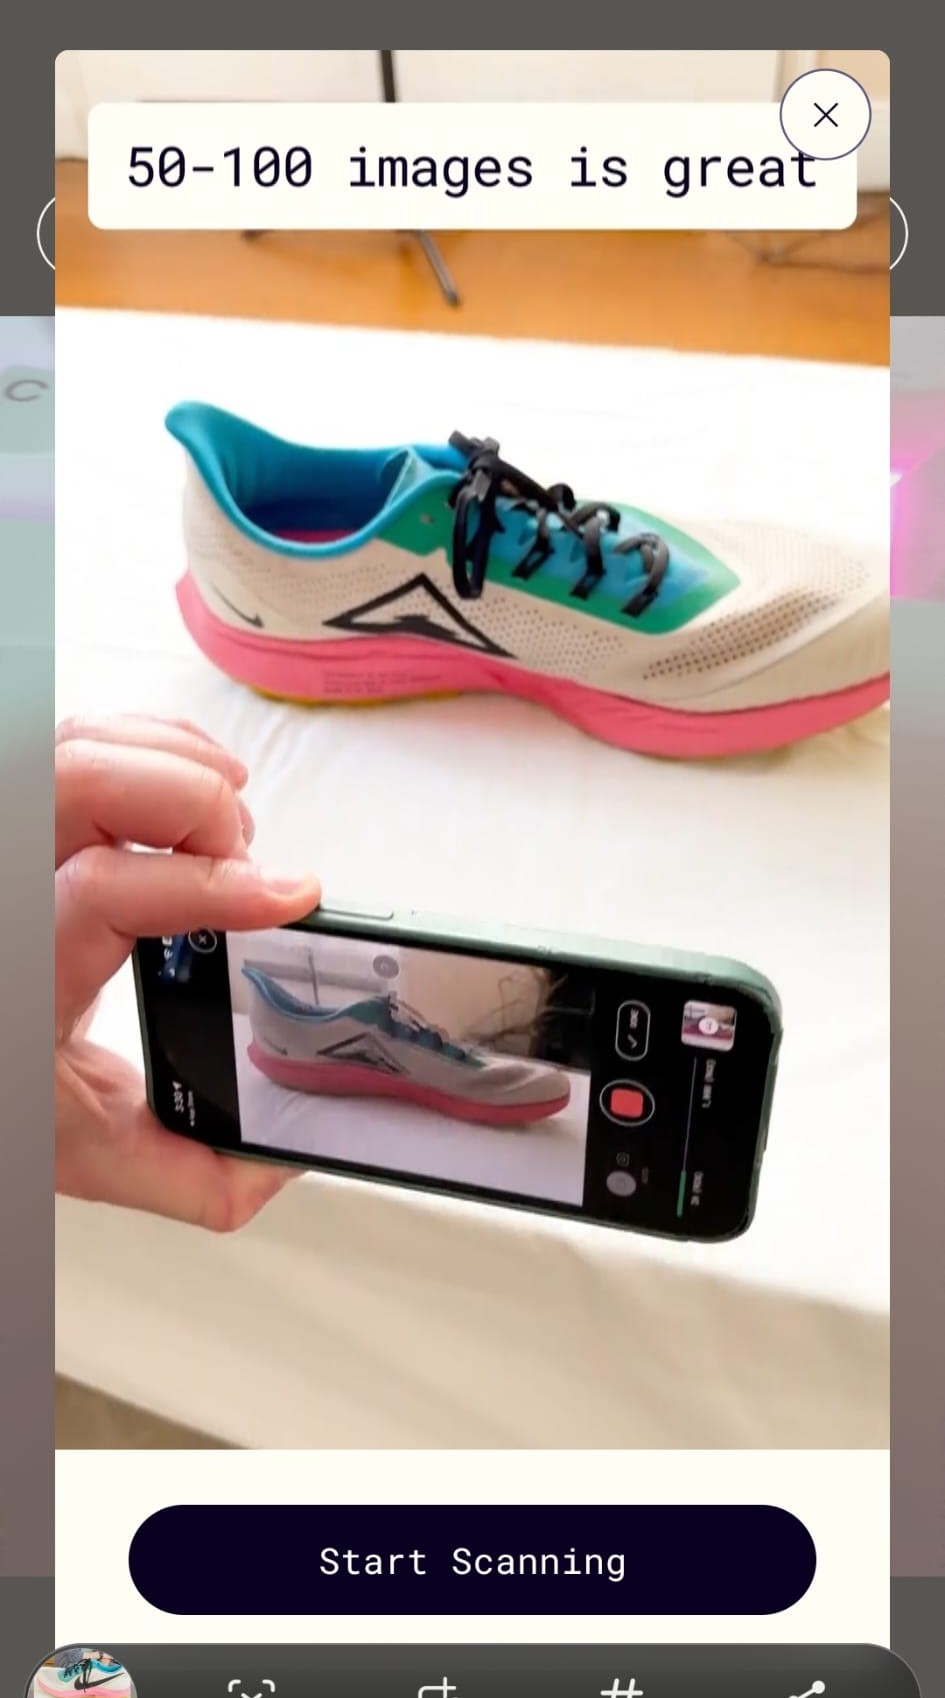
Record a video of the object (the app will take multiple shots as you’re doing this, how neat!) from multiple angles - ideally 360. Would suggest that you turn around the object slowly as you’re taking the shot. The app suggests that optimally 50-100 pictures would do. I took 116 shots.
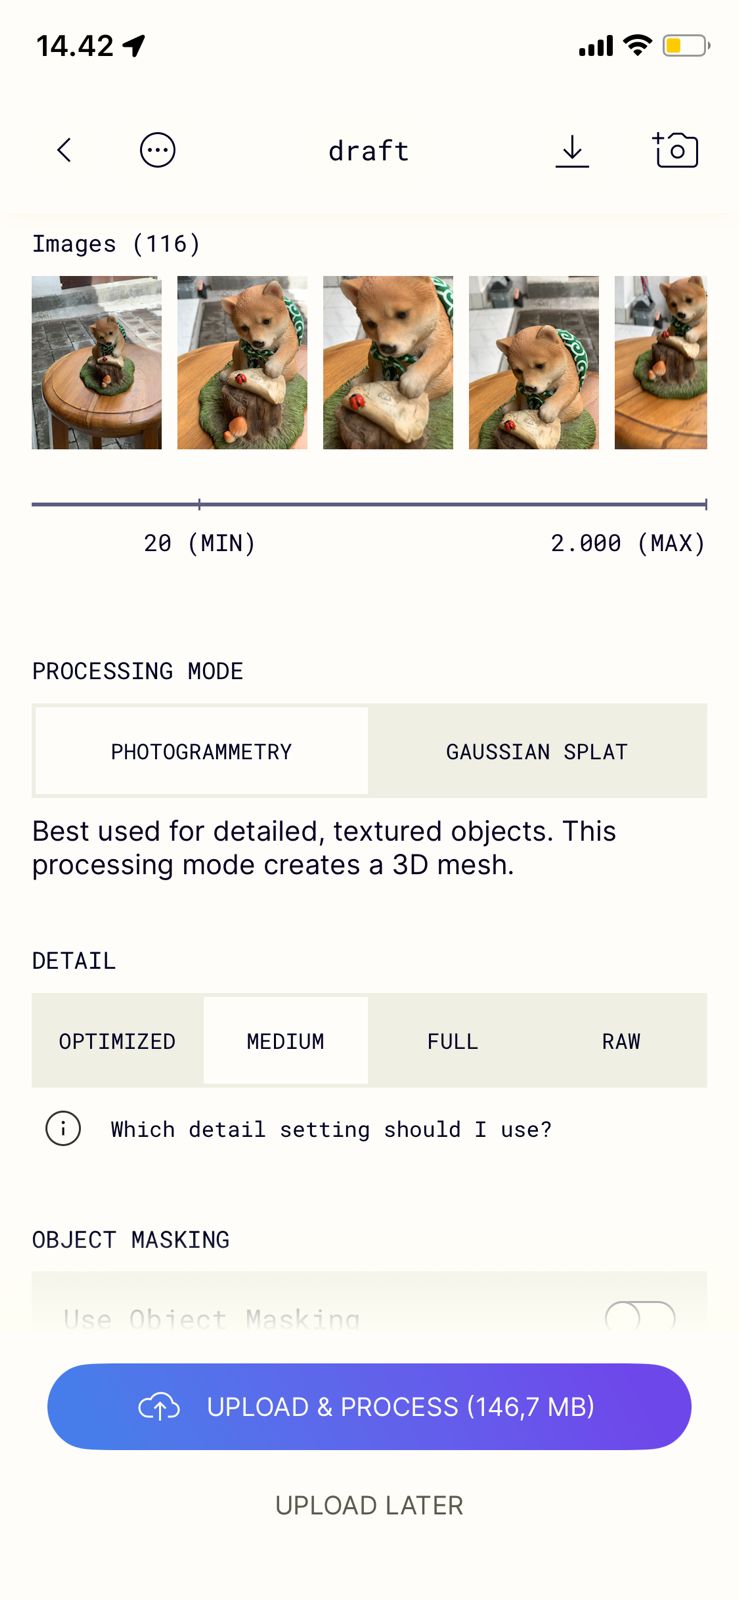
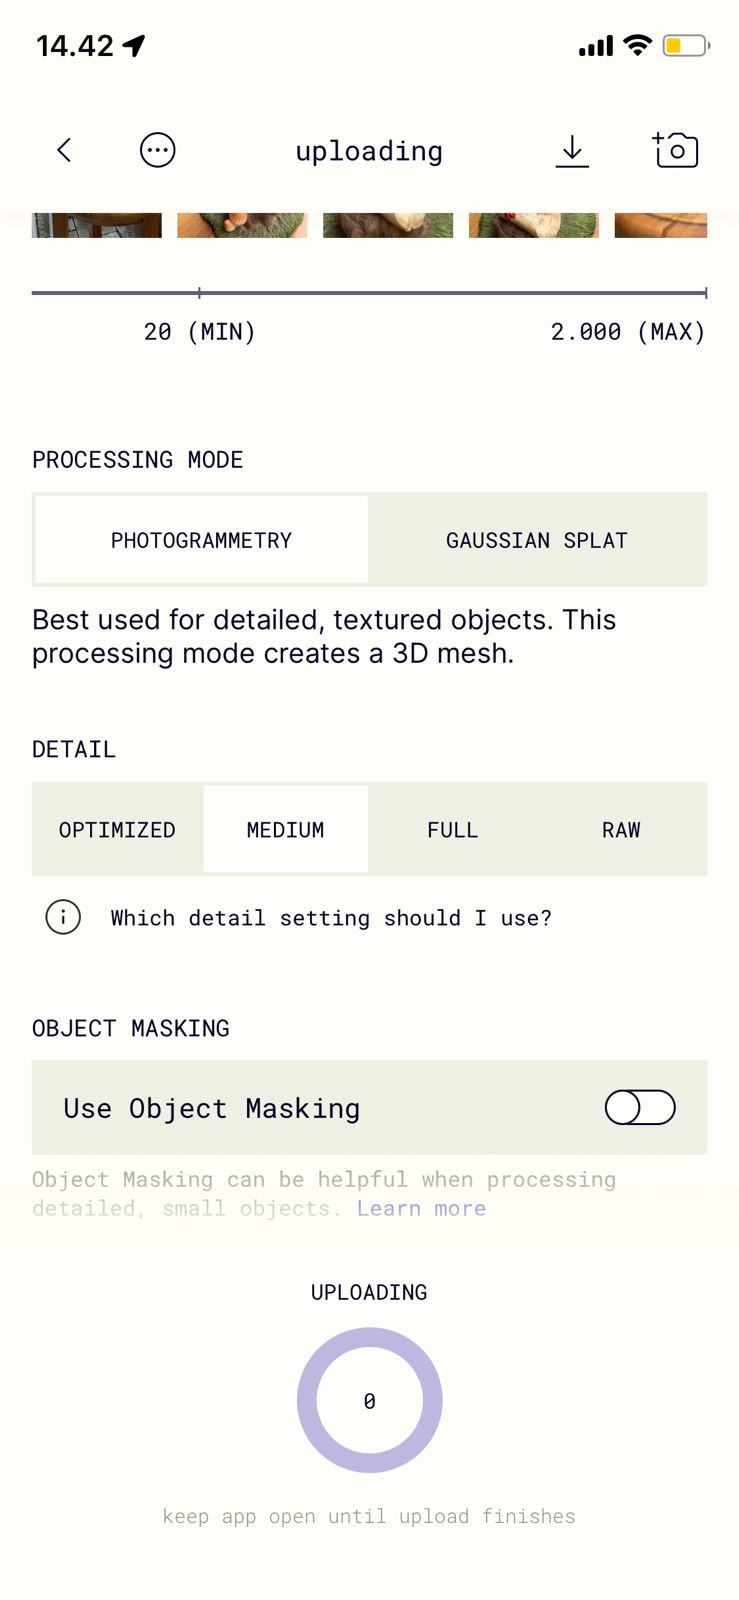
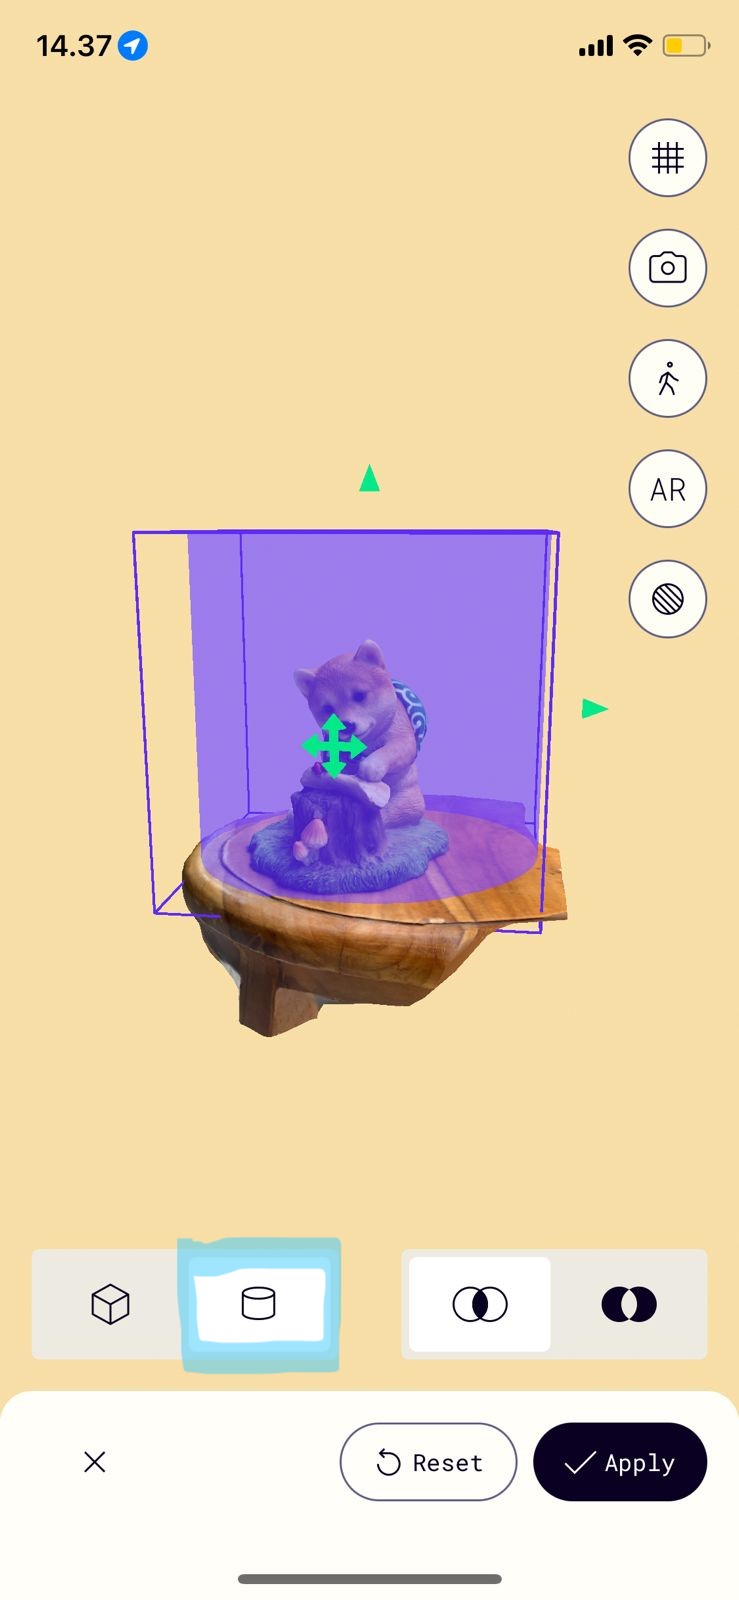
Processing & Post-Processing
The processing took around 7-15 minutes. Once the scan result came out, I decided to make it neater by cropping around model. To do that you can simply going to the menu ba/crop and there is the crop icon. You can choose the cube or cylinder option. This was the result of the scan.
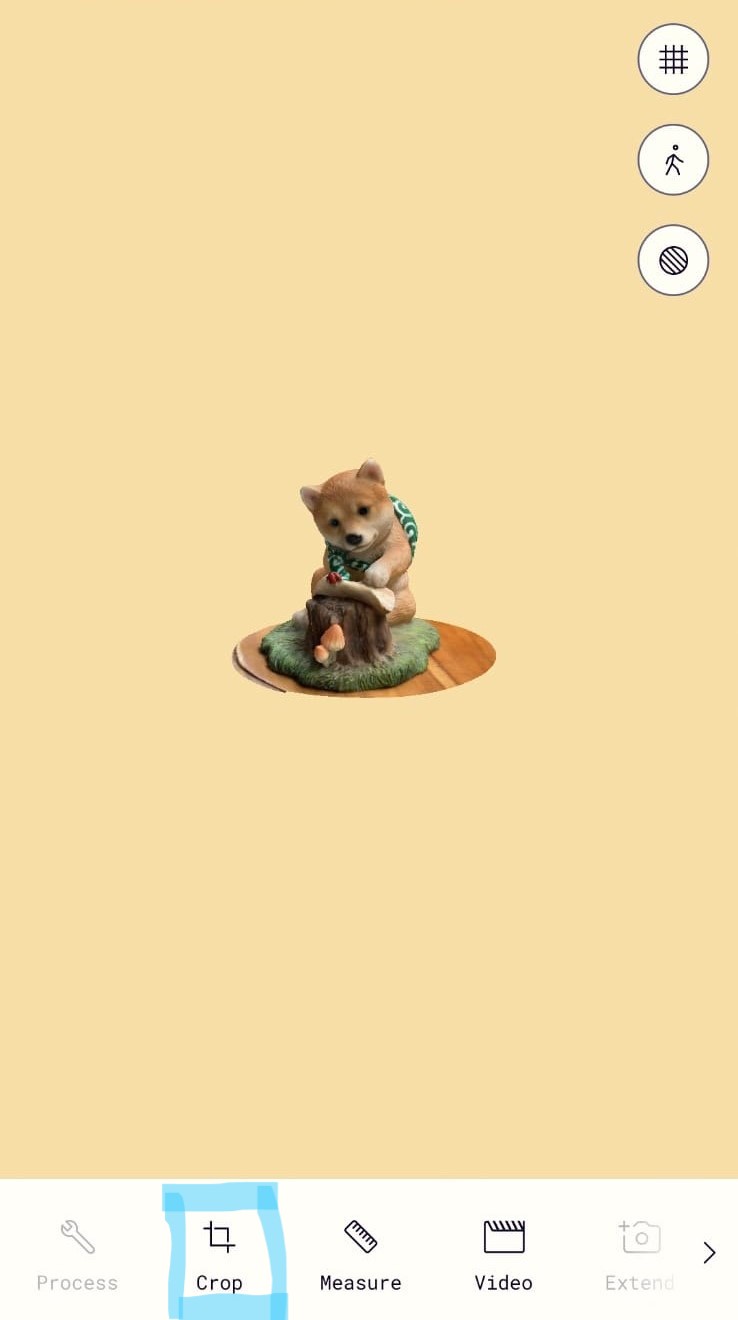
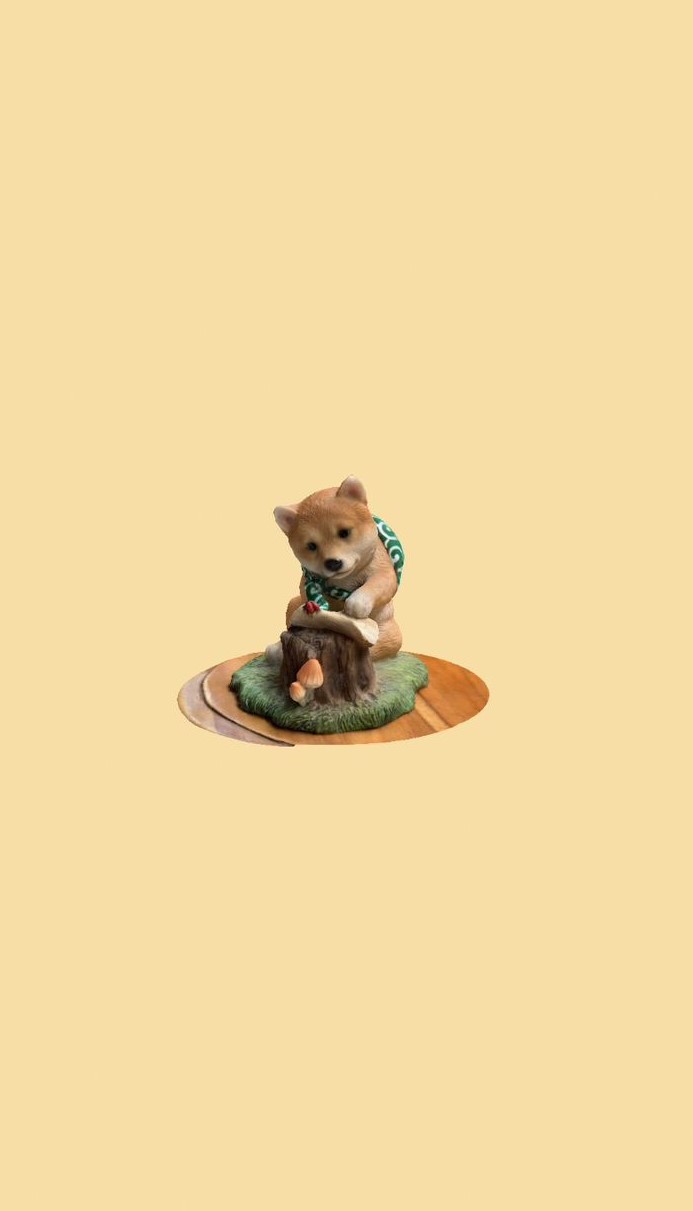
Final Result
In the menu bar / controls you can also make a video of your model.
Nintendogs vibe!