Task 2: 3D Printing
Let’s break down this task challenge
- Design:
- small, few cm3, limited by printer time
- could not be made subtractively
- 3D Print
Challenge accepted.
Inspiration
For this task, I want to create a model of Kirby riding its’ Warp Star. For the ‘could not be made substractively’ challenge I am thinking of building a bearing underneath kirby and on the star - so the end result would be that Kirby could spin on the Warp Star throuh a print-in-place mechanic

Design
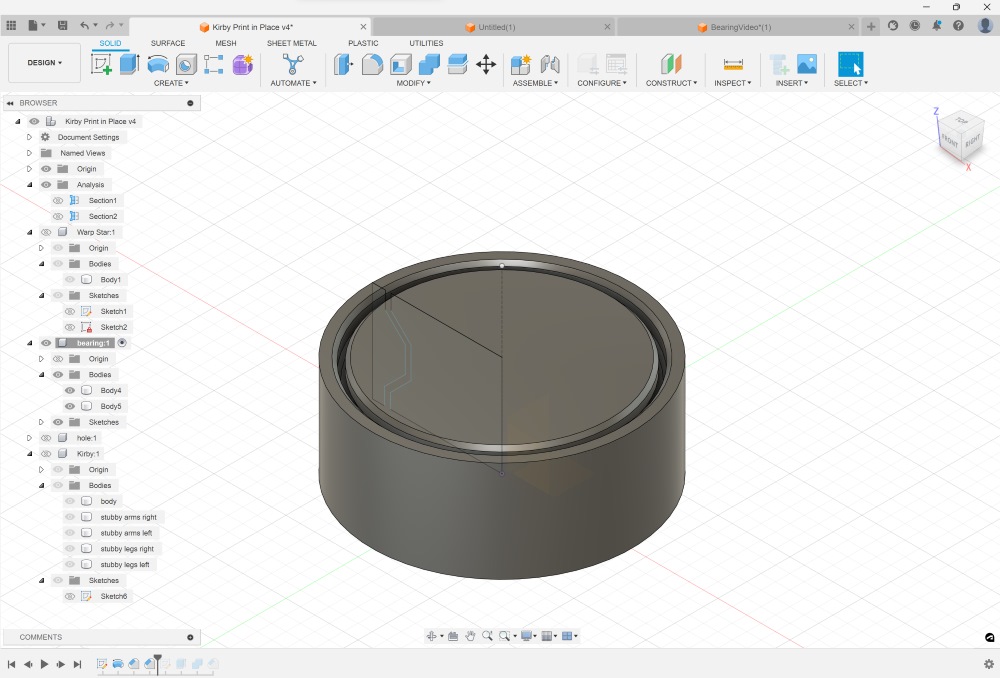
Utilising Fusion 360, I break down the components of this model.
- Star
- Bearing
- Kirby
Designing the Star
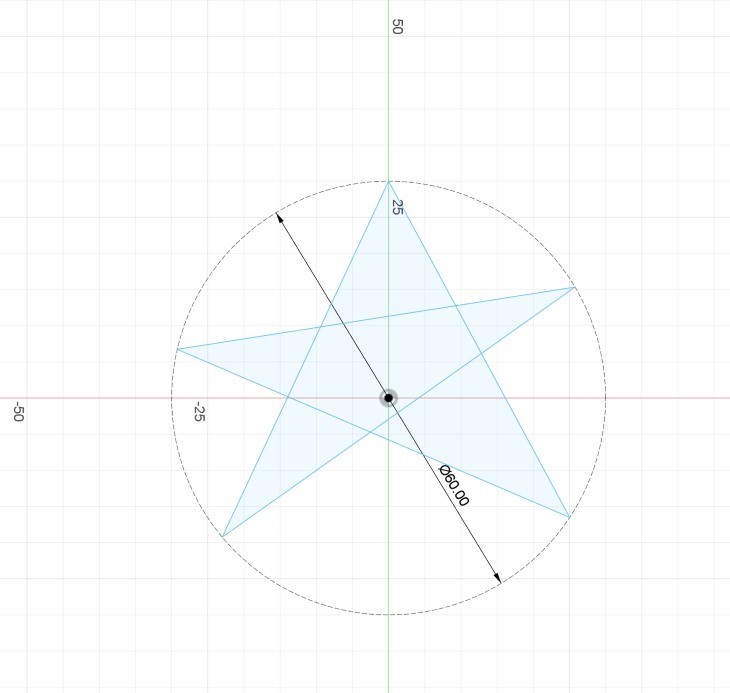
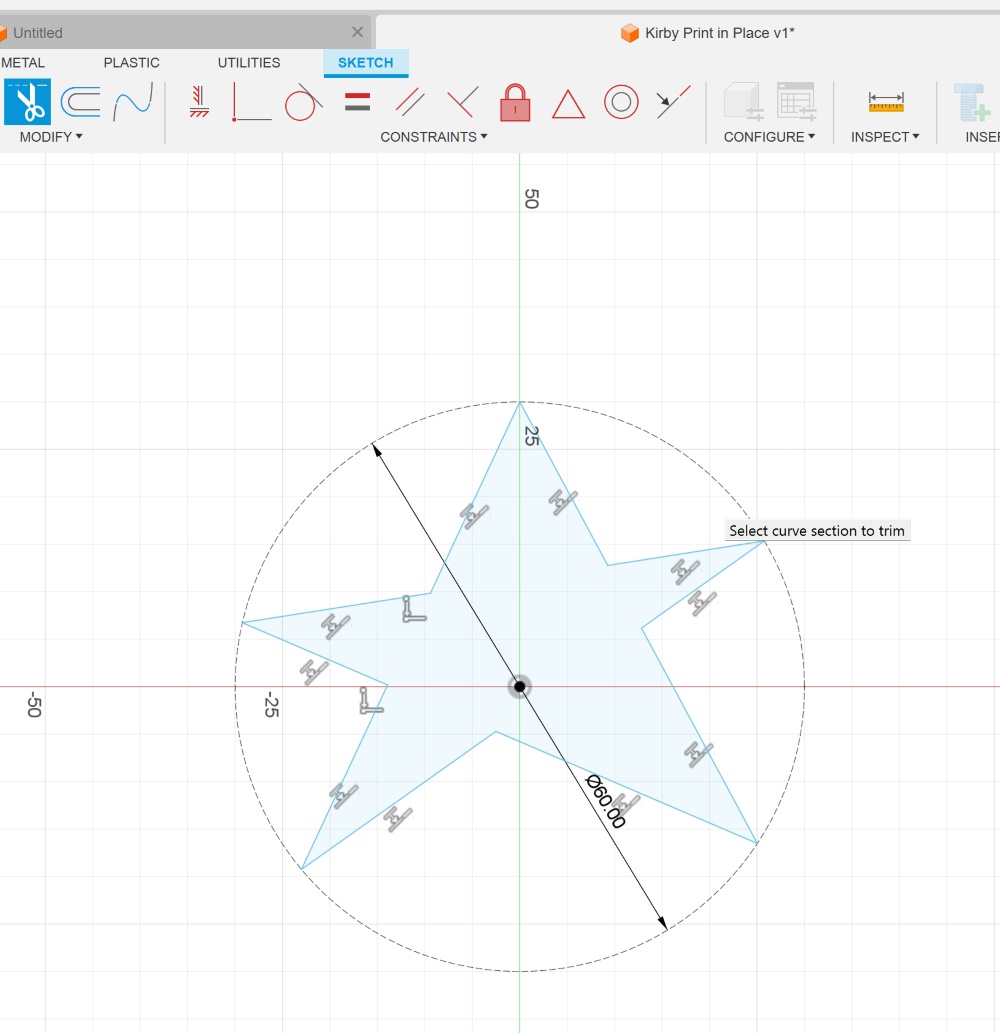
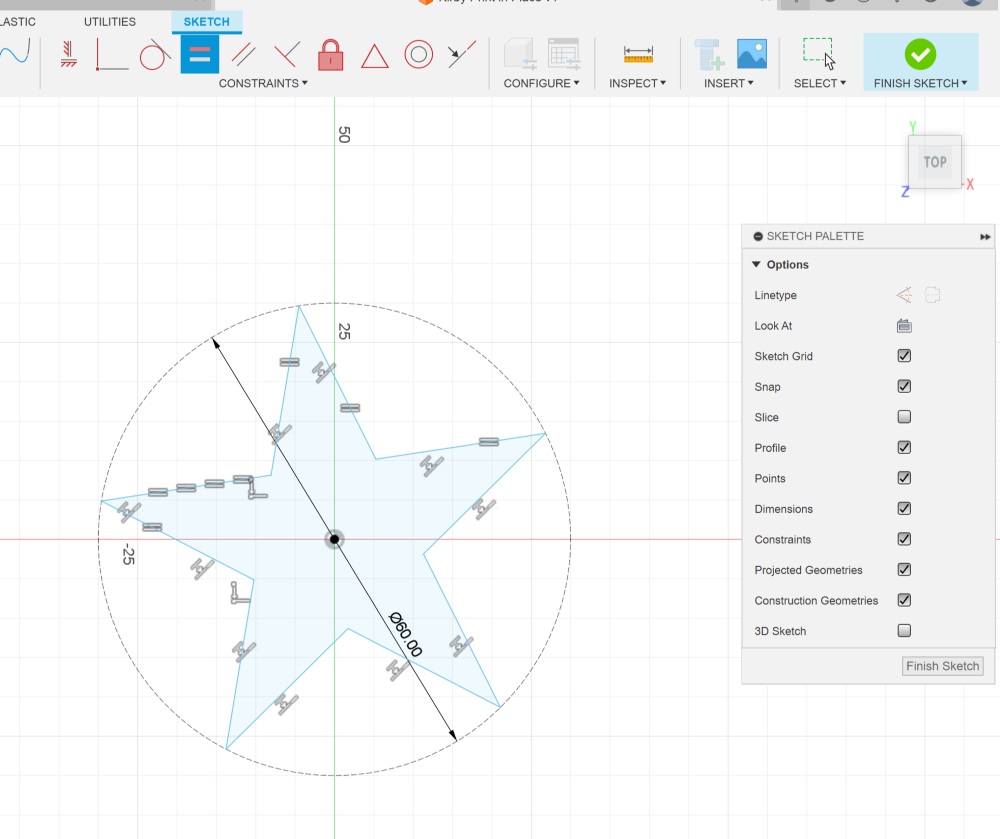
In Sketch Mode, draw a star (to make things more uniform, I drew a circle-construction line ). Trim the inner lines, and make all sides equal.
Exit Sketch Mode, extrude the star, fillet to make soft edges
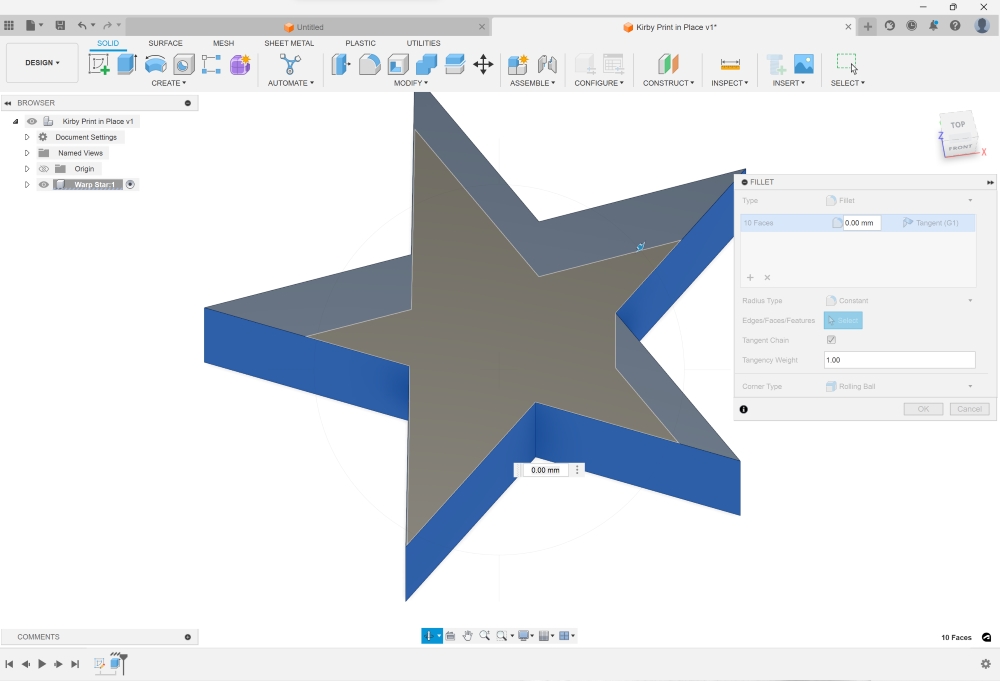
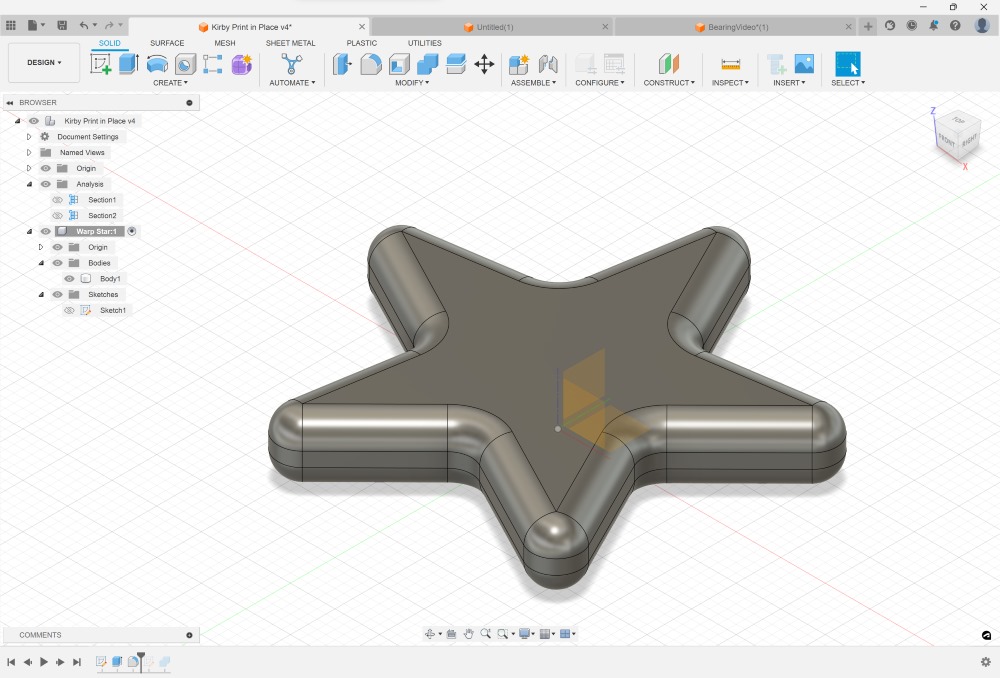
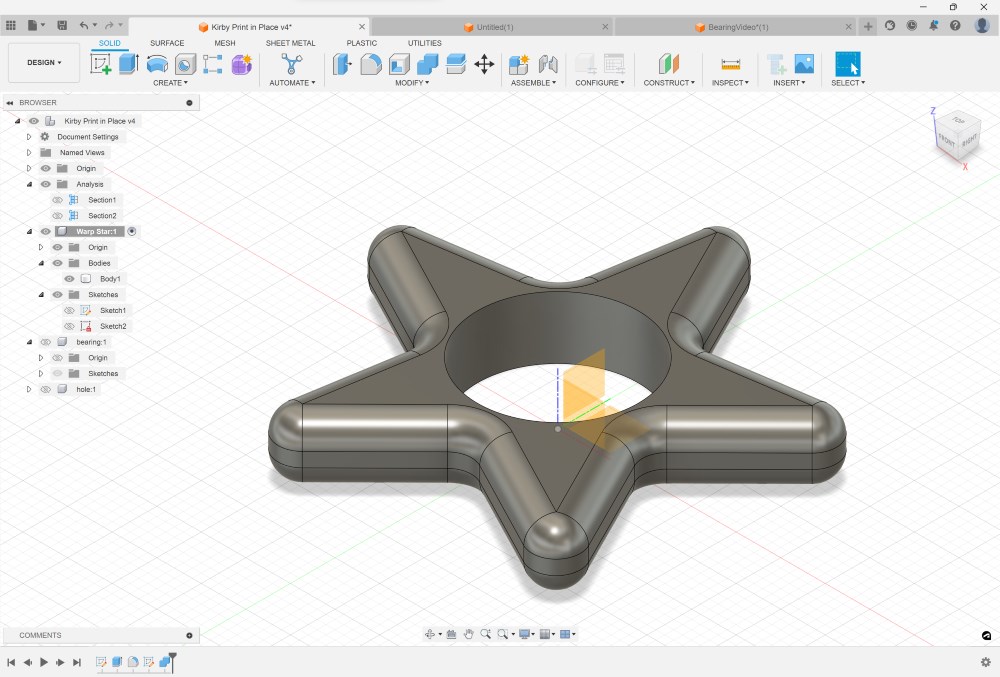
Extrude a cylinder in the middle of the star –> Boolean Difference with Cut
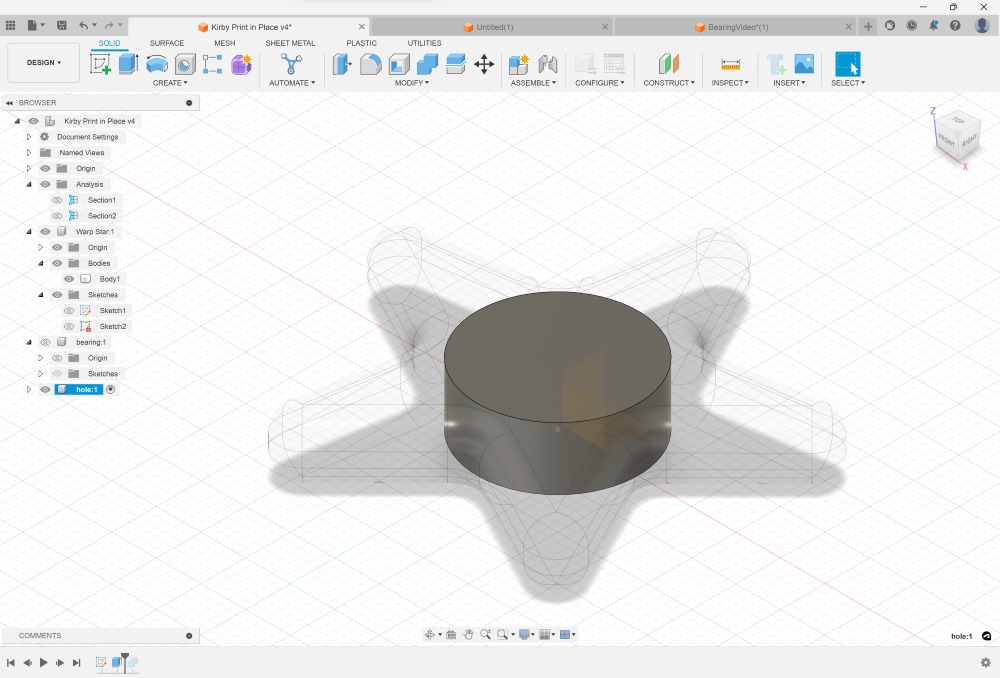
Designing the Bearing
In Sketch Mode, Choose the Y Plane because we will be starting by drawing a cross section of the bearing. Make sure that the offset fits your 3D printer’s tolerance. Our 3D Printer’s (PRUSA Mini) ideal tolerance is between 0.2mm-0.35mm based on the clearance/tolerance test we did.
It’s advisable to have angled design for the bearing. As there is a chance of overhang and 3D printers don’t like overhangs. Why? Look at my shabby sketch.
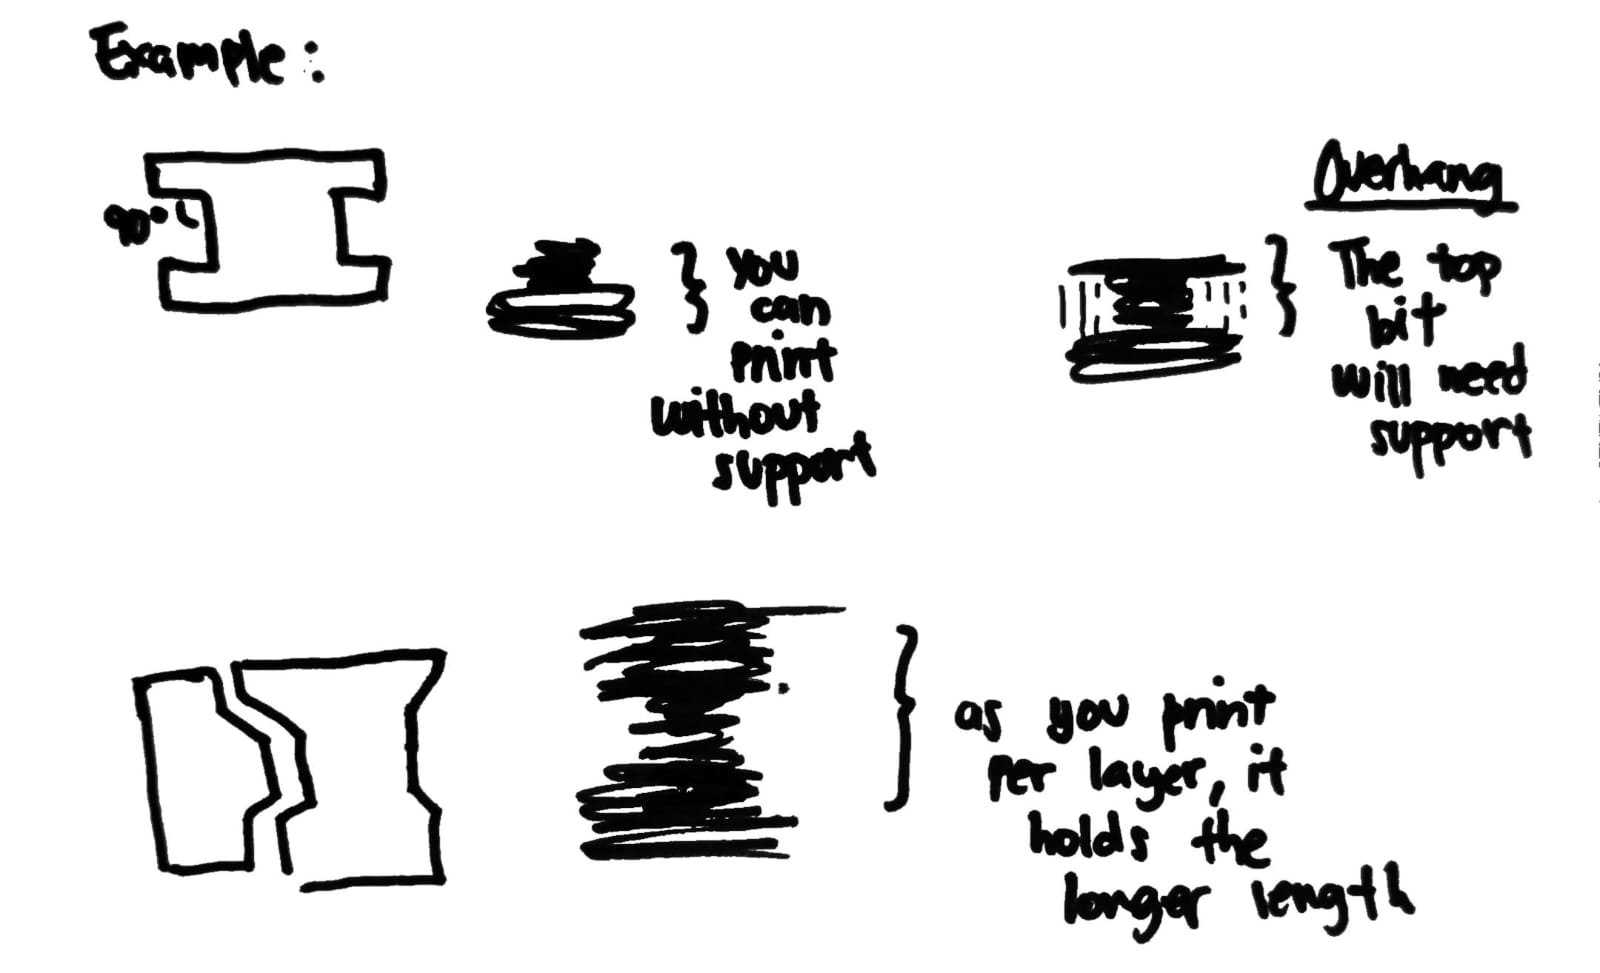
Based on our 3D Printer design characteristic test- the maximum overhang is 70° and beyond that (>80°) is already pushing it.
Anyways this is how it went. I went with a 45° chamfer with 0.3 offset
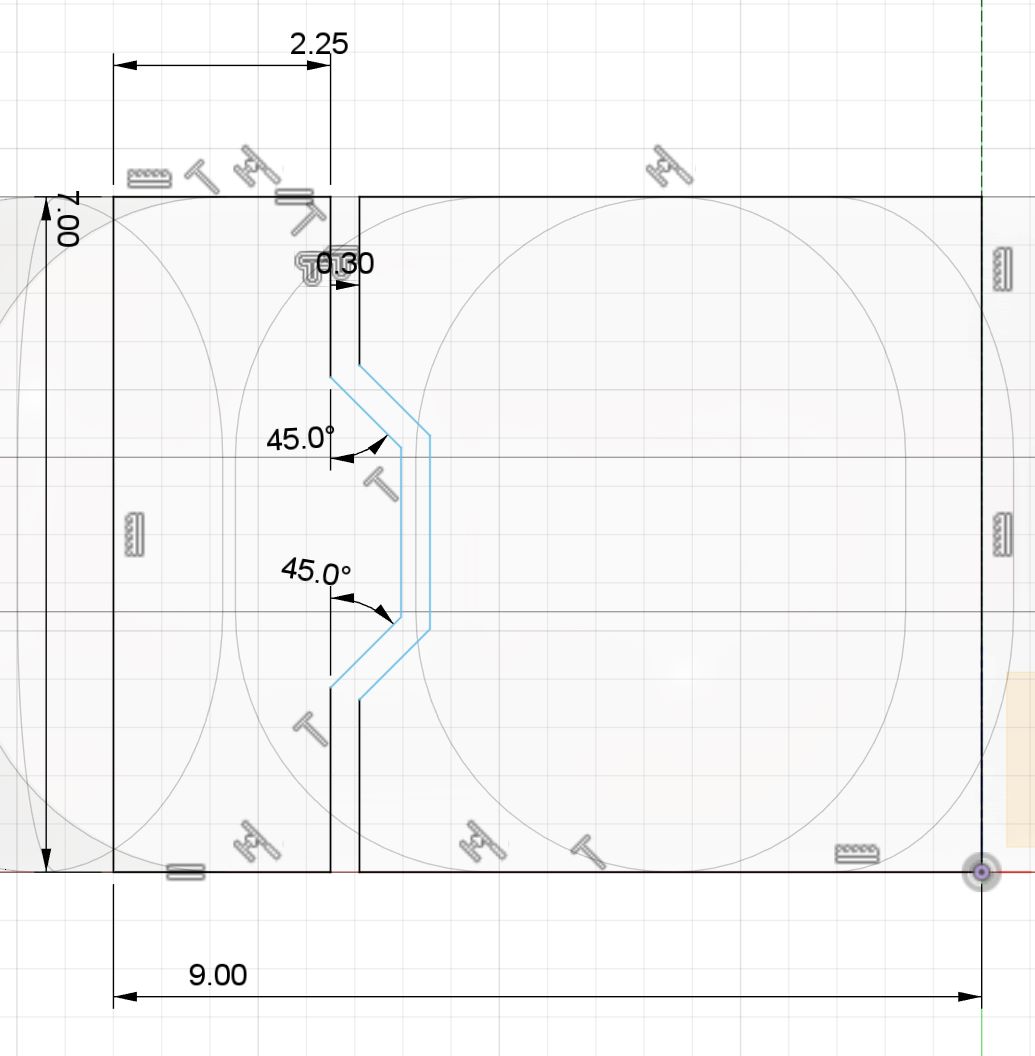
Revolve and Chamfer the Edges
Designing Kirby
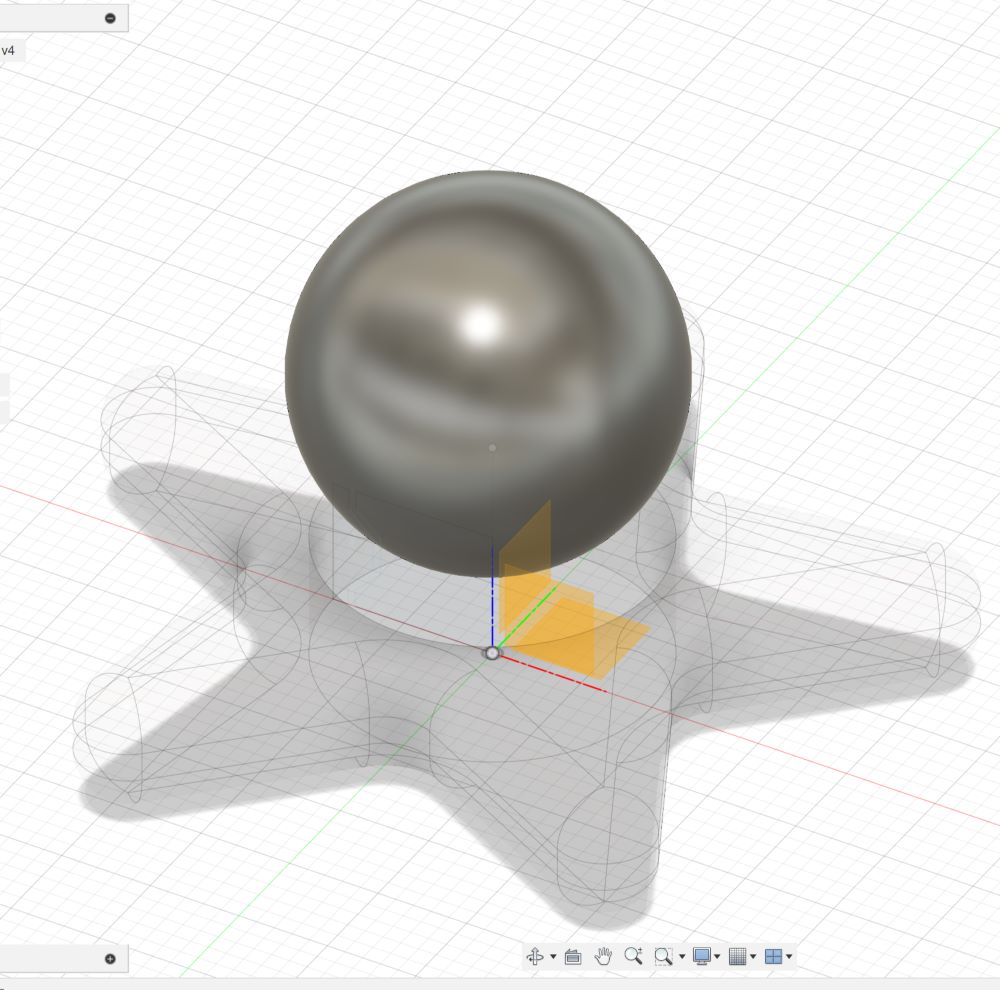
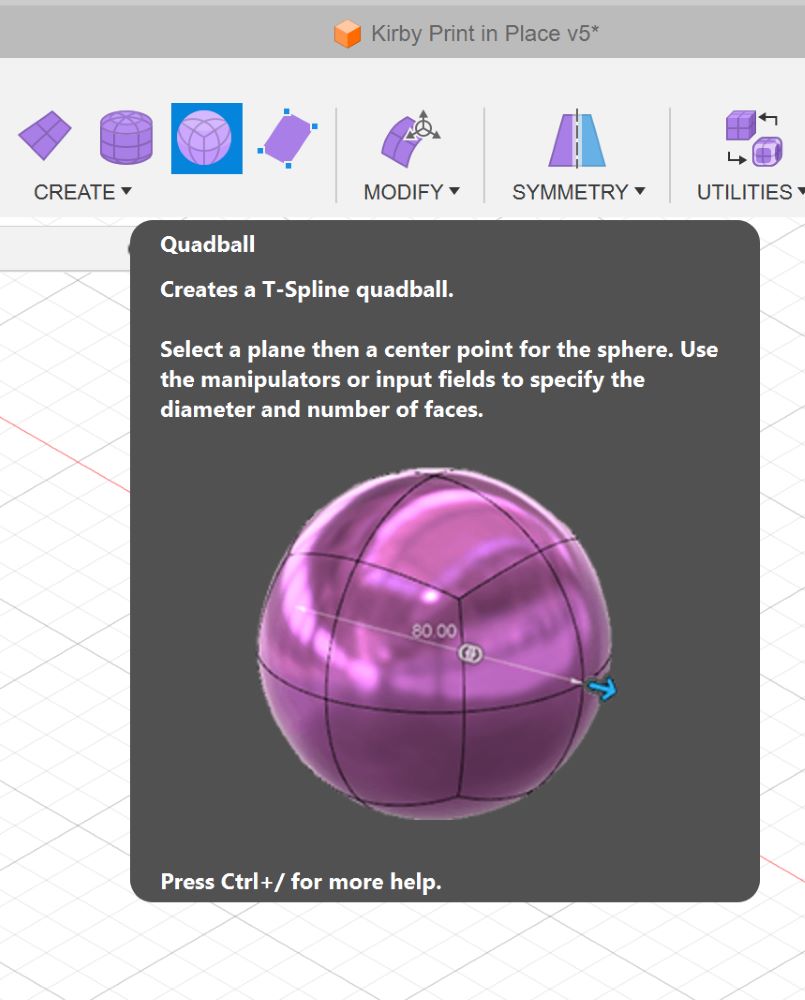
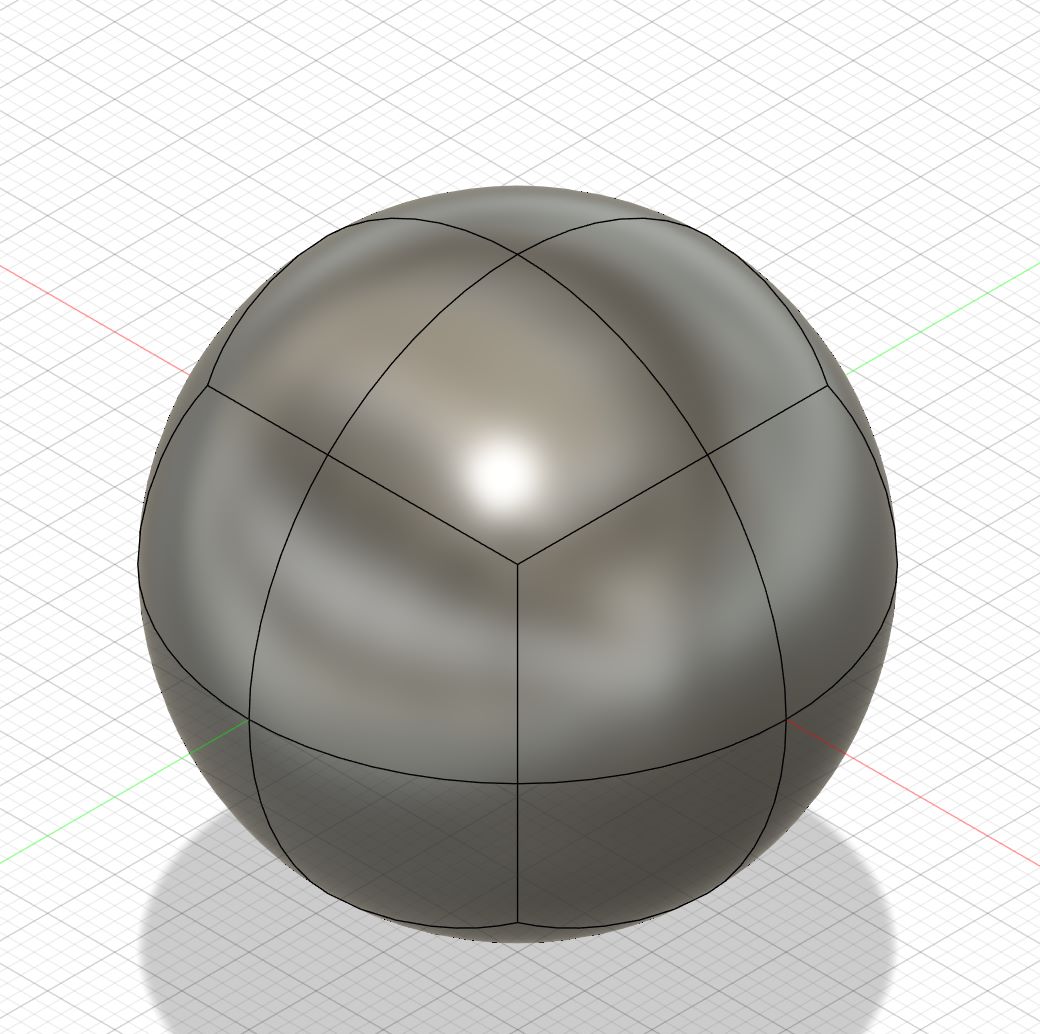
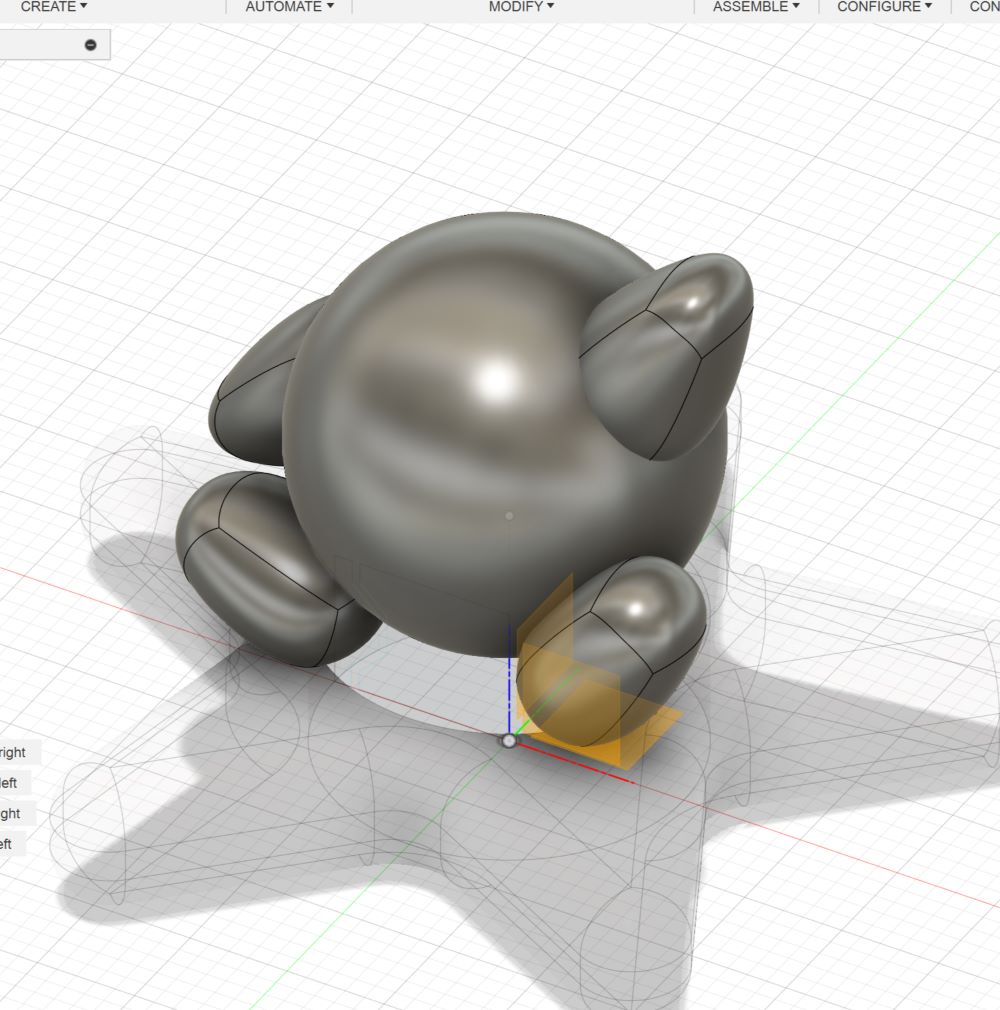
Main Body - Create a Sphere
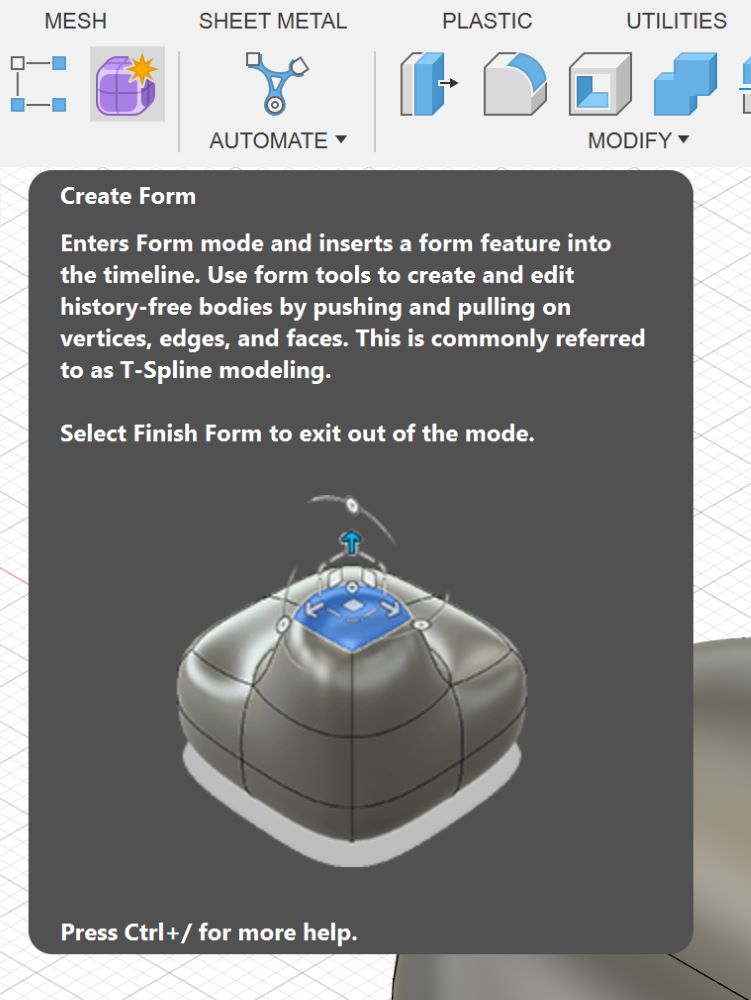
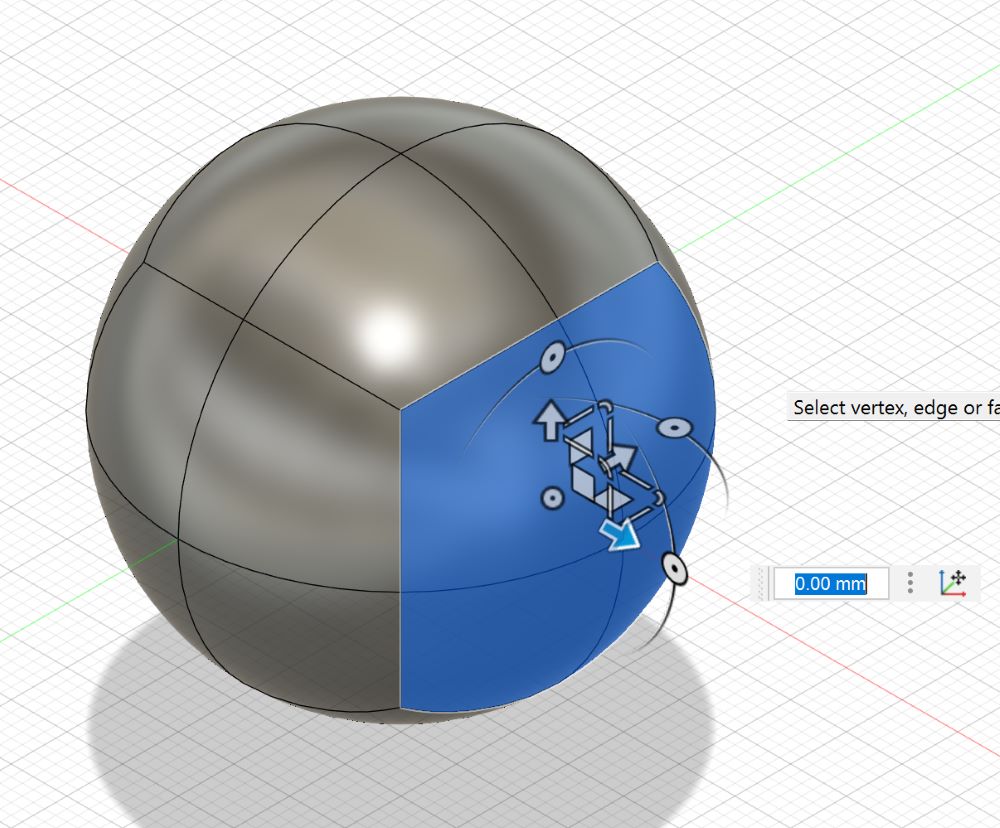
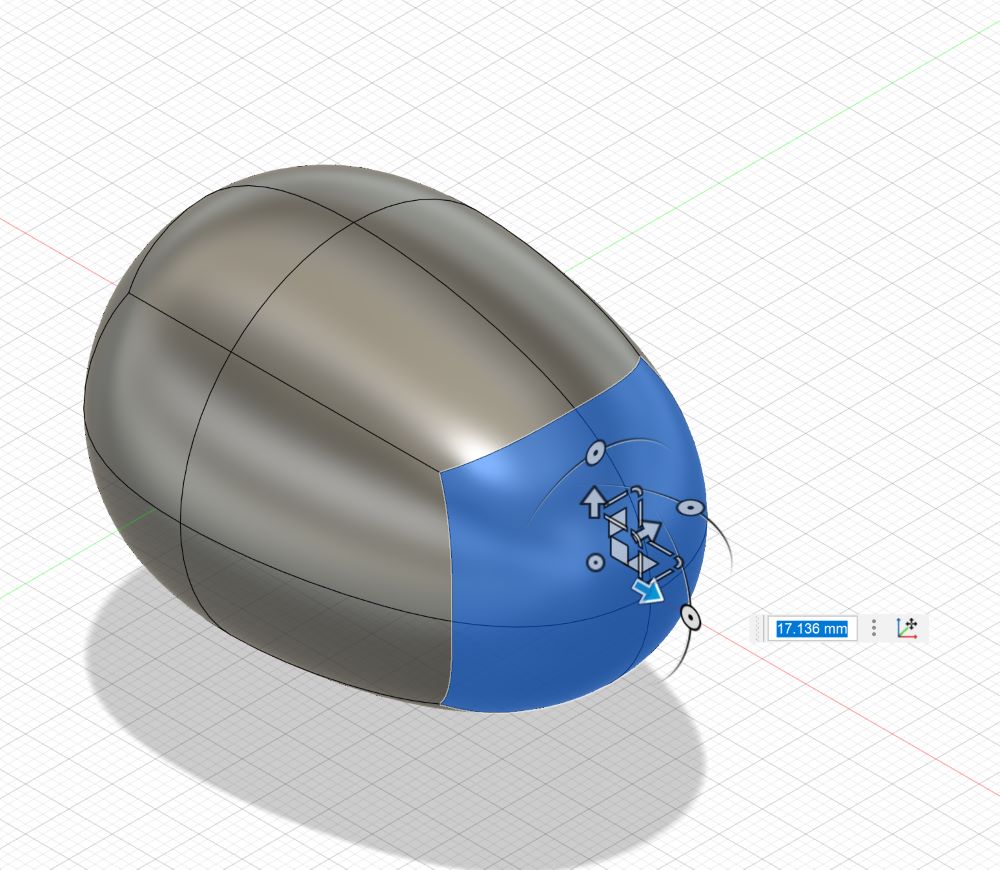
Stubby legs and arms - Form Modeling
The idea is to manipulate the surfaces and curves then sculpt as if like you’re modeling with clay.
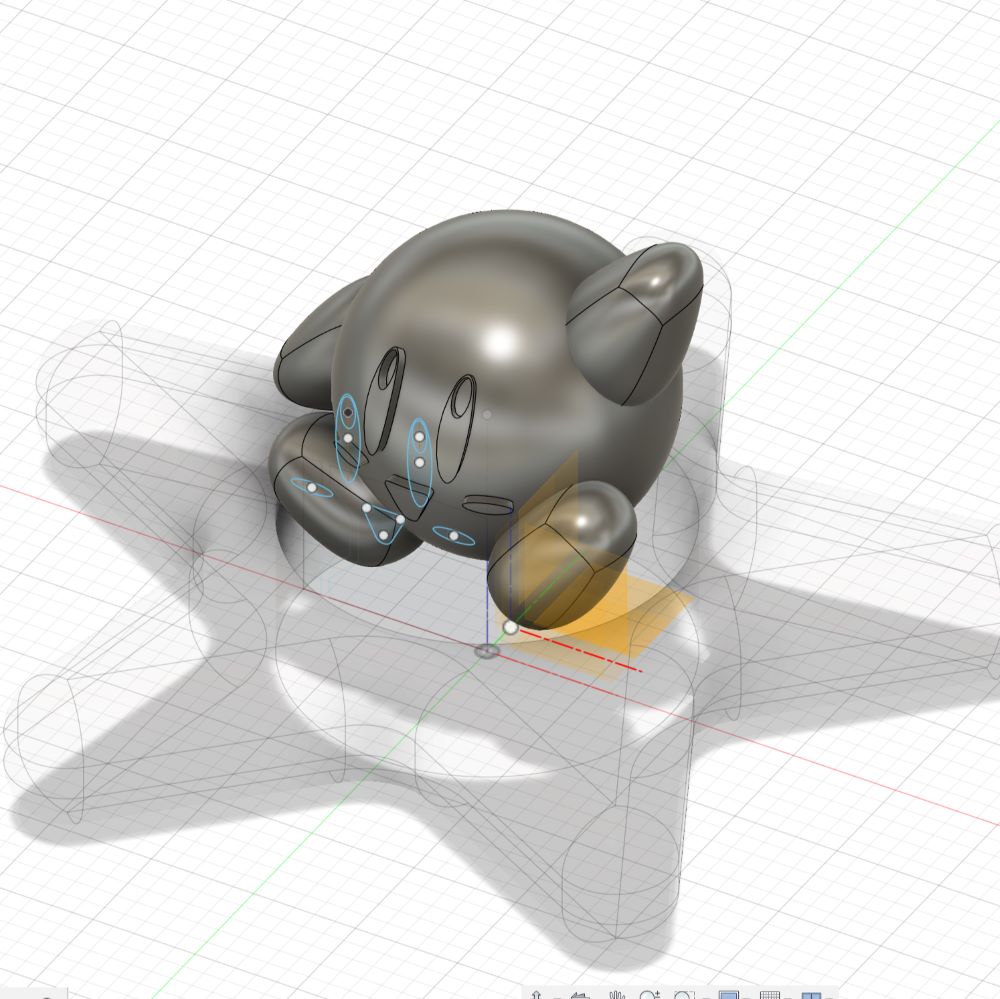
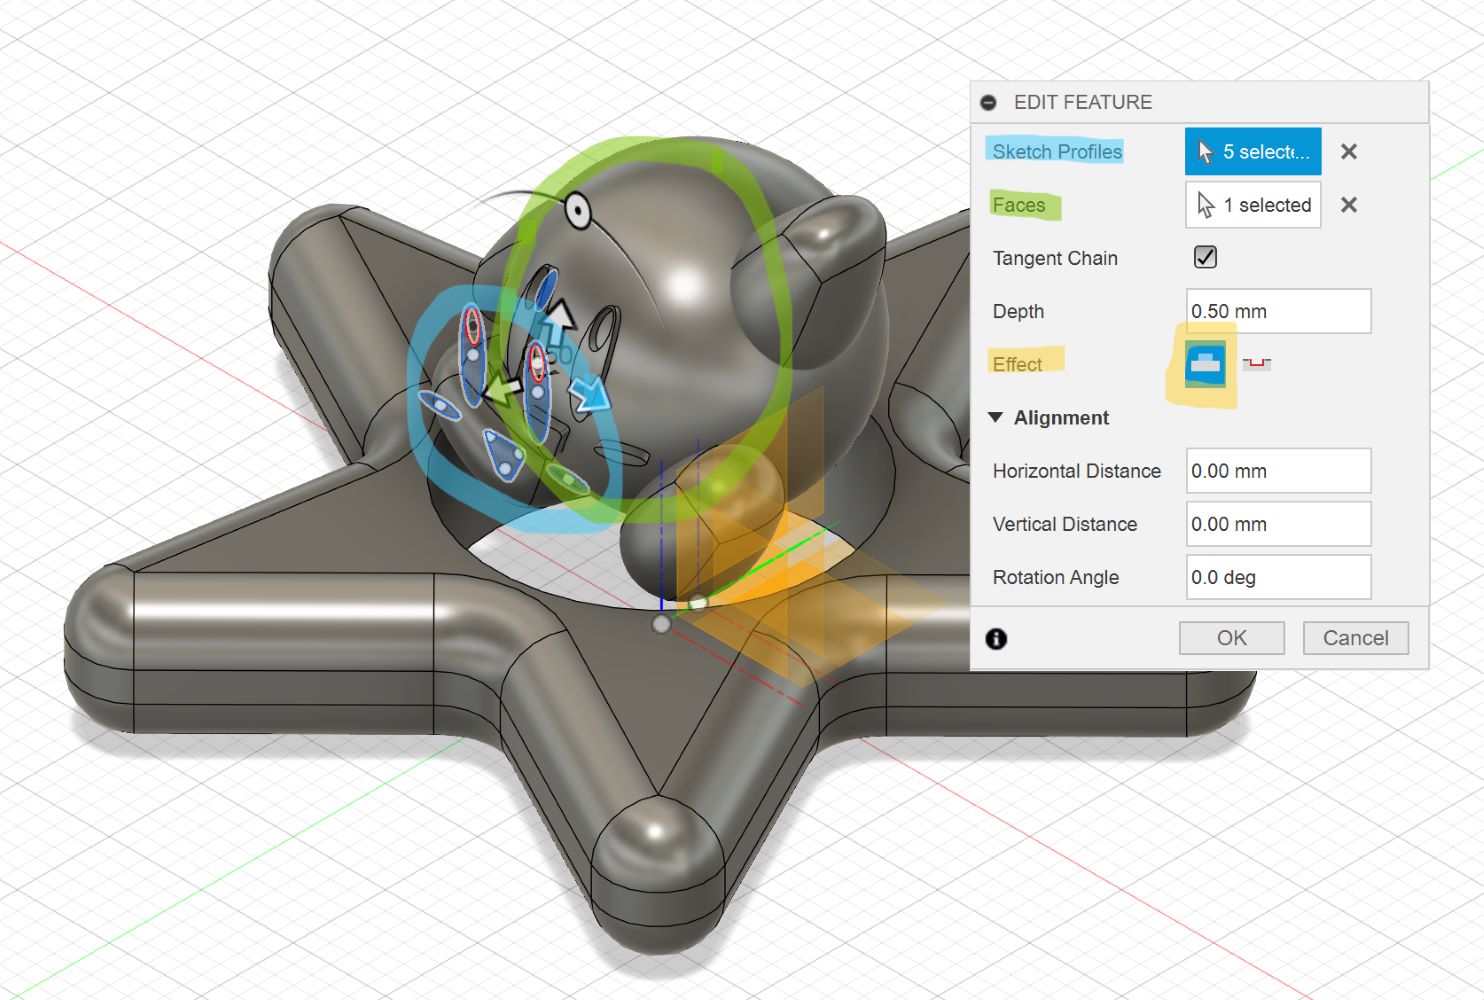
Face - Sketch + Emboss
Sketch Kirby’s eyes, mouth and cheeks in the sketch mode. Finish Sketch mode and in Create > Emboss. Select the Sketch Profiles (eyes, mouth, cheeks) amd fore Faces you will be picking the sphere. You can choose to emboss inwards or outwards
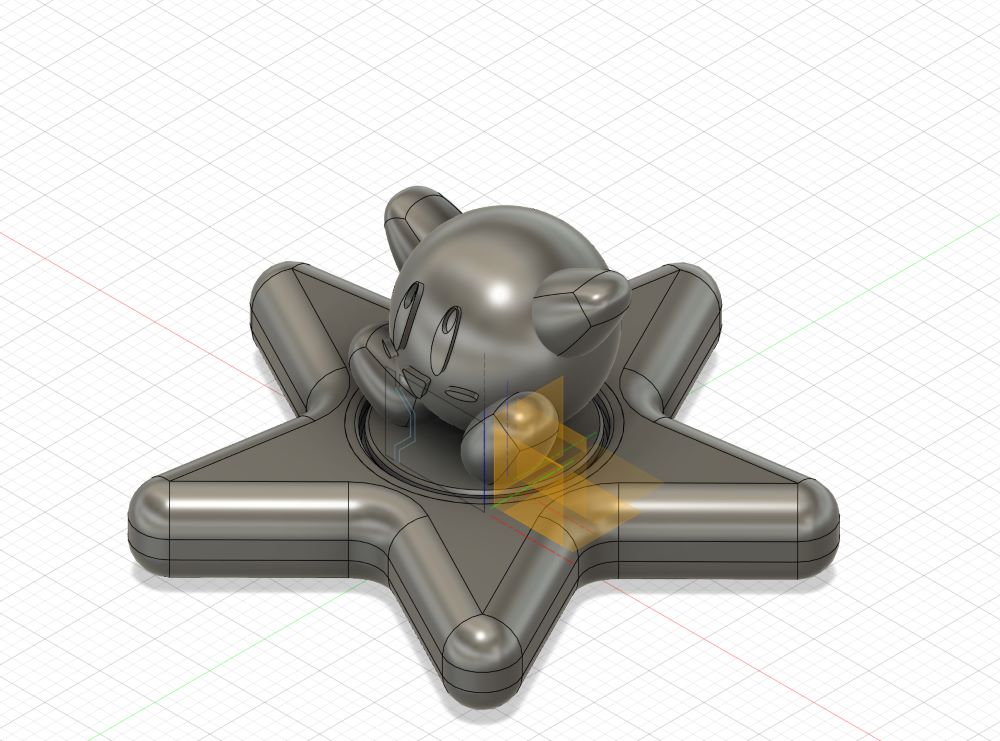
Final 3D Model
Slicing
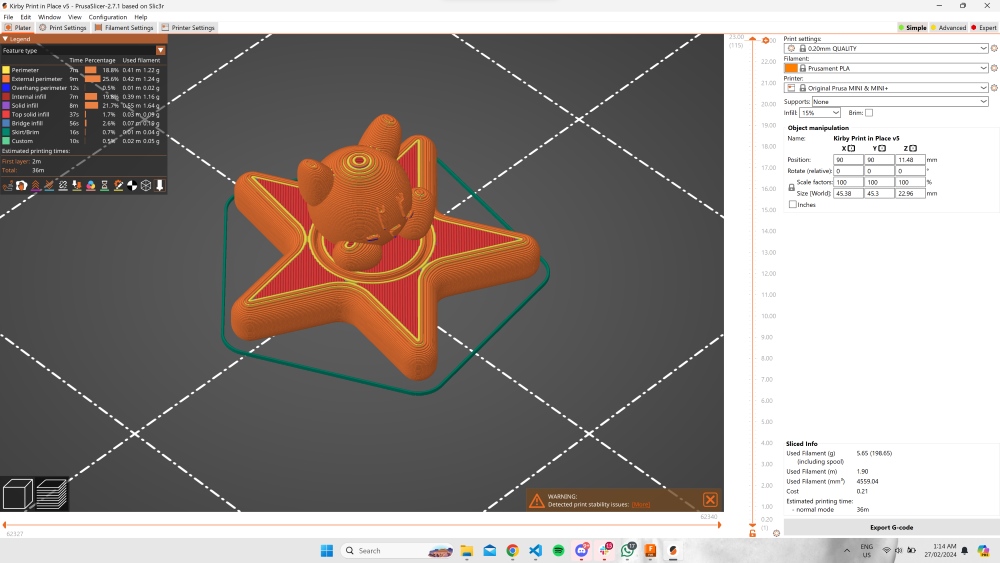
Slicing means converting the 3D model file into a machine language (G-Code) that can be recognized by the printer. Our house 3D Printer is the PRUSA Mini so the slicer software that we are utilising is the PRUSASlicer. From Fusion, I exported the model into 3.mf format although you can do .stl too. Import it to PrusaSlicer and these are my settings. I based these settings with the clearance/tolerance test we did on the group asignment. 0.2mm quality and 15% infill. 36min of printing time - not bad.
Printing
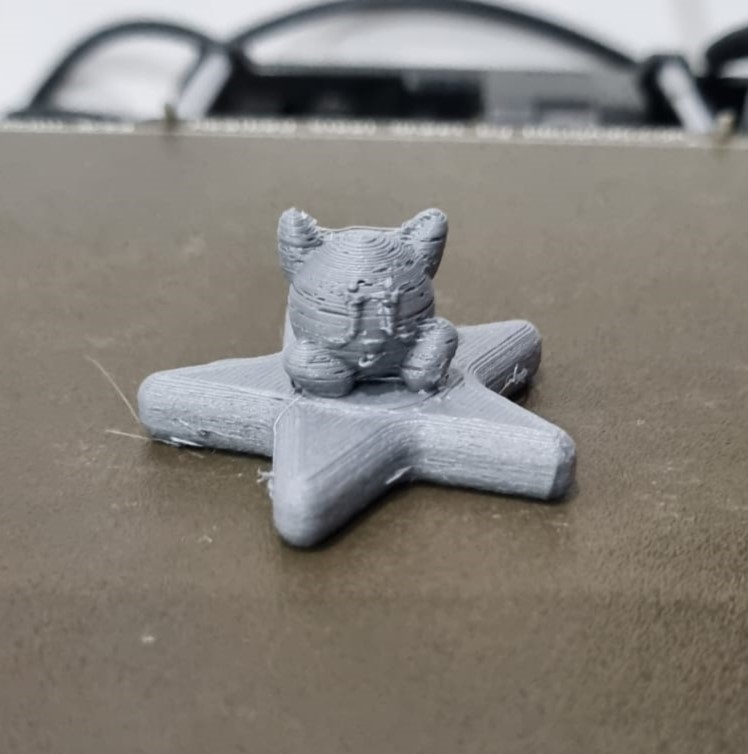
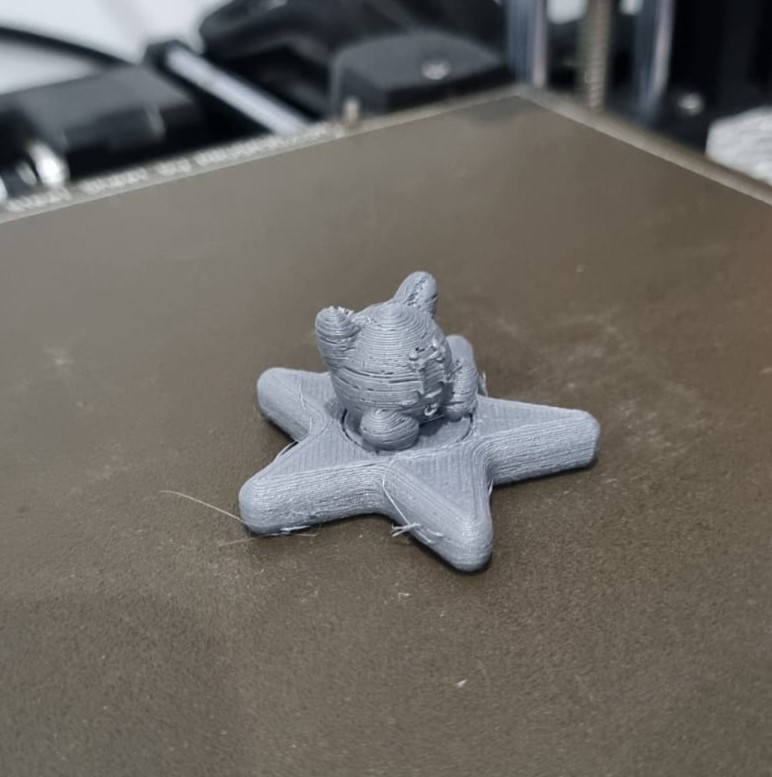
1st Failure - Falling apart fresh from the oven
I couldn’t get the bearing to turn… so I killed Kirby, 5 mins in after its’ fresh printout… as I was holding my dear life to it to get the bearing to turn… Rico my instructor mentioned that this is a shearing problem with the layers. The AI overlords explain to me that “shearing typically refers to a type of printing defect that occurs when the layers of a 3D-printed object are misaligned or skewed. This misalignment can result in a variety of issues, such as a tilted or shifted layer structure, leading to a loss of accuracy and detail in the printed object.“
As I use force on kirby to help me move the bearing when there is not much layer holding the kirby, the kirby eventually got annihilated. So there are multiple hypothesis where the problem lies - could be fault in bearing design, could be the filament - could be that the kirby may need to be printerd with 100% infill so it has more density in its volume.
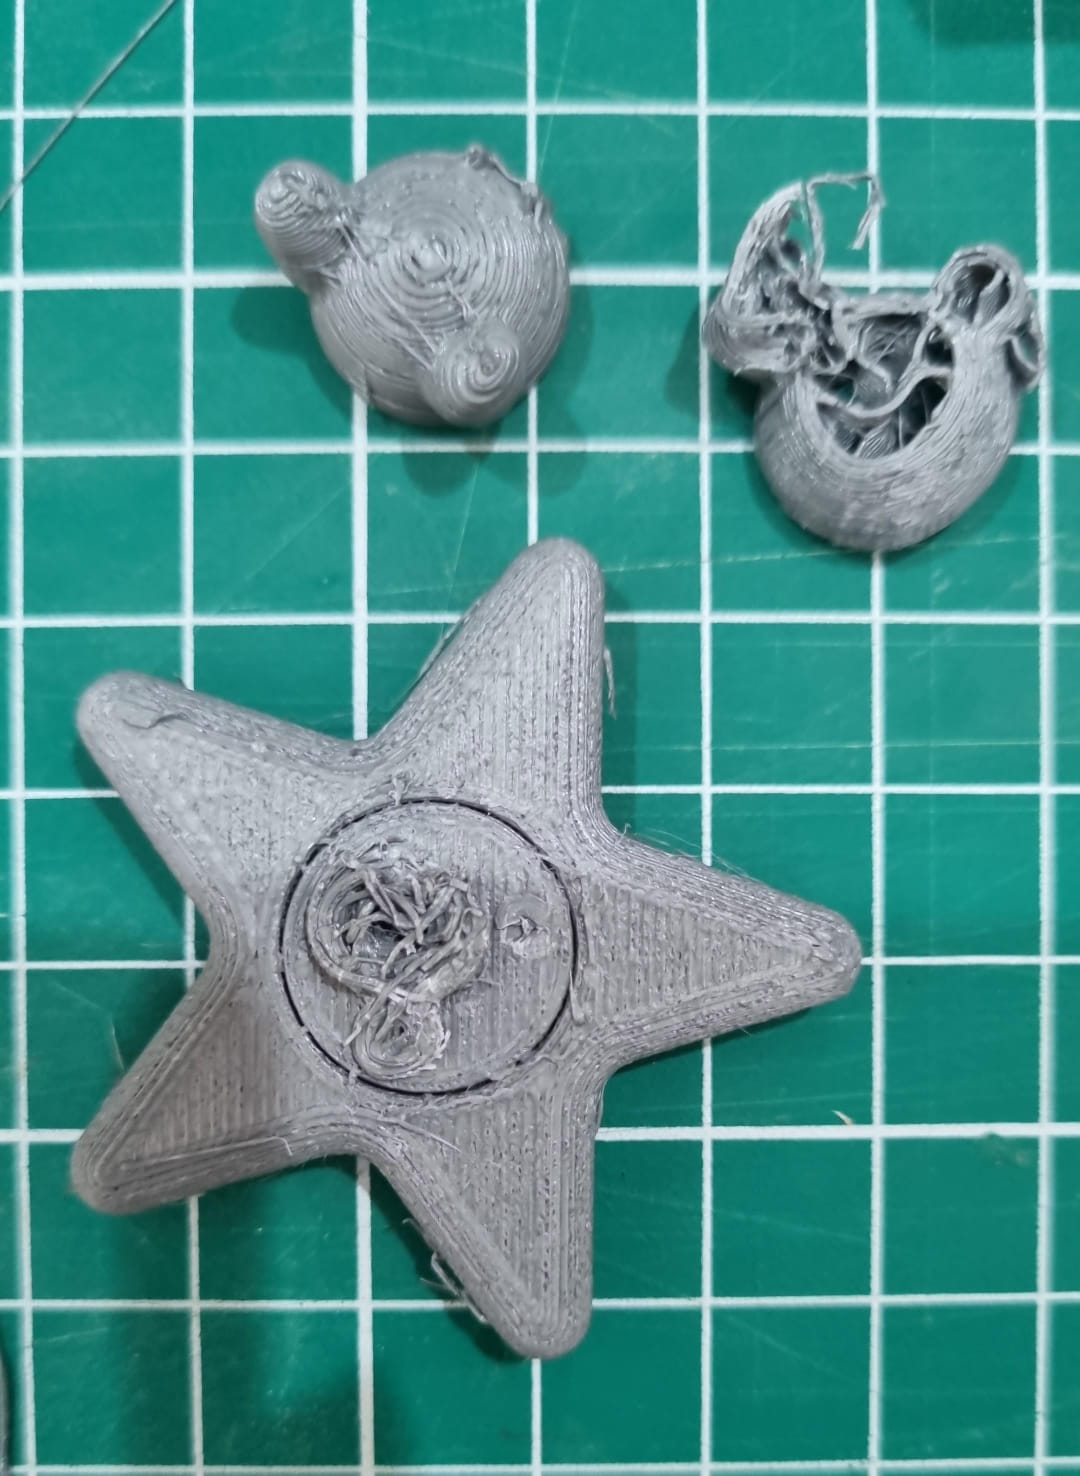
2nd Failure - 七転び八起き (Fall down 7 times, Get Up 8)
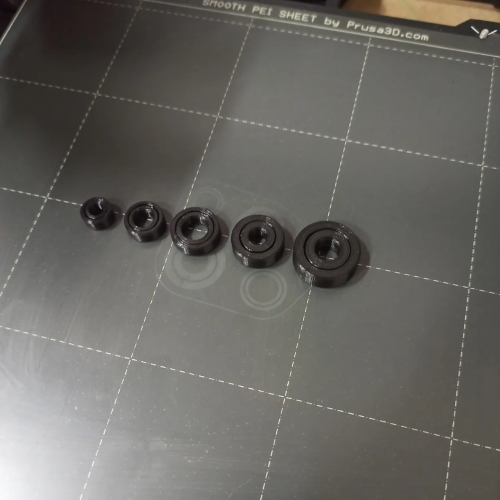
I tried printing out the bearing to see if it was the problem and it wasn’t budging. I was assumning that with the first design iteration - it must have been that the outer rim was design too thin and there wasn’t any grip to allow the inner bearing to seperate from the outer rim. I decided to create a hollow hexagonal shape underneath to allow room for hex keys to help twist or push the bearing. Here were some design iterations where I tried different outer rim sizes (may not look too substantial as it was . mm differences ) and tried different hexagon variations to help seperate the inner bearings from the outer bearing. Turns out, it was a filament problem.

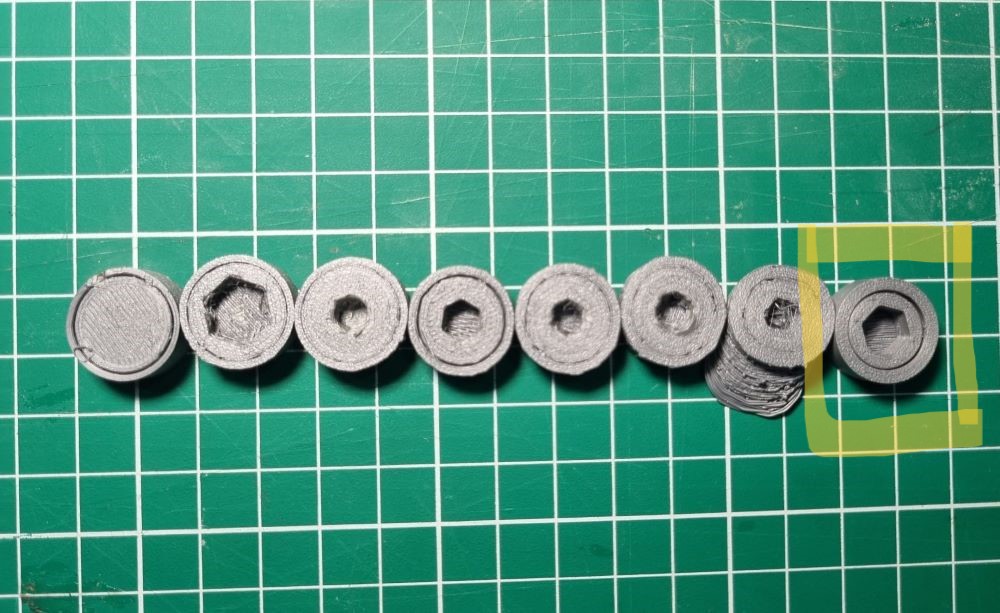
If you compare the print result from the most left to the right...... you realise that the main culprit was actually the old filament that had been soaking Bali’s humid temperature. The thermoplastics in the filament are hygroscopic in nature which can cause some extrusion dimensional faults. It needs to be dehydrated whenever possible.....
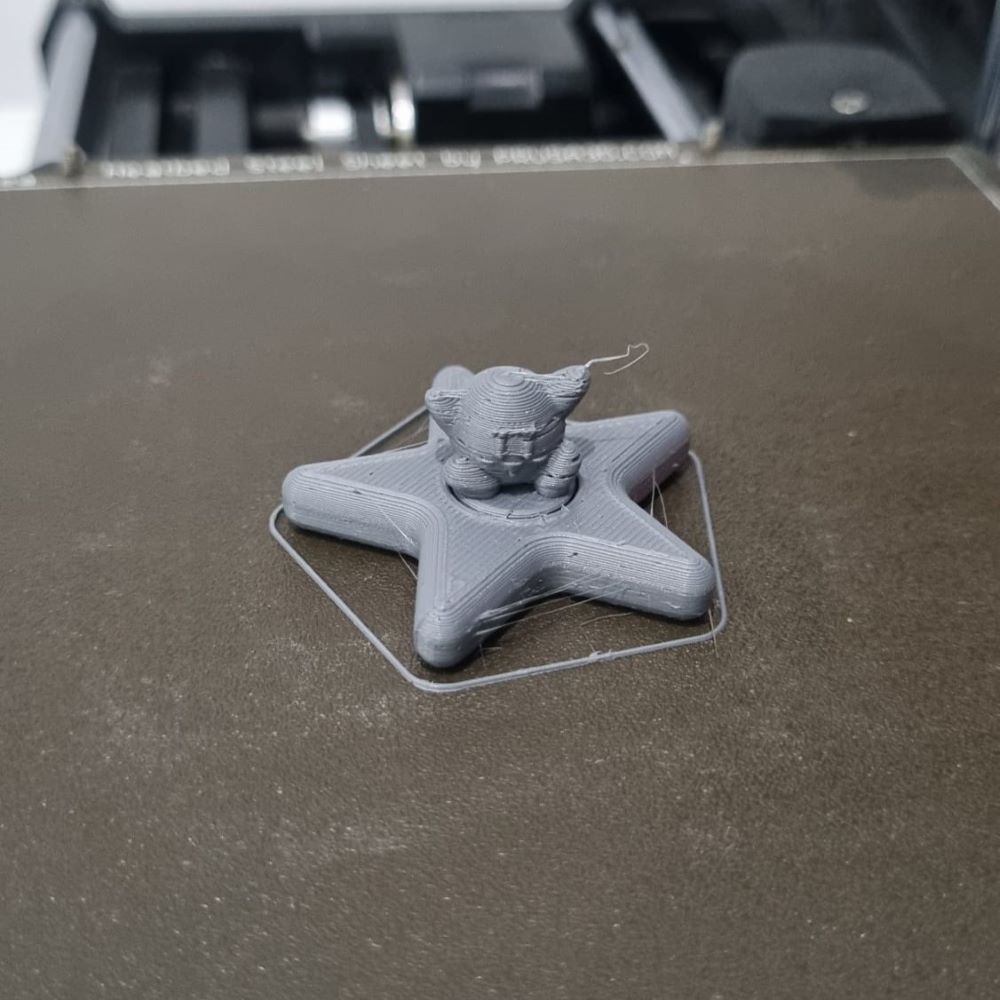
Before I got my perfectly-printed bearing - I dehydrated my filament for 5 hours. Pushing through the hex hollow of the inner rim, I was able to seperate the inner rim from the outer and my bearing successfully spinned.
3rd Time’s the Charm
Capitalising on the still-warm, freshly dehydrated filament that printed my bearing beautifully - I printed my Kirby model.... and we have our Kirby Fidget Spinner working!
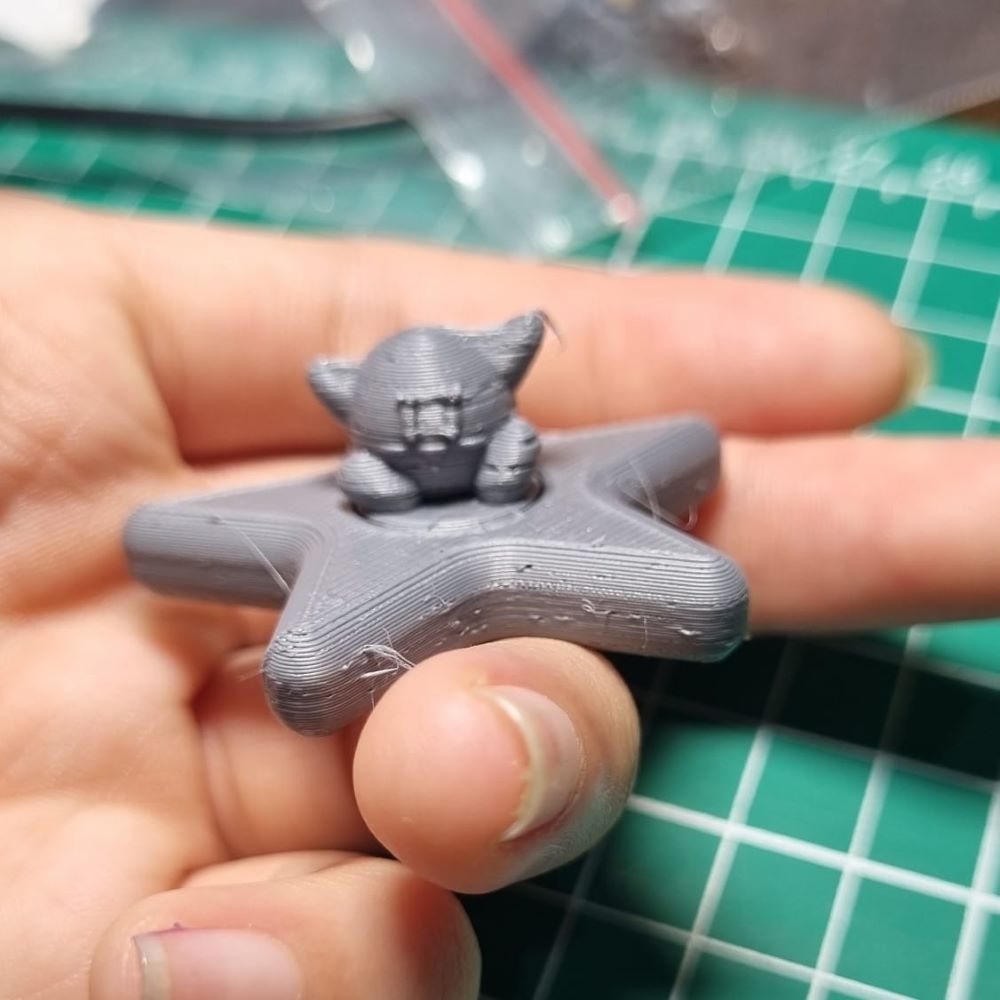
Kirby spinning on the Warp Star-in action