Task 2: Vinyl Cut
This is one of the task that I am most looking forward to because I can print my own logo stickers! Yay! Unfortunately, I couldn’t really get to 100% completion rate for this task because I had to rush to the airport to catch my flight....
Fab Lab Bali’s Vinyl Cutting Machine: Roland CAMM-1 GX-24
Our Vinyl Cutter is the Roland CAMM-1 GX-24, released in 2005 (wow) and has been.... discontinued.
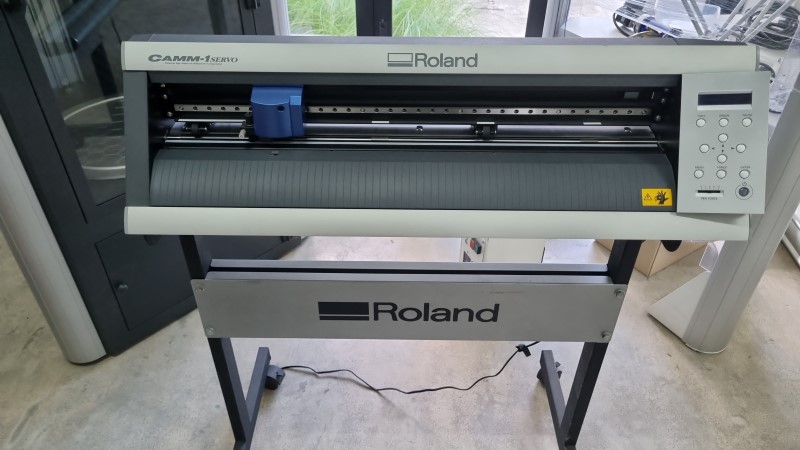
This bad boy works just fine tho. So here are the things that you need to understand about the machine functions.

Setting up
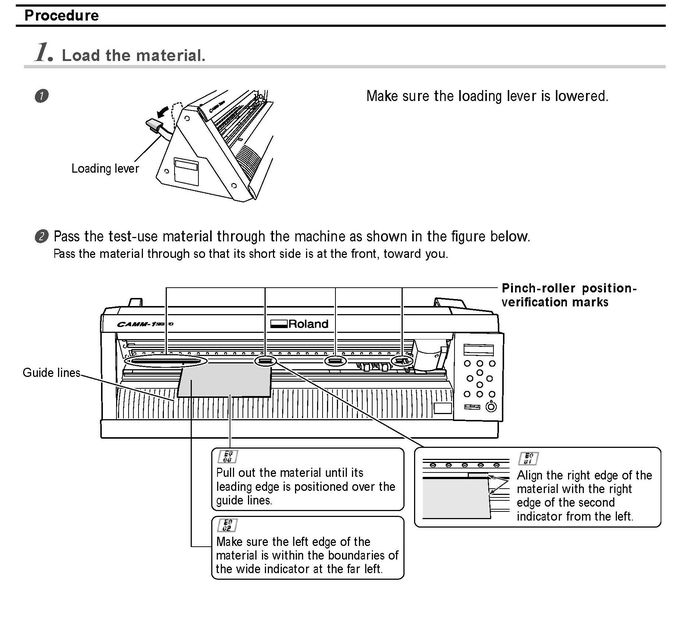
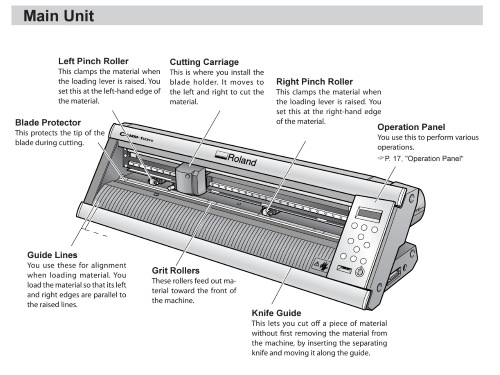
- Lift up the loading lever –> insert the vinyl roll –> lift down the lever
- The placement of the vinyl’s edge should follow the white guidelines.
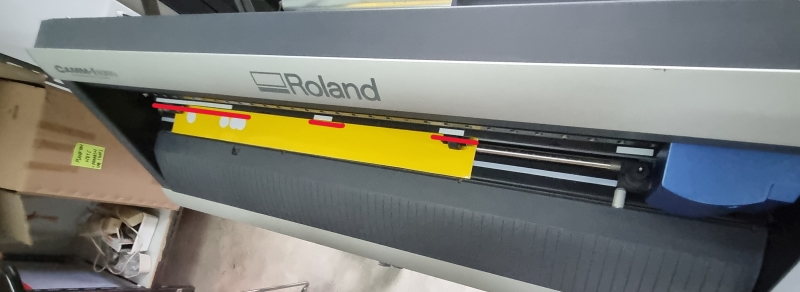
- Move the rollers at either end of the material to clamp and hold the material.

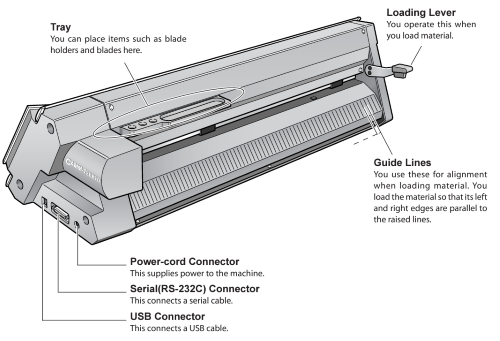
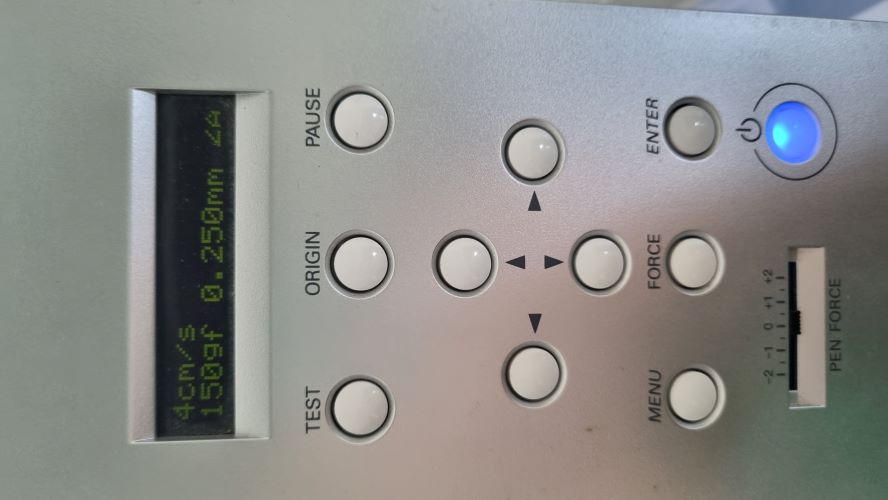
- Turn on the operation panel with the power button
- With the cursor you can adjust the material as well as the cutting carriage
- Go to Menu to start setting up the cutting conditions
- Important parameters to play around with: Force, Speed
Watch this amazing tutorial by Fab Lab Barcelona to understand how to use the Roland CAMM-1 GX-24.
Proprietary Software: Roland CutStudio
Installation Guide
Since this machine is released in the 2000s, you need to install the hardware drivers to run this machine in your computer and you would normally get it with CDs given to you with the machine. Well… we couldn’t find the CD nor our laptop has CD drives anymore.... It’s proprietary software Roland CutStudio is a paid software and is free if you have the CD installation. So YOUR GIRL DID HER SLEUTHING AROUND THE NET AND COMPILED THE RESOURCES FOR YOU TO GET THE MACHINE TO WORK AND AVOID HAVING TO PAY FOR THE PROPRIETARY SOFTWARE AT ALL COST (but really just use Mods – I’ll get by to learning it eventually but at that moment in time I only had 3 hours left before my flight takes off)
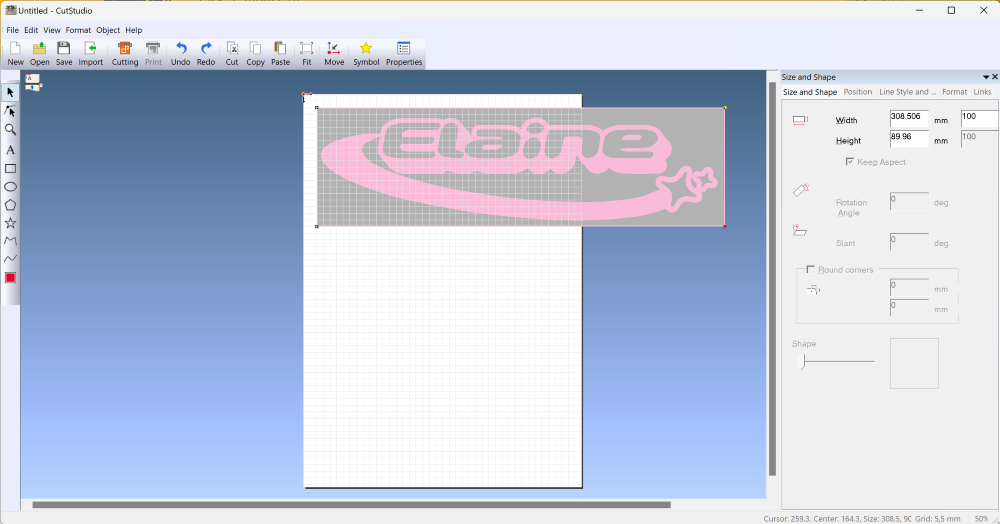
Let’s Set Up your Studio
This is how the interface looks like. Pretty Straightforward
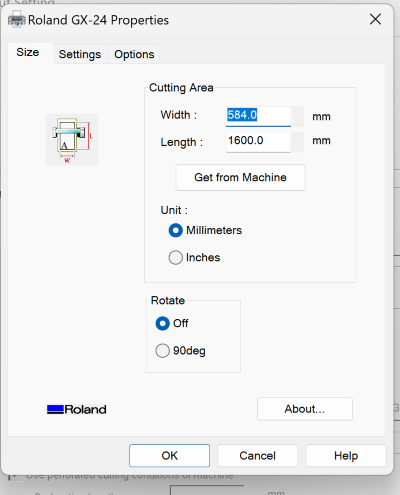
 Make sure that your CutStudio setting is already adjusted to the material that has been loaded into the machine. Go to
 File > Cut Setting > Choose Roland GX-24 in the Printer > Press Get from Machine to automatically align the workspace with the inserted material.
You can now start creating in the CutStudio or import your image files! I found that CutStudio seems to prefer .png files
Image
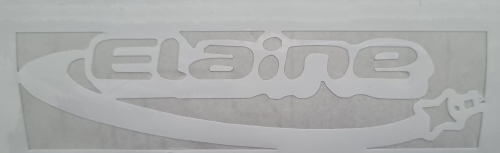
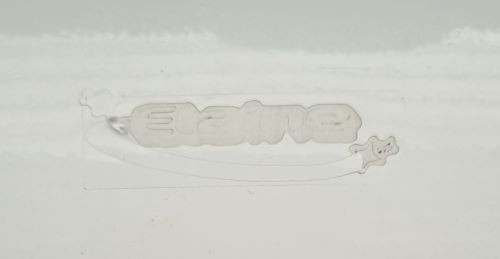
I decided to cut a vinyl sticker of my web logo which I made using Adobe Illustrator. Y2K logo for the Y2k machine weeeee. I saved it to .png and import it to CutStudio to cut it.

Cut
Plan
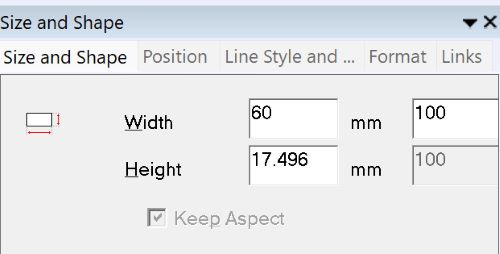
The plan is to create a logo sticker for my phone! Counting that the width of my phone is at 70mm, the sticker size should ideally be at around 40-60mm.
Test Cut
On the Operation Panel, hold the TEST key button for long to run your settings. I initially run the settings at
Speed:10cm/s Force:200gf
Test Result: Pretty clean and looks like the optimum settings
First Round of Failure
In CutStudio, for whatever reason, it won’t recognise a black and white logo, so I had converted the logo into bright pink. We want to set up a path for the machine to cut the logo so right click on your image and choose Image Outline
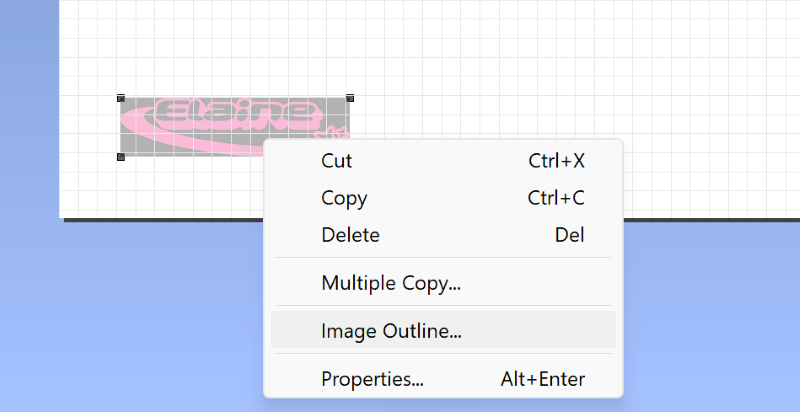
The Image Outline window will pop out and you want to Extract Contour Lines
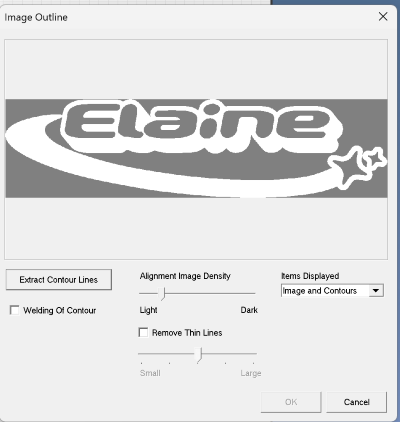
The Outline will be layered on top of your image. The machine recofnises the image outline and will cut along the outline/path that was set.
As you can see… the path has not been properly defined. And I forgot to resize the original file too. So here is the result from the first failure

Second Round of Failure
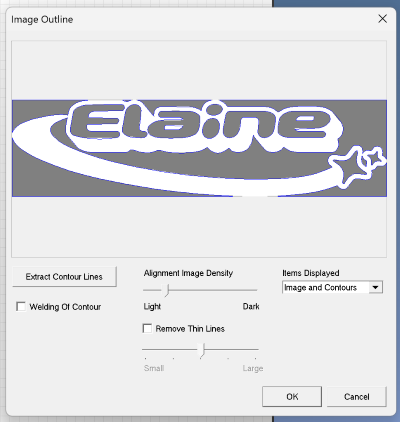
This time I decided to add… a rectengular border on the logo.

Resize the logo at CutStudio.
Follow the Image Outline > Extract Contour Lines steps.
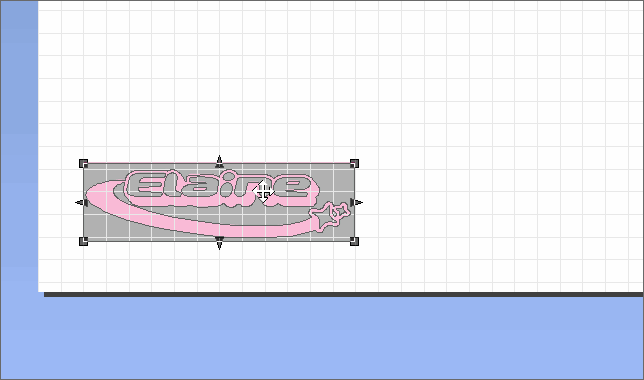
You can see that the outline path is well defined. Next is to cut.
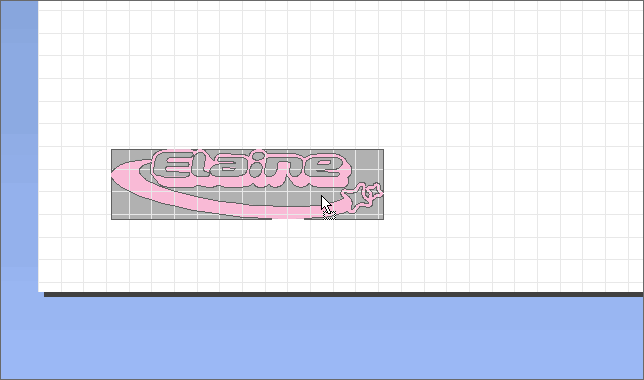
From this failure, I can understand that the setting of Speed:10cm/s Force:200gf is not optimum for this design because it has couple of intricate details. Moreover the size of the logo is smaller. If it goes fast with a strong force, the detailed-cuts will get tears in the process so you won’t get a clean outline. I decided to do couple more of failures (at this point I only had 30 mins before I have to start rushing to the airport)
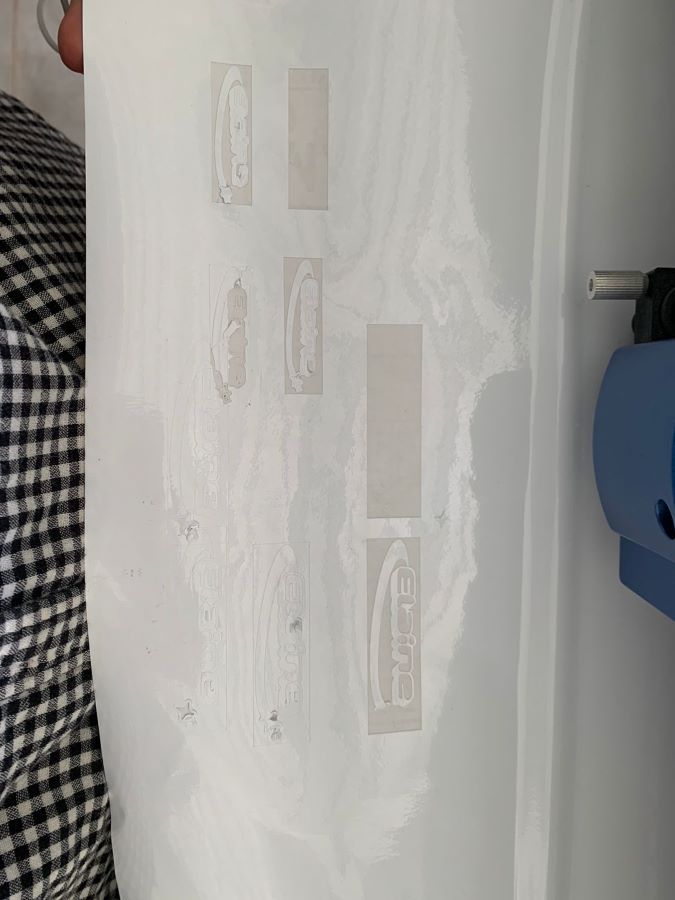
Third Time’s the Charm
The trick is with smaller and detailed image - you want to slow down.
Reduce the force as you go slow. This is the optimum cut setting for my design (I had to leave in 15 mins)
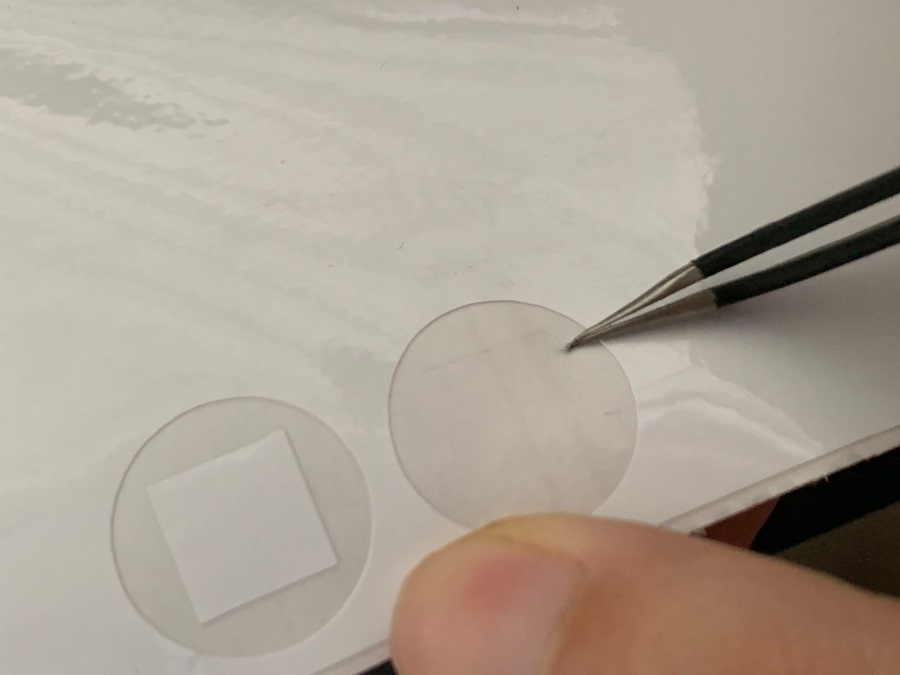
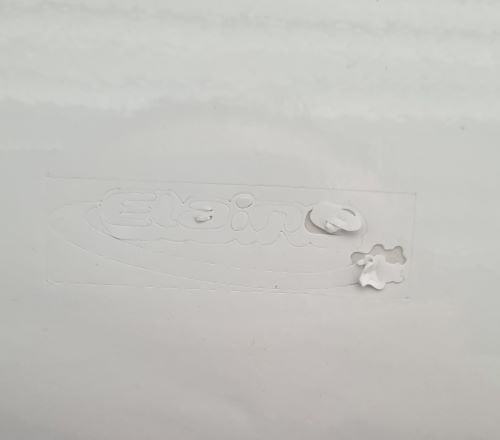
Final Result
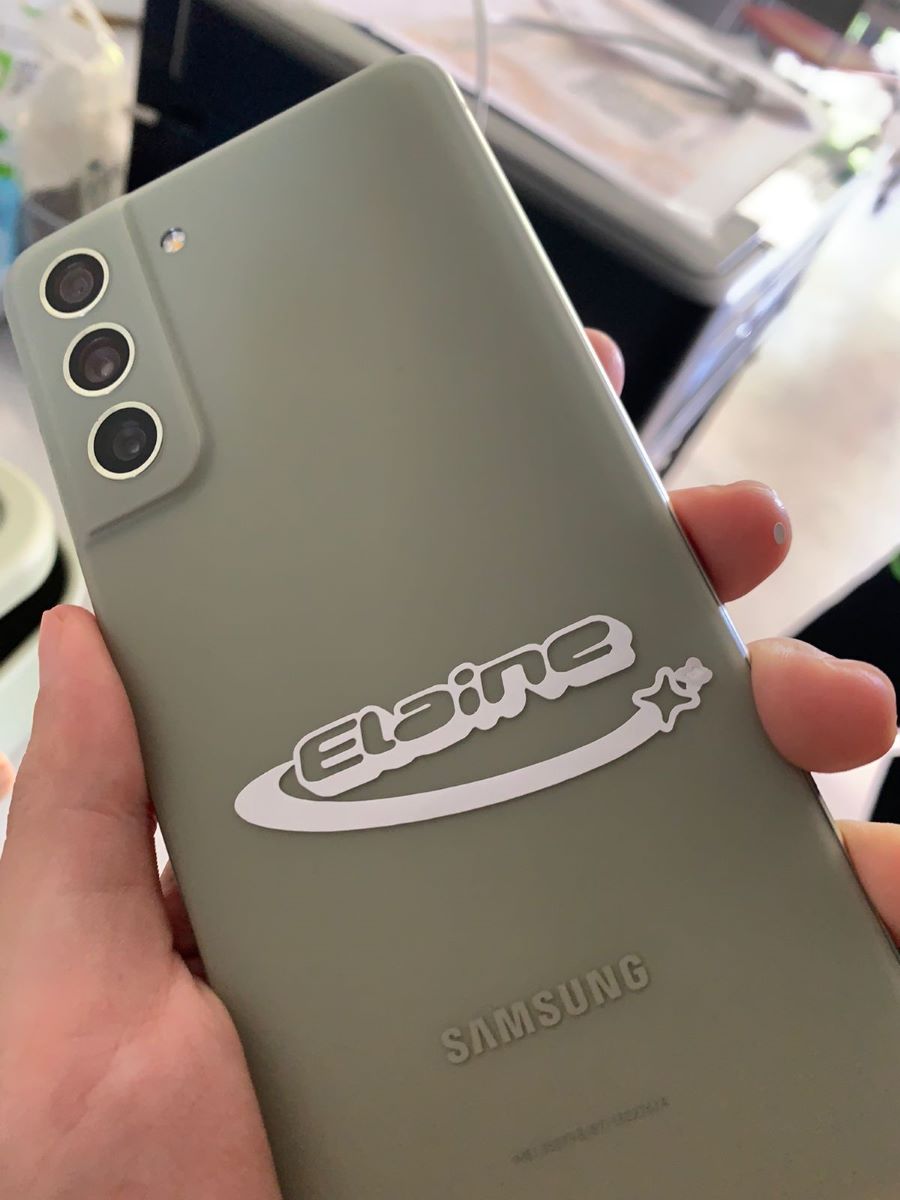
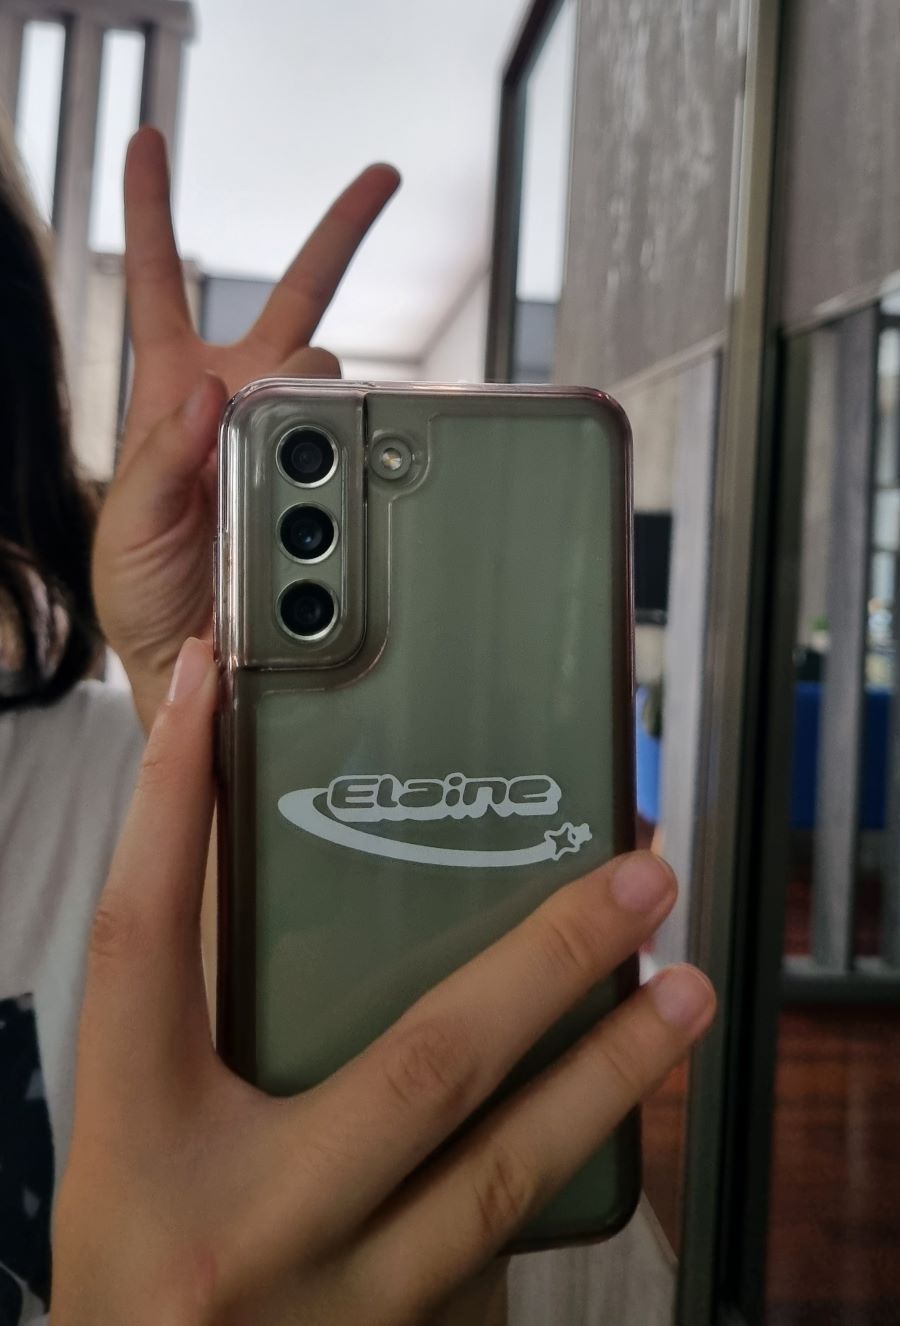
I should have transferred the design to the transparent sheet.... but either I did that or miss my flight.... I arrived at the gate just as the boarding gates were about to close......