Task 2: Build a Personal Site
Time to build your own website for your FA progress documentation. The website given to you by the FA coordination team is in .html
You see.. your girl’s motto over here is to work smart not hard… so I will be writing in Markdown .md, a lightweight markup language for creating formatted text using a plain-text editor; although when you push it back to the repository, it will generate an .html code. To generate a simple static site that’s geared towards building efficient project documentation with Markdown, I use MkDocs.
Setting up MkDocs
You need python installed before you can use MkDocs.
Tips for Windows User: 1. When you install python..... please DON’T FORGET to tick the PATH option. If you don’t, your terminal won’t recognise where Python is installed.
2. Next go to your Terminal and find out if you have successfully installed python by checking
python -v. If your terminal doesn’t recognise it (this was my experience), your terminal could recommend you where to download and install without running to any problem.3. You need pip to run MkDocs - so check if it’s already installed with your Python
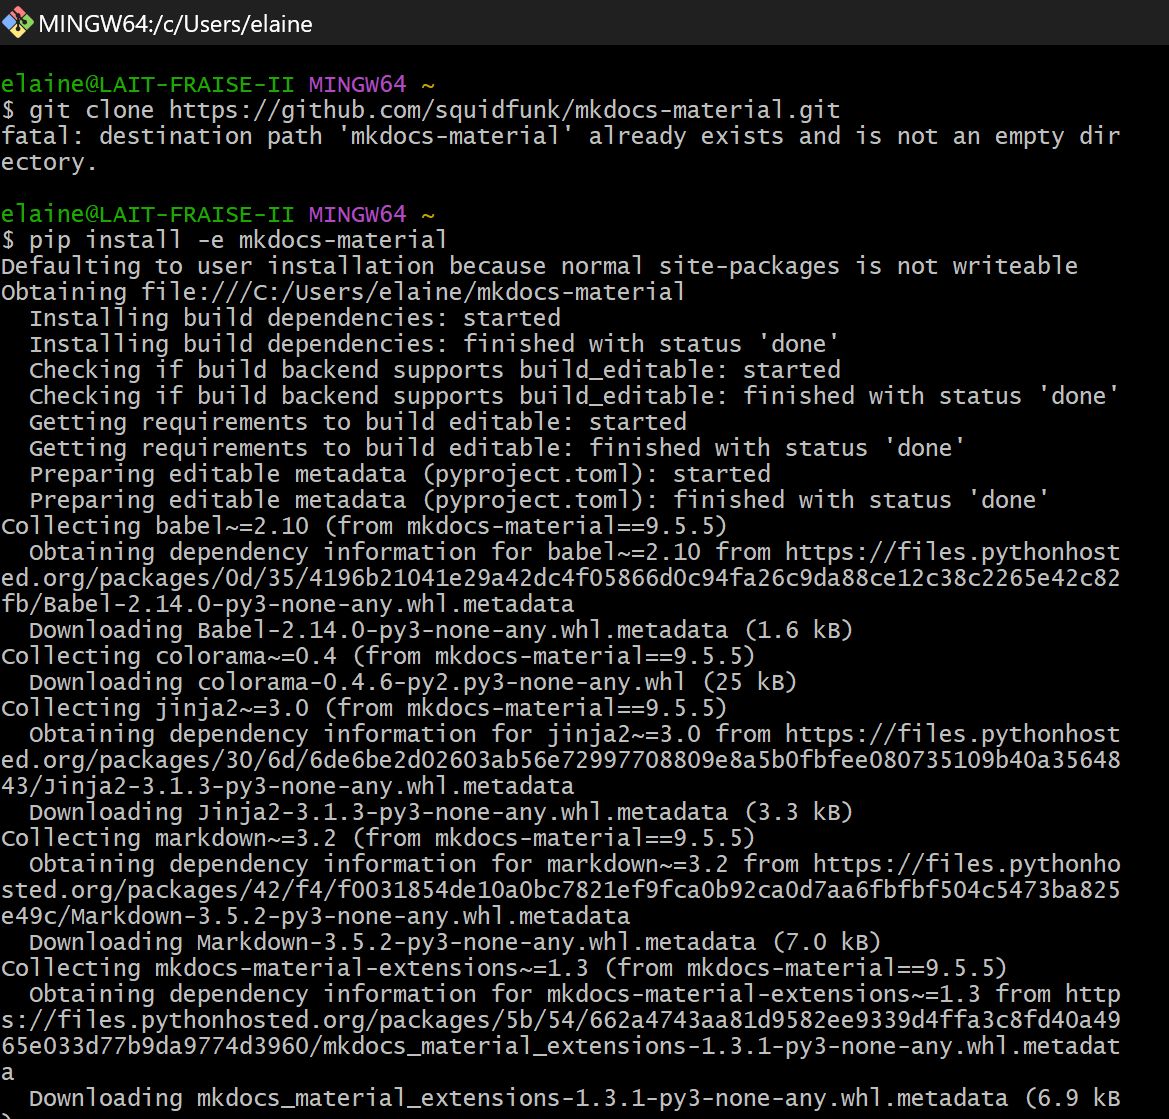
pip -v. 4. Once you have set up pip, go to terminal and typegit clone https://github.com/squidfunk/mkdocs-material.gitAfter that install Material for MkDocs withpip install -e mkdocs-material. (This command will automatically install compatible versions of all dependencies: MkDocs, Markdown, Pygments and Python Markdown Extensions, without the need to install these packages separately.)
All set up! Now let’s get through building your website!
Pull
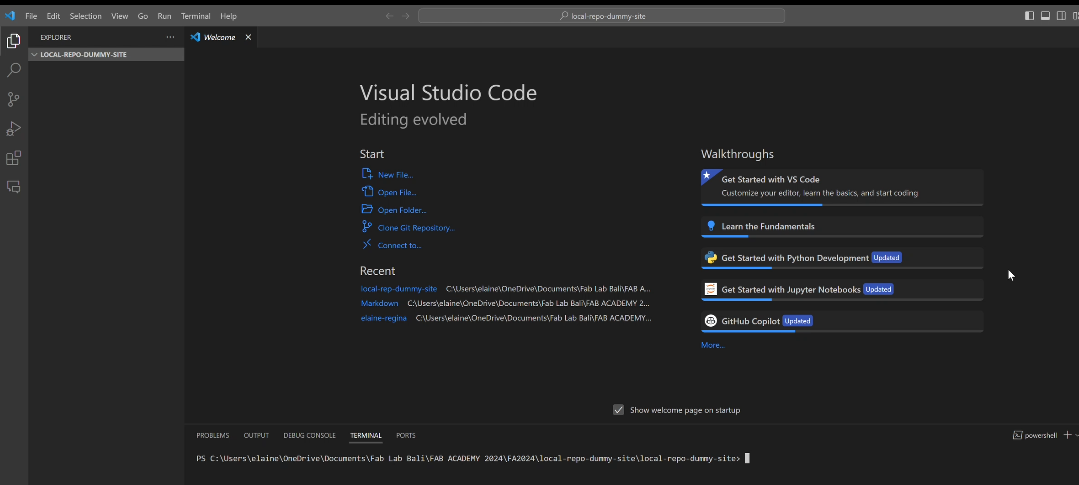
Let’s Fetch from your FabCloud repo and copy it to your local repo. Since we set up our SSH key, I recommend cloning it with SSH. Here’s the catch. I am a noob. I learn easily with visuals due to my design background. So I can’t stress enough how VSCode is a life saver. Press Code > Visual Code Studio (SSH). Make sure that you chose a proper folder to set the directory.
This is how the your pulled Gitlab repo looks like in VSCode

BEFORE YOU START DOING ANYTHING..... LET US CREATE OUR LOCAL REPOSITORY FIRST. YOU DON’T WANT TO EDIT DIRECTLY ON THE CLOUD REPOSITORY BECAUSE YOU DON’T WANT NO PROBLEM OF HAVING A BROKEN SITE IF ANYTHING WERE TO GO SOUTH.
To make our local repo, simply make a new project > create a blank template in Gitlab
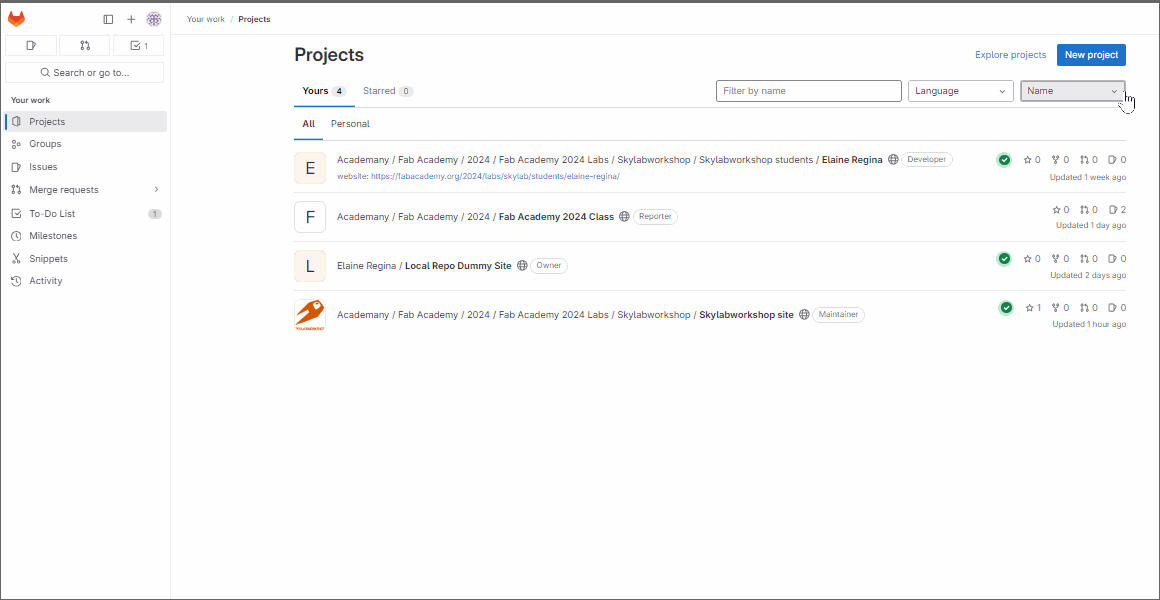 Once you have created, follow the similar process of Pull where you click
 Code > Visual Studio Code (SSH)
 Now you can edit with some peace in mind.
Add
Let’s set up your Markdown documents. Open your terminal. In my case I have to write python -m mkdocs because that is the only way the terminal in my system could recognise and have access to MkDocs. Here’s a basic tutorial:
- Make a new directory for your local repo with
python -m mkdocs new .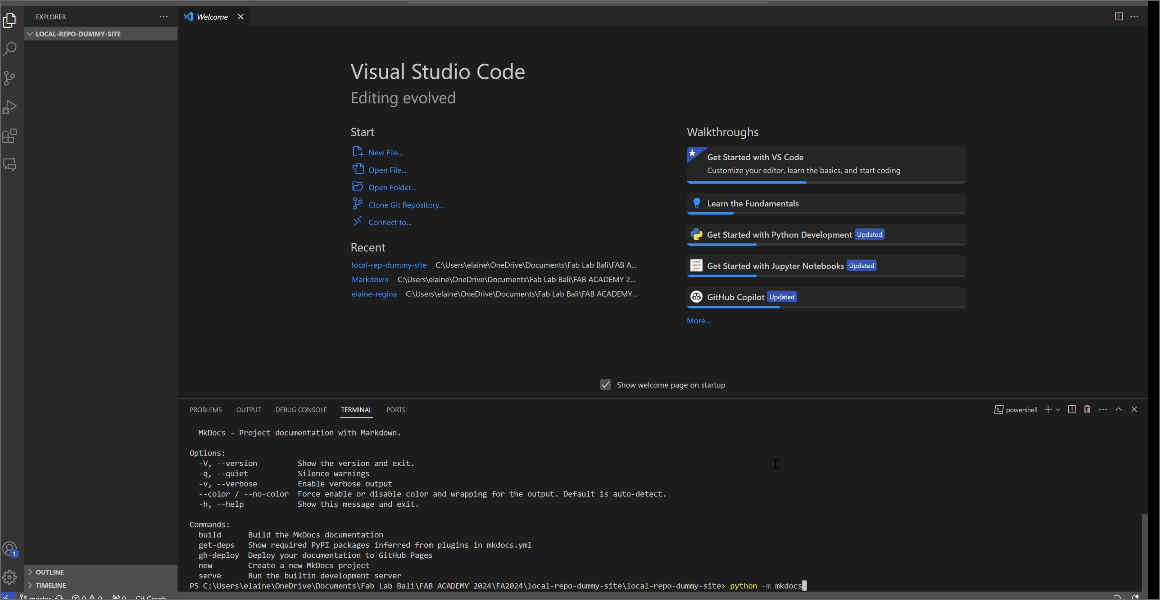
- If you look at the docs folder, a new file
index.mdis formed.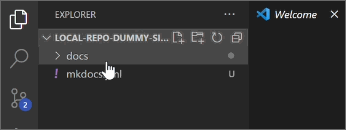
- Try to check if your dummy site is working with
python -m mkdocs serve
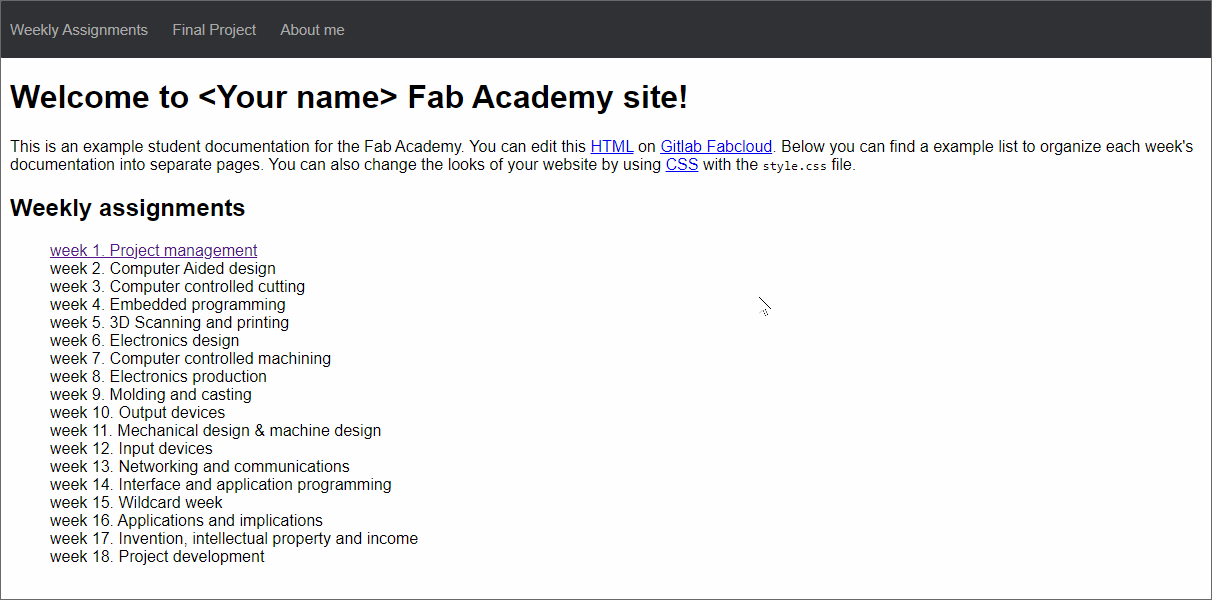
- Go to your browser and type
http://localhost:XXXX. Your temporary website should look like that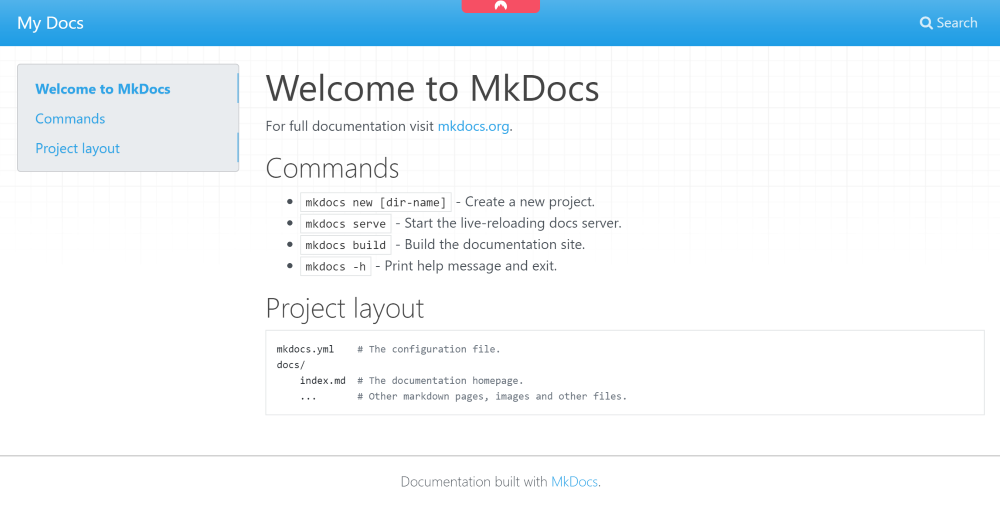
- Now go to your MarkDown files and start editing & personalising!!! Here is a cheat sheet to help you work on your content with the the MarkDown Language
Website Personalisation
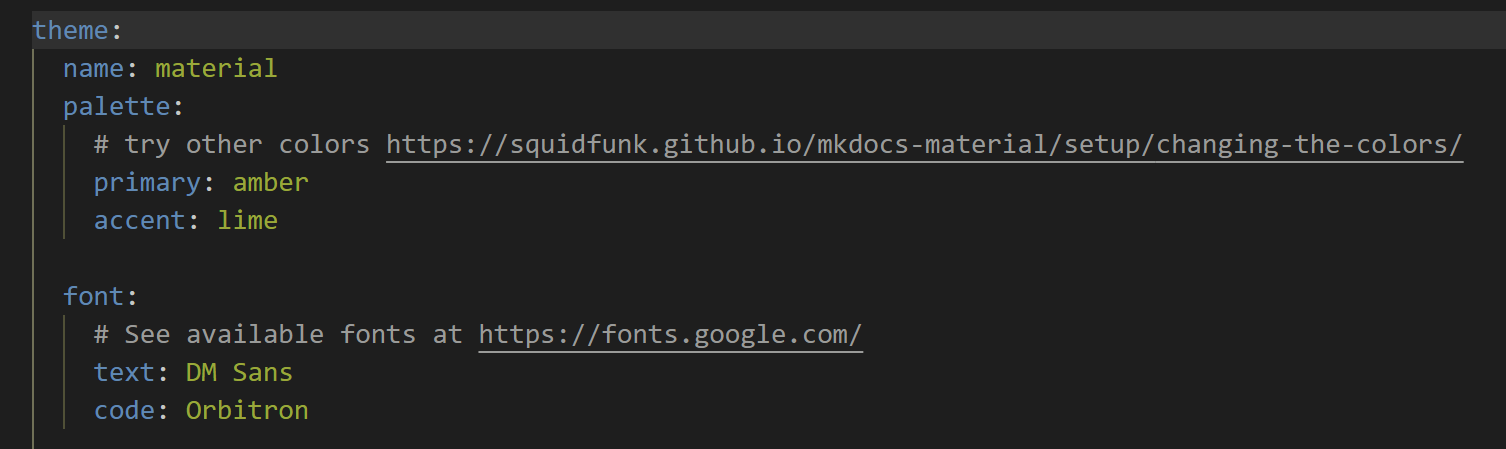
The file mkdocs.yml allows you to customise the look of your website. As we have installed Material for Mkdocs, let us utilise on that. If you prefer other themes you can check the following options. If you are sticking to Material, check out this amazing guide. Just make sure you insert the following in the mkdocs.yml document to enable the Material Theme
Happy editing!!
Version Control
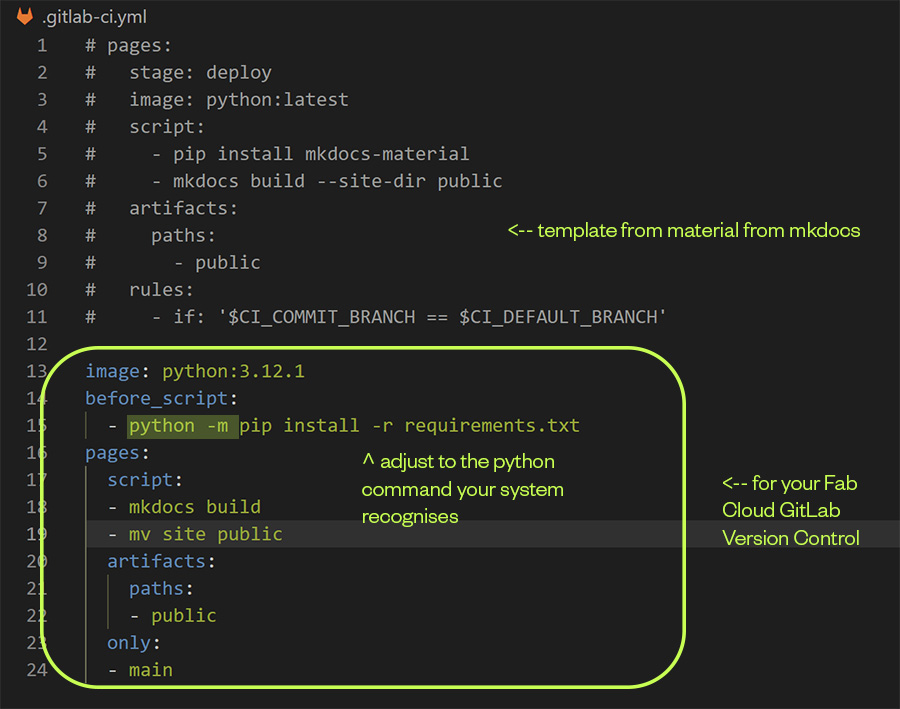
Make a .gitlab-ci.yml file. This file is crucial to make your site run and keeps your version control in the gitlab repo. Make sure that you have the following written in the .yml document.
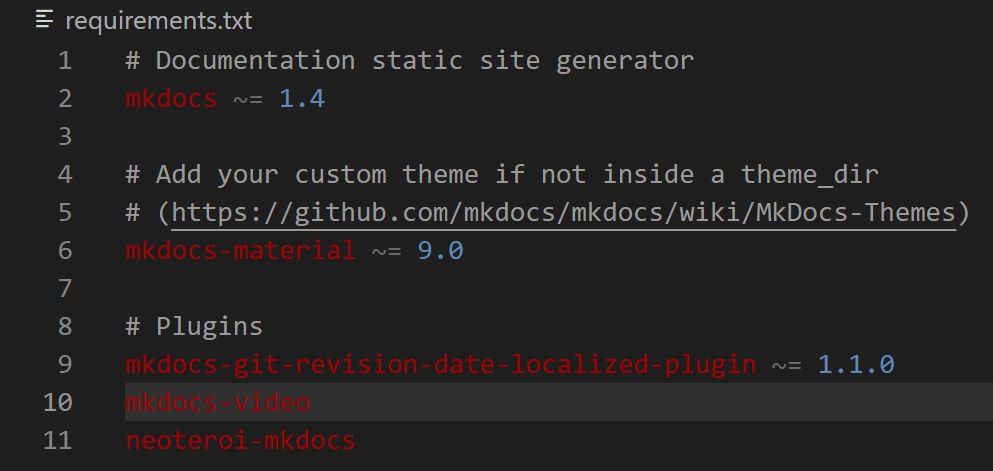
requirements.txt
If you notice from the precious picture there is thsi lines of code:
before_script: -python -m pip install -r requirements.txt
Create a requirements.txt file. This is important as it helps you list down packages or libraries needed to work on a project. For example if you install plugins in the form of python packages for your web customisation, listing it down in the requirements file will make those packages run in the version control. If not, your website won’t load as it’s meant to be. It could also result in a push failure. Requirements.txt is crucial as It provides a consistent environment and makes collaboration easier.
Staging Changes & Commit
Some tips, before we start staging the changes and committing,
input python -m mkdocs build (it generates the .html code) then python -m mkdocs serve. You want to preview your site in the local host before committing. If you’re happy with how it looks… we can move on
-
Find the Git button (the branch icon with the numbers). Click on that to check the changes you have made in your site. If everything looks okay,
stagethe changes.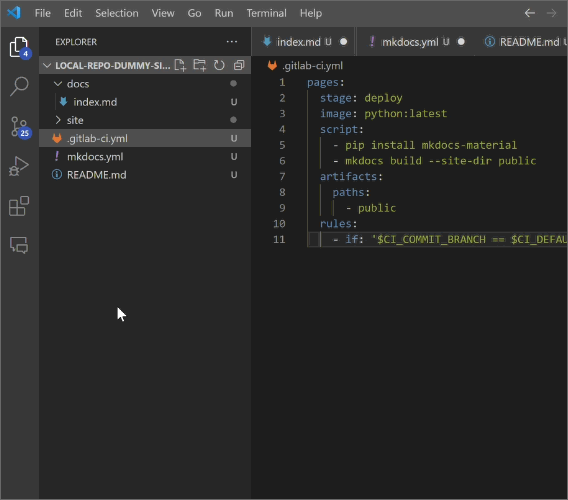
-
Before you can commit, you need to write a message describing the whole staged changes. Once you found a good description, click
commit.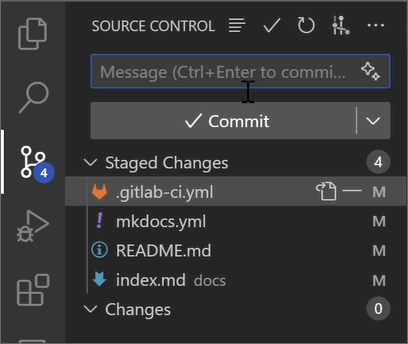
Push
If you have made it so far..... congrats, this is the final step… PUSH
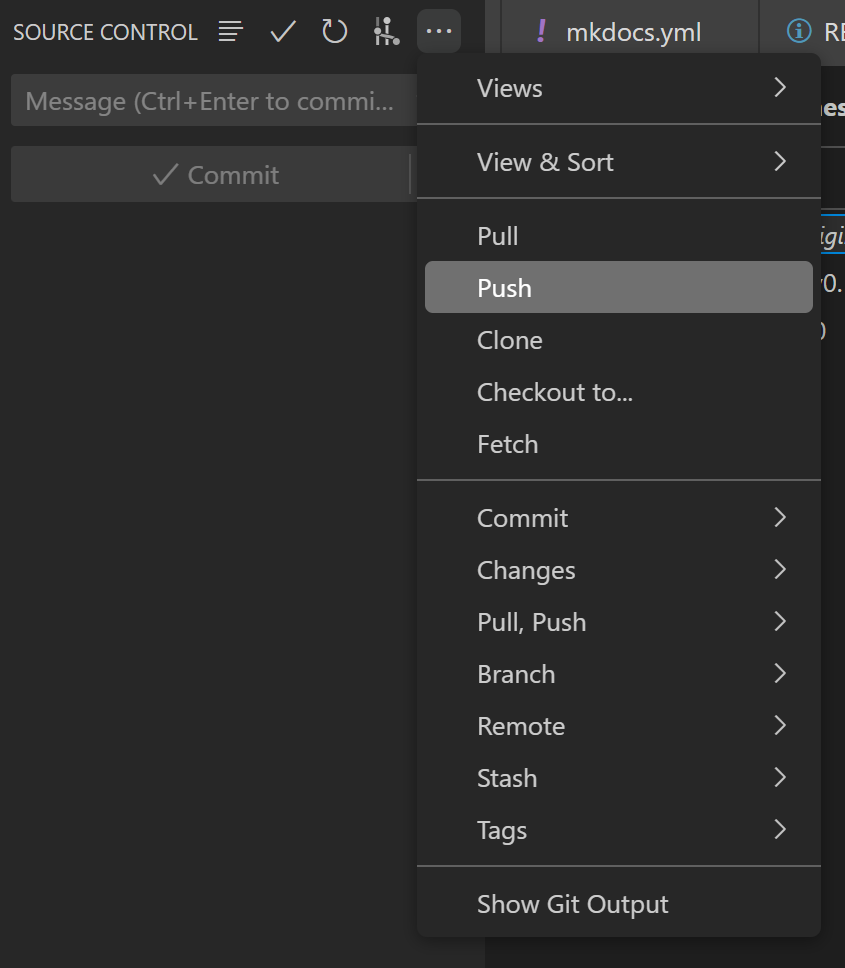
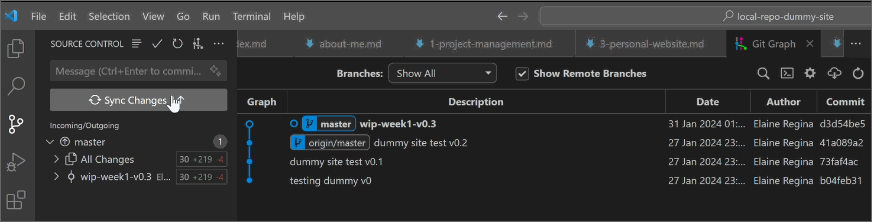 Alternatively you could also press push here
 Now all you have to do is follow the same steps and apply it to your FabCloud repository