Principles & practices
1.1 Task: Create a website
First I will describe the platform I used. Google Sites is a platform that allows users to create edit and manage web pages easily and without the need for advanced programming knowledge. It is a Google tool that is part of the Google Workspace application suite.
Some of the more important features include:
Visual interface: Google Sites provides an intuitive, visual user interface that allows users to drag and drop elements to design web pages without a write code.
Real-time collaboration: Allows multiple users to work simultaneously, facilitating real-time collaboration.
Integration with other Google tools: Integrates with other Google applications, such as Google Drive, Google Calendar, and Google Maps.
Predefined templates: Offers predefined templates that simplify the creation of websites for different purposes, such as projects, events, documentation, among others.
Access from anywhere: As a web-based tool, Google Sites can be accessed from any device with an Internet connection.
Google Sites itself doesn't use a specific programming language for users to create and edit content. Is a website creation platform that focuses on simplicity, allowing users to visually create websites without having advanced programming knowledge.
Programming language:
I looked for information on different platforms and I didn't find any that specifically talked about the internal architecture that Google Sites uses, due to an intellectual property issue. However, making some assumptions based on all the information I have. Google Sites could work with Html for page structure, CSS for layout and styles, and JavaScript for client interactivity. Also use: Google Cloud Platform (GCP), Google Apps Script and Google APIs.
To store and manage data, Google Sites may use cloud storage systems and databases.
Download:
As a Google product, all files will be stored on its platforms, such as Google Drive, and there, you can export files in HTML and JPG image formats automatically. This process is done through Google Takeout.
The download is straightforward, just keep the following in mind:
The latest changes made on the website must be saved.
The page (preferably) should not be published; this option can be paused during the file download to prevent duplicate downloads.
The web page should be saved in a specific folder in Google Drive, with no duplicates copies, to maintain organization in the downloaded files.
To perform the download, select the folder containing the web page, and it will be downloaded as a compressed folder to the location each person specifies.
Finally, the folder needs to be uncompressed to make use of the downloaded files.
1.2 Personal interpretation of making a website and final justifications
Since this is my fist time making a website, before choosing one, I asked my instructors what software was better to use and they have different opinions since they have different profesional training. The cool thing about this is that the three students chose different platforms and we were able to see the virtues of one over the other and choose the best one according to our needs.
So, I tried at first with Google Sites & then, after the 1rst class of the FabAcademy, I tried using code with my partners but Google Sites was definitely the best option for me because i'm very disperse and at the same time I am always trying (against my nature) to be clean at work not to get lost in the process, so this why i think I can focus more in what is important: the assignment documentation.
1.3 Creation process
I chose a simple and orderly design, I don't want it to have so many elements to highlight all the information that I add week by week
Template:
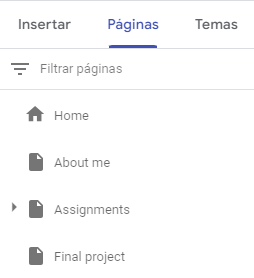
Pages:
Tutorial (spanish):
Advice:
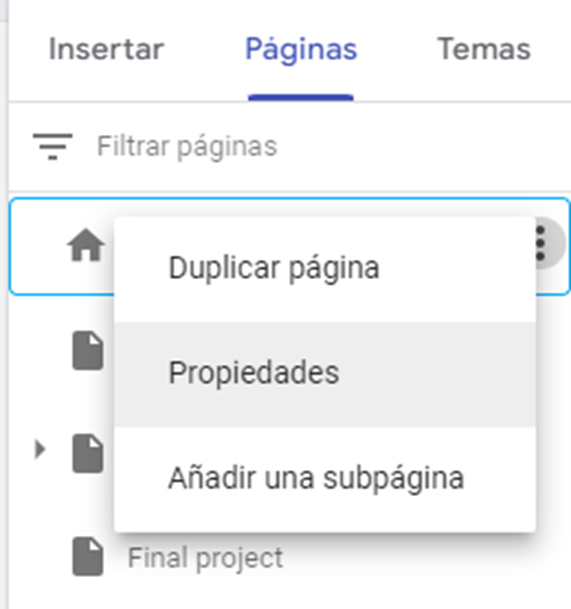
When i finally downloaded all the .html files i didn't know the name files had black spaces between words, for example: about me or final project, and when i wanted to se my website only the page "home" was uploaded. I thought it was a platform or version problem so i moved everything like a puzzle.
The next day my tutor Ivan helped me correct the errors and properly name the files. Should be: about_me, about-me, or about.me, and final_project, final-project, or final.project.
There is one more important thing, in the template you can name you pages whatever you want, but the must be saved with the previous criteria. I show you where you can change all this.
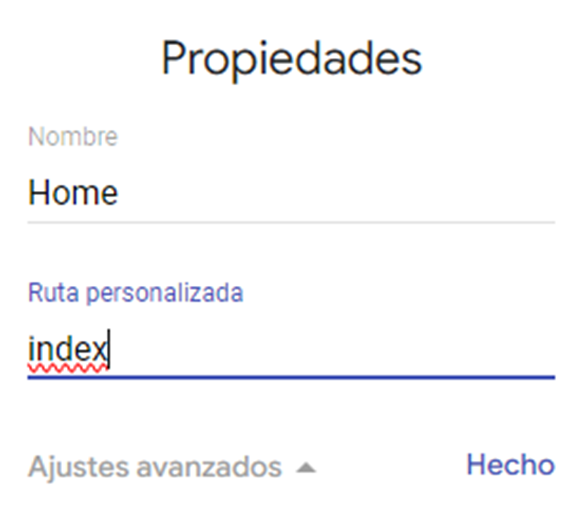
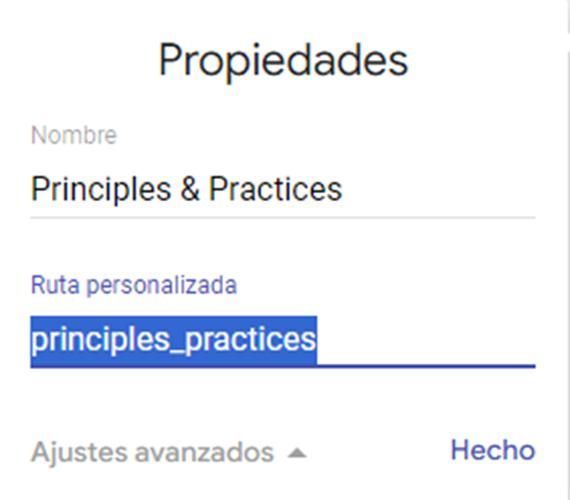
As you can see in the second image, The name in the template is Home, but in the custom path (Ruta personalizada) is index, this will be the name with witch your .html file (index.html) will be saved.
Then I create 2 folders, hosted in the local disc c:// one with all the FabAcademy info, and another one only with the info I will be cloning week by week to my repository/git.
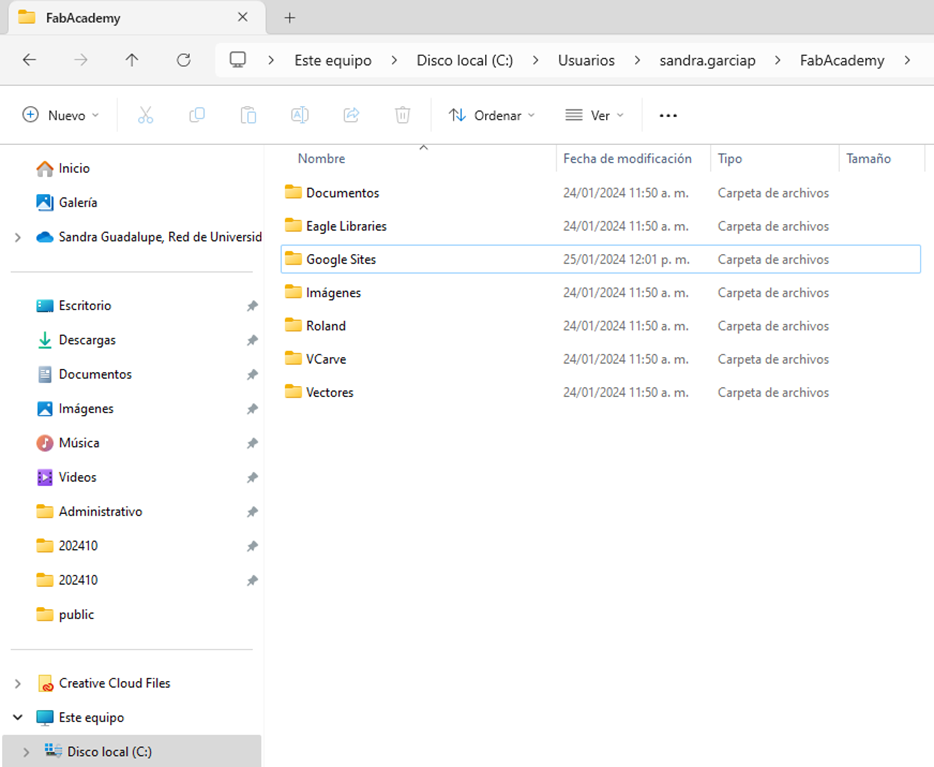
FabAcademy
C:\Users\sandra.garciap\FabAcademy
Repository
C:\Users\sandra.garciap\sandra-garcia\public
1.4 Task: Generate a SSH Key and clone the html files to my repository in git
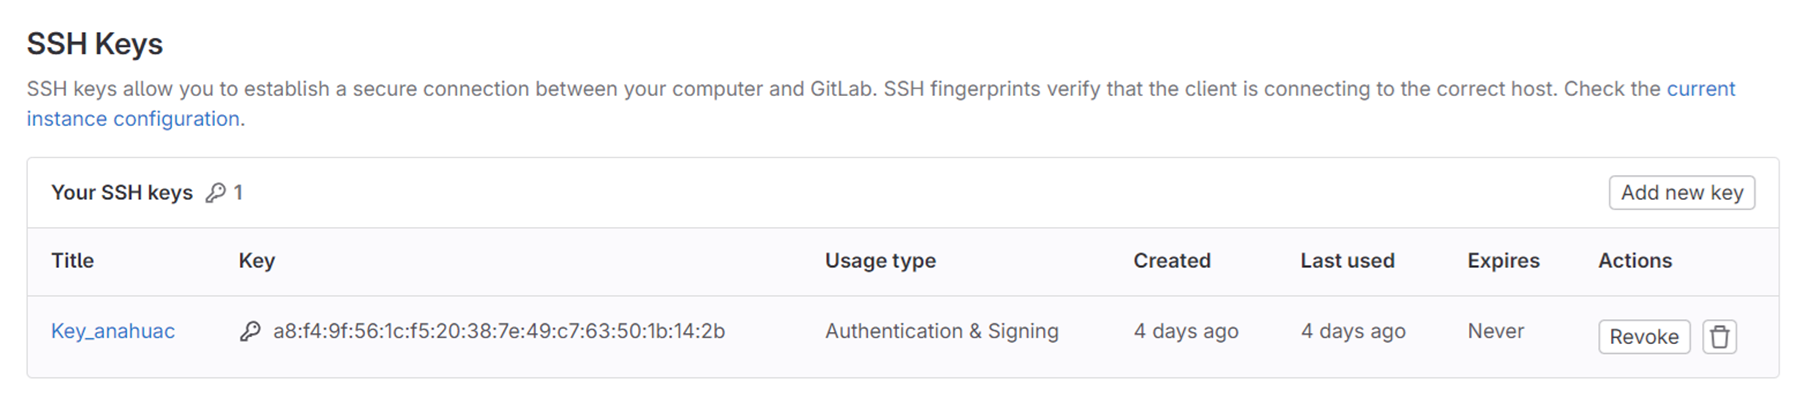
First I create the SSH key typing the key generator command: ssh-keygen –t rsa –C “email@domain.com”, in my case: sandra.garciap@anahuac.mx
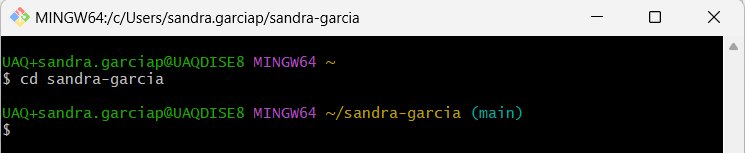
Now i have the route of the repository, to clone it to GIT. The main folders is: C:\Users\sandra.garciap

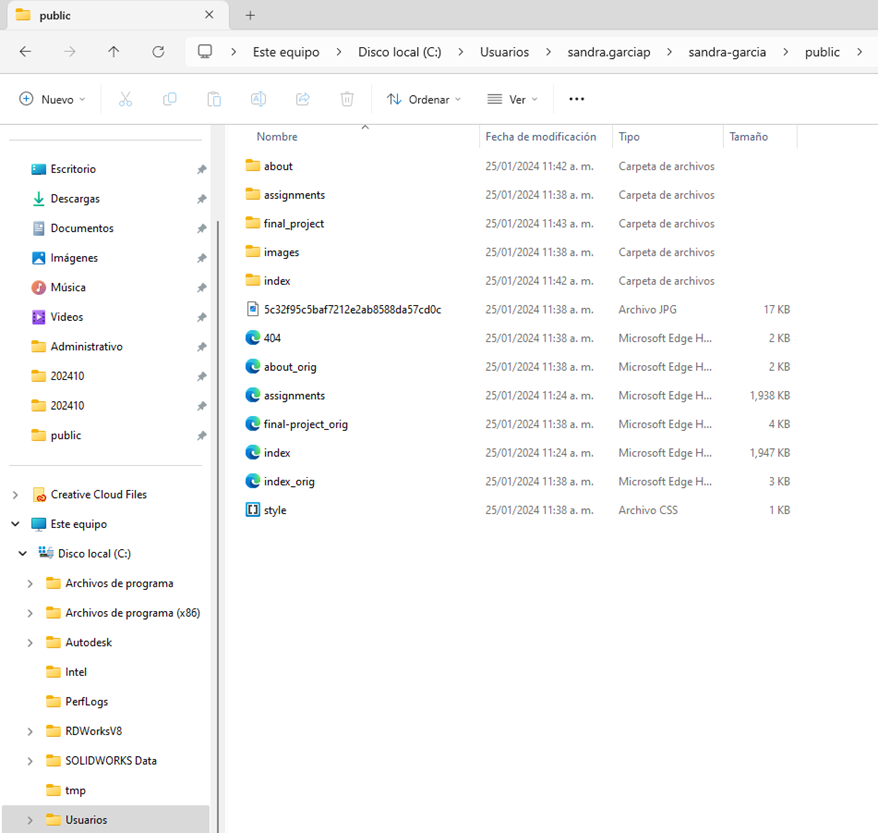
And as I said before, there is another folder where I save all the information about the FabAcademy that is now linked as it shown in the next image:
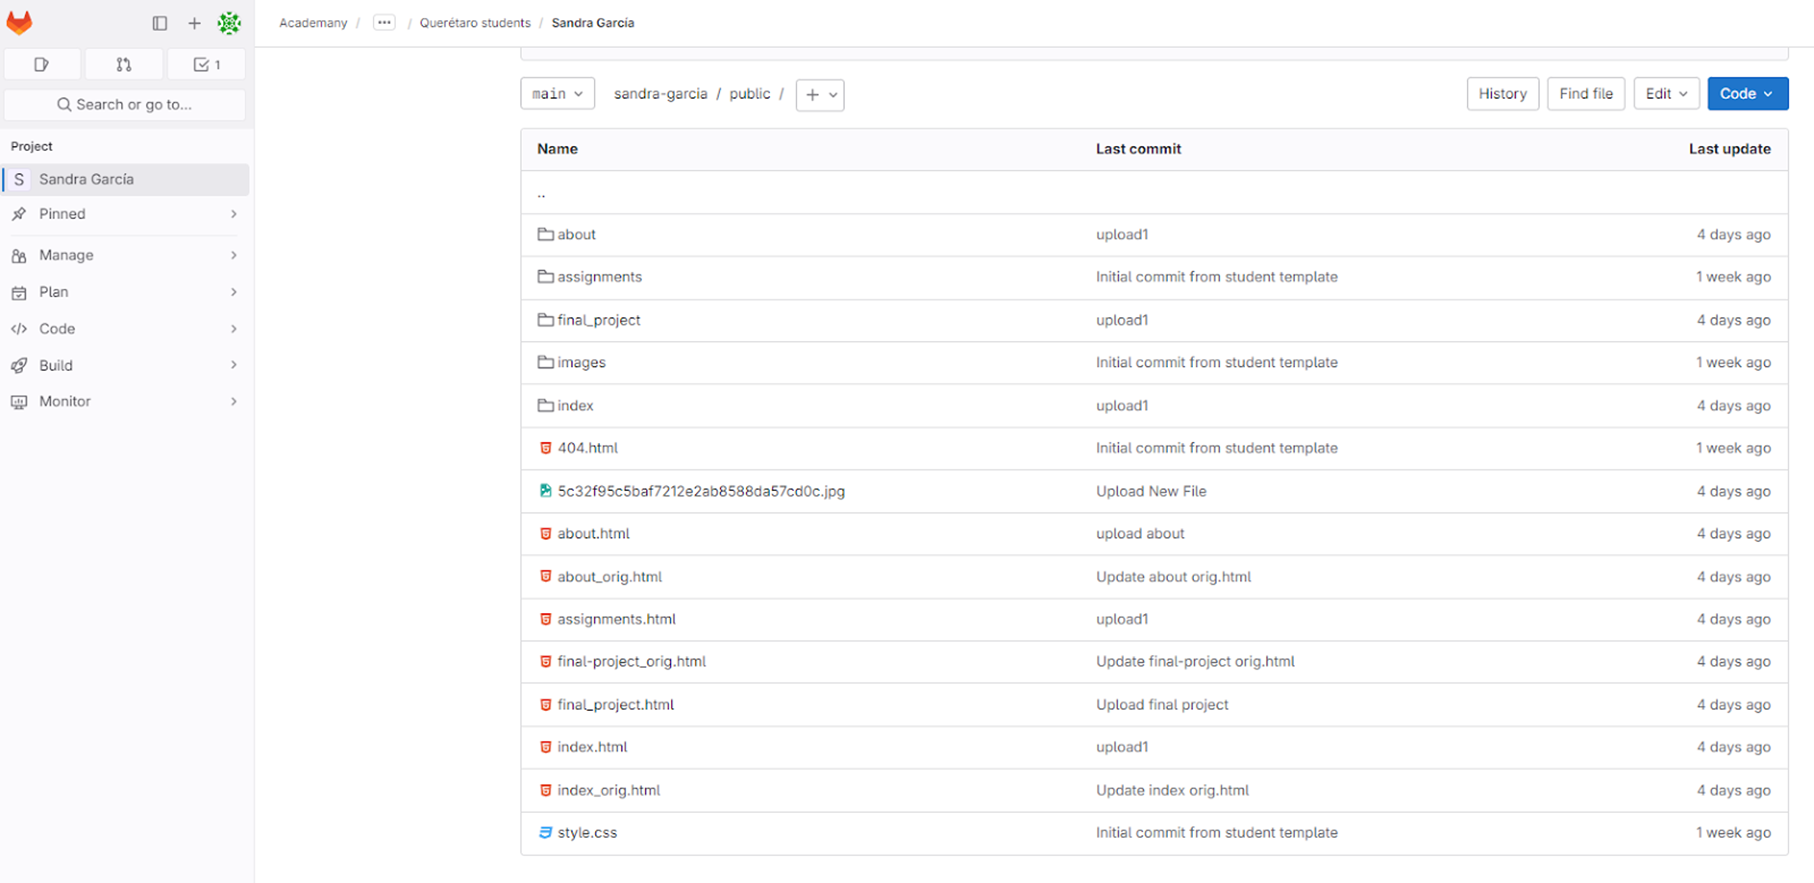
Looking at the previous images, you can notice that both the information from the local repository and the GIT in the cloud have the same files loaded. Just to check that I'm not missing anything, I'm going to check the status with the git status command.
Everything is updated:

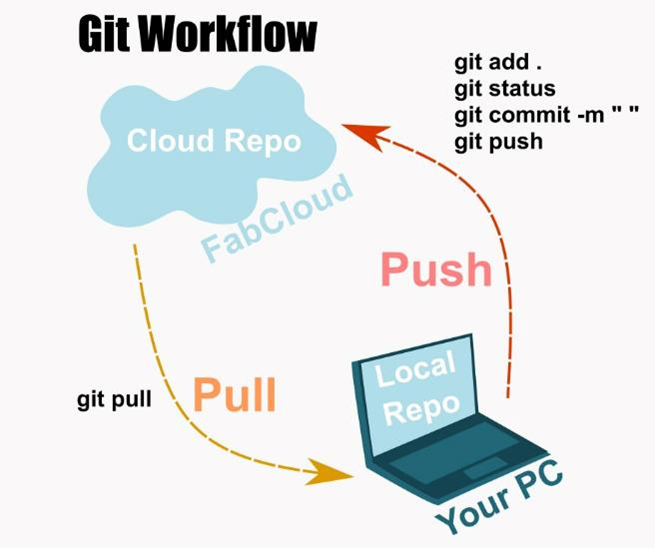
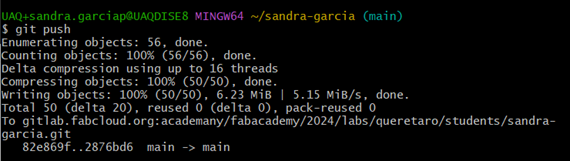
If I wanted to update the information I should follow the 4 sacred steps; git add . git status git commit -m " " git push
At this point i had everything pushed. Now i'm going to show how to commit new documents to git, step by step.
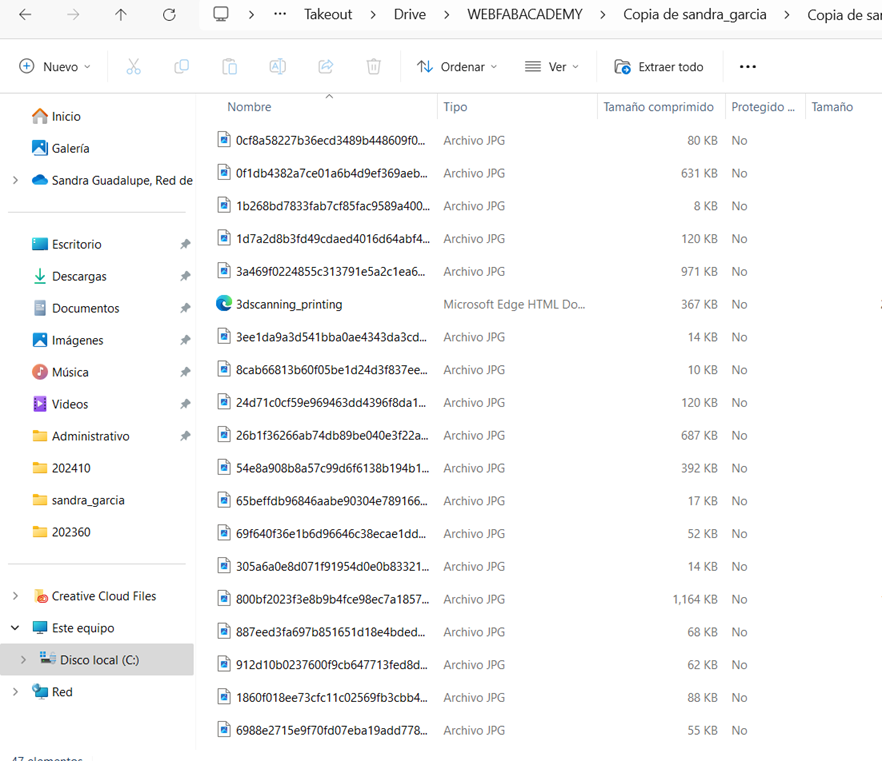
Remember i have 2 directories/folders, the info in the image 01 is the one i want to clone to the second one in the repository.
Local
C:\Users\sandra.garciap\sandra-garcia\FabAcademy/WEBACADEMY

Repository
C:\Users\sandra.garciap\sandra-garcia\public
There is a big differences between the amount of files in image 01 and image 02. I need to clone them all.
First step: change the directory typing: cd "your folder" in my case is: sandra-garcia

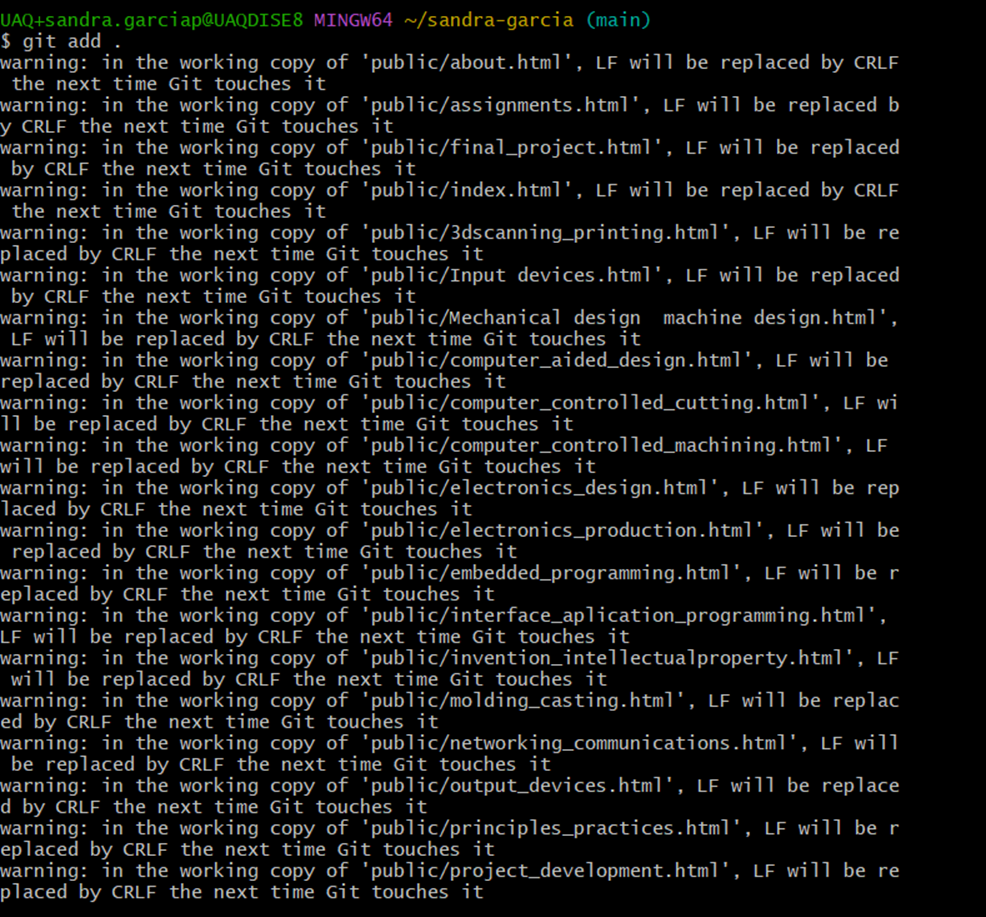
Therefore I add all the files to the repository and type the command git add . so git can recognize and pull them all whenever i do the commit.
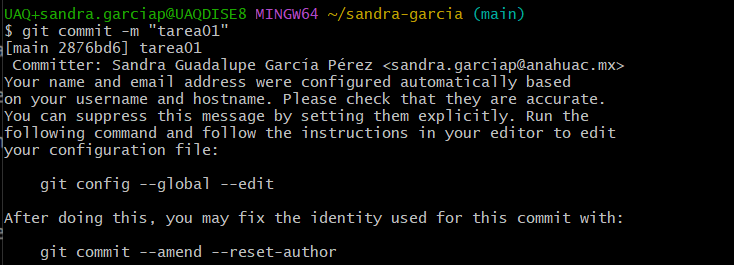
Now is time to commit typing git commit -m "identification message", in my case was "tarea01"
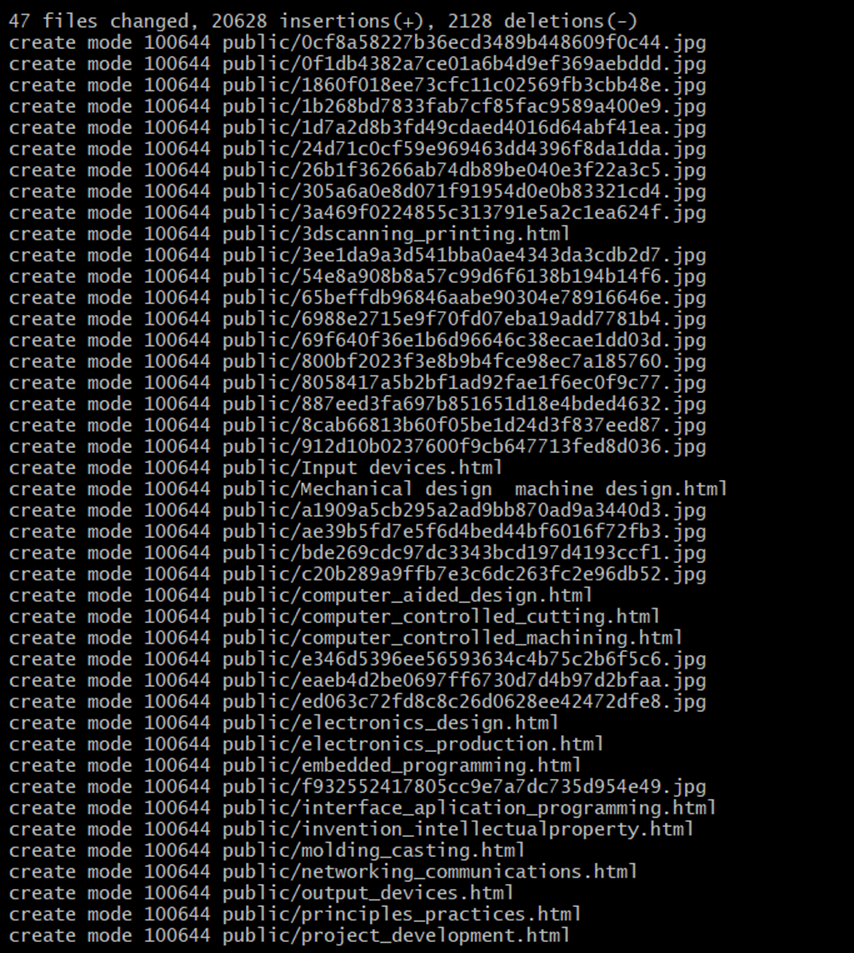
47 files! Yes, because i have a lot of images
1.5 Personal conclusions
I'm really enjoying working with Google Sites; it's like having an organized Word document with text, images, videos, etc. It has been very functional for me to document in this way, as I can access it from anywhere, even from my phone, and it looks quite good.
The only detail with Google Sites that I haven't been able to figure out is how to download its files same way, because apparently there is not a different option to do it. Sometimes Google Takeout downloads all files in the same folder, and other times it creates subfolders for each page. It's not difficult to understand the logic each time I download info, but it takes an extra 20 minutes before cloning to prevent duplicate files and save necessary space in my repository.
But thanks to this, I have learned to modify files through code in my git repo. Cloning to gitlab has become increasingly simple. At the beginning, honestly, I didn't understand the logic between what is was on one side and on the other. Now, before cloning, I make a copy of my repository and organize local information, this has saved me a lot of time, but above all, it has given me a lot of confidence when manipulating GitBash. I know now that everything I do is reversible if I continue to do it in an orderly manner.