Computer-controlled cutting
3.1 Group assignment. Characterize your laser cutter machine and document your work.
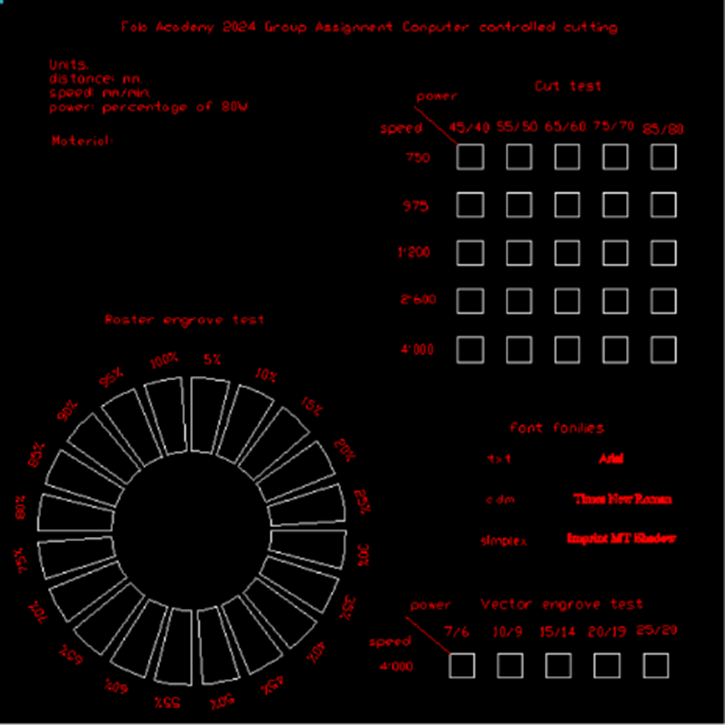
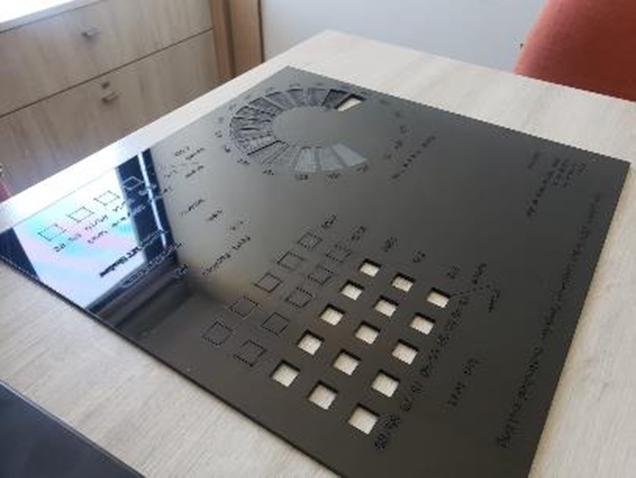
This is the template we all are using to Characterize the laser cutter machine with 3 different materials: 3mm MDF, 3mm acrylic, and 5.5 mm corrugated cardboard. The machine model we have in the FabLab Querétaro is a Boye 100 watts of power, with a cutting area of 900 x 600 mm and cuts materials up to 6mm thick.
The first thing we have to do is to define all those lines & polylines that will be rasterized, then assign different colors for each; raster an cut elements, and finally assign the corresponding settings. Its better if we separate into different files: cut and raster because the machine's memory could collapse with so much information.
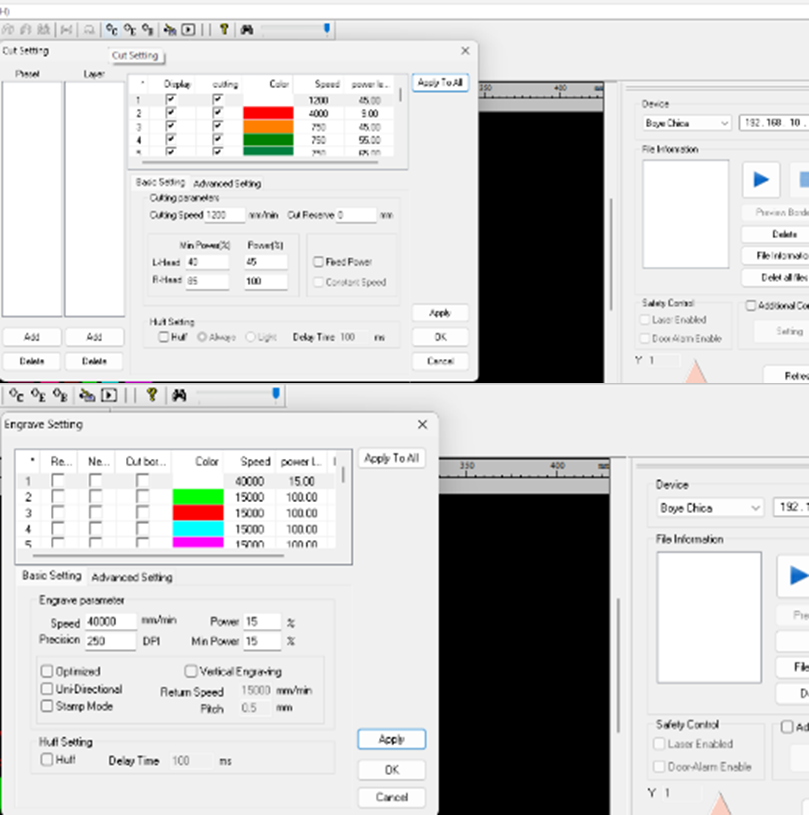
Using the "cut settings" menu for all the vector lines and "engrave settings" for all raster polylines.
Very importan to apply changes each time we modify values, not at the end.
I did the assignment in my laptop and since it is not connected directly to the laser machine, I had to save the file to an USB. The correct way to save these files is by clicking: file>save as online file, then I downloaded the file directly into the machine memory
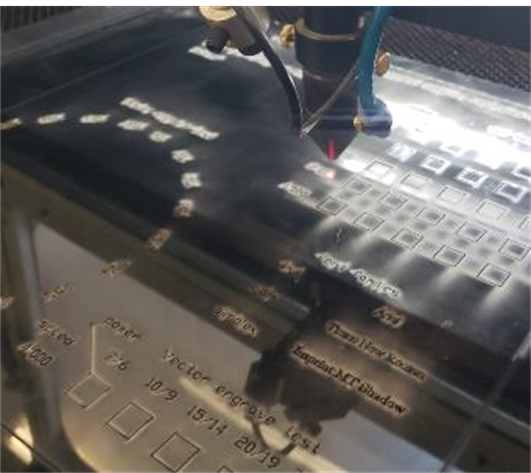
Once the file is ready, it is sent to the laser machine to be cut, but before anything else we must turn on the machine, the smoke extractor and the chiller. Now in the laser machine we have to follow the following steps:
1. Place the material on the machine and calibrate the distance of the nozzle.
2. Assign the nozzle origin to the top left corner of the material, by moving it with the narrows, to set the place, click the "origin" button.
3. Find the file on the screen, open it and once loaded, click on the "frame" button to verify that both, the material and the nozzle are properly located.
4. We start cutting. It is preferable to keep the top cover closed to avoid inhaling burnt particles.
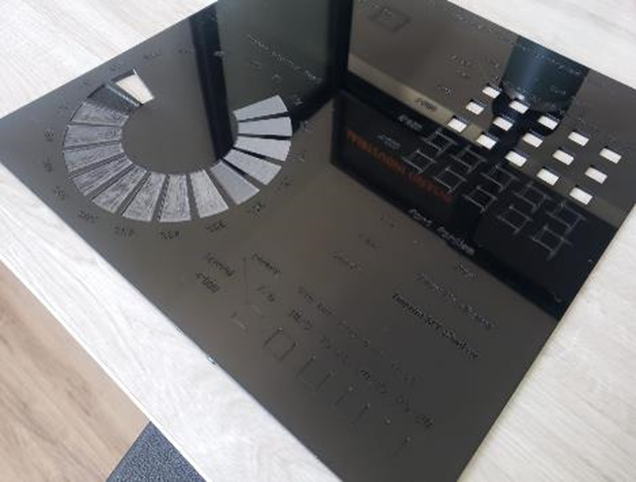
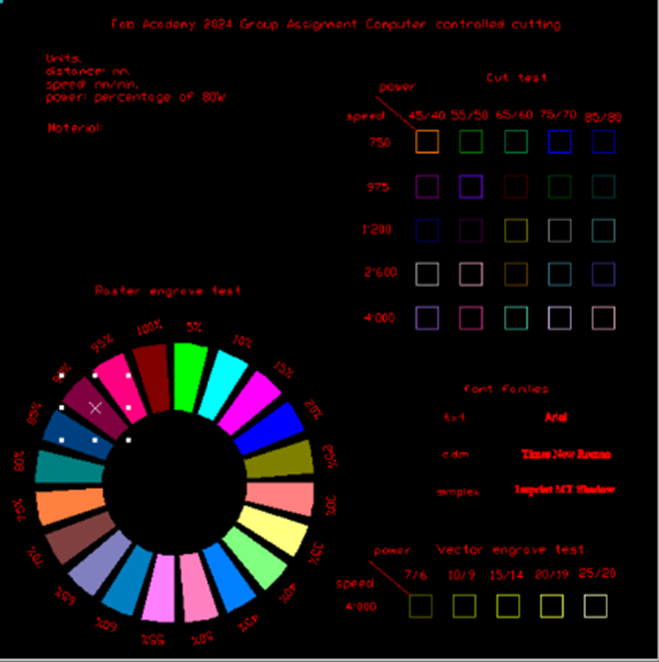
Different to MDF in the raster, the acrylic was completely burned at 80% power, so I had to stop the work intermediately, the best raster values were between 30-60%.
The most appropriate value por cutting was 1,200 speed and 40/45 power, this way the material will be cut faster without overconsuming the CO2 tube.
3.2 Personal interpretation & learning
I learned through practice that each machine and material has its own ideal values, and that it is important to know all them to have the best use of the machine and the materials themselves.
Of the three materials, it was cardboard that was burned and cut fastest, then acrylic and finally MDF resisted the most. In the FabLab Querétaro, they already have a table with all the parameters recorded, so every time they cut they know what values to assign without sacrificing material due to errors.
3.3 Individual Assignment. Design, lasercut, and document a parametric construction kit, accounting for the lasercutter kerf.
I decided to make a 3-piece stool: seat + 2 legs that are assembled together.
As you can see in the video below, I used AutoCAD in 2D to draw all the pieces, then I switched to the parametric mode to manipulate the dimensions of the assemblies I draw on the seat, this way I will be able to manipulate them to different thicknesses and length without having to redraw it from zero.
AutoCAD parametric mode
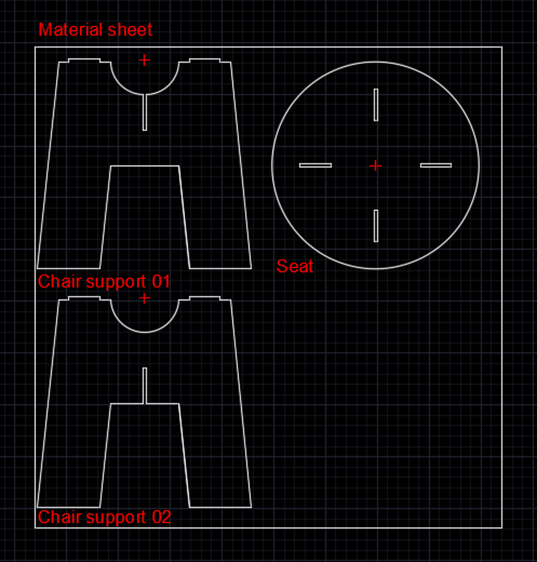
AutoCAD drawing
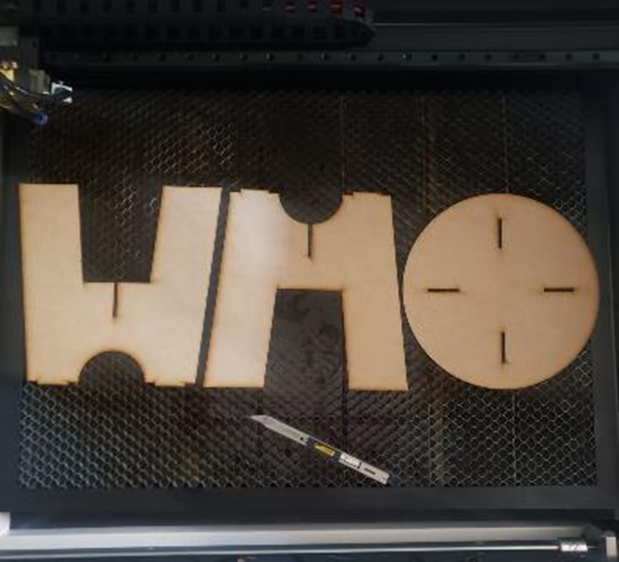
Laser cutted pieces
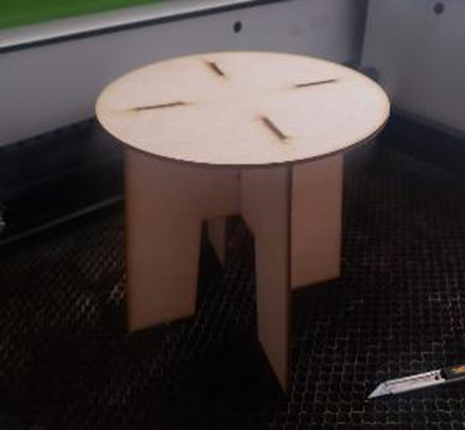
Assembled stool
3.4 Personal interpretation & learning
At first it was difficult for me to understand the logic of the constraints because the figures were not modified concentrically. It is important to know that the order in which each figure is drawn and constraint are assigned will be the order each figure will be modified.
I really liked the result, I would like to make some tests with smaller prototypes and different materials.
3.5 Cut something on the vinyl cutter
I recently bought a laser machine with the intention of making my own stuffs and helping students make prototypes. It's a small machine that I installed in my home studio, which I decided to call "El Búnker".
I designed and vectorized the logo in Illustrator and the letter U has a circle simulating the little door's handle of my home studio. For this assignment I was able to send directly the file to the vinyl cutter, which is very easy to use, since its screen does not have too many options and it is already calibrated to cut at a certain depth to not cut the plastic support, different to vinyl cutters with self-adhesive, this one, because it is a textile vinyl cutter, does not requires transfer tape.
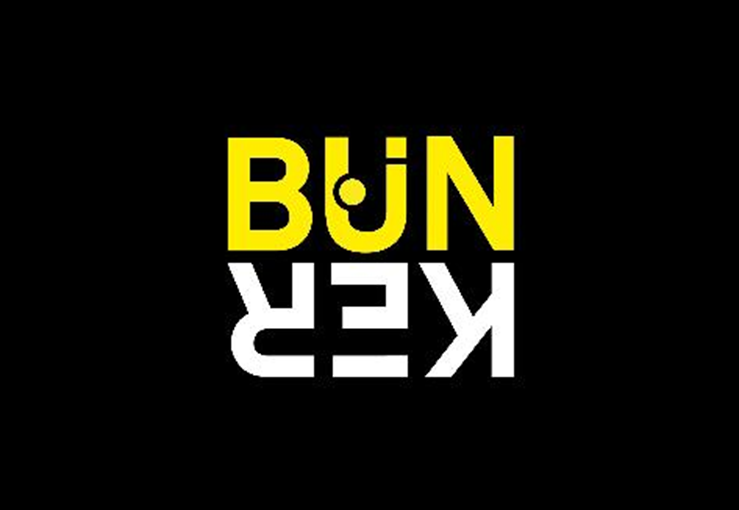
BUNKER Logo image
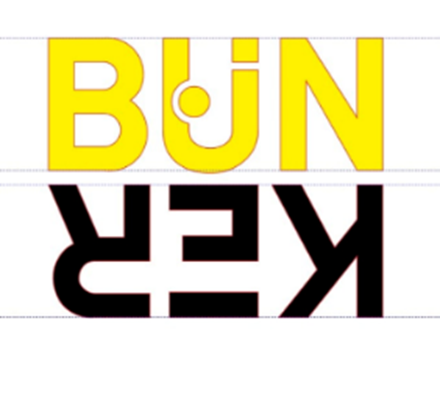
BUNKER Logo vectorized

Window to cut the file
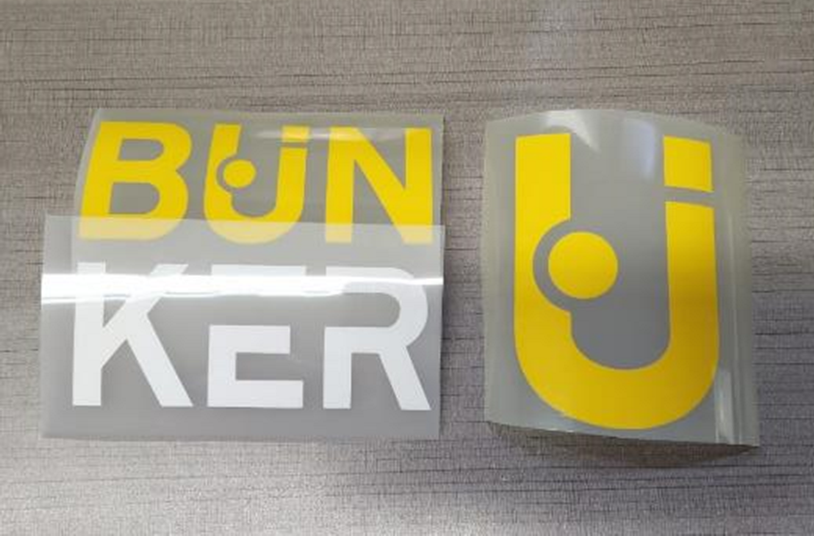
Vynil logo
White vinyl cut
Yellow vinyl cut
3.6 Personal interpretation & learning
It is important to know that the files must be send mirrored and separated by colors, remembering that the machine only cuts, it doesn't print in color.
I really loved the results, I'm going to use these vinyl cuts for the laser machine cover and for some t-shirts that I plan to buy next weekend.
I will update my experience printing the vinyl in the next few days.
3.7 Conclusions
I loved learning new tools, it was a challenge for me to parameterize drawings in AutoCAD but honestly I found it very useful, many times I had to make several files to adjust them to new materials, and although at first I invested a lot of time trying to understand it, I am sure that the modifications will be very quick to make.
I also realized that the language of the FabLab laser's machine is similar to mines but not the same, it is very important to train the operators and know each machine 100% to take the best of them.
Vinyl cutting has always caught my attention because I love to personalize things, from my clothes to simple objects like notebooks, backpacks, etc. Now I feel like I want to do a thousand things.
The work we did as a team was very orderly, we quickly agreed and accompanied each other during each process. I am very happy to have coworkers who are so dedicated and interested in learning new things, we will surely help each other in future tasks.